Articles
How To Store Homegrown Potatoes
Modified: March 19, 2024
Learn the best methods and tips for storing homegrown potatoes in this informative article. Keep your harvest fresh and delicious all year round!
(Many of the links in this article redirect to a specific reviewed product. Your purchase of these products through affiliate links helps to generate commission for Storables.com, at no extra cost. Learn more)
Introduction
Homegrown potatoes are a delicious and nutritious addition to any meal. Whether you’re an experienced gardener or just starting out, learning how to store your homegrown potatoes properly can help extend their shelf life and ensure you can enjoy their fresh flavor for months to come.
When it comes to storing potatoes, there are a few key factors to consider. First, you’ll need to choose the right potatoes for storage. Different potato varieties have different storage characteristics, so selecting the right ones can make a big difference in how long they last. Second, you need to properly harvest and cure your potatoes before storing them. This process helps toughen their skins and reduce moisture, which is vital for long-term storage success.
In this article, we’ll walk you through the process of storing homegrown potatoes step by step. We’ll cover everything from choosing the right potatoes, to harvesting and curing, to various storage options and tips for long-term storage. By following these guidelines, you can ensure that your potatoes stay fresh and tasty for months on end.
Key Takeaways:
- Choose the right potatoes for storage by considering their storage qualities, skin thickness, and maturity to ensure optimal results and long-term freshness.
- Properly prepare and store homegrown potatoes in suitable environments such as root cellars, basements, or pantries, ensuring regular inspection and care for extended enjoyment.
Read more: How To Store Potatoes
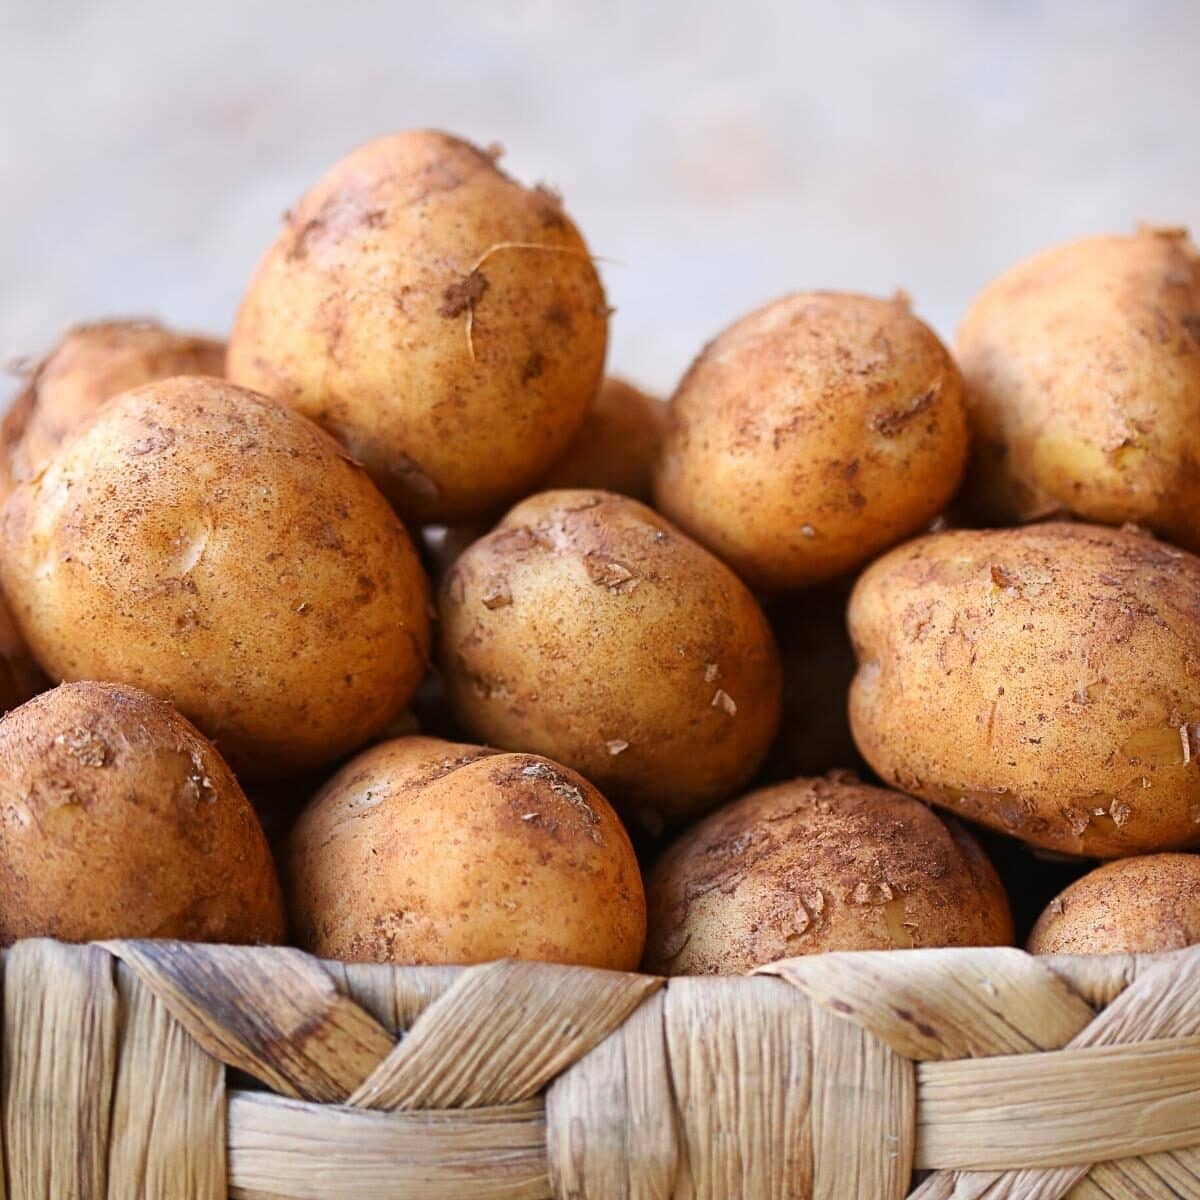
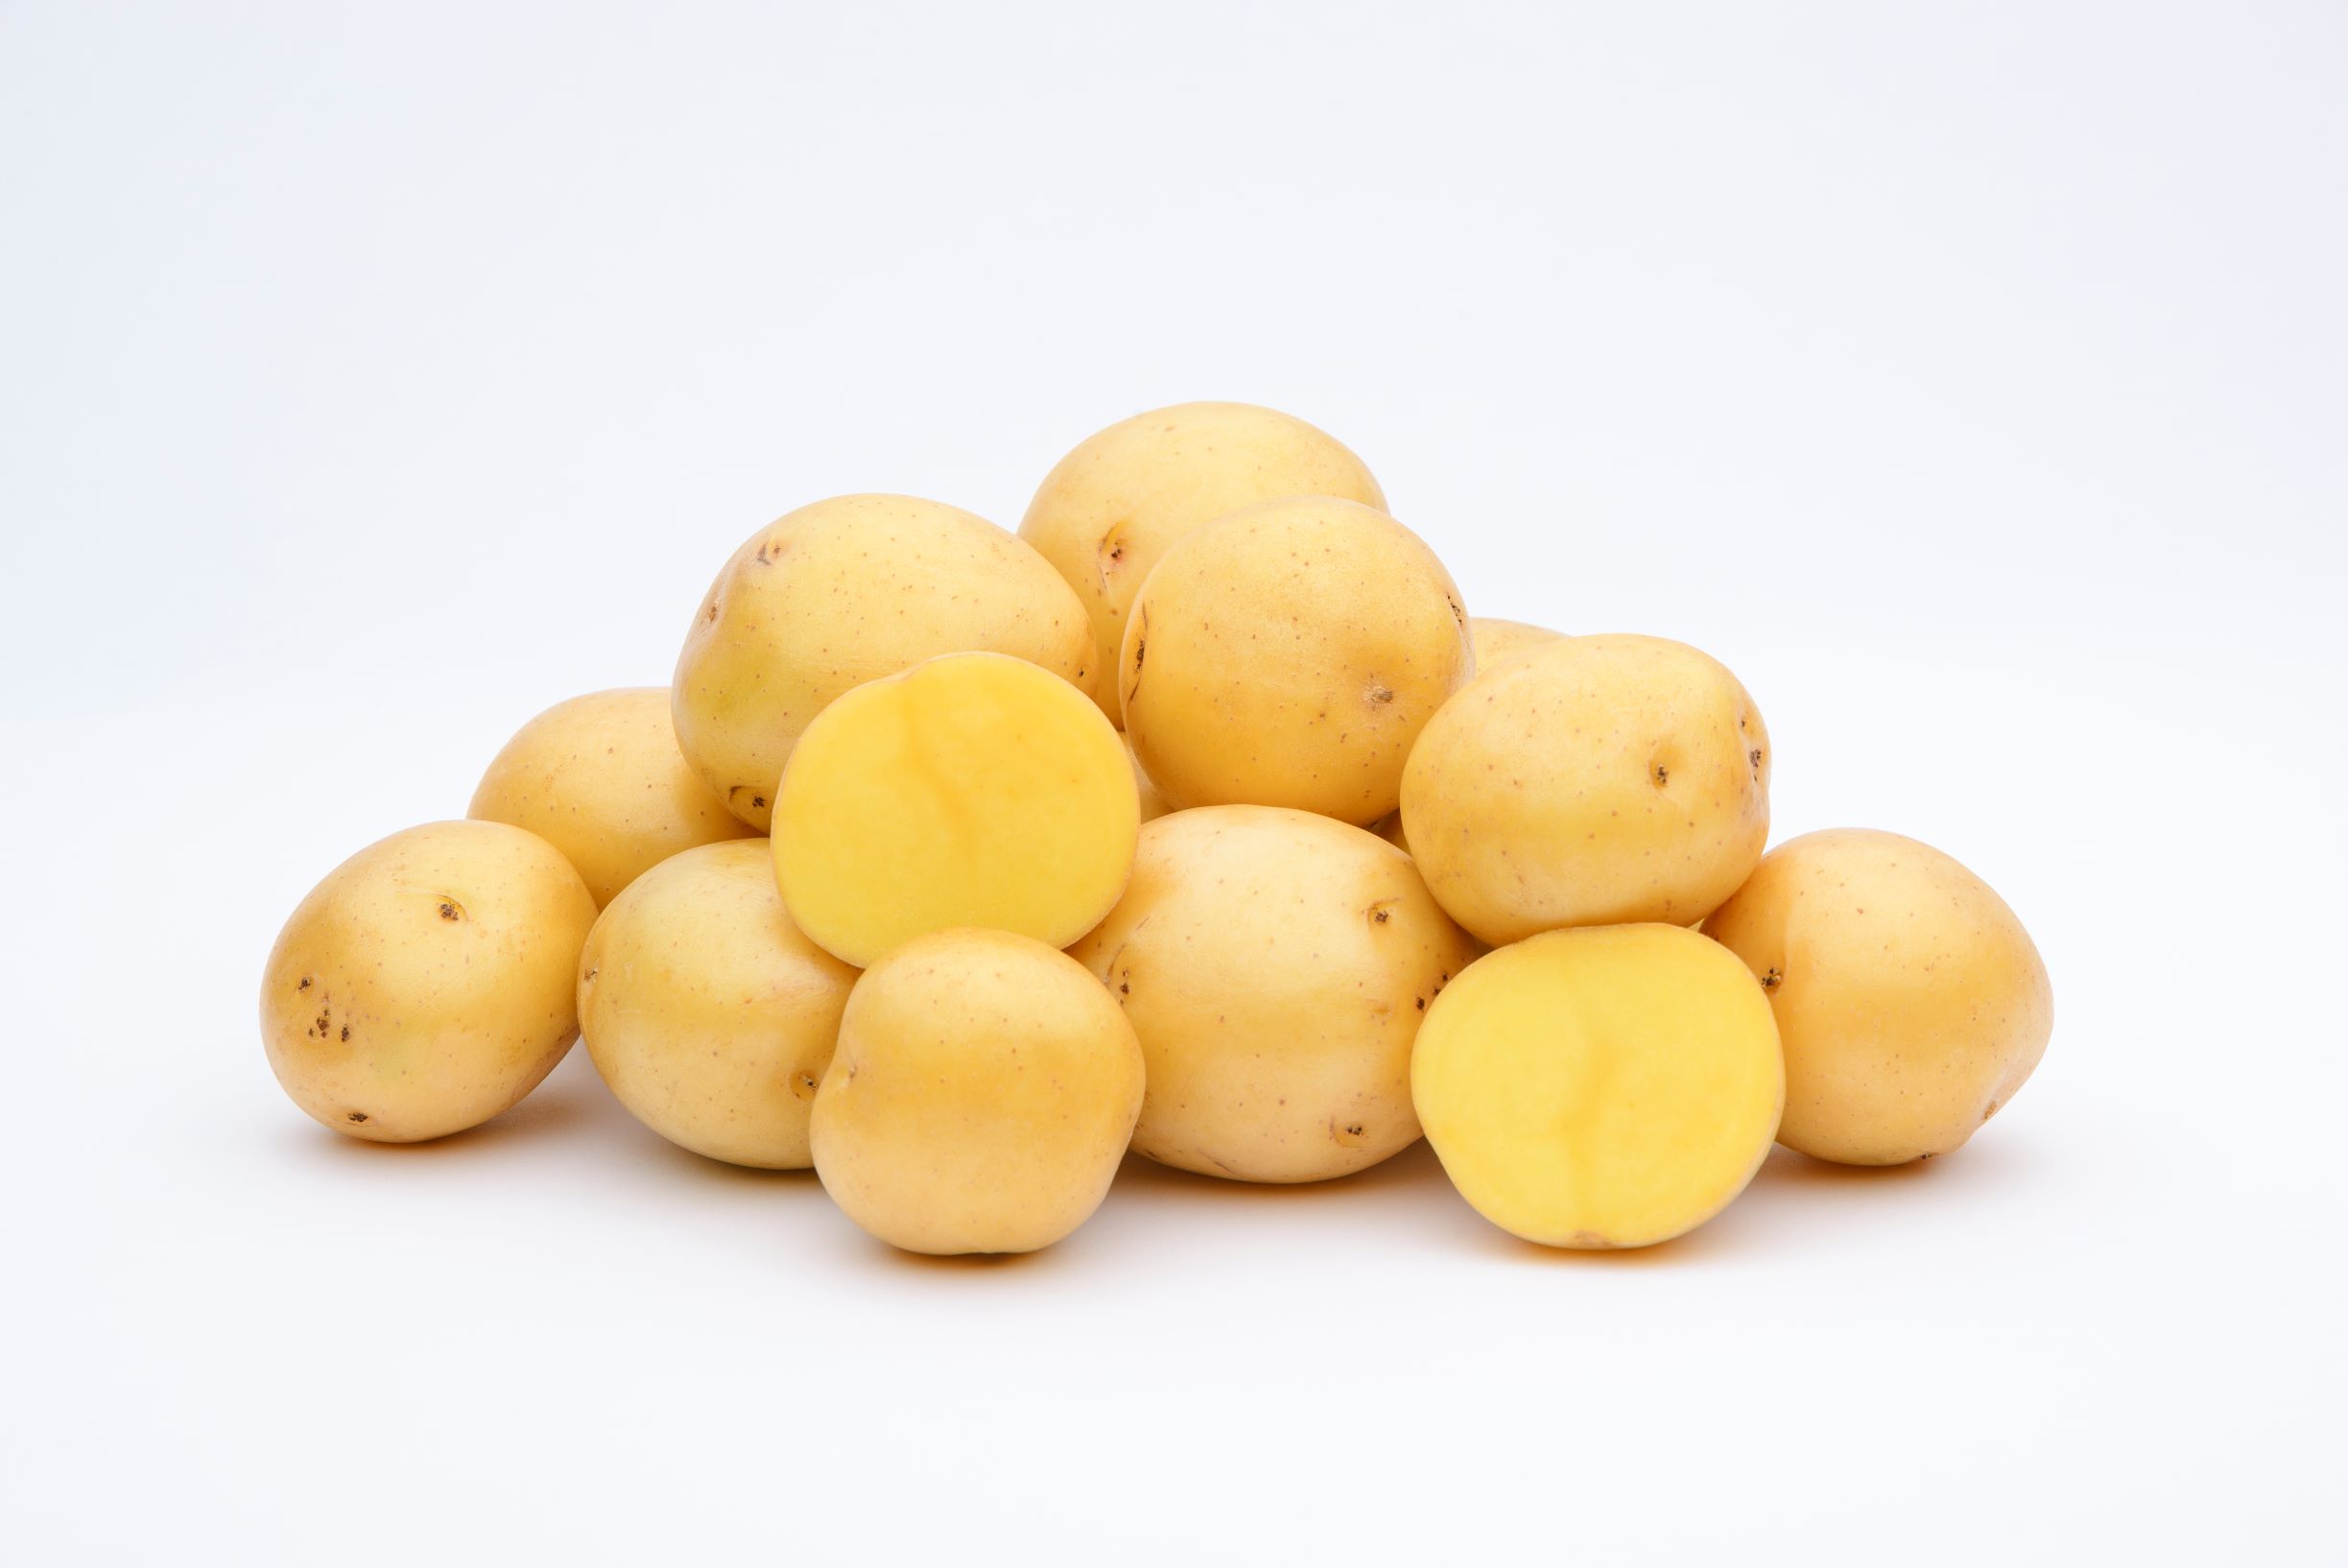
Choosing the Right Potatoes
When it comes to storing potatoes, not all varieties are created equal. Some potatoes are better suited for storage than others, so it’s important to choose the right ones if you want them to last. Here are a few key factors to consider when selecting potatoes for storage:
- Determine the storage qualities: Different potato varieties have different storage qualities. Some varieties are known for their long shelf life, while others are more suitable for immediate consumption. Research the storage qualities of different potato varieties and choose ones that are known for their good storage capabilities.
- Select potatoes with thick skins: Potatoes with thick skins tend to store better than those with thin skins. Thick-skinned potatoes are less prone to drying out or becoming shriveled during storage. Look for varieties like Russet or Yukon Gold that have thicker skins.
- Avoid damaged or bruised potatoes: Potatoes that have dents, cuts, or bruises are more prone to rotting and can spread spoilage to other potatoes during storage. Inspect your potatoes carefully and discard any that show signs of damage or bruising.
- Consider the maturity: Mature potatoes generally store better than immature ones. Potatoes harvested at their full maturity have a higher starch content, which helps them stay firm and lasts longer. Check the maturity guidelines for the specific potato variety you’re growing and harvest them at the recommended stage.
By selecting the right potatoes for storage, you’re setting yourself up for success right from the start. Remember to consider the storage qualities, skin thickness, and maturity of the potatoes to ensure optimal results.
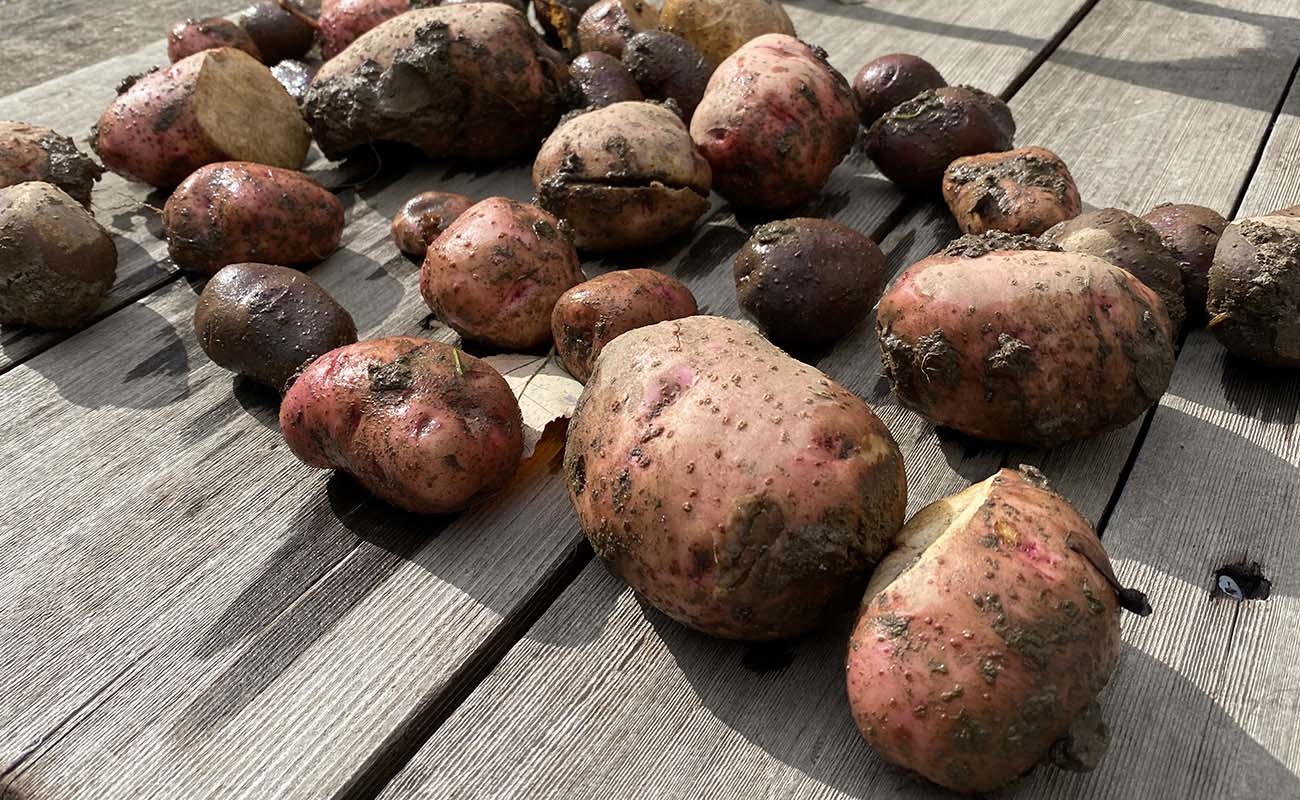
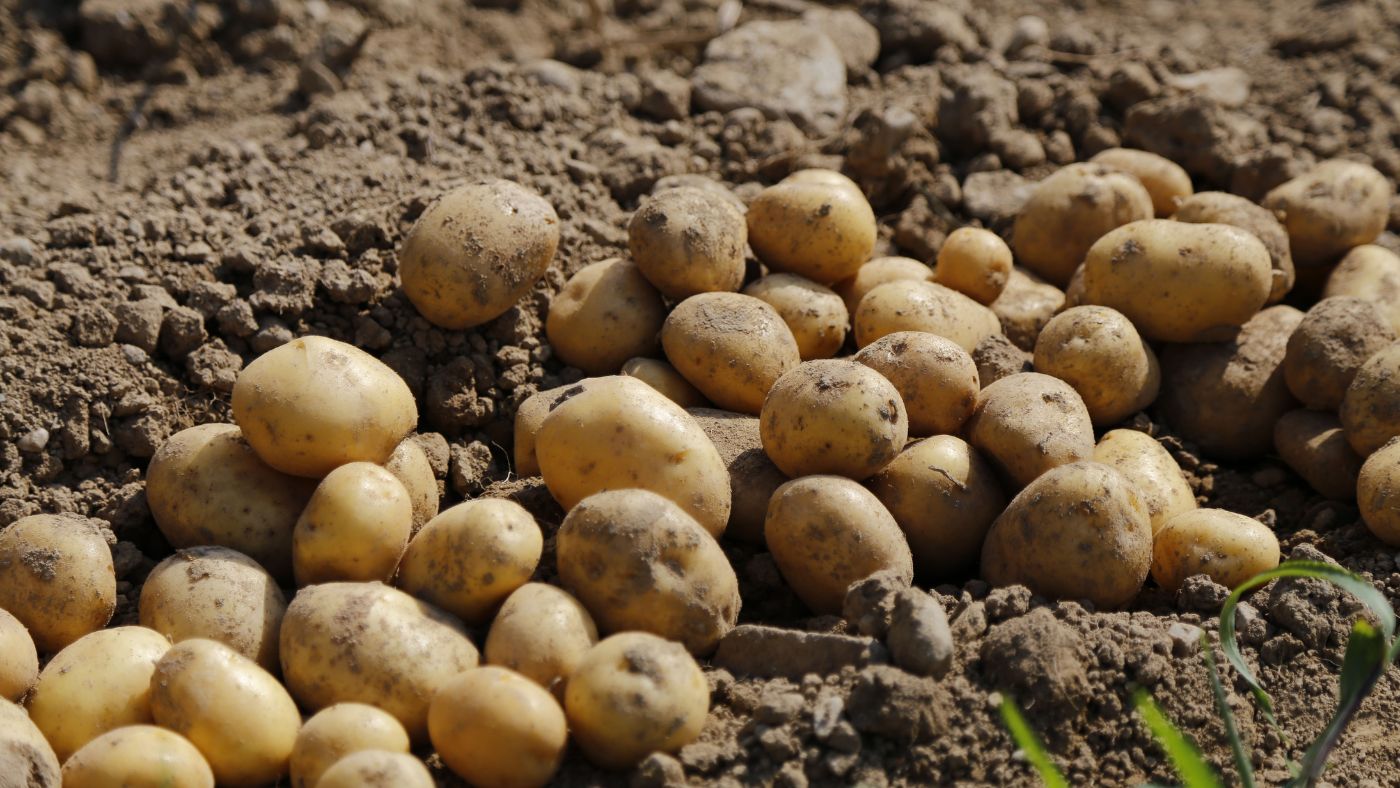
Harvesting Your Potatoes
Harvesting potatoes at the right time is crucial for their storage success. If harvested too early, potatoes may not have developed their full flavor and texture. If harvested too late, potatoes may be overripe and prone to spoilage. Here are the steps to harvest your potatoes:
- Check for maturity: Before harvesting, check if your potatoes have reached the ideal maturity stage for harvest. This is typically indicated by the plants dying back and the skins of the potatoes becoming firm. Gently dig around the base of the plants to unearth a few potatoes for inspection. If they have reached the desired size and the skins are sufficiently thick, it’s time to harvest.
- Prepare for harvest: Choose a dry day to harvest your potatoes. Wet or damp conditions can increase the chances of disease and rot during storage. Gather the necessary tools, such as a sturdy garden fork or shovel, and large containers to hold the harvested potatoes.
- Dig carefully: Insert the fork or shovel into the soil a few inches away from the base of the plants. Gently lift the soil, loosening it around the potatoes. Be careful not to pierce or damage the tubers during this process. Continue digging around the entire plant, working your way in towards the center.
- Gather the harvest: Once you have loosened the soil around the plants, carefully lift the entire plant out of the ground. Shake off any excess soil and remove any large clumps or debris. Place the plants in a shady spot to dry out for a few hours.
- Cure the potatoes: Curing is an essential step in preparing potatoes for long-term storage. It helps toughen their skins and allows any minor injuries to heal. Place the harvested potatoes in a cool, dark, and well-ventilated area for about a week. This will help them develop a protective layer and reduce moisture content.
By following these steps, you can ensure that your potatoes are harvested at the right time and are properly prepared for storage. Harvesting them when they are mature and curing them afterward will contribute to their overall quality and longevity in storage.
Curing Potatoes
Curing potatoes is a crucial step in the storage process that helps toughen their skins and extend their shelf life. This process allows any minor cuts or injuries to heal and helps reduce moisture content, preventing rotting during storage. Here’s how to properly cure your harvested potatoes:
- Prepare the curing space: Find a cool, dark, and well-ventilated area to cure your potatoes. A basement, root cellar, or a shaded area in a garage can work well. Ensure that the space has good air circulation to aid in the curing process.
- Spread them out: Place the harvested potatoes in a single layer on a clean surface, such as a newspaper or wire mesh racks. Avoid stacking them on top of each other, as this can lead to bruising or pressure points.
- Avoid washing: Resist the urge to wash your potatoes before curing. Washing them can introduce moisture, making it harder for the potatoes to dry out and properly cure. Only remove excess soil or clumps before placing them for curing.
- Wait patiently: Allow the potatoes to cure for about one to two weeks. During this time, they will develop a protective layer on their skins and any minor injuries will heal. The curing period also helps the moisture content to balance out, ensuring better storage success.
- Monitor for spoilage: Regularly inspect your curing potatoes for any signs of spoilage, such as rot or mold. Remove any potatoes showing signs of decay to prevent it from spreading to the others.
Properly curing your potatoes is essential for their long-term storage. It toughens their skins, promotes healing, and reduces moisture content. This process sets the stage for optimal storage conditions and ensures that your homegrown potatoes remain fresh and flavorful for an extended period.
Preparing for Storage
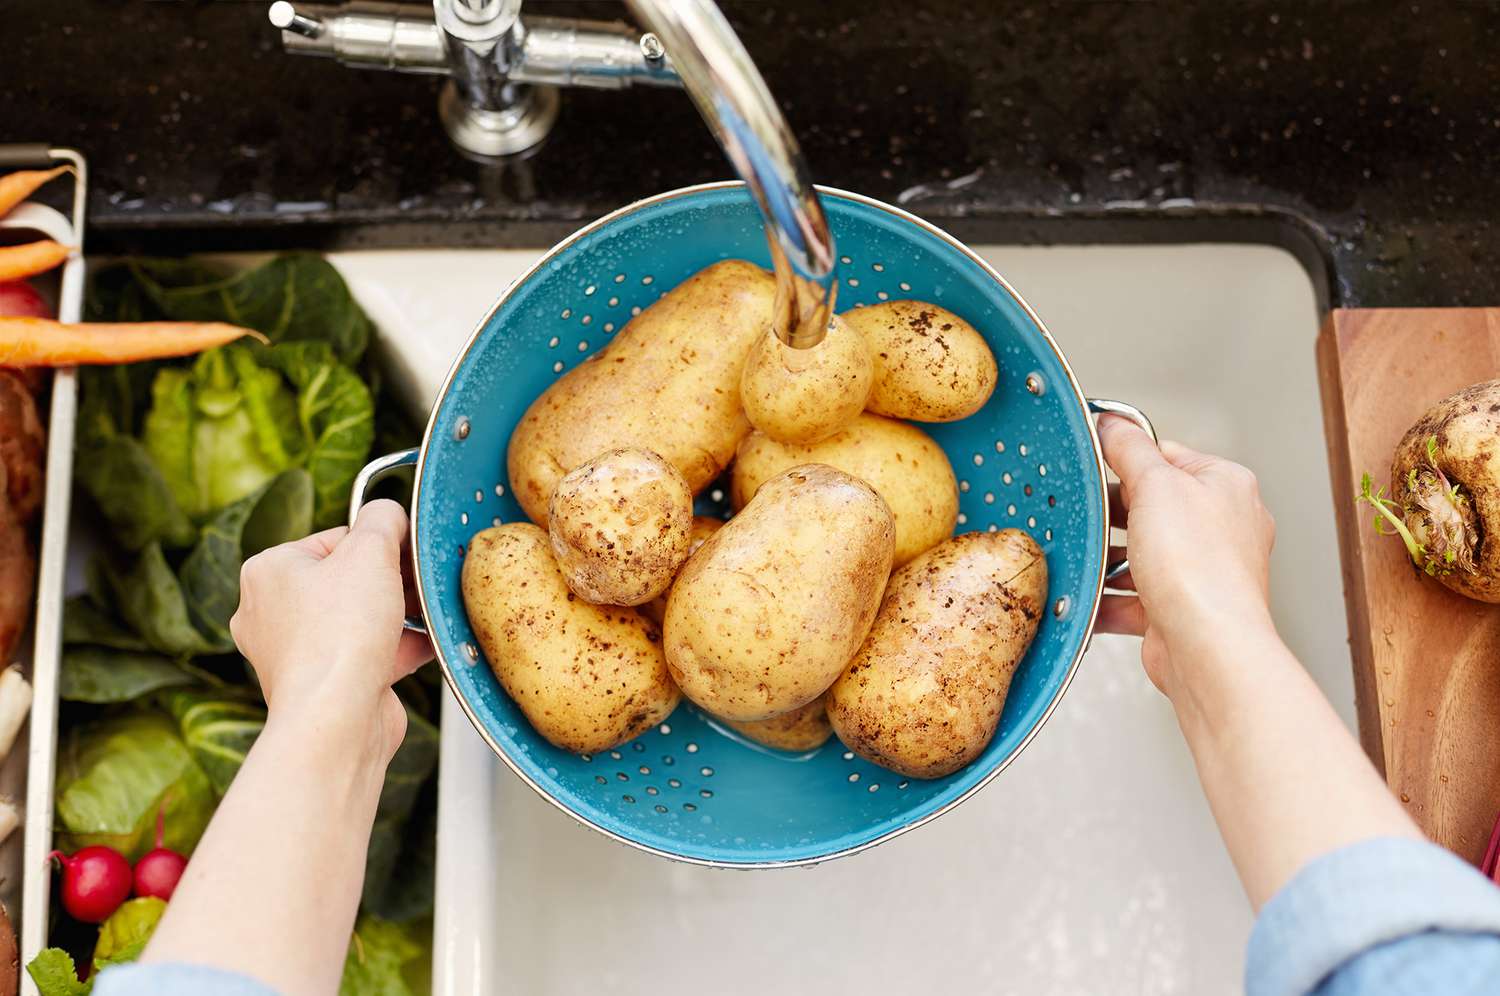
Before storing your cured potatoes, it’s essential to take a few additional steps to ensure their longevity and quality. Preparing the potatoes for storage involves cleaning them, inspecting for any damage, and making sure they are in the best condition possible. Here’s how to prepare your potatoes for storage:
- Clean the potatoes: Gently brush off any remaining dirt or debris from the potatoes’ skins. Use a soft-bristle brush or a cloth to remove any excess soil. Avoid washing the potatoes at this stage, as moisture can contribute to rot during storage.
- Inspect for damage: Examine each potato carefully for any signs of damage, such as cuts, bruises, or soft spots. Remove any potatoes with noticeable damage as they are more likely to spoil and can affect the others during storage.
- Sort by size: If you have potatoes of varying sizes, consider sorting them into separate groups. This can be helpful if you plan to use them for specific recipes later on, as it allows you to easily grab the desired size without disturbing the stored potatoes.
- Allow further drying: If the potatoes still feel slightly moist after the curing process, let them further dry for a few more days. This can be done by spreading them out in a single layer on a clean, dry surface, ensuring good air circulation.
- Remove foliage: Trim off any remaining foliage on the potatoes. Cut the stems down to about 1/2 inch above the top of the potato, leaving a small stub. This helps prevent moisture loss and provides a tidier appearance.
By taking the time to properly prepare your potatoes for storage, you’re setting the stage for successful long-term preservation. Cleaning the potatoes, inspecting for damage, and allowing for further drying will contribute to their overall quality and help extend their shelf life.
Storage Options
When it comes to storing homegrown potatoes, there are several storage options to choose from, depending on the available space and environmental conditions. Here are some common storage options to consider:
- Root Cellar: A root cellar is an underground storage space that provides cool temperatures and high humidity, ideal for storing potatoes. The temperature should be around 40-45°F (4-7°C) with humidity levels of 90-95%. Make sure the cellar is well-ventilated to prevent excess moisture buildup.
- Basement: If you don’t have a root cellar, a cool and dark basement can be an excellent alternative for storing potatoes. Choose a corner or area away from windows and direct sunlight. Maintain a temperature range between 45-50°F (7-10°C) along with moderate humidity levels.
- Garage: A garage can be suitable for potato storage if it meets the temperature and humidity requirements. Look for a cool spot that remains consistently above freezing temperatures. Avoid areas that experience extreme temperature fluctuations.
- Closet: If you have a closet with good ventilation and consistent temperatures, it can serve as a potato storage area. Choose a closet away from heat sources, such as radiators or water heaters. Aim for a temperature range of 45-55°F (7-13°C) with moderate humidity levels.
- Pantry: A well-ventilated pantry with consistent temperatures is another option for storing potatoes. Keep them away from other produce and heat-emitting appliances. Maintain temperatures between 45-55°F (7-13°C).
- Fridge: While not the ideal storage option, a refrigerator can be used for short-term potato storage. However, be aware that the cold temperature can convert starches into sugars, affecting the taste and texture of the potatoes. If using a fridge, keep them in a paper bag or perforated plastic bag to allow for some air circulation.
Choose the storage option that best fits your available space and provides the desired temperature and humidity conditions. Remember that proper airflow, darkness, and a steady environment are key factors for successful potato storage.
Storing Potatoes in a Root Cellar
A root cellar is an ideal storage option for potatoes as it provides the cool temperatures and high humidity that they require. Here are the steps to properly store potatoes in a root cellar:
- Prepare the root cellar: Ensure that your root cellar is clean, dry, and well-ventilated. Remove any potential sources of moisture or pests that could harm the stored potatoes.
- Check the temperature: Maintain a consistent temperature of around 40-45°F (4-7°C) in the root cellar. Fluctuations in temperature can cause sprouting or spoilage. Consider using a thermometer to monitor the temperature regularly.
- Maintain humidity: Potatoes prefer high humidity levels of 90-95% for optimal storage. To increase humidity, place a tray or bowl of water in the root cellar or use a humidifier if necessary. Regularly check the humidity levels to ensure they remain within the desired range.
- Provide proper ventilation: Good airflow is essential to prevent excess moisture buildup and control ethylene gas released by the potatoes, which can lead to sprouting. Ensure that the root cellar has adequate ventilation, using vents or fans if needed.
- Store in bins or crates: Place the potatoes in well-ventilated crates, baskets, or mesh bags. Avoid using plastic bags as they can trap moisture and lead to rotting. Leave space between the potatoes to allow for air circulation.
- Regularly inspect and remove damaged potatoes: Check the stored potatoes regularly for any signs of spoilage, such as rot or mold. Remove any damaged or sprouting potatoes immediately to prevent the spread of spoilage to others.
- Monitor and adjust: Keep an eye on the root cellar conditions, including temperature and humidity levels. Make any necessary adjustments to maintain the ideal storage environment for your potatoes.
Storing potatoes in a root cellar can provide them with the optimal conditions needed for long-term storage. By following these steps and regularly monitoring the storage space, you can enjoy your homegrown potatoes for months to come.
Storing Potatoes in a Basement
When a root cellar isn’t available, a basement can be a suitable alternative for storing potatoes. Although basements typically have a slightly higher temperature than root cellars, they can still provide the cool and dark environment that potatoes need. Here’s how to store potatoes in a basement:
- Select a cool area: Choose a corner or section of the basement that maintains a consistently cool temperature, ideally between 45-50°F (7-10°C). Avoid areas near windows or heat sources, as they can affect the temperature and humidity.
- Ensure darkness: Potatoes should be stored in a dark space to prevent them from sprouting. Cover the stored potatoes with a cloth or place them in opaque containers to block out any light.
- Monitor humidity: Potatoes prefer moderate humidity levels of around 80-90% for storage. If the basement tends to be dry, you can increase humidity by placing a tray filled with water near the stored potatoes. Keep an eye on the humidity levels and adjust as needed.
- Use well-ventilated containers: Store the potatoes in well-ventilated containers like crates or mesh bags. Avoid using plastic bags, as they can trap moisture and lead to rot. Leave space between the potatoes to allow for proper air circulation.
- Regularly inspect for spoilage: Check the stored potatoes frequently for any signs of spoilage such as rot, mold, or sprouting. Remove any damaged or sprouting potatoes promptly to prevent the spread of spoilage to others.
- Maintain ventilation: Ensure that there is adequate airflow in the basement storage area. Good ventilation helps prevent moisture buildup and allows for ethylene gas, released by the potatoes, to dissipate.
- Keep away from other produce: Store your potatoes separately from other fruits and vegetables, as some produce can release ethylene gas, which can accelerate potato sprouting.
By utilizing your basement for potato storage and following these guidelines, you can create a suitable environment to extend the shelf life of your homegrown potatoes.
After harvesting, store homegrown potatoes in a cool, dark, and well-ventilated place to prevent sprouting and spoilage. A root cellar or a dark corner in the basement is ideal. Avoid storing them near onions, as they can cause each other to spoil faster.
Storing Potatoes in a Garage
If you don’t have access to a root cellar or basement, a garage can serve as an alternative storage space for potatoes. While garages may not provide the same level of temperature and humidity control, they can still be suitable under certain conditions. Here’s how to store potatoes in a garage:
- Select a cool spot: Choose a cool area in the garage that remains above freezing temperatures consistently. Look for a corner or section away from direct sunlight and sources of heat, such as heaters or water heaters.
- Insulate against temperature fluctuations: Garages can experience temperature fluctuations, so it’s essential to insulate the potatoes. Place them in crates or bins and stack them on wooden pallets or blankets to provide insulation against the cold floor.
- Monitor temperature: Aim for a temperature range between 45-55°F (7-13°C) in the garage. Regularly check the temperature with a thermometer to ensure it stays within this range.
- Protect from light: Potatoes should be stored in darkness to prevent them from sprouting. Cover the containers with a cloth or use opaque bins to block out any light entering the garage.
- Consider humidity levels: While some humidity is beneficial for potato storage, ensure that the garage is not excessively humid. Humidity levels around 80-90% are ideal. If the garage is dry, consider placing a tray or bowl of water near the stored potatoes to increase humidity.
- Regularly inspect for spoilage: Check the stored potatoes frequently for any signs of spoilage, including rot, mold, or sprouting. Remove any damaged or sprouting potatoes promptly to prevent the spread of spoilage to others.
- Maximize airflow: Provide adequate ventilation in the garage by leaving some space between the containers of potatoes. Good airflow helps prevent moisture buildup and allows for ethylene gas, released by the potatoes, to dissipate.
- Keep away from chemicals: Ensure that the stored potatoes are far from any chemicals or gasoline stored in the garage. Potatoes can absorb odors and flavors, so keeping them away from potential contaminants is important.
While a garage may not offer ideal storage conditions, with proper temperature control, darkness, and ventilation, you can still successfully store your homegrown potatoes in this space.
Read more: How To Store Potato Salad
Storing Potatoes in a Closet
A closet can be a convenient storage option for potatoes, especially if you have limited space in your home. While closets may not provide the same level of temperature and humidity control as a root cellar or basement, with some modifications, you can create a suitable environment for storing potatoes. Here’s how to store potatoes in a closet:
- Select the right closet: Choose a cool and dark closet that is away from sources of heat such as heaters or direct sunlight.
- Monitor the temperature: Aim to maintain a temperature range between 45-55°F (7-13°C) in the closet. Regularly check the temperature with a thermometer to ensure it stays within this range.
- Block out light: Darkness is essential to prevent potato sprouting. Cover the shelves or containers with a cloth or use opaque storage bins to block out any light that may enter the closet.
- Consider humidity levels: While not as critical as in a root cellar, maintaining moderate humidity levels between 70-80% can help prevent the potatoes from shriveling. You can increase humidity by placing a tray or bowl of water near the stored potatoes.
- Use well-ventilated containers: Store the potatoes in well-ventilated containers such as crates, baskets, or mesh bags. Avoid using plastic bags as they can trap moisture and lead to rotting. Leave space between the potatoes to allow for proper air circulation.
- Regularly inspect for spoilage: Check the stored potatoes frequently for signs of spoilage, including rot, mold, or sprouting. Remove any damaged or sprouting potatoes promptly to prevent spoilage from spreading.
- Maintain airflow: Ensure that there is adequate airflow in the closet. Keep the closet doors slightly ajar or use a small fan to promote air circulation and prevent moisture buildup.
- Keep away from strong odors: Avoid storing potatoes near strong-smelling items such as cleaning products, perfumes, or shoes, as potatoes can absorb odors easily and affect their flavor.
With proper temperature control, darkness, and ventilation, you can successfully store your homegrown potatoes in a closet and enjoy their freshness for an extended period.
Storing Potatoes in a Pantry
A pantry can be a convenient and accessible storage option for potatoes if you have one in your home. While pantries may not provide the same level of temperature and humidity control as a root cellar or basement, you can still create a suitable environment for storing potatoes. Here’s how to store potatoes in a pantry:
- Select a cool spot: Choose a cool area within the pantry that remains between 45-55°F (7-13°C). Avoid placing the potatoes near heat sources such as ovens or appliances that generate warmth.
- Maintain darkness: Darkness is crucial to prevent potato sprouting. Store the potatoes in covered containers or place them in a dark corner of the pantry where they won’t be exposed to light.
- Monitor humidity: While not as critical as in other storage options, potatoes prefer moderate humidity levels. Pantries generally provide suitable humidity levels, but it’s still important to monitor and ensure that there is no excessive dryness or humidity present.
- Use breathable packaging: Store the potatoes in breathable packaging such as burlap bags or paper bags. These materials allow for air circulation and prevent moisture buildup.
- Keep away from ethylene-producing fruits: Keep the potatoes away from ethylene-producing fruits like apples, bananas, or pears. Ethylene gas can accelerate sprouting, so it’s best to store them separately to avoid cross-contamination.
- Regularly inspect for spoilage: Check the potatoes regularly for any signs of spoilage, including rot, mold, or sprouting. Remove any damaged or sprouting potatoes promptly to prevent spoilage from spreading to other potatoes.
- Maximize ventilation: Ensure that there is sufficient airflow within the pantry by keeping some space between the potato containers. This helps prevent moisture buildup and allows for proper air circulation.
- Keep potatoes off the floor: Store the potatoes on shelves or raised platforms to keep them off the floor. This helps minimize the risk of moisture absorption from the floor.
By maintaining appropriate temperature, darkness, and ventilation, you can effectively store your homegrown potatoes in a pantry and enjoy them for an extended period.
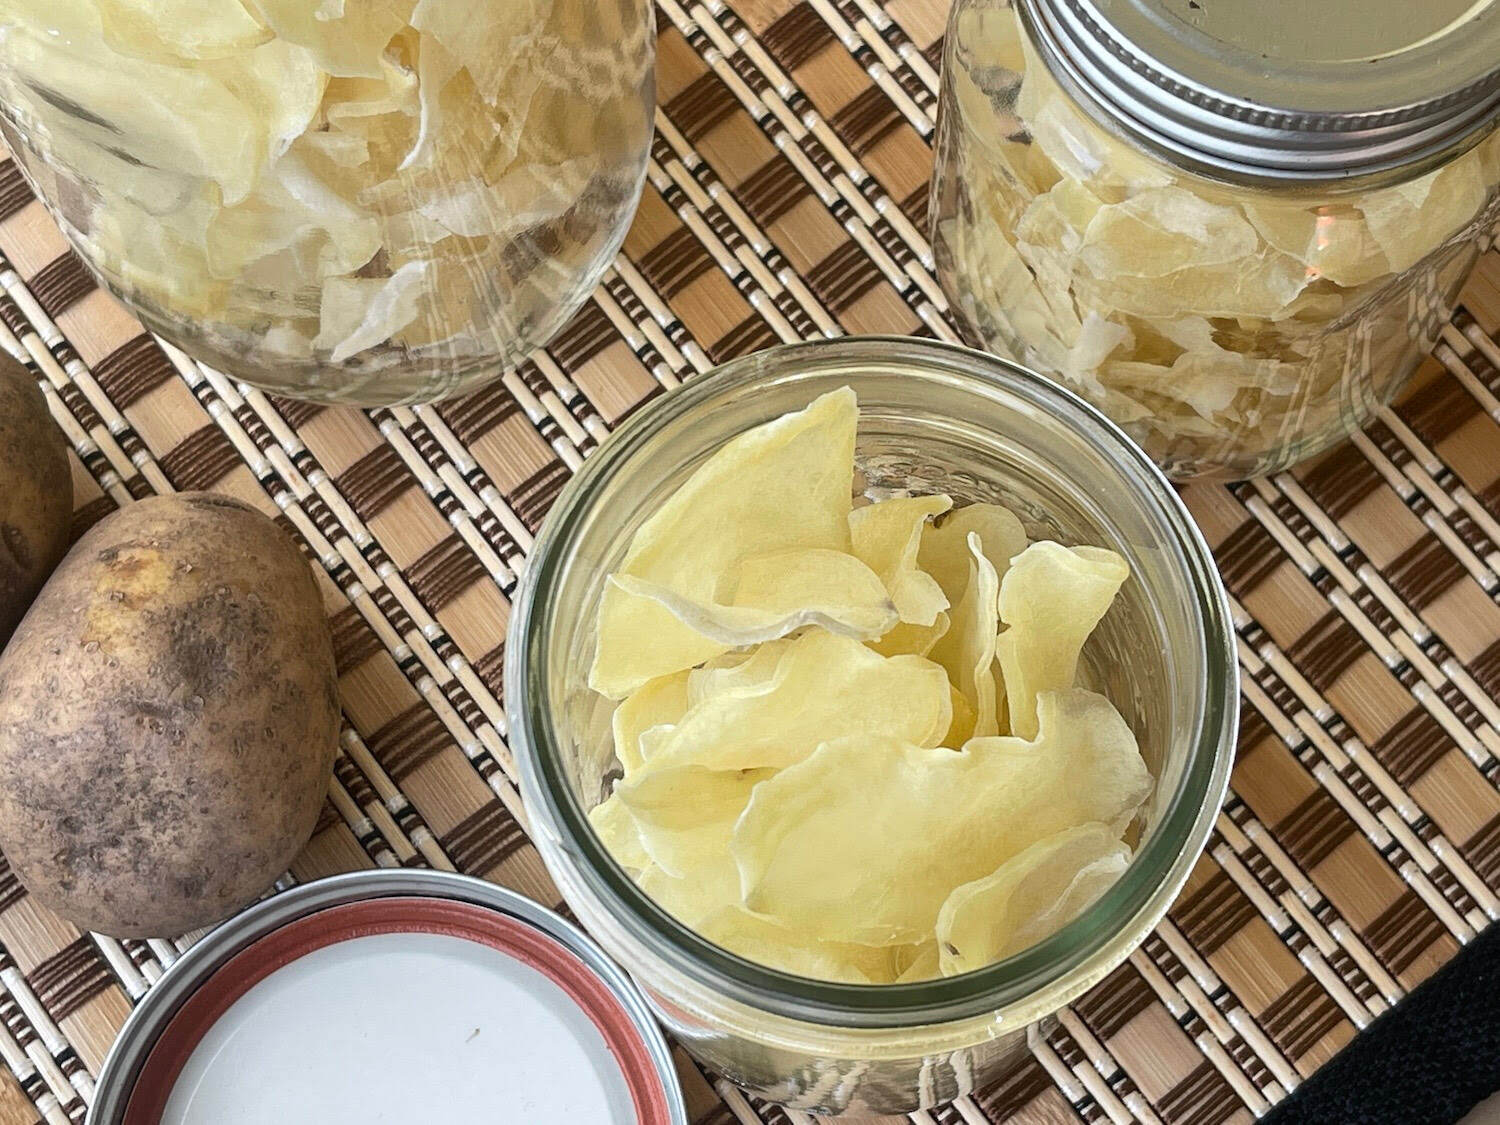
Storing Potatoes in a Fridge
While a refrigerator is not the ideal storage option for potatoes due to its cold temperature, it can be used for short-term storage if necessary. Here are some guidelines to follow when storing potatoes in a fridge:
- Choose a suitable storage bag: Place the potatoes in a perforated plastic bag or a paper bag. These bags allow for some airflow, preventing moisture buildup that can lead to rotting.
- Keep them separate: Store potatoes away from other produce in the refrigerator to prevent the transfer of odors and flavors. Potatoes can absorb the scents of fruits and vegetables, affecting their taste.
- Avoid washing: Do not wash the potatoes before storing them in the fridge. Excess moisture can promote rotting. Only remove any visible dirt or clumps of soil.
- Place in a cool spot: Put the bagged potatoes in the coolest part of the fridge, typically the bottom shelf or the vegetable crisper drawer. Avoid storing them near the freezer compartment, as the temperature can be too cold for potatoes.
- Use within a few weeks: The refrigerator is not ideal for long-term storage as the cold temperature can convert the potato starches into sugars, affecting their taste and texture. Try to use the stored potatoes within a few weeks for optimal quality.
- Regularly inspect and remove: Check the stored potatoes regularly for any signs of spoilage such as rot or mold. Discard any potatoes that show signs of decay to prevent contamination of the others.
Remember that storing potatoes in the fridge should only be done as a temporary solution. The cold temperature of a fridge is not ideal for long-term storage, as it can impact the quality and flavor of the potatoes. If possible, consider alternative storage methods like a root cellar, basement, or pantry for extended storage.
Tips for Long-Term Storage
To ensure the long-term storage success of your homegrown potatoes, here are some valuable tips to keep in mind:
- Choose the right potatoes: Select potato varieties known for their good storage qualities, thick skins, and maturity suitable for long-term storage.
- Cure the potatoes: After harvesting, allow the potatoes to cure in a cool, dark, and well-ventilated area for about one to two weeks. This helps toughen their skins and reduces moisture content.
- Inspect for damage: Before storing, carefully check for any signs of damage, cuts, or bruises. Damaged potatoes are more prone to rotting, so it’s best to remove them from the storage batch.
- Keep them cool: Store potatoes in a cool environment with temperatures ideally between 40-55°F (4-13°C). Avoid storing them in areas that experience extreme temperature fluctuations.
- Maintain darkness: Protect potatoes from light exposure to prevent sprouting. Store them in opaque containers or cover them with a cloth or blanket.
- Monitor humidity levels: Potatoes prefer moderate humidity levels ranging from 70-90%. Adjust humidity as needed by using trays of water or adding moisture-absorbing materials like burlap or damp towels.
- Provide proper ventilation: Ensure good airflow around the stored potatoes to prevent moisture buildup. Use well-ventilated containers, leave space between the potatoes, and maintain proper airflow in the storage area.
- Regularly inspect and remove spoiled potatoes: Check the stored potatoes frequently for any signs of spoilage, such as rot, mold, or sprouting. Remove any damaged or spoiled potatoes promptly to prevent the spread of spoilage to others.
- Keep them separate: Store potatoes away from other fruits and vegetables that release ethylene gas, which can accelerate spoilage and sprouting.
- Avoid storing near strong odors: Potatoes easily absorb odors, so keep them away from strong-smelling items like cleaning products or onions.
By following these tips, you can increase the chances of successfully storing your homegrown potatoes for an extended period. Proper temperature, darkness, humidity, and airflow management are key to maintaining the potatoes’ freshness and flavor throughout the storage duration.
Read more: How To Store Fingerling Potatoes
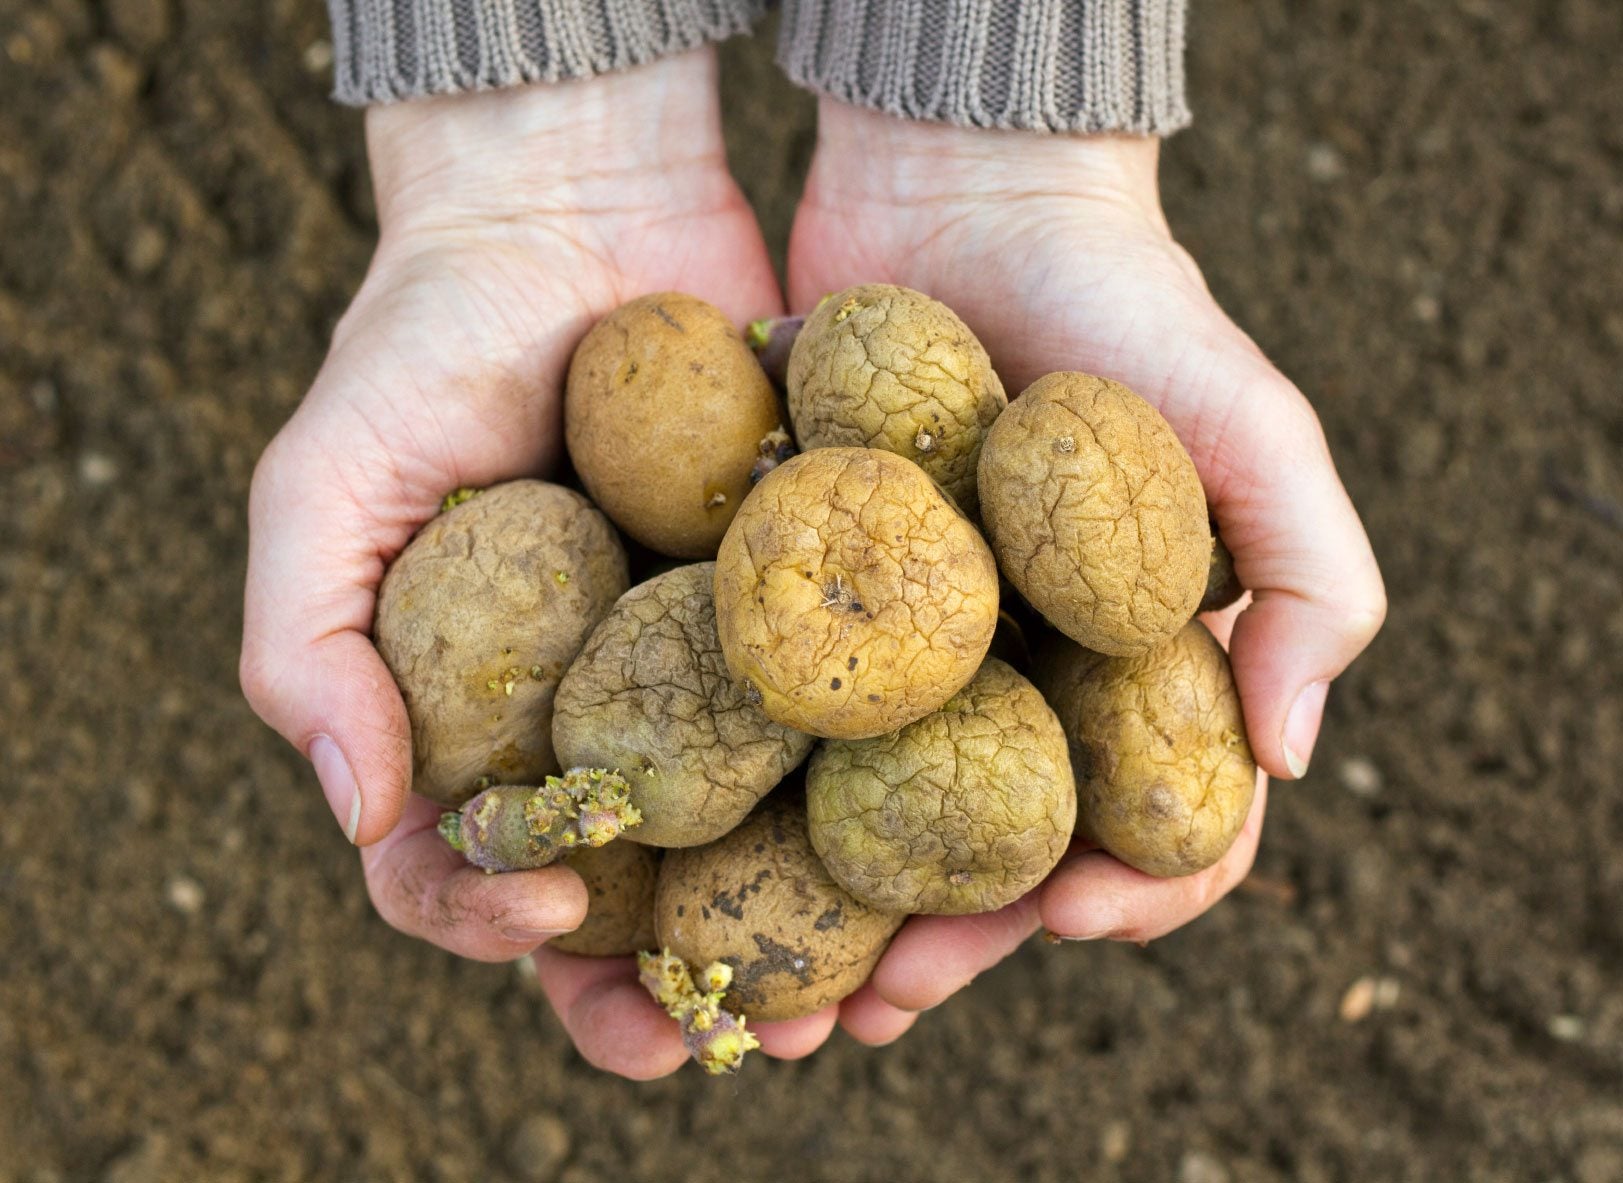
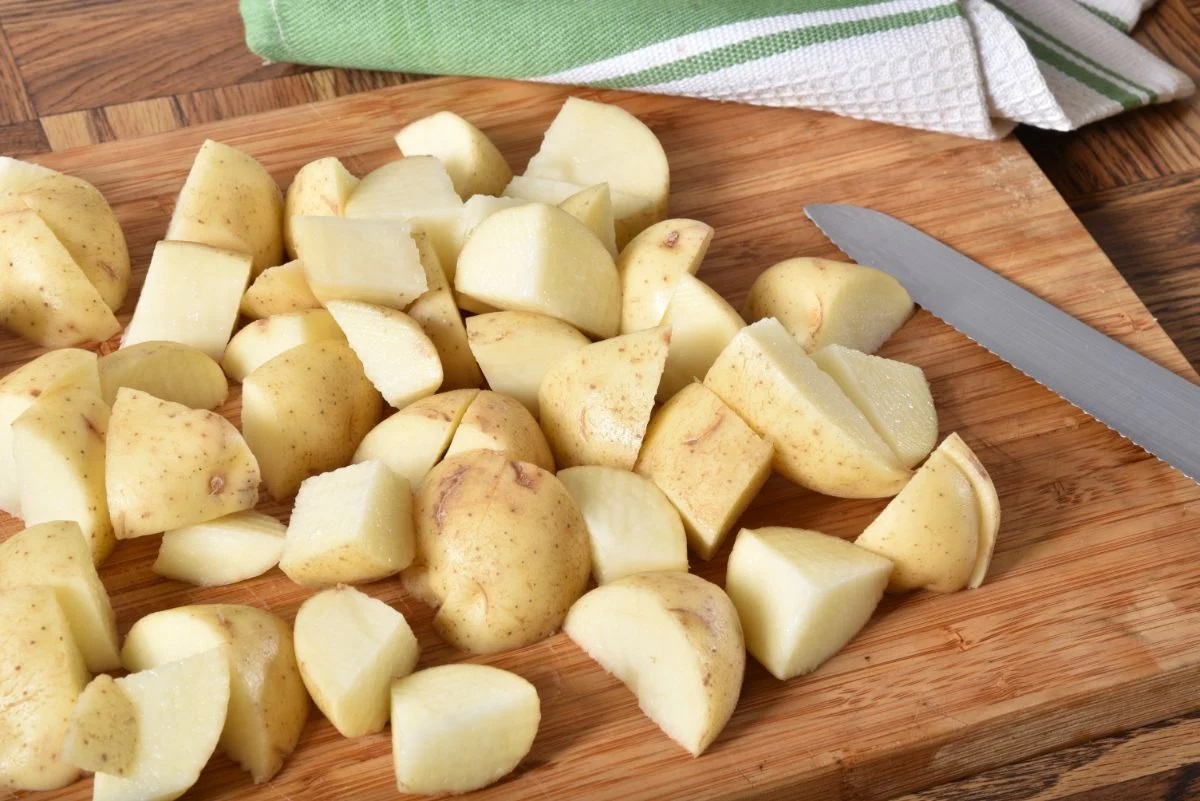
Checking and Using Stored Potatoes
When it comes time to use the potatoes you’ve stored, it’s important to check their quality and take proper measures to prepare them. Here’s what you need to do:
- Inspect for any changes: Before using the stored potatoes, carefully examine each one. Look for signs of spoilage, such as soft spots, mold, or sprouting. Remove any potatoes that show signs of deterioration.
- Wash or brush off dirt: If the stored potatoes still have soil or debris attached, you can gently wash or brush them off under cool, running water. However, avoid soaking them, as excess moisture can lead to rotting.
- Remove sprouts: If you notice any sprouts on the potatoes, it’s best to remove them before cooking. Simply cut or snip off the sprouts with a small knife or kitchen scissors.
- Peel or leave the skins: Depending on your preference and the intended use, you can choose to peel the potatoes or leave the skins on. Potato skins are nutrient-rich and add texture and flavor to dishes.
- Prepare with care: When cooking or preparing the stored potatoes, handle them gently to avoid bruising or damaging the flesh. Choose recipes that highlight the natural flavor and texture of the potatoes.
- Enjoy within a reasonable time frame: Stored potatoes are best consumed within a few months for optimal taste and quality. As time goes on, the potatoes may start to lose some of their texture and flavor.
By thoroughly inspecting the stored potatoes, washing or brushing off any dirt, removing sprouts, and preparing them with care, you can ensure a delicious and enjoyable culinary experience with your homegrown potatoes.
Conclusion
Storing homegrown potatoes properly is essential to ensure their longevity, flavor, and nutritional value. With the right guidance and attention to detail, you can enjoy the fruits of your labor for months on end. Remember these key points when it comes to storing potatoes:
First, choose the right potatoes for storage, considering their storage qualities, skin thickness, and maturity. Harvest the potatoes at the right time, and cure them to toughen their skins and reduce moisture content. Preparing the potatoes for storage, including cleaning and inspecting for damage, is crucial for their overall quality.
When it comes to storage options, consider using a root cellar, basement, garage, closet, pantry, or even a fridge if needed. Each option has its own set of requirements, such as temperature, humidity, darkness, and ventilation.
Throughout the storage period, it’s important to regularly check the stored potatoes for any signs of spoilage and remove any damaged or sprouting potatoes promptly. Adjusting humidity levels, providing proper ventilation, and keeping the potatoes away from potential sources of ethylene gas are important steps to ensure optimal storage conditions.
When using the stored potatoes, inspect them for any changes, wash or brush off dirt, remove sprouts, and prepare them with care. Remember to enjoy the stored potatoes within a reasonable time frame to ensure the best taste and quality.
By following these guidelines, you can maximize the shelf life and quality of your homegrown potatoes. Whether you choose to store them in a root cellar, basement, garage, closet, pantry, or fridge, with proper care and attention, you’ll be able to savor the delicious flavors of your homegrown potatoes well into the future.
Frequently Asked Questions about How To Store Homegrown Potatoes
Was this page helpful?
At Storables.com, we guarantee accurate and reliable information. Our content, validated by Expert Board Contributors, is crafted following stringent Editorial Policies. We're committed to providing you with well-researched, expert-backed insights for all your informational needs.


0 thoughts on “How To Store Homegrown Potatoes”