Articles
How To Turn A Closet Into A Pantry
Modified: October 28, 2024
Learn how to transform your closet into a functional pantry storage solution with our step-by-step guide. Maximize your kitchen space with ease!
(Many of the links in this article redirect to a specific reviewed product. Your purchase of these products through affiliate links helps to generate commission for Storables.com, at no extra cost. Learn more)
Introduction
Are you tired of rummaging through cluttered shelves in your kitchen? Do you dream of having a spacious pantry to store all your cooking essentials in one place? Look no further! In this article, we will show you how to transform a regular closet into a functional and organized pantry.
A pantry is a game-changer when it comes to efficient home management. It not only provides ample storage space for food items, but it also allows you to keep your kitchen organized and clutter-free. By repurposing a closet into a pantry, you can make the most of your available space and create a customized storage solution that meets your unique needs.
If you’re ready to take on this exciting project, keep reading for a step-by-step guide on how to turn a closet into a pantry. From clearing out the closet to adding finishing touches, we will walk you through the entire process. Let’s get started!
Key Takeaways:
- Transforming a closet into a pantry involves clearing out, cleaning, and installing shelves for optimal organization. Maximize space, label items, and add finishing touches for a functional and visually appealing pantry.
- By repurposing a closet into a pantry, you can create a well-organized space that enhances kitchen efficiency. Regular maintenance, labeling, and thoughtful finishing touches elevate the pantry’s functionality and aesthetics.
Read more: How To Organize A Pantry Closet
Step 1: Clearing out the Closet
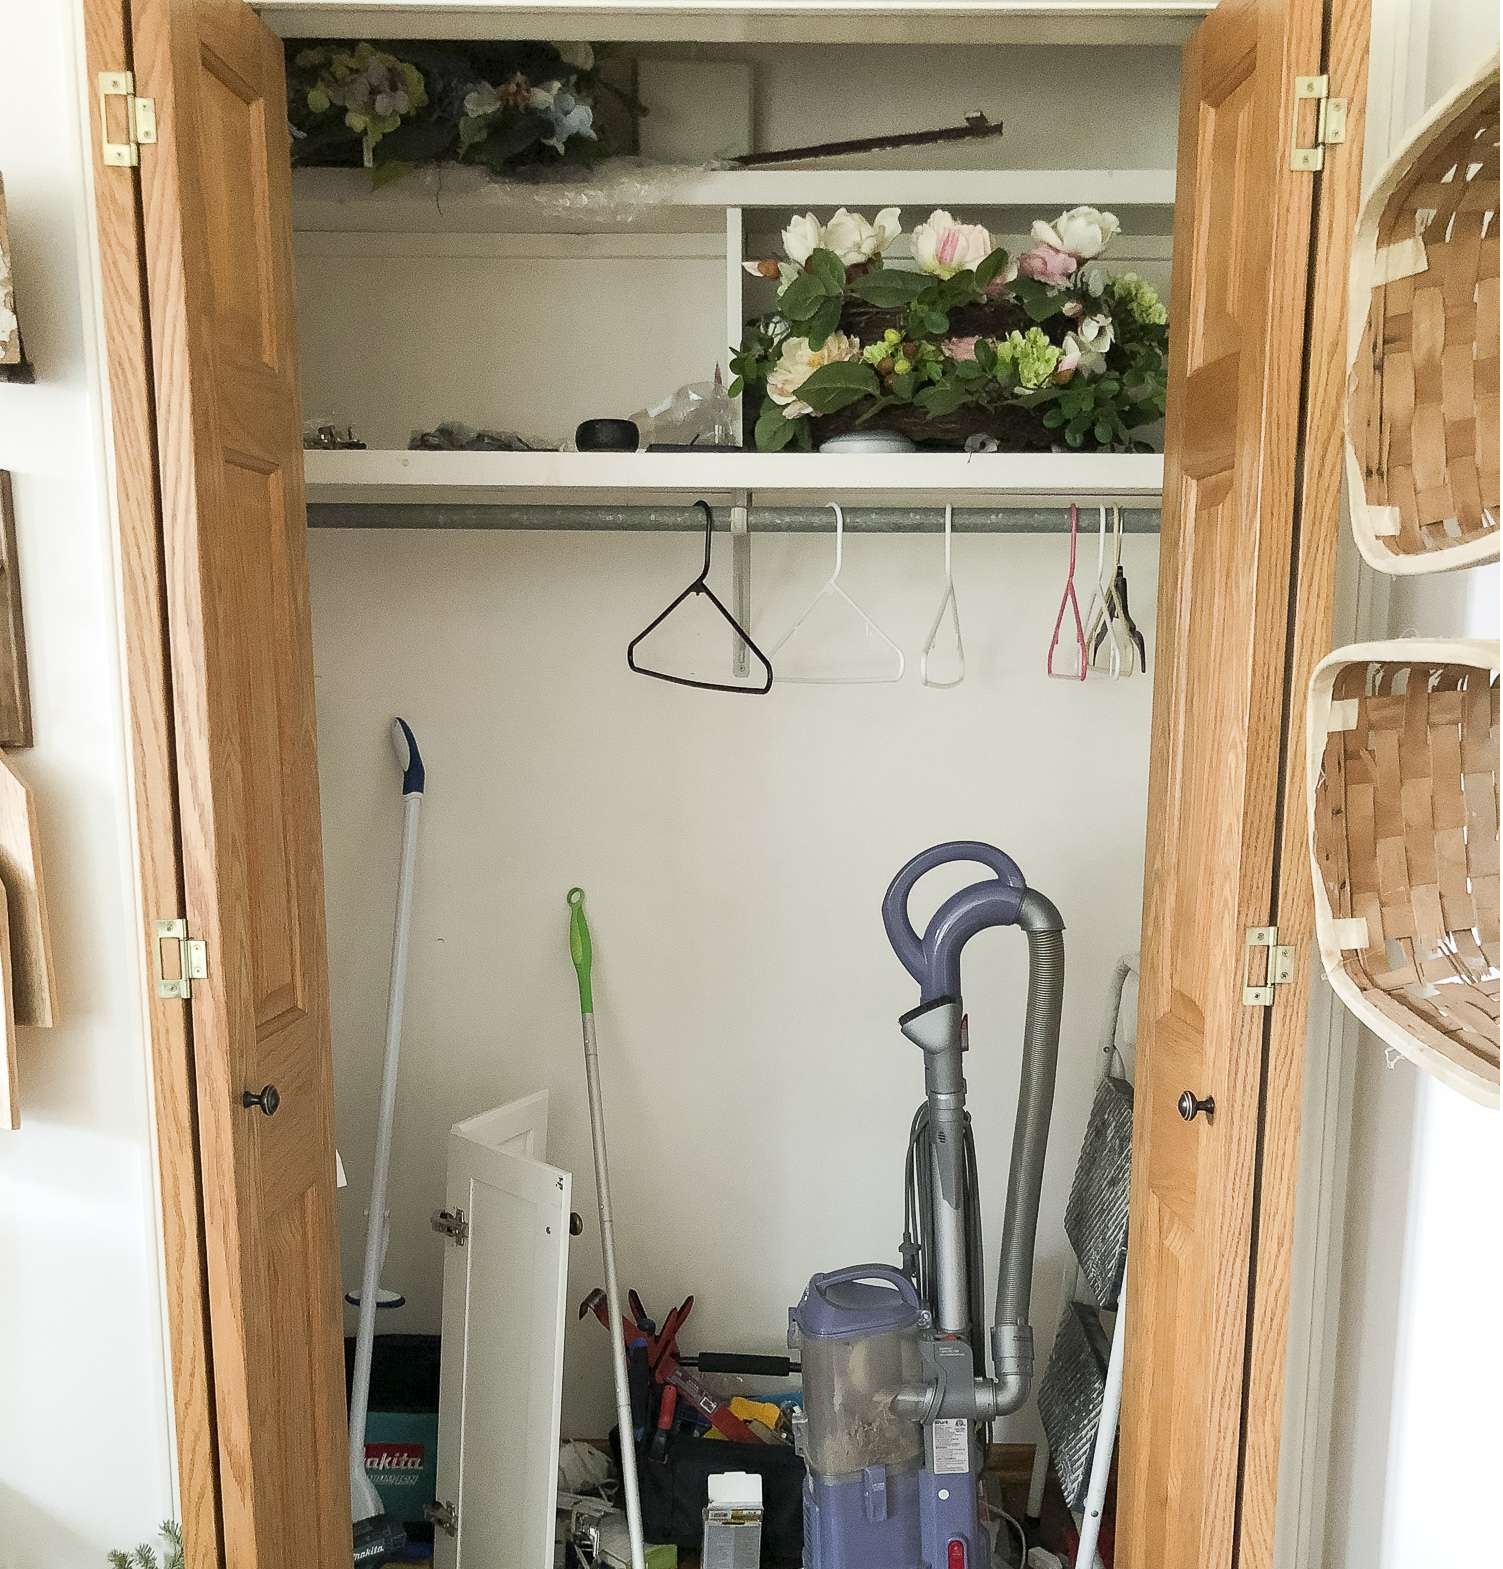
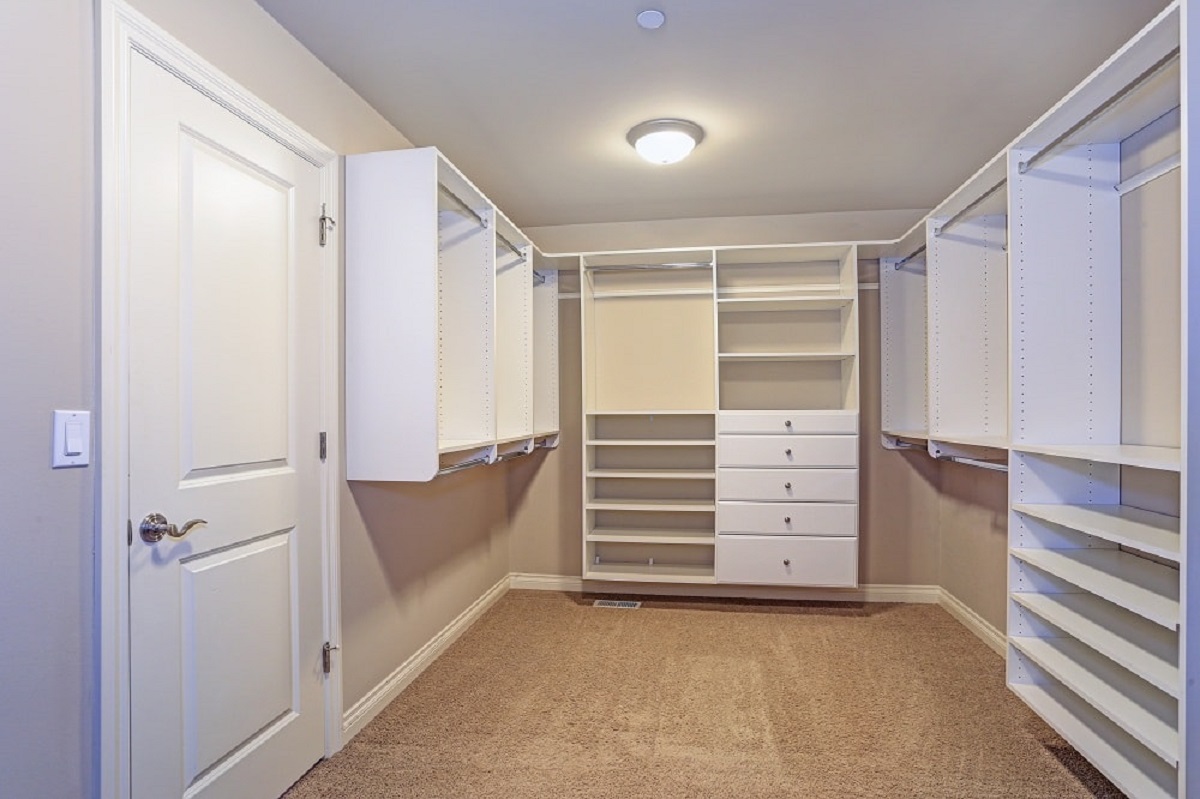
The first step in transforming a closet into a pantry is to clear out the existing contents. Remove all items currently stored in the closet, including clothing, shoes, and any other miscellaneous items. It may be helpful to have boxes or bins nearby to neatly organize and transport these belongings to their new storage locations.
Once the closet is empty, thoroughly clean the space. Dust the shelves, vacuum or sweep the floor, and wipe down any surfaces. This will provide a fresh starting point for your pantry transformation.
As you clear out the closet, take inventory of what you have and assess its functionality and necessity in your new pantry. Consider donating or discarding any items that you no longer use or that no longer serve a purpose in your kitchen. This will help streamline the organization process and prevent clutter in your new pantry.
Remember to remove any existing shelves or hanging rods that may interfere with your pantry plans. You want to start with a blank canvas to build your customized storage solution.
Clearing out the closet is a crucial first step in repurposing the space into a pantry. By doing so, you create a clean and empty slate to work with, allowing for a seamless transition to the next steps of the transformation process.
Step 2: Cleaning and Prepping the Space
Now that you have cleared out the closet, it’s time to clean and prep the space for its new role as a pantry. Start by giving the walls and surfaces a thorough cleaning. Use a mild detergent or cleaning solution to remove any dirt, dust, or grime that may have accumulated over time.
If the walls or shelves are in need of a fresh coat of paint, now is the perfect time to do so. Choose a paint color that complements your kitchen’s aesthetic and add a fresh, clean look to your pantry space. Allow sufficient time for the paint to dry before proceeding with the next steps.
Once the walls are clean and painted, consider adding a protective lining to the shelves and walls of your pantry. This will help prevent damage caused by spills, leaks, or any other mishaps that may occur in the future. Liners are available in various materials, such as vinyl or adhesive shelf liners, which are easy to clean and can be cut to fit the dimensions of your pantry.
Next, assess the lighting situation in the closet. If the existing lighting is insufficient, consider installing additional lighting fixtures or LED strips to ensure proper visibility in your pantry. Adequate lighting is essential for finding and accessing items easily.
Finally, think about ventilation. Pantries can get humid, especially in warmer climates or if you store perishable items. If there is no existing ventilation in the closet, assess the possibility of adding a small vent or fan to maintain air circulation and prevent moisture buildup.
By cleaning and prepping the space, you set the foundation for a clean, organized, and functional pantry. Taking the time to address these details will ensure that your pantry not only looks great but also serves its purpose effectively.
Step 3: Installing Shelving and Organizational Systems
When it comes to turning a closet into a pantry, one of the most important steps is to install shelving and organizational systems that maximize storage space and keep everything neat and accessible. Here’s how you can do it:
1. Measure and plan: Before purchasing any shelves or organizational systems, measure the dimensions of your closet to ensure that you select the appropriate sizes. Take note of any obstacles like light fixtures or electrical outlets that may impact the placement of shelves. Create a plan of how you want to arrange the shelves and systems in your pantry.
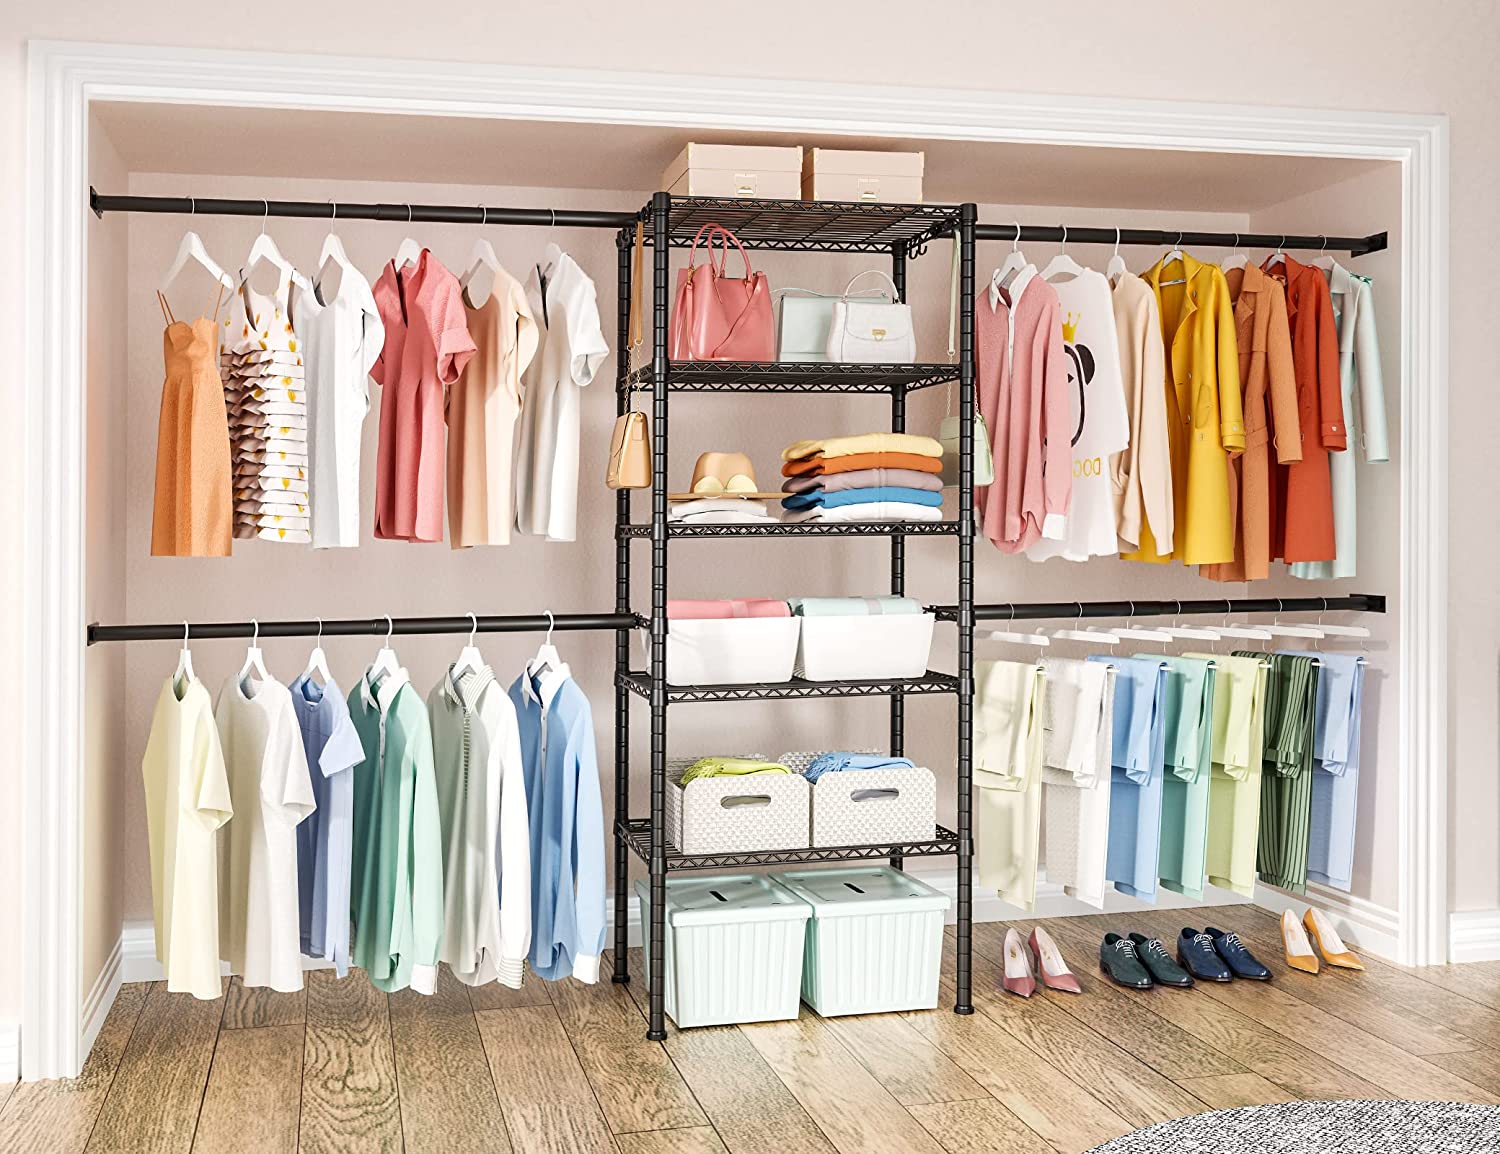
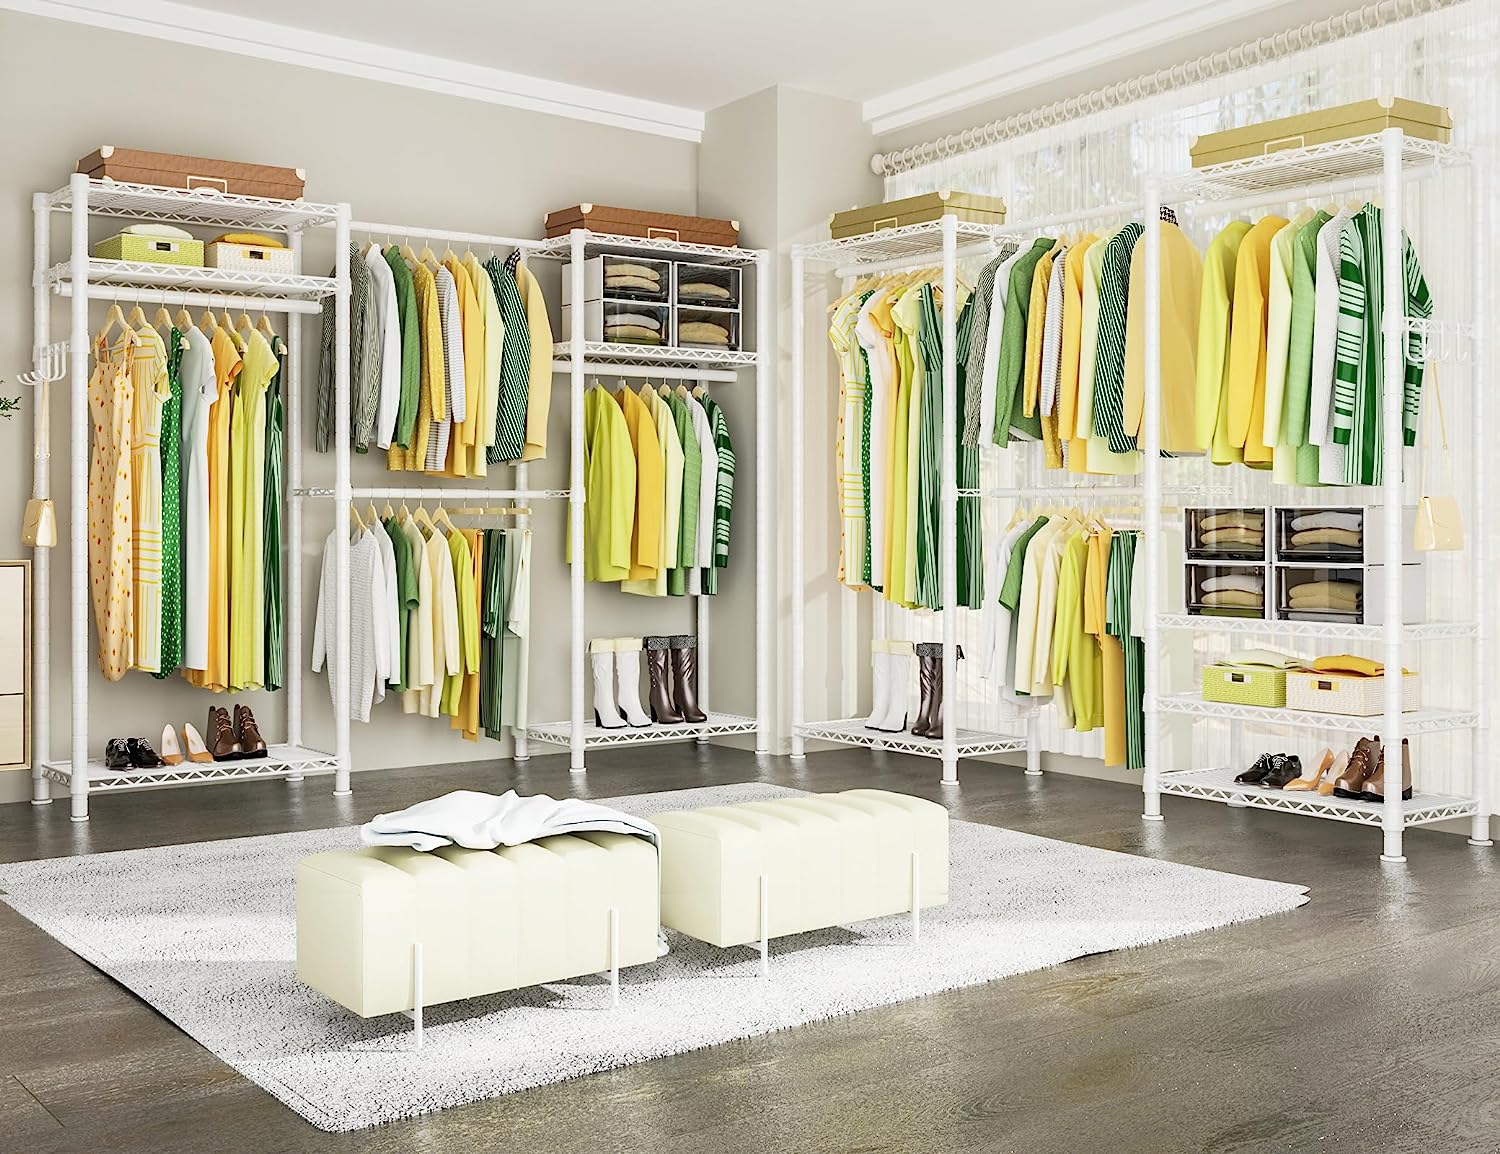
2. Choose the right shelving: There are various types of shelving options available, including wire, wood, or adjustable shelves. Consider factors such as durability, ease of cleaning, and aesthetic appeal when selecting the type of shelving for your pantry. Opt for adjustable shelves to accommodate items of different heights.
3. Install the shelves: Start by marking the desired height for your first shelf using a level to ensure accuracy. Then, using a drill and appropriate screws or brackets, securely attach the shelf supports to the wall. Once the supports are in place, slide the shelves into position and make any necessary adjustments.
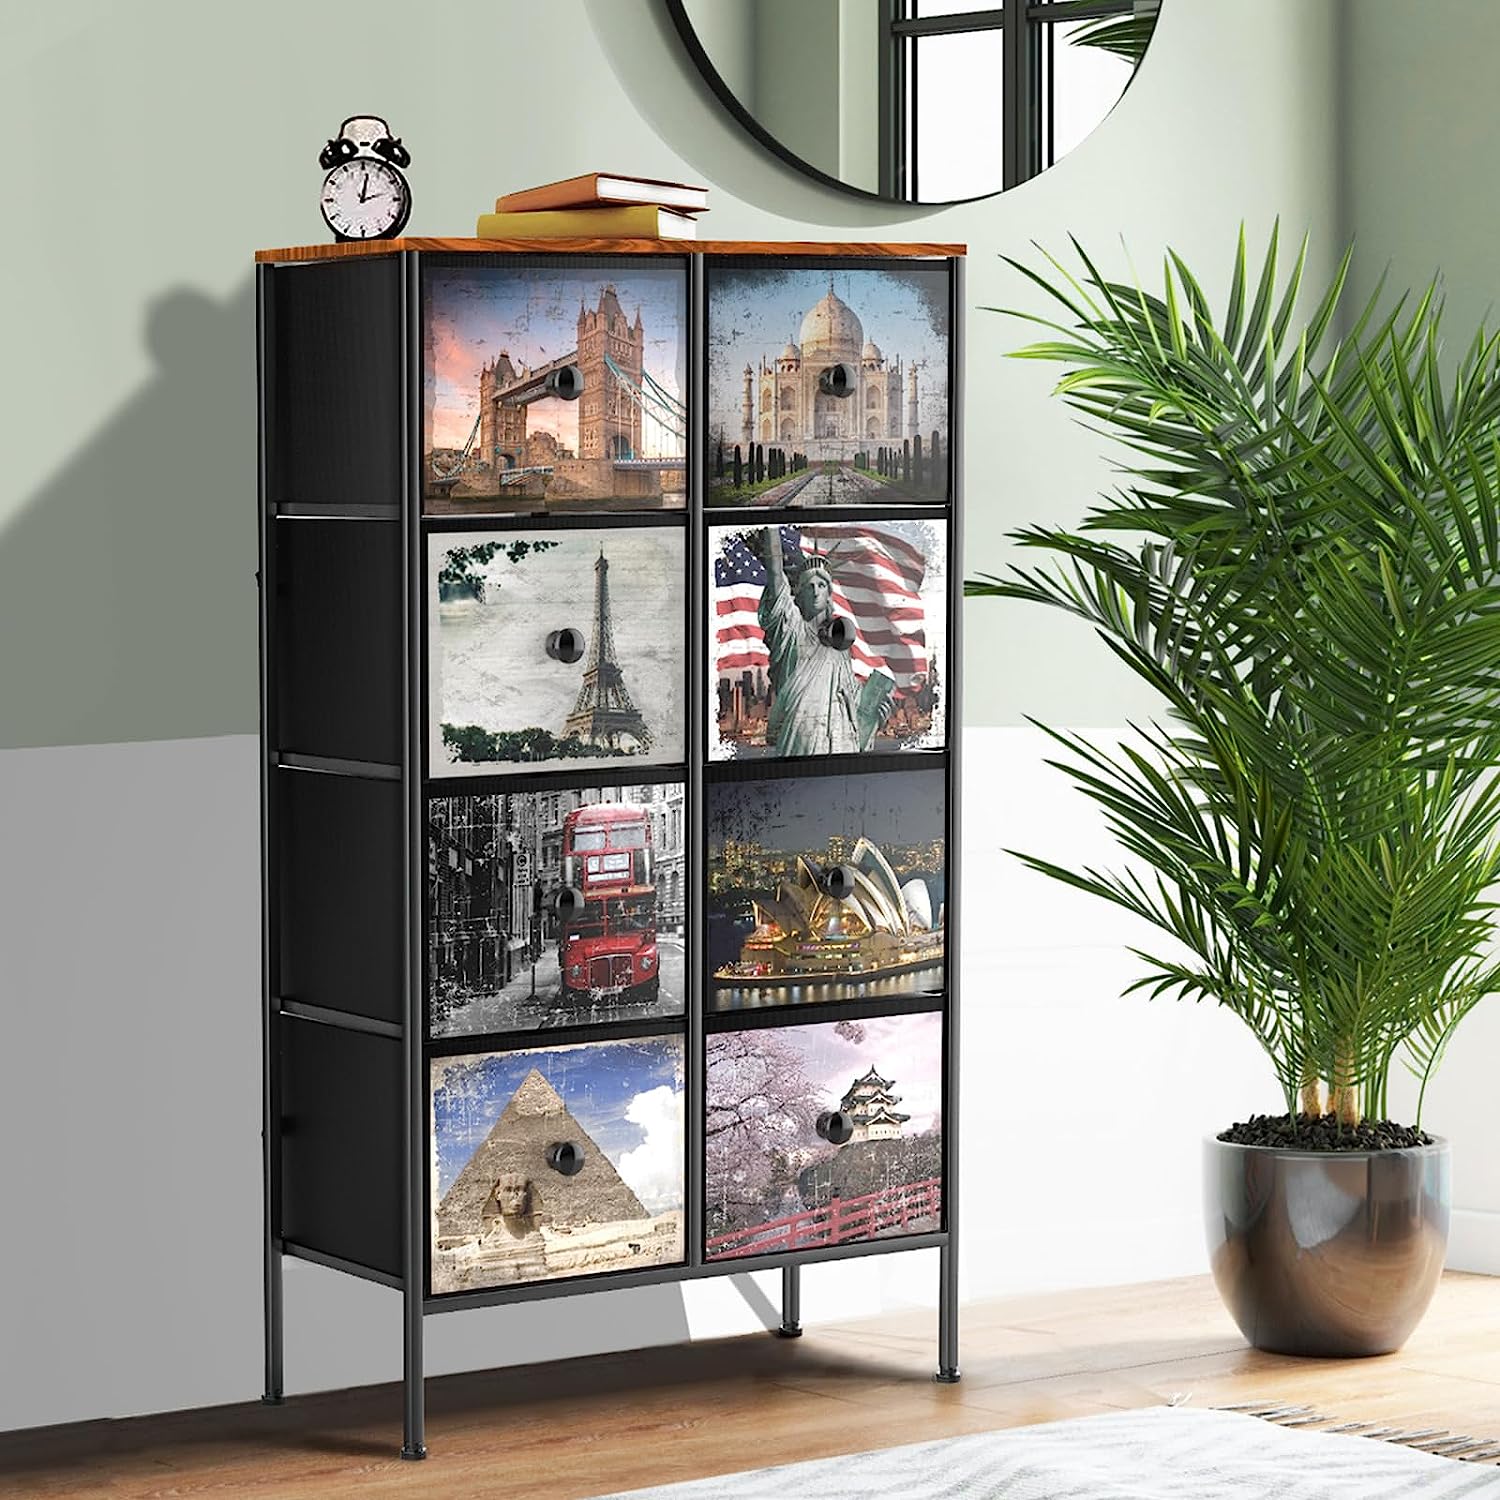
4. Add organizational systems: To further maximize the storage potential of your pantry, install additional organizational systems. This can include wire baskets, pull-out drawers, spice racks, or door-mounted organizers. These systems will help you keep different categories of items separated and easily accessible.
5. Consider pantry dividers: If you have deep or wide shelves, consider adding dividers to keep items from toppling over or falling in the back. Pantry dividers can be adjustable or fixed in place, depending on your preference and needs.
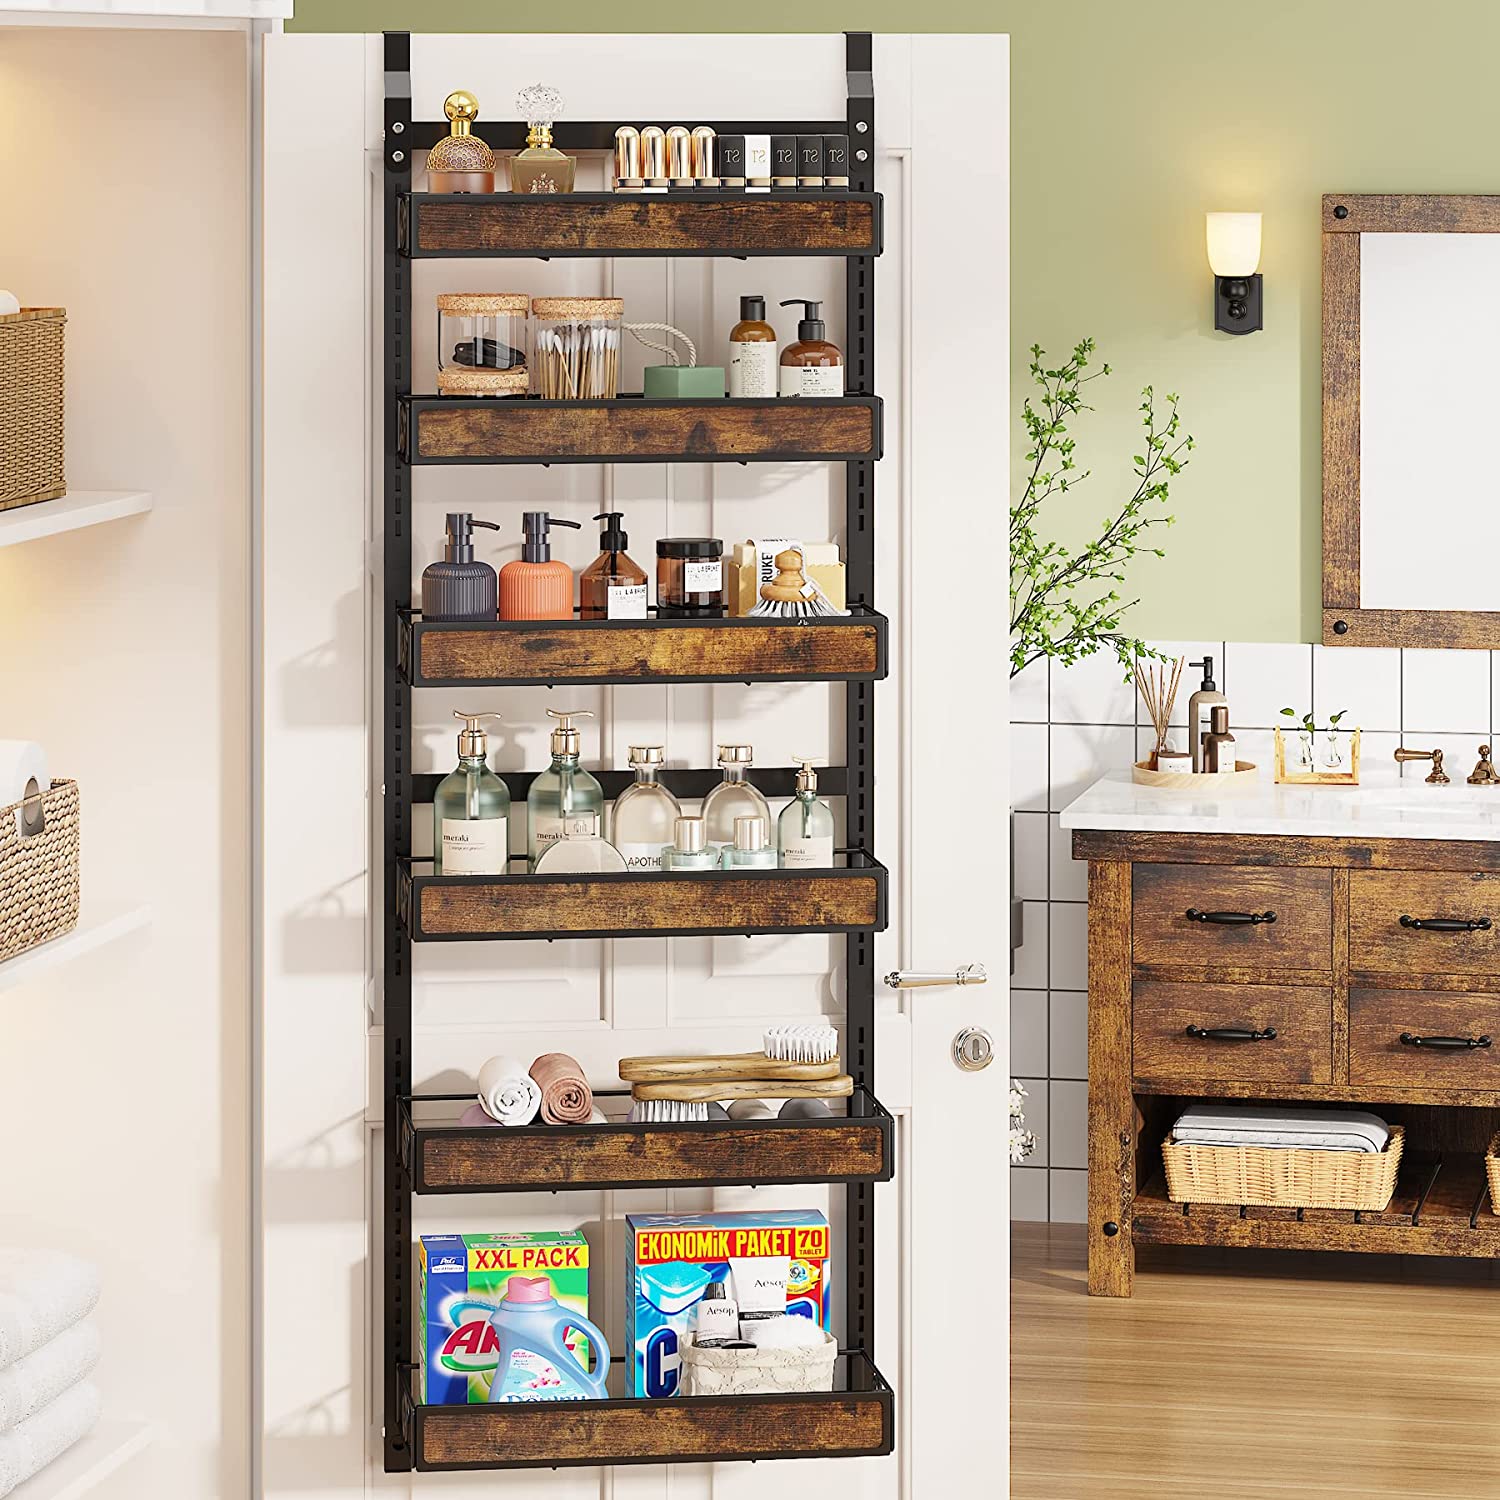
6. Utilize the door space: Don’t forget about the back of the pantry door, which can be an excellent place for additional storage. Install over-the-door organizers or hooks to hang lightweight items like kitchen tools, aprons, or reusable grocery bags.
By carefully planning and installing the right shelves and organizational systems, you will create a pantry that is not only visually pleasing but also efficient and easy to navigate. Take the time to customize your space to fit your specific storage needs.
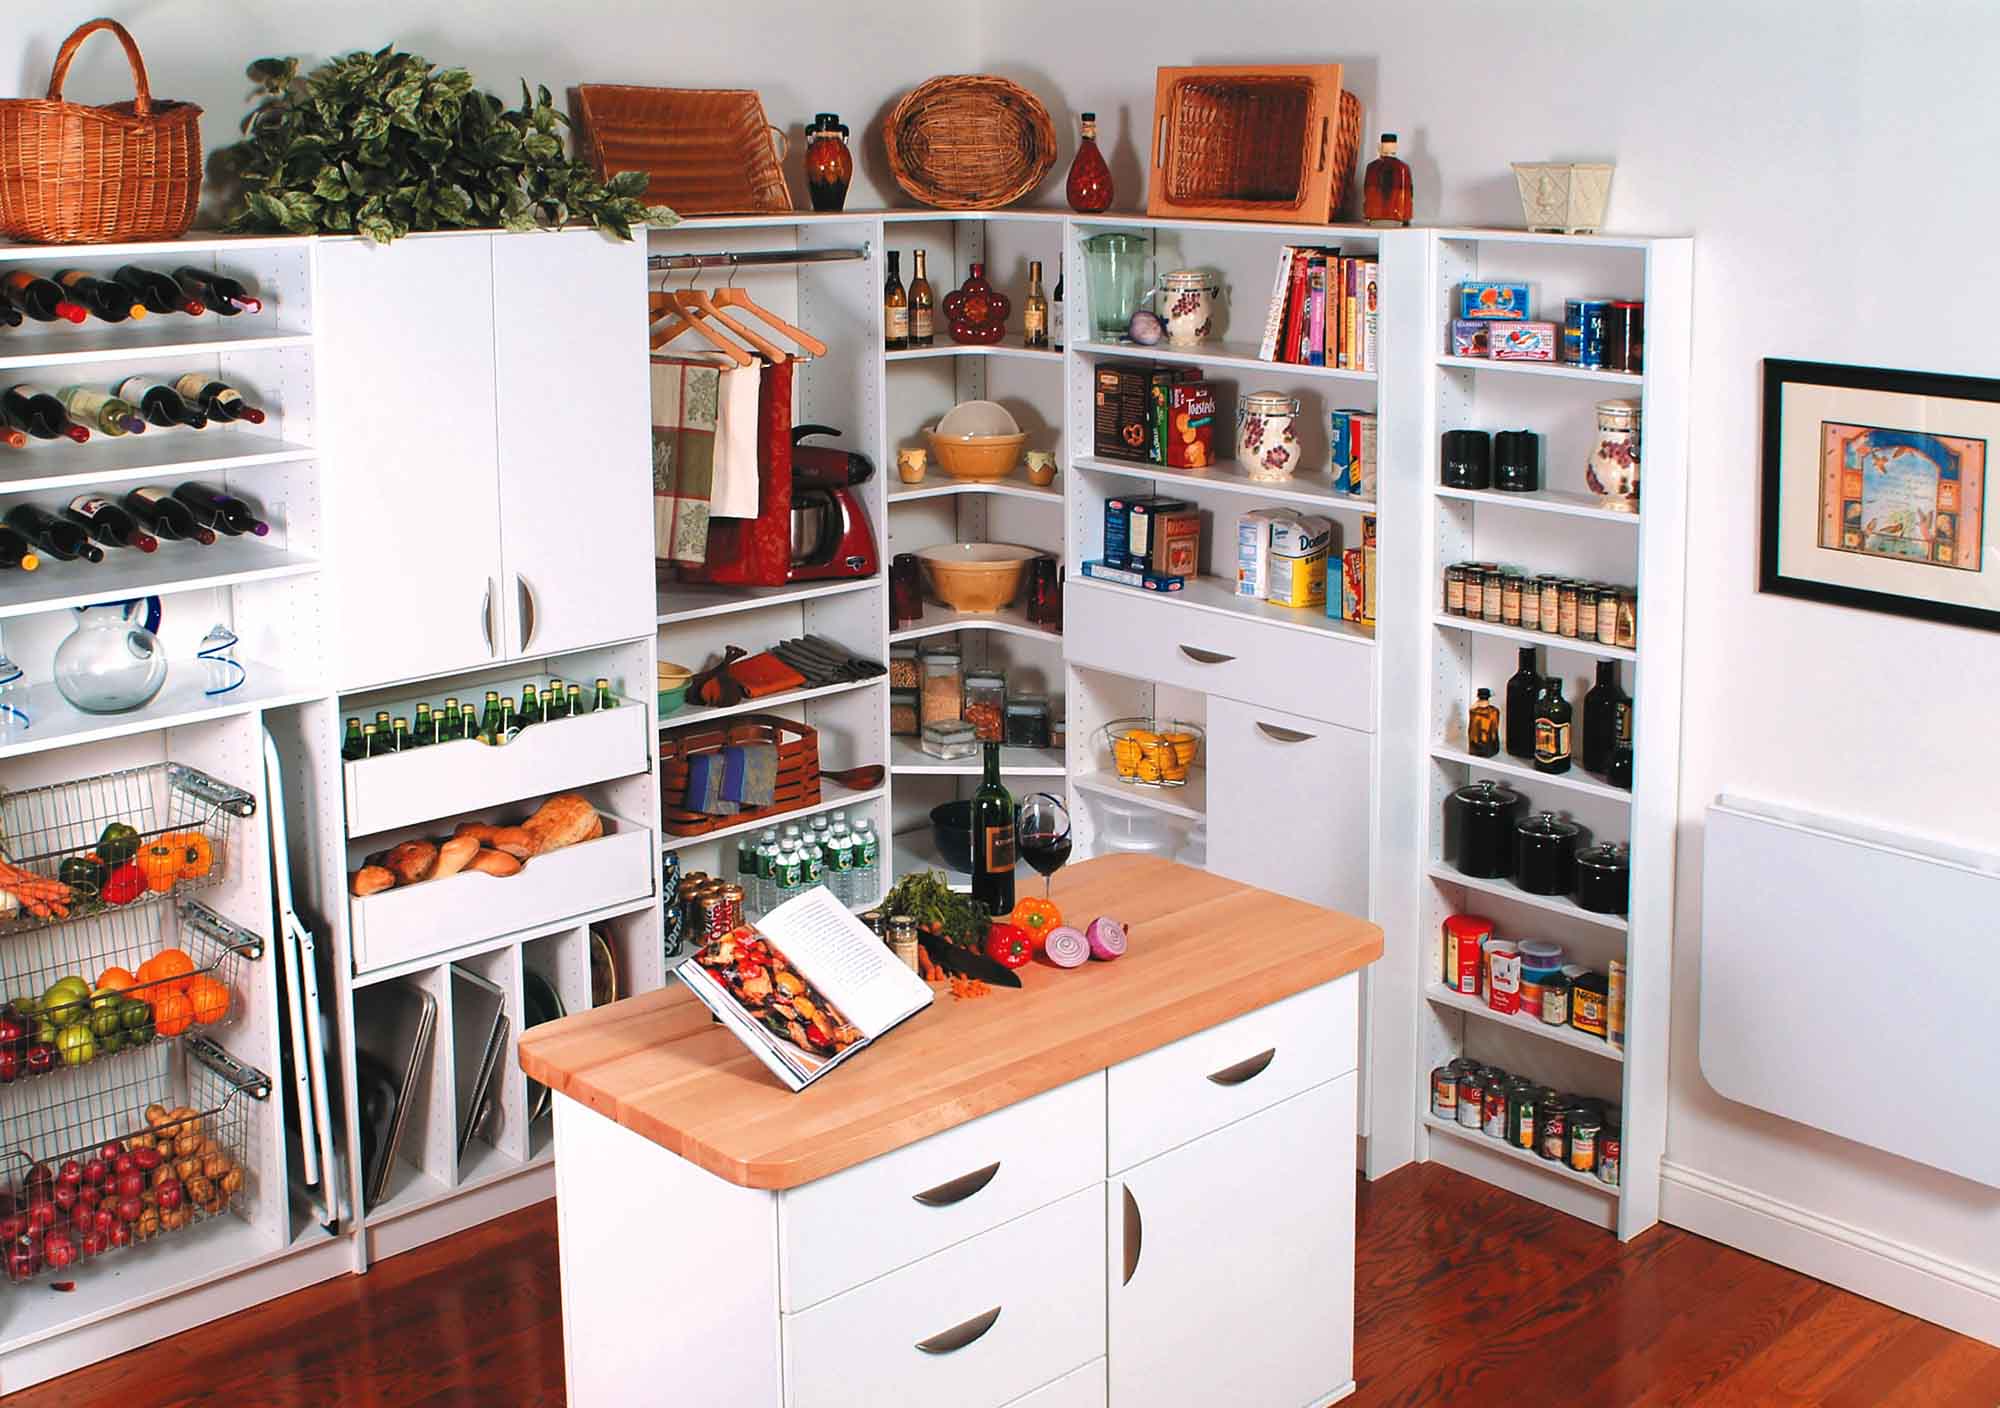
Consider adding shelves or hanging organizers to maximize storage space. Use clear containers to easily see and access items. Install a light to improve visibility.
Step 4: Maximizing Storage Space
Now that you have installed shelving and organizational systems in your pantry, it’s time to focus on maximizing the storage space and making the most of every inch available to you. Here are some tips to help you optimize the storage in your pantry:
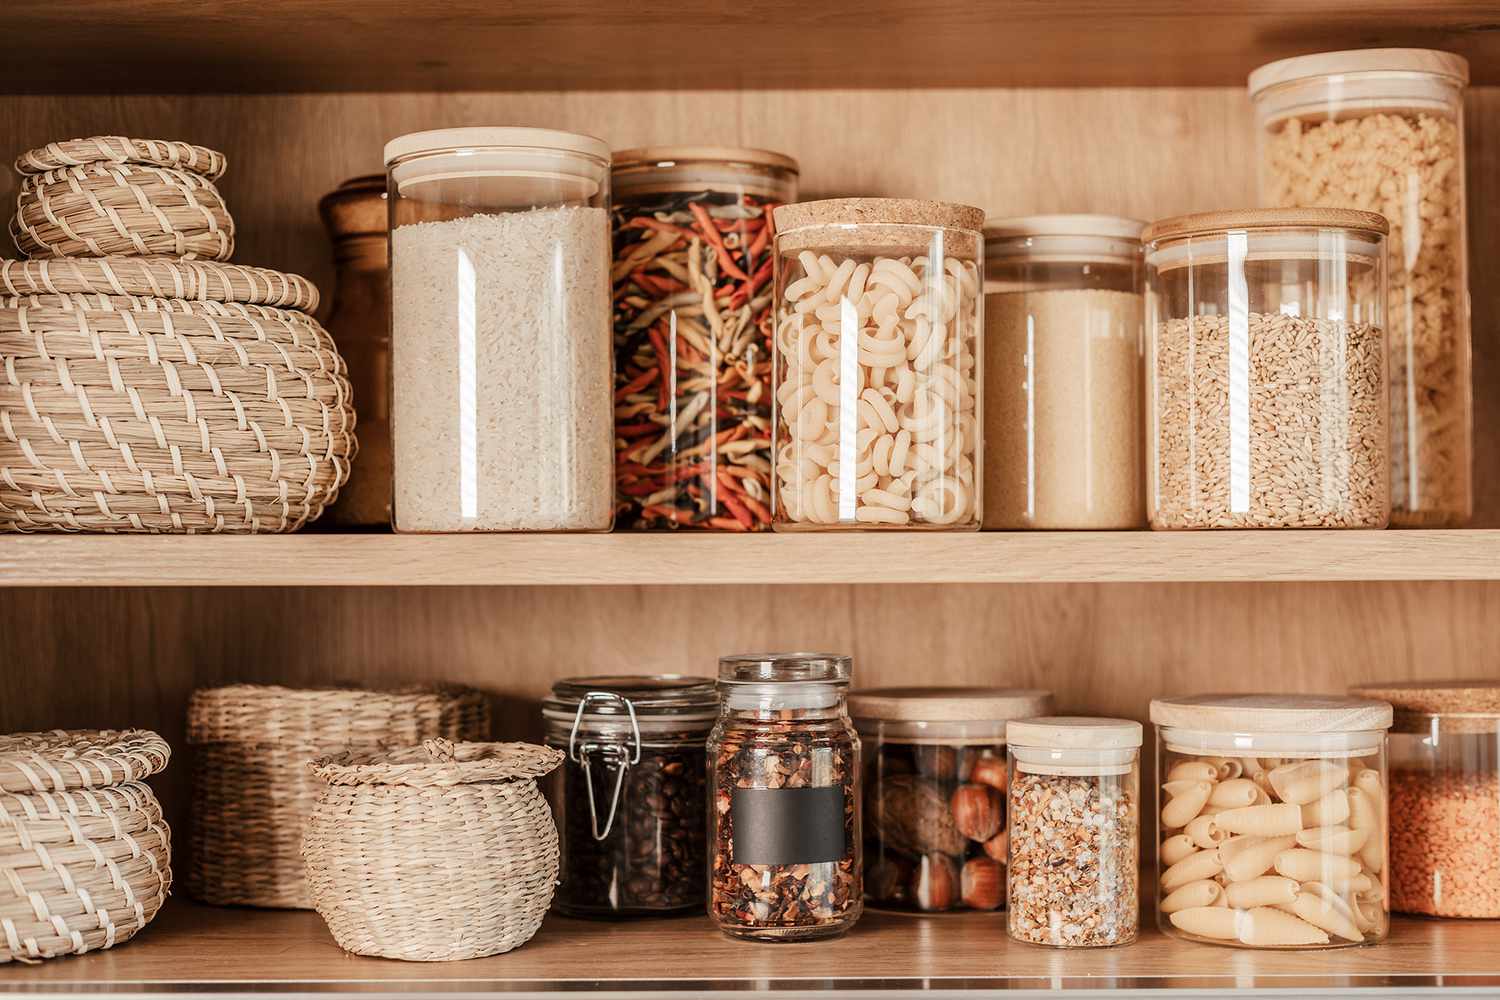
1. Utilize vertical space: Take advantage of the height of your pantry by stacking items vertically. Use risers or shelf dividers to create multiple layers and maximize the space. Make sure to place frequently used items within easy reach and less commonly used items on higher shelves.
2. Use clear containers: Transfer dry goods such as cereals, pasta, and snacks into clear, airtight containers. This not only helps to keep them fresh for longer but also allows you to see the contents at a glance, making it easier to find what you need. Label the containers for added organization.
3. Group similar items together: Categorize your pantry items and group them accordingly. For example, create a section for baking supplies, another for canned goods, and one for snacks. This makes it easier to locate specific items and ensures that everything has its designated place.
4. Consider using pull-out drawers: Install pull-out drawers in your pantry shelves to provide easy access to items at the back. This is especially useful for storing small appliances or bulky items that are typically hard to reach. Pull-out drawers make it simple to see and retrieve items without having to dig through the back of the pantry.
5. Optimize door space: Attach small baskets or organizers to the inside of the pantry door to hold spices, condiments, or small packets. This is a clever way to utilize often overlooked space and keep frequently used items within reach.
6. Think beyond shelves: Don’t limit yourself to just shelves for storage. Utilize hooks, hanging racks, or magnetic strips to hold utensils, cooking tools, or even pots and pans. Look for any opportunities to free up shelf space and keep your pantry organized.
By implementing these strategies, you can maximize the storage capacity of your pantry and create a functional space that allows for easy organization and access to all your essentials. Make the most of every nook and cranny in your pantry to ensure optimal efficiency.
Read more: How To Turn Bedroom Into Closet
Step 5: Labeling and Categorizing Items
Now that you have organized your pantry and maximized storage space, it’s time to focus on the final touches that will make your pantry truly functional and efficient. Labeling and categorizing items will not only help you find what you need quickly but will also maintain the organization you’ve worked hard to achieve. Here’s how to tackle this step:
1. Create a labeling system: Decide on a labeling system that works best for you. You can use pre-made labels, label maker, or simply write labels on adhesive tags. Choose a clear and consistent font style and size, making sure they are easy to read and understand.
2. Label shelves and containers: Use labels to identify the different sections or categories within your pantry. Label each shelf or section with descriptive tags such as “Baking Supplies,” “Canned Goods,” or “Snacks.” This will make it easy to locate items and maintain order.
3. Label storage containers: If you have transferred items into clear containers, label each container with the contents and expiration dates (if applicable). This will avoid any confusion and keep track of freshness. Consider using labels that are easily removable or erasable in case you need to change the contents later.
4. Color-code if desired: For an extra level of organization, consider color-coding your labels. Assign different colors to different categories or types of items. This can be particularly helpful when you have multiple family members using the pantry or if you want to create a visual hierarchy of items.
5. Arrange items by category: Once everything is labeled, take the time to arrange items by category. Keep similar items together on the same shelf, grouping them according to their labels. This makes it easy to find specific products or ingredients when you’re stocking up or preparing meals.
6. Regularly maintain labels: As you use and restock items in your pantry, make it a habit to update and maintain your labels. Remove any expired or unused items and relabel containers as needed. This will ensure that your pantry remains organized and clutter-free.
By labeling and categorizing items in your pantry, you create a system that simplifies the process of finding what you need. It also helps maintain the organization over time and allows you to easily keep track of your inventory. Take the time to label your pantry and enjoy the convenience it brings to your daily routine.
Step 6: Adding Finishing Touches
As you near the completion of transforming your closet into a pantry, it’s time to add the finishing touches that will elevate the functionality and aesthetics of the space. These final touches will tie everything together and create a pantry that is not only practical but also visually appealing. Consider the following steps to add those perfect finishing touches:
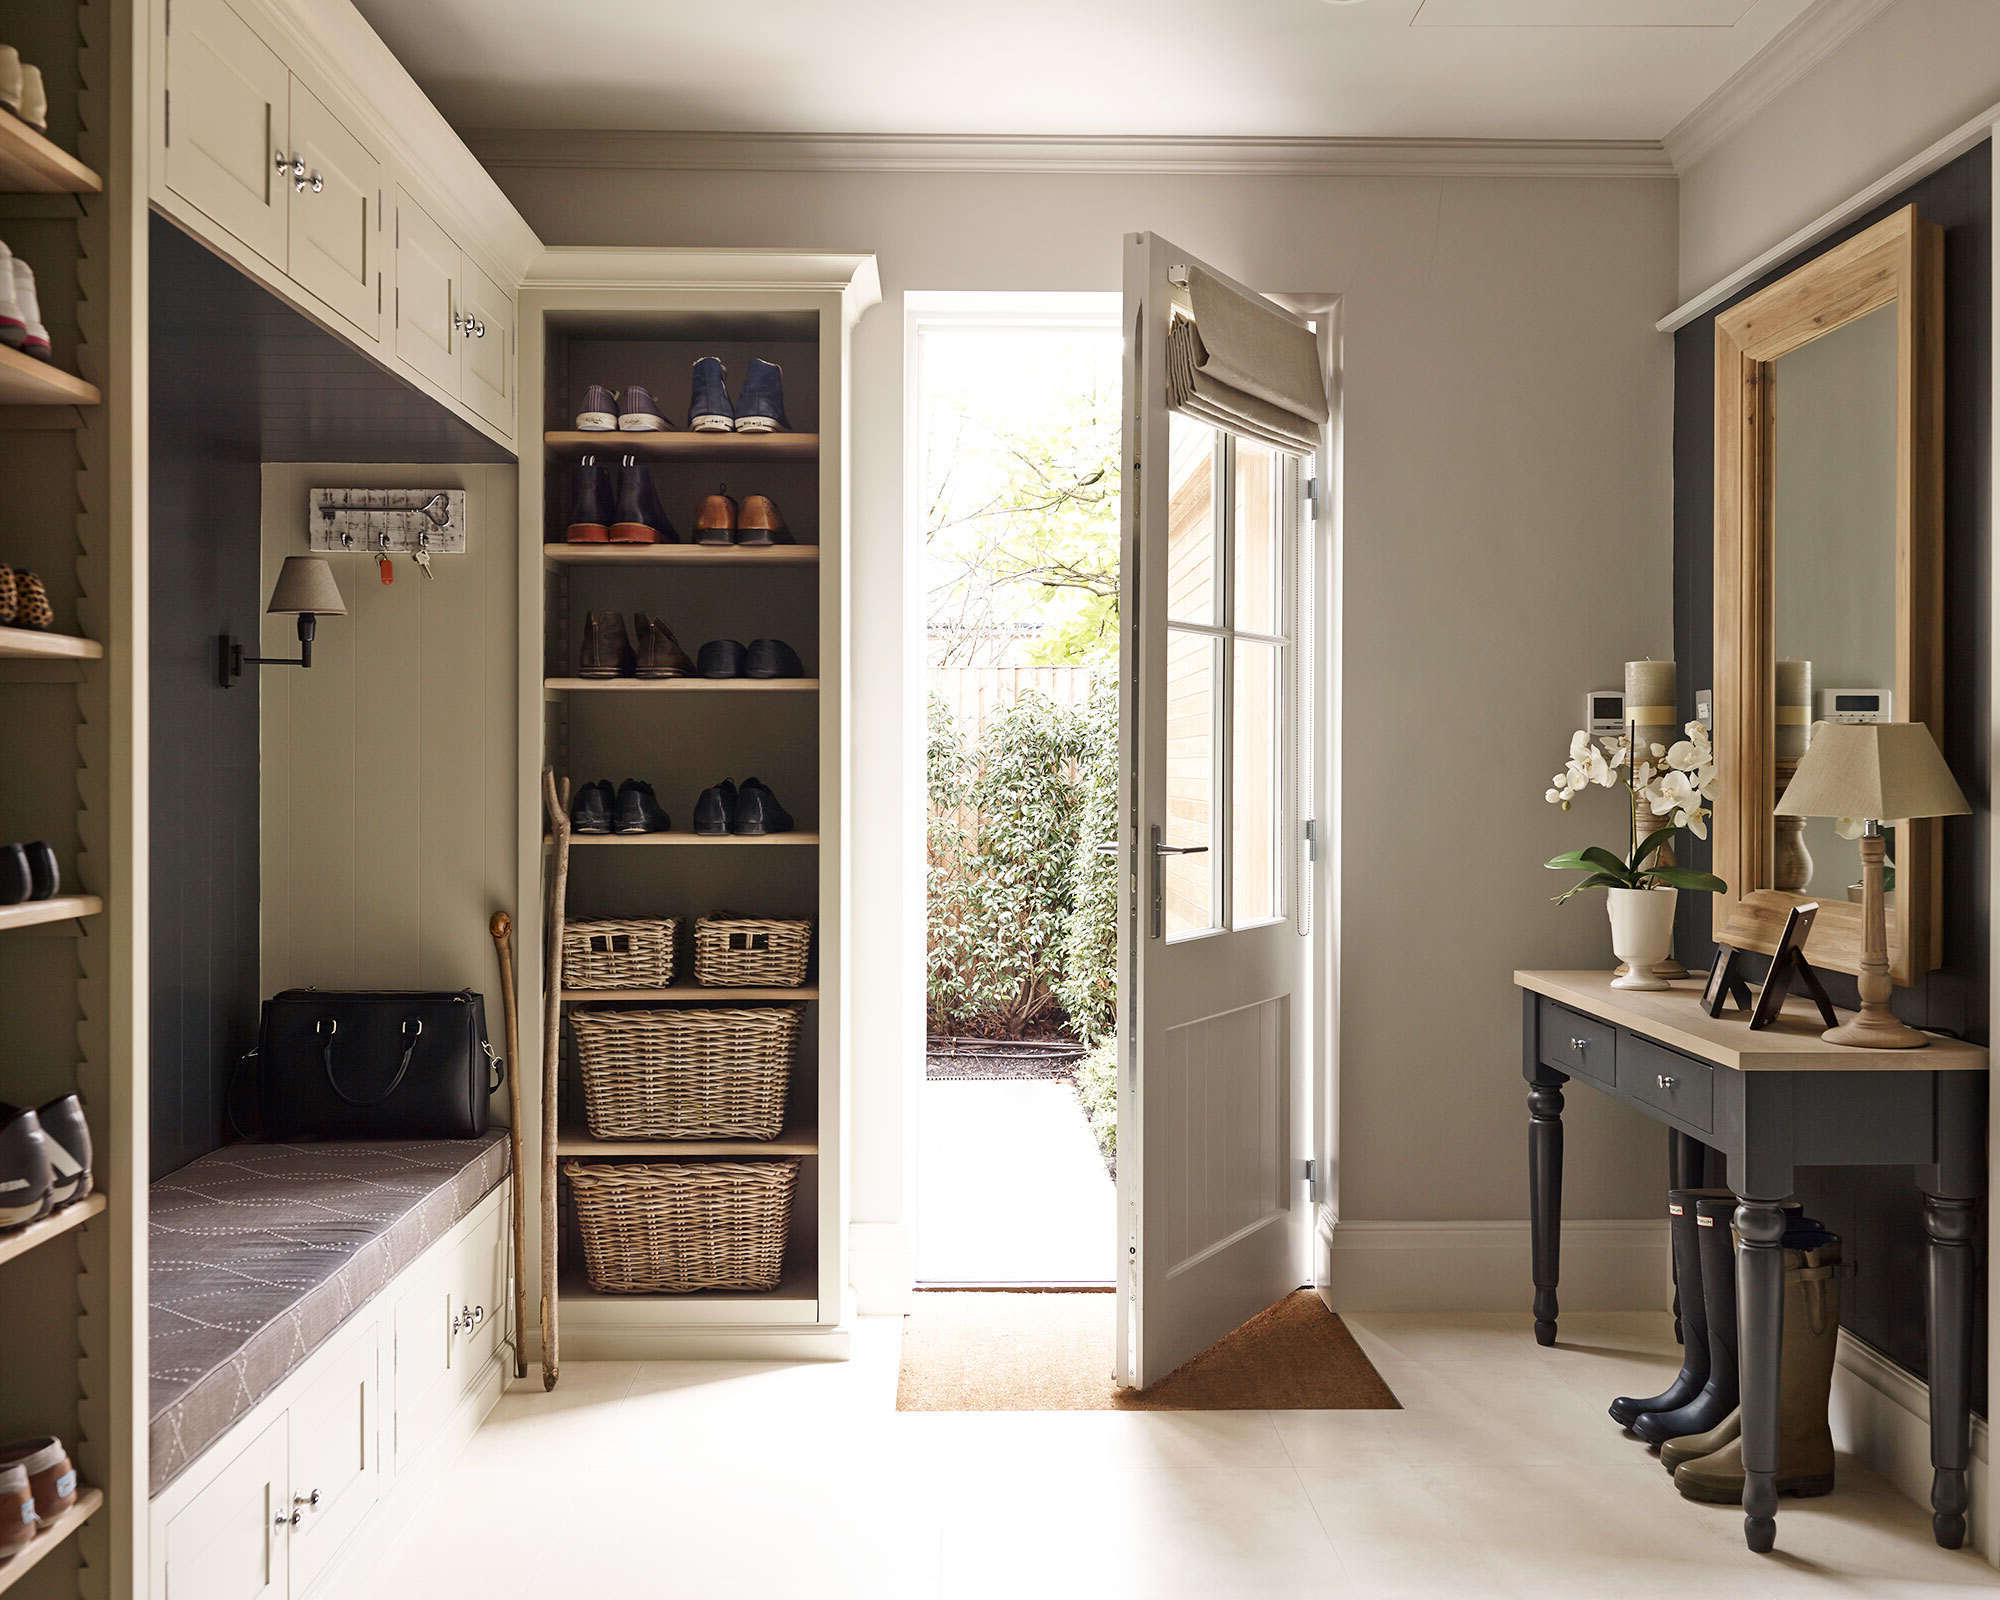
1. Decorate the space: Add a personal touch to your pantry by incorporating decorative elements. Hang artwork, place a small potted plant on a shelf, or add a vibrant rug on the floor. Choose items that complement your kitchen’s style and make you feel happy and inspired while you work in your pantry.
2. Install proper lighting: Ensure that your pantry is well-lit to make it easy to see items and navigate the space. Consider installing LED lights inside your pantry or under-shelf lighting to brighten the area. Bright lighting will not only enhance visibility but also create an inviting atmosphere.
3. Incorporate a step ladder or stool: If you have high shelves that are out of reach, include a step ladder or stool in your pantry. This will provide easy access to items placed on those shelves and make the pantry more user-friendly. Choose a ladder or stool that is compact and can be easily stored when not in use.
4. Add a chalkboard or whiteboard: Install a small chalkboard or whiteboard on one of the pantry walls. This can serve as a space to jot down grocery lists, meal plans, or reminders. It’s a practical addition that keeps important information easily visible and helps you stay organized.
5. Implement a rotation system: For items with expiration dates, consider implementing a rotation system. Place newly purchased items behind older ones to ensure that you use them before they expire. This simple practice can prevent waste and help you save money in the long run.
6. Keep it maintained: Finally, commit to regularly maintaining and decluttering your pantry to keep it functional and organized. Set aside time every month to check for expired items, wipe down shelves, and reorganize as needed. This will ensure that your pantry remains in top shape and continues to serve you well.
By adding these finishing touches to your pantry, you create a space that is not only efficient but also a joy to use. The small details can make a big difference in the overall look, usability, and upkeep of your pantry. Take the time to complete these final steps and enjoy the satisfaction of a beautifully transformed closet turned pantry.
Conclusion
Congratulations! You have successfully transformed a closet into a functional and organized pantry. By following the step-by-step guide outlined in this article, you have created a space that maximizes storage, makes items easily accessible, and enhances the overall efficiency of your kitchen.
Turning a closet into a pantry not only expands your storage options but also helps to keep your kitchen clutter-free and organized. With a well-organized pantry, you can easily locate ingredients, stock up on supplies, and streamline your meal planning and preparation.
Remember, the key to maintaining an organized pantry is regular maintenance and decluttering. Take a few moments each month to check for expired items, wipe down shelves, and reorganize as needed. This will ensure that your pantry remains efficient and functional over the long term.
Enjoy the benefits of your transformed pantry, such as easier meal planning, quicker grocery shopping, and a more enjoyable cooking experience. With everything neatly stored and labeled, you’ll have more time and less stress in the kitchen.
Don’t forget to share your pantry transformation with friends and family. They may be inspired by your creativity and skills in repurposing a closet into a pantry. Help them embark on their own organization journey and enjoy the satisfaction of a well-organized kitchen.
Thank you for following along with this guide on how to turn a closet into a pantry. We hope this article has been helpful and that your newly transformed pantry brings you joy and efficiency for years to come. Happy organizing!
Frequently Asked Questions about How To Turn A Closet Into A Pantry
Was this page helpful?
At Storables.com, we guarantee accurate and reliable information. Our content, validated by Expert Board Contributors, is crafted following stringent Editorial Policies. We're committed to providing you with well-researched, expert-backed insights for all your informational needs.


0 thoughts on “How To Turn A Closet Into A Pantry”