Articles
How To Store Homemade Almond Butter
Modified: February 22, 2024
Discover the best way to store your homemade almond butter in this comprehensive guide. Learn essential tips and tricks to keep your almond butter fresh and delicious for longer.
(Many of the links in this article redirect to a specific reviewed product. Your purchase of these products through affiliate links helps to generate commission for Storables.com, at no extra cost. Learn more)
Introduction
Welcome to a world of homemade goodness! If you’re a fan of almond butter, you’ve come to the right place. Making your own almond butter is not only incredibly satisfying but also allows you to control the ingredients and flavors. Plus, the aroma of freshly roasted almonds filling your kitchen is simply irresistible. In this article, we’ll guide you through the process of making homemade almond butter and storing it properly to maintain its freshness and flavor for as long as possible.
Almond butter is a versatile and nutritious creamy spread that pairs well with fruits, toast, oatmeal, and can even be incorporated into baking recipes. While store-bought almond butter is readily available, making it at home gives you the freedom to customize the flavor, adjust the level of sweetness, and avoid any additives or preservatives.
Before we dive into the delicious process, let’s take a look at the key ingredients you’ll need.
Key Takeaways:
- Create your own creamy almond butter at home to customize flavors, control ingredients, and avoid additives. Store it in the fridge for 2-3 weeks or freeze for longer shelf life. Enjoy the process and share with loved ones!
- Experiment with optional ingredients like sweeteners, spices, and oils to elevate the flavor of your homemade almond butter. Store in airtight containers, label with preparation date, and enjoy the nutritious goodness!
Read more: How To Store Almond Butter
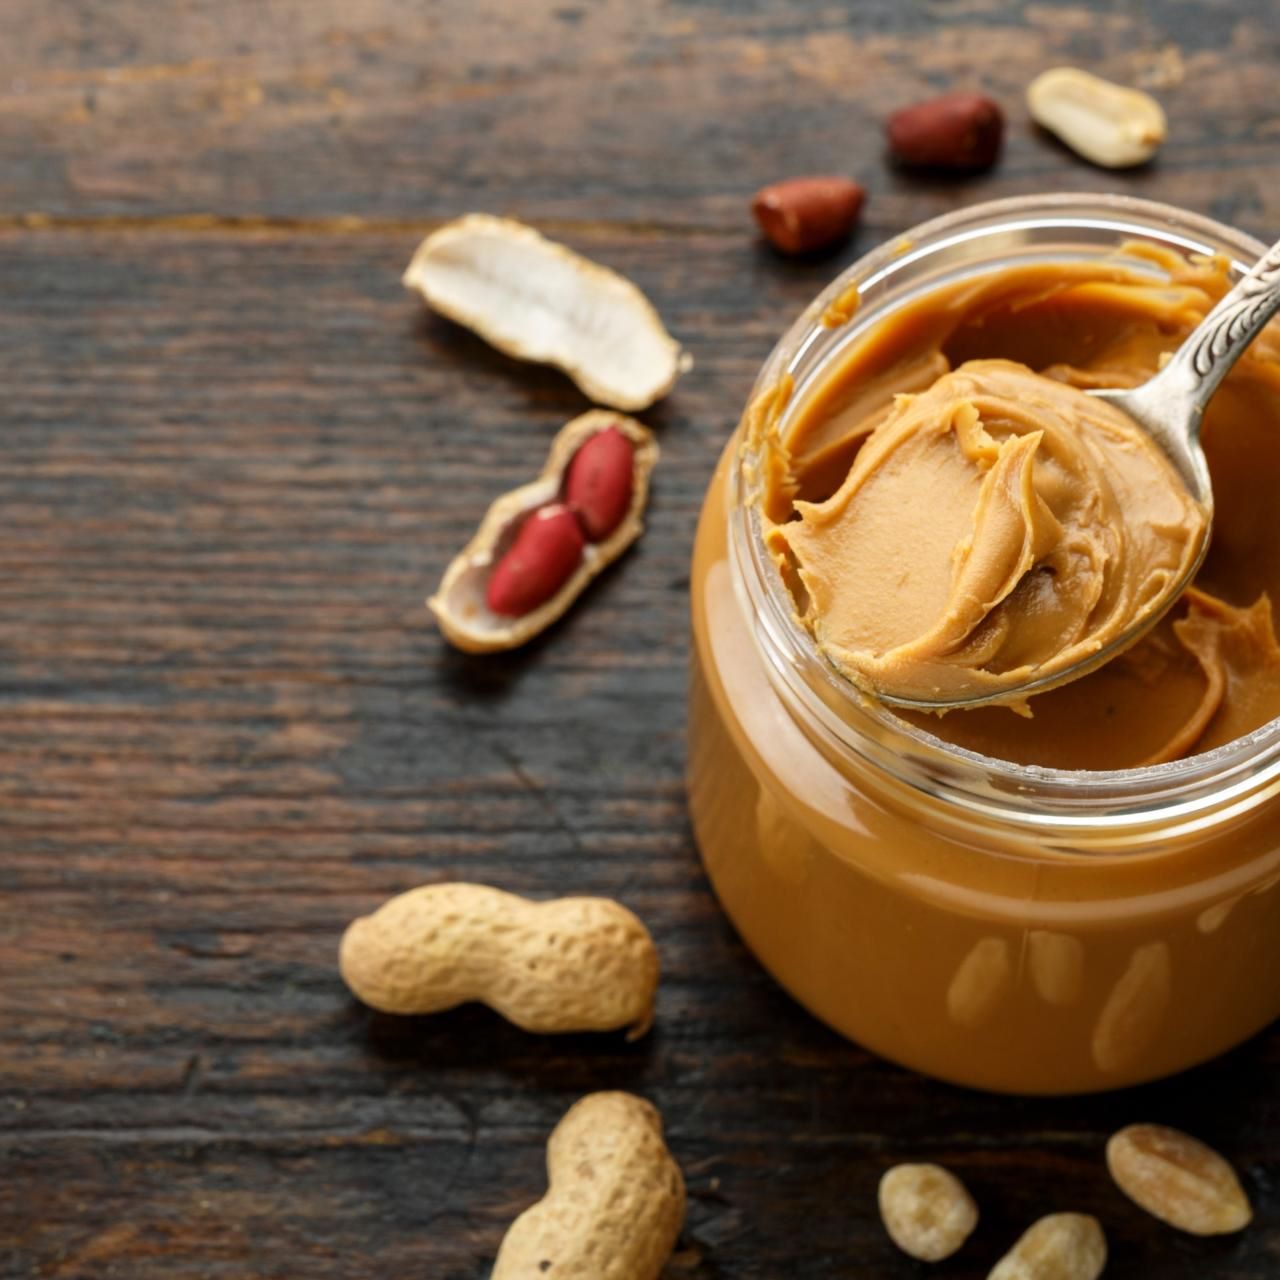
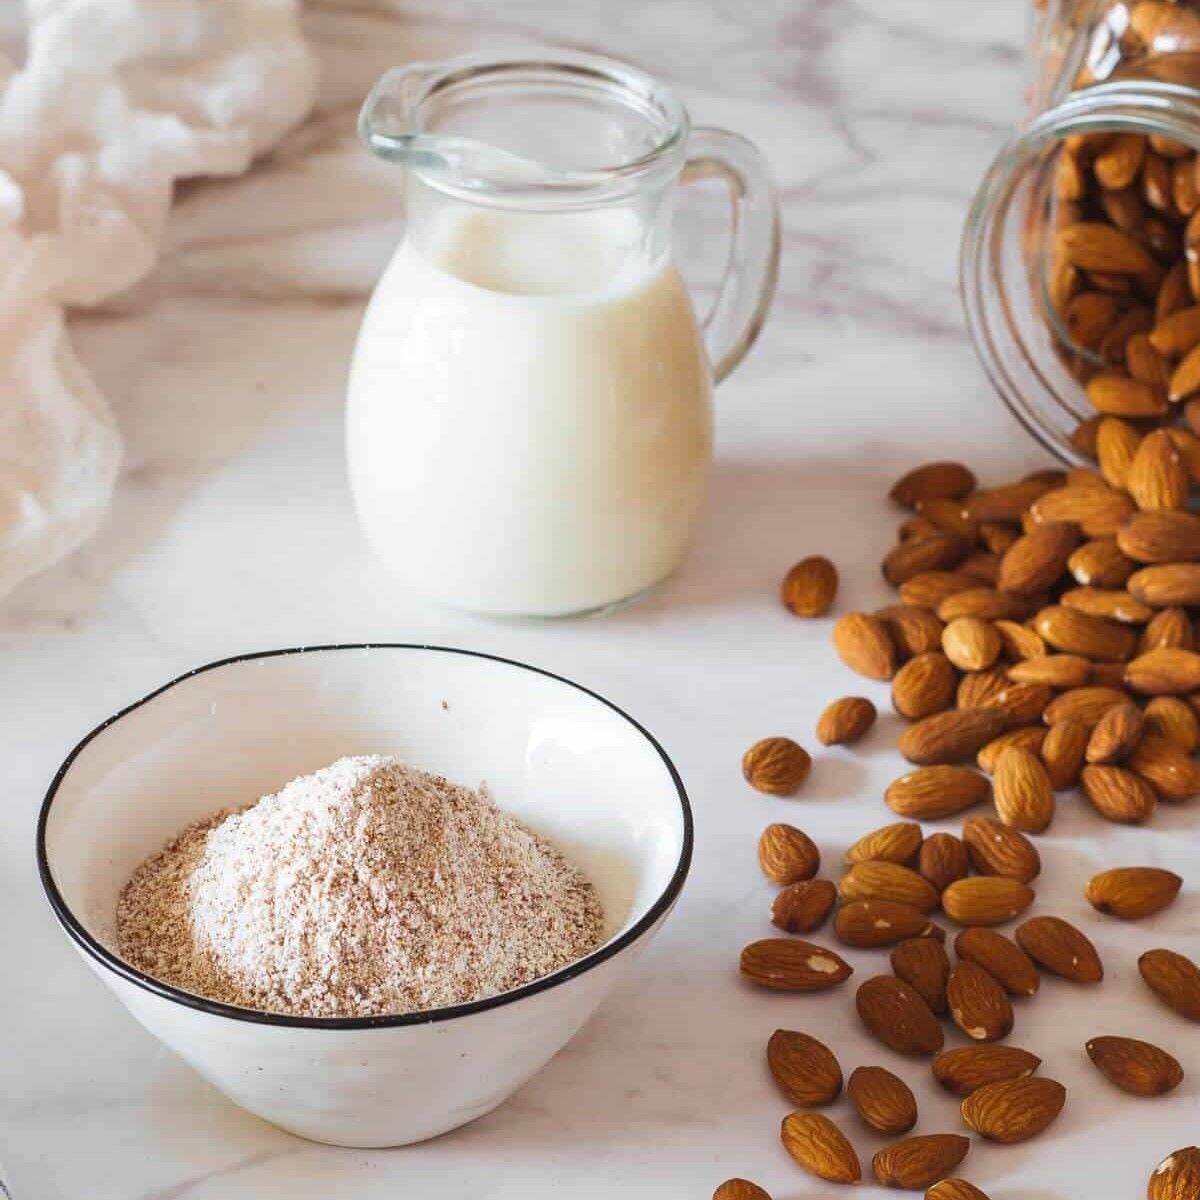
Ingredients
To make homemade almond butter, you’ll only need one main ingredient:
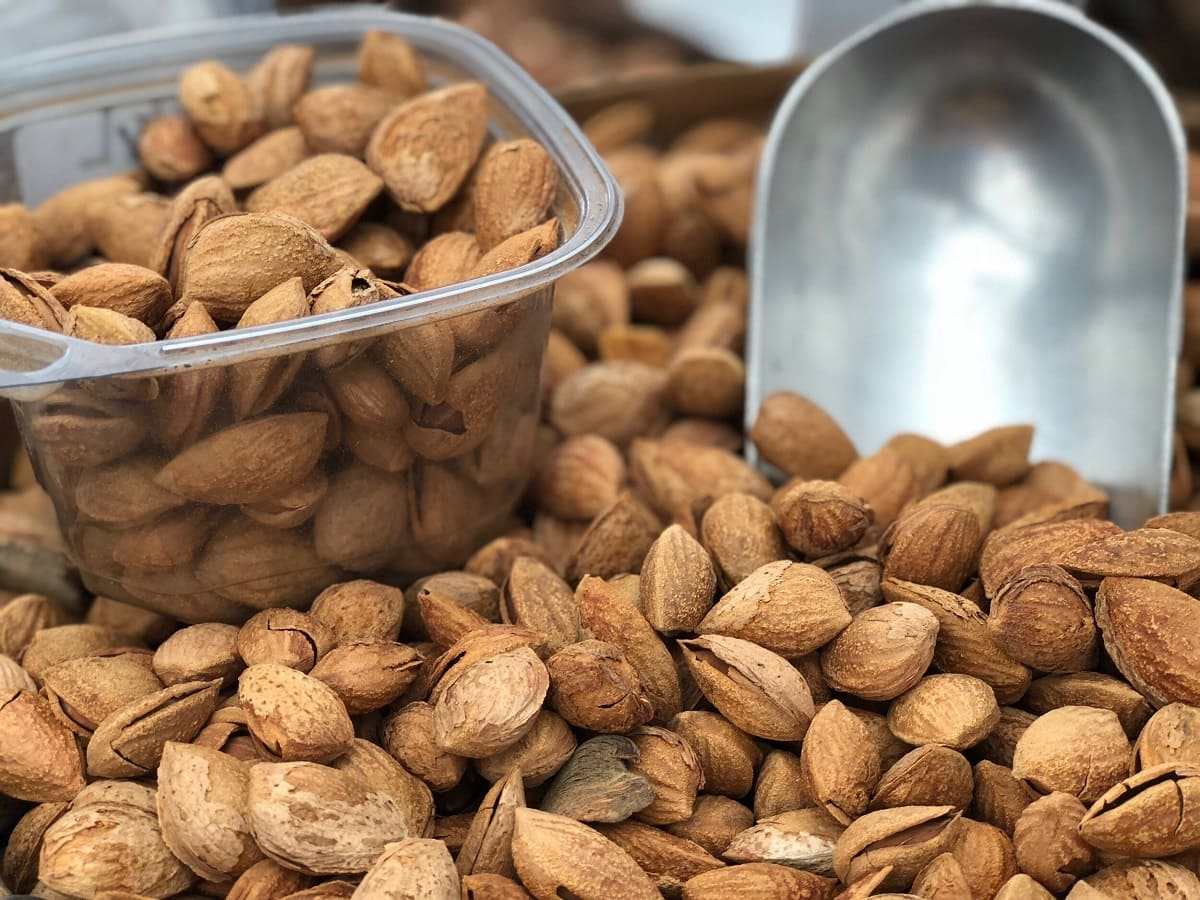
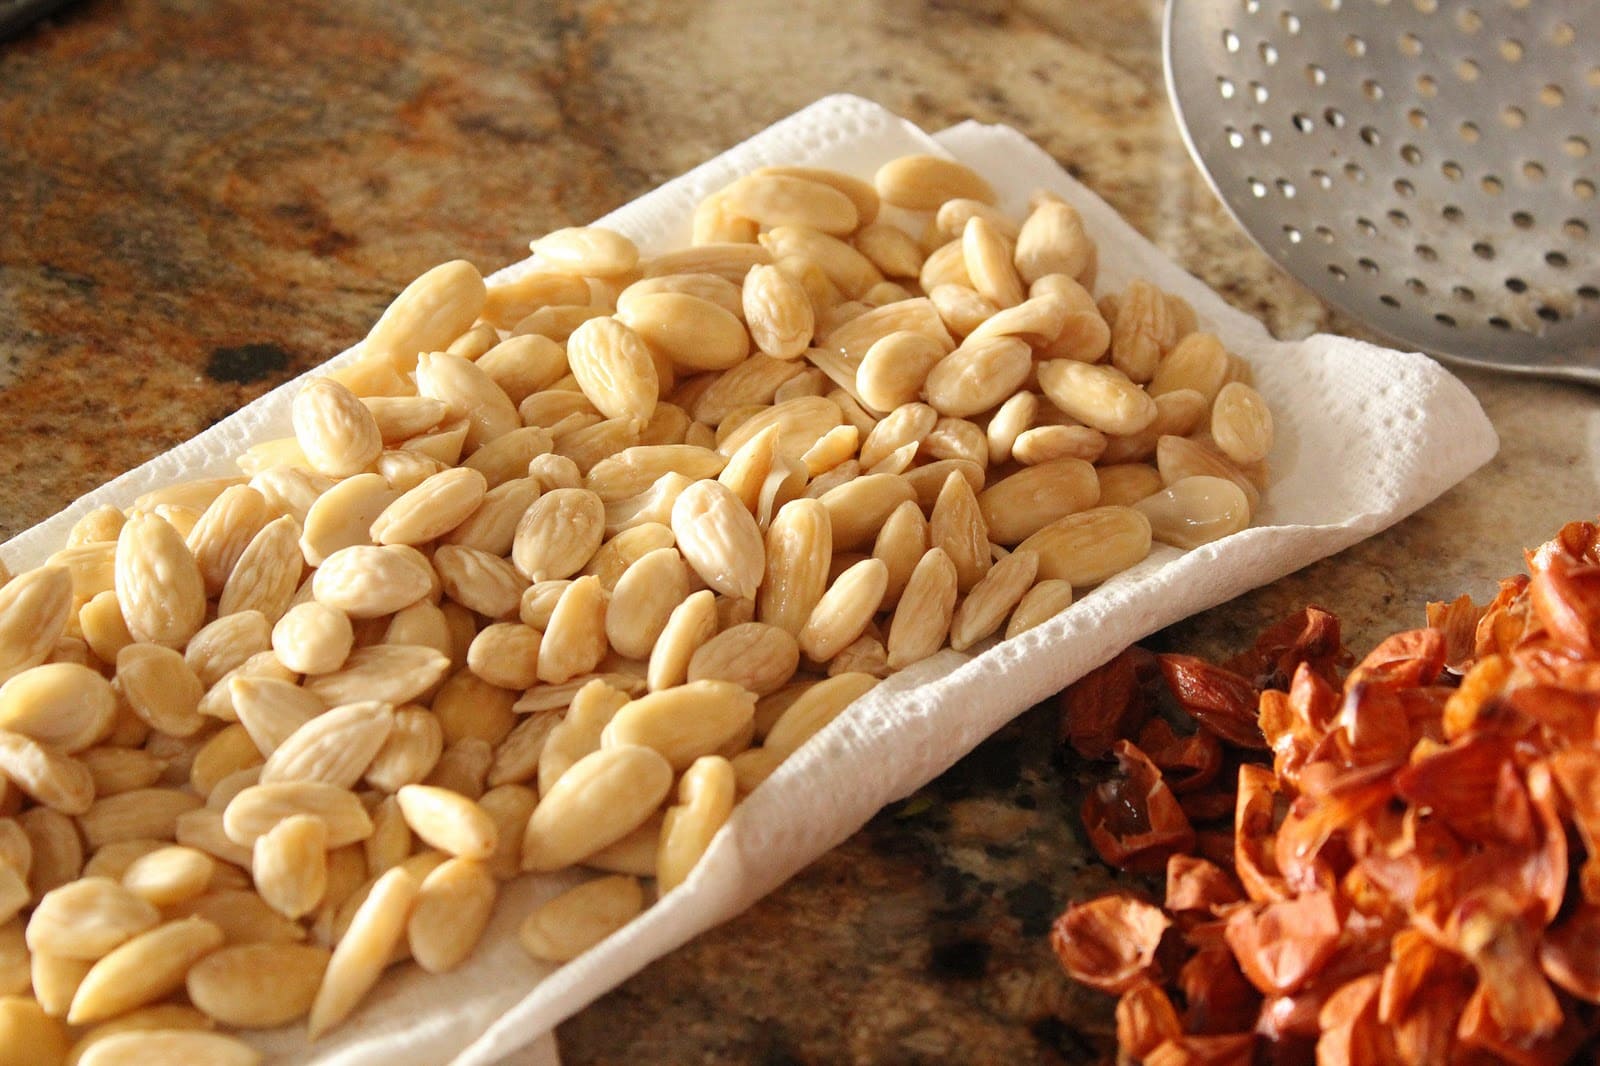
- Raw almonds – You can use either whole almonds or blanched almonds. Make sure they are fresh and of good quality.
That’s it! There are no additional ingredients required to make a basic almond butter. However, if you want to add some extra flavor and variety to your almond butter, you can consider including the following optional ingredients:
- Sweeteners – If you prefer a touch of sweetness, you can add a small amount of honey, maple syrup, agave nectar, or a pinch of stevia.
- Spices – Experiment with spices like cinnamon, vanilla extract, or nutmeg to give your almond butter an exciting twist.
- Salt – A pinch of salt can enhance the flavors and balance the sweetness of your almond butter. Use a high-quality sea salt or pink Himalayan salt.
- Oil – While it’s not necessary, you can add a drizzle of oil like coconut oil, almond oil, or avocado oil to achieve a smoother texture and enhance the creaminess.
Now that you know what ingredients you’ll need, let’s move on to the equipment necessary for making homemade almond butter.
Equipment Needed
Making homemade almond butter requires a few essential pieces of equipment to ensure a smooth and successful process. Here’s what you’ll need:
- Food Processor or High-Speed Blender – A good quality food processor or high-speed blender is crucial for grinding the almonds into butter. Look for a model with a powerful motor and sharp blades to achieve a creamy consistency.
- Baking Sheet – If you plan to roast the almonds before grinding, a baking sheet will come in handy. Make sure it is large enough to spread the almonds in a single layer for even roasting.
- Parchment Paper – Using parchment paper on the baking sheet will prevent the almonds from sticking and make clean-up easier.
- Spatula – A spatula will aid in scraping down the sides of the food processor or blender, ensuring all the almonds are blended smoothly.
- Airtight Container or Glass Jar – You’ll need a suitable container for storing the almond butter after it’s made. Choose an airtight container or a glass jar with a tight-fitting lid to keep it fresh.
Make sure all equipment is clean and dry before starting the almond butter-making process to avoid any contamination.
With the necessary ingredients and equipment in place, let’s move on to the step-by-step process of creating homemade almond butter!
Step 1: Roasting the Almonds
The first step in making homemade almond butter is to roast the almonds. While roasting is optional, it helps to enhance the flavor and texture of the almonds, giving your almond butter a rich and nutty taste. Here’s how to do it:
- Preheat your oven to 350°F (175°C) and line a baking sheet with parchment paper.
- Spread the raw almonds in a single layer on the prepared baking sheet.
- Place the baking sheet in the preheated oven and roast the almonds for 10-15 minutes, or until they turn golden brown and become fragrant. Keep a close eye on them to prevent burning.
- Remove the baking sheet from the oven and let the roasted almonds cool completely before proceeding to the next step.
Roasting the almonds not only adds depth of flavor but also helps to loosen the natural oils within the almonds, making them easier to grind into a smooth buttery consistency. Once the almonds are cool, it’s time to move on to the next step – grinding!
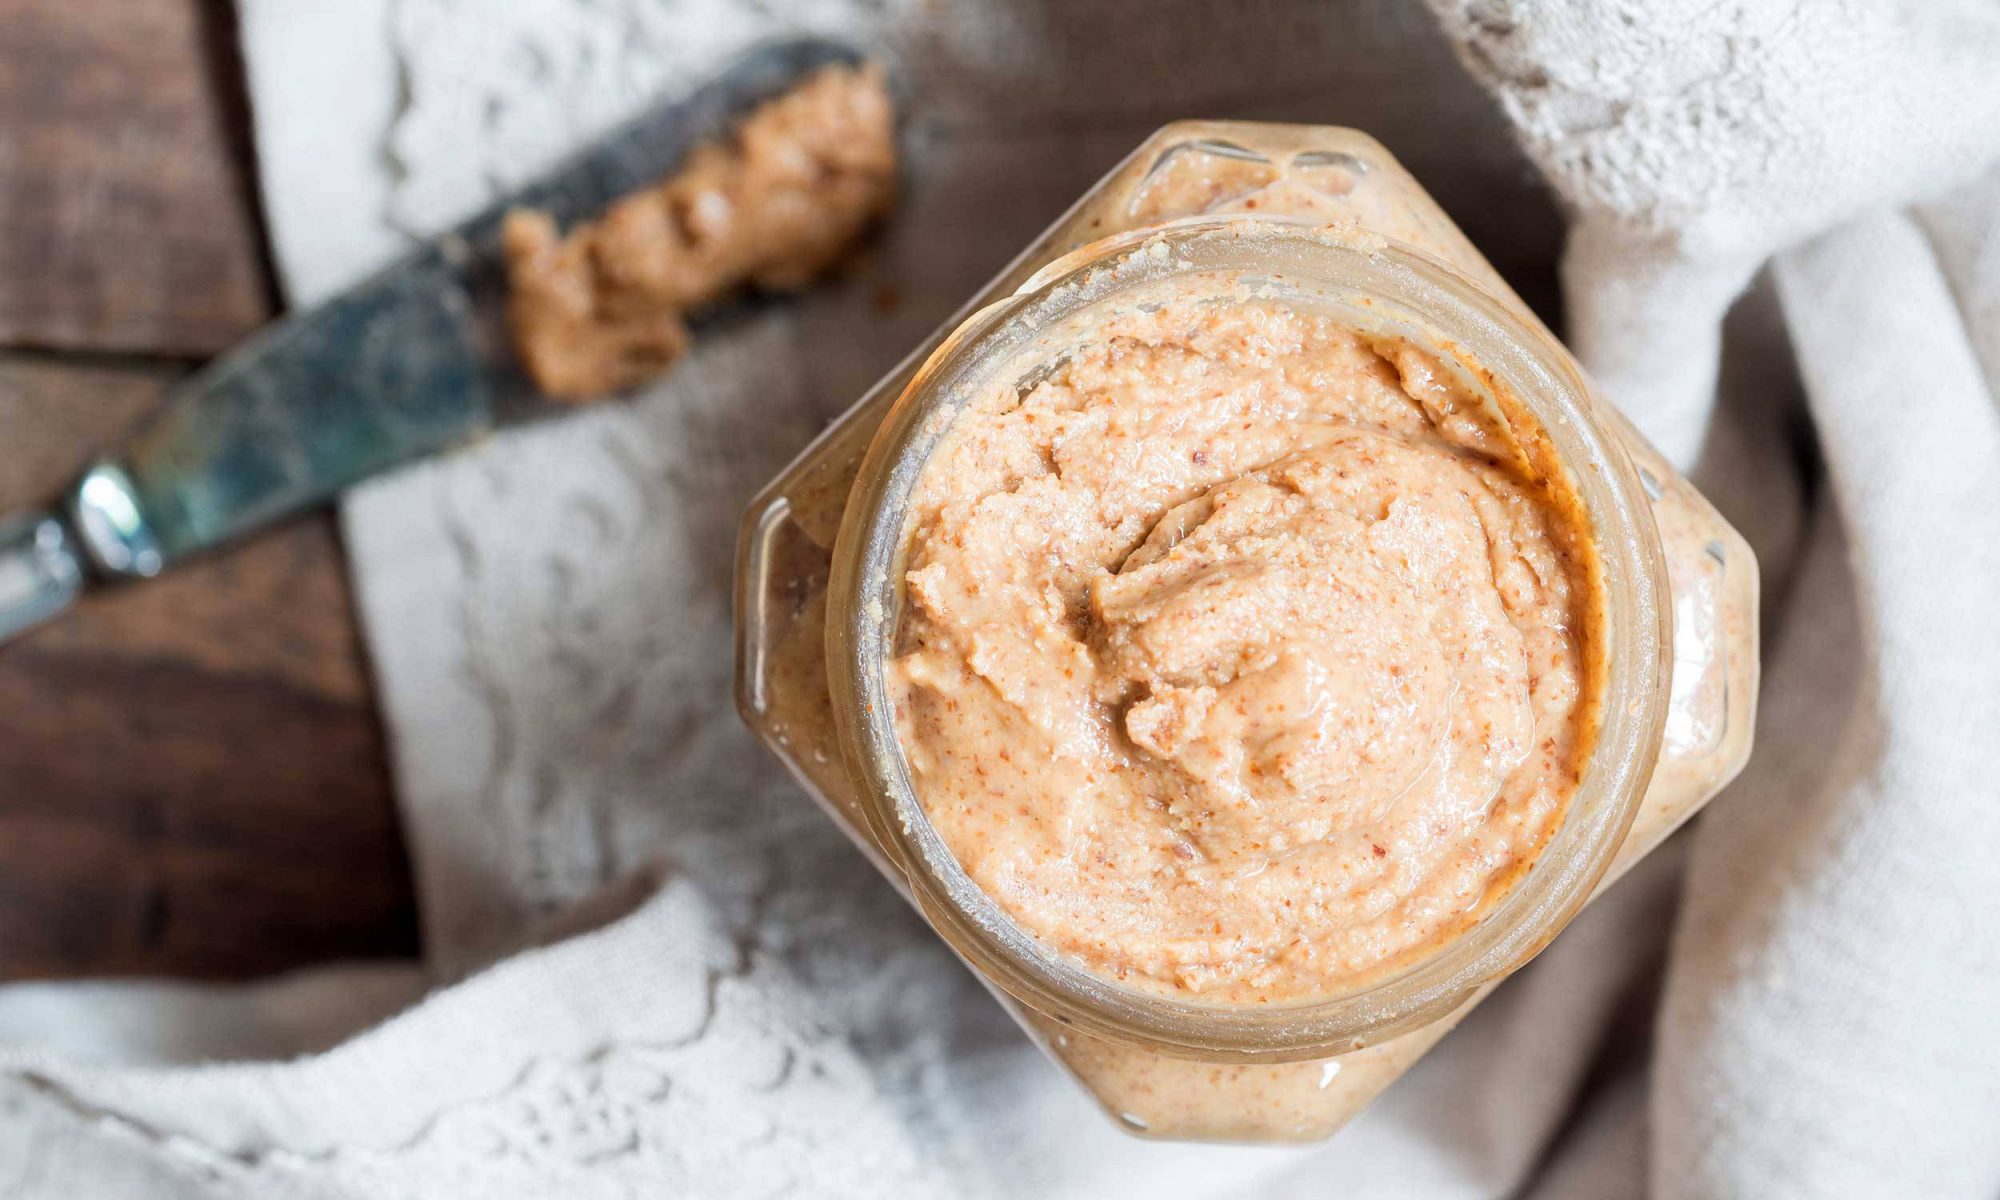
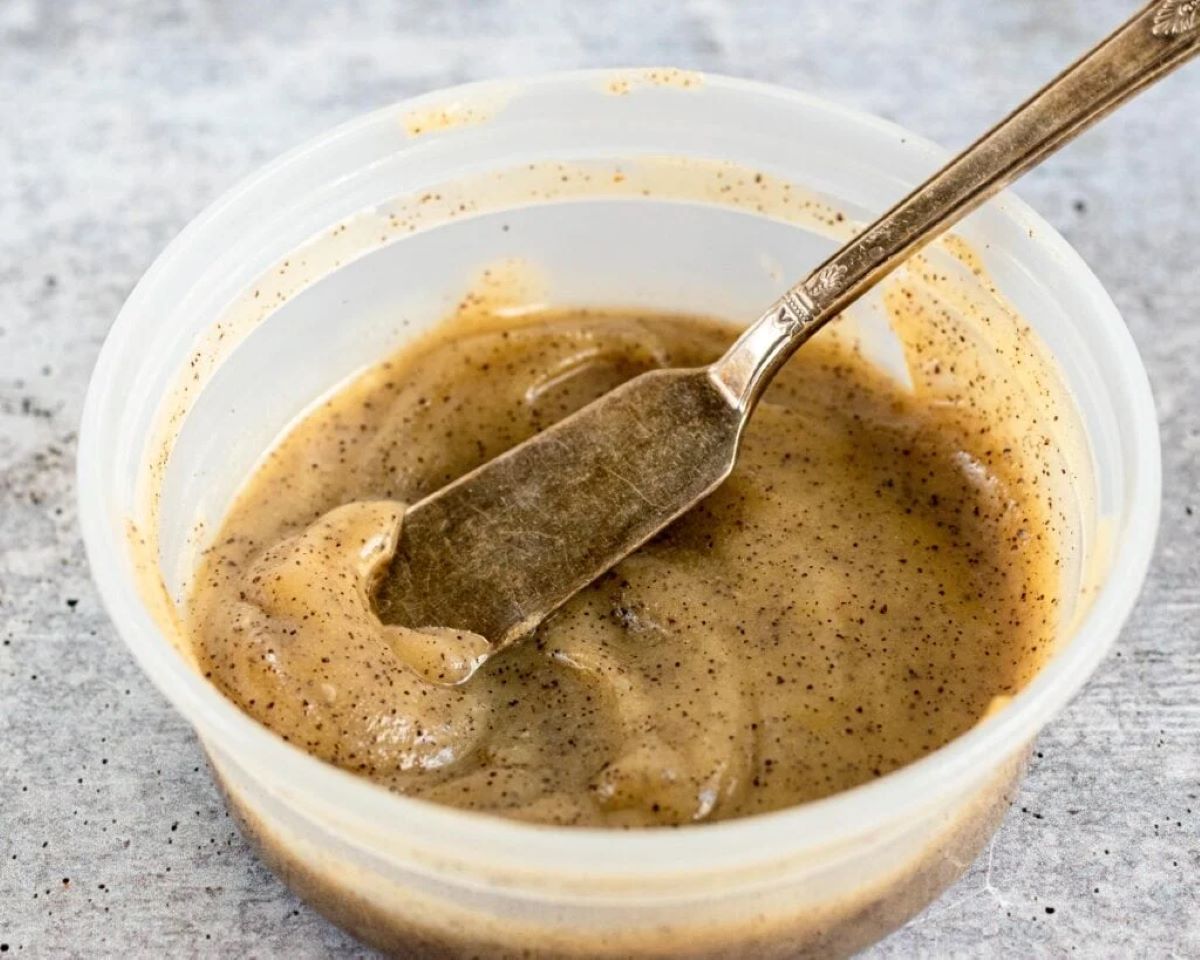
Step 2: Grinding the Almonds
Now that you have your roasted almonds ready, it’s time to grind them into creamy almond butter. Follow these steps to achieve the perfect texture:
- Transfer the roasted almonds to a food processor or high-speed blender.
- Secure the lid tightly and start processing or blending on low speed.
- After a few minutes, you’ll notice the almonds breaking down into small pieces.
- Scrape down the sides of the processor or blender using a spatula to ensure even blending.
- Continue processing or blending, gradually increasing the speed, until the almonds begin to release their natural oils and turn into a thick, creamy consistency. This process can take anywhere from 5 to 15 minutes, depending on the power of your machine and the desired smoothness.
- Pause occasionally to scrape down the sides and incorporate any remaining chunks of almonds.
- Once the almond butter reaches your preferred texture, taste and adjust the flavor by adding any optional ingredients like sweeteners, spices, salt, or oil.
- Blend or process again for a final mix, ensuring all the flavors are well combined.
It’s important to note that during the grinding process, the almonds will go through various stages, starting from a crumbly texture, progressing to a clumpy mixture, and eventually transforming into a smooth and creamy butter. Be patient and persistent, as the heat and friction generated from blending will help break down the almonds and release their natural oils.
Now that your almond butter is perfectly ground, let’s explore some optional ingredients you can add to enhance its flavor.
Store homemade almond butter in an airtight container in the refrigerator to keep it fresh for up to 2 weeks. If you won’t use it within that time, store it in the freezer for up to 3 months.
Read more: How To Store Homemade Butter
Step 3: Adding Optional Ingredients
Now that you have your creamy almond butter, it’s time to add some optional ingredients to customize the flavor and take it to the next level. Here are a few ideas to consider:
- Sweeteners – If you prefer a sweeter almond butter, you can add a small amount of honey, maple syrup, agave nectar, or a pinch of stevia. Start with a teaspoon and adjust according to your taste preferences.
- Spices – Experiment with spices like cinnamon, vanilla extract, or nutmeg to give your almond butter a delightful twist. Add a small amount and adjust to taste.
- Salt – A pinch of salt can enhance the flavors and balance the sweetness of your almond butter. Use a high-quality sea salt or pink Himalayan salt to add a hint of savory complexity.
- Oil – While it’s not necessary, you can add a drizzle of oil like coconut oil, almond oil, or avocado oil to achieve a smoother texture and enhance the creamy consistency. Start with a teaspoon and blend until well incorporated.
Add these optional ingredients one at a time, blending or processing the almond butter until well combined. Taste as you go and adjust the flavors according to your liking. Remember, the goal is to create a personalized almond butter experience that suits your preferences.
Once you’ve added and blended the optional ingredients, it’s time to move on to the final step – storing your delicious homemade almond butter.
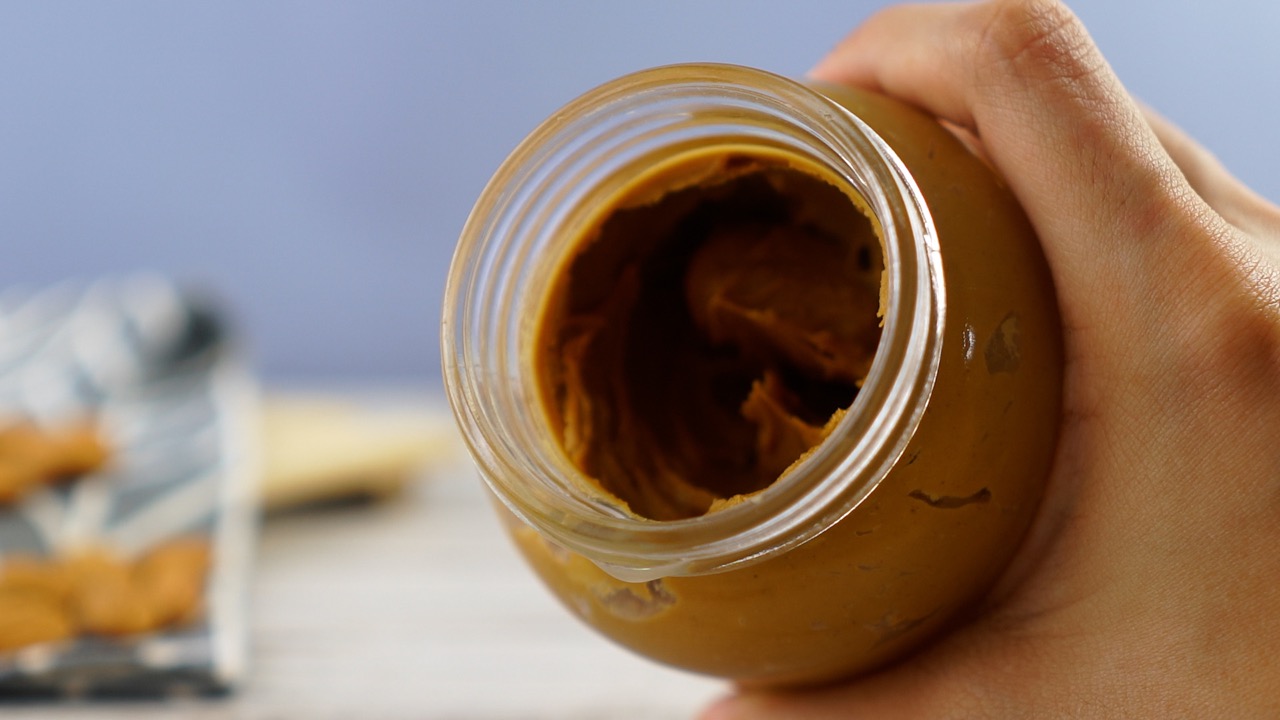
Step 4: Storing the Almond Butter
After putting in the effort to make homemade almond butter, it’s important to store it properly to maintain its freshness and flavor. Here are some tips to help you store your almond butter correctly:
- Transfer the freshly made almond butter into a clean, dry, and airtight container or glass jar. Make sure the container has a tight-fitting lid to prevent air and moisture from entering.
- Store the almond butter in the refrigerator to extend its shelf life. The cool temperature helps to preserve its freshness and prevent any potential spoilage.
- Before closing the lid, make sure to wipe any excess almond butter from the edges of the container. This will prevent it from becoming dry or forming a crust.
- Label the container with the date of preparation to keep track of its freshness. Homemade almond butter typically stays fresh for about 2-3 weeks in the refrigerator.
- When using the almond butter, always use a clean utensil to scoop out the desired amount. This prevents any contamination from entering the jar.
- Remember to store the almond butter away from direct sunlight and heat sources, as they can cause the natural oils to separate or spoil.
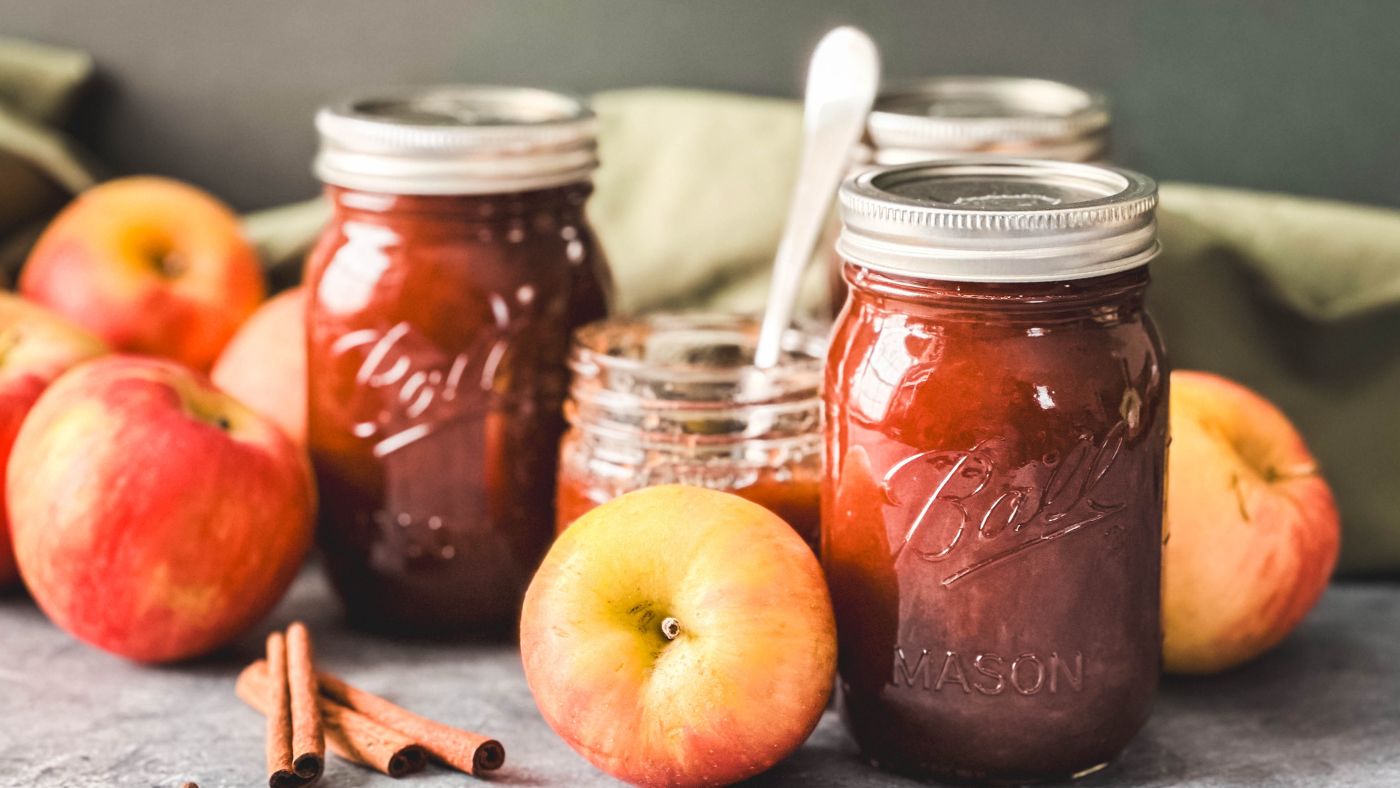
If you’ve made a larger batch of almond butter and don’t plan on consuming it within the recommended timeframe, you have a couple of options:
- You can freeze the almond butter for longer storage. Transfer it into freezer-safe containers or divide it into smaller portions and freeze them separately. When ready to use, thaw the frozen almond butter in the refrigerator overnight.
- Alternatively, you can give some of your homemade almond butter as a thoughtful gift to friends or family. Fill small jars, add a personalized label, and share the deliciousness!
Now that you know how to store your almond butter correctly, let’s explore some additional tips and tricks to make the process even smoother.
Tips and Tricks
Creating homemade almond butter is a delightful and rewarding process. To make it even more enjoyable, consider these helpful tips and tricks:
- Use fresh almonds for the best flavor and texture. Opt for raw almonds as they will provide a more authentic taste.
- Consider buying almonds in bulk to save money, especially if you plan on making almond butter frequently.
- If you prefer a crunchy texture, reserve a handful of almonds before grinding the rest. After the almond butter reaches your desired consistency, stir in the chopped almonds for added crunch.
- Experiment with different flavor variations by adding ingredients like cocoa powder, espresso powder, or dried fruits to create unique and delicious almond butter blends.
- Be patient during the grinding process. It may take some time for the almonds to release their oils and transform into a creamy butter consistency.
- If your food processor or blender gets too hot during the grinding process, give it a break to cool down before continuing.
- Feel free to adjust the sweetness, saltiness, and other flavors to suit your taste preferences. Making almond butter at home allows you full control over the ingredients and flavors.
- Don’t forget to have fun! Making homemade almond butter is a creative and satisfying experience.
By following these tips and tricks, you’ll be well-equipped to create the most delicious homemade almond butter. Enjoy the process, savor the flavors, and share your creations with others!
And there you have it – a comprehensive guide on how to make and store homemade almond butter. Now it’s time to put your knowledge into action and enjoy the creamy and nutritious goodness of your very own almond butter creation. Happy grinding and happy snacking!
Conclusion
Congratulations! You have completed your journey into the world of homemade almond butter. By following the step-by-step guide and utilizing the tips and tricks provided, you have gained the knowledge and confidence to create your very own creamy and flavorful almond butter.
Making almond butter at home allows you to customize the flavor, adjust the sweetness, and avoid any unnecessary additives or preservatives. From roasting the almonds to grinding them into a smooth and creamy consistency, you’ve learned how to harness the natural oils and flavors of the almonds to create a delicious spread that can be enjoyed in various ways.
Remember to store your almond butter in a clean, airtight container in the refrigerator to maintain its freshness. Consider adding optional ingredients like sweeteners, spices, or salt to customize the taste to your liking. And don’t forget to have fun and experiment with different variations to discover your favorite almond butter creation!
Whether you spread it on toast, use it as a dip for fruits, or incorporate it into your favorite recipes, your homemade almond butter is sure to delight your taste buds and provide a nutritious boost of energy. Enjoy the process, and don’t hesitate to share your almond butter creations with friends and family!
Now that you have unlocked the secrets of homemade almond butter, why not explore other nut and seed butter possibilities? The world of homemade spreads is vast and waiting for you to explore. So go ahead, get creative, and continue to indulge in the joys of homemade goodness!
Frequently Asked Questions about How To Store Homemade Almond Butter
Was this page helpful?
At Storables.com, we guarantee accurate and reliable information. Our content, validated by Expert Board Contributors, is crafted following stringent Editorial Policies. We're committed to providing you with well-researched, expert-backed insights for all your informational needs.


0 thoughts on “How To Store Homemade Almond Butter”