Articles
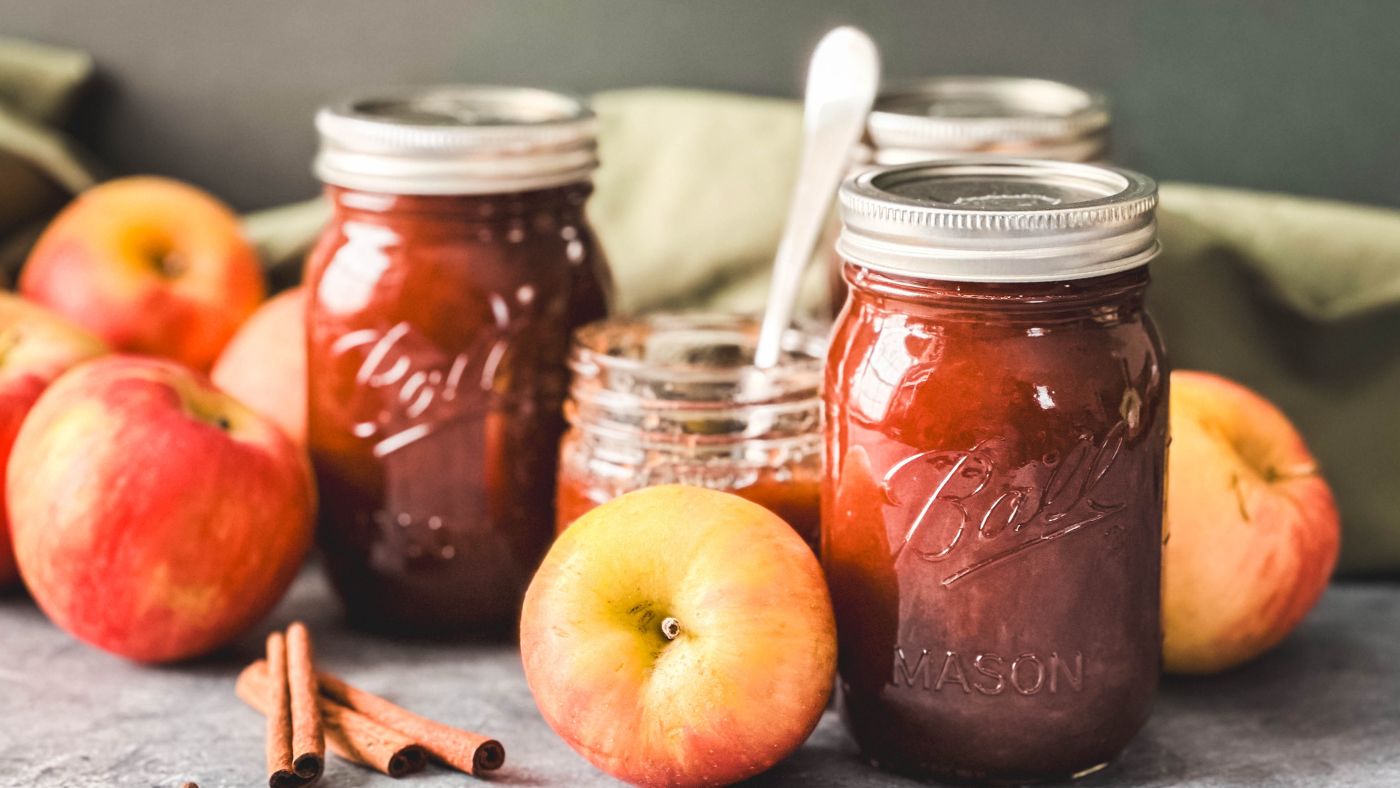
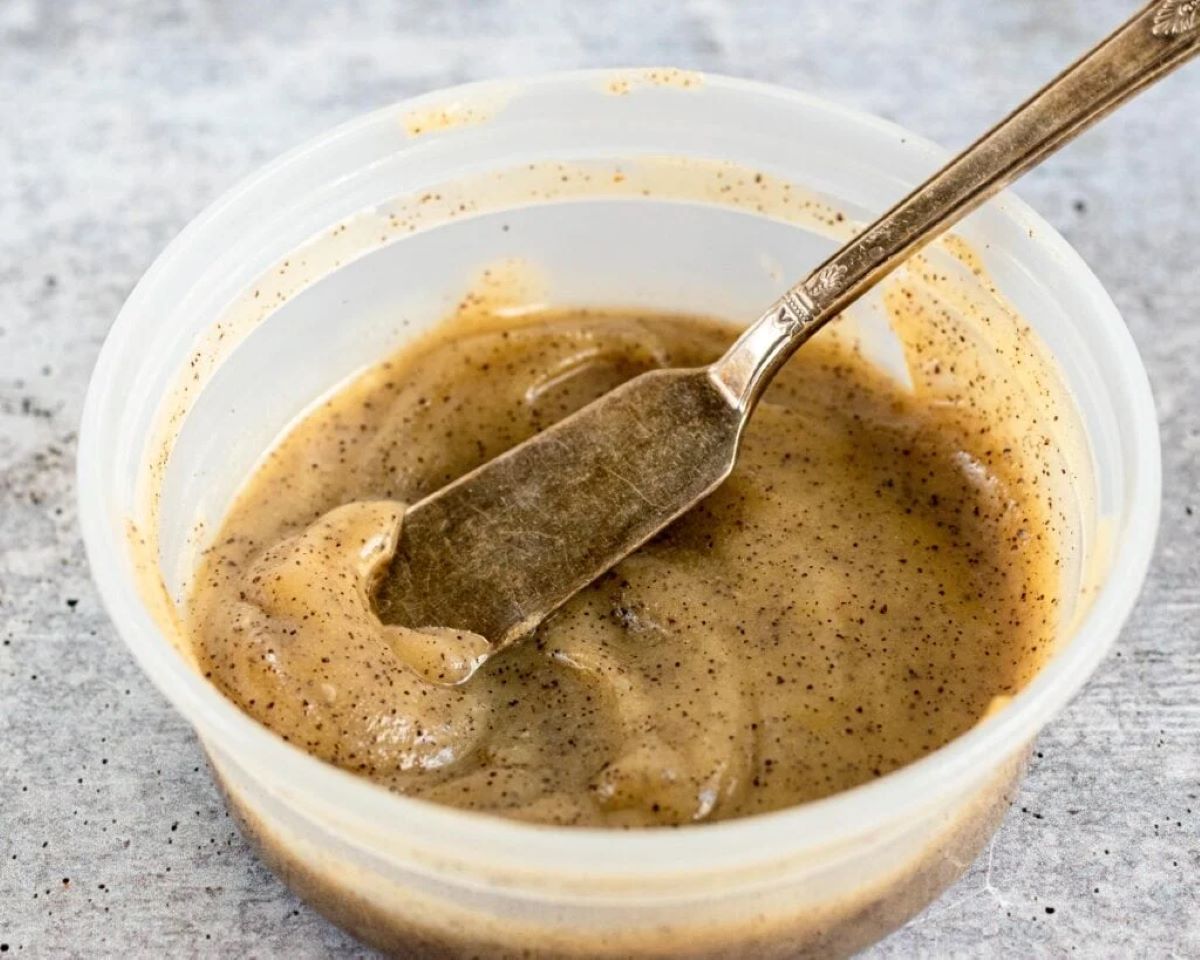
How To Store Homemade Apple Butter
Modified: February 23, 2024
Learn how to properly store your homemade apple butter with these helpful articles. Keep your delicious creation fresh for longer and enjoy it whenever you desire.
(Many of the links in this article redirect to a specific reviewed product. Your purchase of these products through affiliate links helps to generate commission for Storables.com, at no extra cost. Learn more)
Introduction
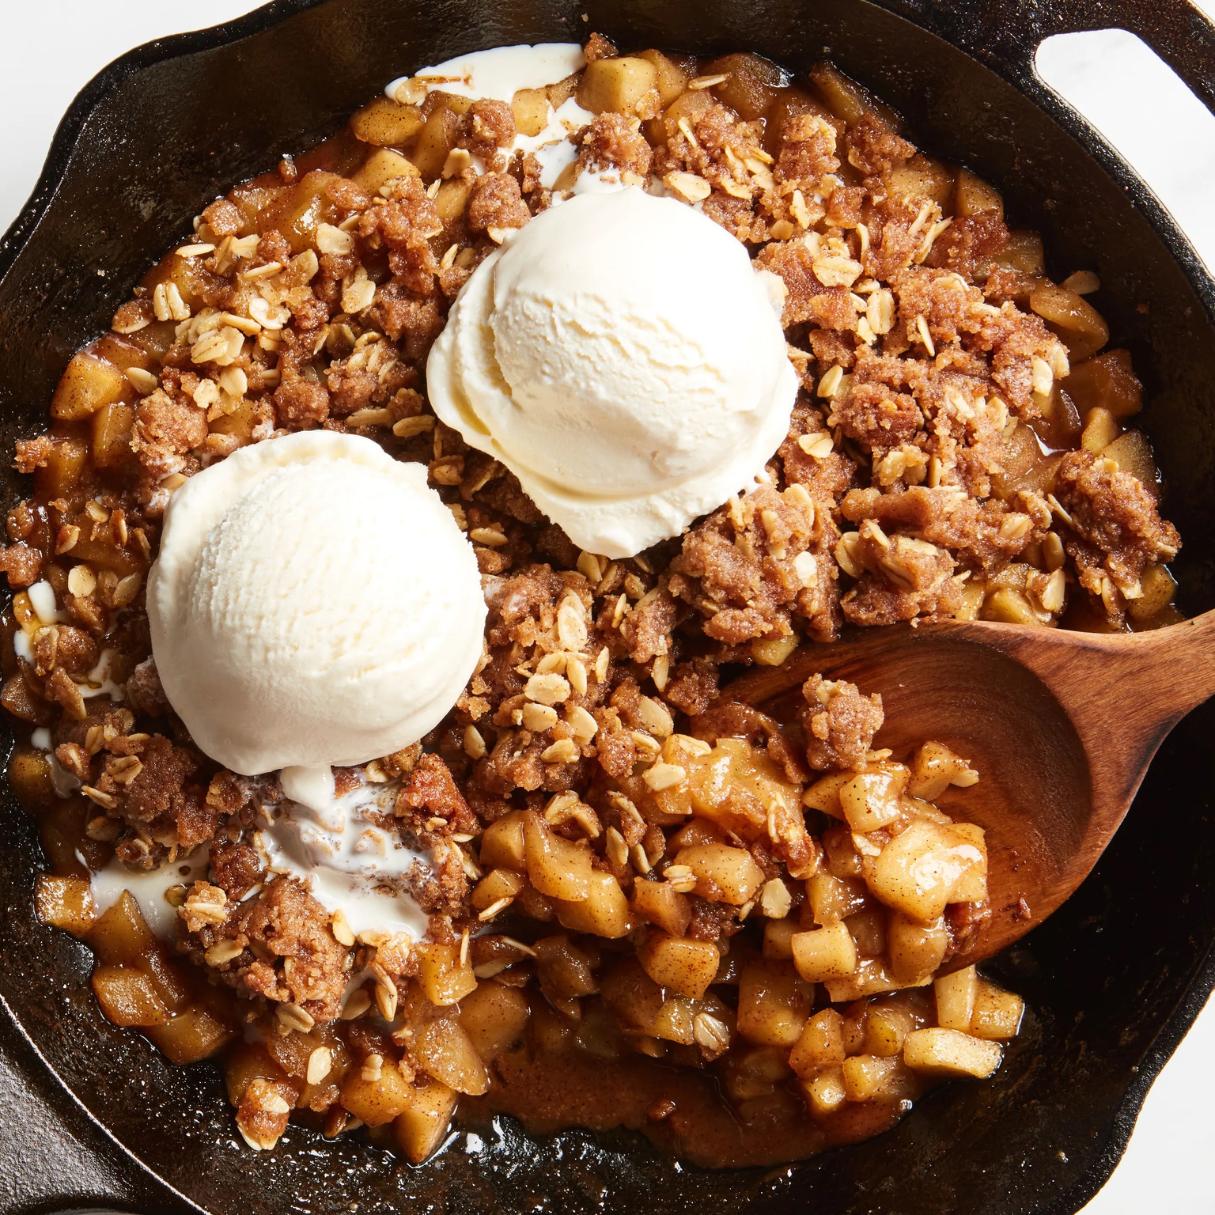
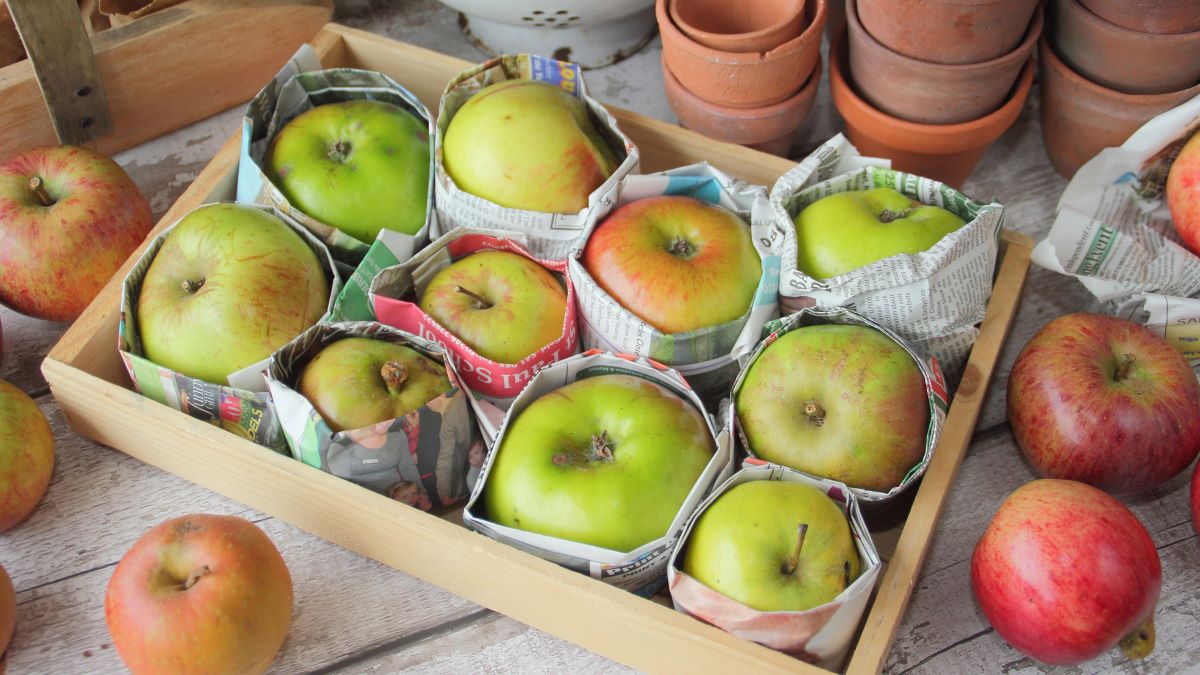
Welcome to our guide on how to store homemade apple butter! If you’re a fan of delicious homemade spreads and love the taste of apples, then you’re in for a treat. Apple butter is a versatile and flavorful condiment that can be enjoyed on toast, pancakes, muffins, or incorporated into various recipes to add a touch of sweetness and depth of flavor.
Apple butter is made by slow-cooking apples with sugar, spices, and a dash of lemon juice until they become thick and spreadable. The long cooking process allows the apples to caramelize and intensify in flavor, resulting in a rich and satisfying spread that captures the essence of autumn.
While apple butter can be enjoyed immediately after making, sometimes you may find yourself with an abundance of this delicious treat that you want to store for later use. Proper storage is essential to ensure the longevity of your homemade apple butter without compromising its taste and quality.
In this guide, we will walk you through the steps of storing homemade apple butter, from prepping the ingredients to sterilizing the jars, so you can enjoy its flavors long after apple-picking season has come to an end.
Key Takeaways:
- Preserve the essence of autumn by storing homemade apple butter properly, ensuring its longevity and delightful flavor for year-round enjoyment.
- Master the art of apple butter storage, from preparing the apples to sterilizing the jars, and savor the versatile and irresistible flavors of this delectable spread.
Read more: How To Store Apple Butter
Ingredients
Before we dive into the storage process, let’s quickly go over the ingredients you’ll need to make homemade apple butter:
- 5 pounds of apples – Choose a variety of apples that are sweet and tart, such as Granny Smith, Honeycrisp, or Jonathan.
- 1 cup of granulated sugar – Adjust the amount of sugar based on the sweetness of your apples and personal preference.
- 1 cup of brown sugar – The addition of brown sugar adds a caramel-like flavor and richness to the apple butter.
- 2 teaspoons of cinnamon – This warm spice complements the natural sweetness of the apples.
- 1/2 teaspoon of nutmeg – Nutmeg adds a hint of warmth and depth to the apple butter.
- 1/2 teaspoon of cloves – Cloves provide a fragrant and slightly spicy note to the spread.
- 1/4 teaspoon of salt – Salt enhances the overall flavor and balances the sweetness.
- 2 tablespoons of lemon juice – Lemon juice helps to maintain the vibrant color of the apples and adds a subtle tanginess.
Note: Feel free to adjust the quantities of the ingredients to suit your taste preferences. You can also experiment with other spices like ginger or allspice to add different flavor profiles to your apple butter.
Now that you have gathered all the necessary ingredients, let’s move on to the equipment you’ll need for this process.
Equipment needed
Preparing and storing homemade apple butter requires a few essential tools and equipment. Here’s what you’ll need:
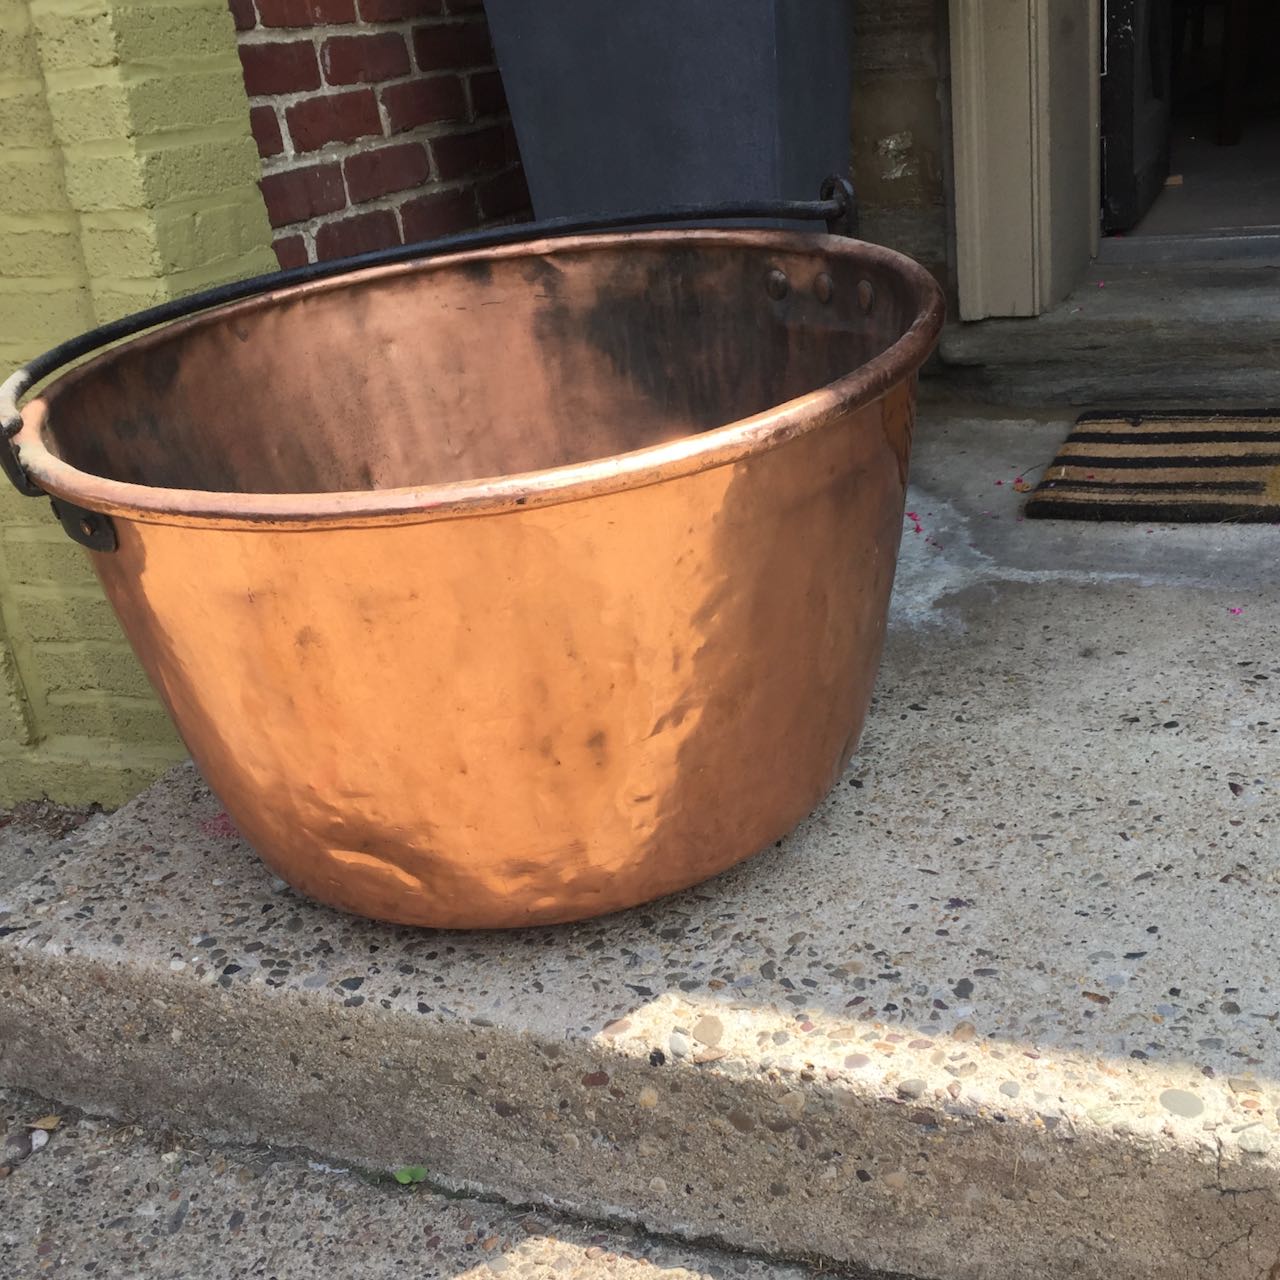
- A large pot or Dutch oven – This is where you’ll cook the apples down into a thick and flavorful mixture.
- A blender or immersion blender – You’ll use this to puree the cooked apples and achieve a smooth consistency.
- A fine-mesh strainer or cheesecloth – This is necessary for removing any solids and creating a silky smooth apple butter.
- Canning jars with lids – These will be used for storing the apple butter. Make sure they are clean and in good condition.
- A canning pot or large stockpot – This is needed for sterilizing the jars and creating a vacuum seal during the canning process.
- A jar lifter or tongs – These tools will help you handle the hot jars safely during the canning process.
- A funnel – This will make transferring the apple butter into the jars much easier and cleaner.
- A ladle – You’ll use this to scoop the apple butter into the jars.
- A clean cloth – This will come in handy for wiping any spills or drips during the filling and sealing process.
It’s important to ensure that all the equipment you use for storing the apple butter is clean and thoroughly sanitized to prevent any contamination and spoilage.
Now that you have gathered the necessary ingredients and equipment, let’s proceed to the step-by-step process of storing homemade apple butter.
Step 1: Preparing the Apples
The first step in storing homemade apple butter is to prepare the apples. Follow these simple instructions:
- Wash the apples thoroughly under running water to remove any dirt and debris. Pat them dry with a clean towel.
- Peel and core the apples. You can use a vegetable peeler or a knife to remove the skin, and a corer or a small knife to remove the core and seeds.
- Once the apples are peeled and cored, cut them into small chunks or slices. The size of the pieces doesn’t need to be uniform, as they will break down during the cooking process.
After you have prepared the apples, it’s time to move on to the next step: cooking them down into a flavorful mixture.
Step 2: Cooking the Apples
Now that the apples are prepped, it’s time to cook them down into a thick and luscious mixture. Here’s how:
- Place the prepared apples in a large pot or Dutch oven over medium heat.
- Add a splash of water to prevent the apples from sticking to the bottom of the pot.
- Cover the pot and let the apples cook for about 15-20 minutes, or until they are soft and tender.
- As the apples cook, stir occasionally to prevent them from burning and sticking to the bottom of the pot.
- Once the apples are cooked, remove the pot from the heat and let the mixture cool slightly.
- Next, you can either use a blender or an immersion blender to puree the cooked apples until smooth. Blend in batches if needed.
The cooking process brings out the natural sweetness of the apples and allows their flavors to concentrate. The resulting smooth puree will serve as the base for your apple butter.
Now that the apples are pureed, let’s move on to the next step: blending and straining the mixture to achieve a silky smooth consistency.
Store homemade apple butter in airtight containers in the refrigerator for up to 2 weeks, or freeze for longer storage. Be sure to leave some headspace in the container to allow for expansion during freezing.
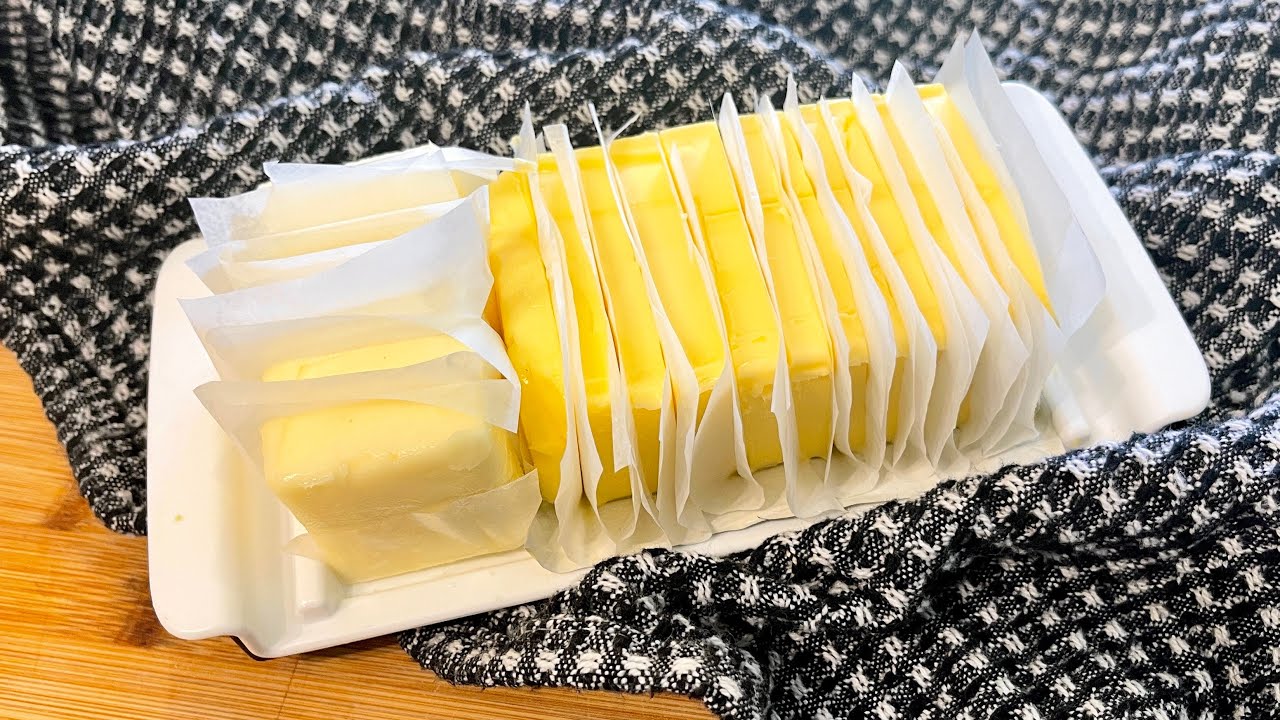
Read more: How To Store Homemade Butter
Step 3: Blending and Straining the Mixture
After cooking the apples and creating a smooth puree, it’s time to take your apple butter to the next level of silkiness. Follow these steps to blend and strain the mixture:
- Transfer the cooked apples to a blender or use an immersion blender directly in the pot. Blend until you achieve a smooth and uniform consistency.
- Once blended, pour the mixture through a fine-mesh strainer or cheesecloth to remove any solids and achieve a silky smooth texture. This step is optional, but it ensures a velvety finish to your apple butter.
- Press the mixture gently through the strainer or cheesecloth using the back of a spoon to extract as much liquid as possible. Discard any remaining solids.
By blending and straining the mixture, you remove any fibrous bits or chunks, resulting in a velvety texture that will make your apple butter irresistible.
With the mixture blended and strained, it’s time to move on to the next step: adding the sweeteners and spices to enhance the flavor of your apple butter.
Step 4: Adding the Sweeteners and Spices
Now that you have achieved a smooth and silky apple puree, it’s time to elevate the flavor of your apple butter by adding sweeteners and spices. Follow these steps:
- Return the strained apple puree to the pot or Dutch oven.
- Add granulated sugar and brown sugar to the apple puree. Adjust the amount of sugar based on the sweetness of your apples and your personal preference.
- Stir the mixture well to ensure the sugars are fully incorporated.
- Add cinnamon, nutmeg, cloves, and salt to the pot. These spices will enhance the taste and aroma of your apple butter.
- Stir the mixture again to evenly distribute the spices.
Adding the sweeteners and spices allows the flavors to develop and meld together, giving your apple butter a delicious and aromatic profile.
Once you have added the sweeteners and spices, it’s time to move on to the next step: sterilizing the jars to ensure the longevity of your apple butter.
Step 5: Sterilizing the Jars
Properly sterilizing the jars is crucial for preserving the freshness and quality of your homemade apple butter. Follow these steps to ensure the jars are clean and ready for storing:
- Start by washing the jars, lids, and bands in warm, soapy water.
- Rinse them thoroughly to remove any soap residue.
- Place the jars, lids, and bands in a large pot or canning pot.
- Fill the pot with enough water to completely submerge the jars.
- Bring the water to a boil and let it boil for at least 10 minutes to sterilize the jars.
- After boiling, carefully remove the jars, lids, and bands from the water using tongs or a jar lifter.
- Place them on a clean towel or rack to dry.
It’s important to ensure that the jars are completely dry before filling them with your apple butter. Any residual moisture could lead to contamination and spoilage.
With the jars sterilized and ready, it’s time to move on to the final step: storing the apple butter.
Step 6: Storing the Apple Butter
Now that you have gone through the process of preparing the apples, cooking them down into a smooth puree, adding sweeteners and spices, and sterilizing the jars, it’s time to store your homemade apple butter properly. Follow these steps:
- Ensure that the jars are still warm when filling them with apple butter. Warm jars help create a better seal.
- Using a clean ladle and funnel, carefully fill each jar with the apple butter, leaving about 1/2 inch of headspace at the top to allow for expansion during freezing or canning.
- Wipe the rims of the jars with a clean cloth to remove any spills or drips.
- Place the lid on each jar and screw on the bands until they are fingertip tight. This means tightening them just until resistance is felt, without over-tightening.
- If you plan to store your apple butter in the refrigerator, place the filled jars in the refrigerator immediately. They can be kept in the fridge for up to 2 weeks.
- If you choose to can your apple butter for long-term storage at room temperature, process the jars in a water bath canner for the recommended time based on your altitude and jar size. Follow canning guidelines for safety.
- After processing or refrigerating, allow the jars to cool completely before storing them in a cool, dark place away from direct sunlight.
Properly sealed jars of apple butter can be stored in a cool, dark place for up to one year. However, it’s important to check for any signs of spoilage before consuming the apple butter.
Congratulations! You have successfully stored your homemade apple butter. Now, you can enjoy the delicious flavors of autumn all year round.
I hope this guide has been helpful in assisting you with storing your homemade apple butter. Enjoy the fruits of your labor and savor the delightful taste of this versatile and irresistible condiment!
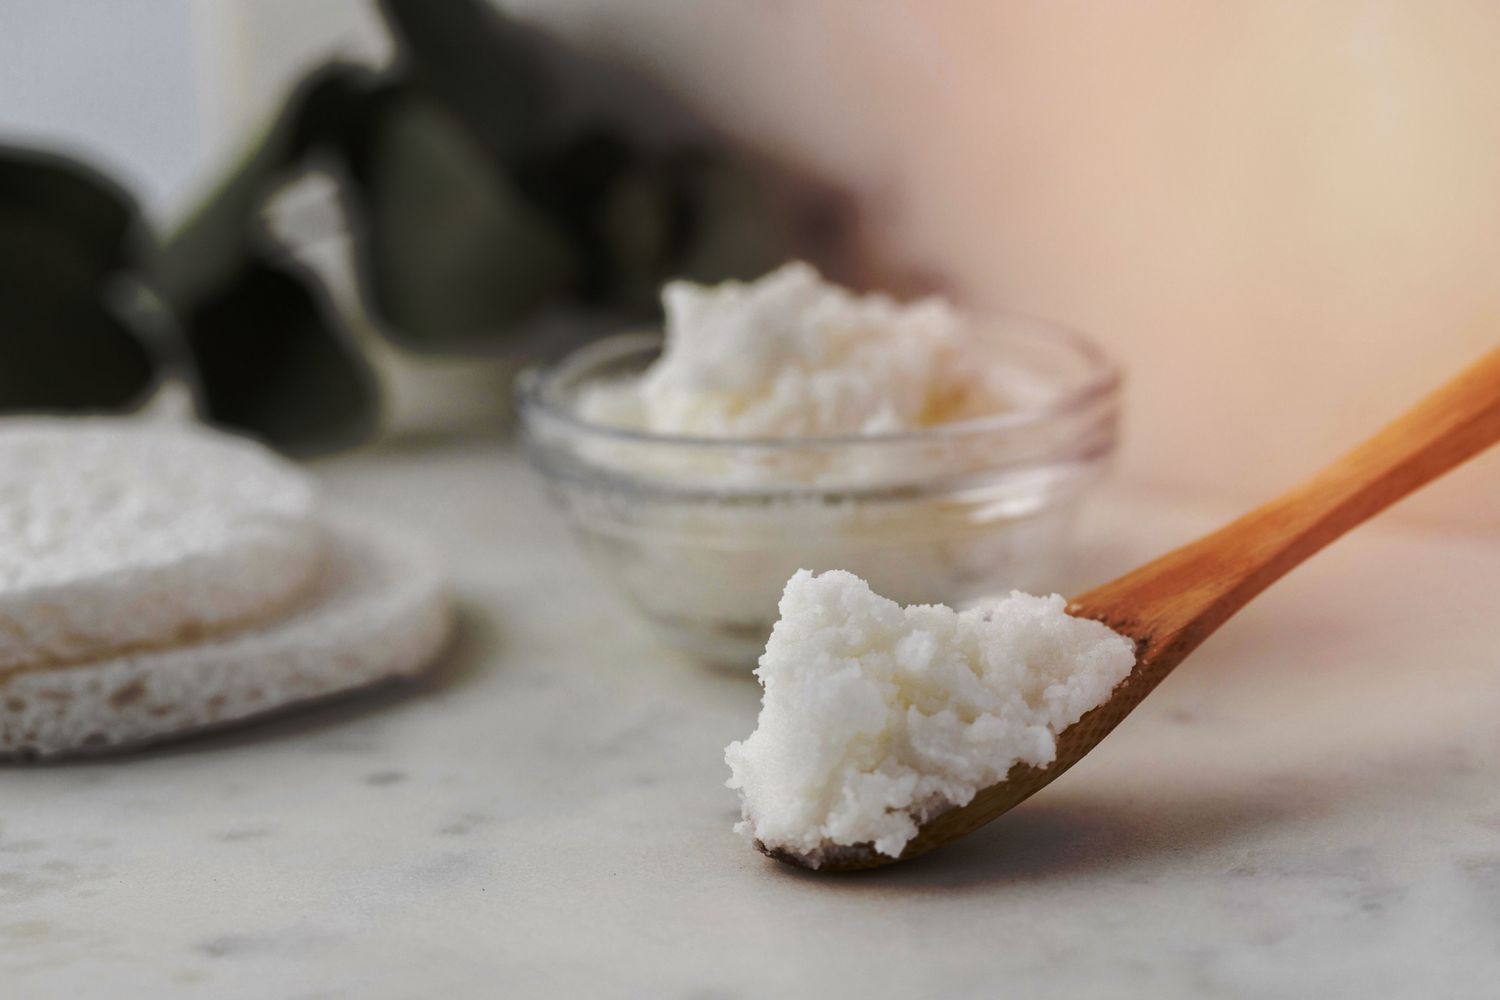
Read more: How To Store Homemade Almond Butter
Conclusion
Congratulations on successfully learning how to store homemade apple butter! You now have the knowledge and skills to preserve this delectable spread so you can enjoy it long after apple-picking season is over.
By following the steps outlined in this guide, you learned how to prepare the apples, cook them down into a smooth puree, add sweeteners and spices, sterilize the jars, and properly store the apple butter. These practices ensure that your apple butter maintains its taste and quality, allowing you to savor the flavors of autumn all year round.
Whether you choose to store your apple butter in the refrigerator for short-term enjoyment or can it for long-term storage at room temperature, be sure to follow the appropriate guidelines and safety measures. This will help ensure the longevity of your homemade apple butter and prevent any spoilage or contamination.
Remember to label your jars with the date of preparation, and check for any signs of spoilage before consuming the apple butter. If you notice any bulging lids, strange odors, or mold growth, discard the jar immediately.
Now that you have mastered the art of storing homemade apple butter, you can enjoy this delicious condiment on toast, pancakes, muffins, or incorporate it into various recipes to add a touch of sweetness and depth of flavor.
Thank you for joining us on this journey of preserving the flavors of autumn. We hope you have found this guide helpful and that it has inspired you to explore the possibilities of homemade apple butter storage. Happy cooking and enjoy your delicious homemade apple butter!
Frequently Asked Questions about How To Store Homemade Apple Butter
Was this page helpful?
At Storables.com, we guarantee accurate and reliable information. Our content, validated by Expert Board Contributors, is crafted following stringent Editorial Policies. We're committed to providing you with well-researched, expert-backed insights for all your informational needs.


0 thoughts on “How To Store Homemade Apple Butter”