

Articles
How To Store Homemade Biscuits
Modified: December 7, 2023
Learn the best way to store your homemade biscuits to keep them fresh and tasty for longer. Read our articles for expert tips and tricks on biscuit storage.
(Many of the links in this article redirect to a specific reviewed product. Your purchase of these products through affiliate links helps to generate commission for Storables.com, at no extra cost. Learn more)
Introduction
Homemade biscuits are a delightful treat that can be enjoyed any time of the day. Whether you bake them for breakfast, enjoy them as a snack, or include them as part of a dinner spread, homemade biscuits bring comfort and satisfaction to any meal. However, since biscuits are best when enjoyed fresh from the oven, you may be wondering how to store them properly to maintain their deliciousness. In this article, we will guide you through the steps to store your homemade biscuits, ensuring that they stay fresh and flavorful for longer.
Properly storing homemade biscuits is essential to preserve their taste, texture, and overall quality. If not stored correctly, biscuits can quickly become stale and lose their crispness. Furthermore, if exposed to moisture or improper storage conditions, they may even develop mold or spoil. By following the steps outlined in this article, you can avoid these issues and enjoy your homemade biscuits for days to come!
Key Takeaways:
- Properly store homemade biscuits by allowing them to cool, using an airtight container, and lining it with parchment paper. Store in a cool, dry place and reheat for a fresh-out-of-the-oven experience.
- Storing homemade biscuits is crucial for maintaining their freshness and flavor. Follow the steps to ensure they stay delicious, crispy, and ready to enjoy whenever you desire.
Read more: How To Store Biscuits
Step 1: Allow the Biscuits to Cool
After baking a batch of delicious homemade biscuits, it’s essential to allow them to cool completely before attempting to store them. This step is crucial because if you store the biscuits while they are still warm, condensation can form inside the container, leading to a loss of crispness and potentially causing them to become soggy. Patience is key here, as you want to give the biscuits enough time to cool down before proceeding to the next step.
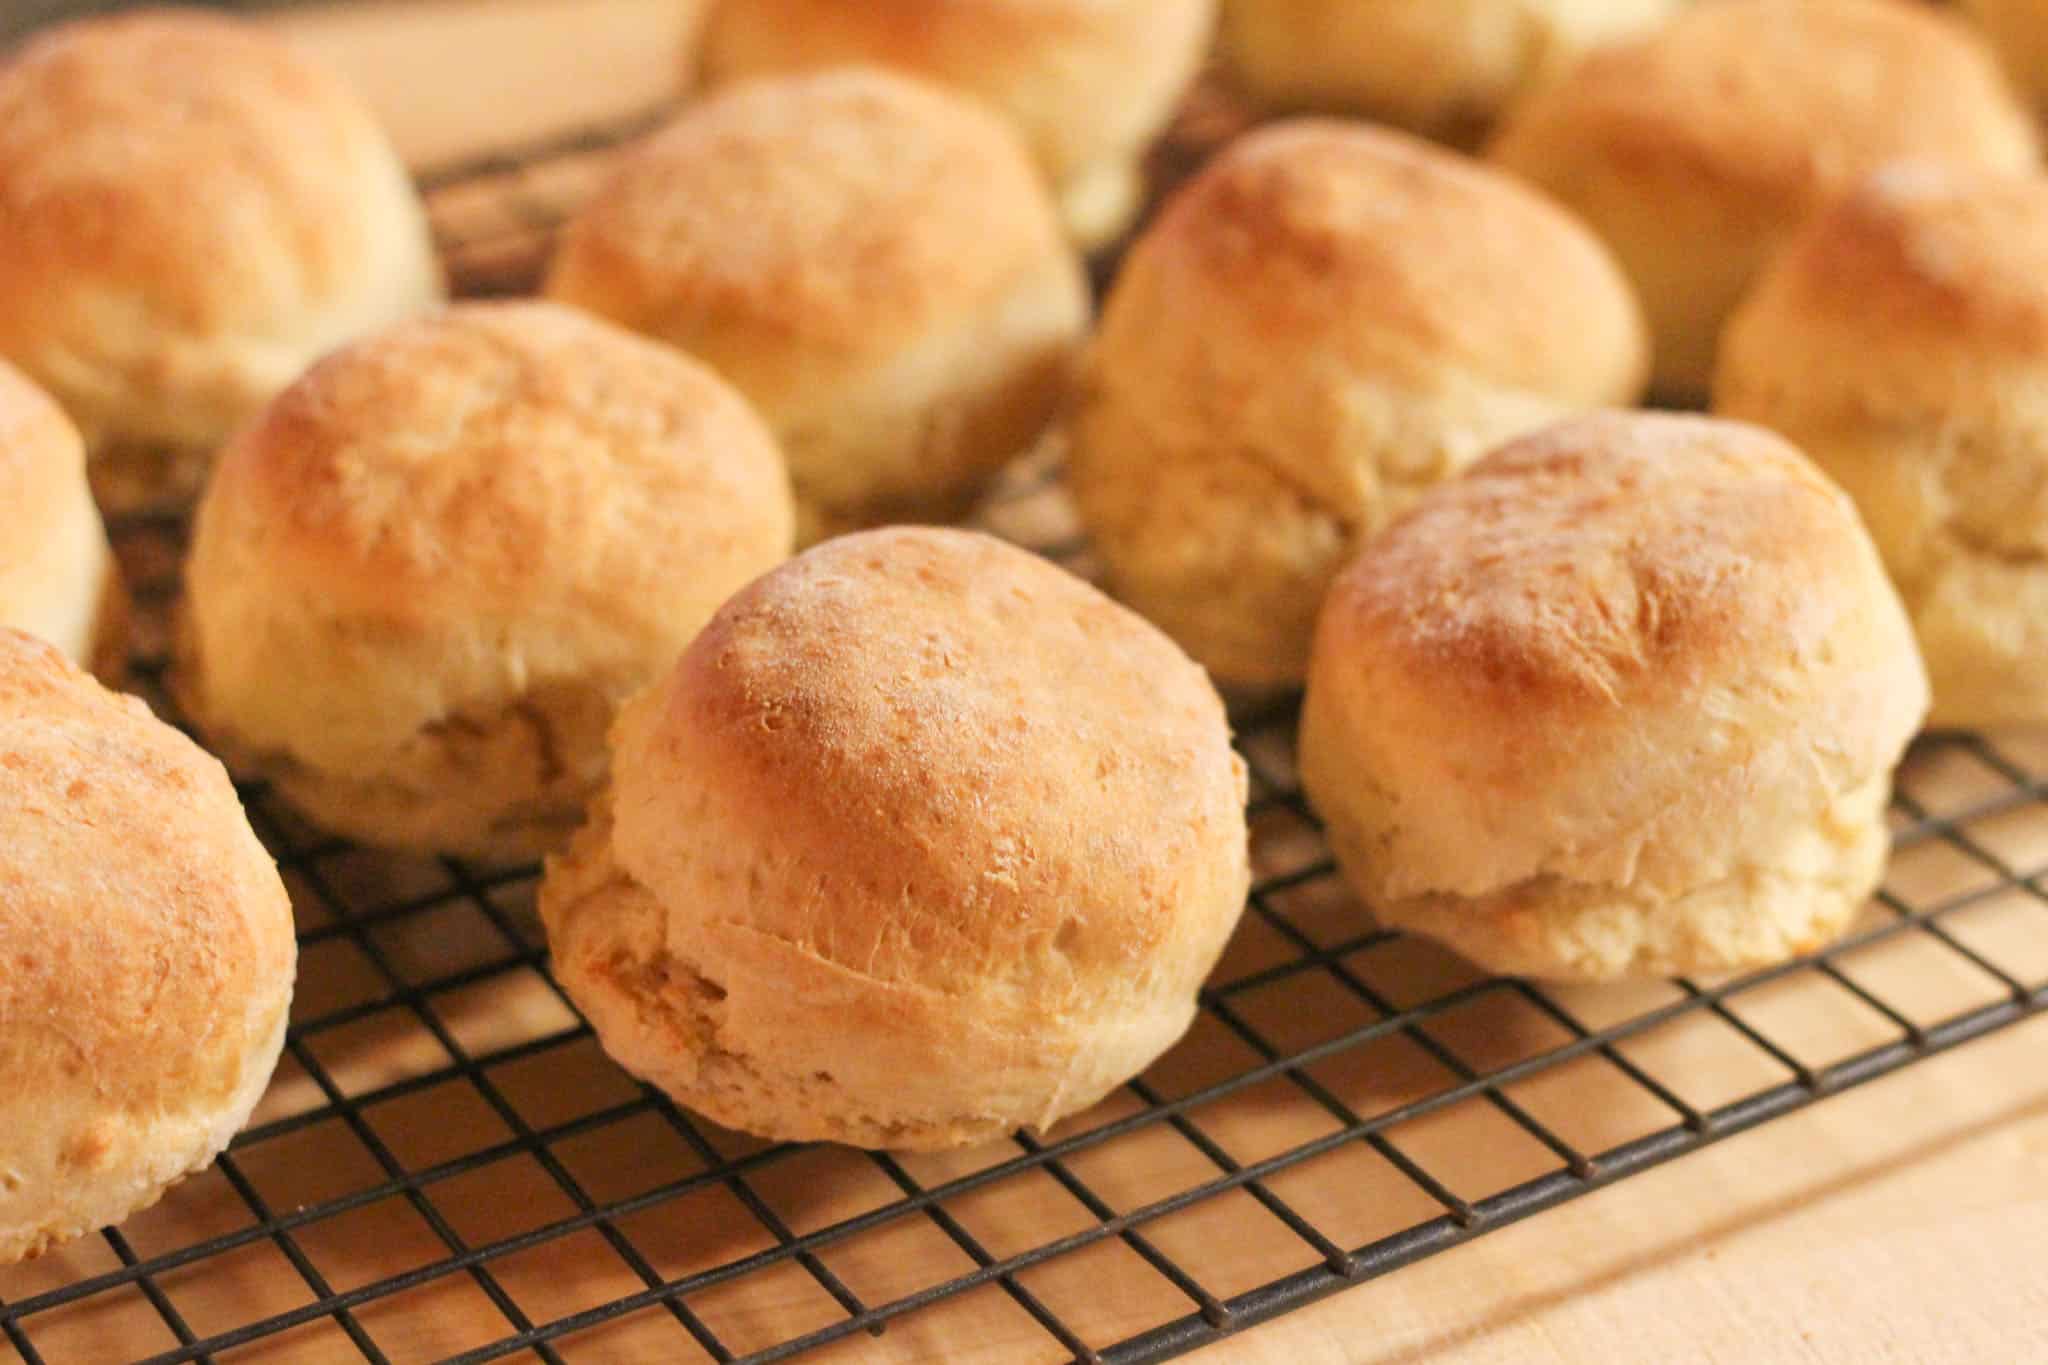
Once you’ve taken your biscuits out of the oven, transfer them to a wire cooling rack or a clean, dry surface. Leaving them directly on the baking sheet can trap excess heat and prevent proper cooling. It’s best to place the biscuits in a single layer with space in between each one to ensure even cooling. This will also prevent them from sticking together later on.
It generally takes about 20-30 minutes for biscuits to cool down completely. However, the cooling time may vary depending on the size and thickness of your biscuits. Be sure to be patient and resist the temptation to rush the process. Properly cooled biscuits will retain their fluffiness and be less prone to becoming soggy when stored.
By allowing your biscuits to cool completely, you are setting the stage for successful storage and preserving their taste and texture. Once your biscuits have cooled down, you can move on to the next step of preparing them for storage.
Step 2: Prepare the Storage Container
Choosing the right storage container is essential to keep your homemade biscuits fresh and prevent them from getting crushed or damaged. Ideally, you want a container that provides an airtight seal to keep out moisture and maintain the biscuits’ crispness. Here’s how you can prepare the storage container:
1. Clean and dry the container: Before using any container, make sure it is clean and dry. Wash the container with warm, soapy water and rinse it thoroughly. Allow it to air dry completely or wipe it dry with a clean cloth.
2. Choose the right size: Select a container that can accommodate your biscuits without overcrowding them. Leaving some space around the biscuits will help prevent them from getting compressed and losing their shape.
3. Opt for an airtight container: Look for a container with a tight-fitting lid or a snap-on lid that forms a seal. This will prevent air and moisture from entering the container, ensuring that your biscuits stay fresh and crispy.
4. Consider using a BPA-free container: If possible, choose a container that is BPA-free to avoid any potential health risks associated with plastic containers.
5. Label the container: It’s a good practice to label the storage container with the date on which the biscuits were baked. This will help you keep track of their freshness and ensure you consume them before they go stale.
Preparing the storage container is an essential step in the biscuit storage process. By using a clean, appropriately sized, and airtight container, you can maintain the freshness and quality of your homemade biscuits for an extended period.
Step 3: Line the Container with Parchment Paper
Lining the storage container with parchment paper serves multiple purposes when storing homemade biscuits. It helps prevent the biscuits from sticking to the container, adds a protective layer, and helps maintain their crispness. Follow these steps to line your container with parchment paper:
1. Cut a piece of parchment paper: Measure the size of the container’s bottom and cut a piece of parchment paper to fit. Make sure the parchment paper covers the entire bottom surface of the container.
2. Optional: Cut additional parchment paper sheets: If you plan to stack multiple layers of biscuits in the container, cut additional pieces of parchment paper to place between each layer. This will prevent them from sticking together and make it easier to remove individual biscuits when you want to enjoy them.
3. Place the parchment paper in the container: Once you’ve cut the parchment paper pieces, gently place the first piece in the bottom of the container. Smooth it out to ensure it lies flat against the surface.
4. Repeat for additional layers: If you’re stacking multiple layers of biscuits, place the additional parchment paper sheets on top of each layer before adding the next layer of biscuits. This will create a barrier to prevent them from sticking during storage.
Lining the container with parchment paper provides a non-stick surface for your biscuits and helps preserve their shape and texture. It also makes it easier to handle and remove the biscuits when you’re ready to enjoy them. Take the time to line your storage container with parchment paper for optimal biscuit storage results.
Step 4: Place the Biscuits in the Container
Now that you have prepared the storage container, it’s time to carefully place your homemade biscuits inside. Follow these steps to ensure proper placement:
1. Arrange the biscuits in a single layer: Start by placing the cooled biscuits in a single layer at the bottom of the container. Make sure to leave some space between each biscuit to prevent them from sticking together.
2. Optional: Use parchment paper between layers: If you’re storing multiple layers of biscuits, place a sheet of parchment paper on top of the first layer before adding the next layer. This will further protect the biscuits and prevent them from sticking.
3. Continue layering if needed: If you have more biscuits than can fit in a single layer, repeat the process of placing biscuits and adding parchment paper until all the biscuits are in the container. Remember to leave a bit of space so that the biscuits don’t get squished when you close the container.
4. Ensure the biscuits are evenly placed: Take a moment to adjust the biscuits if needed, ensuring they are evenly distributed within the container. This will help them maintain their shape and prevent any unnecessary pressure on certain biscuits.
By placing the biscuits in a single layer and using parchment paper between layers (if applicable), you are creating a protective environment within the container. This will help maintain the biscuits’ texture and prevent them from sticking together or losing their shape during storage.
Store homemade biscuits in an airtight container at room temperature for up to 3 days. For longer storage, freeze in a zip-top bag for up to 3 months.
Read more: How To Store Pillsbury Biscuits
Step 5: Seal the Container
Sealing the storage container properly is crucial to maintain the freshness and quality of your homemade biscuits. By creating an airtight seal, you can prevent moisture and air from entering, which can cause the biscuits to become stale or lose their crispness. Follow these steps to seal your container:
1. Ensure the container lid is clean and dry: Before sealing the container, make sure the lid is clean and dry. Wipe it down with a clean cloth to remove any moisture or debris that could compromise the seal.
2. Place the lid on the container: Carefully position the lid onto the container, ensuring it is aligned properly. Press down firmly to create a tight seal.
3. Check for any gaps or openings: After securing the lid, inspect the container for any gaps or openings. Run your fingers along the edges to ensure there are no areas where air or moisture can enter. If you notice any gaps, adjust the lid or consider using additional sealing methods.
4. Consider using plastic wrap or aluminum foil: If you want an extra layer of protection, you can wrap the container with plastic wrap or cover it with aluminum foil before putting on the lid. This will provide an added barrier against air and moisture.
By sealing the container properly, you are creating a controlled environment that helps preserve the freshness and crispness of your homemade biscuits. A secure seal will also prevent any unwanted odors or flavors from seeping into the biscuits, ensuring they maintain their delicious taste.
Step 6: Store in a Cool, Dry Place
Once you have properly sealed the container with your homemade biscuits, it’s time to find an ideal location for storage. Choosing the right environment is crucial to maintain the quality and freshness of your biscuits. Follow these guidelines for storing your biscuits:
1. Find a cool location: Biscuits are best stored in a cool environment. Avoid placing them near a heat source like stoves or direct sunlight, as this can cause them to become dry or lose their shape. Find a cool area in your pantry, cupboard, or refrigerator to store the container.
2. Avoid high humidity: Moisture is the enemy of crisp biscuits. Avoid storing them in areas of high humidity, such as near sinks or a dishwasher. Moisture can make the biscuits go stale or even become moldy. Ensure the storage location is dry and well-ventilated.
3. Keep away from strong odors: Biscuits are susceptible to absorbing odors from their surroundings. Keep them away from strong-smelling items like onions, garlic, or cleaning products. This will ensure that the biscuits maintain their original delicious taste.
4. Maintain a consistent temperature: Fluctuations in temperature can affect the texture and quality of the biscuits. Aim to store them in a location where the temperature remains relatively constant. Avoid areas that experience extreme temperature changes, such as near the oven or a drafty window.
By storing your homemade biscuits in a cool, dry place, you are taking the necessary steps to preserve their freshness and texture. Pay attention to the storage location, ensuring it meets the requirements of coolness, low humidity, and protection from strong odors.
Step 7: Reheating the Biscuits
When you’re ready to enjoy your stored homemade biscuits, you’ll likely want to reheat them to bring back their warm, fresh-out-of-the-oven goodness. Follow these steps to reheat your biscuits:
1. Preheat the oven: Preheat your oven to around 350°F (175°C). Allow it to reach the desired temperature while you prepare the biscuits.
2. Remove the biscuits from the container: Carefully open the container and remove the desired number of biscuits. Place them on a baking sheet or a wire rack, ensuring they are evenly spaced apart.
3. Cover with foil: If you want to prevent the biscuits from drying out while reheating, cover them loosely with aluminum foil.
4. Reheat in the oven: Place the baking sheet or wire rack with the biscuits into the preheated oven. Heat them for about 5-10 minutes, or until they are warm throughout. Keep a close eye on them to prevent over-browning.
5. Check for desired texture: After the suggested reheating time, remove one biscuit and check its texture. If it hasn’t reached your desired warmth and crispness, place it back in the oven for a few more minutes. Repeat this process until all the biscuits are reheated to your liking.
6. Serve and enjoy: Once the biscuits are reheated to perfection, remove them from the oven and serve immediately. They will be warm, flaky, and ready to be enjoyed with butter, jam, or any other desired toppings.
Note: If you prefer a quicker reheating method, you can also use a microwave. Wrap the biscuit(s) in a damp paper towel and microwave them for about 20-30 seconds. However, this method may result in softer biscuits, so keep that in mind.
By following these steps, you can bring back the deliciousness of your homemade biscuits and enjoy them as if they were freshly baked. Reheating them properly will help maintain their texture, flavor, and overall quality.
Conclusion
Storing homemade biscuits properly is essential to preserve their taste, texture, and overall quality. By following the steps outlined in this article, you can ensure that your homemade biscuits stay fresh, delicious, and enjoyable for an extended period.
Allowing the biscuits to cool completely before storing is crucial to maintain their crispness. Preparing the storage container by choosing the right size and ensuring it has an airtight seal will help protect the biscuits from moisture and maintain their freshness. Lining the container with parchment paper adds an extra layer of protection and prevents sticking. Properly placing the biscuits in the container, with enough space between each one, will prevent them from getting squished or sticking together.
Sealing the container tightly and storing it in a cool, dry place away from strong odors and high humidity will help maintain the biscuits’ texture and taste. When you’re ready to enjoy the stored biscuits, reheating them in the oven or microwave will bring back their warm, fresh-out-of-the-oven goodness.
Remember, storing homemade biscuits is not just about maintaining their freshness; it’s also about maximizing your enjoyment. When you take the time to store them properly, you can have a delightful treat ready to enjoy whenever you desire.
So, the next time you bake a batch of homemade biscuits, use these storage tips to extend their shelf life and ensure that every bite is as delicious as the first. Happy baking and storing!
Frequently Asked Questions about How To Store Homemade Biscuits
Was this page helpful?
At Storables.com, we guarantee accurate and reliable information. Our content, validated by Expert Board Contributors, is crafted following stringent Editorial Policies. We're committed to providing you with well-researched, expert-backed insights for all your informational needs.







0 thoughts on “How To Store Homemade Biscuits”