
Articles
How To Store Baked Biscuits
Modified: December 7, 2023
Learn the best techniques for storing your freshly baked biscuits to keep them fresh and delicious for longer. Discover expert tips and tricks in this informative articles.
(Many of the links in this article redirect to a specific reviewed product. Your purchase of these products through affiliate links helps to generate commission for Storables.com, at no extra cost. Learn more)
Introduction
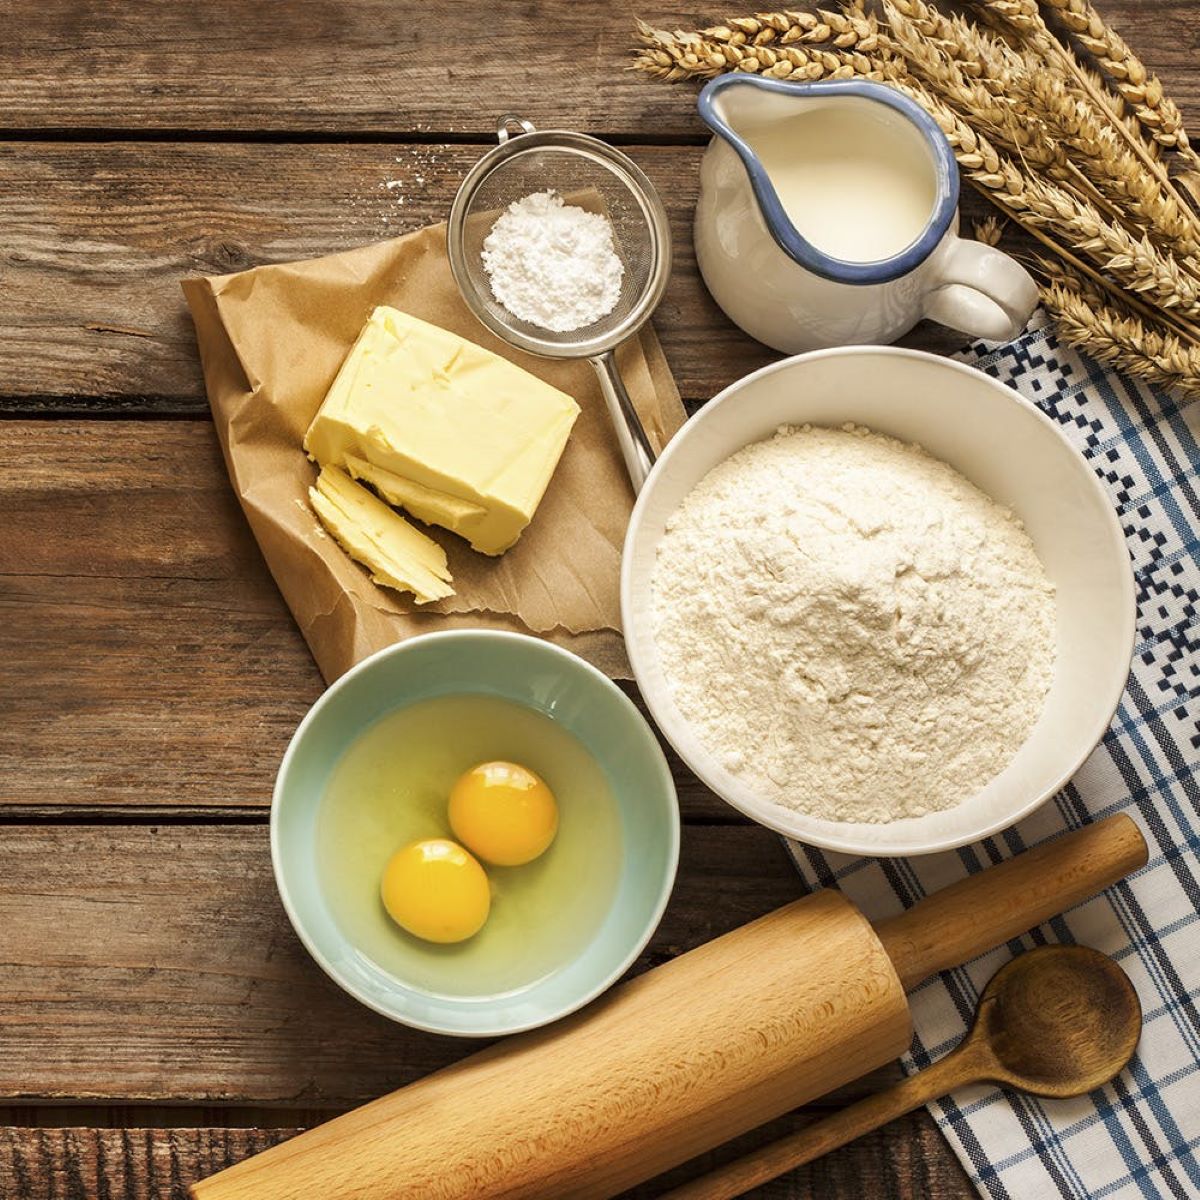
Nothing beats the delicious aroma and taste of freshly baked biscuits. Whether you have baked a batch of flaky buttermilk biscuits, tender cheddar biscuits, or sweet cinnamon sugar biscuits, it’s important to store them properly to maintain their freshness and texture.
Properly storing baked biscuits not only ensures their longevity but also allows you to enjoy them at their best, even a few days later. In this article, we will guide you through the steps of storing baked biscuits to preserve their flavor and keep them from becoming stale.
So, if you find yourself with leftover biscuits after a meal or have made a large batch for future enjoyment, read on to discover the best ways to store your baked goodies.
Key Takeaways:
- Properly cooling baked biscuits is crucial to maintain their texture and flavor. Airtight containers and proper labeling help preserve freshness, while freezing extends their shelf life for future enjoyment.
- Reheating baked biscuits using various methods revives their warm, fresh taste. Quality ingredients, gentle handling, and proper storage containers are key to maintaining their deliciousness for longer periods.
Read more: How To Store Unused Biscuit Dough
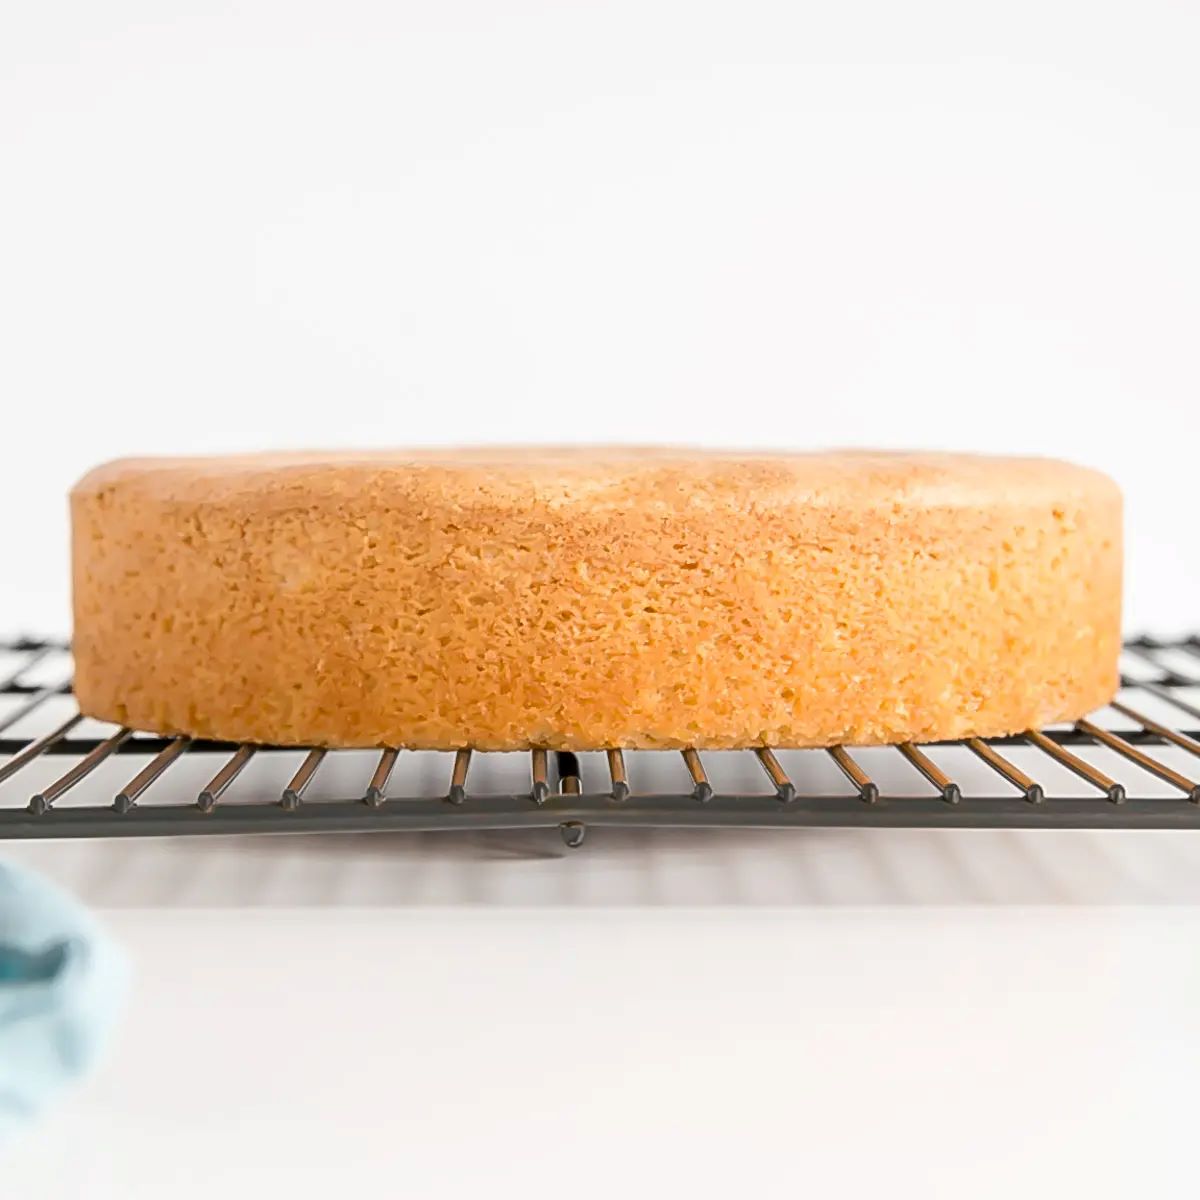
Proper Cooling
Before storing baked biscuits, it’s crucial to allow them to cool completely. This step is essential to prevent moisture buildup, which can lead to a soggy texture or mold development.
Once your biscuits are out of the oven, place them on a wire rack to cool. This allows air to circulate around the biscuits, preventing condensation from forming on the bottom and sides. Remember to leave some space between each biscuit to ensure proper cooling.
Avoid covering the biscuits while they are still warm, as this can trap in steam and make them mushy. Let them sit at room temperature for at least an hour or until they have cooled down completely.
Proper cooling not only helps preserve the texture but also prevents any undesirable changes in the taste of the biscuits. Once they have cooled down, you can proceed with storing them for later consumption.
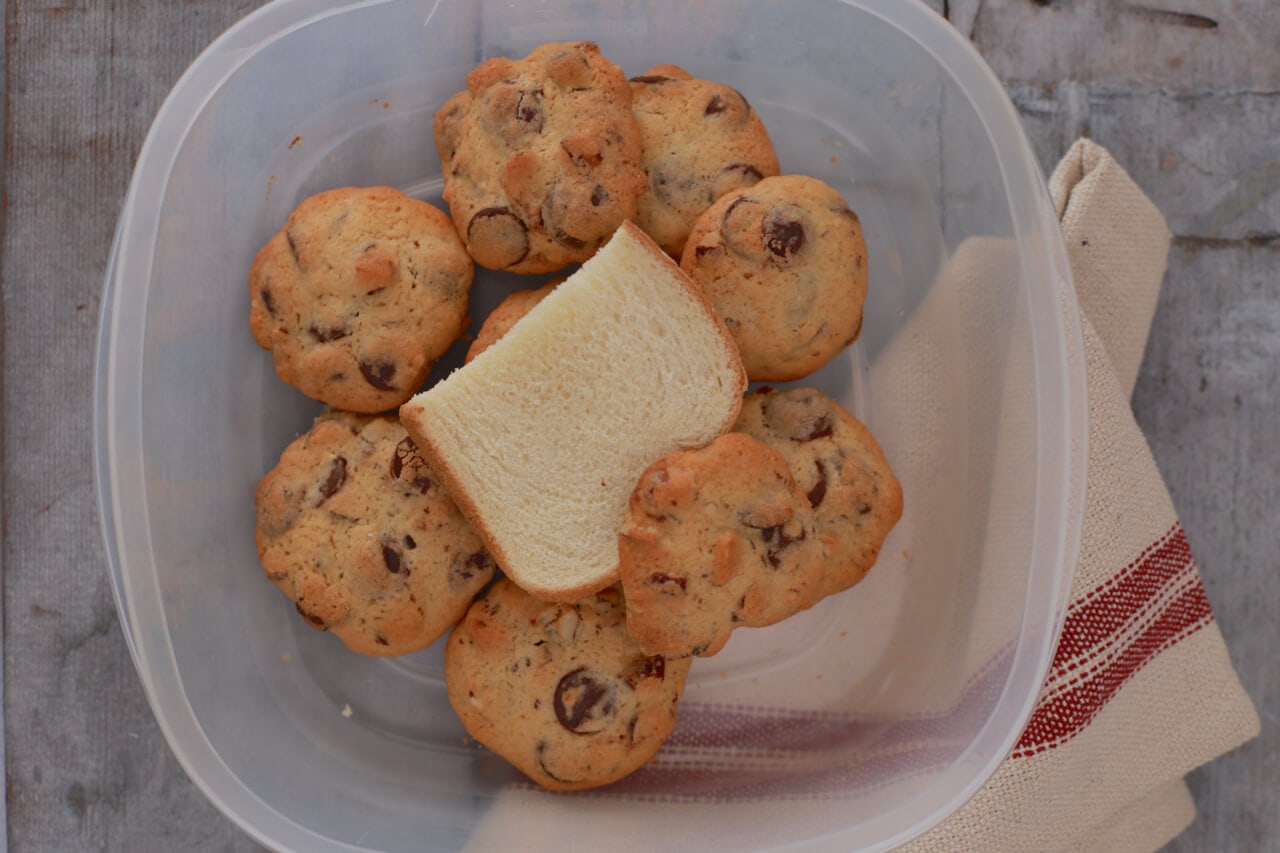
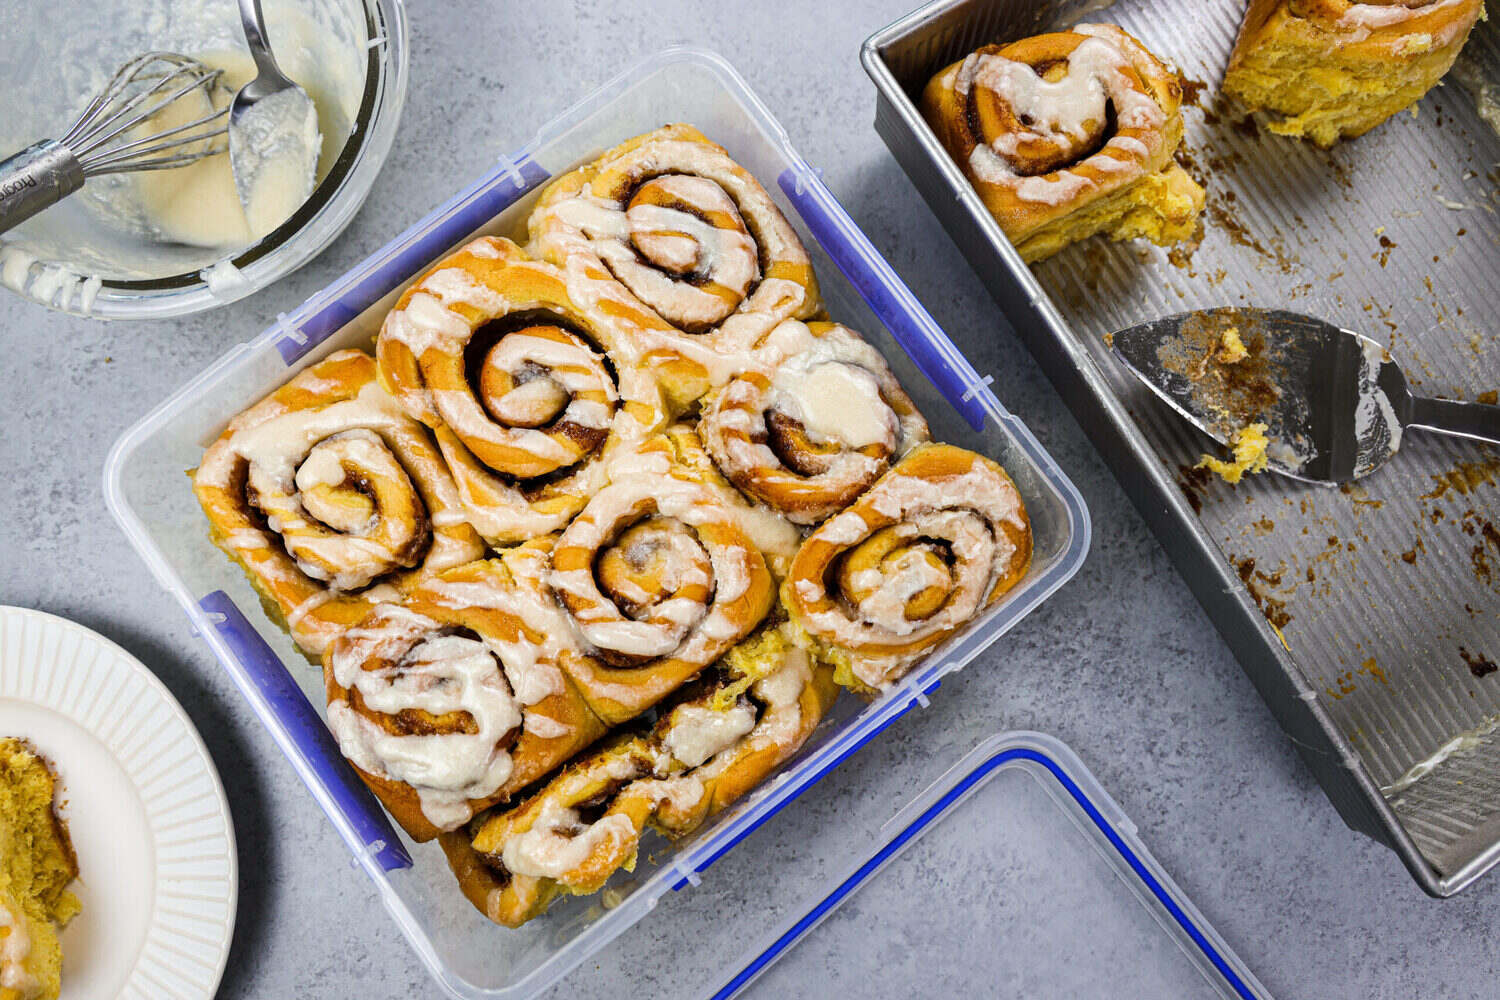
Airtight Container
One of the best ways to keep your baked biscuits fresh is by storing them in an airtight container. Airtight containers create a barrier that prevents air from entering and moisture from escaping, helping to maintain the biscuits’ texture and flavor.
Choose a container that is large enough to accommodate your biscuits without overcrowding them. It’s important to avoid stacked biscuits, as they may stick together or become squished.
Before placing the biscuits in the container, line the bottom with a layer of parchment paper or wax paper. This helps to prevent any potential sticking and makes it easier to remove the biscuits when you’re ready to enjoy them.
Arrange the biscuits in a single layer, making sure to leave some space between each one. If you need to stack the biscuits, place a sheet of parchment paper between each layer to prevent them from sticking together.
Once your biscuits are neatly arranged, seal the container tightly to create an airtight seal. This ensures that the biscuits retain their moisture and freshness for an extended period.
Remember to label the container with the date you baked the biscuits to keep track of their freshness. Stored in an airtight container, your baked biscuits can typically last for 2-3 days without sacrificing flavor and texture.
Storage in the Pantry
If you plan to consume your baked biscuits within a few days, storing them in the pantry can be a convenient option. However, it’s essential to follow some guidelines to ensure they remain fresh and edible.
Firstly, make sure your biscuits are completely cooled before transferring them to the pantry. Warm biscuits can create condensation in the container, leading to a loss of crispness and potentially mold growth.
Choose a cool and dry spot in your pantry to store the biscuits. Avoid areas that are exposed to direct sunlight or excessive heat, as this can cause the biscuits to become stale or spoil faster.
If you’re using an airtight container, place the biscuits inside and seal it tightly. If you don’t have an airtight container, you can use a resealable plastic bag. Squeeze out as much air as possible before sealing it.
Label the container or bag with the baking date for easy reference. This way, you’ll know when it’s time to consume the biscuits before they start to lose their freshness.
Remember to periodically check the biscuits for any signs of moisture, mold, or staleness. If you notice any of these issues, it’s best to discard the biscuits to avoid any potential health risks.
Storing baked biscuits in the pantry is a convenient method, but keep in mind that their shelf life will be shorter compared to storing them in the freezer. It’s advisable to consume the biscuits within 2-3 days for optimal taste and quality.
Store baked biscuits in an airtight container at room temperature for up to 3 days. For longer storage, freeze in a resealable plastic bag for up to 3 months.
Freezing the Baked Biscuits
If you want to extend the shelf life of your baked biscuits beyond a few days, freezing them is a great option. Freezing not only keeps the biscuits fresh for a longer period but also allows you to have homemade biscuits readily available whenever you crave them.
To freeze your baked biscuits, start by allowing them to cool completely. Once cooled, place the biscuits in a single layer on a baking sheet lined with parchment paper. Make sure the biscuits are not touching each other.
Transfer the baking sheet with the biscuits to the freezer and let them freeze for about 2 hours or until they are firm. This initial freeze will prevent the biscuits from sticking together when stored in a container or bag.
After the biscuits have frozen, remove them from the baking sheet and transfer them to an airtight container or resealable freezer bags. Squeeze out as much air as possible before sealing the container or bag to prevent freezer burn.
Label the container or bag with the baking date to ensure you can keep track of their freshness. Frozen biscuits can generally be stored for up to 2-3 months.
When you’re ready to enjoy the frozen biscuits, simply remove the desired number of biscuits from the freezer and let them thaw at room temperature for about 30 minutes to an hour, or until they become soft and pliable.
To bring back the freshness and crispness, preheat your oven to 350°F (175°C) and place the thawed biscuits on a baking sheet. Bake them for 5-7 minutes or until they are warm and revived.
Freezing your baked biscuits allows you to have a tasty treat on hand whenever the craving strikes. Plus, it saves you time and effort, as you can bake a larger batch and freeze the extras for future consumption.
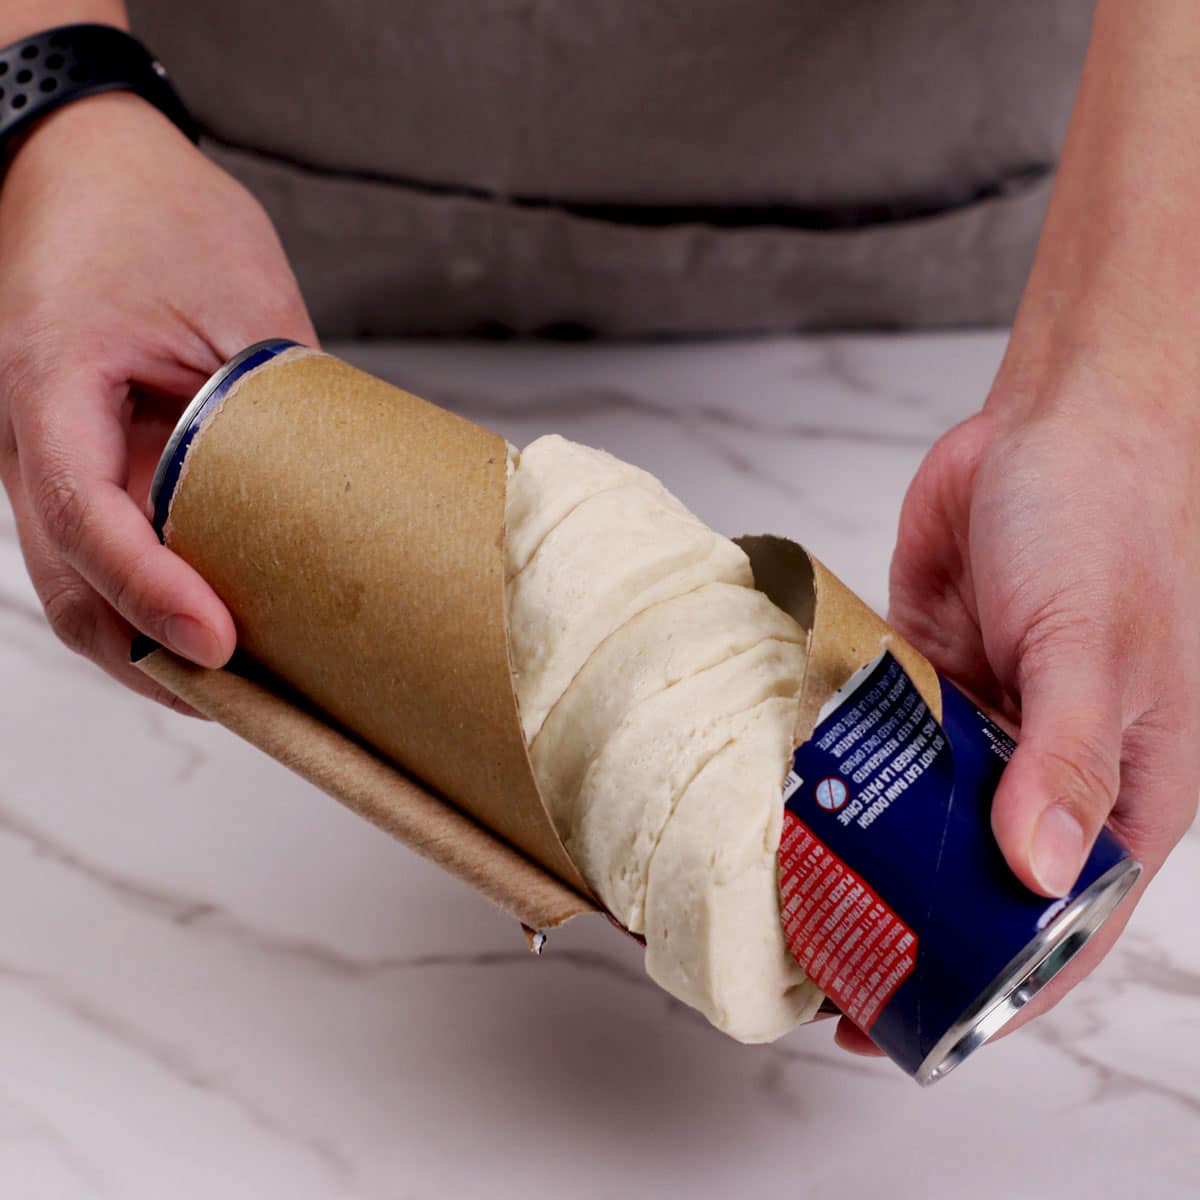
Read more: How To Store Unused Canned Biscuits
Reheating the Biscuits
When it comes to enjoying your stored or frozen baked biscuits, reheating them properly is the key to restoring their freshness and deliciousness. Whether you’ve stored them in the pantry or frozen them for later use, here are a few ways to reheat your biscuits:
1. Oven Method: Preheat your oven to 350°F (175°C) and place the biscuits on a baking sheet. If they are frozen, let them thaw at room temperature for about 30 minutes. Bake the biscuits for 5-7 minutes or until they are heated through. This method helps to restore the crisp edges and tender interior of the biscuits.
2. Toaster or Toaster Oven: If you prefer a quick and convenient option, you can use a toaster or toaster oven to reheat your biscuits. Slice the biscuits in half horizontally and place them in the toaster or toaster oven. Toast them for a few minutes until they are warm and slightly crispy.
3. Microwave: If you’re in a hurry, you can use a microwave to reheat your biscuits. Place the biscuits on a microwave-safe plate and heat them on high for 20-30 seconds. Keep an eye on them to avoid overcooking, as they can become tough if microwaved for too long.
Remember, reheating times may vary depending on the size and thickness of your biscuits, as well as the power of your appliances. It’s best to keep a close eye on them to prevent them from drying out or becoming overcooked.
Regardless of the reheating method you choose, always allow the biscuits to cool slightly before enjoying them to avoid any risk of burning your mouth.
Reheating your baked biscuits revives their warm and fresh taste, making them just as enjoyable as when they were freshly baked. So, whether you’re enjoying them for breakfast, as a snack, or as a delightful accompaniment to a meal, reheating brings them back to their mouthwatering best.
Tips for Maintaining Freshness
If you want to ensure the long-lasting freshness of your baked biscuits, here are some additional tips to keep in mind:
1. Don’t cut corners with ingredients: Make sure to use fresh and high-quality ingredients when baking your biscuits. This will contribute to their overall flavor and texture, and also enhance their shelf life.
2. Avoid moisture exposure: Moisture is the enemy of baked goods. Store your biscuits in a cool and dry environment to prevent them from becoming soggy or molding. Ensure they are completely cooled before storing.
3. Handle biscuits gently: Avoid excessive handling of the biscuits to prevent them from crumbling or losing their shape. Use a spatula or your hands with gentle care when transferring them to storage containers.
4. Use proper storage containers: Choose airtight containers or resealable bags that provide an effective barrier against air and moisture. This will help maintain the texture and flavor of the biscuits for an extended period.
5. Store small batches: If you anticipate consuming your biscuits within a few days, store them in smaller batches. This allows you to open and access only the quantity you need, preserving the freshness of the remaining biscuits.
6. Label and date: Always label your storage containers or bags with the baking date. This will help you keep track of freshness and ensure you consume the biscuits within their recommended shelf life.
7. Avoid direct sunlight and heat: Store your biscuits away from direct sunlight and heat sources. Excessive exposure to light and heat can accelerate the staling process and compromise the quality of your biscuits.
8. Don’t mix flavors: When storing different flavors of biscuits together, they can absorb each other’s aromas and flavors. If you want to store multiple flavors, consider using separate containers or placing them in individual compartments within a larger container.
By following these tips, you can maintain the freshness and deliciousness of your baked biscuits for a longer period, ensuring that every bite is as enjoyable as the first.
Conclusion
Properly storing baked biscuits is essential for maintaining their freshness and ensuring you can enjoy their delicious flavors even days after they are baked. Whether you choose to store them in the pantry or freeze them for future use, following the right storage methods will help preserve their texture, taste, and overall quality.
Allowing your biscuits to cool completely before storage and using airtight containers or freezer bags are important steps in preventing moisture buildup and maintaining their crispness. Labeling and dating your containers ensure you keep track of their freshness and consume them within the recommended time frame.
If you have a surplus of baked biscuits, freezing them provides a convenient method to enjoy homemade biscuits anytime. Properly reheating the biscuits, whether using an oven, toaster, or microwave, helps bring back their warmth and delightful texture.
Remember, the quality of your baked biscuits greatly depends on the ingredients used. Fresh and high-quality ingredients contribute to the overall taste and shelf life of your biscuits, so be sure to use the best ingredients you can find.
With these tips in mind, you can confidently store and enjoy your baked biscuits for longer periods. Whether you’re savoring them with a cup of tea in the morning or using them as a base for delicious sandwiches, your biscuits will always be fresh and irresistible.
So go ahead, bake a batch of your favorite biscuits, store them properly, and savor the joy of homemade treats even days later. Happy baking and storing!
Frequently Asked Questions about How To Store Baked Biscuits
Was this page helpful?
At Storables.com, we guarantee accurate and reliable information. Our content, validated by Expert Board Contributors, is crafted following stringent Editorial Policies. We're committed to providing you with well-researched, expert-backed insights for all your informational needs.


0 thoughts on “How To Store Baked Biscuits”