Articles
How To Store Leftover Biscuit Dough
Modified: February 22, 2024
Learn how to store leftover biscuit dough properly with our informative articles. Keep your dough fresh and ready for baking whenever you want!
(Many of the links in this article redirect to a specific reviewed product. Your purchase of these products through affiliate links helps to generate commission for Storables.com, at no extra cost. Learn more)
Introduction
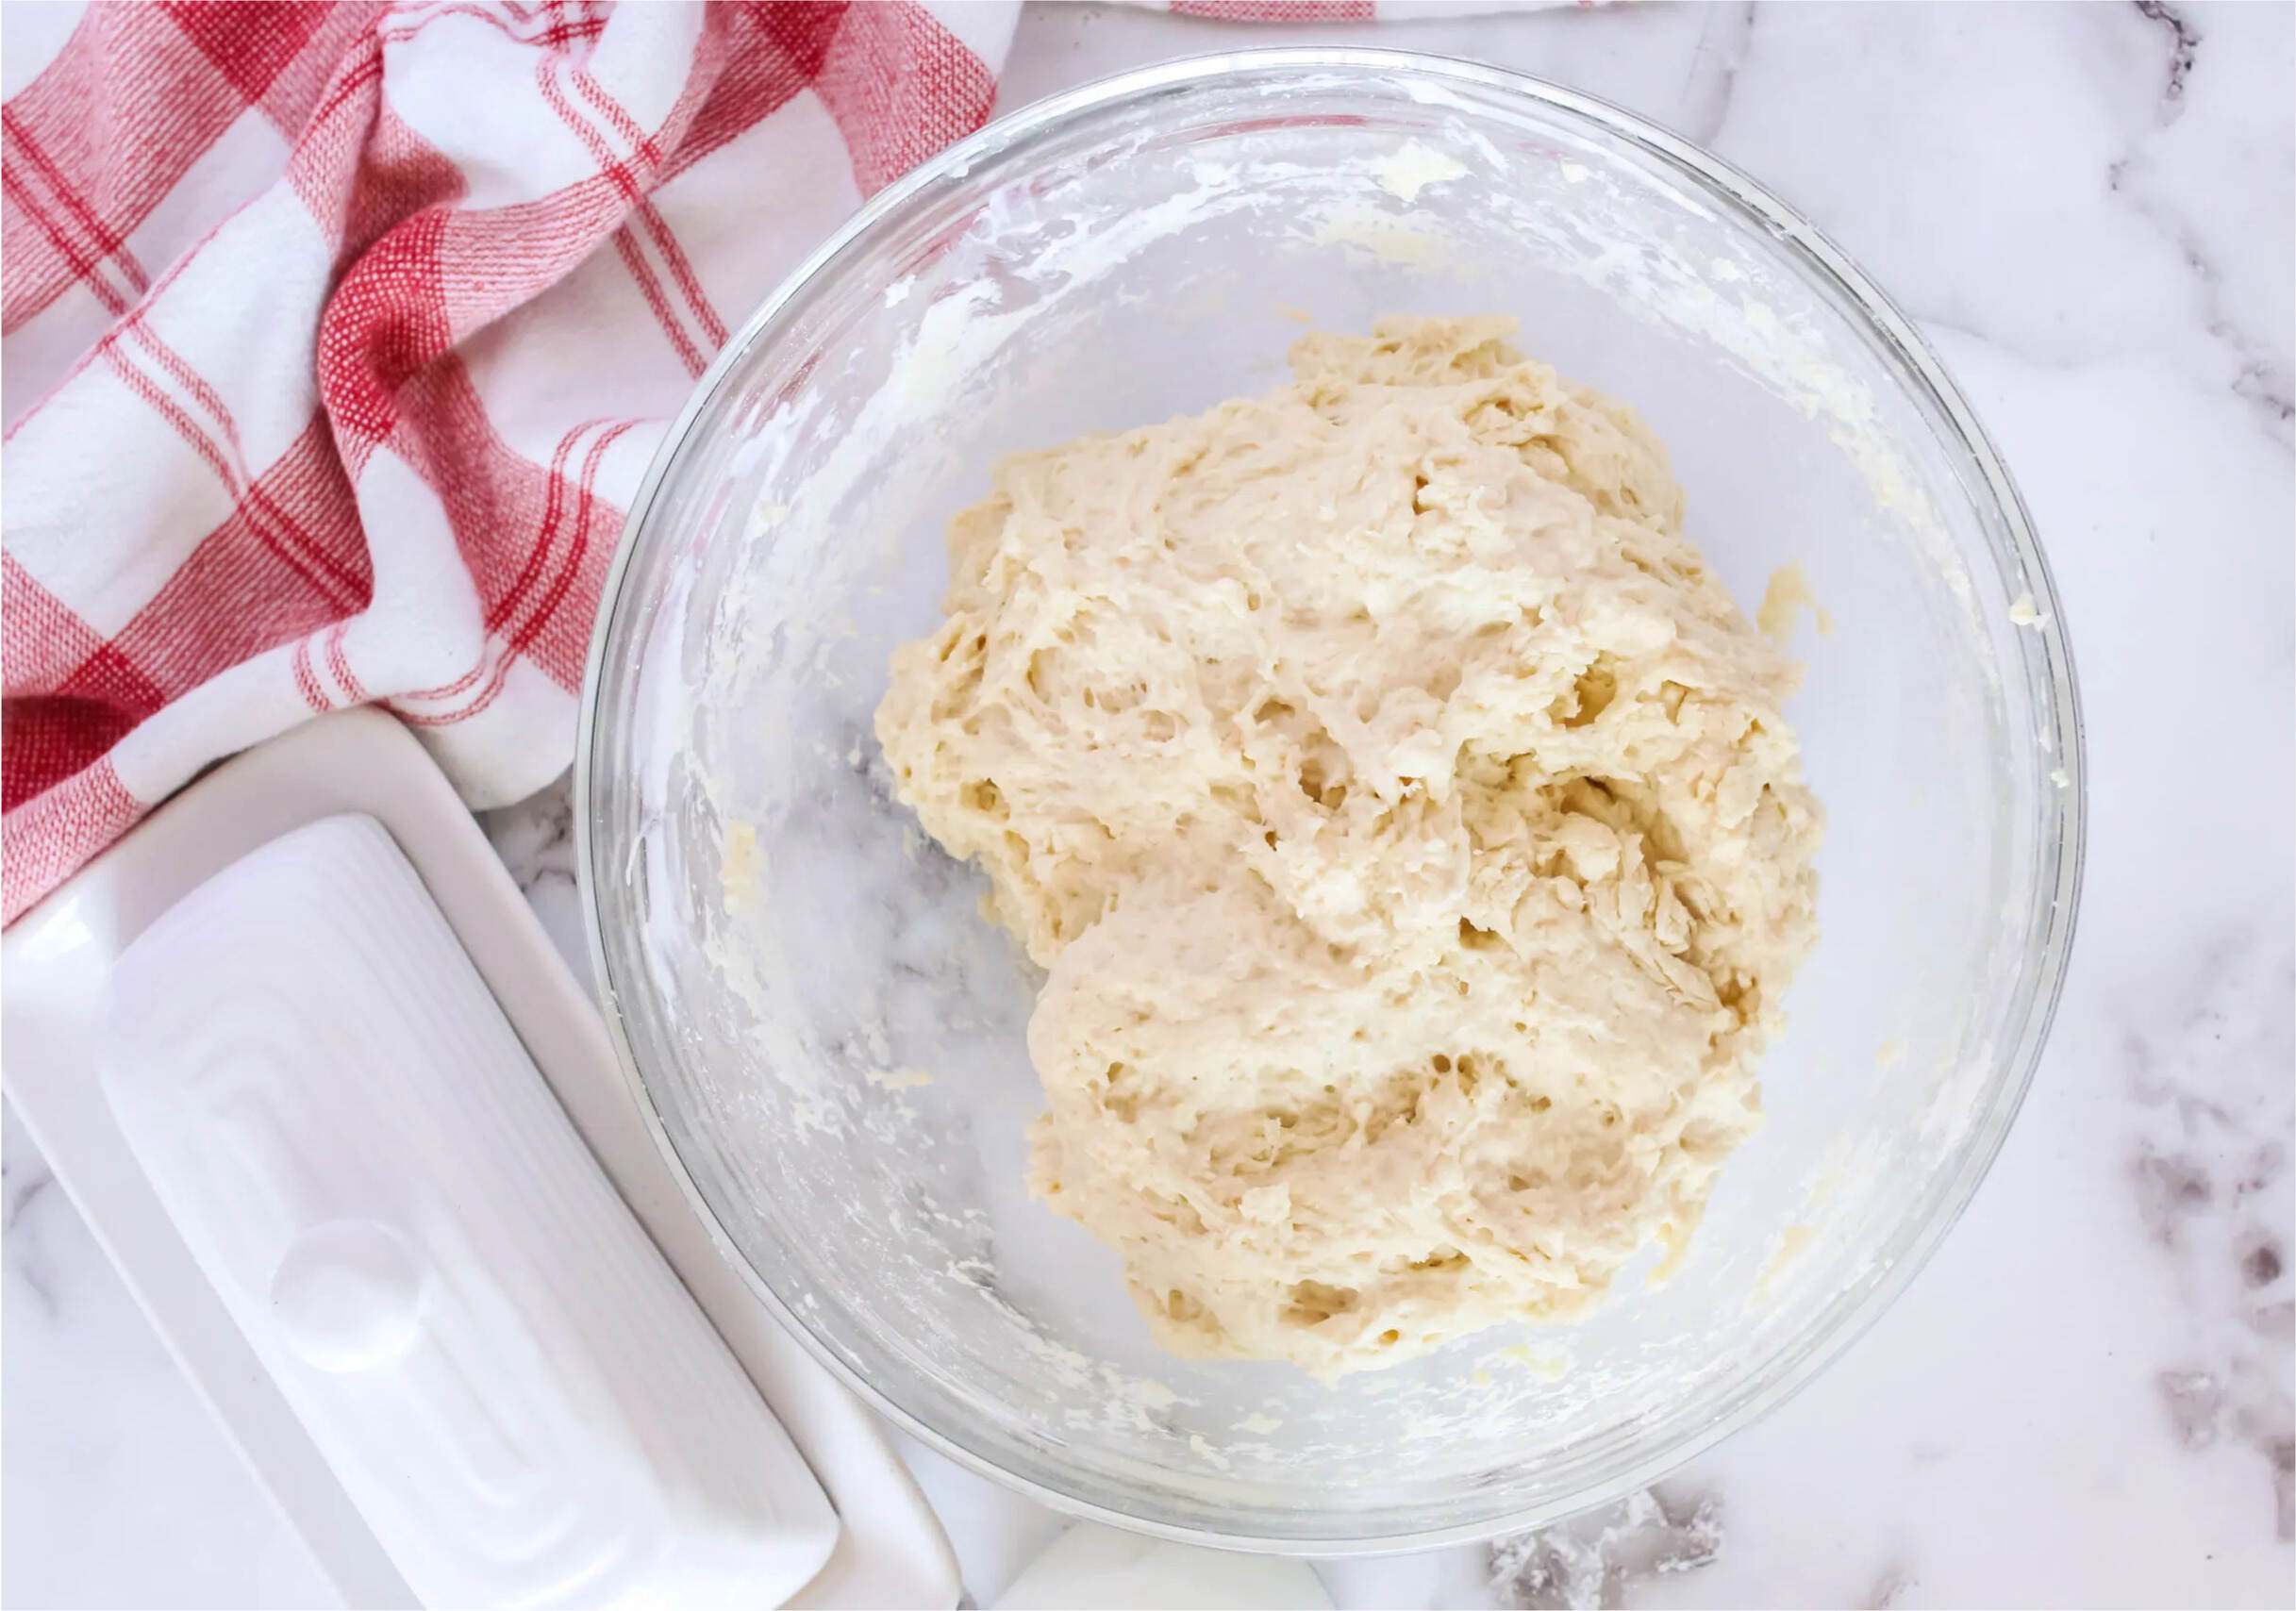
Leftover biscuit dough can be a culinary treasure, allowing you to whip up fresh and delicious biscuits with minimal effort. Whether you have extra dough from a previous batch or you made a larger quantity than you need, knowing how to store it properly can save you time and ensure you always have a tasty treat ready to bake.
In this article, we will explore various methods for storing leftover biscuit dough so that you can enjoy freshly baked biscuits whenever the craving strikes. From freezing the dough to creating biscuit slabs or mini biscuits, we’ll cover everything you need to know to keep your dough fresh and delicious.
So, let’s dive in and learn how to maximize the potential of your leftover biscuit dough!
Key Takeaways:
- Store leftover biscuit dough by freezing, refrigerating, making slabs, mini biscuits, or baking extra. Label, date, and handle dough gently for best results. Enjoy fresh, homemade biscuits anytime!
- Maximize leftover biscuit dough potential with various storage methods. From freezing for long-term use to creating mini biscuits, there are endless possibilities to enjoy delicious homemade treats.
Read more: How To Store Biscuit Dough
Tips for Storing Leftover Biscuit Dough
Before we jump into the different methods for storing leftover biscuit dough, here are a few general tips to keep in mind:
- Handle the dough gently: When dealing with leftover biscuit dough, it’s important to handle it with care. Avoid overworking the dough or kneading it too much, as this can make the biscuits tough.
- Use quality containers: Invest in airtight containers or freezer bags to store the dough. This will help prevent freezer burn or the absorption of odors from the refrigerator.
- Label and date the containers: To avoid confusion, write a label on each container specifying the type of dough and the date it was made. This way, you can easily identify the dough and ensure its freshness.
- Keep track of storage time: It’s essential to keep track of how long the dough has been stored. Generally, biscuit dough can be stored for up to 3 months in the freezer and 3-5 days in the refrigerator.
- Thaw dough slowly: If you’re planning to freeze the dough, make sure to thaw it slowly in the refrigerator before baking. This helps maintain the texture and quality of the biscuits.
Now that we’ve covered these important tips, let’s explore the various methods for storing leftover biscuit dough.
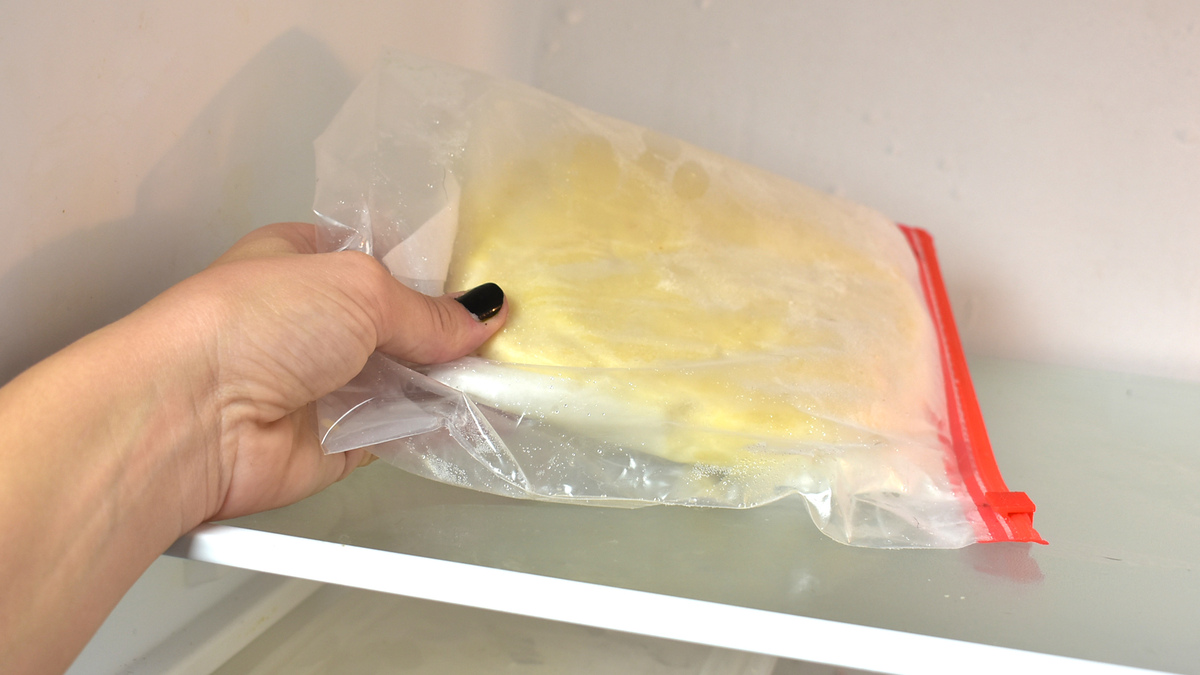
Method 1: Freezing the Dough
Freezing biscuit dough is a convenient method that allows you to have freshly baked biscuits whenever you want them. Follow these steps to freeze your leftover biscuit dough:
- Prepare the dough: Prepare your biscuit dough as usual, following your favorite recipe.
- Divide the dough: Divide the dough into smaller portions, depending on how many biscuits you want to bake at once. This will make it easier to thaw and bake only the desired amount of dough.
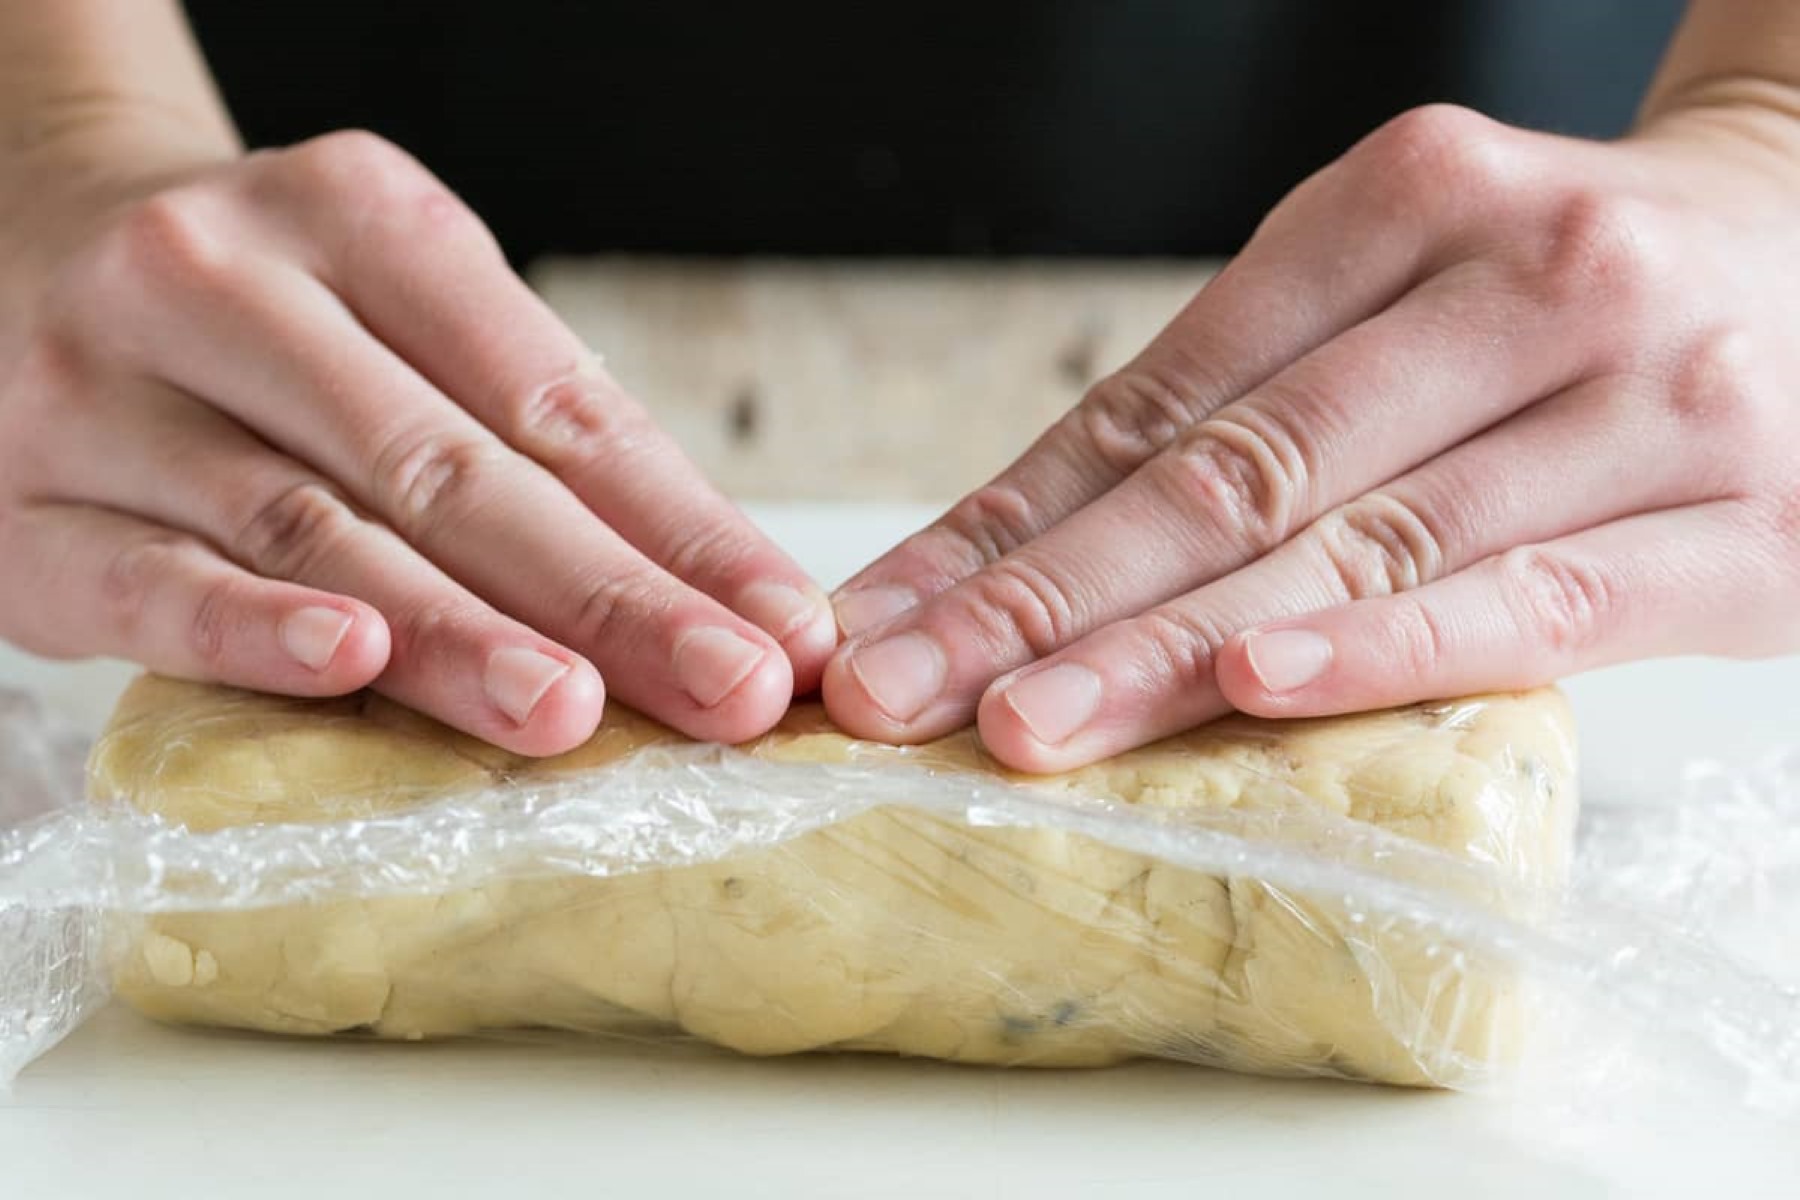
- Wrap the dough: Wrap each portion of dough tightly in plastic wrap or place it in an airtight container. This will prevent freezer burn and maintain the quality of the dough.
- Label and date: Label each wrapped portion of dough with the date and type of dough.
- Freeze the dough: Place the wrapped dough portions in the freezer, ensuring they are stored in a flat position to maintain their shape.
- Thawing and baking: When you’re ready to bake biscuits, remove the desired amount of dough from the freezer and thaw it in the refrigerator overnight. Once thawed, proceed with the baking instructions from your recipe.
By freezing your biscuit dough, you can have fresh biscuits ready to bake in no time. This method is perfect for those busy mornings or unexpected guests when you want to whip up a quick batch of warm, flaky biscuits.
Method 2: Refrigerating the Dough
If you’re looking for a short-term solution for storing leftover biscuit dough, refrigeration is a great option. Here’s how you can refrigerate your dough:
- Prepare the dough: Prepare your biscuit dough according to your favorite recipe.
- Wrap the dough: Wrap the dough tightly in plastic wrap or place it in an airtight container. This will prevent it from drying out in the refrigerator.
- Label and date: Label the wrapped dough with the date and type of dough.
- Refrigerate the dough: Place the wrapped dough in the refrigerator and store it for up to 3-5 days.
- Baking the dough: When you’re ready to bake, remove the dough from the refrigerator. Allow it to come to room temperature for about 15-20 minutes before shaping and baking.
- Follow the baking instructions: Proceed with the baking instructions from your recipe, adjusting the baking time as needed since chilled dough may require a slightly longer baking time.
Refrigerating the biscuit dough is a convenient option when you plan to bake the biscuits within a few days. It allows you to have fresh biscuits in a shorter amount of time compared to freezing the dough.
Keep in mind that refrigerated dough may not rise as much as freshly-prepared dough. However, the flavor and texture should still be excellent.
Now that you know how to refrigerate your biscuit dough, you can enjoy freshly baked biscuits even on busy weekday mornings or whenever the craving strikes!
After cutting out the biscuits, wrap the leftover dough in plastic wrap and store it in the refrigerator for up to 2 days. You can also freeze the dough for up to 3 months for future use.
Method 3: Making Biscuit Slabs
If you have a larger quantity of leftover biscuit dough and want to store it in a convenient form that allows for easy baking, making biscuit slabs is a great option. Here’s how you can do it:
- Prepare the dough: Prepare your biscuit dough following your favorite recipe.
- Shape the dough: Roll out the dough to a thickness of about 1 inch. You can use a rolling pin or your hands to shape the dough into a rectangular slab.
- Wrap and refrigerate: Wrap the dough slab tightly in plastic wrap or place it in an airtight container. Make sure the dough is well-wrapped to prevent it from drying out in the refrigerator.
- Label and date: Label the wrapped dough slab with the date and type of dough.
- Refrigerate the slab: Place the wrapped dough slab in the refrigerator and store it for up to 3-5 days.
- Baking the biscuits: When you’re ready to bake, preheat your oven and remove the dough slab from the refrigerator. Use a knife or biscuit cutter to slice the slab into individual biscuits, and then place them on a baking sheet.
- Bake as directed: Follow the baking instructions from your original biscuit recipe, adjusting the baking time as needed since the slabs may require slightly longer baking.
Making biscuit slabs is a convenient way to store a larger quantity of dough and have portioned biscuits ready to bake whenever you want. It’s particularly useful when you have limited time or when unexpected guests arrive.
Remember to continue to handle the dough gently when shaping the slab to ensure tender and flaky biscuits. Enjoy the ease of baking biscuits from pre-prepared slabs!
Read more: How To Store Leftover Biscuits
Method 4: Making Mini Biscuits
If you prefer bite-sized biscuits or want to get creative with your leftover dough, making mini biscuits is a fun and versatile option. Here’s how you can do it:
- Prepare the dough: Prepare your biscuit dough according to your favorite recipe.
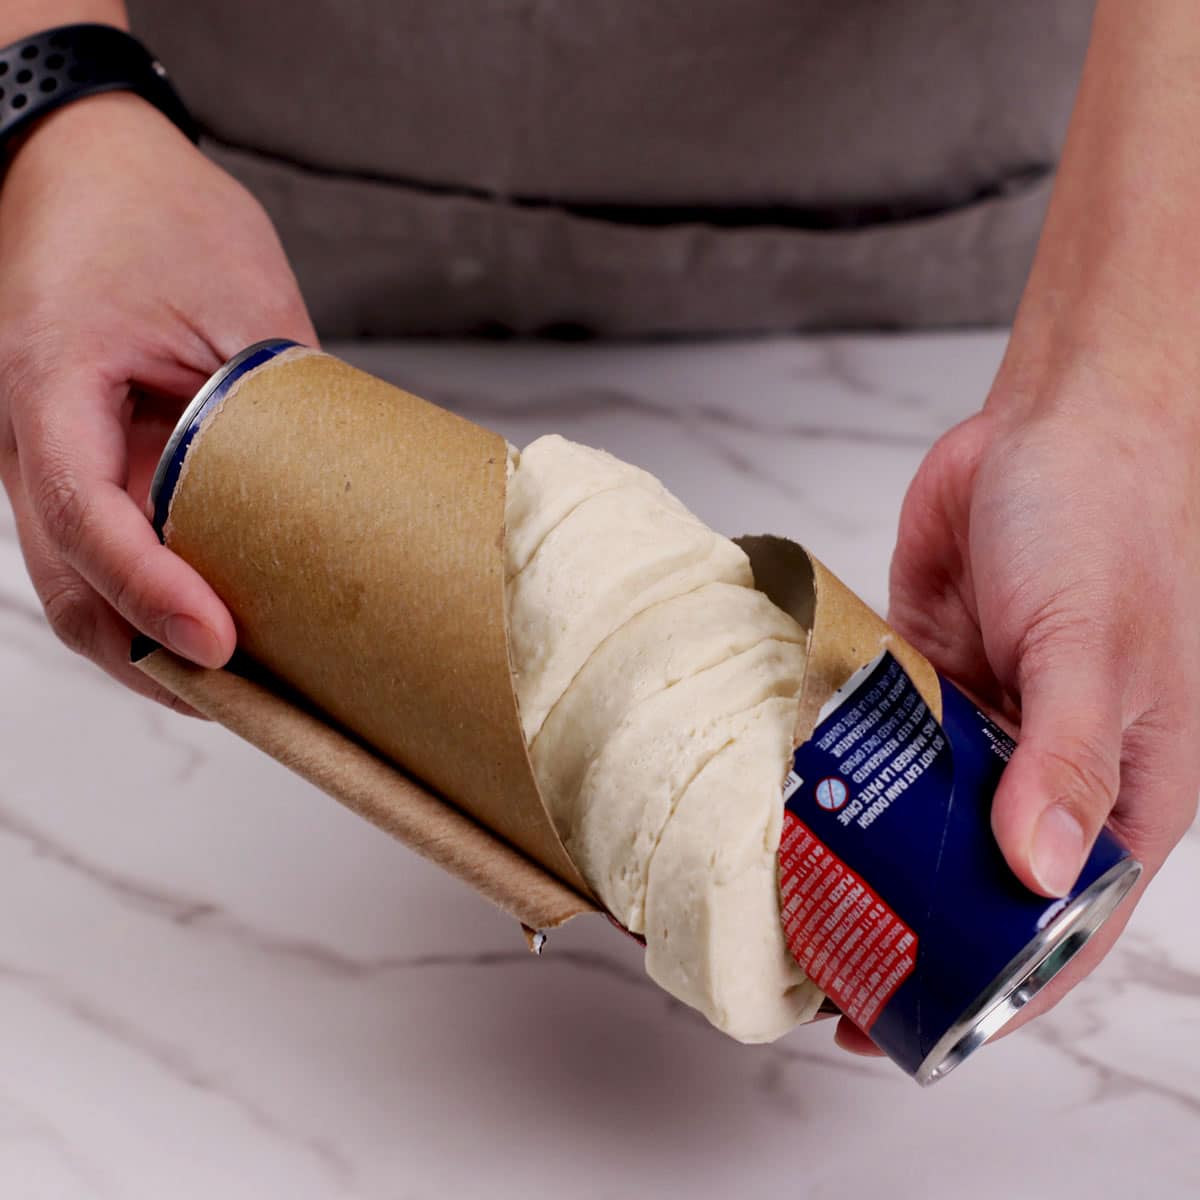
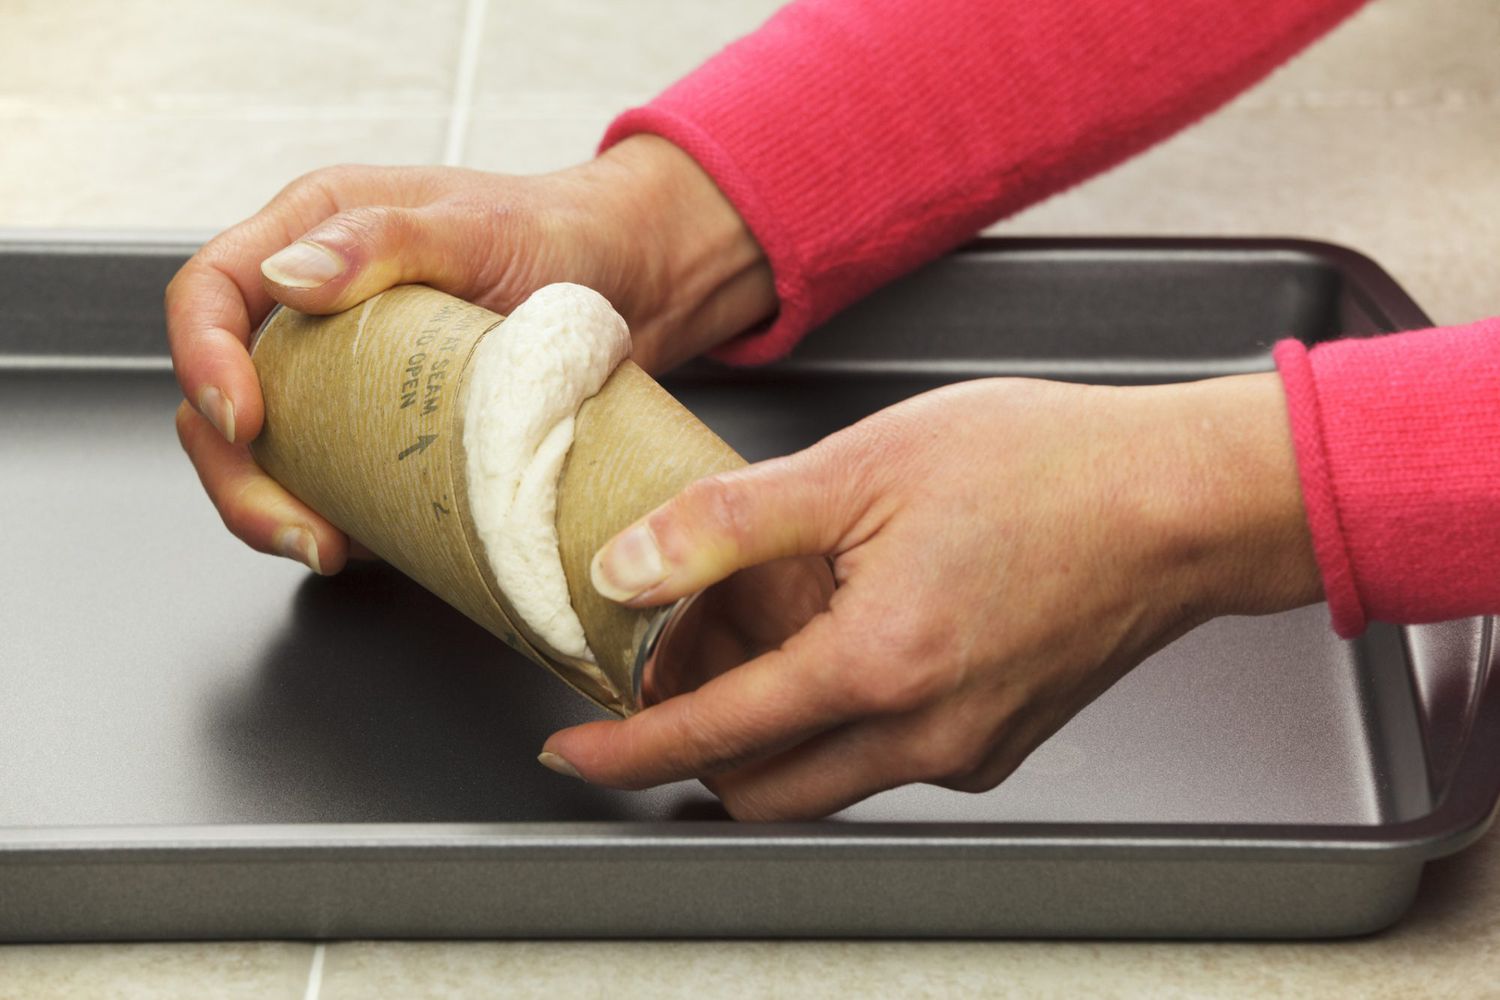
- Divide the dough: Divide the dough into smaller portions to create mini biscuits. You can shape the dough into small rounds or use a biscuit cutter to cut out mini biscuit shapes.
- Place on a baking sheet: Arrange the mini dough portions on a baking sheet lined with parchment paper or a silicone baking mat. Leave a small amount of space between each biscuit to allow for expansion during baking.
- Bake as directed: Follow the baking instructions from your recipe for regular-sized biscuits, but reduce the baking time since mini biscuits will typically bake faster.
- Cool and store: Allow the mini biscuits to cool completely on a wire rack. Once cooled, store them in an airtight container or freezer bags.
- Enjoy as needed: Whenever you’re in the mood for a bite-sized biscuit, simply grab a few mini biscuits from your stash and enjoy them as they are or with your favorite toppings.
Making mini biscuits is not only a great way to use up leftover dough but also a fun option for serving bite-sized treats at parties or gatherings. You can also experiment with different shapes, sizes, and flavors to add variety to your biscuit collection.
Now that you know how to make mini biscuits, get creative and enjoy the versatility and convenience of these delightful bite-sized treats!
Method 5: Baking Extra Biscuits
In some cases, you may find yourself with leftover biscuit dough simply because you made more than you could bake at once. In such instances, baking the extra biscuits right away is a fantastic solution. Here’s how you can do it:
- Prepare the dough: Mix and prepare your biscuit dough according to your recipe.
- Shape the biscuits: Roll out the dough to the desired thickness and use a biscuit cutter to shape the biscuits. Place them on a baking sheet lined with parchment paper or a silicone baking mat, leaving a small gap between each biscuit.
- Bake as directed: Follow the baking instructions from your recipe to ensure perfectly golden and fluffy biscuits.
- Cool and store: Allow the baked biscuits to cool on a wire rack before storing them in an airtight container or freezer bags.
- Enjoy later: Storing the extra baked biscuits allows you to enjoy them later at your convenience. You can reheat them in the oven for a few minutes to recapture that fresh-out-of-the-oven taste.
Baking the extra biscuits immediately after making the dough ensures that none of it goes to waste. Plus, having a supply of ready-to-eat biscuits on hand is always a welcome treat for impromptu snacks or meals.
Remember to adjust the baking time if you’re baking the extra biscuits separately from the initial batch. This will ensure that they are baked to perfection.
By baking the extra biscuits right away, you can savor the satisfaction of enjoying freshly baked biscuits without any leftovers going to waste.
Conclusion
Leftover biscuit dough doesn’t have to go to waste. With the right storage methods, you can keep your dough fresh and ready to bake whenever you want a batch of warm, flaky biscuits. Whether you choose to freeze the dough, refrigerate it, make biscuit slabs, create mini biscuits, or bake the extra dough right away, there are various options to suit your needs and preferences.
Remember to handle the dough gently and use quality containers to ensure the best results. Labeling and dating the dough will help you keep track of its freshness, while thawing or bringing it to room temperature before baking will ensure even cooking. By following these tips, you can enjoy the convenience and deliciousness of homemade biscuits whenever the craving strikes.
So, the next time you find yourself with leftover biscuit dough, don’t let it go to waste. Store it properly and try out different storage methods to keep your dough at its best. From freezing for long-term storage to refrigerating for short-term use, or getting creative with biscuit slabs or mini biscuits, the possibilities are endless.
Now, armed with these storage methods and tips, you can make the most of your leftover biscuit dough and have a delicious homemade treat just a bake away. Happy baking!
Frequently Asked Questions about How To Store Leftover Biscuit Dough
Was this page helpful?
At Storables.com, we guarantee accurate and reliable information. Our content, validated by Expert Board Contributors, is crafted following stringent Editorial Policies. We're committed to providing you with well-researched, expert-backed insights for all your informational needs.


0 thoughts on “How To Store Leftover Biscuit Dough”