Articles
How To Store Unused Biscuit Dough
Modified: August 17, 2024
Learn how to store your unused biscuit dough for later use with this helpful article. Keep your dough fresh and ready to bake anytime!
(Many of the links in this article redirect to a specific reviewed product. Your purchase of these products through affiliate links helps to generate commission for Storables.com, at no extra cost. Learn more)
Introduction
Welcome to the world of homemade biscuits! There’s nothing quite like the smell and taste of freshly baked biscuits straight from the oven. But what do you do when you have leftover biscuit dough that you don’t want to waste? Luckily, there are ways to store unused biscuit dough so that you can enjoy those delicious treats later on.
Why store unused biscuit dough, you might ask? Well, there are many reasons why you might want to store your dough for later use. Perhaps you made too much dough and don’t want to bake it all at once. Maybe you want to prepare the dough ahead of time and have it ready to bake in the morning for a quick and convenient breakfast. Or perhaps you simply want to have some dough on hand for those unexpected cravings.
Regardless of your reasons, properly storing biscuit dough will help you maintain its freshness and ensure that you can enjoy perfectly baked biscuits whenever you desire. In this article, we’ll delve into the best methods for storing unused biscuit dough and provide you with useful tips to achieve the best results.
Key Takeaways:
- Store unused biscuit dough for convenience, portion control, flexibility, variety, and cost-effectiveness. Proper preparation and storage methods ensure fresh, delicious biscuits whenever you desire.
- Refrigerate or freeze biscuit dough, then thaw and bake as needed for tender, flavorful biscuits. Follow proper wrapping, labeling, and portioning techniques for successful storage.
Read more: How To Store Unused Canned Biscuits
Why Store Unused Biscuit Dough?
There are several reasons why you might want to store unused biscuit dough instead of baking it all at once. Let’s explore some of the benefits of storing your dough:
- Convenience: Storing biscuit dough allows you to have homemade biscuits on hand whenever you want them. Whether it’s for a quick breakfast, an afternoon snack, or a delicious side dish for dinner, having pre-made dough ready to go saves you time and effort.
- Portion control: Baking the entire batch of biscuit dough can result in more biscuits than you need at once. By storing the excess dough, you can easily portion it out and bake only what you need, reducing waste and ensuring that every biscuit is fresh.
- Flexibility: Storing biscuit dough gives you the flexibility to bake biscuits on demand. You can make a large batch of dough in advance and then bake a few biscuits at a time as needed. This is especially helpful if you have a busy schedule or unexpected guests.
- Variety: Storing different types of biscuit dough allows you to enjoy a variety of flavors and textures. You can experiment with different recipes, add-ins, or seasonings, and have a selection of biscuits ready to bake whenever the craving strikes.
- Save money: By storing unused biscuit dough, you can take advantage of sales or bulk purchases on ingredients. Making a large batch of dough and storing it for later means you can enjoy homemade biscuits without breaking the bank.
Overall, storing unused biscuit dough is a convenient, efficient, and cost-effective way to enjoy homemade biscuits, giving you the freedom to bake fresh batches whenever you desire. Now that you understand the benefits of storing biscuit dough, let’s explore how to properly prepare and store it to maintain its quality.
Proper Preparation for Storing Biscuit Dough
Before you can store your biscuit dough, it’s important to prepare it properly to ensure optimal results. Here are some key steps to follow:
- Mixing the dough: When preparing biscuit dough, make sure to thoroughly mix all the ingredients until they are well combined. This ensures that the dough will hold together properly and bake evenly.
- Chilling the dough: After mixing the dough, it’s crucial to let it chill in the refrigerator for at least 30 minutes. Chilling the dough allows the fats in the dough to solidify, resulting in flakier and more tender biscuits.
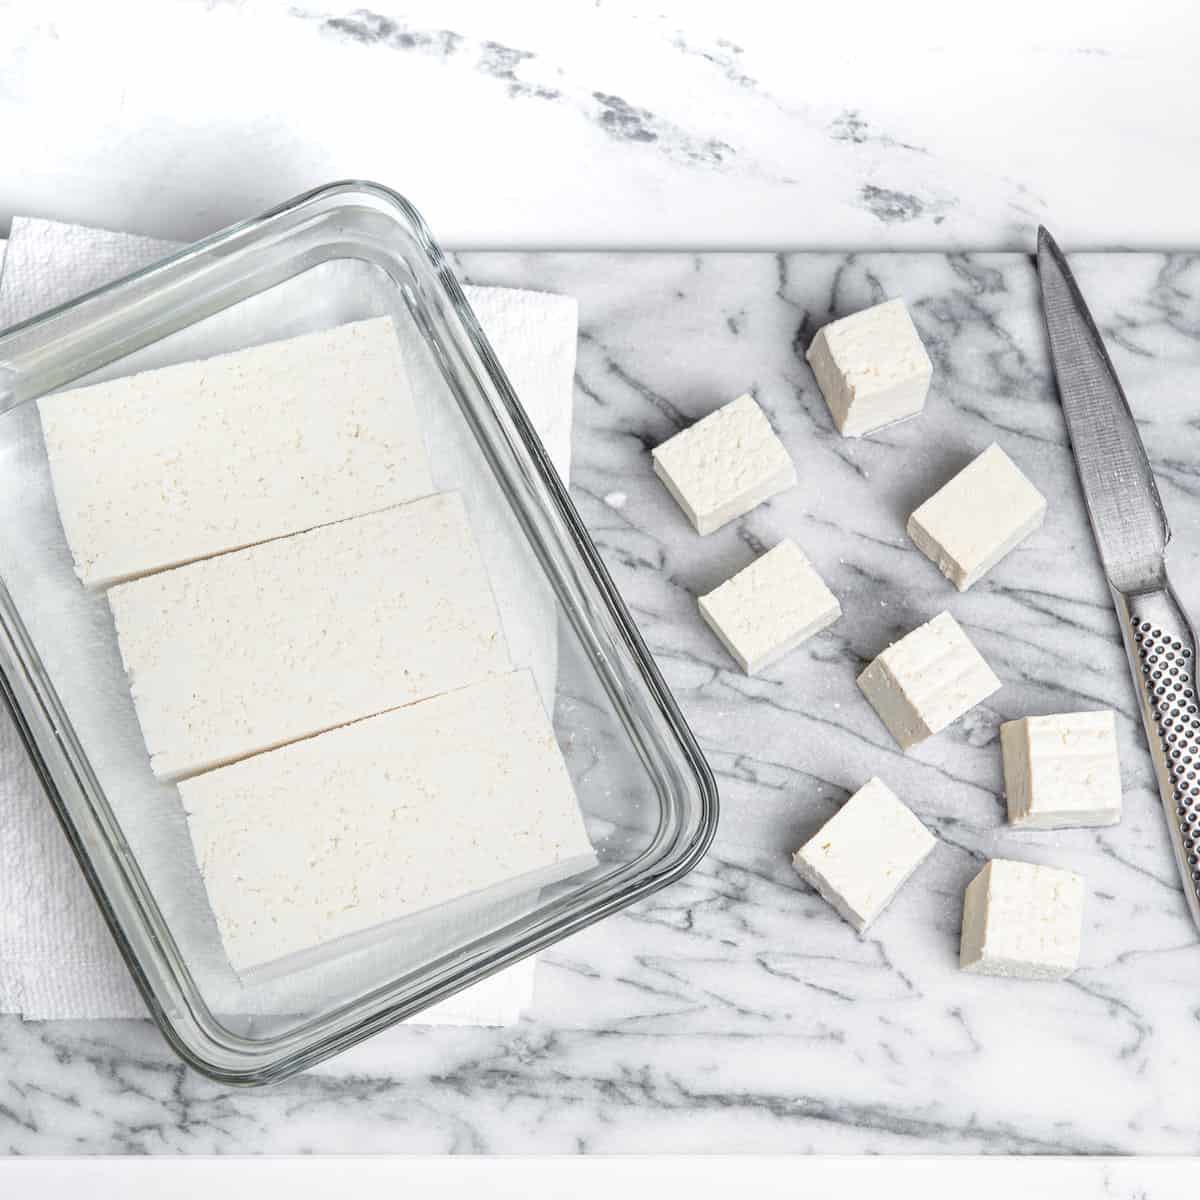
- Shaping the dough: Once the dough has chilled, divide it into portions that are suitable for your storage needs. Whether you prefer individual biscuits or a larger dough portion, shaping it appropriately will make the storage process easier.
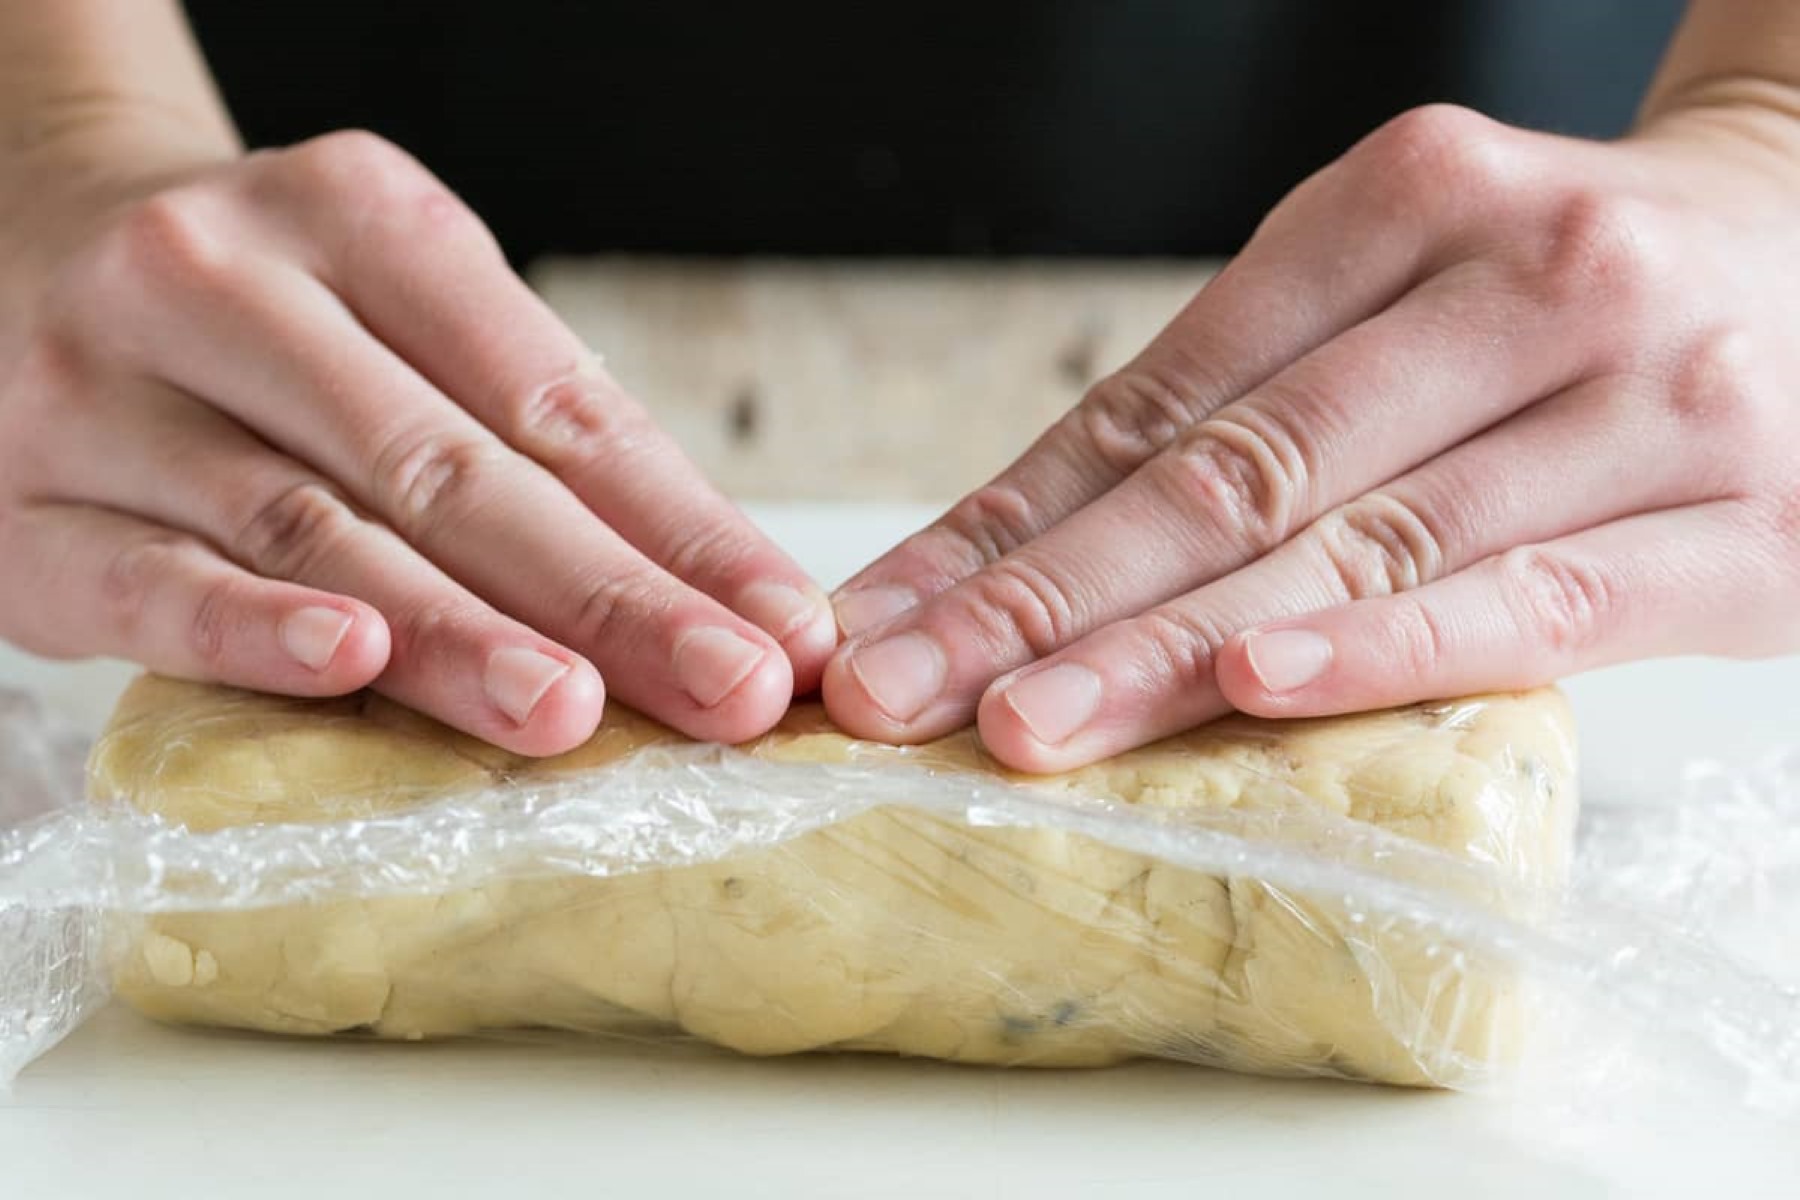
- Wrapping the dough: To prevent the dough from drying out or absorbing odors from the refrigerator, it’s essential to wrap it tightly. Use plastic wrap, aluminum foil, or airtight containers to keep the dough well sealed.
- Labeling and dating: It’s a good practice to label and date your stored biscuit dough. This will help you keep track of when it was prepared and ensure that you use it within a reasonable time frame.
By following these preparation steps, you’ll be ready to store your biscuit dough with confidence. In the next section, we’ll dive into the different methods you can use to store your dough and prolong its freshness.
Methods for Storing Unused Biscuit Dough
When it comes to storing unused biscuit dough, you have two primary methods to choose from: refrigeration and freezing. Both methods have their benefits and considerations, so let’s explore each one:
1. Refrigerating Biscuit Dough
Refrigeration is the most common method for storing biscuit dough, especially if you plan to use it within a few days. Here’s how to do it:
- Wrap the dough: Using plastic wrap or aluminum foil, tightly wrap the shaped biscuit dough, ensuring there are no air pockets. This will help prevent the dough from drying out in the refrigerator.
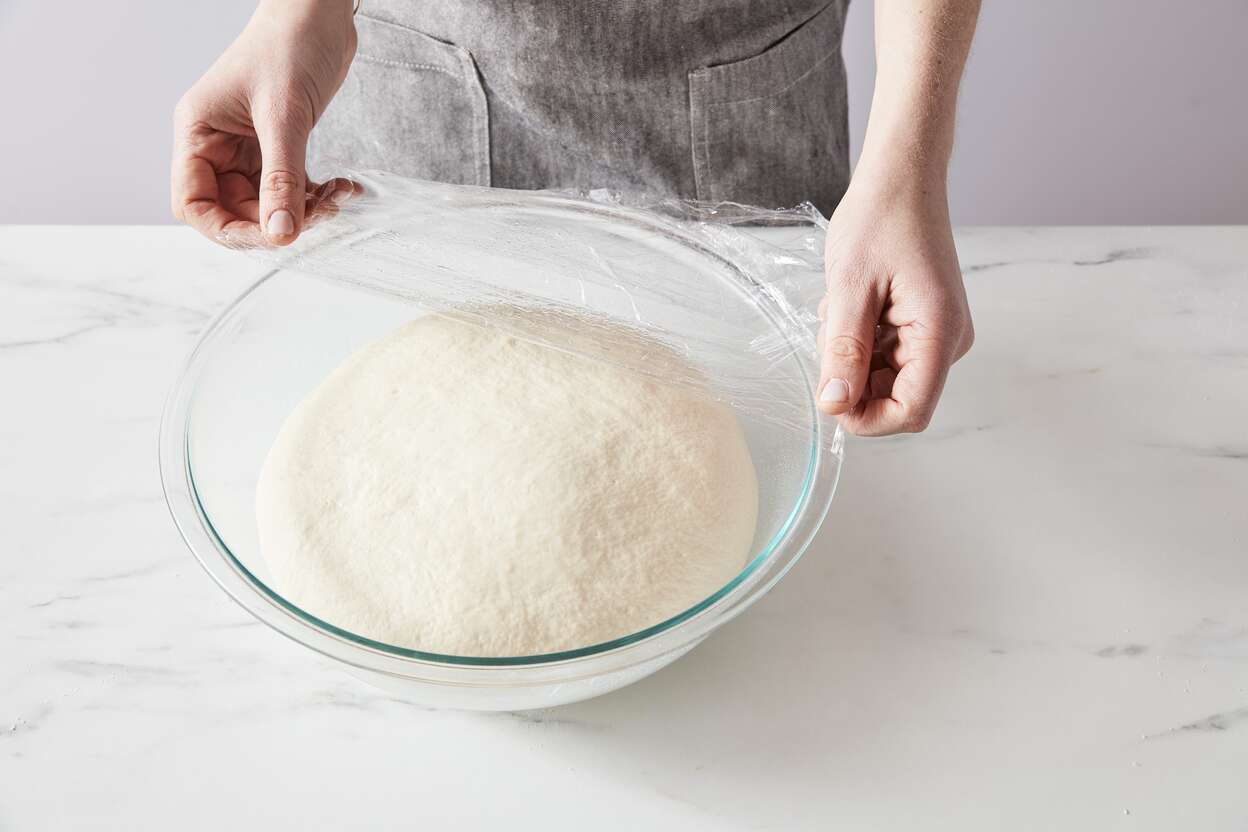
- Place in a container: If desired, you can place the wrapped dough portions in an airtight container to provide additional protection.
- Refrigerate: Store the wrapped dough in the refrigerator for up to 3 days. After this time, the dough may start to lose its texture and rise less when baked.
Read more: How To Use Biscuit Dough In A Waffle Iron
2. Freezing Biscuit Dough
If you want to store your biscuit dough for a longer period, freezing is the way to go. Freezing allows you to keep the dough for several weeks or even months. Follow these steps to freeze your biscuit dough:
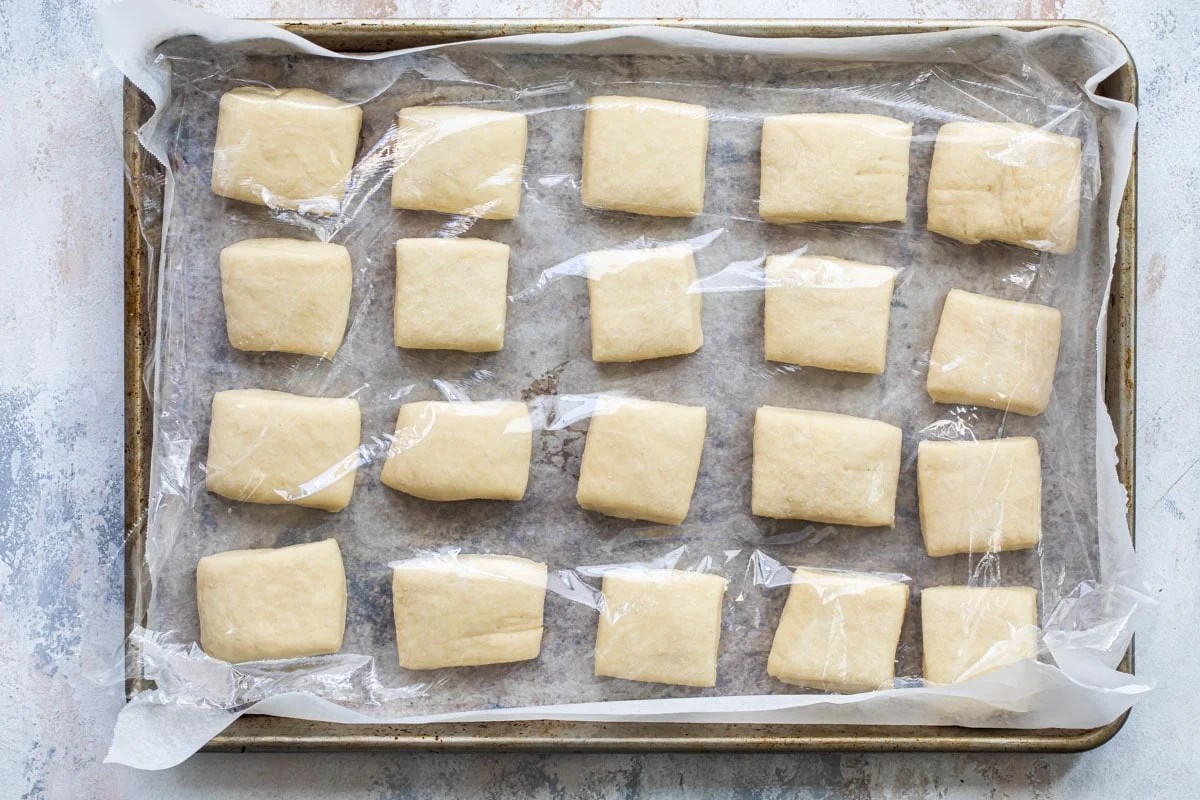
- Flash freeze: Before wrapping the dough, place the shaped portions on a baking sheet lined with parchment paper. Place the baking sheet in the freezer for a couple of hours or until the dough is firm.
- Wrap the dough: Individually wrap the flash-frozen dough portions in plastic wrap or aluminum foil. Then, place them in a freezer-safe bag, removing as much air as possible.
- Label and freeze: Label the bag with the date and contents, and store it in the freezer for up to 3 months. Beyond this time, the dough may still be safe to use, but its quality may deteriorate.
Both refrigerating and freezing your biscuit dough provide you with the flexibility to bake them whenever you want. Next, let’s learn how to thaw and use the stored biscuit dough.
Refrigerating Biscuit Dough
Refrigerating biscuit dough is a popular method for storing unused dough, especially if you plan to use it within a few days. Here’s a step-by-step guide on how to refrigerate your biscuit dough:
- Wrap the dough: Once you have shaped your biscuit dough, tightly wrap each portion in plastic wrap or aluminum foil. Make sure to cover the dough completely, leaving no gaps or exposed areas. This will help prevent the dough from drying out in the refrigerator.
- Store in a container: If you prefer, you can place the wrapped biscuit dough portions in an airtight container. This extra layer of protection can help maintain the dough’s freshness and prevent any flavors from seeping in or out.
- Refrigerate: Place the wrapped dough in the refrigerator and let it chill for at least 30 minutes before using. You can store the dough in the refrigerator for up to 3 days without significantly affecting its quality.
Refrigerating biscuit dough allows the gluten to relax, resulting in tender and flaky biscuits when baked. Additionally, the dough develops a slightly tangy flavor as it ferments slowly in the refrigerator, enhancing the overall taste of the biscuits.
When you’re ready to bake your biscuits, simply remove the desired portion of dough from the refrigerator, unwrap it, and let it come to room temperature for about 15-30 minutes. This step ensures that the dough is pliable and easy to work with.
Now that you know how to refrigerate biscuit dough, let’s explore the freezer method, which allows for longer storage and greater flexibility.
Freezing Biscuit Dough
If you want to store your biscuit dough for an extended period, freezing is a great option. Freezing allows you to keep the dough fresh for several weeks or even months. Here’s a step-by-step guide on how to freeze your biscuit dough:
- Flash freeze the dough: Before wrapping the dough, place the shaped portions on a baking sheet lined with parchment paper. Make sure to leave some space between each portion so they don’t stick together. Place the baking sheet in the freezer and let the dough freeze for a couple of hours or until it becomes firm. This initial freezing, known as flash freezing, will help maintain the shape of the dough when stored.
- Wrap the dough individually: Once the dough portions are firm, remove them from the freezer and wrap each one individually in plastic wrap or aluminum foil. Make sure to cover the dough tightly, sealing any openings to prevent freezer burn.
- Store in a freezer-safe bag: Place the individually wrapped dough portions inside a freezer-safe bag, removing as much air as possible before sealing it. The bag provides an extra layer of protection against moisture and freezer odors.
- Label and date: It’s essential to label the bag with the date and contents, as well as any specific instructions or baking times. This will help you keep track of the storage time and make it easier to identify the dough later on.
- Freeze: Place the labeled bag of dough in the freezer, ensuring it is stored flat to prevent any unnecessary deformation. Frozen biscuit dough can be stored for up to 3 months, but it’s best to use it within this time frame to maintain its quality.
Freezing biscuit dough not only extends its shelf life, but it also offers flexibility in baking. You can thaw and bake as few or as many biscuits as you want, allowing for portion-size control and convenience.
When you’re ready to bake the frozen dough, simply remove the desired portions from the freezer and transfer them to the refrigerator. Let the dough thaw overnight or for at least 6-8 hours. Once thawed, you can proceed with the baking instructions as usual.
Now that you know how to freeze biscuit dough, you can enjoy freshly baked biscuits whenever you desire, even if you don’t have time to make dough from scratch.
Thawing and Using Stored Biscuit Dough
After storing your biscuit dough in the refrigerator or freezer, it’s important to know how to properly thaw it before baking. Here’s a step-by-step guide on how to thaw and use stored biscuit dough:
Read more: How To Store Unused Refrigerator
Thawing Refrigerated Biscuit Dough
- Remove from the refrigerator: Take the wrapped biscuit dough portion out of the refrigerator and place it on a clean surface.
- Let it come to room temperature: Allow the dough to sit at room temperature for about 15-30 minutes, or until it feels pliable and easy to work with.
- Unwrap and shape: Unwrap the dough and proceed with shaping it according to your desired biscuit shape—round, square, or any other shape you prefer.
- Bake as instructed: Follow your biscuit recipe instructions for baking time and temperature. Enjoy your freshly baked biscuits.
Thawing Frozen Biscuit Dough
- Transfer to the refrigerator: Remove the individually wrapped biscuit dough portions from the freezer and place them in the refrigerator.
- Thaw overnight: Allow the dough to thaw in the refrigerator overnight or for at least 6-8 hours. This slow thawing process ensures that the dough thaws evenly and retains its quality.
- Bring to room temperature: After thawing, take the dough out of the refrigerator and let it come to room temperature for 15-30 minutes to make it pliable and easy to shape.
- Shape and bake: Unwrap the dough and shape it into your desired biscuit shape. Follow your biscuit recipe’s baking instructions for time and temperature, and enjoy freshly baked biscuits.
Thawing the stored biscuit dough properly is essential to ensure that the biscuits bake evenly and have the desired texture. Keep in mind that thawed dough may take slightly longer to bake than freshly made dough, so be sure to monitor the baking process accordingly.
With the proper thawing techniques, you can easily transform your stored biscuit dough into delicious, freshly baked biscuits that are perfect for any occasion.
Tips for Successful Storage
To ensure that your stored biscuit dough remains fresh, flavorful, and ready to bake, here are some helpful tips:
1. Properly wrap and seal the dough:
Whether refrigerating or freezing biscuit dough, make sure to wrap it tightly to prevent air exposure and potential moisture loss. This helps maintain the dough’s texture and prevents freezer burn.
Read more: How To Store Unused Paint
2. Label and date the stored dough:
When storing biscuit dough, it’s essential to label and date each package. This allows you to keep track of how long the dough has been stored and ensures that you use the oldest dough first for the best results.
3. Portion the dough before storage:
If you know you’ll only need a certain amount of dough for each baking session, consider portioning it before storing. This allows you to thaw or refrigerate only the amount you need, reducing waste and making it more convenient to use.
4. Keep track of storage times:
Be mindful of how long you store the biscuit dough. While refrigerated dough is best used within 3 days, frozen dough should be used within 3 months for optimal results. Using dough past these time frames may affect its rise, texture, and flavor.
5. Properly store in the freezer:
If freezing biscuit dough, make sure to place the wrapped portions in a freezer-safe bag or container. This provides an extra layer of protection against freezer burn and helps maintain the dough’s quality.
Read more: How To Store Unused Caulk
6. Thaw frozen dough in the refrigerator:
If you have frozen biscuit dough, it’s best to thaw it in the refrigerator overnight or for several hours. This slow thawing process prevents the dough from becoming too soft and ensures a consistent texture when baked.
7. Adjust baking time if needed:
Remember that stored biscuit dough may require slightly longer baking times compared to freshly made dough. Keep an eye on the biscuits as they bake and adjust the time as needed to ensure they are golden brown and cooked through.
By following these tips, you can successfully store your biscuit dough and enjoy fresh and delicious biscuits whenever you desire. Don’t forget to experiment with different recipes and flavor variations to keep things exciting!
Conclusion
Storing unused biscuit dough is a fantastic way to ensure that you can enjoy freshly baked biscuits at any time. Whether you choose to refrigerate or freeze the dough, proper preparation and storage techniques are key to maintaining its quality and taste.
By refrigerating the dough, you can have ready-to-bake biscuits within a few days. The dough’s fermentation process in the refrigerator adds a subtle tang and enhances the overall flavor profile. On the other hand, freezing the dough allows for longer storage, giving you the flexibility to bake biscuits whenever the craving strikes.
Regardless of your chosen storage method, it’s important to thaw the dough properly before baking. Allow refrigerated dough to come to room temperature, while frozen dough should be thawed in the refrigerator overnight. These steps ensure that the biscuits bake evenly and have the desired texture.
To achieve successful biscuit dough storage, remember to wrap and seal the dough securely, label and date the packages, and keep track of storage times. Portioning the dough before storage and adjusting baking times as needed will also contribute to the best results.
Now, armed with the knowledge of proper biscuit dough storage, you can confidently prepare and store your unused dough. So go ahead and create a batch of dough, store it, and enjoy the convenience and pleasure of freshly baked biscuits whenever you desire. Get creative with flavors, play around with different recipes, and embrace the delightful world of homemade biscuits!
Now that you've got the scoop on storing biscuit dough, why stop there? Keeping your kitchen efficient involves more than just dough. For those eager to elevate their food preservation game, our next read is a must. We delve into the best options for keeping everything from veggies to leftovers fresh. With innovative solutions and practical advice, our guide on food storage will ensure nothing goes to waste. Ready to transform your culinary storage methods? Check out our detailed review to keep your groceries in top shape year-round.
Frequently Asked Questions about How To Store Unused Biscuit Dough
Was this page helpful?
At Storables.com, we guarantee accurate and reliable information. Our content, validated by Expert Board Contributors, is crafted following stringent Editorial Policies. We're committed to providing you with well-researched, expert-backed insights for all your informational needs.


0 thoughts on “How To Store Unused Biscuit Dough”