Articles
How To Store Miele Vacuum
Modified: October 20, 2024
Looking for articles on how to store your Miele vacuum? Find helpful tips and tricks to keep your vacuum clean and organized for optimal performance.
(Many of the links in this article redirect to a specific reviewed product. Your purchase of these products through affiliate links helps to generate commission for Storables.com, at no extra cost. Learn more)
Introduction
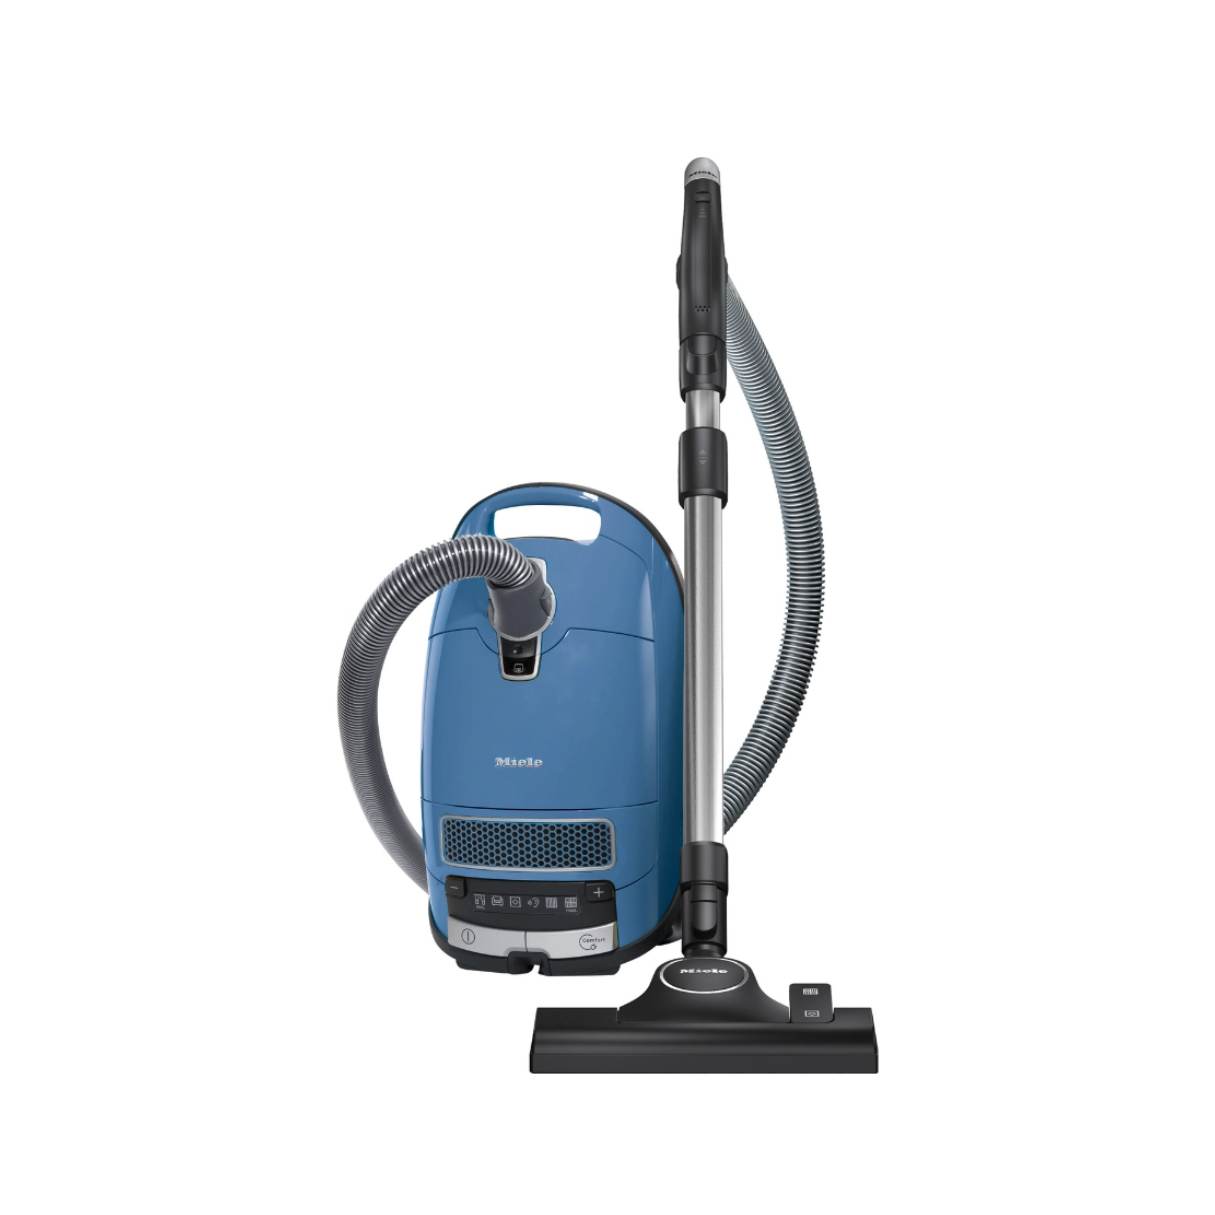
Storing your Miele vacuum properly is essential to maintain its longevity and functionality. Whether you’re storing it during a move, in between cleaning sessions, or for an extended period, taking the necessary steps to store your vacuum correctly will ensure it stays in optimal condition.
In this article, we will guide you through the process of storing your Miele vacuum effectively. We will cover everything from choosing the right storage location to cleaning the vacuum before storage, removing and emptying the bag or canister, detaching vacuum attachments, disassembling the vacuum if necessary, protecting the vacuum from dust and dirt, storing it in an upright position, avoiding storage in extreme temperatures, and providing additional tips for proper vacuum storage.
By following these guidelines, you can rest assured that your Miele vacuum will be ready to tackle your cleaning tasks whenever you need it, and it will last for many years to come.
Key Takeaways:
- Properly storing your Miele vacuum is crucial for maintaining its longevity and performance. Follow these guidelines to ensure it remains in optimal condition, ready for use whenever you need it.
- From choosing the right storage location to cleaning the vacuum and protecting it from dust and dirt, these steps will help you maintain the quality and condition of your Miele vacuum during storage.
Read more: How To Open Miele Vacuum Cleaner
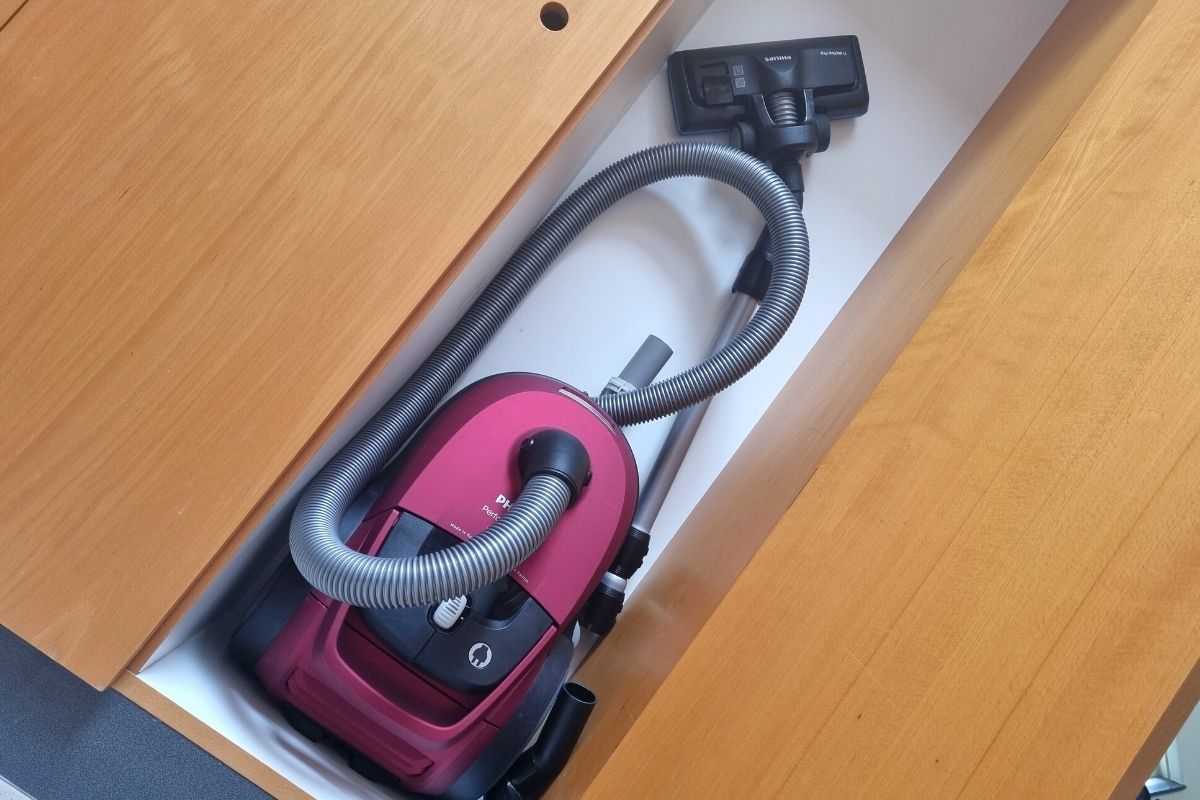
Choosing the Right Storage Location
When it comes to storing your Miele vacuum, selecting the right storage location is crucial. You want to find a space that is clean, dry, and away from any potential hazards. Here are some tips to help you choose the right storage location:
- Indoor Storage: It’s best to store your Miele vacuum indoors to protect it from harsh weather conditions and temperature fluctuations. Basements, closets, or utility rooms are great options.
- Avoid Humidity: Excess moisture can damage your vacuum. Avoid storing it in damp areas such as garages or basements prone to flooding.
- Avoid Sunlight: Prolonged exposure to sunlight can cause discoloration and damage to the vacuum’s components. Choose a location away from direct sunlight.
- Safe from Pests: Make sure the storage area is pest-free. Keep the vacuum away from areas that are susceptible to infestations, such as areas with food or pet waste.
- Accessible: Consider how easily you can access the vacuum when needed. Ensure it’s not tucked away in a place that is inconvenient to get to when you want to use it.
By selecting the right storage location, you can protect your Miele vacuum from potential damage and ensure its longevity.
Cleaning the Vacuum before Storage
Before storing your Miele vacuum, it’s important to give it a thorough cleaning to remove any dust, debris, or allergens that may have accumulated during use. Here are the steps to clean your vacuum before putting it into storage:
- Unplug the Vacuum: Ensure that the vacuum is unplugged from the power source before starting the cleaning process.
- Empty Bag or Canister: If your Miele vacuum has a bag, carefully remove it and dispose of the contents in a trash bag. For models with a dust canister, empty it and rinse it with water to remove any remaining debris. Allow the bag or canister to dry completely before reassembling it.
- Clean Brushroll and Nozzle: Remove any tangled hair, threads, or debris from the brushroll and nozzle. You can use a pair of scissors or a small brush to gently dislodge and remove the stuck debris.
- Wipe Down Surfaces: Use a damp cloth or disinfectant wipe to wipe down the exterior surfaces of the vacuum, including the handle, body, and attachments. This will help remove any dirt or grime that may have accumulated.
- Clean Filters: Check your Miele vacuum’s user manual to locate the filters. Remove and clean them according to the manufacturer’s instructions. Some filters can be rinsed with water, while others may need to be replaced. Ensure that the filters are completely dry before reinserting them into the vacuum.
- Check for Blockages: Take a moment to inspect the hose and other attachments for any blockages. Clear out any debris or obstructions that may hinder the vacuum’s performance.
By thoroughly cleaning your Miele vacuum before storage, you prevent the buildup of dirt and ensure that it’s ready for use when you take it out again. It also helps maintain the vacuum’s efficiency over time.
Removing and Emptying the Bag or Canister
If your Miele vacuum has a bag or a canister, it’s essential to remove and empty it before storing the vacuum. This step helps prevent any odors or mold growth and keeps the vacuum in optimal condition. Here’s how you can remove and empty the bag or canister:
- For Bagged Models: If your Miele vacuum has a bag, locate the bag compartment, typically located at the back of the vacuum. Open the compartment by releasing the latch or following the manufacturer’s instructions. Carefully remove the bag and dispose of it in a trash bag. Make sure to seal the trash bag to prevent any dust or debris from escaping.
- For Bagless Models: If your Miele vacuum has a canister, locate the canister release button or latch. Depress or unlock it to remove the canister from the vacuum. Take the canister to a trash bin and empty the contents into the trash bag.
- Dispose of the Debris: Once you have emptied the bag or canister, it’s a good idea to give it a quick rinse if possible. If not, use a cloth or brush to remove any remaining debris. Allow the bag or canister to dry completely before reinserting it into the vacuum.
- Replace with a New Bag: If you have a bagged model, check if the bag needs to be replaced. Some bags have a clear indicator that shows when it needs to be changed. If necessary, insert a new bag into the compartment, following the manufacturer’s instructions.
- Reattach the Canister: For bagless models, reattach the canister back into the vacuum by lining it up with the proper alignment marks and pressing it firmly until it clicks into place.
By properly removing and emptying the bag or canister, you promote cleanliness and prevent any unpleasant odors or debris from accumulating in your Miele vacuum during storage. This ensures that your vacuum is ready for use when you take it out again.
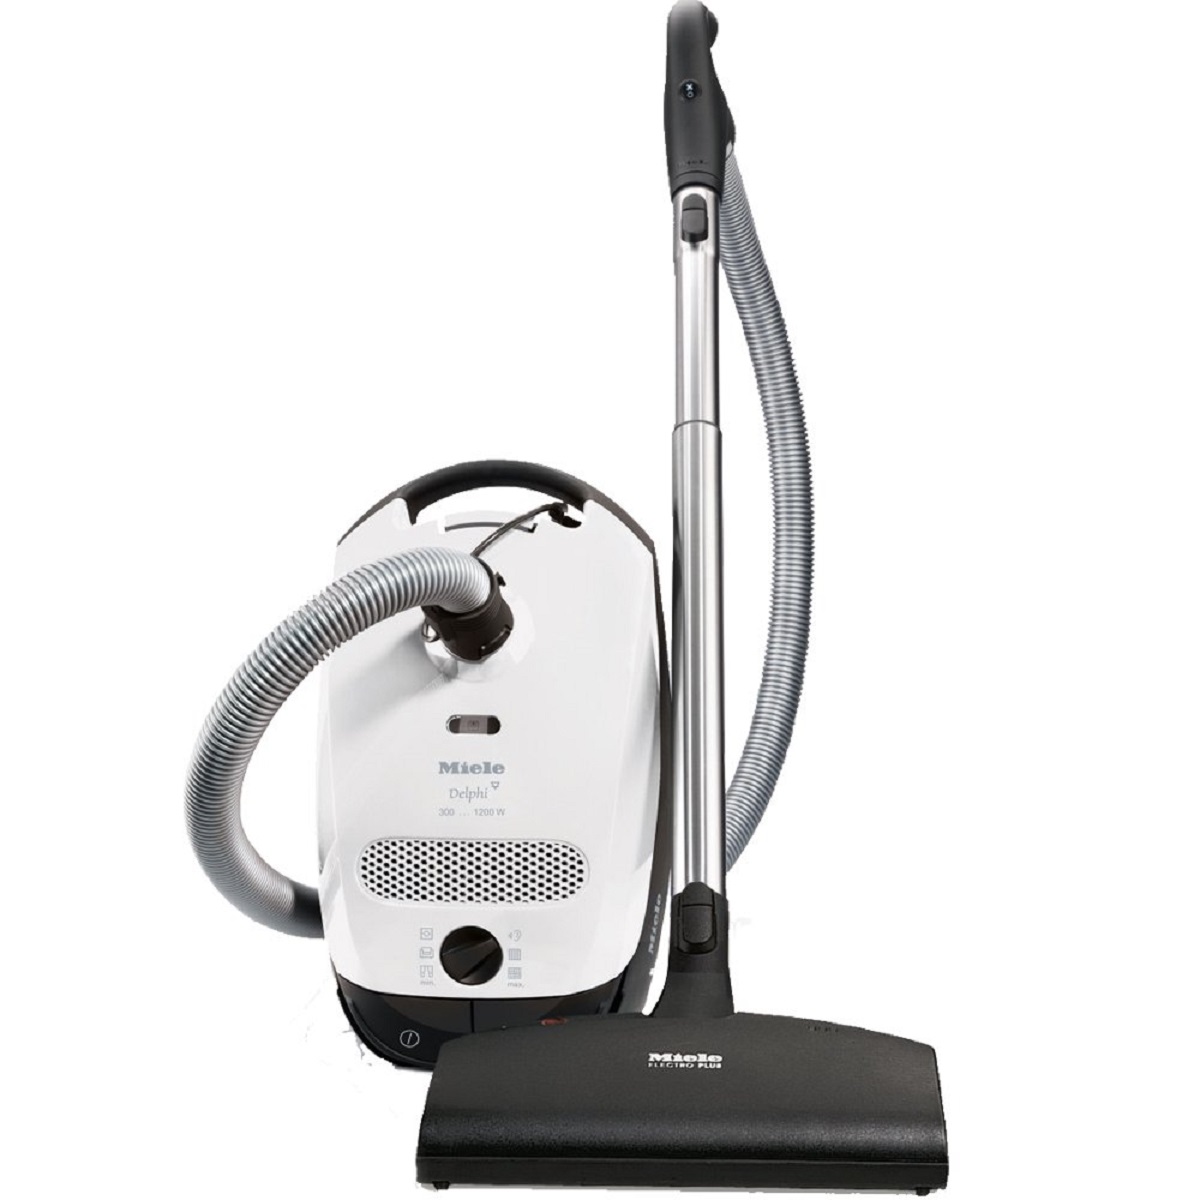
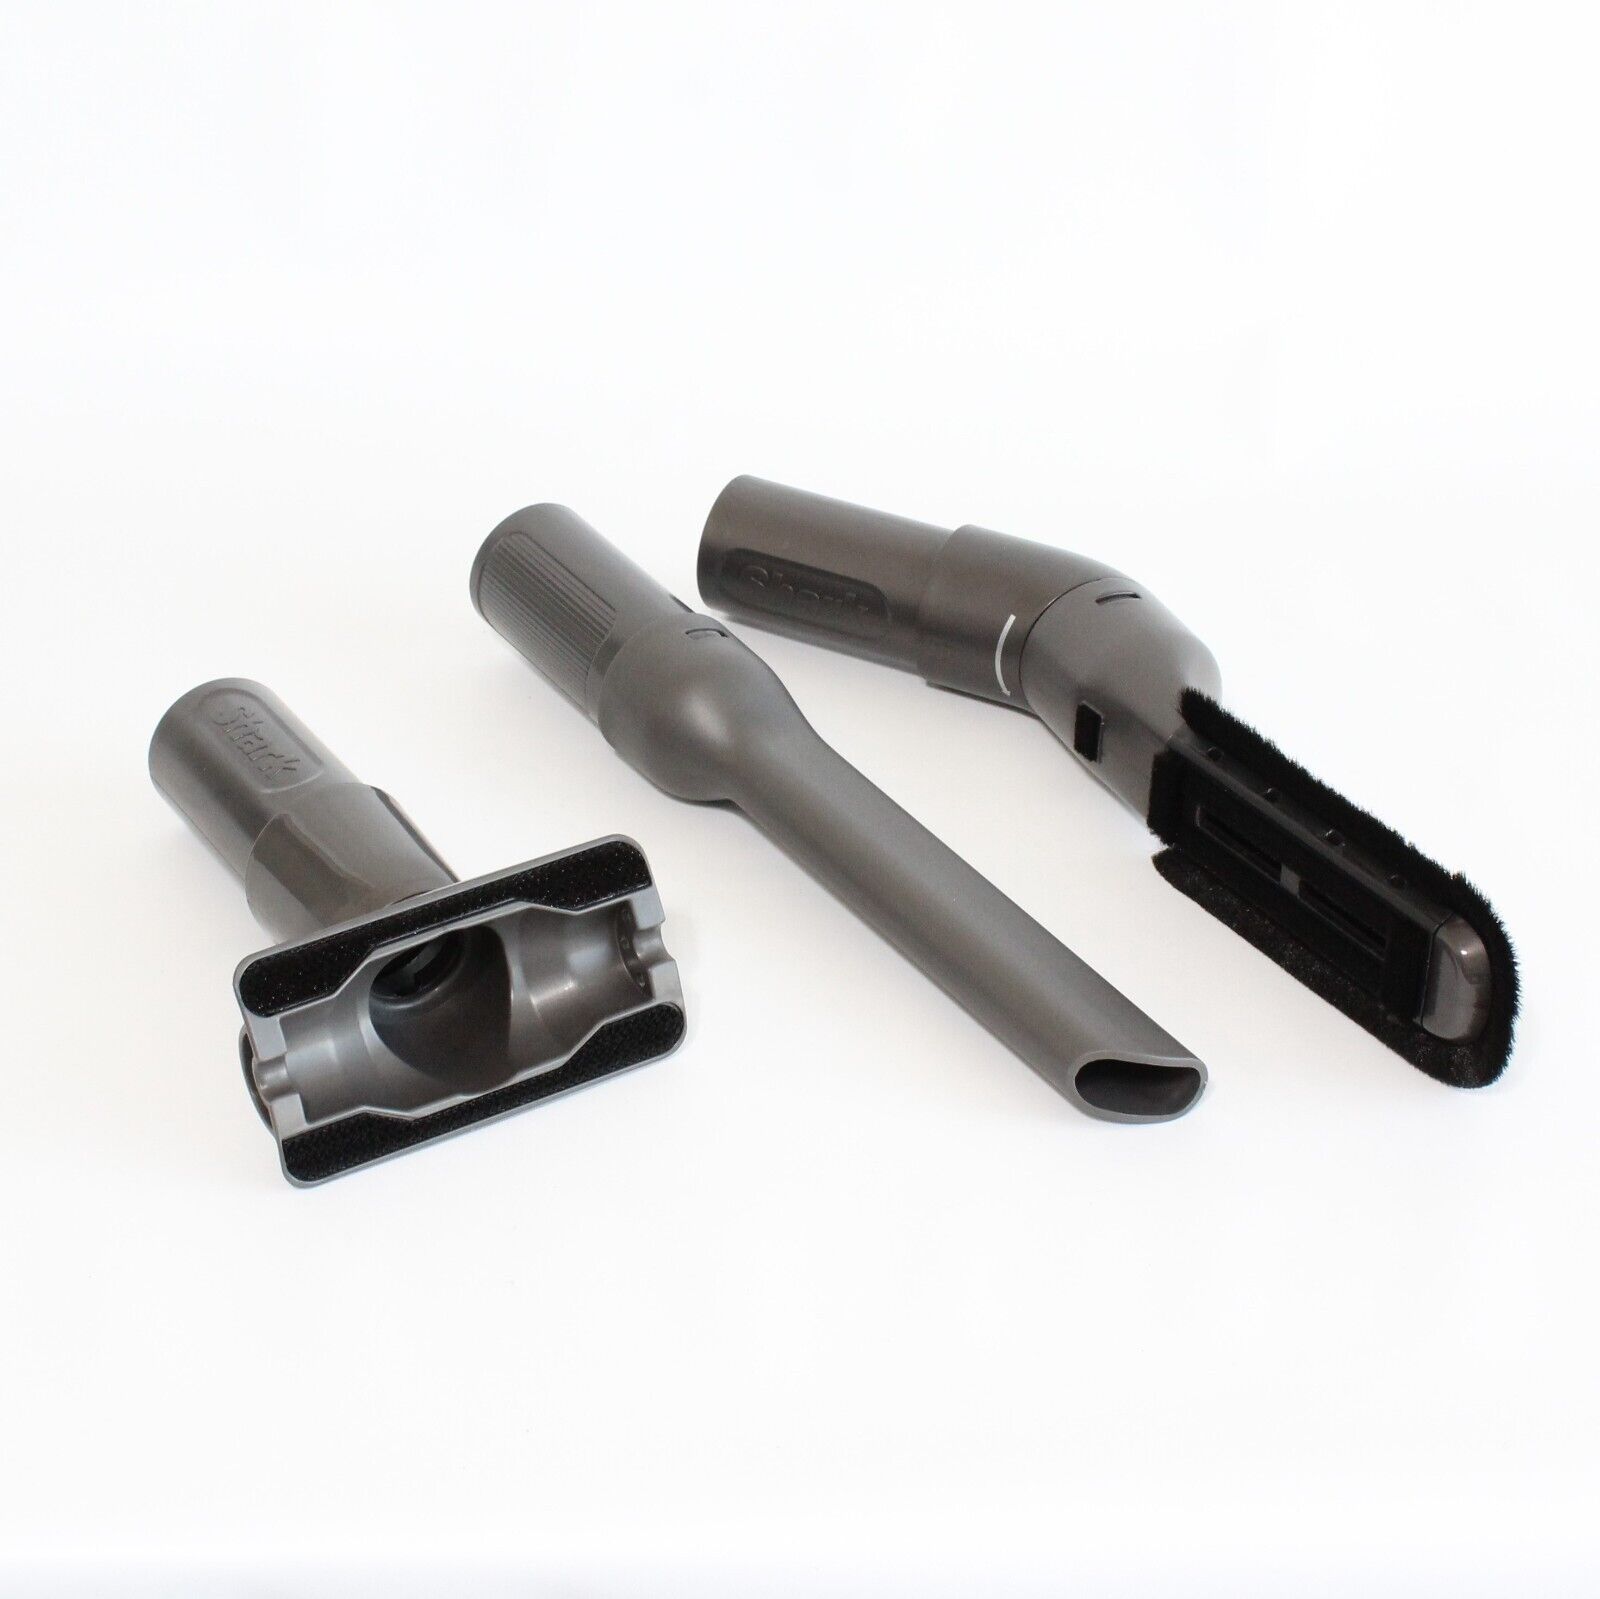
Detaching Vacuum Attachments
Before storing your Miele vacuum, it’s important to detach any accessories or attachments that are detachable. This step not only helps protect the attachments from damage but also makes it easier to store the vacuum more compactly. Here’s how you can detach the vacuum attachments:
- Power off and Unplug: Ensure that the vacuum is turned off and unplugged from the power source before detaching any attachments.
- Check for Locking Mechanisms: Examine the attachments to see if they have any locking mechanisms or release buttons. Some attachments may twist and lock into place, while others may have a button or latch that needs to be pressed to detach.
- Detach the Floor Tool: The floor tool or brush head is typically detachable. Twist or press the release button to remove it from the vacuum’s wand or hose.
- Remove Extension Tubes or Wands: If your Miele vacuum has extension tubes or wands, separate them from the main body of the vacuum by twisting or pressing the release buttons. These components can usually be divided into smaller segments for easy storage.
- Separate Brush Attachments: If you have specific brush attachments, such as a crevice tool or upholstery brush, detach them from the extension tubes or wand by twisting or pressing the release buttons.
- Keep Attachments Together: Once you have detached the various accessories, it’s a good idea to keep them together in one place. Consider using a small bag or storage container to hold all the attachments securely.
By detaching the vacuum attachments, you not only protect them from potential damage while in storage but also make the vacuum more compact, saving valuable space. It also ensures that you can easily find and reattach the attachments when you need them again for your cleaning tasks.
Read also: 13 Best Miele Vacuum Cleaner For 2025
Disassembling the Vacuum if Necessary
In some cases, it may be necessary to disassemble your Miele vacuum further before storing it. This step is especially important if you have a larger or bulkier model or if you need to save space during storage. Here are the steps to disassemble your vacuum if necessary:
- Refer to the User Manual: Consult your Miele vacuum’s user manual for specific instructions on disassembling the vacuum. It will provide guidance on which components can be safely removed and how to disassemble them.
- Remove Detachable Components: Identify any detachable components based on the user manual or visible indicators. This may include removing the dust bin, separating the main body from the power head, or unscrewing certain parts.
- Organize and Label Components: As you disassemble the vacuum, take note of the order in which you remove the components. Use labels or take pictures to help you remember how to reassemble the vacuum later.
- Secure Small Parts and Screws: Place any small parts, screws, or fasteners in a labeled bag or container. This will prevent them from getting misplaced during storage and make it easier to find them when you need to reassemble the vacuum.
- Store Components Together: Keep all the disassembled components together in a designated storage container or bag. This ensures that everything stays organized and prevents the loss of any essential parts.
Disassembling your Miele vacuum, if necessary, allows you to save space and ensure that the vacuum fits comfortably in your chosen storage location. It also helps protect the various components from potential damage during storage.
To store a Miele vacuum, ensure it is completely dry before storing to prevent mold and mildew. Store in a cool, dry place away from direct sunlight to protect the motor and plastic components.
Protecting the Vacuum from Dust and Dirt
Properly protecting your Miele vacuum from dust and dirt during storage is essential to ensure its performance and functionality when you’re ready to use it again. Here are some tips to protect your vacuum from dust and dirt:
- Cover with a Fabric or Plastic Cover: Consider covering your Miele vacuum with a fabric or plastic cover specifically designed for vacuum storage. This cover will prevent dust and dirt from settling on the vacuum’s surfaces.
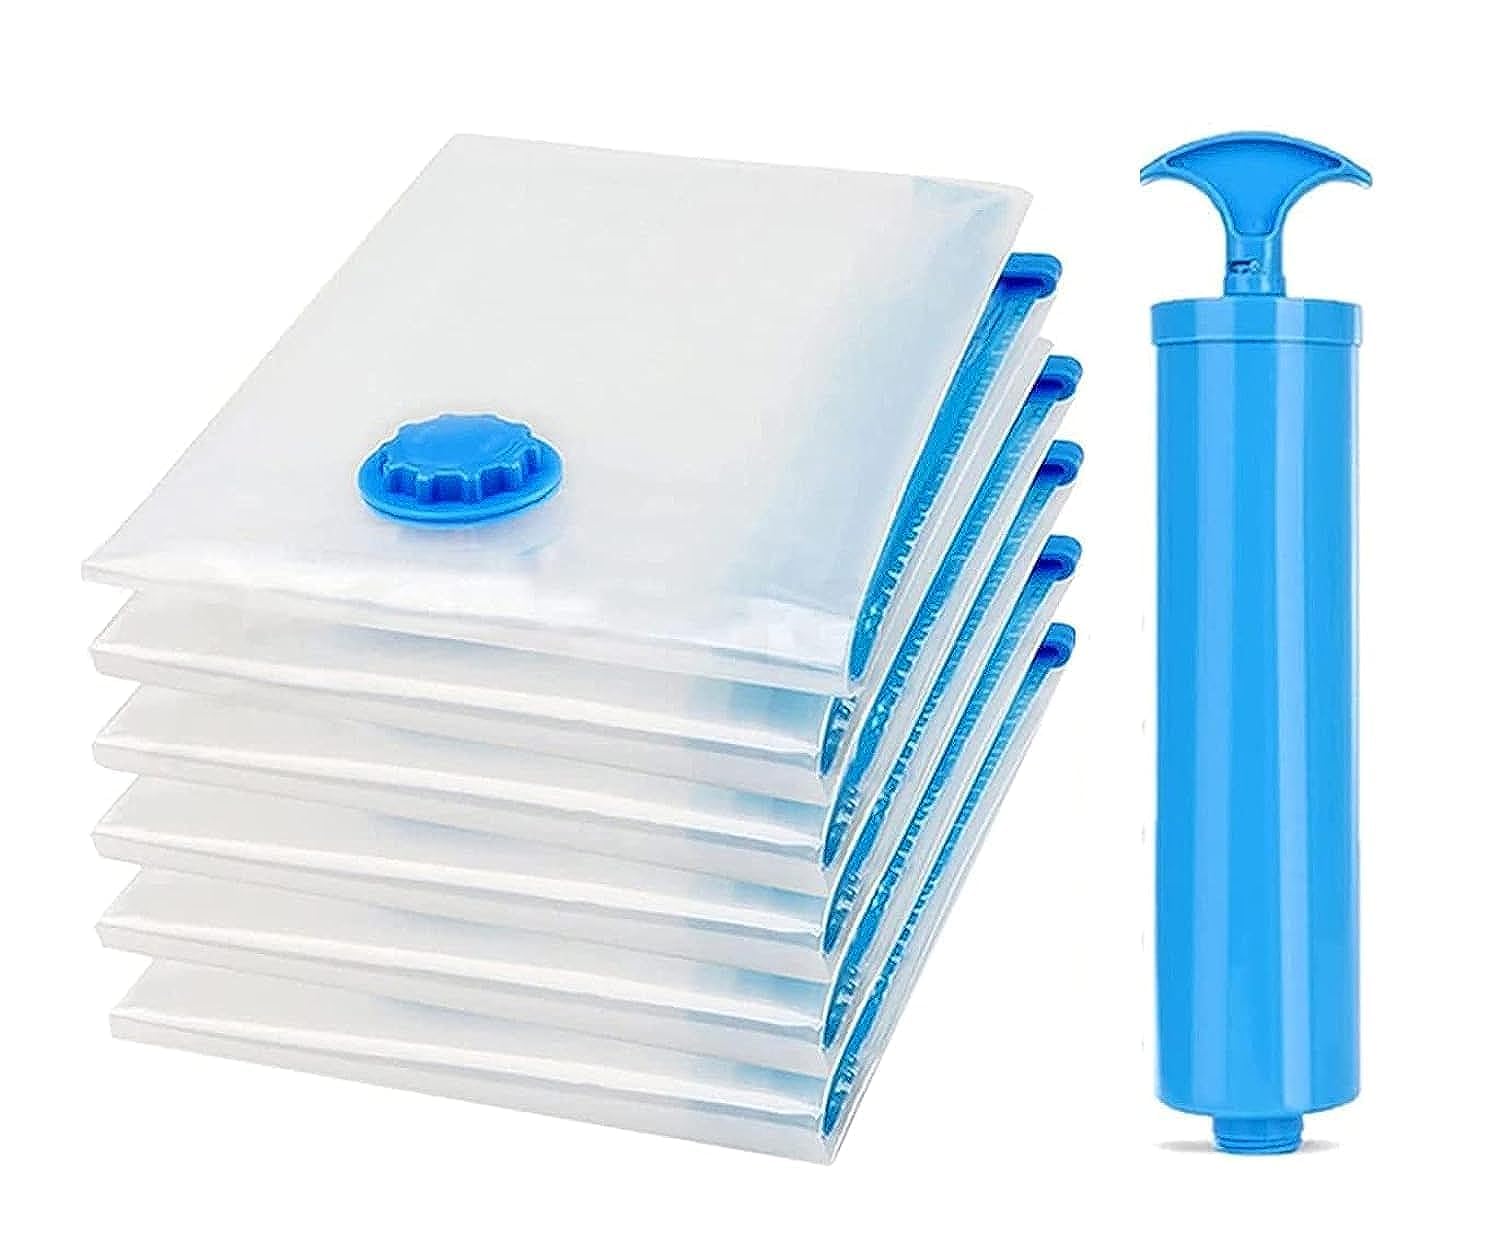
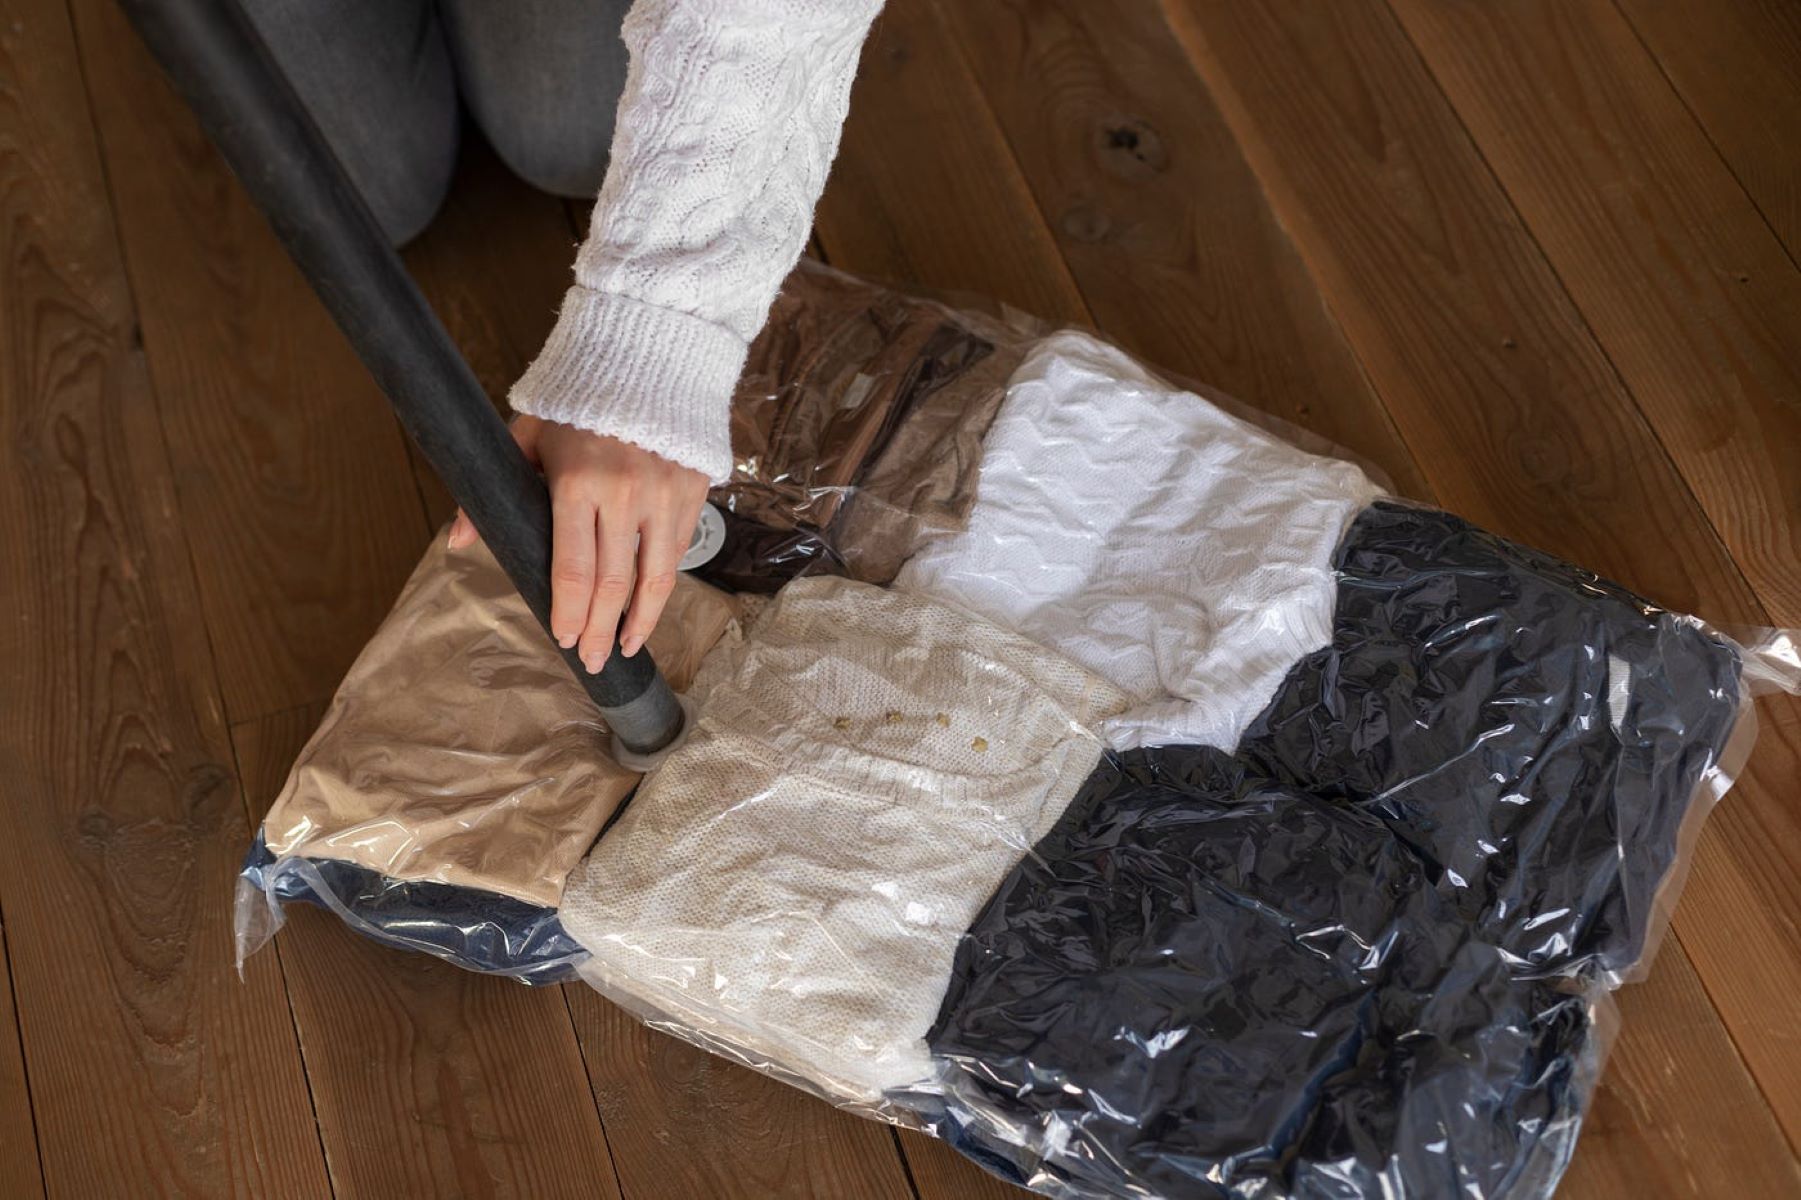
- Use Vacuum Bags or Sealed Containers: If you have a larger vacuum or prefer an extra layer of protection, you can place your vacuum inside a vacuum storage bag or a sealed container. These options create a barrier against dust, dirt, and moisture.
- Avoid Carpeted or Dusty Areas: Choose a storage location that is away from carpeted or dusty areas. Carpets can harbor dust that may settle on the vacuum, while dusty areas can increase the chances of dirt finding its way into the vacuum.
- Keep the Vacuum Elevated: To prevent your Miele vacuum from sitting directly on the floor, consider placing it on a clean, elevated surface. This helps minimize dust and dirt particles from accumulating on the bottom of the vacuum.
- Regularly Dust the Storage Area: Keep the storage area clean and dust-free by regularly dusting and vacuuming the surrounding space. This reduces the amount of dust that can settle on the vacuum during storage.
- Avoid Clutter: Ensure that the storage area is free from clutter to minimize the chances of dust and dirt accumulating on the vacuum. A clean and organized storage space promotes better protection.
By taking steps to protect your Miele vacuum from dust and dirt during storage, you can maintain its cleanliness and prevent any potential damage or clogging. This ensures that your vacuum will be ready to use when you retrieve it from storage.
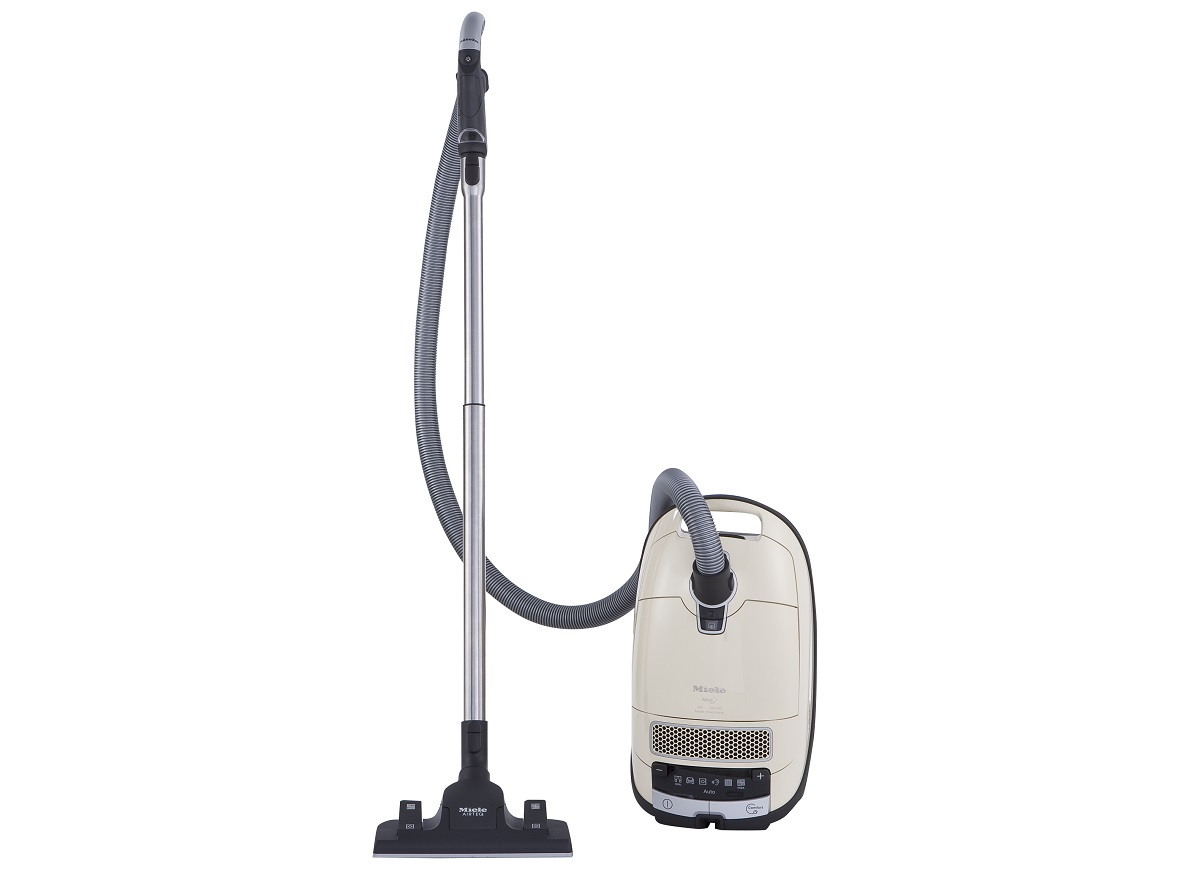
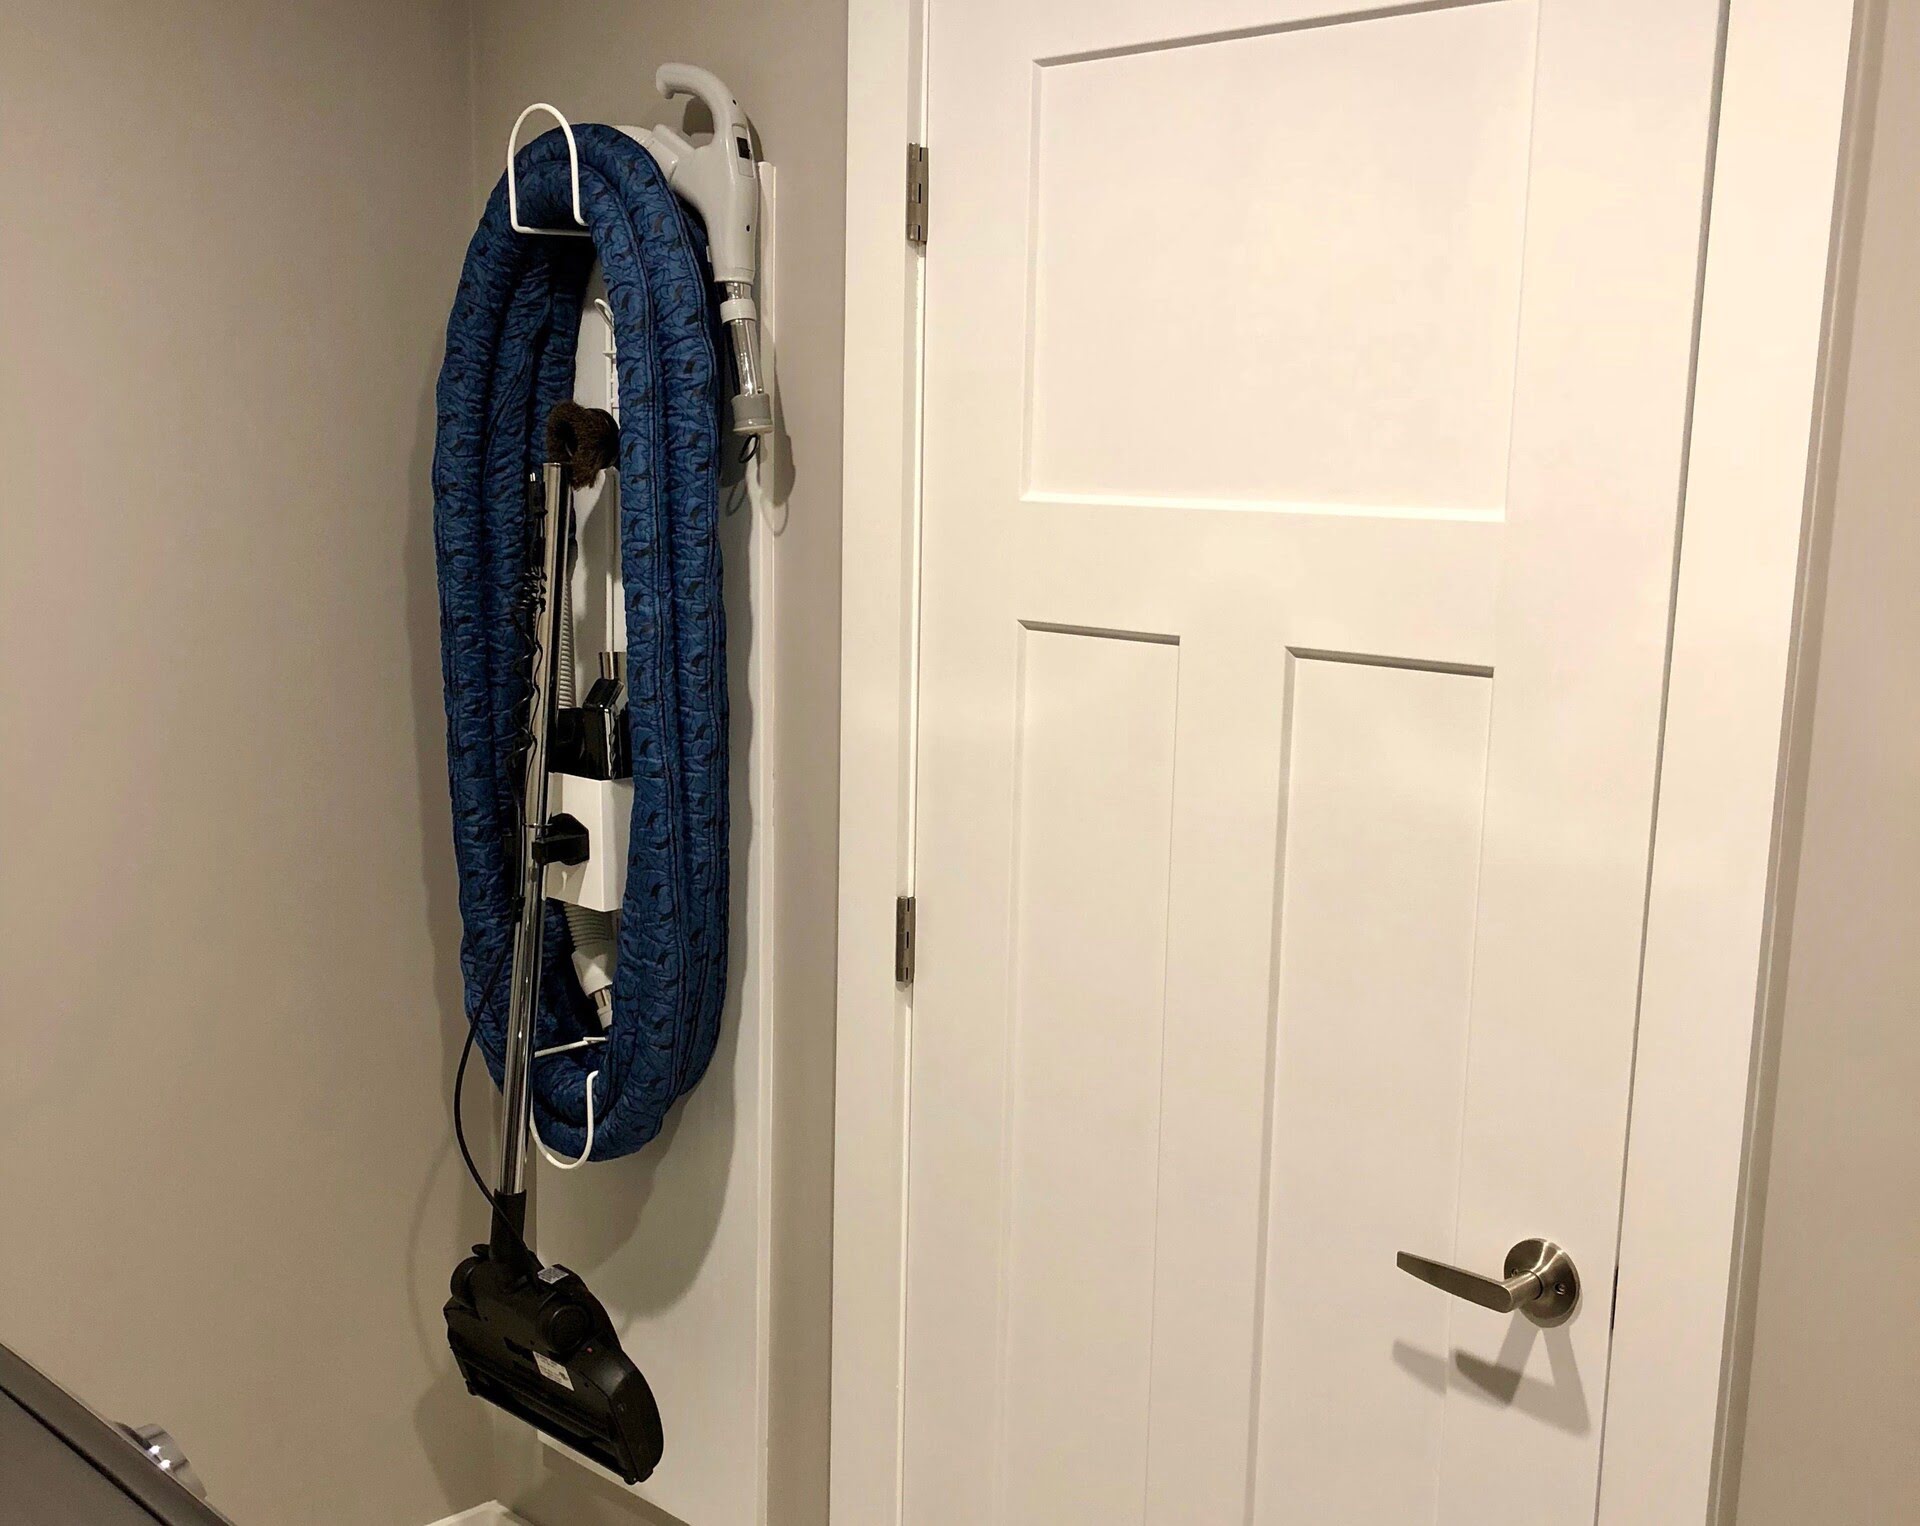
Storing the Vacuum in an Upright Position
When it comes to storing your Miele vacuum, it’s best to store it in an upright position. Storing the vacuum upright not only saves valuable storage space but also helps protect the vacuum’s components. Here are some reasons why storing your vacuum in an upright position is beneficial:
- Space-Saving: Storing the vacuum in an upright position takes up less floor or storage space compared to laying it flat. This is especially important if you have limited storage space.
- Prevents Damage: Storing the vacuum upright helps prevent any potential damage to the brushroll, attachments, or other components. It reduces the chances of them getting bent, tangled, or misaligned during storage.
- Easier Accessibility: Storing the vacuum upright makes it easier to access and retrieve when you need to use it. You won’t have to move or rearrange other items to reach the vacuum, saving you time and effort.
- Keeps the Vacuum Stable: Storing the vacuum in an upright position ensures that it remains stable and doesn’t topple over. This helps maintain the proper alignment of the vacuum’s components and prevents unnecessary stress on the vacuum’s body.
- Protects the Hose and Cord: Storing the vacuum upright also protects the hose and power cord from getting tangled or damaged. It prevents any kinks or twists that may affect the vacuum’s functionality.
To store your Miele vacuum in an upright position, simply place it in a designated storage area with enough vertical space. Make sure it is stable and won’t easily tip over. Utilize any provided storage hooks or clips on the vacuum to help keep the attachments organized and secured.
By storing your Miele vacuum in an upright position, you ensure its longevity and accessibility while maximizing storage space.
Avoiding Storage in Extreme Temperatures
When it comes to storing your Miele vacuum, it’s important to avoid extreme temperatures. Both excessively high or low temperatures can have adverse effects on the vacuum’s performance and longevity. Here’s why you should avoid storing your vacuum in extreme temperatures:
- Heat: High temperatures can damage the internal components of your vacuum. Heat can cause plastic parts to warp, belts to deteriorate, and motors to overheat. Exposure to prolonged high temperatures can lead to malfunctioning and reduced lifespan of the vacuum.
- Cold: Extreme cold can also be detrimental to your Miele vacuum. Very low temperatures can cause the plastic components to become brittle and prone to cracking. Additionally, cold environments can affect the vacuum’s battery life, if applicable.
- Humidity: Extreme temperatures often come with high humidity levels. Humidity can lead to the growth of mold and mildew, which can damage the vacuum’s internal parts, especially if moisture gets into the motor or electrical components.
- Condensation: Rapid temperature changes can lead to condensation, which can promote rust and corrosion. It’s critical to avoid storing your vacuum in areas where temperature fluctuations are common to prevent condensation from forming on the vacuum.
To avoid these issues, store your Miele vacuum in a location where the temperature remains within a moderate range. Avoid basements prone to humidity or extreme temperature fluctuations, as well as garages or attics that can become excessively hot or cold.
If you need to store your vacuum in an area with fluctuating temperatures, consider using a climate-controlled storage space or placing the vacuum in a sealed container with moisture-absorbing packets to help regulate humidity levels.
By avoiding storage in extreme temperatures, you can ensure that your Miele vacuum remains in good condition and maintains its performance and longevity.
Additional Tips for Proper Vacuum Storage
In addition to the previous guidelines, here are some additional tips to ensure proper storage of your Miele vacuum:
- Secure Cords and Hoses: Wrap the power cord and hoses neatly around the vacuum or use cord clips to secure them in place. This helps prevent tangles and keeps everything organized.
- Label the Storage Bag or Container: If you’re using a storage bag or container, label it with the vacuum’s model name or any other relevant information. This makes it easier to identify the vacuum when you need it.
- Perform Regular Maintenance: Before storing your vacuum, make sure you’ve performed any necessary maintenance tasks, such as replacing worn-out filters or belts. This ensures that your vacuum is in optimal condition when you retrieve it from storage.
- Protect the Power Cord: To protect the power cord from damage, avoid tightly wrapping it around the vacuum or bending it excessively. Instead, loosely coil the cord and secure it in place with a twist tie or cord organizer.
- Check for Pest Infestations: Periodically inspect the storage area for any signs of pest infestations, such as mice or insects. If you notice any, take appropriate measures to eliminate the infestation and protect your vacuum from potential damage.
- Keep the Manual Handy: Store the user manual in a safe and easily accessible place. This allows you to refer to it when needed, whether it’s for troubleshooting or reassembling the vacuum after storage.
- Regularly Check on the Vacuum: Even though your vacuum is in storage, it’s a good idea to check on it periodically. This ensures there are no issues like leaks, mold growth, or damage from pests. It also gives you the opportunity to perform any necessary maintenance tasks.
By following these additional tips, you can maintain the quality and condition of your Miele vacuum during storage. When you’re ready to use it again, your vacuum will be clean, functional, and ready to tackle any cleaning tasks.
Conclusion
Properly storing your Miele vacuum is essential to maintain its longevity, performance, and functionality. By following the guidelines outlined in this article, you can ensure that your vacuum remains in optimal condition, ready to tackle your cleaning tasks whenever you need it. Here’s a recap of the key steps to take when storing your Miele vacuum:
- Choose the Right Storage Location: Select a clean, dry, and safe indoor space, away from extreme temperatures and potential hazards.
- Clean the Vacuum: Thoroughly clean the vacuum, including emptying the bag or canister, removing debris from the brushroll and nozzle, and cleaning or replacing filters.
- Detach Vacuum Attachments: Remove any detachable attachments and store them separately for easy organization.
- Disassemble the Vacuum if Necessary: If needed, disassemble the vacuum according to the manufacturer’s instructions to save space and prevent damage.
- Protect from Dust and Dirt: Cover the vacuum or store it in a sealed container to safeguard it from dust and dirt.
- Store Upright: Store the vacuum in an upright position to save space and protect the components.
- Avoid Extreme Temperatures: Store the vacuum in a location with moderate temperatures to prevent damage.
- Follow Additional Tips: Secure cords and hoses, label the storage bag or container, perform regular maintenance, and check for pest infestations.
By implementing these storage practices, you can ensure that your Miele vacuum remains in excellent condition and continues to provide effective cleaning results for years to come. Remember to consult the user manual specific to your vacuum model for any additional storage recommendations or maintenance requirements.
So, when the time comes to store your Miele vacuum, follow these guidelines and rest assured that it will be in optimal condition and ready for use whenever you need to tackle your cleaning tasks once again.
Frequently Asked Questions about How To Store Miele Vacuum
Was this page helpful?
At Storables.com, we guarantee accurate and reliable information. Our content, validated by Expert Board Contributors, is crafted following stringent Editorial Policies. We're committed to providing you with well-researched, expert-backed insights for all your informational needs.


0 thoughts on “How To Store Miele Vacuum”