
Articles
How To Store Starter In Fridge
Modified: October 22, 2024
Learn how to store starter in the fridge to keep it fresh and ready to use in your baking adventures. Read our helpful articles for expert tips and tricks.
(Many of the links in this article redirect to a specific reviewed product. Your purchase of these products through affiliate links helps to generate commission for Storables.com, at no extra cost. Learn more)
Introduction
When it comes to baking sourdough bread or preparing a variety of fermented recipes, having a healthy and active starter is essential. A starter is a mixture of flour and water that captures wild yeast and friendly bacteria to create a natural leavening agent. It’s a living organism that needs to be well-maintained and nourished to produce the best results.
However, there are times when you may not need to use your starter for a while, whether it’s due to a busy schedule or a break from baking. In these situations, it’s important to know how to properly store your starter in the fridge to keep it fresh and ready for future use.
In this article, we will guide you through the process of storing your starter in the fridge step-by-step, ensuring that it remains healthy and active during its refrigeration period. We will cover topics such as preparing the starter for refrigeration, selecting the right container, properly sealing the container, monitoring and maintaining the starter, and troubleshooting common issues you may encounter.
By following these guidelines, you can confidently store your starter in the fridge without worrying about it losing its vitality or developing any undesirable flavors. So, let’s dive in and explore the best practices for storing your starter in the fridge!
Key Takeaways:
- Properly storing your sourdough starter in the fridge allows you to take a break from baking without losing its vitality, while also providing an opportunity for flavor development over time.
- When reactivating your refrigerated starter, be patient and consistent with feeding to bring it back to its full potential, ensuring delicious and flavorful results in your sourdough creations.
Read more: How To Store Sourdough Starter In The Fridge
Importance of Storing Starter
The starter is the heart and soul of sourdough baking. It’s a vibrant community of wild yeast and lactobacilli bacteria that create the flavorful and airy bread we all love. But why is it important to store your starter properly?
First and foremost, storing your starter allows you to take a break from baking without losing the hard work you’ve put into cultivating and maintaining it. Life can get busy, and sometimes we need to step away from our baking routines. By storing your starter in the fridge, you can keep it dormant for extended periods, allowing you to resume baking whenever you’re ready.
Storing your starter also helps to maintain its vitality and health. The cold temperatures of the refrigerator slow down the fermentation process and put the yeast and bacteria into a state of dormancy. This slows down their metabolic activity and preserves their energy reserves, keeping the starter fresh and ready for use.
Properly stored starter can be kept in the fridge for weeks or even months, depending on how well it’s maintained. This gives you the flexibility to adapt to your baking schedule and only use your starter when you need it. It’s like having a sourdough pet that patiently waits for you to call it into action.
Another benefit of storing your starter is the opportunity to develop and deepen its flavor. During the refrigeration period, the enzymes in the starter continue to break down complex carbohydrates into simpler sugars, creating a richer and more complex taste profile. This can greatly enhance the flavor of your sourdough bread.
By storing your starter properly, you not only preserve its vitality but also allow it to develop unique flavors over time. So whether you’re taking a short break from baking or looking to enhance the taste of your bread, storing your starter in the fridge is a crucial step in maintaining its quality and usability.
Preparing the Starter for Refrigeration
Before you can store your starter in the fridge, it’s important to go through a few preparation steps to ensure its health and longevity during its refrigerated state.
The first step is to feed your starter. A well-fed starter is more likely to survive and remain active during its time in the fridge. A typical feeding consists of discarding a portion of the starter and refreshing it with equal parts flour and water. Allow your starter to go through a feeding cycle, typically when it’s at its peak activity, before transferring it to the fridge.
It’s also a good practice to use a mature and healthy starter when preparing it for refrigeration. If your starter has been neglected or showing signs of weakness, it’s best to revive it and ensure its vitality before subjecting it to low temperatures.
Another consideration is the size of your starter. If you have a large amount of starter, it’s a good idea to discard a portion of it to reduce the volume. This helps to minimize the required feeding and makes it easier to work with during the maintenance process.
Once your starter has gone through a feeding cycle and is in a healthy state, it’s time to move on to the next step: selecting the right container.
Using a clean and appropriate container for your starter is crucial. Look for a container that provides enough space for your starter to expand slightly if needed. A glass jar with a tight-fitting lid is ideal as it helps to maintain the temperature and prevents any unwanted odors from seeping in.
Now that you’ve prepared your starter and selected an appropriate container, let’s move on to the next step: transferring the starter to the container.
Selecting the Right Container
When it comes to selecting a container for storing your starter in the fridge, there are a few key factors to consider. The goal is to choose a container that provides a suitable environment for your starter while ensuring its protection and longevity.
The first consideration is the material of the container. It’s best to use a glass container rather than plastic or metal. Glass is non-reactive and won’t interact with the acids produced during fermentation, ensuring the purity of your starter. Additionally, glass is easy to clean and doesn’t retain odors, which can be a concern when storing your starter in the fridge for an extended period.
The size of the container is also important. Ideally, the container should have enough space to accommodate your starter without being too large. This allows for proper air circulation and prevents the pressure build-up that can occur when the starter expands during fermentation. A container that’s too small may cause the starter to overflow or create a mess in the fridge.
The container should have a tight-fitting lid to seal it properly. This prevents any contaminants or unwanted microorganisms from entering the container and affecting the health of your starter. Make sure the lid is secure and creates an airtight seal to maintain the freshness and integrity of the starter.
Additionally, it’s beneficial to choose a container with measurement markings. This makes it easier to track the feeding ratio and monitor the growth of your starter. Having clear measurement lines helps you maintain consistency and ensures accurate adjustments when necessary.
Ultimately, the key is to choose a container that is clean, non-reactive, and provides an airtight seal. This will create the ideal environment for storing your starter in the fridge, preserving its freshness and vitality for an extended period.
Now that you have selected the right container, let’s move on to the next step: transferring the starter to the container.
Transferring the Starter to the Container
With your container selected and prepared, it’s time to transfer your starter into it. This step ensures that your starter is properly contained and protected during its time in the refrigerator.
Start by giving your starter a good stir to evenly distribute the ingredients and activate any dormant yeast or bacteria. This helps to revitalize the starter and ensure its readiness for refrigeration.
Next, carefully pour or spoon your starter into the container. Be mindful of not splashing or spilling it, as this can create a mess and lead to wastage. Use a rubber spatula or a spoon to scrape down the sides of the original container to ensure you transfer as much of the starter as possible.
While transferring the starter, you may notice some liquid on top of the starter, commonly known as “hooch.” This is a byproduct of fermentation and indicates that the starter needs to be fed or refreshed. If you see hooch, you can stir it back into the starter before transferring, or you can pour it off if it appears excessive.
Once the starter is in the new container, ensure that it is level and evenly distributed. Avoid leaving air pockets or uneven layers in the container, as this can affect the fermentation process and overall health of the starter.
If needed, you can use a clean and damp cloth to wipe away any spills or residue on the container’s rim or outer surface. This helps to maintain cleanliness and prevents any unwanted odors or mold from developing.
Finally, seal the container tightly with its lid. Make sure it’s secure and provides an airtight seal. This is essential to prevent the entry of air, contaminants, or unwanted microorganisms that could affect the health and quality of your starter.
Once your starter is transferred and sealed in the container, it’s ready to be stored in the fridge. The next step is to ensure the proper sealing of the container, which we will explore in the next section.
Read more: How To Store A Sourdough Starter
Properly Sealing the Container
After transferring your starter to the container, it’s crucial to properly seal it to maintain its freshness and protect it from any external contaminants. A tight and secure seal ensures that your starter remains in the optimal condition during its time in the fridge.
The first step in properly sealing the container is to ensure that the lid is clean and free from any residue or debris. Wipe the inside of the lid with a clean cloth or paper towel to remove any potential contaminants.
Once you’ve cleaned the lid, carefully place it on top of the container. Ensure that it aligns properly with the rim and covers the container completely. Apply gentle pressure to create a tight seal between the lid and the container.
For an extra level of protection, you can use plastic wrap or aluminum foil around the lid of the container. This provides an additional barrier against any air or odors that may seep into the container. Make sure to wrap the plastic or foil tightly and secure it in place.
If your container has a screw-on lid or a locking mechanism, make sure to tighten it securely. Check for any gaps or areas where air can penetrate and adjust accordingly to create a complete seal.
It’s important to note that while a tight seal is essential, it’s also crucial to allow some room for gases to escape during fermentation. Tighten the lid securely but not excessively, as the buildup of gas can potentially cause the container to burst or create unnecessary pressure.
Once you have properly sealed the container, give it a gentle shake to ensure there are no leaks or loose fittings. If you notice any issues, such as a loose lid or leaking, address them immediately before storing the starter in the fridge.
With the container securely sealed, your starter is now ready to be stored in the refrigerator. In the next section, we will discuss how to store the starter and provide advice on monitoring and maintaining its well-being during refrigeration.
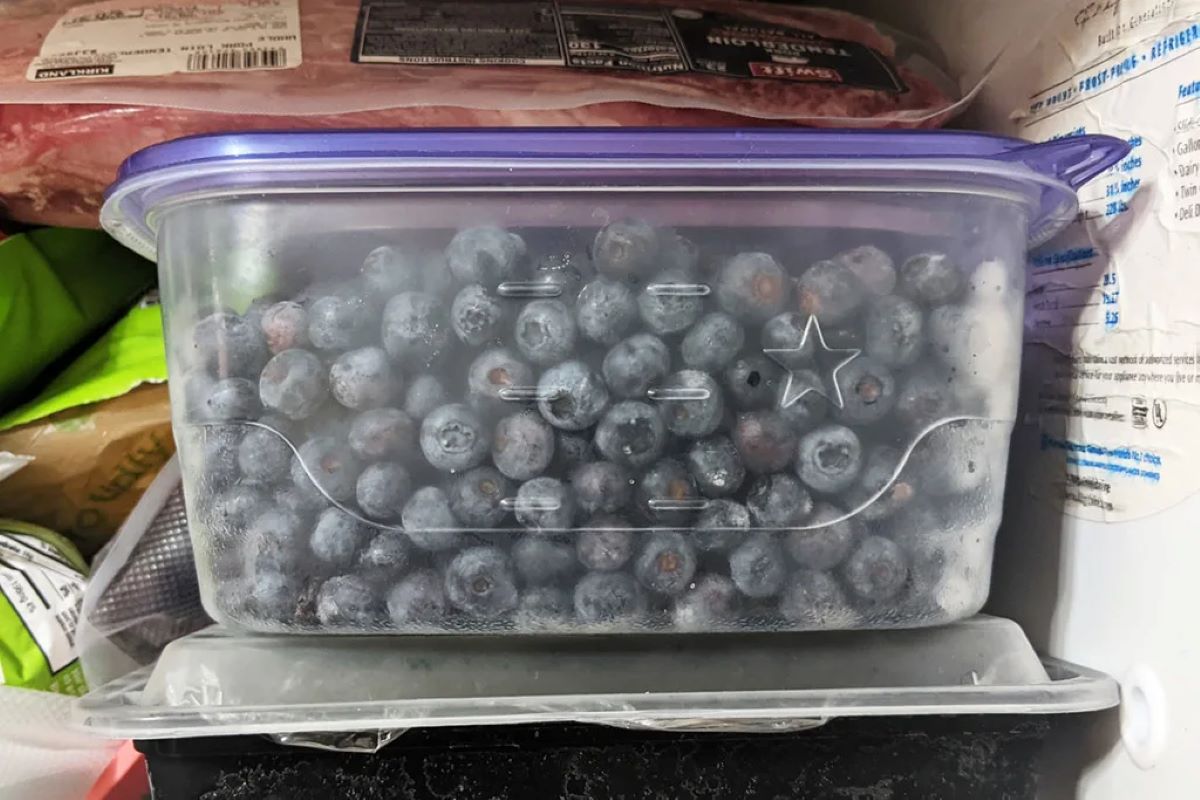
When storing starter in the fridge, make sure to use a clean, airtight container. Feed the starter before placing it in the fridge, and remember to feed it regularly to keep it active.
Storing the Starter in the Fridge
Now that your starter is properly prepared, transferred, and sealed in its container, it’s time to store it in the fridge. The cold temperatures of the refrigerator will slow down the fermentation process and put your starter into a state of dormancy, allowing it to be preserved for an extended period.
Find a suitable spot in your fridge where the temperature remains consistent and doesn’t fluctuate drastically. The ideal temperature for storing a sourdough starter is between 35°F (1.7°C) and 40°F (4.4°C). Avoid placing the container near the back of the fridge where it might freeze due to colder temperatures.
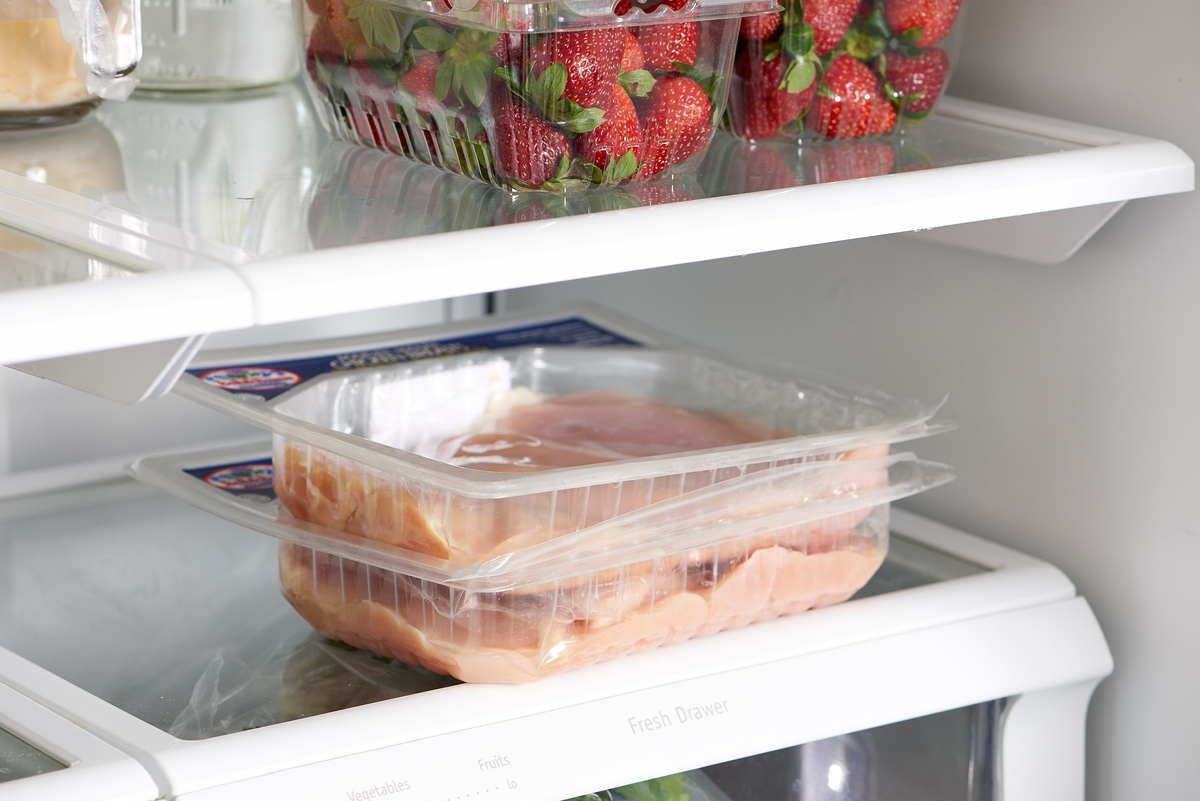
Place the container in the designated spot, making sure it is stable and won’t be easily disturbed. Avoid storing the starter near strong-smelling foods, as the starter can absorb odors. Additionally, keep it away from raw meat or other potential sources of bacteria to prevent contamination.
It’s important to note that the starter may continue to undergo some fermentation in the fridge, albeit at a much slower rate. This may result in a small amount of liquid accumulating on top of the starter. If you notice this, it’s normal. You can either stir the liquid back into the starter before using it or pour off the excess liquid if it appears excessive.
During its time in the fridge, the starter will continue to consume the available sugars and may decrease in volume. This is normal and doesn’t indicate any issues with the starter. The longer the starter is stored in the fridge, the more it will slow down and become depleted. However, a well-maintained starter can still remain viable in the fridge for weeks or even months.
Now that you have stored your starter in the fridge, the next step is monitoring and maintaining its well-being to ensure its long-term vitality and usability, which we will discuss in the following section.
Monitoring and Maintaining the Starter
While your starter is stored in the fridge, it’s important to monitor and maintain its health to ensure that it remains viable and ready for future use. Although the fermentation process slows down significantly, there are a few key practices to follow to keep your starter in optimal condition:
First, periodically check on your starter to ensure that it doesn’t develop any signs of mold or off-putting odors. While it’s normal for some liquid to accumulate on top, excessive liquid or a pink or fuzzy appearance may indicate a problem. If you notice any unusual changes, it may be necessary to discard the starter and start fresh.
It’s recommended to “feed” your starter every couple of weeks or at least once a month to maintain its vitality. A feeding consists of discarding a portion of the starter and refreshing it with equal parts flour and water. This helps replenish its food source and stimulate the yeast and bacteria to remain active.
When feeding your starter, it’s best to let it sit at room temperature for a few hours to revive and reactivate its fermentation activity before returning it to the fridge. This will ensure that it’s in an active state when it goes back to the cold environment.
During the feeding process, you may also choose to discard a portion of the starter to reduce its volume. This helps to minimize the required feeding amounts and keeps the starter manageable, especially if you don’t bake regularly.
Keep in mind that each time you feed your starter, it may take a few days for it to reach its peak activity again. This means that you should plan ahead and give your starter sufficient time to become active and ready for baking before you actually use it in a recipe.
By monitoring and maintaining your starter regularly, you can ensure that it remains healthy and active, ready to be used whenever you’re ready to bake. But what about using the starter after refrigeration? Let’s explore that in the next section.
Using the Starter After Refrigeration
After storing your starter in the fridge, you may be wondering how to bring it back to its full potential for baking delicious sourdough bread. Luckily, reactivating your refrigerated starter is a simple process that requires a few steps to ensure its readiness.
When you’re ready to use your starter, start by taking it out of the fridge and allowing it to come to room temperature. Letting it warm up gradually will prevent any shock to the yeast and bacteria. It’s best to leave it out for 1-2 hours before proceeding to the next step.
Once the starter has reached room temperature, discard a portion of it to reduce the volume and make room for feeding. This also helps to ensure that the starter is in the best possible condition. Remember, it’s normal for the discarded portion to have a more intense aroma than usual after refrigeration.
Next, refresh the starter by feeding it with equal parts flour and water. For example, if you have 100 grams of starter, discard around 50 grams and replace it with 50 grams of flour and 50 grams of water. Mix well to fully incorporate the ingredients.
Now it’s time to allow the refreshed starter to sit at room temperature and ferment. This process will reactivate the yeast and bacteria, allowing the starter to regain its full strength and fermentation activity. Depending on the temperature and the initial health of your starter, this can take anywhere from a few hours to a couple of days.
During the fermentation process, you will notice bubbles forming and the starter gradually increasing in volume. This is a good sign that the yeast and bacteria are becoming active again, and your starter is ready to be used in your sourdough recipes. Once the starter has doubled in volume and displays a vigorous fermentation activity, it’s a good indication that it’s ready to be incorporated into your dough.
Remember that after refrigeration, it may take a few feeding cycles for your starter to fully regain its characteristic flavor and aroma. So don’t be discouraged if the first loaf after refrigeration isn’t as flavorful as usual. With consistent feeding and baking, your starter will regain its full potential in no time.
By following these steps, you can bring your refrigerated starter back to life and resume baking delectable sourdough creations. Remember to always maintain and feed your starter regularly to ensure its longevity and continued vitality.
Now that we’ve covered how to use your starter after refrigeration, let’s explore some common issues that can arise and how to troubleshoot them in the next section.
Read more: How To Store Butter In Fridge
Troubleshooting Common Issues
While storing and using a sourdough starter after refrigeration is generally a straightforward process, there are a few common issues that may arise. Understanding and troubleshooting these issues can help ensure that your starter remains healthy and active:
1. Slow reactivation: If your starter takes longer than expected to regain its activity after being stored in the fridge, be patient. Give it a few more feeding cycles at room temperature to encourage the yeast and bacteria to wake up. Maintain consistent feeding and wait for signs of increased fermentation activity, such as bubbles and expansion.
2. Funky odors: If your refrigerated starter develops a strong or unpleasant odor, it may be a sign of contamination. Discard the starter and start with a fresh batch, making sure to thoroughly clean and sterilize your container and utensils. Maintaining good hygiene throughout the entire process can help minimize the risk of bacterial or mold contamination.
3. Consistency issues: When reactivating your starter, you may notice changes in its consistency. It may become more runny or thicker than usual. This is normal and can be attributed to the dormant state during refrigeration. Adjust the amount of water or flour you feed your starter to achieve the desired consistency. Gradually, as the starter becomes more active, it will regain its accustomed texture.
4. Loss of flavor: After being stored in the fridge, you may find that your starter’s flavor is not as pronounced as before. This is normal and can be attributed to the metabolic changes that occur during refrigeration. To enhance the flavor, continue to regularly feed and use your starter. Over time, it will regain its characteristic tang and complexity.
Remember, troubleshooting these issues is a natural part of sourdough baking, and it’s all part of the journey of nurturing and maintaining your starter. With practice and observation, you’ll become more attuned to the needs and behavior of your specific starter.
By paying attention to the signs of fermentation activity, maintaining good hygiene, and staying patient throughout the process, you can troubleshoot and bring your starter back to its full potential after refrigeration.
Now that we’ve covered troubleshooting common issues, let’s wrap things up in the next section.
Conclusion
Storing your sourdough starter in the fridge is a fantastic way to take a break from baking or adjust your baking schedule while keeping your starter healthy and ready for future use. Properly preparing, selecting the right container, transferring the starter, and sealing it securely are essential steps to ensure its longevity and maintain its vitality.
By following the guidelines shared in this article, you can confidently store your starter in the fridge, knowing that it will remain in a dormant state but ready to be reactivated whenever you’re ready to bake. With regular monitoring, proper maintenance, and troubleshooting of common issues, you can ensure that your starter continues to yield delicious and flavorful results.
Remember, bringing your refrigerated starter back to life requires a bit of time and patience. Give it a few feedings at room temperature to reactivate its fermentation activity, and soon enough, it will regain its full potential. With each bake, your starter will further develop its unique flavors and continue to delight you with its contributions to your sourdough creations.
So, store your starter in the fridge, take that break or adjust your baking schedule, and rest assured that when you’re ready to return to the world of sourdough, your starter will be eagerly waiting for you. Happy baking!
Frequently Asked Questions about How To Store Starter In Fridge
Was this page helpful?
At Storables.com, we guarantee accurate and reliable information. Our content, validated by Expert Board Contributors, is crafted following stringent Editorial Policies. We're committed to providing you with well-researched, expert-backed insights for all your informational needs.


0 thoughts on “How To Store Starter In Fridge”