
Articles
How To Store Okra After Picking
Modified: December 7, 2023
Learn the best methods for storing okra after picking with these helpful articles. Ensure your okra stays fresh and delicious for longer.
(Many of the links in this article redirect to a specific reviewed product. Your purchase of these products through affiliate links helps to generate commission for Storables.com, at no extra cost. Learn more)
Introduction
Okra, also known as lady’s fingers, is a nutritious and versatile vegetable that is popular in many cuisines around the world. Whether you have a bountiful harvest from your own garden or have picked up a fresh batch from the local farmers’ market, storing okra properly is essential to maintain its quality and extend its shelf life.
Properly storing okra not only ensures that you can enjoy its crispness and flavor for longer but also helps reduce food waste. By following the right techniques, you can keep okra fresh and ready to be used in your favorite recipes or preserved for later use.
In this article, we will explore various methods for storing okra, including storing it at room temperature, in the refrigerator, freezing it for long-term storage, and even utilizing a root cellar. We will also discuss common mistakes to avoid to ensure the best possible results.
Whether you plan to use okra in stir-fries, stews, soups, or pickling, understanding the different storage options will help you make the most of this versatile vegetable all year round. So let’s dive in and learn how to store okra after picking!
Key Takeaways:
- Properly storing okra is crucial to maintain its freshness, flavor, and nutritional value. By following the right techniques, you can extend its shelf life and minimize food waste, ensuring a steady supply for your favorite recipes.
- Avoid common mistakes such as storing damp okra, overcrowding, and neglecting to check for spoilage to ensure your okra remains fresh, vibrant, and ready to be used in a variety of delicious recipes.
Read more: How To Store Strawberries After Picking
Importance of Properly Storing Okra
Properly storing okra is crucial to maintain its freshness, flavor, and nutritional value. If not stored correctly, okra can quickly spoil, resulting in wastage and loss of its natural goodness. Here are a few important reasons why you should store okra properly:
- Prolong Shelf Life: Okra is a perishable vegetable that can deteriorate rapidly if not stored properly. By implementing the right storage techniques, you can extend its shelf life and enjoy fresh okra for a longer period.
- Preserve Quality: Okra’s texture and flavor can diminish over time, affecting its overall quality. By storing okra properly, you can preserve its crispness and tenderness, ensuring a better culinary experience.
- Minimize Food Waste: Improper storage of okra can lead to spoilage and wastage. By storing it correctly, you can reduce food waste and make the most of your harvest or the okra you purchased.
- Convenience and Cost Savings: By properly storing okra, you can always have a supply of fresh or preserved okra on hand. This saves you from making frequent trips to the grocery store or farmers’ market, allowing you to enjoy the convenience and potential cost savings.
Whether you’re growing okra in your garden or buying it from a local market, understanding the significance of proper storage techniques can help you maximize its value and ensure its availability when needed.
Now that we understand the importance of properly storing okra, let’s explore the different methods you can use to store this delightful vegetable.
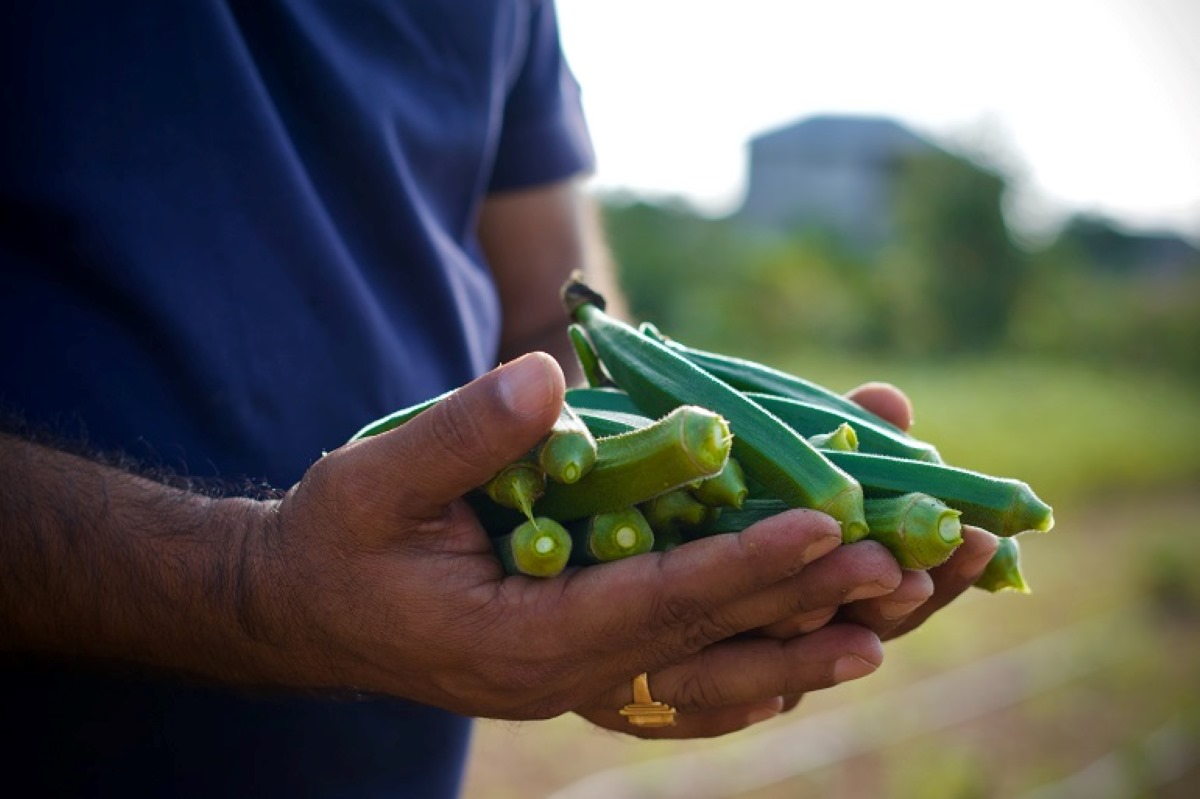
Harvesting Okra
Before we delve into the different methods of storing okra, it’s important to know when and how to harvest it. Harvesting okra at the right time ensures that you have the freshest produce to work with. Here are some guidelines to follow when harvesting okra:
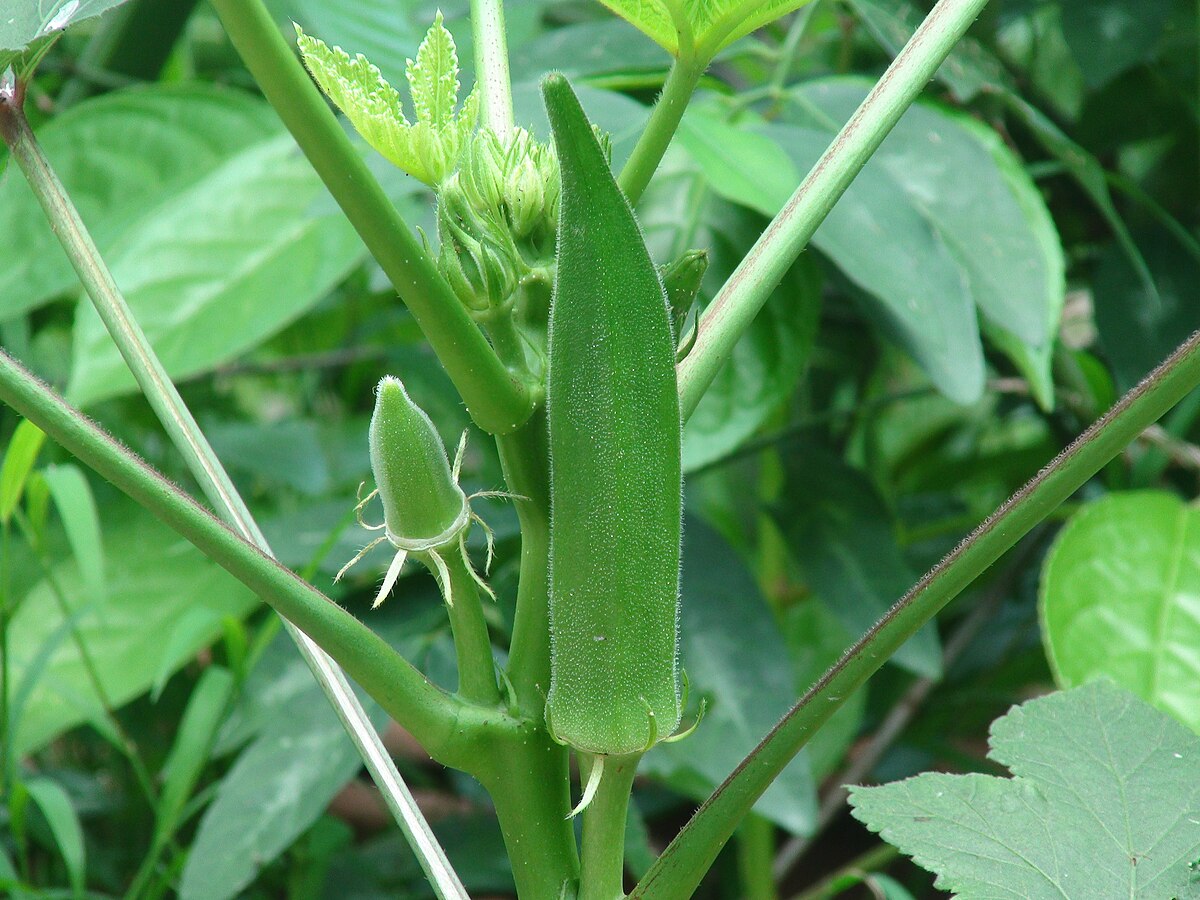
- Timing: Okra pods are ready for harvest when they reach a size of around 2 to 4 inches in length. It’s best to harvest them while they are still tender and before they become tough and fibrous.
- Frequency: Okra plants produce new pods regularly, so you should check for ripe okra every 2 to 3 days during the growing season. Harvesting ripe pods promptly encourages the plant to keep producing more.
- Tools: To harvest okra, you’ll need a sharp knife or pair of gardening shears. Avoid pulling or twisting the pods, as this can damage the plant. Instead, cut the pods carefully from the stem about half an inch above the cap.
- Protective Gear: Okra plants have tiny prickly hairs on their stem and leaves, which can cause irritation on the skin. It’s a good idea to wear gloves and long sleeves when harvesting okra to protect yourself from any discomfort.
Once harvested, it’s important to handle the okra gently and store it properly to maintain its quality and freshness. We will now explore the various methods of preparing and storing okra after picking.
Preparing Okra for Storage
Properly preparing okra for storage is essential to ensure its longevity and quality. Before storing, it’s important to follow these steps to prepare the okra:
- Sorting: Start by sorting through the harvested okra and removing any damaged or spoiled pods. This helps prevent the spread of decay to the rest of the batch.
- Washing: Rinse the okra pods under cool running water to remove any dirt or debris. Gently rub the surface of each pod to ensure thorough cleaning.
- Drying: Once washed, pat the okra pods dry with a clean kitchen towel or paper towels. Excess moisture can lead to mold growth, so ensure that the pods are completely dry before storing.
- Trimming: Trim the stem end of each okra pod, removing about 1/4 inch. This helps to prevent moisture loss and keeps the pods fresh for a longer duration.
- Optional Blanching: If you plan to freeze the okra, blanching it briefly in boiling water can help preserve its color, texture, and flavor. Blanch small okra pods for 3 minutes and larger ones for 4 minutes. After blanching, transfer the okra to an ice bath to stop the cooking process.
Once the okra is properly prepared, you can choose from several storage methods depending on your preferences and the length of time you wish to store it.
In the next sections, we will explore the different ways to store okra at room temperature, in the refrigerator, freezing it for long-term storage, and utilizing a root cellar.
Storing Okra at Room Temperature
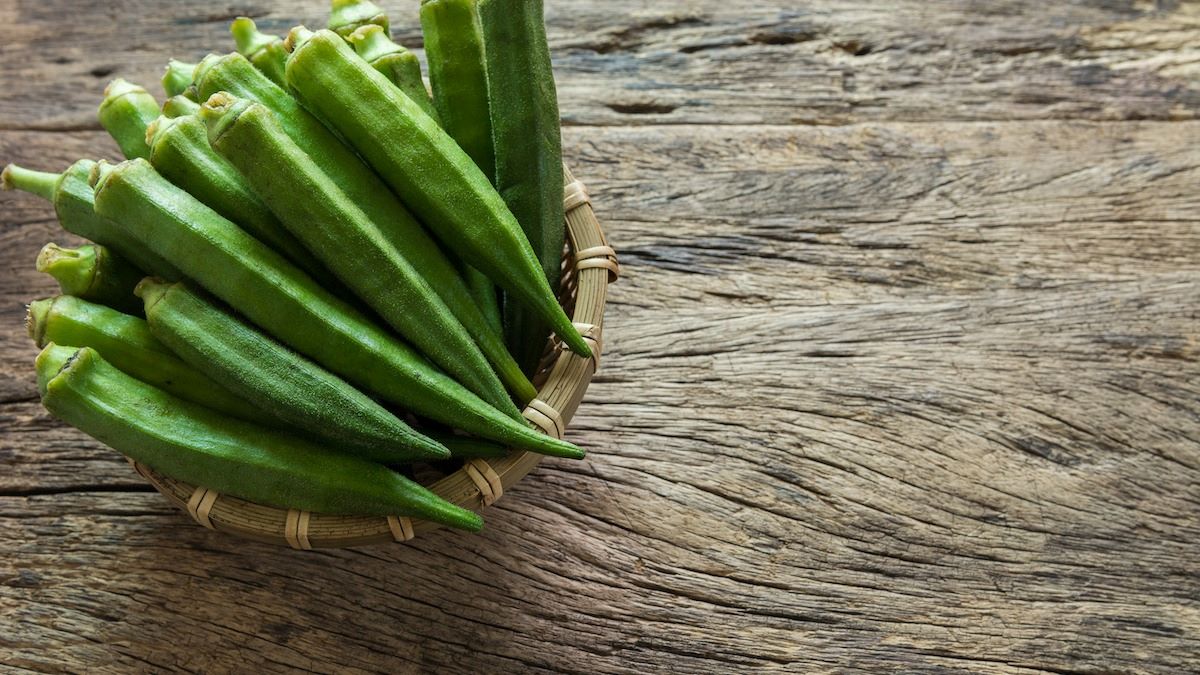
Storing okra at room temperature is a suitable option if you plan to use it within a day or two. Here are the steps to store okra at room temperature:
- Bunching: Group the okra pods into small bundles, usually 4 to 6 pods per bunch. You can tie them together using a rubber band or kitchen twine. This helps to maintain their shape and prevent them from rolling around.
- Air Circulation: Choose a well-ventilated area, such as a countertop or a wire basket, to store the bunched okra. Make sure there is enough space between the bundles to allow air circulation.
- Storage Container: If you prefer, you can also store the bunched okra in a breathable storage container like a paper bag. Paper bags help absorb excess moisture and prevent condensation, which can lead to spoilage.
- Location: Keep the okra away from direct sunlight and sources of heat, such as stoves or heaters. Proper storage conditions help to maintain the okra’s freshness and prevent premature spoilage.
- Check regularly: Check the okra pods daily for any signs of spoilage, such as mold or softening. Remove any damaged pods immediately to prevent the spread of decay.
Remember, room temperature storage is suitable only for short-term storage. If you plan to store okra for a longer period, it is best to consider other storage methods, such as refrigerating or freezing it.
Next, we will explore the method of storing okra in the refrigerator, which can extend its shelf life for a few more days.
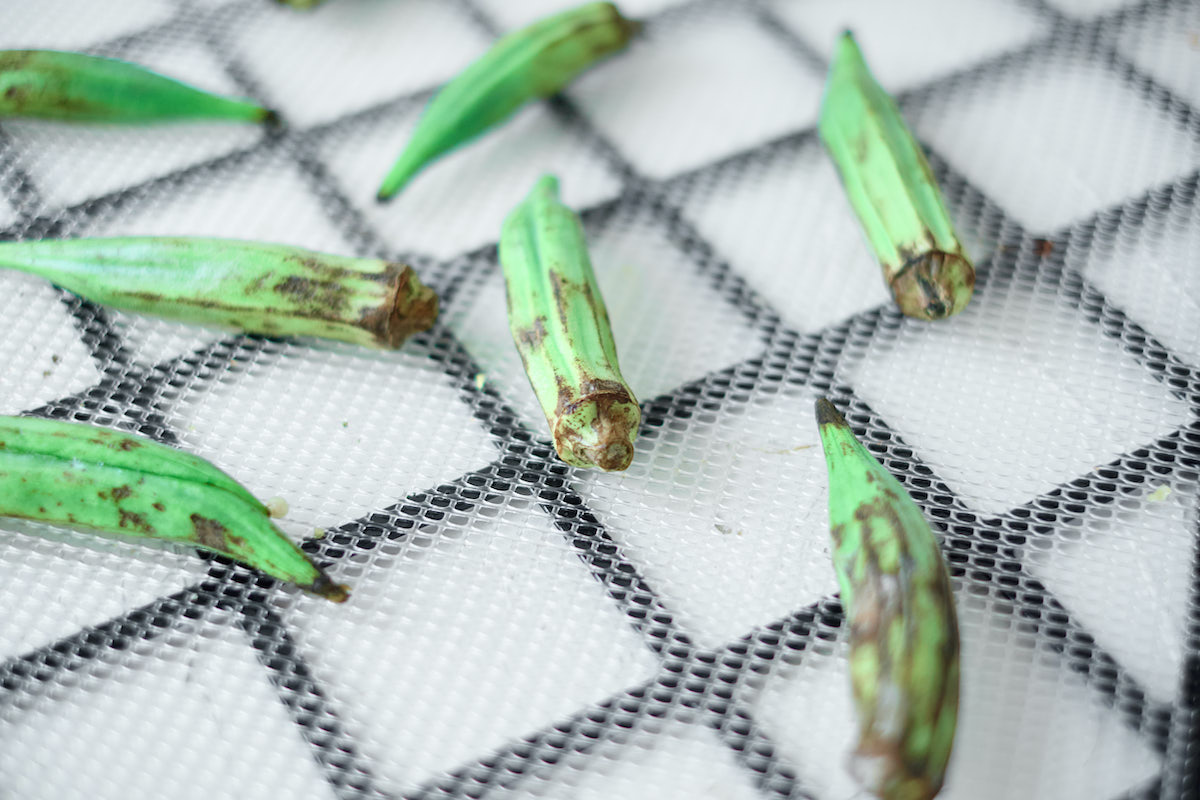
After picking, store okra in a perforated plastic bag in the refrigerator. It should be used within 2-3 days for best quality.
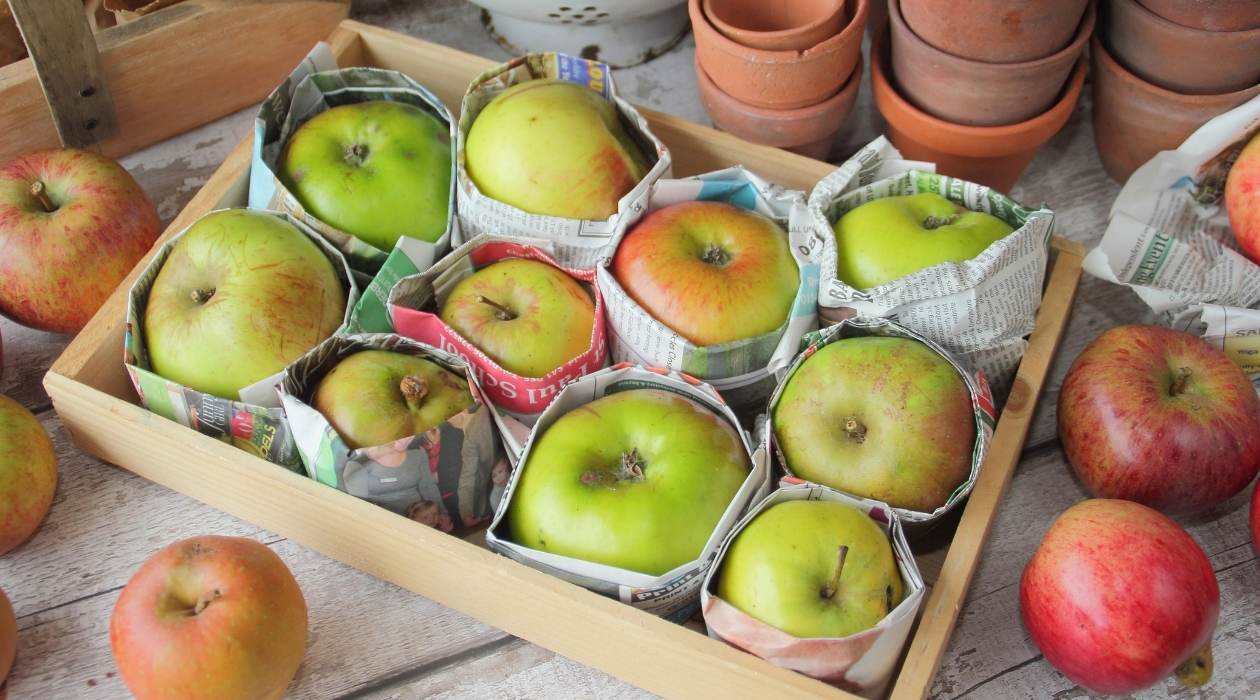
Read more: How To Store Apples After Picking
Storing Okra in the Refrigerator
If you want to extend the shelf life of okra and keep it fresh for a longer duration, storing it in the refrigerator is a great option. Here’s how you can store okra in the refrigerator:
- Preparation: Follow the steps mentioned earlier to sort, wash, dry, and trim the okra pods before storing them in the refrigerator.
- Bunching: Group the okra pods into small bunches, similar to the room temperature storage method. Secure the bundles with a rubber band or kitchen twine.
- Moisture Control: Place a paper towel or cloth inside a plastic bag or an airtight container. This helps absorb excess moisture and prevents condensation, which can cause the okra to become slimy.
- Storage: Place the bundled okra inside the prepared storage container. Make sure the container is not overcrowded to allow proper air circulation.
- Temperature: Set your refrigerator to a temperature of around 40°F (4°C) to 45°F (7°C). This temperature range helps maintain the okra’s freshness and quality without freezing it.
- Use within a week: Okra stored in the refrigerator is best consumed within a week for optimal taste and texture. Check the okra periodically and discard any pods that show signs of spoilage.
Storing okra in the refrigerator helps slow down the process of deterioration and keeps the pods crisp and flavorful for a longer time. However, if you have a surplus of okra or want to store it for an extended period, freezing is a suitable option.
Next, we will explore how to freeze okra for long-term storage.
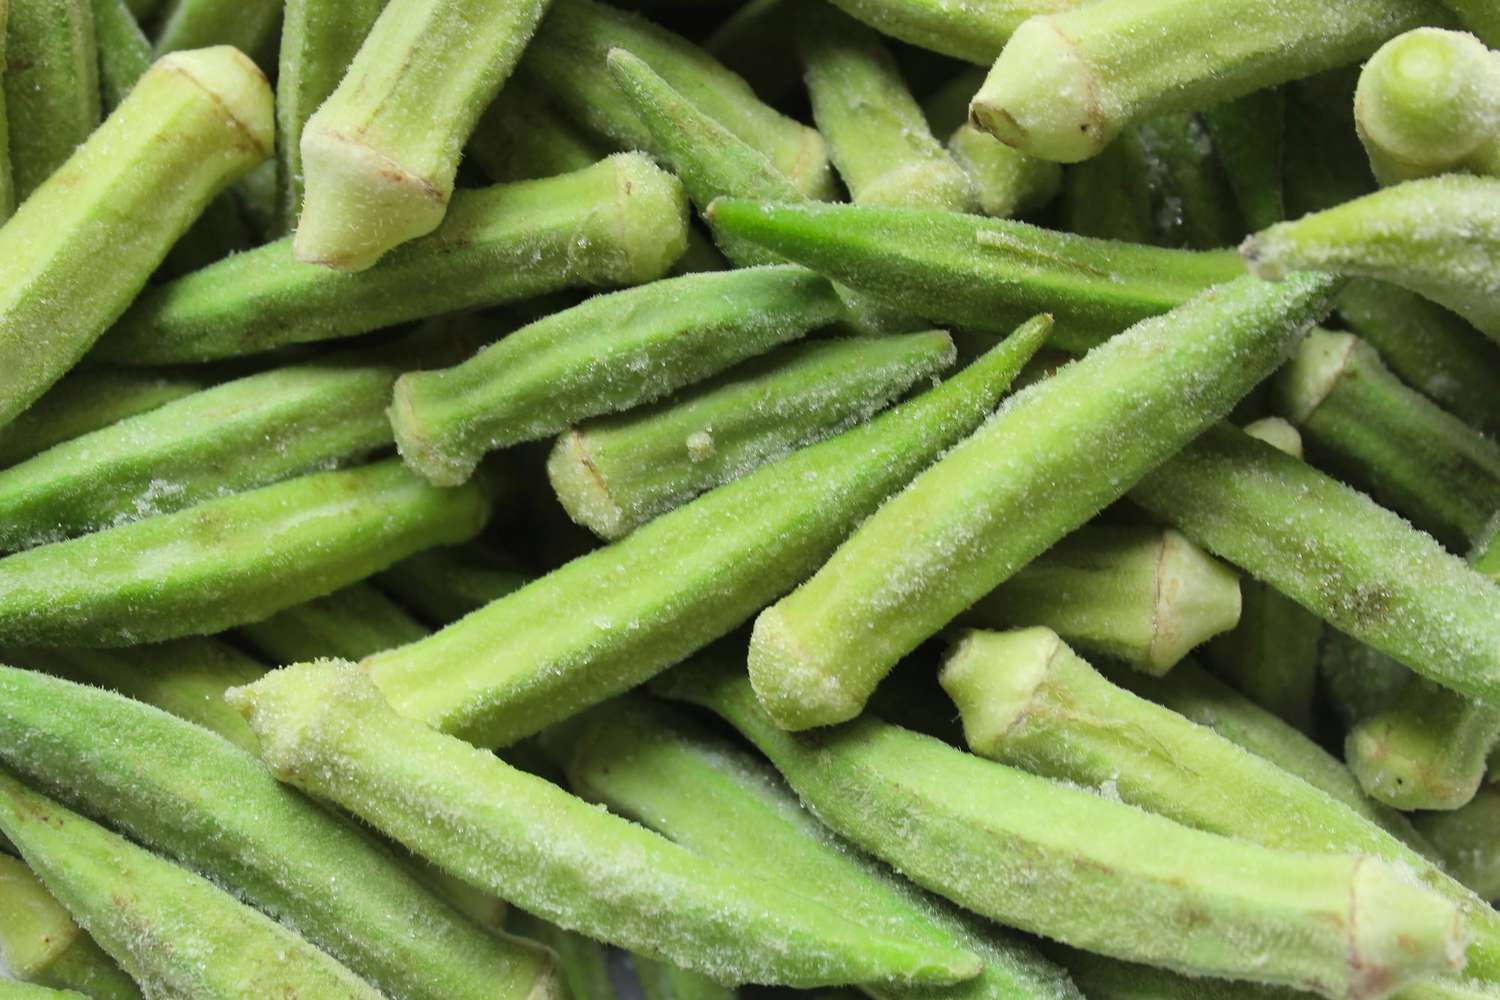
Freezing Okra for Long-Term Storage
Freezing okra is an excellent method for long-term storage, allowing you to enjoy the taste and nutritional benefits of okra even when it’s out of season. Here’s how you can freeze okra:
- Preparation: Begin by sorting the okra and discarding any damaged or overripe pods. Wash the pods thoroughly under running water to remove any dirt or debris.
- Blanching: Blanching okra before freezing helps preserve its texture, color, and flavor. Bring a large pot of water to a boil and blanch the okra for 3 minutes. For larger pods, blanch for 4 minutes. After blanching, transfer the okra to an ice bath to cool and stop the cooking process.
- Drain and Dry: Once cooled, remove the okra from the ice bath and drain it well. Pat the pods dry using a kitchen towel or paper towels. Ensure they are completely dry before proceeding to the next step.
- Packaging: Place the blanched and dried okra pods into freezer-safe bags or airtight containers. Leave about half an inch of headspace to allow for expansion during freezing.
- Label and Date: Label the bags or containers with the current date and contents for easy identification in the future. This will help you keep track of the storage time.
- Freezing: Place the packaged okra in the freezer, ensuring they are arranged in a single layer initially. Once frozen, you can stack them to maximize space utilization.
- Use within 8-12 months: Frozen okra is best used within 8 to 12 months for optimal quality. After this period, the okra may start to deteriorate and lose its flavor and texture.
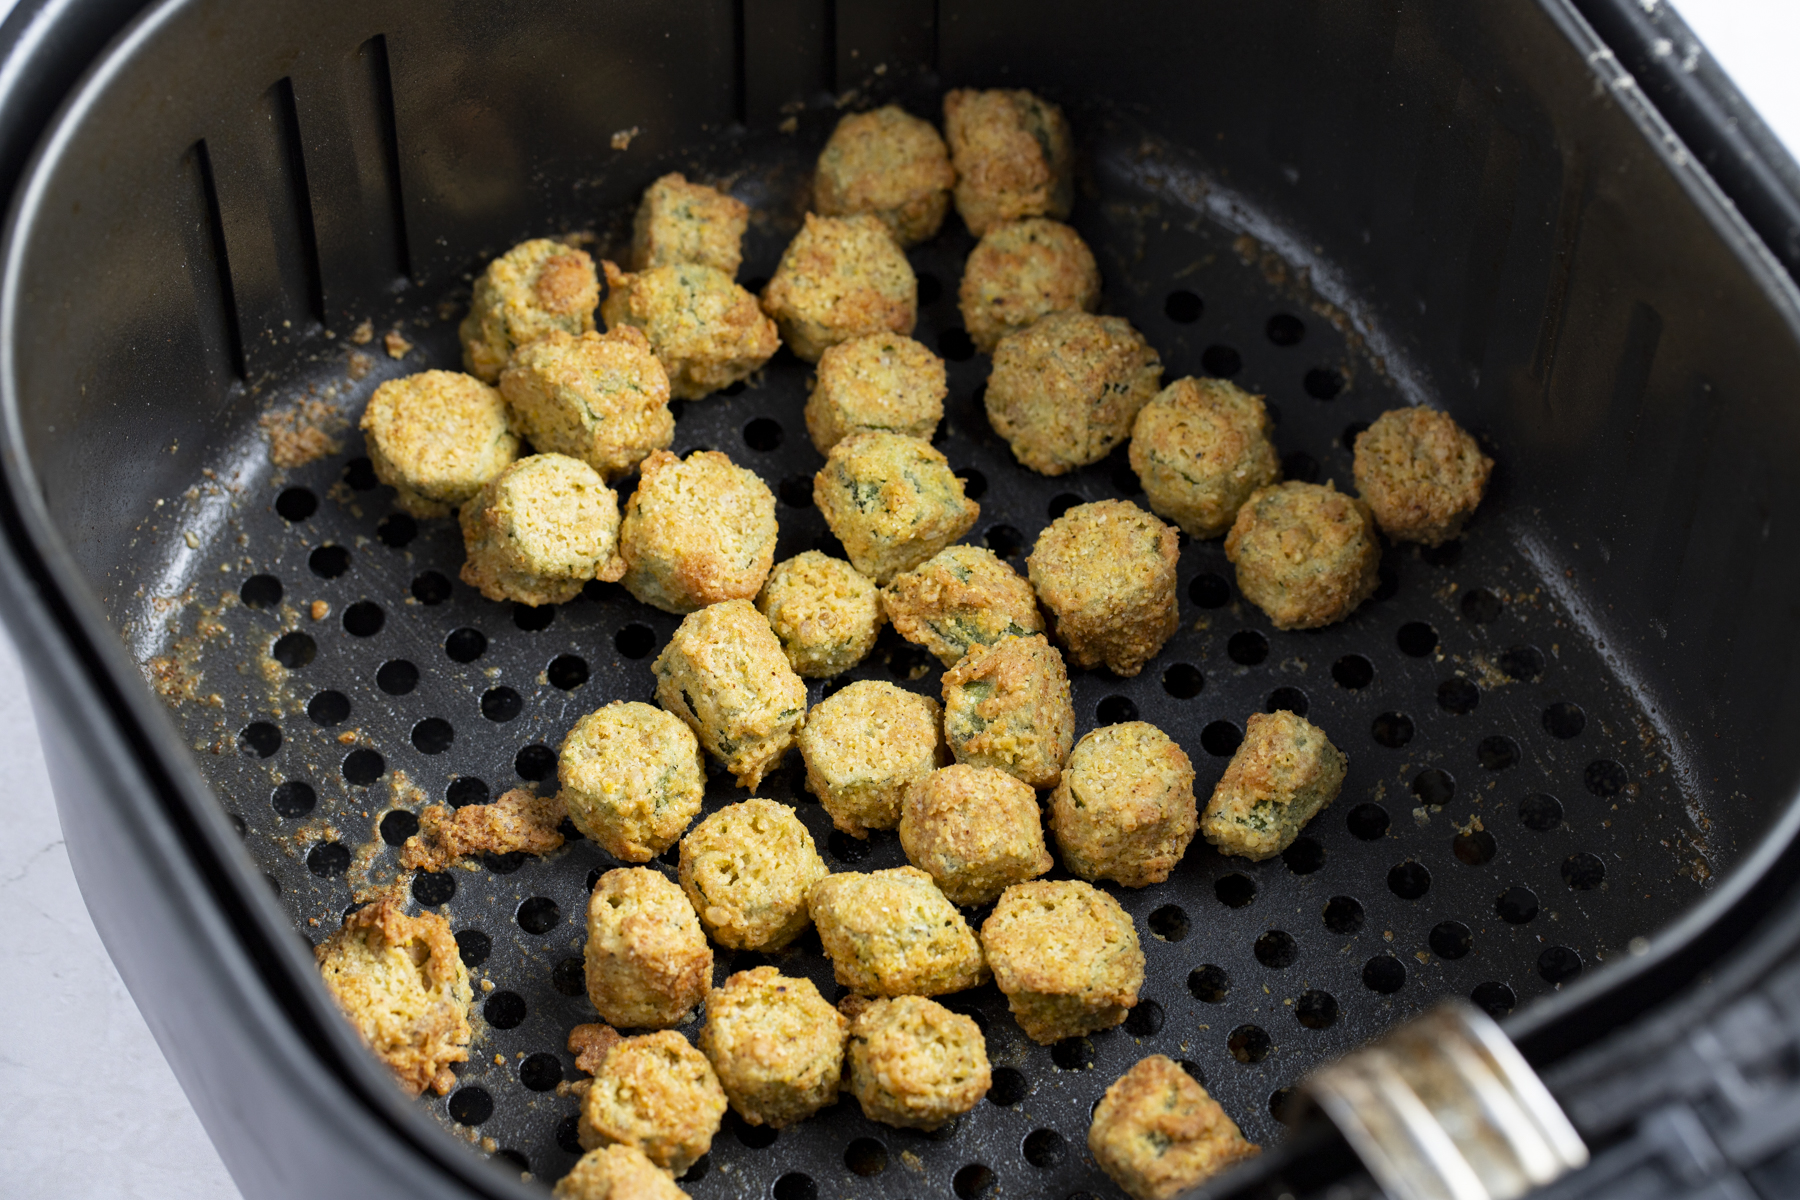
Frozen okra can be used directly in recipes without thawing. It’s ideal for dishes like stir-fries, soups, stews, gumbo, or even fried okra. Remember to adjust the cooking time to account for the frozen okra.
Now that you know how to freeze okra, let’s explore another storage method that works well for those with a root cellar or a cool, dark storage space.
Storing Okra in a Root Cellar
If you have access to a root cellar or a cool, dark storage space with stable humidity and temperature, storing okra in such conditions can help prolong its shelf life. Here’s how you can store okra in a root cellar:
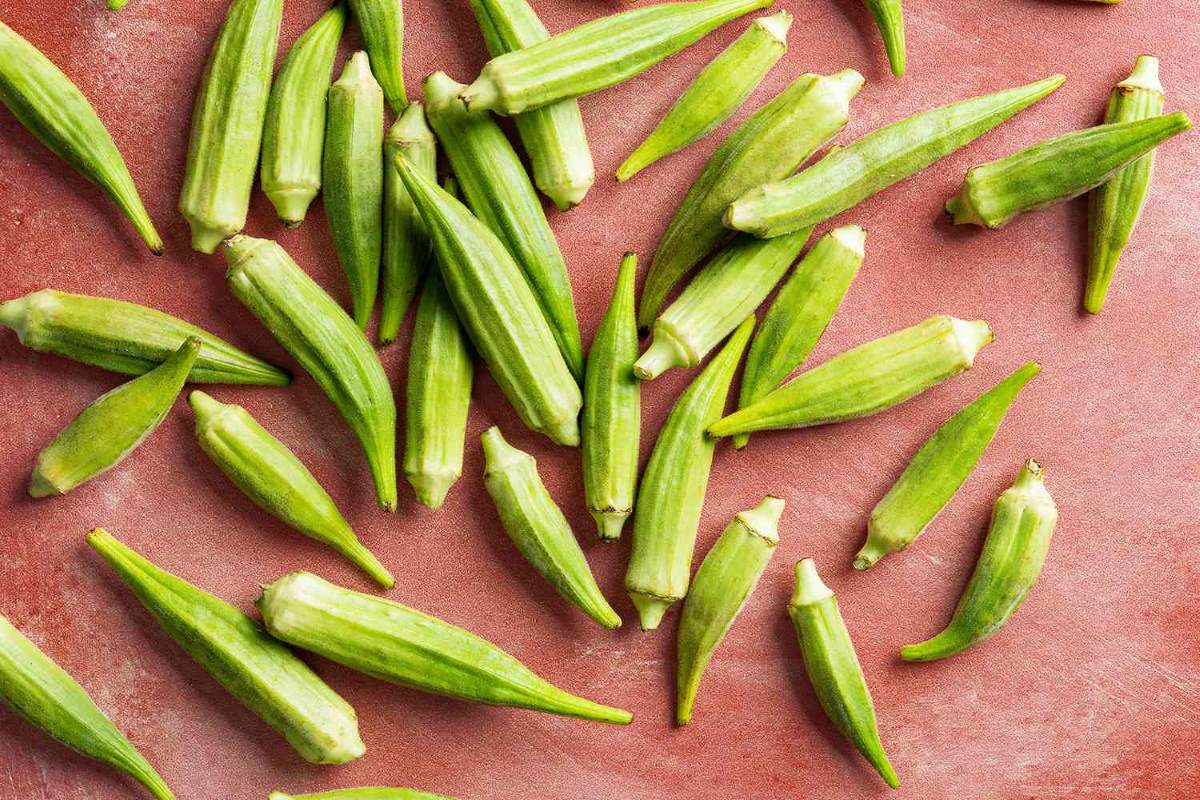
- Preparation: Begin by sorting the okra and removing any damaged or bruised pods. Wash the okra gently under running water and pat them dry using a kitchen towel or paper towels.
- Bunching: Bundle the okra pods into small bunches, similar to the room temperature storage method. Tie them together using kitchen twine or rubber bands. This helps maintain their shape and prevents them from rolling around during storage.
- Airtight Containers: Place the bundled okra inside breathable storage containers, such as paper bags or wooden crates. Avoid using plastic bags as they can create a moist environment, leading to spoilage.
- Storage Conditions: Place the containers of okra in a root cellar or a cool, dark storage area with a temperature of around 45°F (7°C) and a relative humidity of 85-95%. Ensure proper ventilation to prevent the accumulation of excess moisture.
- Regular Inspection: Check the okra periodically for any signs of spoilage, such as mold or softening. Remove any damaged pods promptly to prevent them from affecting the rest of the batch.
Storing okra in a root cellar can help maintain its freshness, flavor, and texture for an extended period. However, since root cellars may not be easily accessible to everyone, you can consider other storage methods like refrigeration or freezing.
Now that we’ve explored various methods of storing okra, let’s discuss some common mistakes to avoid to ensure the best storage outcomes.
Common Mistakes to Avoid
When it comes to storing okra, there are a few common mistakes that you should avoid to ensure the best possible results. Let’s take a look at these mistakes:
- Not Checking for Spoilage: Failing to check the okra regularly for any signs of spoilage can lead to the spread of decay to the rest of the batch. Be sure to inspect the okra periodically and remove any damaged or moldy pods immediately.
- Storing Damp Okra: Moisture is the enemy when it comes to storing okra. Avoid storing okra that is damp or wet, as excess moisture can lead to mold growth and spoilage. Always make sure to dry the okra thoroughly before storing.
- Overcrowding: Overcrowding the storage containers or bags can restrict airflow and lead to faster spoilage. Ensure that there is enough space between the okra pods for proper air circulation, especially in the refrigerator or freezer.
- Using Non-Breathable Containers: Using non-breathable containers, such as plastic bags or airtight containers, can create a humid environment and accelerate spoilage. Opt for breathable storage options like paper bags or wooden crates to maintain good airflow.
- Not Blanching Before Freezing: Neglecting to blanch okra before freezing can result in a loss of texture and flavor. Blanching helps preserve the okra’s quality and prevents it from becoming mushy when thawed. Don’t skip this important step when freezing okra.
- Storing Okra Near Ethylene-Producing Fruits: Okra is sensitive to ethylene gas, a natural plant hormone that accelerates ripening and can cause premature spoilage. Avoid storing okra near ethylene-producing fruits like apples, bananas, or tomatoes.
By avoiding these common mistakes, you can ensure that your okra stays fresh, flavorful, and free from spoilage for a longer period. With proper storage techniques, you can make the most of your okra harvest or purchased produce.
Now that you’re aware of these mistakes, let’s wrap up the article.
Read more: How To Store Beets After Picking
Conclusion
Properly storing okra after picking is essential to maintain its freshness, flavor, and nutritional value. From harvesting at the right time to preparing and choosing the correct storage method, each step is crucial in preserving the quality of this versatile vegetable.
Whether you store okra at room temperature for short-term use, refrigerate it to extend its shelf life, freeze it for long-term storage, or utilize a root cellar for optimal conditions, each method offers unique advantages depending on your needs and the length of time you wish to store the okra.
By following the appropriate storage techniques and avoiding common mistakes such as not checking for spoilage, storing damp okra, overcrowding, using non-breathable containers, skipping blanching before freezing, or storing okra near ethylene-producing fruits, you can ensure that your okra remains fresh, vibrant, and ready to be used in a variety of delicious recipes.
Remember to regularly inspect the stored okra to remove any damaged pods promptly and to use it within the recommended storage time frame to maintain its optimal quality and taste.
Whether you’re growing okra in your garden or purchasing it from the market, utilizing proper storage methods will help you enjoy the goodness of okra even when it’s out of season.
So, the next time you have a surplus of okra or simply want to prolong its shelf life, follow these storage guidelines and enjoy the versatility of this delightful vegetable all year round!
Frequently Asked Questions about How To Store Okra After Picking
Was this page helpful?
At Storables.com, we guarantee accurate and reliable information. Our content, validated by Expert Board Contributors, is crafted following stringent Editorial Policies. We're committed to providing you with well-researched, expert-backed insights for all your informational needs.


0 thoughts on “How To Store Okra After Picking”