Articles
How To Store Okra In Freezer
Modified: February 27, 2024
Looking for the best way to store okra in the freezer? Check out our informative articles for step-by-step instructions and helpful tips!
(Many of the links in this article redirect to a specific reviewed product. Your purchase of these products through affiliate links helps to generate commission for Storables.com, at no extra cost. Learn more)
Introduction
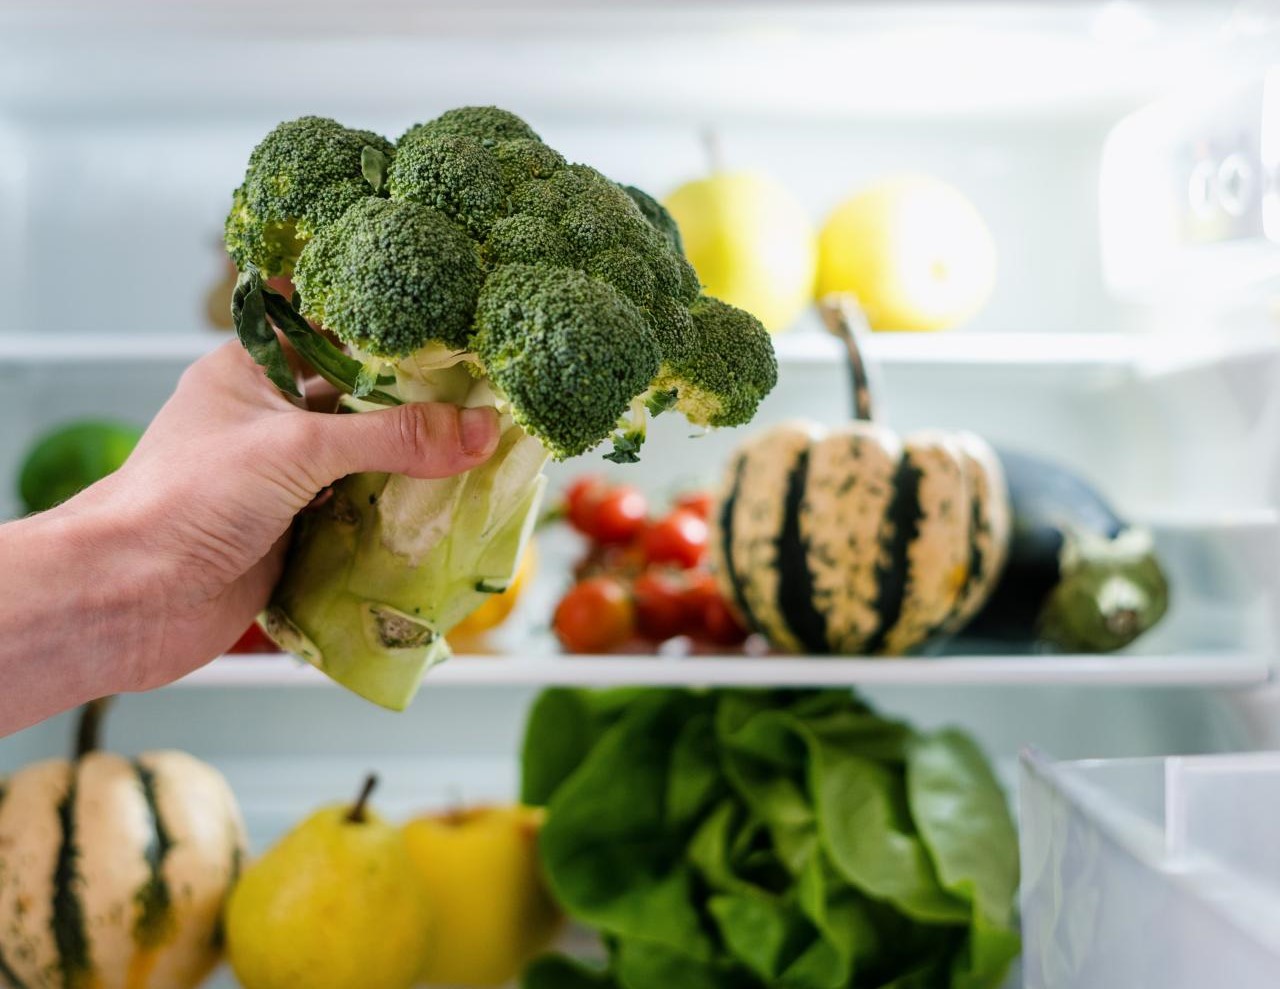
Okra, also known as lady’s fingers, is a versatile and nutritious vegetable that is popular in many cuisines around the world. Whether you have a surplus of okra from your garden or you bought a bulk amount at the grocery store, freezing it is a great way to preserve it for later use. Freezing okra allows you to enjoy its delicious flavors and health benefits even when it’s out of season.
In this article, we will guide you through the step-by-step process of storing okra in the freezer. We will cover everything from selecting the freshest okra to proper packaging and storing techniques. By following these simple steps, you can ensure that your frozen okra will retain its taste, texture, and nutritional value.
So, let’s dive in and learn how to store okra in the freezer for long-term use!
Key Takeaways:
- Preserve the freshness and flavor of okra by selecting, preparing, blanching, and packaging it properly before freezing. Enjoy the convenience of having this versatile vegetable readily available in your freezer all year round!
- Ensure the quality of frozen okra by storing it in the coldest part of the freezer, away from strong odors, and not overcrowding. Thaw and use it in various recipes to enjoy its unique flavor and texture.
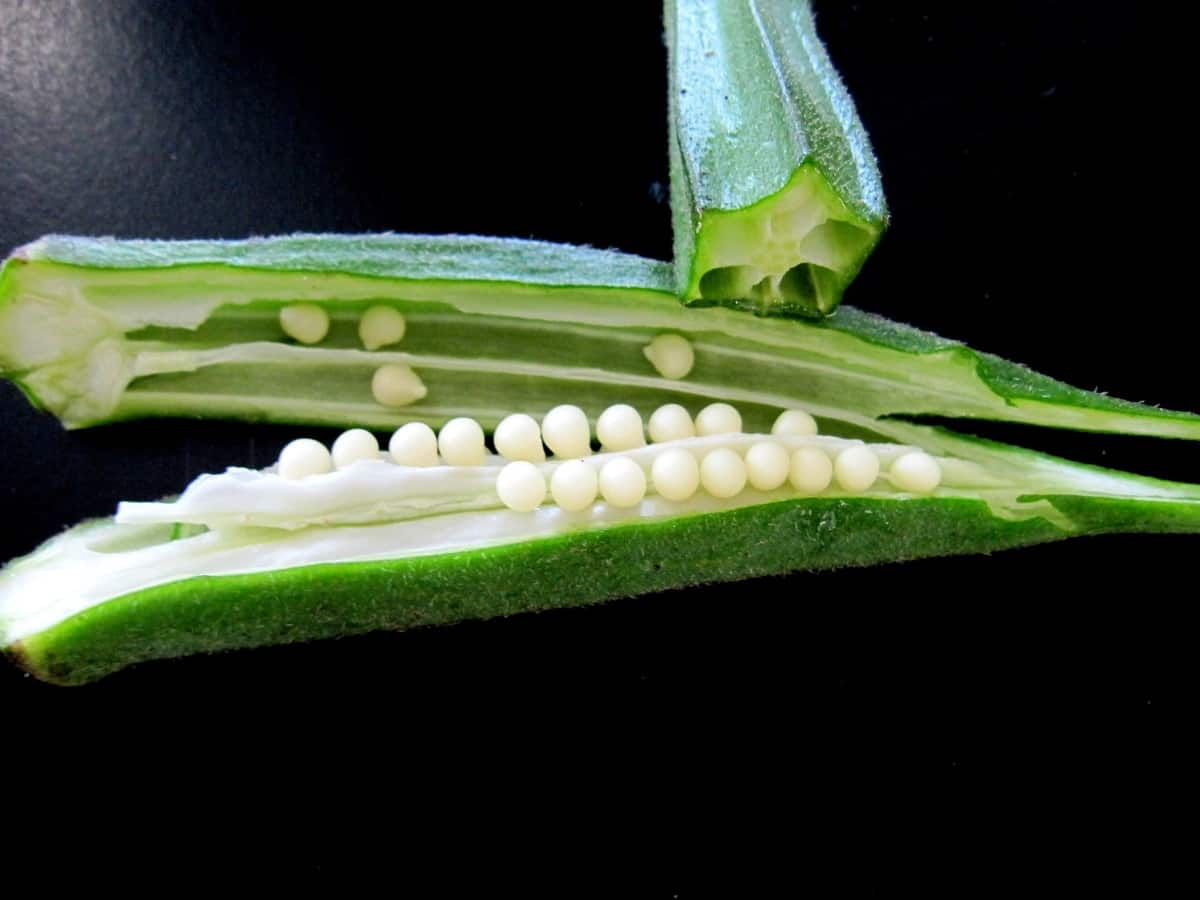
Read more: How To Store Okra Seeds
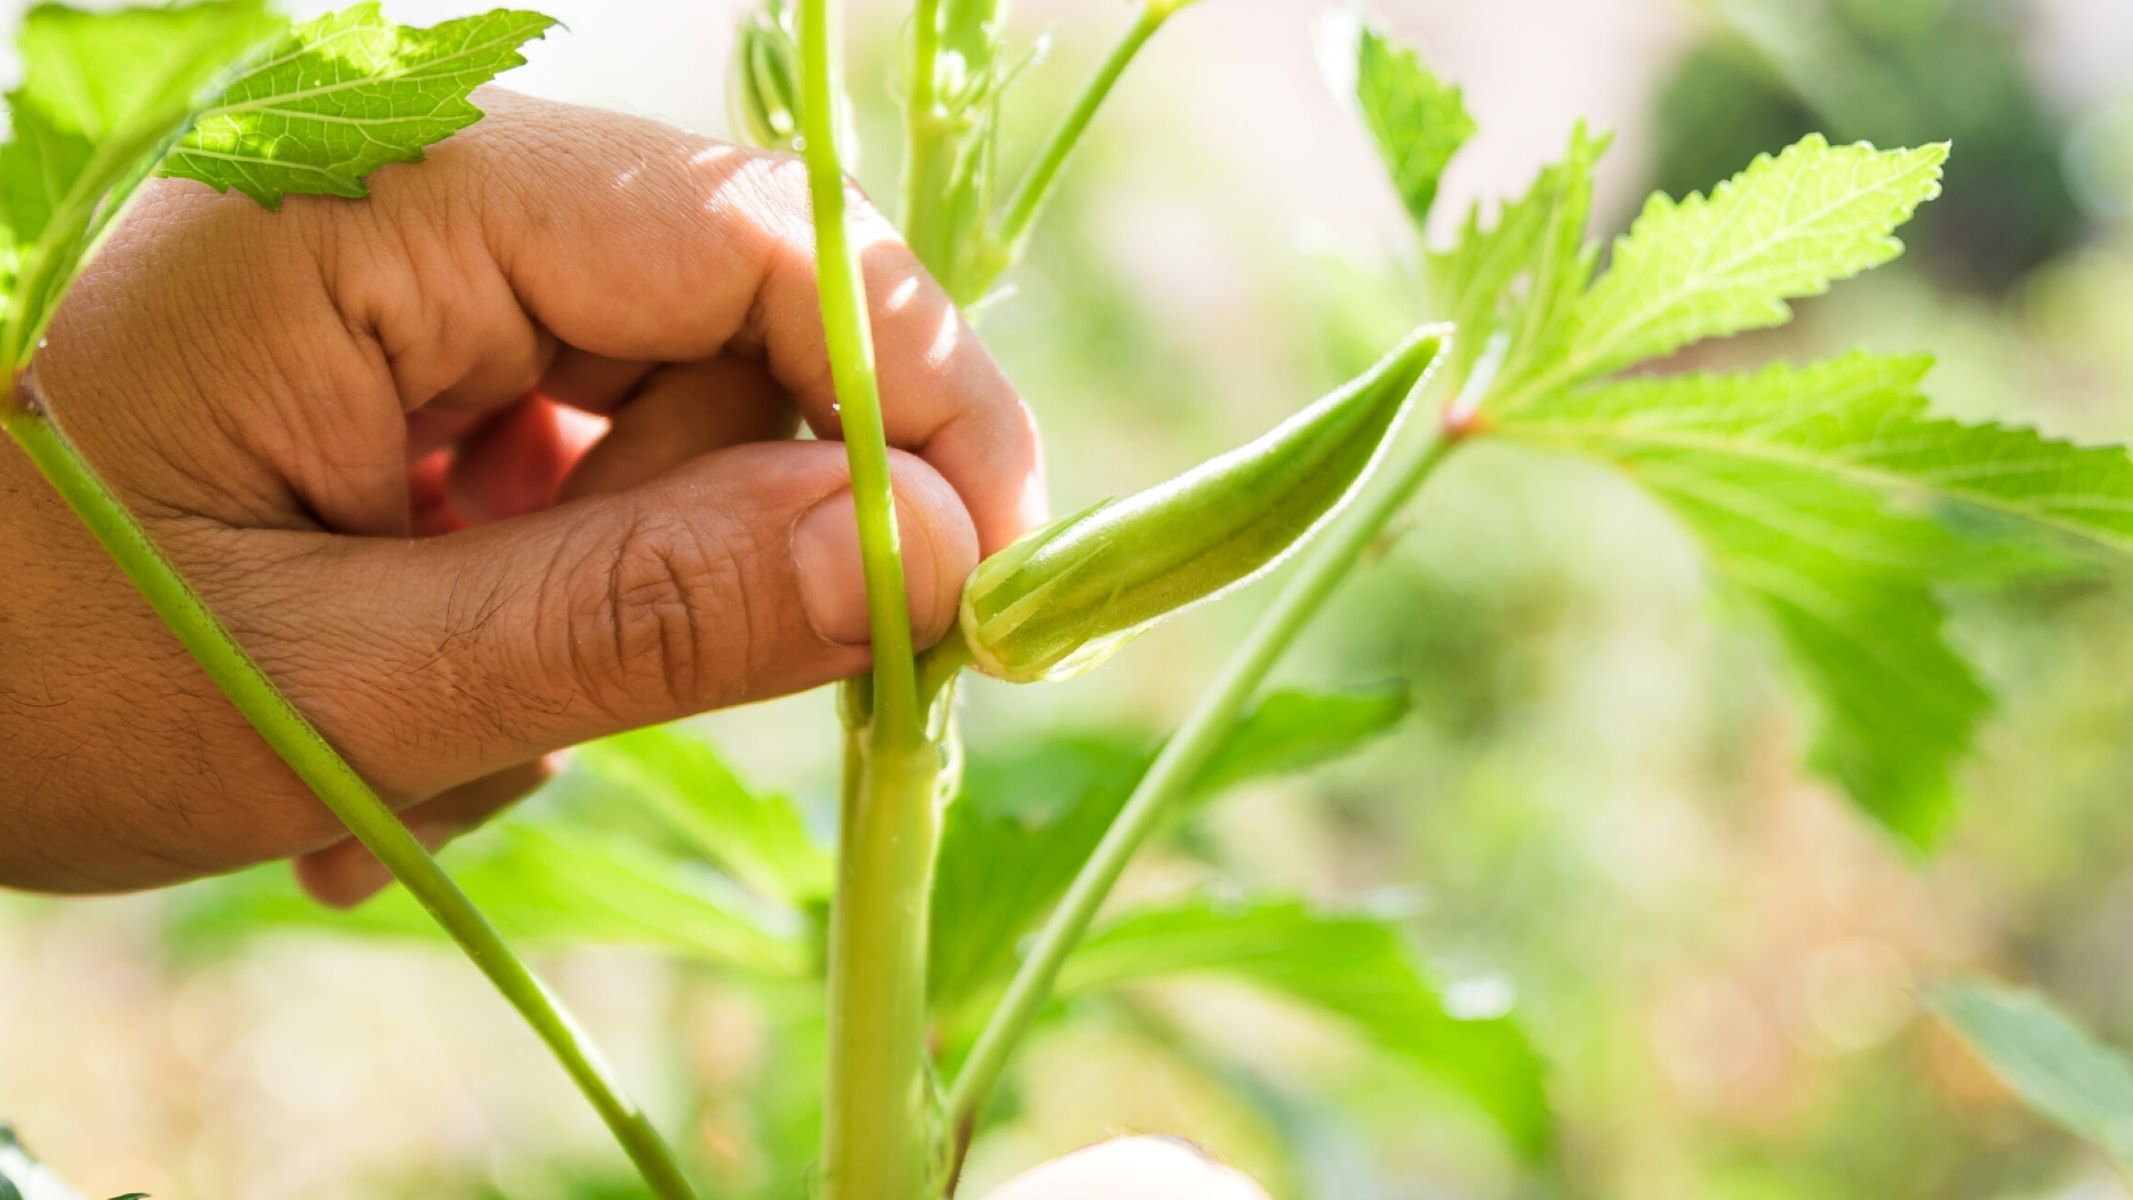
Step 1: Selecting fresh okra
The first and most crucial step in storing okra in the freezer is selecting the freshest and highest quality okra. By choosing quality okra, you can ensure that your frozen okra will taste its best even after months in the freezer.
Here are some tips to help you select the best okra for freezing:
- Look for firm and vibrant pods: Choose okra pods that are firm to the touch and have a bright green color. Avoid pods that are soft, wrinkled, or discolored as they may indicate that the okra is past its prime.
- Avoid large and overgrown pods: Opt for smaller to medium-sized okra pods as they tend to be more tender and have a better texture when cooked after freezing.
- Check for fresh stems: Examine the stems of the okra pods and make sure they are fresh and green. Avoid okra with brown or wilted stems as it can be a sign of poor quality.
- Inspect for blemishes or damage: Thoroughly inspect the okra for any blemishes, bruises, or signs of damage. Choose pods that are free from any visible defects as they can affect the quality of the frozen okra.
When selecting okra, keep in mind that freshness is key. It’s ideal to pick or purchase okra that is harvested within a day or two. The longer okra sits after being picked, the faster it deteriorates, resulting in a loss of flavor and texture.
By paying close attention to these guidelines, you can ensure that you select the freshest and highest quality okra for freezing. Once you have chosen the perfect okra, it’s time to move on to the next step: washing and preparing the pods for freezing.
Step 2: Washing and preparing okra
Before freezing okra, it’s essential to wash and prepare the pods to remove any dirt, pesticides, or other contaminants. Properly cleaning and preparing the okra will help maintain its quality and ensure that it freezes well.
Here’s how to wash and prepare okra for freezing:
- Rinse the okra: Start by giving the okra a thorough rinse under cool running water. This will help remove any dirt or debris from the surface of the pods.
- Trim the stems: Using a sharp knife, trim the stems of the okra pods. Cut them about a quarter-inch above the point where the pods start. Trimming the stems helps prevent moisture loss and preserves the flavor and texture of the okra.
- Remove any blemishes: Inspect the pods for any blemishes or spots. If you notice any brown or soft spots, carefully cut them off with a knife.
- Consider slicing or leaving whole: Depending on your preference and how you plan to use the okra later, you can choose to slice it into rounds or leave it whole. Sliced okra works well in soups, stews, and stir-fries, while whole okra is great for roasting or grilling.
Once you have washed and prepared the okra pods, pat them dry with a clean kitchen towel or paper towels. It’s important to remove any excess moisture from the surface of the okra before proceeding to the next step.
Now that you have properly cleaned and prepared the okra pods, it’s time to move on to the next step: blanching the okra. Blanching is an essential step in the freezing process as it helps preserve the color, texture, and flavor of the okra.
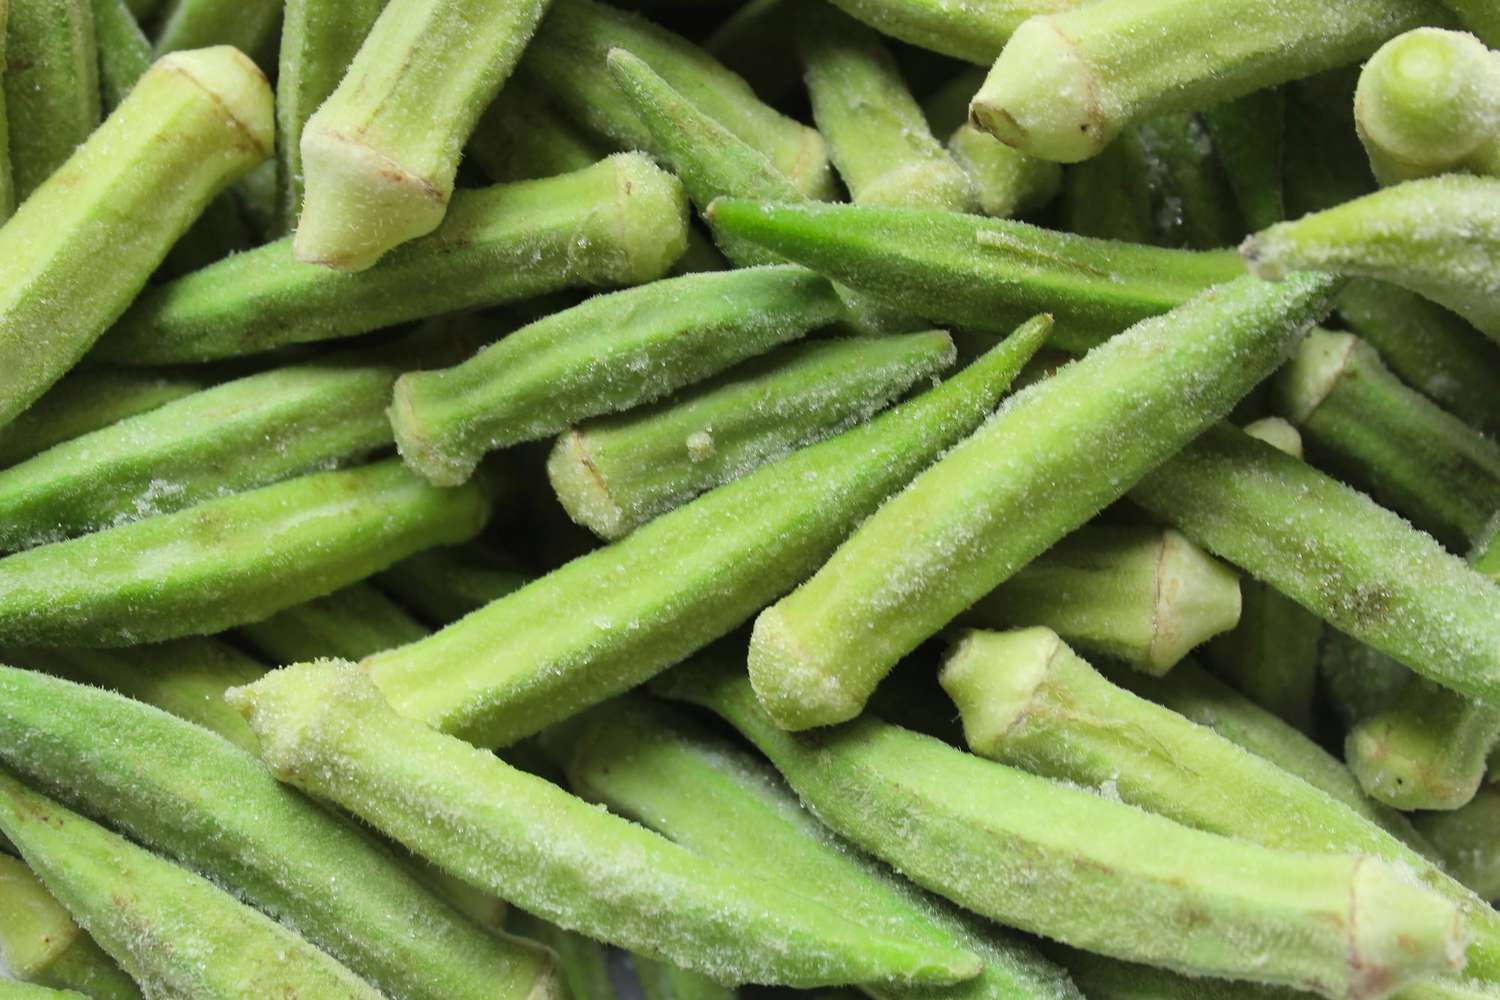
Step 3: Blanching okra
Blanching is an important step in the process of freezing okra. It involves briefly boiling the okra pods to halt enzyme activity, which can cause the okra to deteriorate over time. Blanching not only helps preserve the quality of the okra but also helps retain its vibrant color and crispness.
Follow these steps to blanch okra:
- Bring a pot of water to a boil: Fill a large pot with water and bring it to a rolling boil. Make sure you have enough water to fully submerge the okra pods.
- Prepare an ice bath: While the water is boiling, prepare a large bowl filled with ice water. This will be used to quickly cool down the blanched okra and stop the cooking process.
- Add okra to the boiling water: Carefully add the trimmed and prepared okra pods to the boiling water. Allow them to blanch for about 3 to 4 minutes.
- Monitor for color change: Keep an eye on the okra as it blanches. You will notice that the vibrant green color of the pods will start to intensify and become brighter.
- Remove and cool the okra: Using a slotted spoon or tongs, remove the blanched okra from the boiling water and immediately transfer them to the ice water bath. Let them sit in the ice bath for about 5 minutes to cool down completely.
Blanching helps to kill any bacteria that may be present on the okra, as well as halt enzyme activity that can lead to loss of quality. It also helps to preserve the texture of the okra, ensuring that it remains crispy after freezing. Once the okra is completely cooled, it’s time to move on to the next step: cooling and drying the okra.
Step 4: Cooling and drying okra
After blanching the okra, it’s important to cool and dry it thoroughly before moving on to the next step of freezing. Properly cooling and drying the okra will help remove excess moisture and prevent ice crystals from forming, which could potentially degrade the quality of the frozen okra.
Follow these steps to cool and dry the blanched okra:
- Drain the okra: Remove the blanched okra from the ice water bath and place them in a colander or on paper towels to drain excess water. Give them a gentle shake to remove any remaining moisture.
- Pat dry the okra: Carefully pat each okra pod dry using clean paper towels or kitchen towels. It’s important to remove as much moisture as possible to prevent the formation of ice crystals during freezing.
- Air dry the okra: Once the okra is patted dry, place them on a clean, dry dish towel or a baking sheet lined with parchment paper. Allow them to air dry for about 1 to 2 hours or until they are completely dry to the touch.
It’s important to ensure that the okra is completely dry before moving on to the next step, as any moisture left on the pods can lead to freezer burn or affect the overall texture and taste of the frozen okra.
Once the okra is fully cooled and dried, you can proceed to the next step: packaging the okra for freezing.
To store okra in the freezer, start by washing and drying the okra thoroughly. Then, trim the ends and slice the okra to your desired size. Next, blanch the okra in boiling water for 3 minutes, then transfer to an ice bath to stop the cooking process. Once cooled, pat the okra dry and place in a freezer-safe bag or container, removing as much air as possible before sealing. Label with the date and store in the freezer for up to 12 months.
Read more: How To Store Okra For Long Time
Step 5: Packaging okra for freezing
Proper packaging is crucial for maintaining the quality of frozen okra. Packaging the okra correctly will help prevent freezer burn, maintain its flavor and texture, and make it easy to portion out later when needed.
Follow these steps to package okra for freezing:
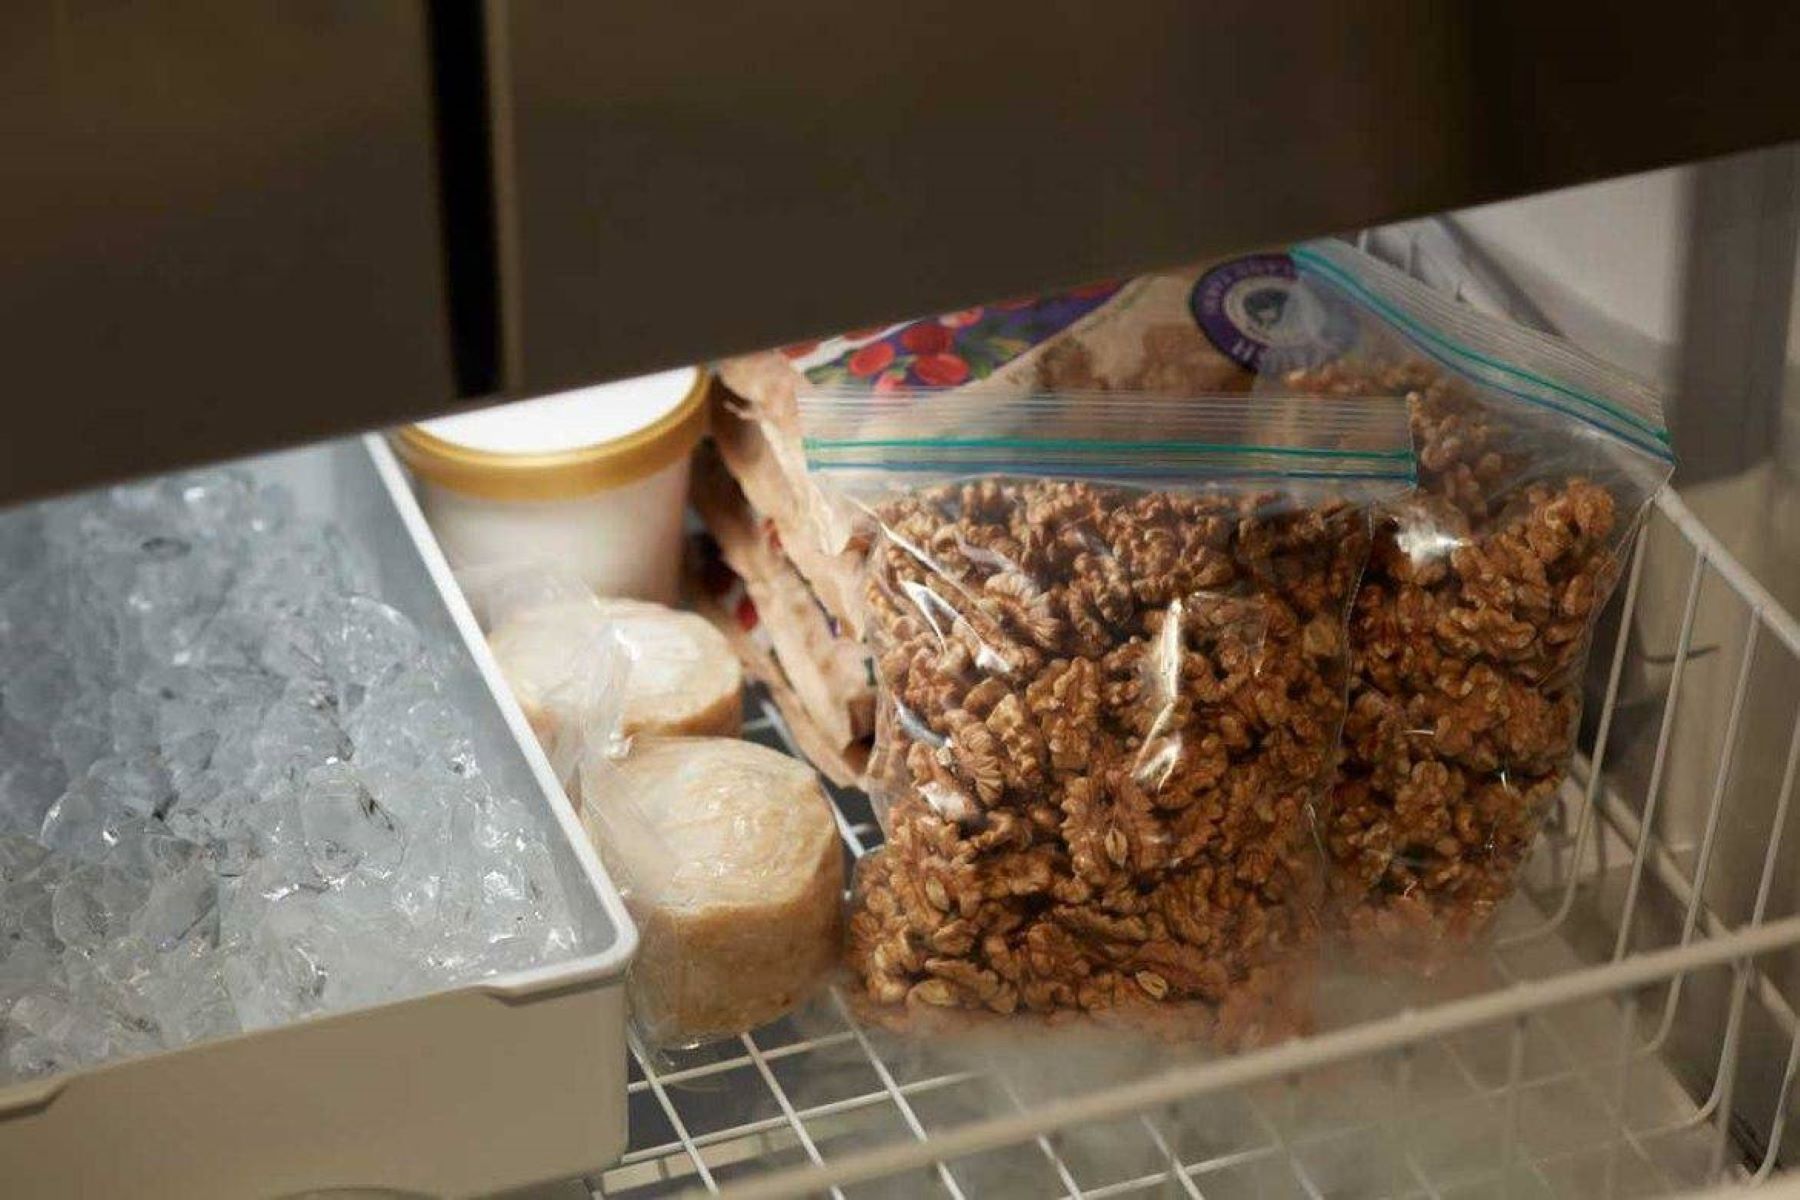
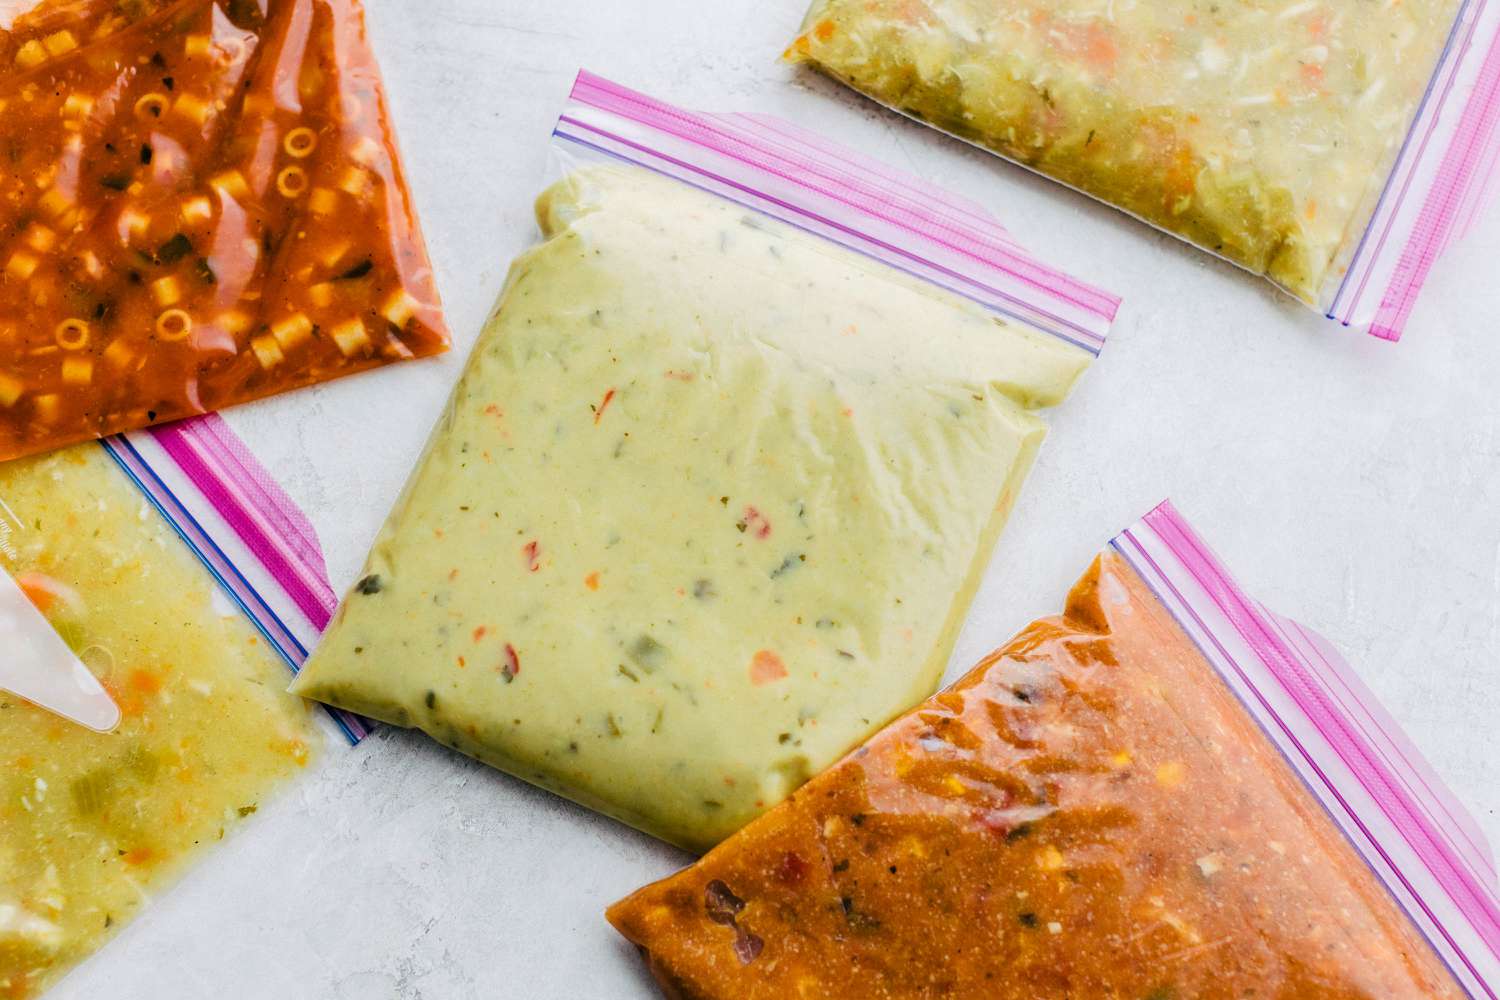
- Choose appropriate containers: Select freezer-safe containers or bags for storing the okra. Opt for containers that are airtight and can withstand freezing temperatures without cracking or breaking.
- Portion the okra: Decide how much okra you want in each portion. You can package the entire batch of okra in one container or divide it into smaller portions based on your usage needs.
- Place okra in containers or bags: Carefully arrange the cooled and dried okra in the chosen containers or bags. If using bags, remove excess air before sealing them tightly. If using containers, leave some headspace to allow for expansion during freezing.
- Label and date: It’s important to label each container or bag with the contents and the date of freezing. This will help you keep track of the freshness of the okra and ensure you use them within the recommended time frame.
By packaging the okra in airtight containers or bags, you can protect it from exposure to air, which can lead to freezer burn. Proper labeling will also help you easily identify and use the frozen okra in the future.
Now that you have properly packaged the okra for freezing, it’s time to store it in the freezer. Let’s move on to the next step!
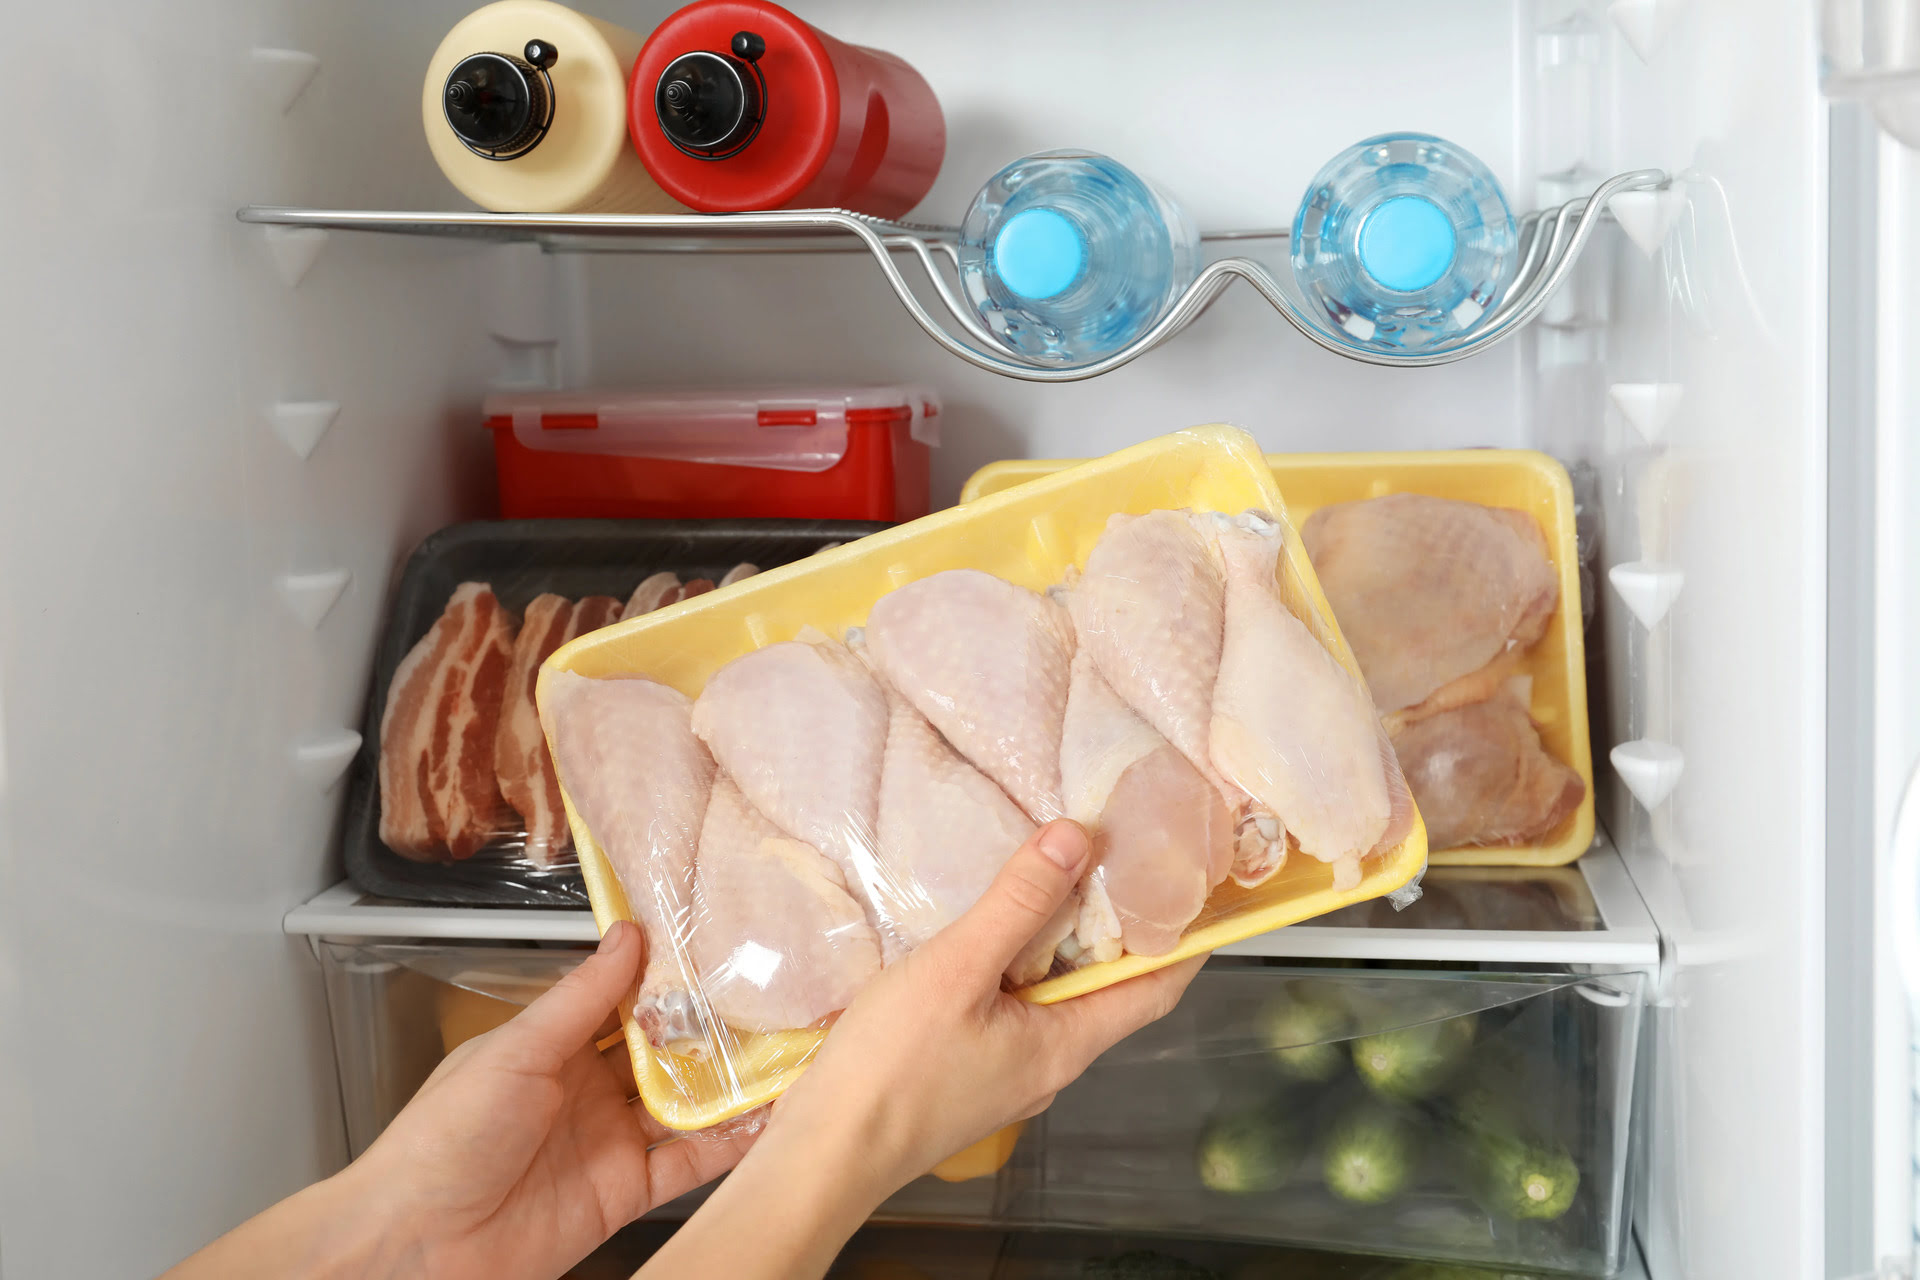
Step 6: Storing okra in the freezer
Once you have packaged the okra for freezing, it’s time to store it in the freezer. Proper storage is essential for preserving the quality of the okra and ensuring it stays fresh and flavorful for an extended period.
Follow these steps to store okra in the freezer:
- Choose the coldest part of the freezer: Select the coldest part of your freezer to store the okra. The temperature should be set at or below 0°F (-18°C) to maintain the quality of the frozen okra.
- Organize and stack the containers or bags: Place the packaged okra in a single layer in the freezer to allow for even freezing. Avoid stacking the containers or bags until they are completely frozen to prevent them from sticking together.
- Keep away from strong odors: Ensure that the okra is stored away from strong-smelling foods in the freezer. Okra can absorb odors easily, affecting its flavor and quality.
- Do not overcrowd: Avoid overcrowding the freezer with too many items or placing warm or hot foods near the okra. This can disrupt the freezing process and lead to uneven freezing or loss of quality.
It’s important to note that frozen okra is best consumed within 8 to 12 months for optimal flavor and quality. However, it will still be safe to eat beyond that time frame as long as the okra has been stored at the proper temperature and there are no signs of freezer burn or deterioration.
Now that you have properly stored the okra in the freezer, it’s time to learn how to thaw and use the frozen okra when needed.
Step 7: Thawing and using frozen okra
When it comes time to use your frozen okra, proper thawing is important to preserve its texture and flavor. There are a few methods you can use to thaw frozen okra depending on your preference and the recipe you plan to use it in.
Here are some options for thawing and using frozen okra:
- Refrigerator thawing: The recommended method for thawing frozen okra is to transfer it from the freezer to the refrigerator. Place the frozen okra in a bowl or on a plate and allow it to thaw slowly in the refrigerator overnight. Once thawed, use the okra within a day or two for best results.
- Cooking from frozen: If you’re in a hurry or prefer not to thaw the okra in advance, you can cook it directly from frozen. Add the frozen okra directly to soups, stews, stir-fries, or other recipes where it will be cooked for a longer period. Keep in mind that the cooking time may need to be adjusted slightly to account for the frozen state of the okra.
- Quick water thawing: If you need to thaw the okra quickly, you can place the frozen pods in a colander and run cool water over them. Gently separate any pieces that may have stuck together. Avoid using hot water, as it can partially cook the okra.
Once the okra is thawed, it’s ready to be used in your favorite recipes. Whether you’re adding it to gumbo, roasting it for a side dish, or incorporating it into a stir-fry, the frozen okra can be used as if it were fresh.
Remember, once the okra is thawed, it should not be refrozen, as this can negatively impact its quality and safety. Only thaw the amount of okra you plan to use, and if there are any leftovers, store them in the refrigerator and use them within a day or two.
Congratulations! You have successfully learned how to store, freeze, thaw, and use okra. Enjoy the convenience of having this versatile vegetable readily available in your freezer all year round!
Conclusion
Preserving the freshness and flavor of okra is made possible by properly storing it in the freezer. By following the step-by-step process outlined in this article, you can successfully store okra in the freezer, allowing you to enjoy its taste and nutritional benefits even when it’s out of season.
Remember to start by selecting fresh okra, looking for firm and vibrant pods that are free from blemishes and damage. After washing and preparing the okra, blanching it helps preserve its color, texture, and flavor. Cooling and drying the blanched okra ensures that excess moisture is removed, preventing the formation of ice crystals during freezing.
Properly packaging the okra in airtight containers or bags is important to protect it from freezer burn and maintain its quality. Storing the okra in the coldest part of the freezer, away from strong odors, and not overcrowding the freezer are key factors in maintaining its freshness.
When it’s time to use the frozen okra, thaw it in the refrigerator overnight or cook it directly from frozen. Thawed okra can be incorporated into various recipes, adding its unique flavor and texture to dishes such as soups, stews, stir-fries, and more.
By following these steps, you can ensure that your frozen okra retains its taste, texture, and nutritional value for months to come. Having frozen okra on hand allows you to enjoy this versatile vegetable throughout the year and adds variety to your culinary endeavors.
So, go ahead and stock your freezer with fresh okra, and you’ll have a delightful ingredient ready to enhance your dishes whenever you desire. Happy freezing and enjoy the convenience of having okra at your fingertips!
Frequently Asked Questions about How To Store Okra In Freezer
Was this page helpful?
At Storables.com, we guarantee accurate and reliable information. Our content, validated by Expert Board Contributors, is crafted following stringent Editorial Policies. We're committed to providing you with well-researched, expert-backed insights for all your informational needs.

0 thoughts on “How To Store Okra In Freezer”