Home>Garden Essentials>How To Get Okra Seeds
Garden Essentials
How To Get Okra Seeds
Modified: October 20, 2024
Learn how to get okra seeds for your garden. Discover different methods and tips to successfully grow okra plants from seed.
(Many of the links in this article redirect to a specific reviewed product. Your purchase of these products through affiliate links helps to generate commission for Storables.com, at no extra cost. Learn more)
Introduction
Welcome to the wonderful world of gardening! Whether you’re an experienced gardener or just starting out, saving and collecting seeds is not only a cost-effective way to grow your garden, but it also allows you to have a hand in preserving and continuing a particular plant variety. In this article, we will specifically focus on how to get okra seeds.
Okra, also known as lady’s fingers, is a versatile and delicious vegetable that thrives in warm climates. Growing okra from seeds is a rewarding experience that allows you to enjoy its crispy pods and beautiful flowers. By learning how to collect, clean, and store okra seeds, you can ensure a bountiful harvest year after year.
Before we dive into the steps of obtaining okra seeds, it’s important to understand that there are different varieties of okra to choose from. Each variety has its own unique characteristics, such as pod length, color, and taste. Some popular okra varieties include Clemson Spineless, Emerald, and Perkins.
Now that you have a brief overview, grab your gardening gloves and let’s get started on obtaining okra seeds!
Key Takeaways:
- Choose the right okra variety based on your climate, garden space, and personal preferences to ensure a successful harvest and enjoyable gardening experience.
- Collect, dry, clean, and store okra seeds carefully to preserve their viability and ensure a bountiful harvest year after year. Happy gardening!
Read more: How To Plant Okra From Seeds
Step 1: Choosing the Right Okra Variety
When it comes to choosing the right okra variety for seed saving, it’s important to consider your climate, garden space, and personal preferences. Different varieties have different growth habits and pod characteristics, so selecting the best variety for your needs is essential.
First, consider your climate. Okra is a warm-season crop that thrives in hot and humid conditions. If you live in a region with a short growing season or cooler temperatures, look for okra varieties that have a shorter maturity period or are more cold-tolerant.
Next, assess your garden space. Okra plants can grow quite tall, reaching heights of 4 to 6 feet. If you have limited vertical space, consider choosing a dwarf or bush-type variety that takes up less room but still produces a decent yield.
Lastly, think about your personal preferences when it comes to pod length, color, and taste. Okra pods can range from small and tender to long and fibrous. Some prefer the traditional green pods, while others enjoy the unique look of red or purple varieties. Additionally, pay attention to the flavor profile of each variety, as they can differ slightly in taste.
Some popular okra varieties that are ideal for seed saving include:
- Clemson Spineless: This variety is a classic favorite, known for its tender pods and high yield. It is heat-tolerant and typically matures in around 55-60 days.
- Emerald: The Emerald okra produces long, slender pods that are tender and delicious. It is a vigorous grower and can tolerate a wide range of growing conditions.
- Perkins: This variety is prized for its short maturity period, with pods ready for harvesting in just 50-55 days. It has strong disease resistance and produces dark green pods.
Remember to select a variety that suits your needs and preferences, ensuring that you will be happy with the results when it’s time to harvest and save the seeds.
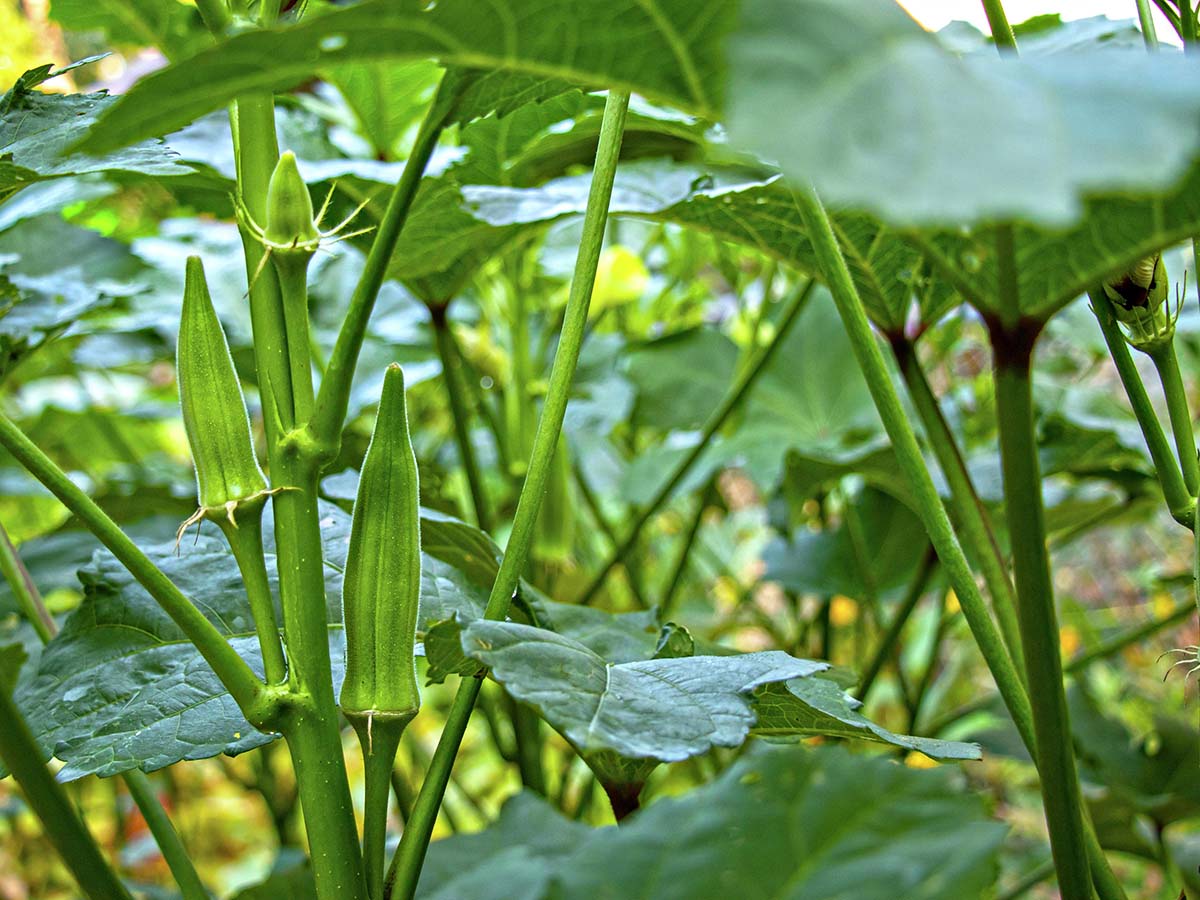
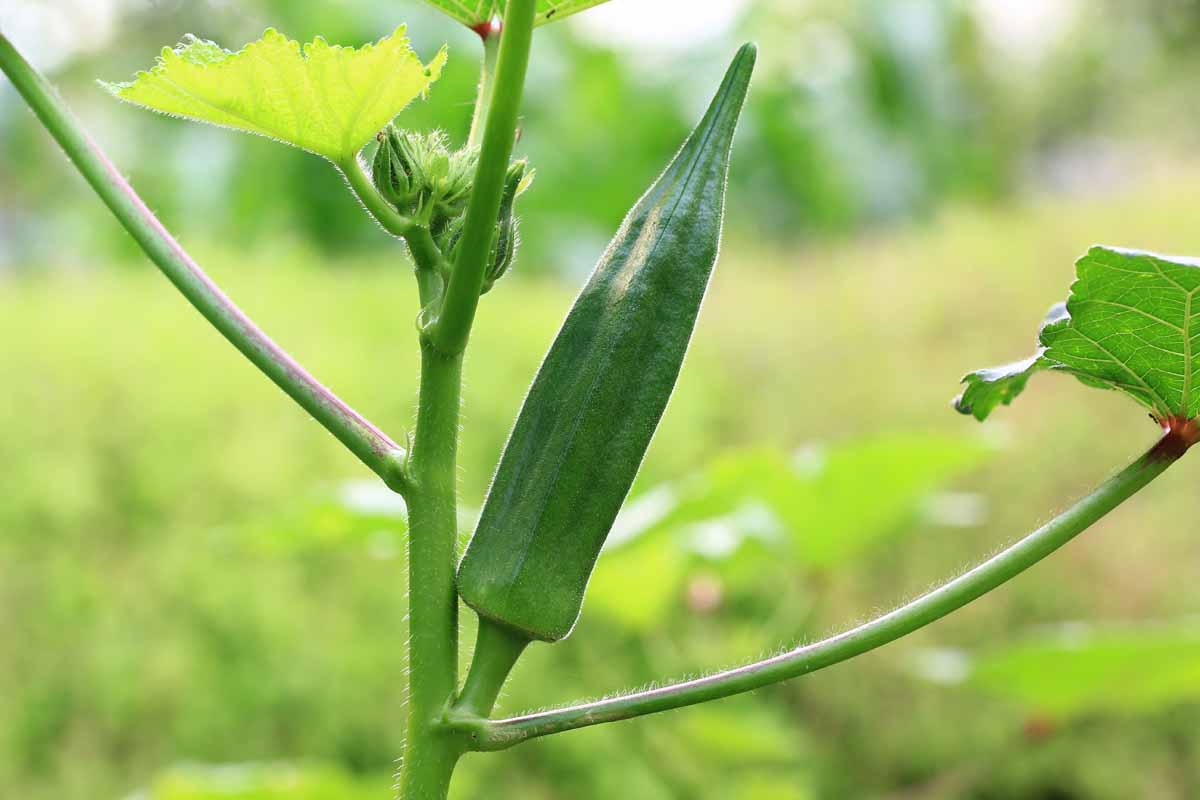
Step 2: Collecting Mature Okra Pods
Once you’ve chosen the right okra variety, the next step in obtaining okra seeds is collecting mature okra pods. It’s important to wait until the pods are fully mature before harvesting to ensure that the seeds inside are viable and ready for saving.
So, how do you know when the okra pods are ready to be harvested? Look for the following signs:
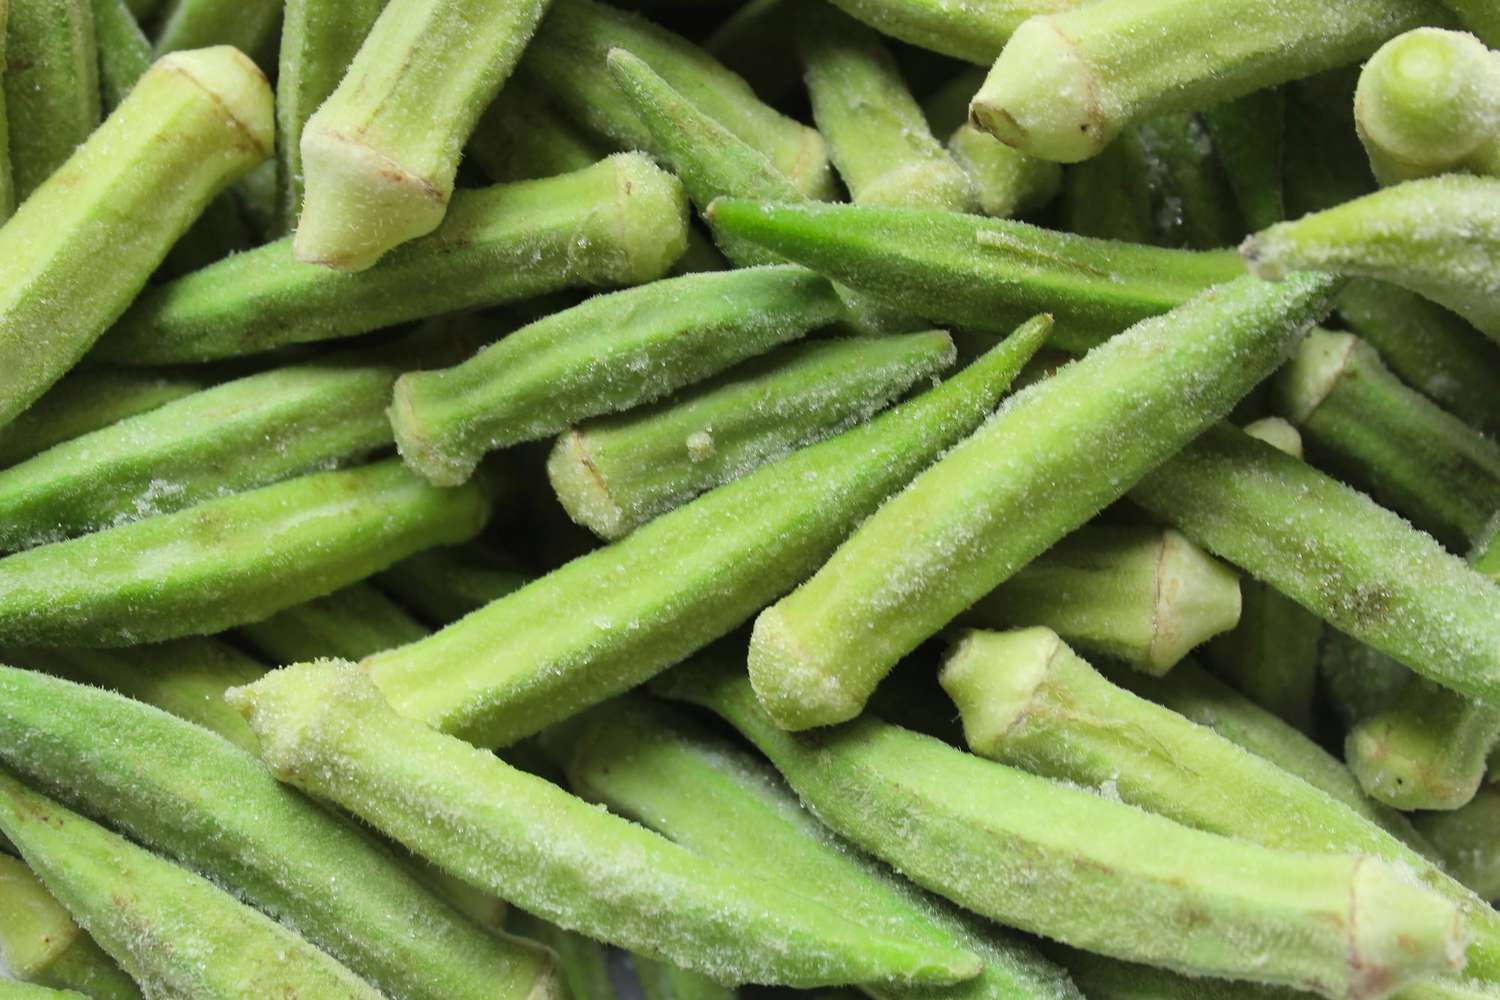
- The pods should reach their full length, typically around 3 to 6 inches, depending on the variety.
- The pods should be firm but not hard, indicating that the seeds have developed fully.
- The surface of the pods should be smooth and free of blemishes.
- Avoid harvesting pods that have become tough, woody, or discolored, as the seeds inside may not be viable.
To harvest the mature okra pods, use a pair of sharp garden scissors or pruners. Cut the pod off the stem, making sure to leave a short section of the stem attached to the pod. This will make it easier to handle and dry the pods during the next steps.
It’s important to note that okra plants can produce pods continuously throughout the growing season. To ensure a bountiful harvest of seeds, regularly check the plants and harvest the mature pods every few days.
Once you’ve collected the mature okra pods, it’s time to move on to the next step: drying and preparing the pods for seed extraction.
Step 3: Drying and Preparing the Pods
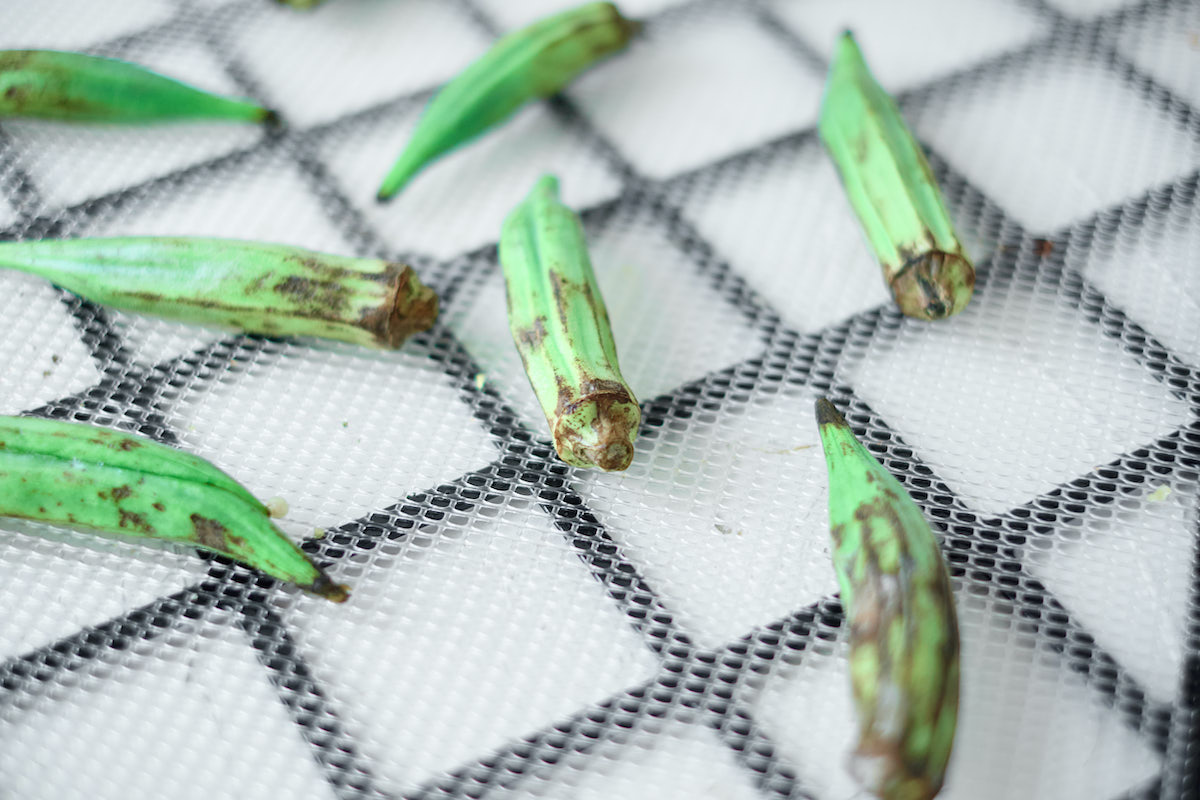
After collecting the mature okra pods, it’s important to properly dry and prepare them for seed extraction. Drying the pods helps to remove any excess moisture and prevents the development of mold or rot during storage.
First, start by laying the harvested okra pods in a single layer on a clean and dry surface. This can be a countertop, a tray, or a piece of newspaper. It’s essential to choose a well-ventilated area with good air circulation to aid in the drying process.
Allow the pods to air dry for approximately two to three weeks, or until they become brittle. Avoid placing the pods in direct sunlight, as excessive heat can damage the seeds.
During the drying process, it’s important to periodically check the pods for any signs of mold or decay. If you notice any pods that have started to deteriorate, remove them immediately to prevent spreading to the rest of the batch.
Once the okra pods are fully dried and brittle, it’s time to prepare them for seed extraction. Gently remove the seeds from the pods by applying slight pressure with your fingers. The dry pods should easily break apart, releasing the seeds inside.
As you remove the seeds from the pods, be sure to discard any seeds that appear damaged, discolored, or misshapen. Only select seeds that are plump, uniform in color, and appear to be healthy.
By diligently following the drying and preparation process for the okra pods, you are now ready for the next step: removing the seeds from the pods.
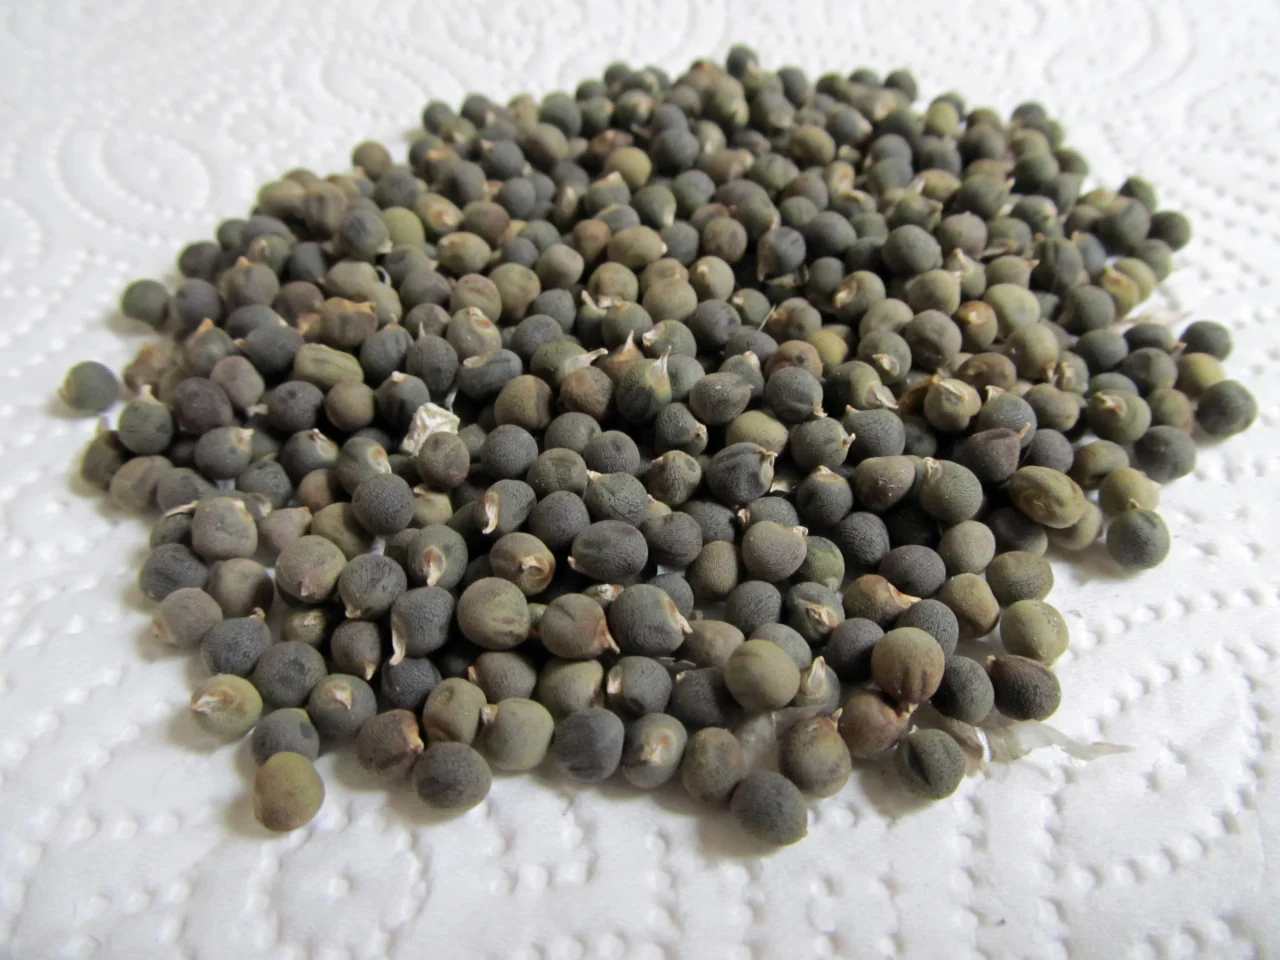
Step 4: Removing the Seeds from the Pods
Now that you have dried and prepared the okra pods, it’s time to extract the seeds. Removing the seeds from the pods is a crucial step in obtaining viable okra seeds for future planting.
To remove the seeds from the pods, start by placing a handful of dried okra pods in a clean and sturdy container. You can use a small bowl or a paper bag for this purpose.
Using your fingers or a small tool, gently crush the pods to break them apart and release the seeds. Alternatively, you can use a mortar and pestle or a seed extraction machine designed specifically for this purpose.
As you break apart the pods, you will start to see the okra seeds being released. Separate the seeds from any remaining pod fragments or debris, ensuring that only the seeds make their way into the container.
Repeat this process until all the dried okra pods have been crushed and the seeds have been extracted. Take your time and be thorough, as it’s important to collect as many viable seeds as possible.
Once you’ve removed all the seeds from the pods, it’s a good practice to visually inspect them one more time. Discard any seeds that appear discolored, damaged, or shriveled, as they are unlikely to germinate successfully.
By carefully and diligently removing the seeds from the pods, you are now ready to move on to the next step: cleaning and storing the okra seeds.
To get okra seeds, allow some pods to mature on the plant until they turn brown and dry. Then, carefully remove the seeds from the pods and store them in a cool, dry place for planting next season.
Read more: How To Sow Okra Seeds
Step 5: Cleaning and Storing Okra Seeds
After successfully removing the seeds from the okra pods, it’s important to clean and store the seeds properly to ensure their viability and longevity. Cleaning the seeds helps remove any remaining debris or seed coatings, while proper storage conditions maintain their quality over time.
To clean the okra seeds, start by placing them in a fine-mesh sieve or strainer. Rinse the seeds under running water, gently agitating them with your fingers to remove any clinging debris or residue.
Inspect the cleaned seeds and remove any remaining plant material or immature seeds that may have been missed during the cleaning process. It’s crucial to ensure that only viable and healthy seeds are retained for storage.
Once the seeds are cleaned, it’s time to dry them thoroughly before storing. Spread the seeds in a single layer on a clean, dry surface such as a paper towel or a mesh tray. Allow them to air dry completely, which usually takes about a week.
During the drying process, make sure the seeds are kept in a well-ventilated area with good air circulation, away from direct sunlight or high humidity. This will prevent the seeds from developing mold or rot.
After the seeds are completely dry, transfer them to airtight containers such as glass jars, labeled envelopes, or small zip-top bags. Be sure to label the containers with the variety and the date of collection for easy identification.
It’s important to store the okra seeds in a cool and dry place, away from fluctuations in temperature and moisture. A cool room or a refrigerator is ideal for long-term storage. Make sure to avoid storing seeds in areas prone to extreme heat or humidity, such as near a radiator or in a basement prone to flooding.
Remember to check the stored seeds periodically for any signs of moisture, mold, or insect infestation. If you notice any issues, promptly discard the affected seeds to prevent the spread of damage to the rest of the collection.
By properly cleaning and storing the okra seeds, you have set the stage for successful germination and future plant growth. Now, it’s time to move on to the next step: testing seed viability.
Step 6: Testing Seed Viability
Testing the viability of okra seeds will give you an idea of their potential for germination and successful plant growth. Seed viability refers to the percentage of seeds that are expected to sprout and develop into healthy plants.
To test the viability of your okra seeds, you can perform a simple germination test. Follow these steps:
- Place a few moistened paper towels or a layer of moistened vermiculite in a shallow container, such as a plastic tray or a seedling flat.
- Evenly distribute a small number of seeds on top of the moistened medium, making sure to space them out for proper air circulation.
- Carefully cover the seeds with another layer of moistened paper towels or vermiculite.
- Keep the container in a warm and well-lit area, ensuring that it is not exposed to direct sunlight.
- Check the seeds daily and mist the paper towels or vermiculite if they start to dry out. The goal is to maintain a consistently moist environment for germination.
- After a few days, you should start to see signs of germination, such as tiny root protrusions or the emergence of seedling shoots.
- Observe the percentage of seeds that have successfully germinated. A high percentage indicates good seed viability, while a low percentage may suggest lower seed quality.
It’s important to note that not all seeds will germinate during the test, as there can be natural variations in seed viability. However, conducting this germination test will give you a general indication of the seed’s overall quality and potential for successful growth.
If the seed germination rate is low, you may want to consider sourcing fresh seeds or adjusting your seed saving and storage practices for better results in the future.
By testing the viability of your okra seeds, you can ensure that you are working with seeds that have a high likelihood of successful germination and healthy plant growth.
Step 7: Packaging and Labeling the Okra Seeds
The final step in obtaining okra seeds is packaging and labeling them properly. This step is crucial to ensure that your seeds remain organized, easily identifiable, and ready for future planting or sharing with fellow gardeners.
When it comes to packaging your okra seeds, there are a few options to consider:
- Glass Jars: Glass jars are a popular choice for storing seeds. They provide an airtight and moisture-resistant environment, keeping the seeds fresh and protected. Make sure the jars are clean, dry, and have a tight-fitting lid to prevent any potential damage to the seeds.
- Labeled Envelopes: Small paper envelopes are an affordable and convenient option for packaging seeds. Write the variety name and collection date on each envelope to ensure proper identification. Make sure the envelopes are sealed securely to prevent any moisture or pest intrusion.
- Zip-top Bags: Clear, resealable zip-top bags are another practical choice for storing seeds. They allow for easy visibility and can be easily labeled with a marker. Be sure to squeeze out any excess air before sealing the bag to maintain seed freshness.
Regardless of the packaging option you choose, it’s crucial to keep the seeds in a cool, dry, and dark location to maintain their viability and longevity.
Labeling your okra seed packets is of utmost importance. Proper labeling ensures that you can easily identify the variety and collection date in the future. It also allows you to keep track of any specific characteristics or observations about the seeds.
When labeling your okra seed packets, include the following information:
- Variety name: Clearly write the name of the okra variety on the packet. This will help you easily identify the seeds when it’s time to plant or share them.
- Collection date: Note the date when the seeds were collected. This information helps you keep track of the seed’s age and viability over time.
- Additional notes: If there are any specific observations or characteristics you want to remember about the seeds, such as color or taste, jot them down on the packet.
By properly packaging and labeling your okra seeds, you ensure that they are organized, protected, and ready for future use. Now that you’ve completed all the steps, you can enjoy the satisfaction of knowing that you have successfully obtained and preserved your own okra seeds.
Happy gardening!
Conclusion
Congratulations! You’ve reached the end of this comprehensive guide on how to get okra seeds. By following the steps outlined in this article, you’ve learned how to choose the right okra variety, collect mature pods, dry and prepare the pods, remove the seeds, clean and store them, test their viability, and finally, package and label the seeds for future use.
Saving and collecting seeds is not only a cost-effective way to grow your garden, but it also allows you to have a deeper connection with the plants, ensuring their preservation and continuation. By taking the time to collect and store your own okra seeds, you have become an active participant in the cycle of growth and renewal.
Remember, each step is important in maintaining the quality and viability of your okra seeds. From choosing the right variety to proper drying, cleaning, and storage techniques, you’ve learned the key factors for successful seed saving.
By collecting and preserving your own okra seeds, you can ensure a bountiful harvest year after year. You’ll have the satisfaction of knowing the exact origin and quality of the seeds you’re planting, as well as the potential for sharing them with other passionate gardeners.
So, grab your gardening gloves and take advantage of the knowledge and skills you’ve gained. Practice seed saving with other plants in your garden, and explore the wonderful world of preserving the genetic diversity of your favorite vegetables and flowers.
Happy gardening and enjoy the fruits of your labor!
Frequently Asked Questions about How To Get Okra Seeds
Was this page helpful?
At Storables.com, we guarantee accurate and reliable information. Our content, validated by Expert Board Contributors, is crafted following stringent Editorial Policies. We're committed to providing you with well-researched, expert-backed insights for all your informational needs.


0 thoughts on “How To Get Okra Seeds”