Articles
How To Store Fresh Picked Cherries
Modified: March 14, 2024
Discover the best articles on how to store fresh picked cherries and keep them fresh for longer. Learn essential tips and techniques to preserve the flavor and quality of your cherries.
(Many of the links in this article redirect to a specific reviewed product. Your purchase of these products through affiliate links helps to generate commission for Storables.com, at no extra cost. Learn more)
Introduction
There’s nothing quite like the taste of fresh-picked cherries. Whether you’ve harvested them from your own backyard or purchased them from a local farmer’s market, cherries offer a burst of sweet and tangy flavor that is hard to resist. However, cherries have a relatively short shelf life, and if not stored properly, they can quickly spoil.
In this article, we will guide you through the process of storing fresh-picked cherries to help you prolong their freshness and enjoy their vibrant flavors for as long as possible. We will cover various methods such as refrigerating, freezing, canning, and drying, allowing you to choose the best technique that suits your preference and storage needs.
So, whether you plan to savor your cherries immediately or save them for later use in pies, jams, or smoothies, read on to discover the secrets of storing fresh-picked cherries!
Key Takeaways:
- Preserve the vibrant flavors of fresh-picked cherries by choosing, preparing, and storing them with care. Whether refrigerating for short-term use or canning for long-term enjoyment, savor the taste of cherries year-round.
- From selecting the perfect cherries to mastering various storage methods, ensure the longevity of your cherries. Whether freezing for future use or drying for a nutritious snack, enjoy the sweet and tangy burst of cherries in every season.
Read more: How To Store Fresh Cherry Tomatoes
Step 1: Choosing the Right Cherries
When it comes to storing fresh-picked cherries, selecting the right cherries is crucial. Here are some tips to help you choose the best cherries:
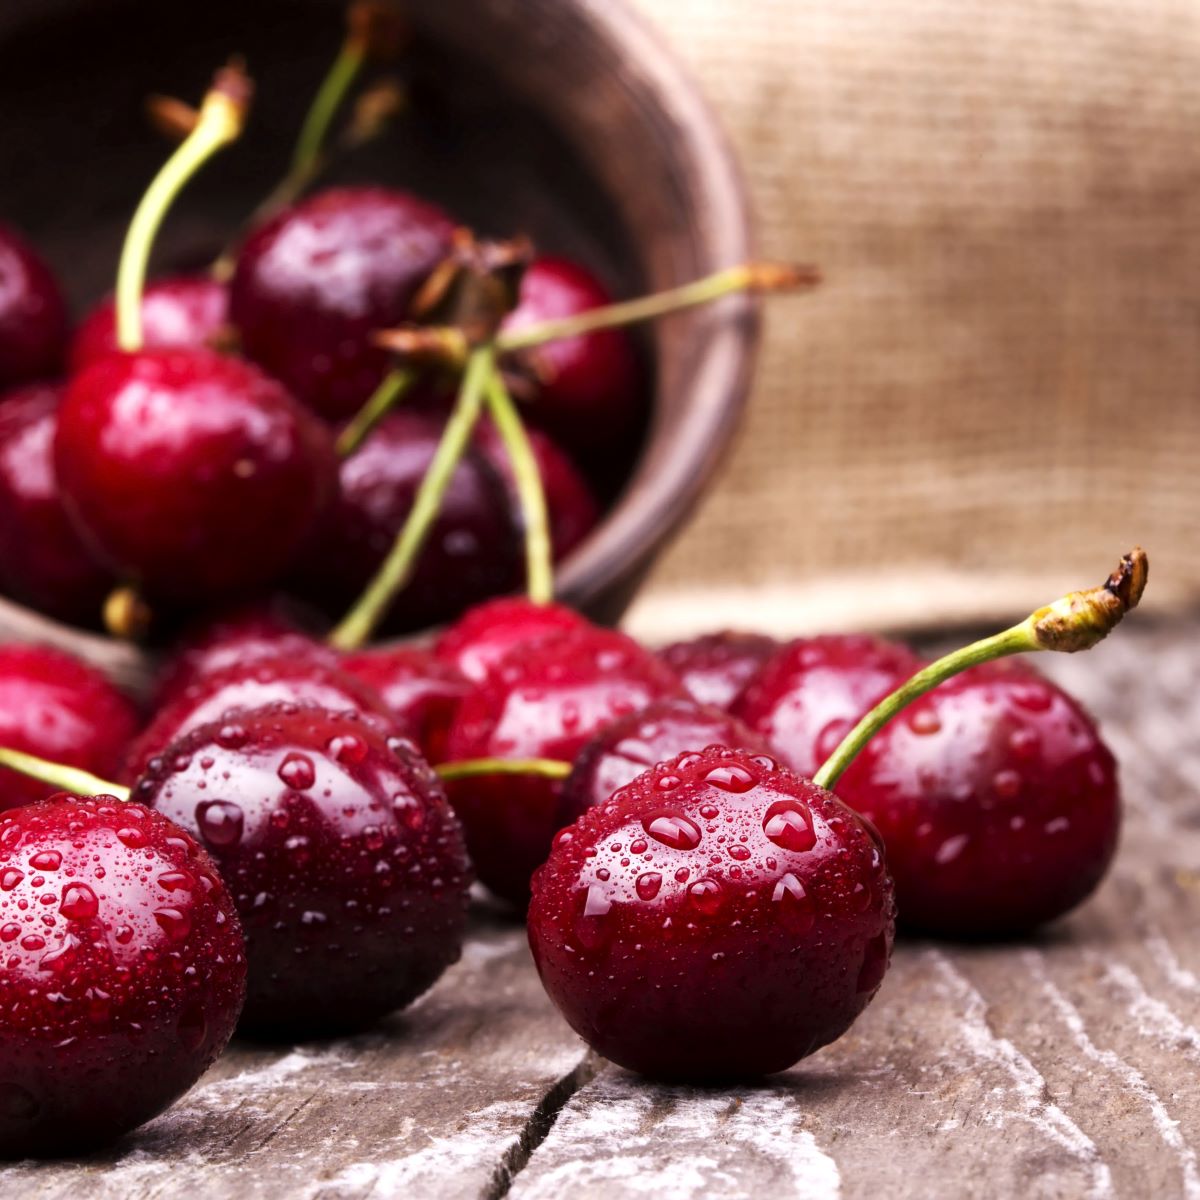
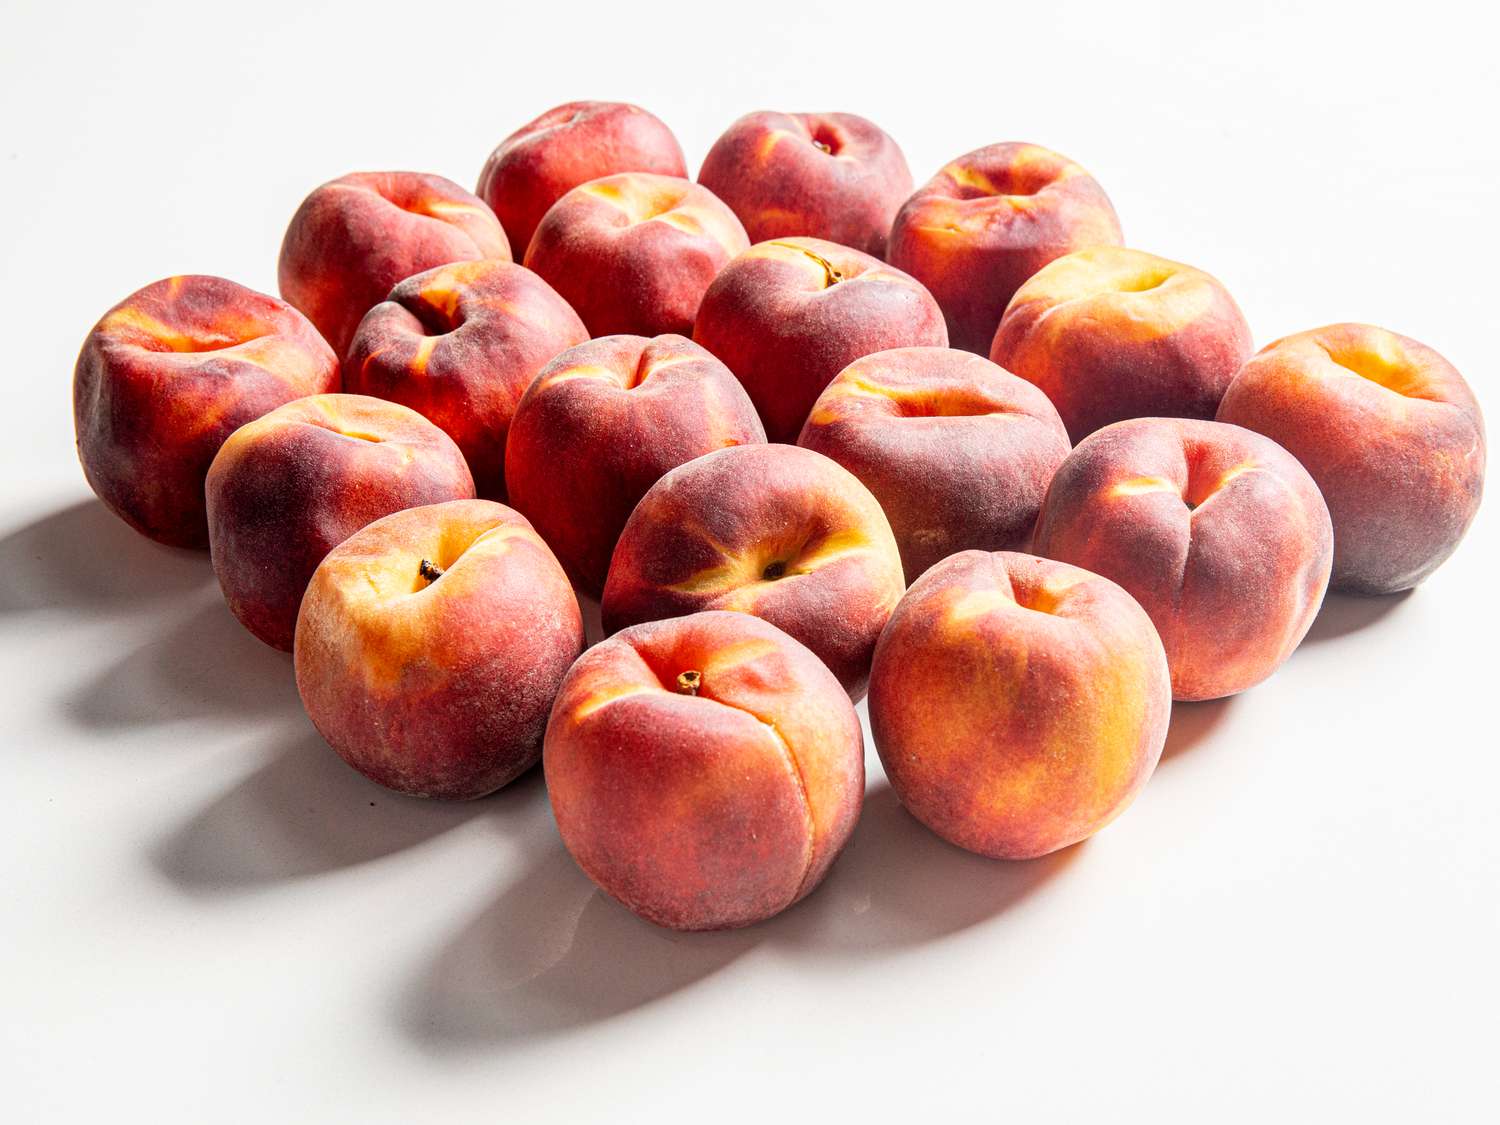
- Look for plump and firm cherries: Avoid cherries that are soft, shriveled, or have bruises. Opt for cherries that are plump, firm, and have a glossy skin. These cherries are generally ripe and have a longer shelf life.
- Consider the color: Cherries come in different shades, such as red, dark red, and black. The color signifies the maturity of the cherries. Choose cherries with rich, vibrant colors as they are likely to be sweet and juicy.
- Check the stems: Fresh cherries should have green, flexible stems. Avoid cherries with dry or withered stems, as they indicate that the cherries are not fresh.
- Smell the cherries: Give the cherries a gentle sniff. They should have a sweet and pleasant aroma, indicating that they are ripe and ready to enjoy.
It is worth noting that different cherry varieties have their own unique flavors and textures. Some popular cherry varieties include Bing cherries, Rainier cherries, and Sour cherries. Experiment with different varieties to find your favorite!
Once you have selected the perfect cherries, it’s time to move on to the next step: preparing them for storage.
Step 2: Preparing the Cherries for Storage
Before storing your freshly picked cherries, it’s important to prepare them properly to ensure their longevity. Follow these steps to prepare your cherries for storage:
- Sort and remove any damaged cherries: Inspect your cherries and remove any bruised, damaged, or overripe cherries. Damaged cherries can spoil quickly and may affect the quality of the other cherries.
- Gently wash the cherries: Rinse the cherries under cool water to remove any dirt or debris. Be gentle to avoid bruising the cherries. It is not necessary to use soap or any cleaning agents.
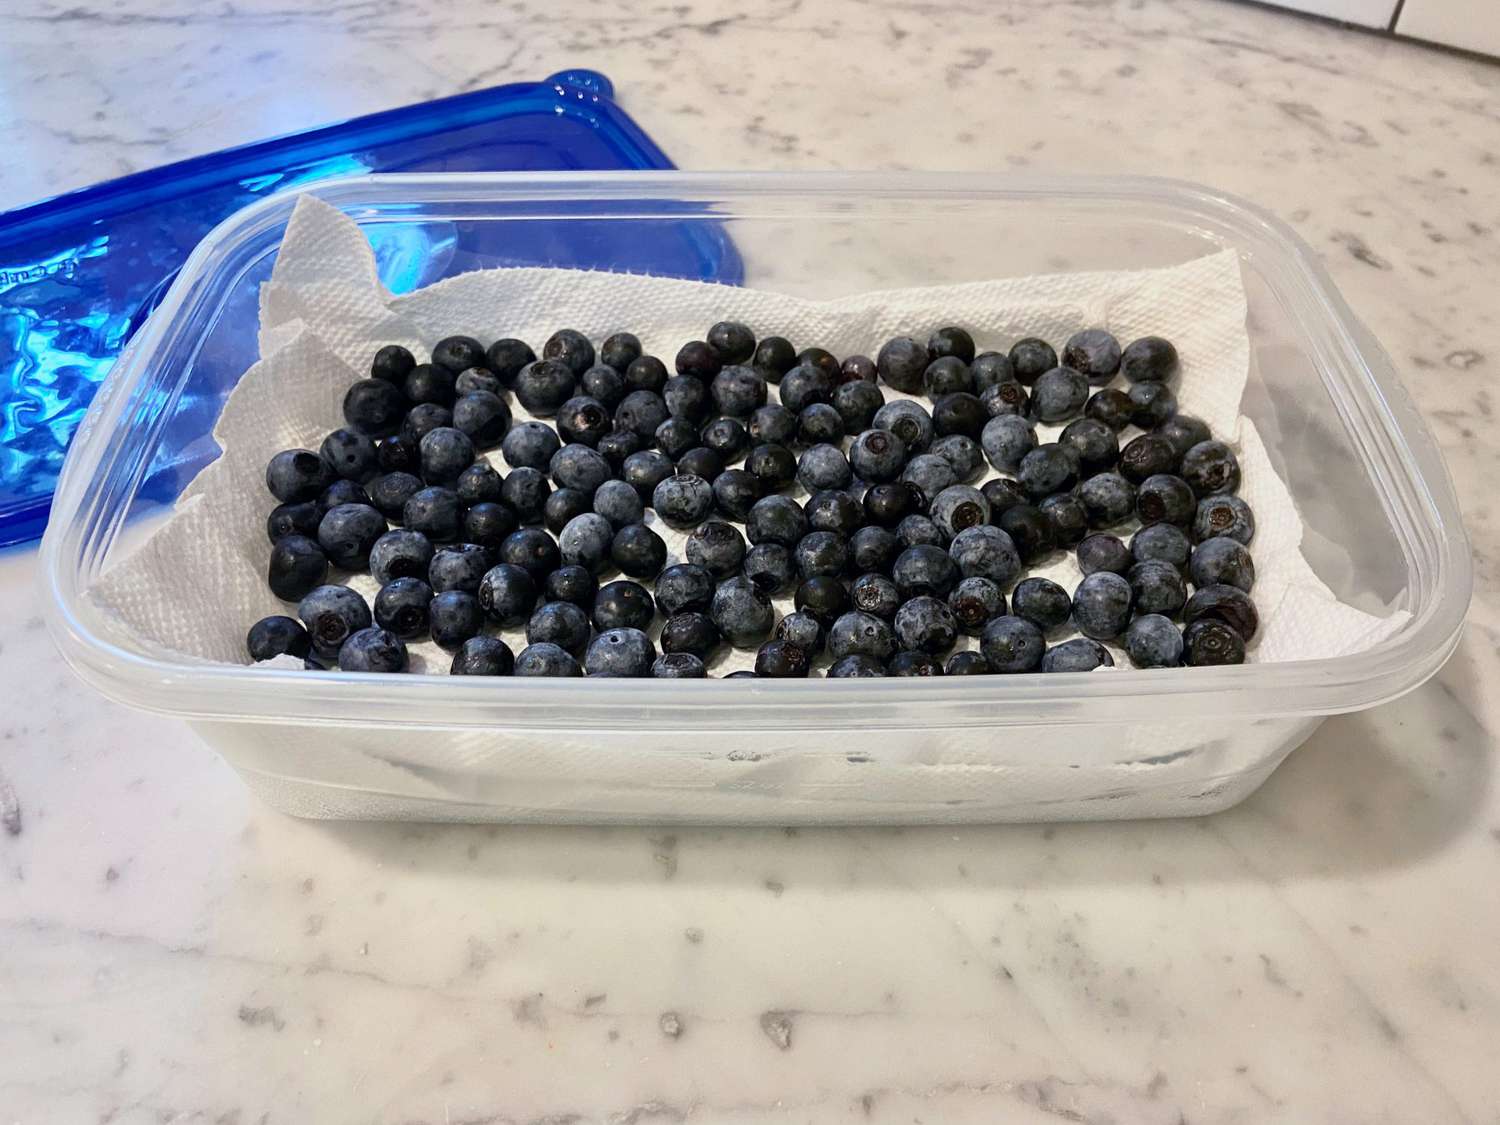
- Pat dry the cherries: After washing, gently pat the cherries dry with a clean kitchen towel or paper towels. Excess moisture can promote the growth of mold and bacteria, so make sure the cherries are completely dry before storing them.
- Remove the stems, if desired: Some people prefer to remove the stems from cherries before storing them. This can help prevent the cherries from drying out. Use a sharp knife or your fingers to carefully remove the stems.
Remember, it’s important to handle the cherries gently during the preparation process to prevent any damage. Once the cherries are sorted, washed, dried, and stemmed (if desired), you can proceed to the next step based on your preferred storage method.
Now that the cherries are ready, let’s discuss different storage methods – refrigerating, freezing, canning, and drying – in the upcoming steps.
Step 3: Refrigerating Fresh-Picked Cherries
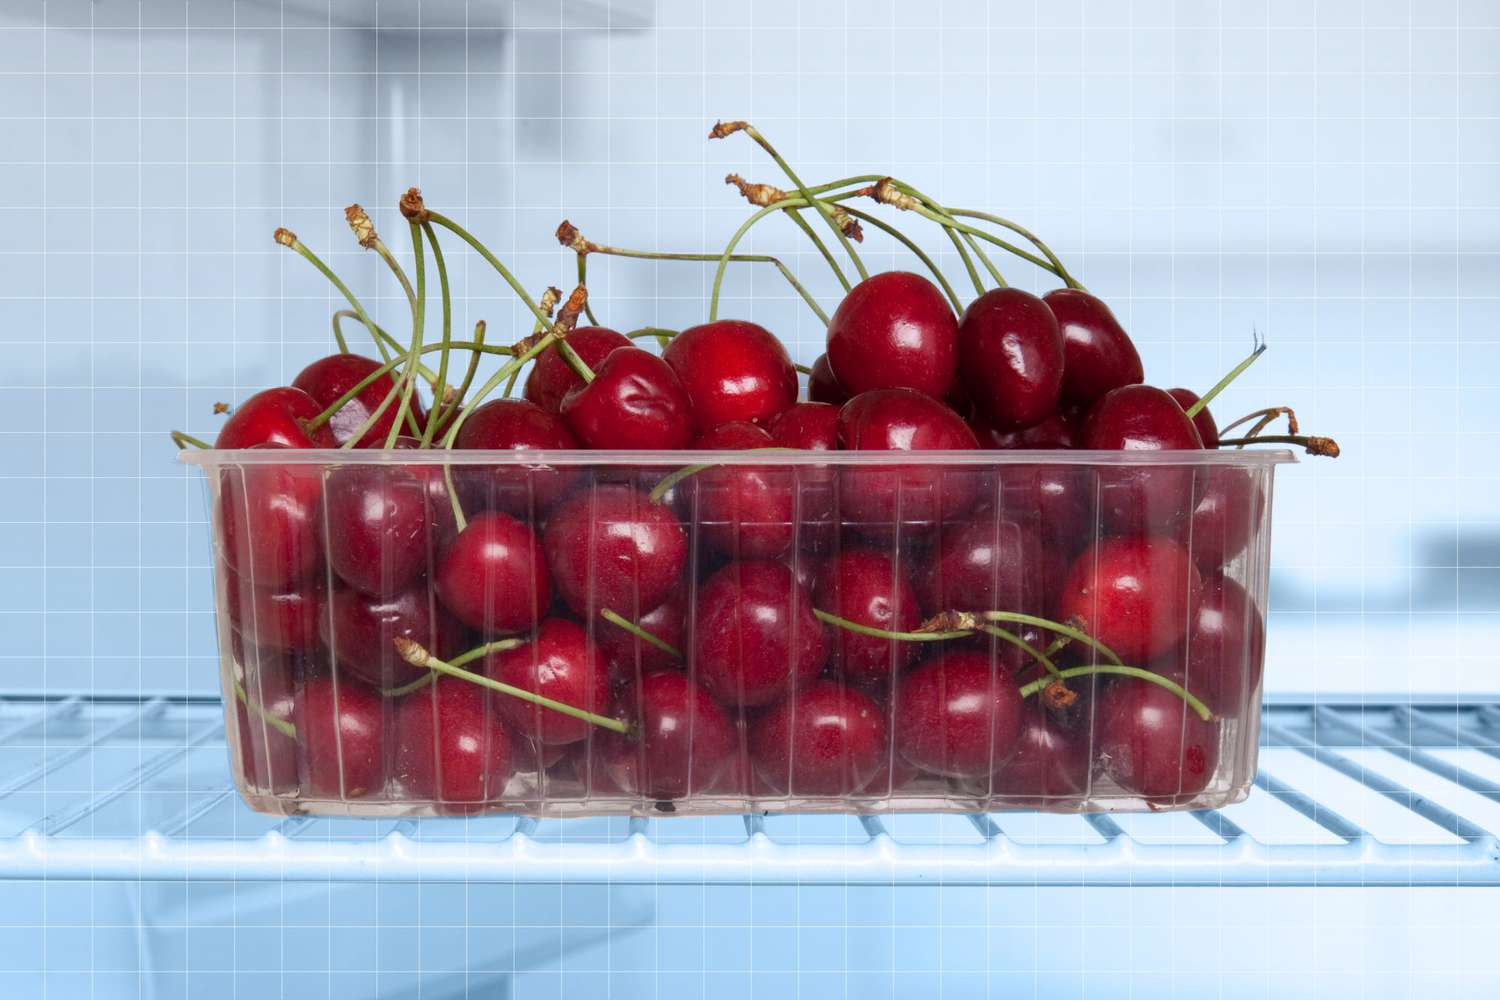
Refrigerating cherries is a great option if you plan to consume them within a few days or up to a week. This method helps to maintain the freshness and flavor of the cherries. Follow these steps to refrigerate your fresh-picked cherries:
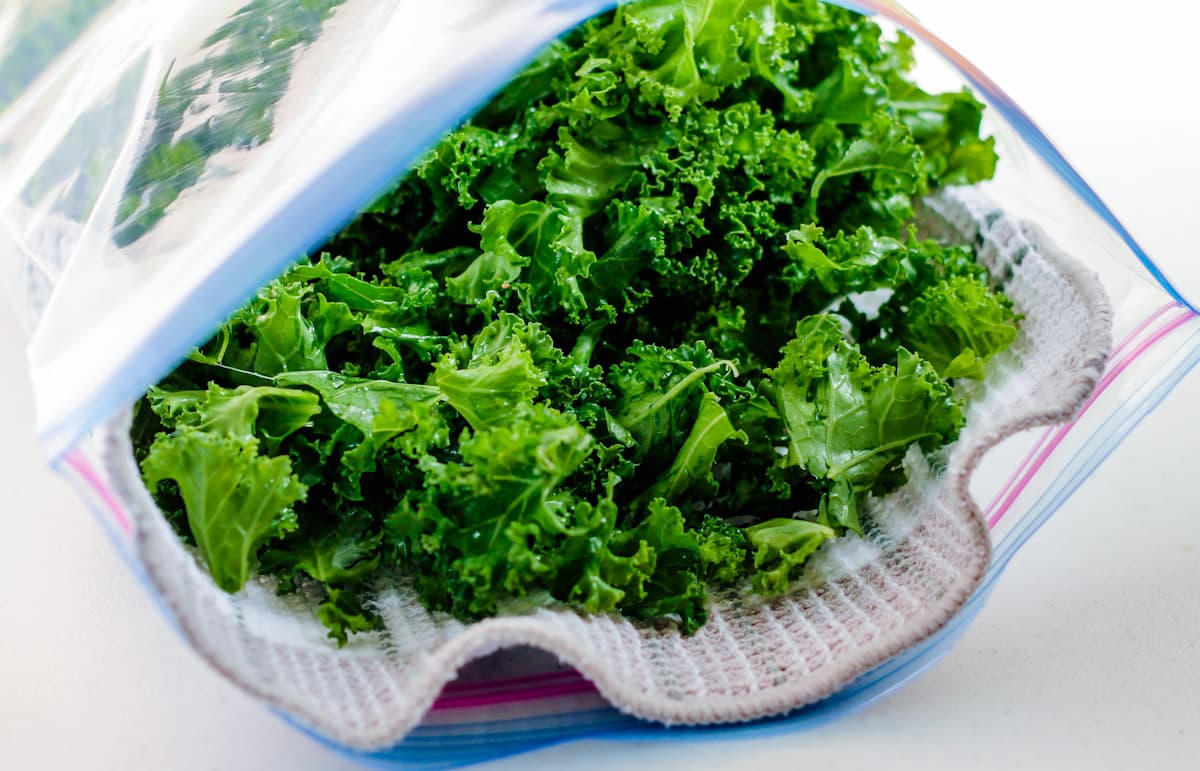
- Place the cherries in a breathable container: Transfer the cherries to a container that allows air circulation, such as a shallow bowl or a perforated plastic bag. This helps to prevent moisture buildup and keeps the cherries fresh.
- Store in the main compartment of the refrigerator: Place the container of cherries in the main compartment of your refrigerator, not in the crisper drawer. The main compartment is usually cooler and provides an even temperature for optimal storage.
- Avoid washing before refrigeration: Resist the temptation to wash the cherries before refrigeration. The excess moisture can cause the cherries to become mushy and spoil more quickly.
- Check for any spoilage: Periodically check the cherries for any signs of spoilage, such as mold or mushiness. Remove any spoiled cherries to prevent them from affecting the other cherries.
It is important to note that refrigeration can extend the shelf life of cherries, but they are still perishable and should be consumed within a week for the best quality.
Now that you know how to refrigerate fresh-picked cherries, let’s move on to the next step: freezing.
Store fresh picked cherries in the refrigerator in a breathable container, such as a paper bag or a perforated plastic bag, to allow air circulation and prevent moisture buildup. This will help keep the cherries fresh for longer.
Step 4: Freezing Fresh-Picked Cherries
If you have an abundance of fresh-picked cherries and want to enjoy them throughout the year, freezing is an excellent option. Freezing cherries preserves their flavor and texture, allowing you to use them in various recipes. Follow these steps to freeze your cherries:
- Pit the cherries: Start by removing the pits from the cherries. You can use a cherry pitter or a small knife to carefully remove the pits. This step is optional, but it makes the cherries more convenient to use later on.
- Spread the cherries on a baking sheet: Place the pitted cherries in a single layer on a baking sheet lined with parchment paper. This prevents them from sticking together during freezing.
- Flash freeze the cherries: Put the baking sheet with the cherries in the freezer and let them freeze for a few hours, or until they are completely frozen. This process, known as flash freezing, helps maintain the integrity of the cherries and prevents them from clumping together.
- Transfer to a freezer-safe container: Once the cherries are fully frozen, transfer them to a freezer-safe container or a freezer bag. Make sure to label the container with the date for future reference.
- Store in the freezer: Place the container of cherries in the freezer and make sure it is tightly sealed. The cherries can be stored in the freezer for up to 6 months.
When you’re ready to use the frozen cherries, remove the desired amount from the freezer and thaw them in the refrigerator or use them directly in your recipes while still frozen. Frozen cherries are great for making smoothies, pies, cobblers, and jams.
Now that you know how to freeze fresh-picked cherries, let’s move on to the next step: canning.
Read more: How To Store Fresh Picked Cucumbers
Step 5: Canning Fresh-Picked Cherries
Canning fresh-picked cherries is an excellent way to preserve their flavor and enjoy them throughout the year. Canned cherries can be used in a variety of recipes, such as pies, desserts, or as a topping for ice cream. Follow these steps to can your fresh-picked cherries:
- Prepare the canning jars and lids: Wash the canning jars, lids, and bands in hot, soapy water. Rinse them well and sterilize them by placing them in a pot of boiling water for a few minutes. Remove them from the water and let them air dry.
- Pit the cherries: Remove the pits from the cherries using a cherry pitter or a small knife. This step is essential for canning, as the pits can affect the flavor and texture of the canned cherries.
- Make the syrup (optional): Prepare a light syrup by combining water and sugar in a saucepan. Heat the mixture until the sugar is dissolved, and let it cool.
- Fill the jars with cherries: Pack the pitted cherries into the prepared canning jars, leaving about ½ inch of headspace at the top. If desired, you can pour the cooled syrup over the cherries, ensuring they are fully covered.
- Remove air bubbles and seal the jars: Use a non-metallic utensil to remove any air bubbles by gently pressing on the cherries. Wipe the rims of the jars with a clean, damp cloth, place the lids on top, and screw on the bands until they are fingertip tight.
- Process the jars in a water bath: Place the filled jars in a boiling water bath canner, making sure they are fully submerged. Process the jars for the recommended time according to your altitude and the size of the jars.
- Remove and cool the jars: Carefully remove the jars from the water bath canner and place them on a towel-lined surface to cool completely. As the jars cool, you may hear a popping sound, indicating a successful seal.
- Check the seals and store the jars: After the jars have cooled completely, press down on the center of each lid to check for proper sealing. If the lid doesn’t move, the jar is sealed correctly. Store the sealed jars in a cool, dark place for up to a year.
Canned cherries can be enjoyed in various recipes or even eaten straight from the jar. They make a delightful addition to your pantry and allow you to enjoy the taste of fresh cherries all year round.
Now that you know how to can fresh-picked cherries, let’s move on to the final step: drying.
Step 6: Drying Fresh-Picked Cherries
Drying fresh-picked cherries is a great way to create a delicious and nutritious snack that can be enjoyed on its own or used in baking recipes. Dried cherries have a concentrated flavor and a chewy texture, making them a delightful addition to salads, granola, trail mixes, or baked goods. Follow these steps to dry your fresh-picked cherries:
- Wash and pit the cherries: Rinse the cherries under cool water to remove any dirt or debris. After washing, pat them dry with a clean kitchen towel. Remove the pits using a cherry pitter or a small knife.
- Pre-treat the cherries (optional): If you prefer, you can pre-treat the cherries to help them retain their color and prevent browning. Soak the cherries in a mixture of lemon juice and water for a few minutes before drying them.
- Prepare a drying method: There are several methods you can use to dry cherries, including using a food dehydrator, an oven, or the sun. Choose the method that works best for you:
- Food dehydrator: Arrange the pitted cherries on the trays of the food dehydrator, making sure they are evenly spaced. Follow the manufacturer’s instructions for time and temperature settings.
- Oven: Place the pitted cherries on a baking sheet lined with parchment paper. Set the oven to the lowest temperature (usually around 170°F or 75°C) and allow the cherries to dry for several hours, checking on them periodically.
- Sun drying: If you live in a hot and dry climate, sun drying can be a traditional and effective method. Arrange the cherries on a clean, flat surface, such as a baking sheet or a drying rack. Place the cherries under direct sunlight in a well-ventilated area and allow them to dry until they reach the desired consistency.
- Monitor and flip the cherries: Whichever drying method you choose, it’s important to monitor the cherries regularly and flip them to ensure even drying. This helps prevent mold or spoilage.
- Check for doneness: The drying time can vary depending on the method used and the size of the cherries. The cherries are ready when they are leathery, slightly pliable, and there is no visible moisture. They should not be sticky or overly dry.
- Store the dried cherries: Once the cherries are completely dried, allow them to cool down to room temperature. Store them in airtight containers or resealable bags in a cool, dry place. Dried cherries can be stored for several months.
Dried cherries are a versatile and nutritious snack that can add a pop of flavor to your favorite recipes. Enjoy them on their own or incorporate them into cookies, muffins, or trail mixes for a delicious twist.
Now that you know how to dry fresh-picked cherries, you have learned all the steps to store your cherries using different methods. Enjoy the fruits of your labor throughout the year!
Remember, regardless of the storage method you choose, always use fresh and high-quality cherries for the best results. Enjoy the delightful flavor of cherries in all seasons!
Conclusion
Storing fresh-picked cherries is essential to preserve their flavors and extend their shelf life. By following the steps outlined in this article, you can ensure that your cherries remain fresh and delicious for an extended period, allowing you to enjoy their taste long after the picking season has ended.
We started with the importance of choosing the right cherries, emphasizing the need for plump and firm cherries with vibrant colors and fresh stems. We then moved on to the crucial step of preparing the cherries for storage, including sorting, washing, drying, and removing the stems.
We explored four different storage methods – refrigerating, freezing, canning, and drying – each with its own benefits and considerations. Refrigerating cherries is ideal for short-term storage of up to a week, while freezing enables you to enjoy cherries throughout the year in various recipes. Canning cherries preserves their flavors for a longer period, and drying them creates a delightful and nutritious snack.
Whether you choose to refrigerate, freeze, can, or dry your cherries, it’s important to handle them carefully and ensure proper storage conditions. This will help maintain their freshness, flavor, and nutritional value.
Remember to choose the method that best suits your needs and preferences. Whether you’re enjoying fresh cherries in the summertime or savoring the taste of preserved cherries during the colder months, the storage techniques described in this article will help you keep your cherries at their best.
So, the next time you find yourself with an abundance of fresh-picked cherries, put these storing techniques to use and enjoy the delightful flavors of cherries all year round.
Happy cherry storing!
Frequently Asked Questions about How To Store Fresh Picked Cherries
Was this page helpful?
At Storables.com, we guarantee accurate and reliable information. Our content, validated by Expert Board Contributors, is crafted following stringent Editorial Policies. We're committed to providing you with well-researched, expert-backed insights for all your informational needs.


0 thoughts on “How To Store Fresh Picked Cherries”