Home>Garden Essentials>How To Plant Okra From Seeds
Garden Essentials
How To Plant Okra From Seeds
Modified: August 17, 2024
Learn how to plant okra seeds in your garden with our easy step-by-step guide. Grow delicious and nutritious okra at home and enjoy fresh homegrown produce.
(Many of the links in this article redirect to a specific reviewed product. Your purchase of these products through affiliate links helps to generate commission for Storables.com, at no extra cost. Learn more)
Introduction
Welcome to the world of gardening! If you’re a fan of homegrown vegetables, then planting okra from seeds is a wonderful addition to your garden. Okra, also known as lady’s fingers, is a warm-season vegetable that thrives in sunny locations and can produce a bountiful harvest. Not only does okra provide a delicious addition to your meals, but it is also packed with essential nutrients and offers various health benefits.
In this article, we will guide you through the process of planting okra from seeds, step by step. Whether you’re a beginner or an experienced gardener, these tips and techniques will help you achieve success in growing your own okra plants.
Before we dive into the details, let’s talk about the supplies you’ll need to get started.
Key Takeaways:
- Planting okra from seeds requires gathering supplies, preparing the soil, planting the seeds, and providing proper care. Regular harvesting ensures a bountiful supply of delicious homegrown okra.
- Okra plants thrive in warm temperatures and full sun. By following the step-by-step guide, you can enjoy the satisfaction of growing and harvesting your own nutritious and flavorful okra.
Read more: How To Grow Okra From Seed
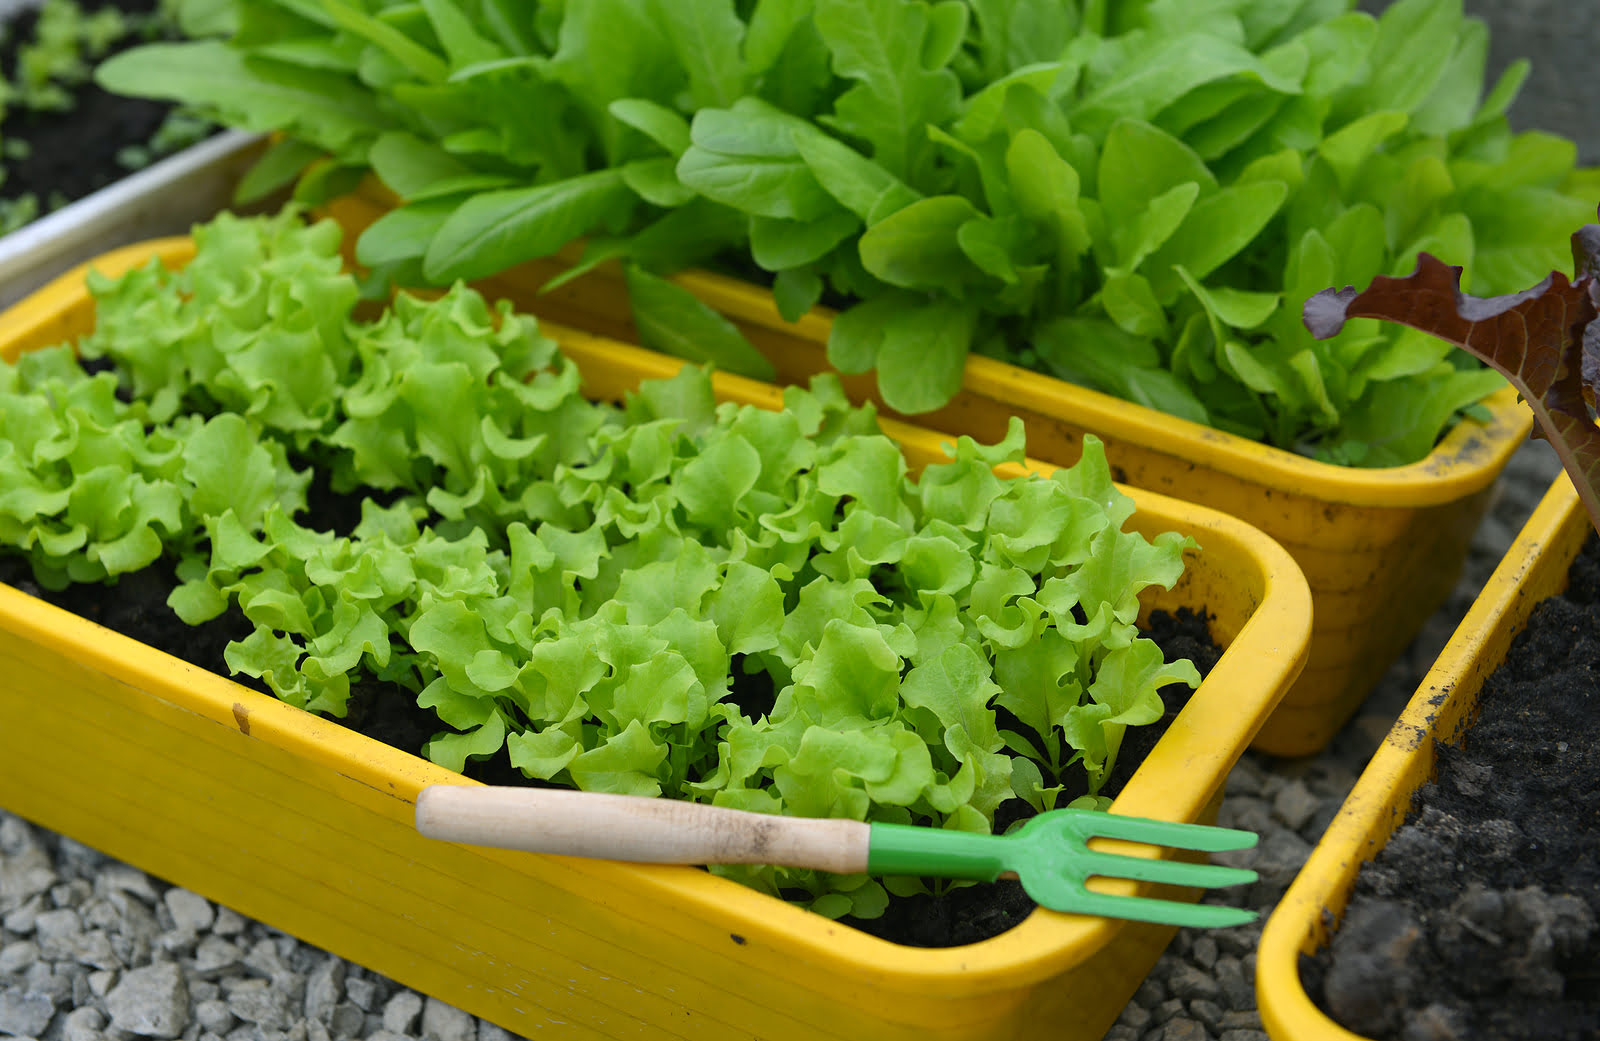
Step 1: Gathering Supplies
Before you begin planting okra seeds, it’s essential to gather all the necessary supplies. This ensures that you have everything you need within reach, saving you time and effort during the planting process. Here are the supplies you’ll need:
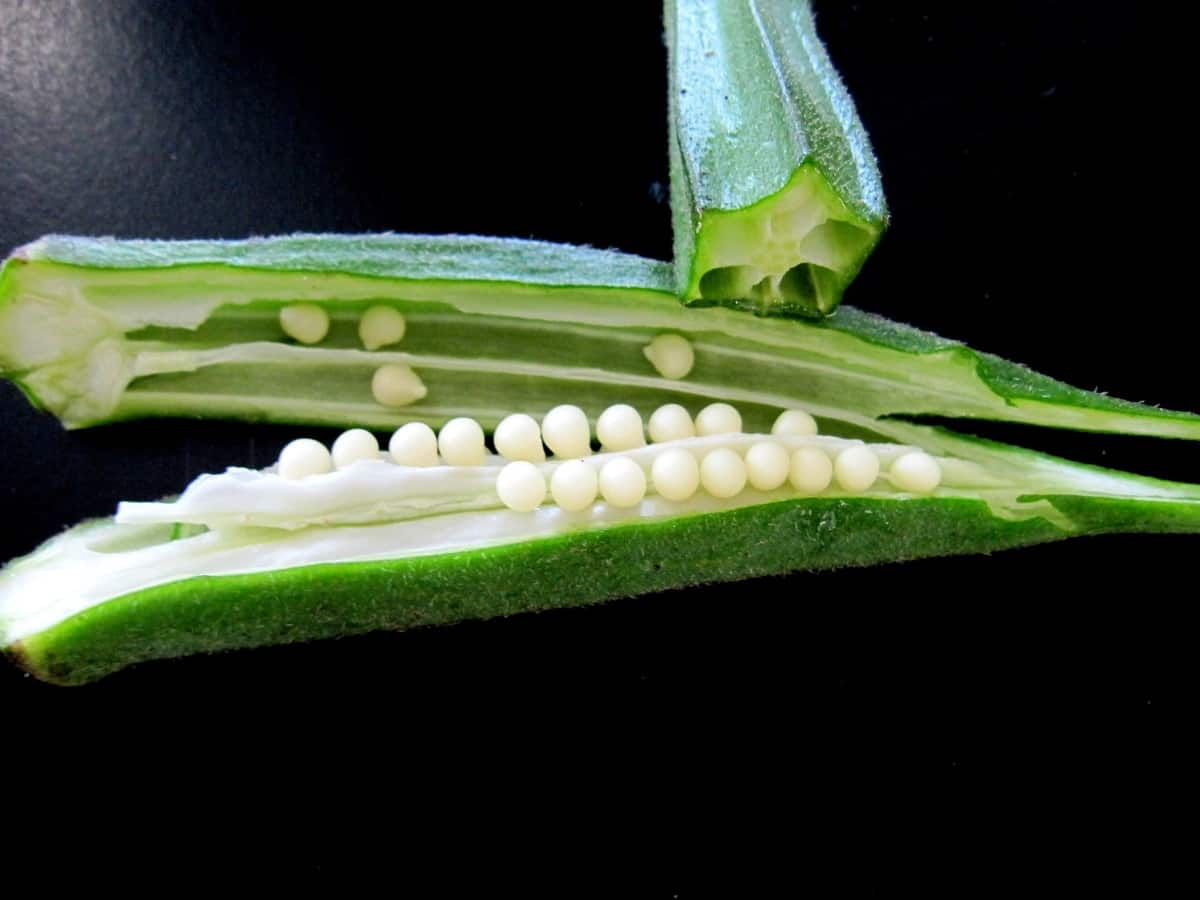
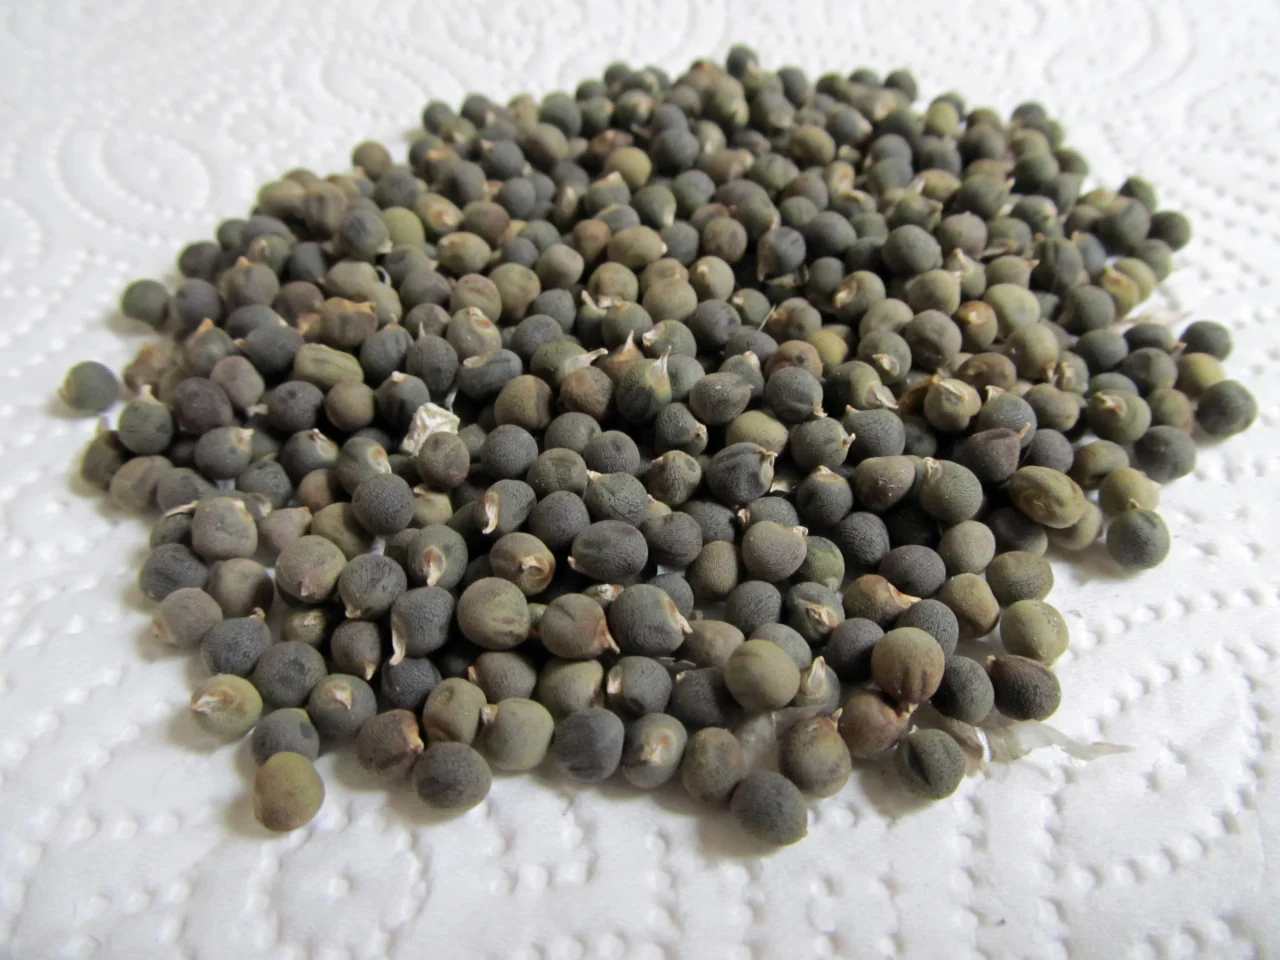
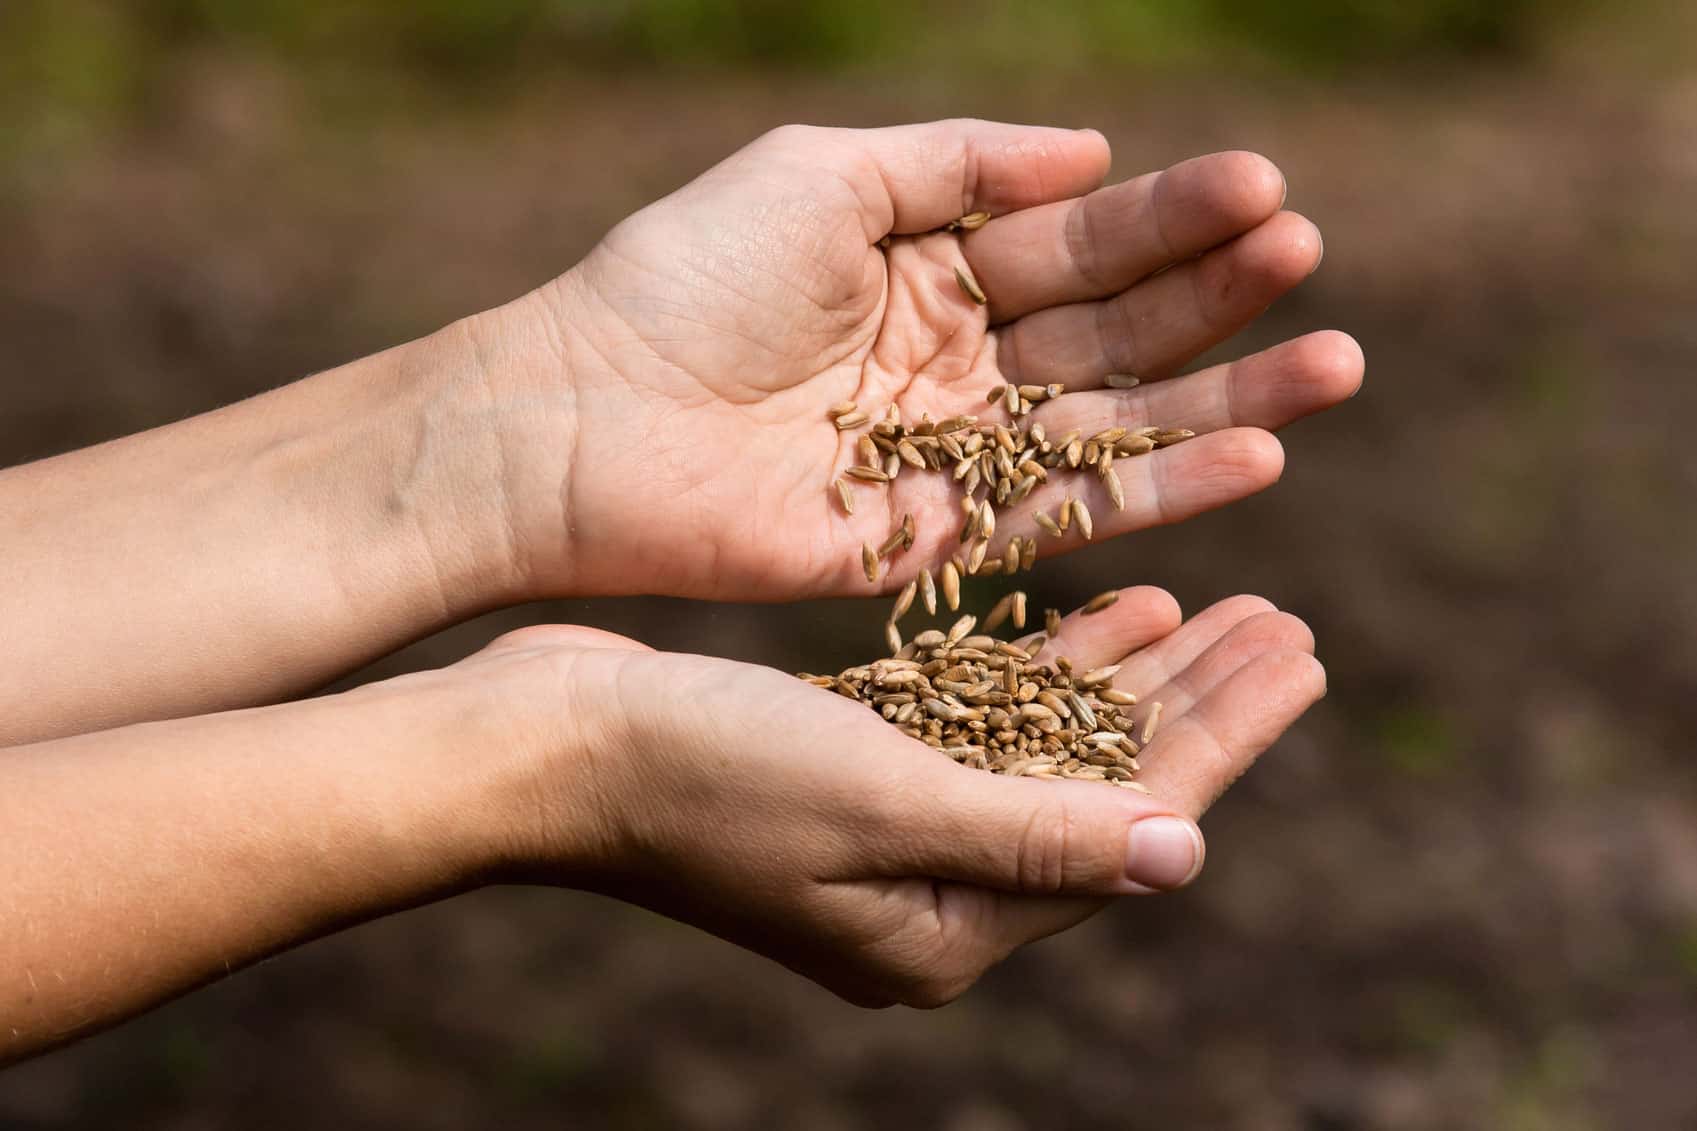
- Okra seeds: Choose high-quality okra seeds from a reputable supplier. Opt for disease-resistant varieties if available.
- Garden tools: Have basic gardening tools handy, including a garden spade or fork, a rake, and a watering can or hose.
- Pots or containers: If you prefer to start okra seeds indoors, select pots or containers with good drainage.
- Quality soil: Use a well-draining, nutrient-rich soil mix specifically formulated for vegetables or create your own by combining compost, garden soil, and sand.
- Organic fertilizer: Consider using organic fertilizers such as compost or well-rotted manure to enrich the soil’s nutrients.
- Plant markers: Labeling your okra plants with plant markers helps you keep track of different varieties, planting dates, and other important information.
Once you have gathered all these supplies, you’re ready to move on to the next step: preparing the soil.
Step 2: Preparing the Soil
Preparing the soil is a crucial step in ensuring the successful growth of your okra plants. Follow these steps to create a favorable environment for your seeds:
- Choose a sunny location: Okra plants thrive in full sun, so select a spot in your garden that receives at least 6-8 hours of direct sunlight per day.
- Clear the area: Remove any weeds, rocks, or debris from the planting location. This helps ensure that the okra plants have ample space to grow and access to nutrients.
- Loosen the soil: Use a garden spade or fork to loosen the soil to a depth of about 8-10 inches. This improves the soil’s texture, allowing roots to penetrate easily and water to drain adequately.
- Amend the soil: If your soil is heavy or lacks organic matter, consider adding compost or well-rotted manure to improve its structure and fertility. Work the amendments into the soil thoroughly.
- Level the surface: Smooth out the soil surface using a rake to create a even planting bed.
By following these steps, you will provide your okra plants with a nutrient-rich and well-drained soil, setting them up for healthy growth and development.
Now that you have prepared the soil, it’s time to move on to the exciting part — planting the okra seeds!
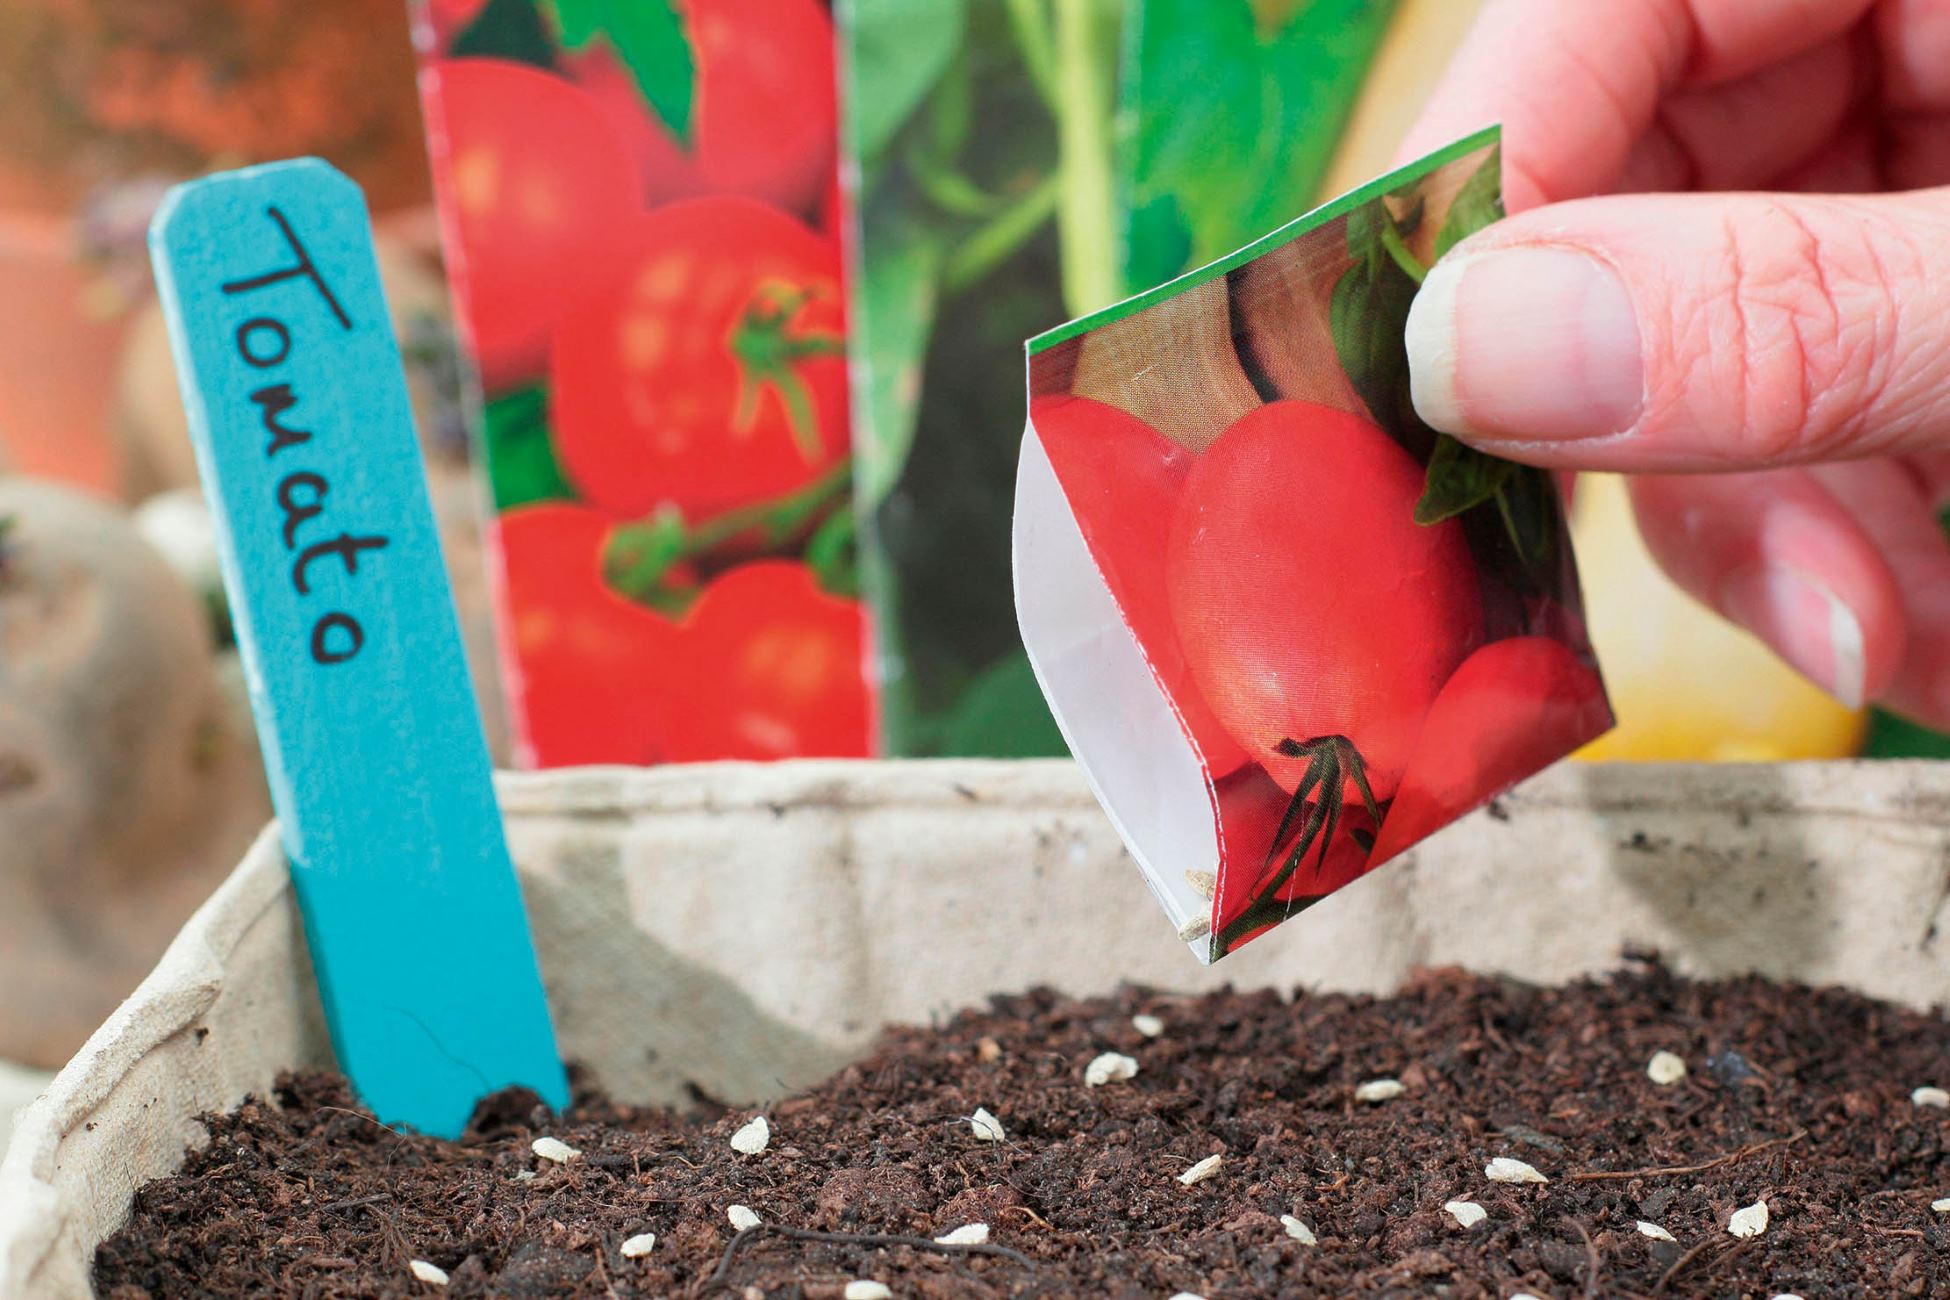
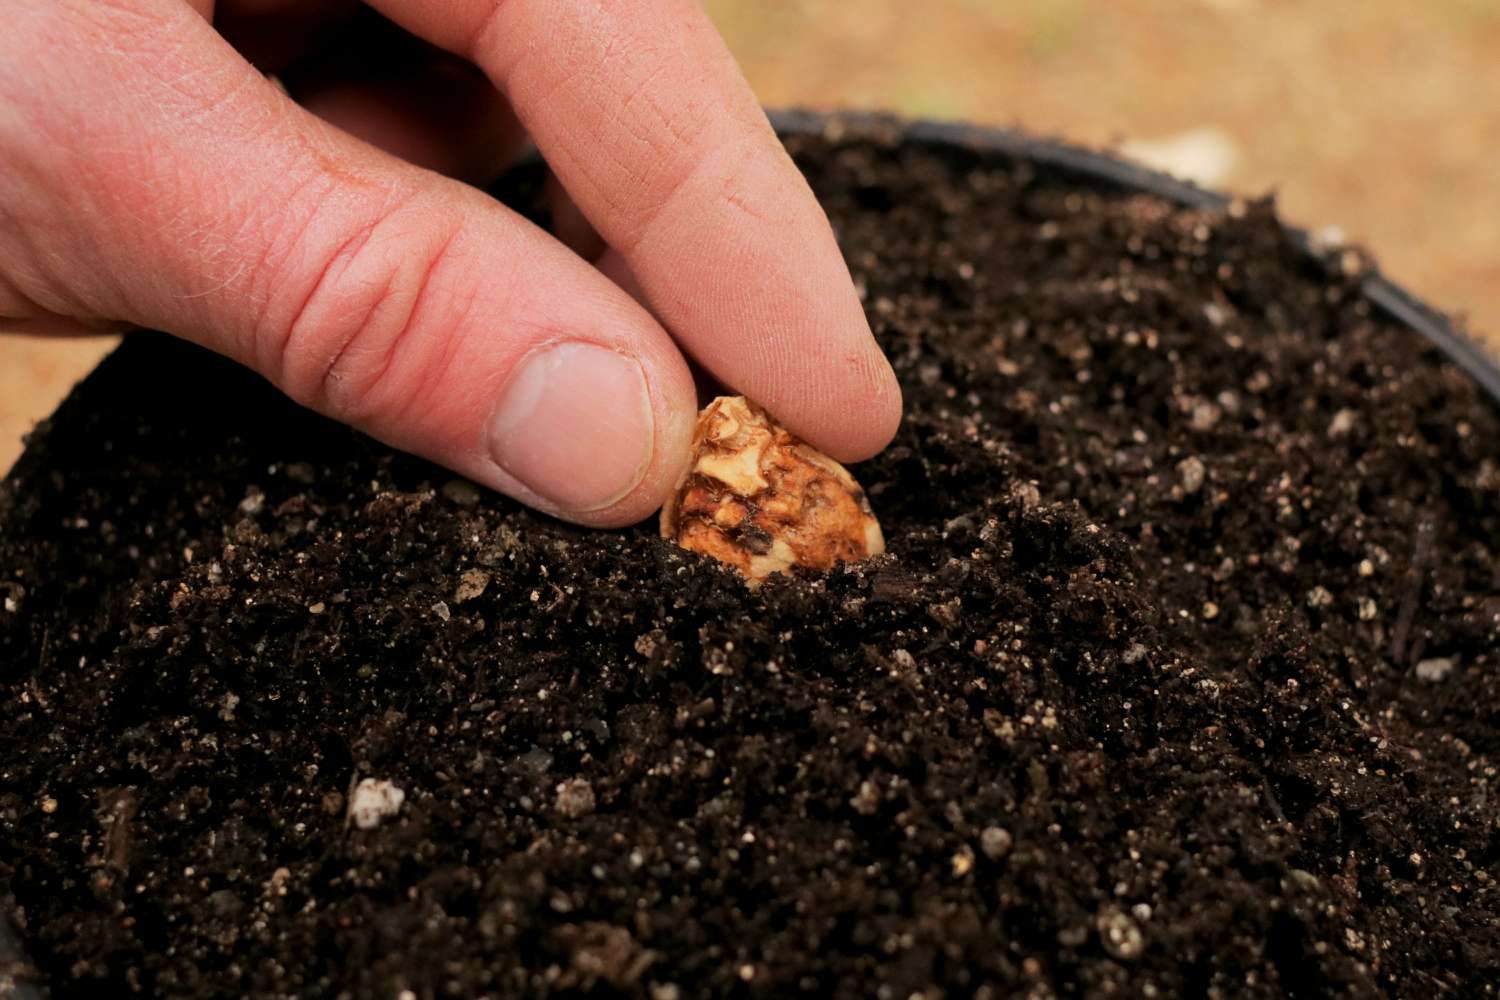
Step 3: Planting Okra Seeds
Now that you have prepared the soil, it’s time to plant your okra seeds. Follow these steps to ensure successful germination and healthy growth of your okra plants:
- Choose the right time: Plant okra seeds after the last frost date in your area. Okra thrives in warm temperatures, so wait until the soil has warmed up to around 60°F (15.5°C) or more.
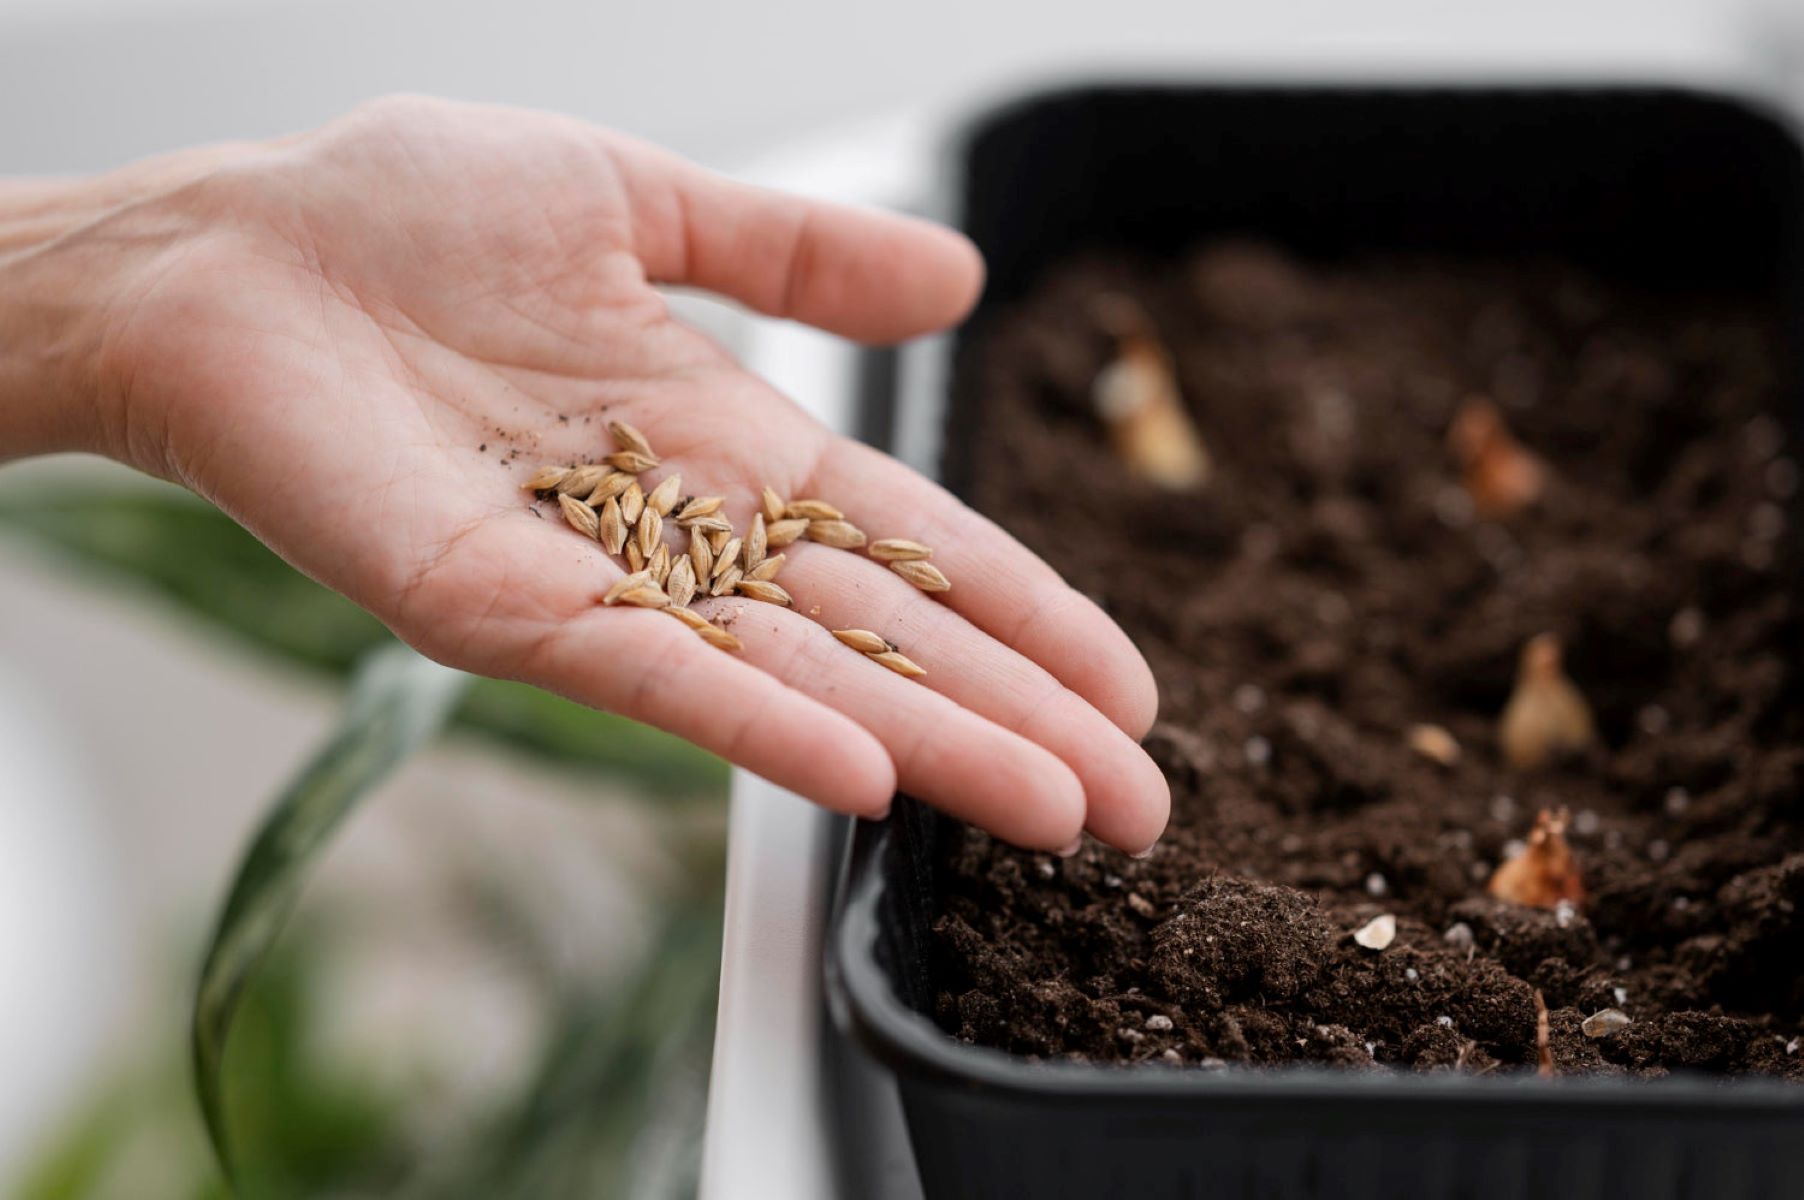
- Sow the seeds: Create furrows in the prepared soil, about 1 inch deep. Space the furrows 12-18 inches apart to provide enough room for the okra plants to grow. Place the okra seeds in the furrows, spacing them 3-4 inches apart.
- Cover the seeds: Gently cover the seeds with soil, ensuring they are adequately covered but not buried too deep. Aim for a soil covering of about ½ to 1 inch.
- Water thoroughly: After planting, water the soil well. This helps settle the seeds and ensures they receive the moisture needed for germination.
- Label and protect: Place plant markers along the furrows to identify the okra seeds’ location. Consider using protective coverings such as row covers or cloches to shield the seeds from extreme weather conditions and pests.
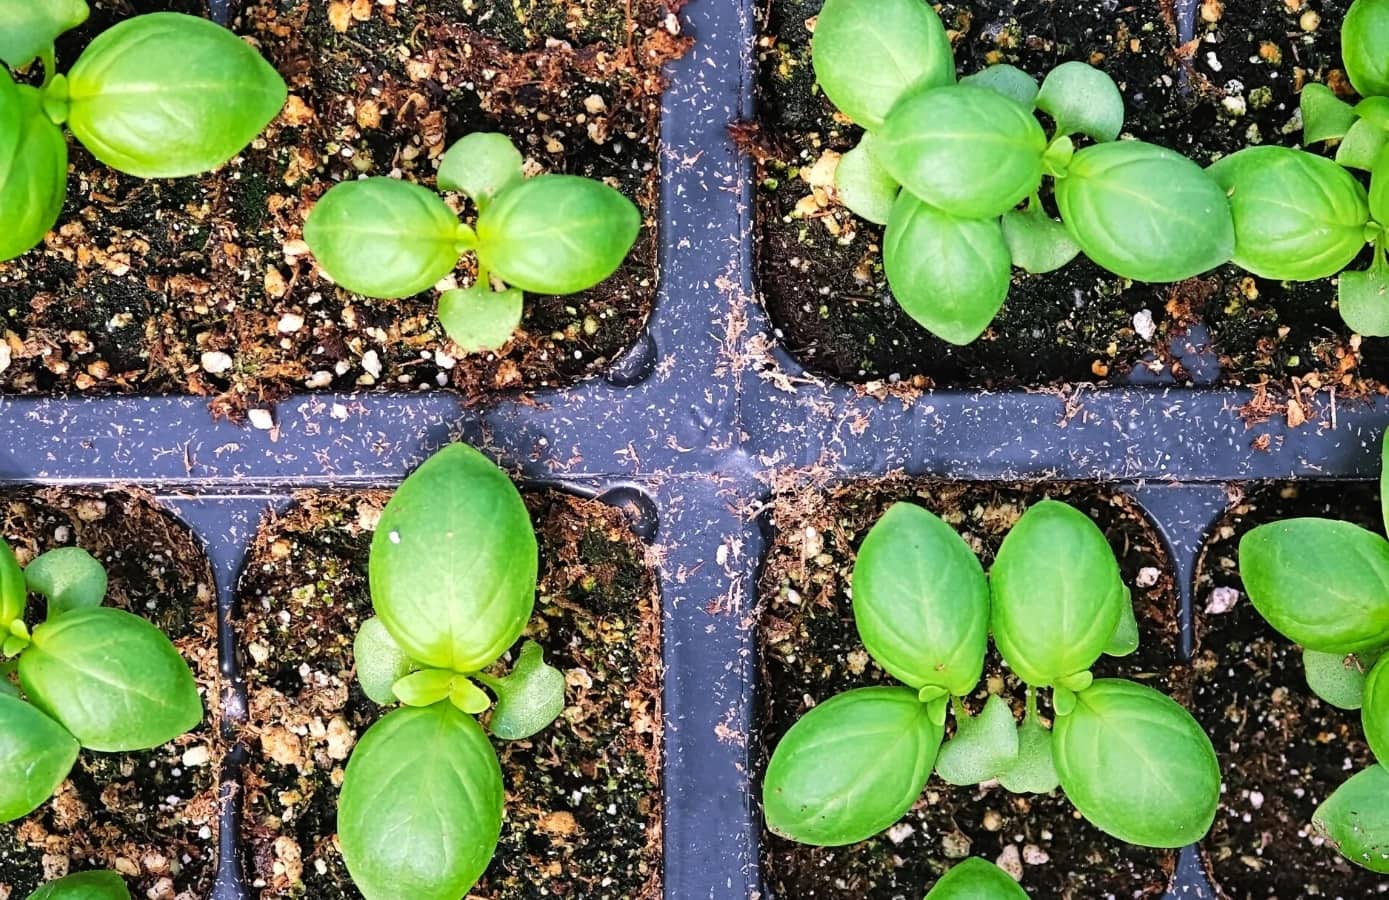
After planting, monitor the soil moisture regularly. Keep the soil consistently moist but not waterlogged to promote germination. Within a week or two, you should start to see the okra seedlings emerge from the soil.
With the seeds planted, it’s time to move on to the next step: watering and caring for your okra plants.
Plant okra seeds in well-drained soil, 1 inch deep and 12-18 inches apart. Water regularly and provide full sun. Harvest when pods are 2-3 inches long for best flavor.
Step 4: Watering and Care
Proper watering and care are vital for the healthy growth and development of your okra plants. Follow these guidelines to ensure your plants receive the care they need:
- Watering: Okra plants require regular watering, especially during dry spells. Water deeply, aiming for about 1 inch of water per week. Avoid overwatering, as it can lead to root rot. Instead, allow the soil to dry slightly between waterings.
- Mulching: Apply a layer of organic mulch around your okra plants to help conserve moisture, suppress weed growth, and regulate soil temperature. Organic materials like straw, wood chips, or compost work well as mulch.
- Fertilizing: Okra plants benefit from regular fertilization. Apply a balanced organic fertilizer or compost every 4-6 weeks to provide a steady supply of nutrients. Follow the package instructions for proper application.
- Supporting: As your okra plants grow, they may require support to prevent the tall and slender stems from bending or breaking. Consider using stakes or cages to support the plants and keep them upright.
- Pest and disease control: Monitor your okra plants for any signs of pests or diseases, such as aphids, caterpillars, or fungal infections. Take appropriate measures, such as using organic pest control methods or removing affected plant parts, to keep your plants healthy.
Regularly inspect your okra plants for any issues and address them promptly. Proper watering and care will promote healthy foliage, sturdy stems, and an abundance of delicious okra pods.
Now that you know how to care for your okra plants, let’s move on to the final step: harvesting your homegrown okra!
Read more: How To Sow Okra Seeds
Step 5: Harvesting Okra
Harvesting your homegrown okra is an exciting reward for all your hard work. Follow these tips to ensure a successful and bountiful harvest:
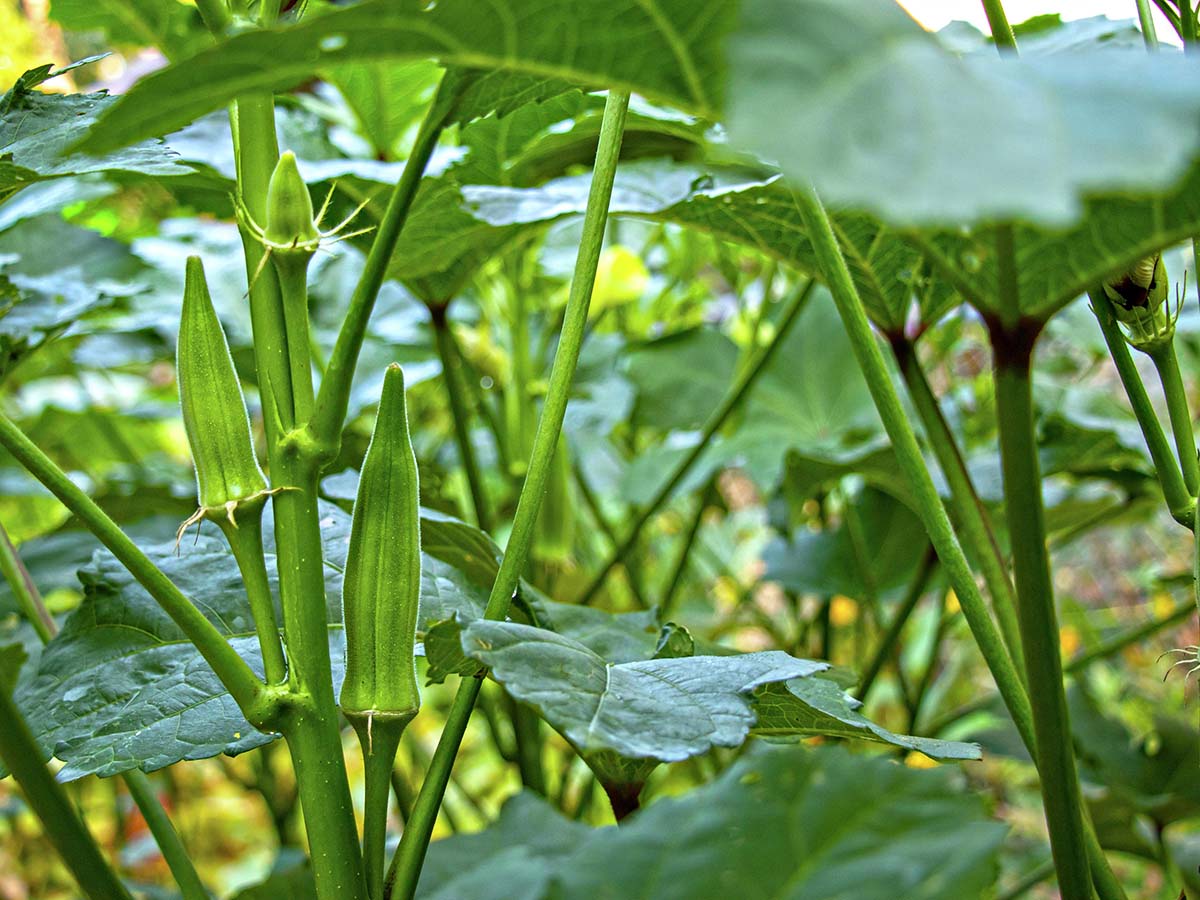
- Timing: Okra pods are ready for harvest when they reach 2-4 inches in length. Harvesting regularly, every 2-3 days, is essential as the pods can quickly become tough and fibrous if left on the plant for too long.
- Tools: Use a pair of sharp garden scissors or pruners to cut the okra pods from the plant. This helps prevent damage to the plant and promotes continued growth.
- Technique: When harvesting, be careful not to damage the remaining buds and new pods on the plant. Harvesting from the base of the pod, where it meets the stem, is the recommended method.
- Storage: Okra is best when enjoyed fresh, so plan to use or store your harvest promptly. If you can’t use the okra immediately, store it in a perforated plastic bag in the refrigerator for up to 3-4 days.
Remember that okra plants are prolific producers, and regular harvesting encourages the plant to continue producing more pods. Enjoy the process of harvesting and savor the satisfaction of enjoying your own homegrown okra in your favorite recipes.
With these steps, you now have a comprehensive guide to planting okra from seeds. Remember to adapt the techniques based on your specific gardening conditions and climate. Happy gardening and enjoy the delicious bounty of fresh okra from your garden!
Conclusion
Congratulations on successfully learning how to plant okra from seeds! By following the steps outlined in this guide, you are well on your way to enjoying a bountiful harvest of homegrown okra in your garden.
Starting from gathering the necessary supplies to preparing the soil, planting the seeds, and caring for your okra plants, each step plays a crucial role in ensuring their healthy growth and development. Remember to provide your plants with adequate sunlight, water them regularly, and provide proper care and nutrition.
As your okra plants grow, don’t forget to monitor them for pests and diseases, and take appropriate measures to address any issues that arise. With patience and dedication, you will be rewarded with vibrant plants and an abundance of delicious okra pods.
Once your okra pods reach the optimal size, it’s time to harvest them and savor the flavor of your own homegrown produce. Regular harvesting not only provides you with a fresh supply of okra but also encourages the plants to continue producing more pods.
Remember, gardening is a continuous learning process. Each season brings new experiences and lessons. Keep experimenting and adapting your techniques to suit your garden’s unique conditions and your personal preferences.
So, go ahead and embrace the joy of planting okra from seeds. Enjoy the process, reap the rewards, and savor the delicious taste of your homegrown okra. Happy gardening!
Frequently Asked Questions about How To Plant Okra From Seeds
Was this page helpful?
At Storables.com, we guarantee accurate and reliable information. Our content, validated by Expert Board Contributors, is crafted following stringent Editorial Policies. We're committed to providing you with well-researched, expert-backed insights for all your informational needs.

0 thoughts on “How To Plant Okra From Seeds”