Articles
How To Store Oreo Balls
Modified: August 16, 2024
Discover the best ways to store Oreo balls and keep them fresh. Read our informative articles for expert tips and tricks on maximizing their shelf life.
(Many of the links in this article redirect to a specific reviewed product. Your purchase of these products through affiliate links helps to generate commission for Storables.com, at no extra cost. Learn more)
Introduction
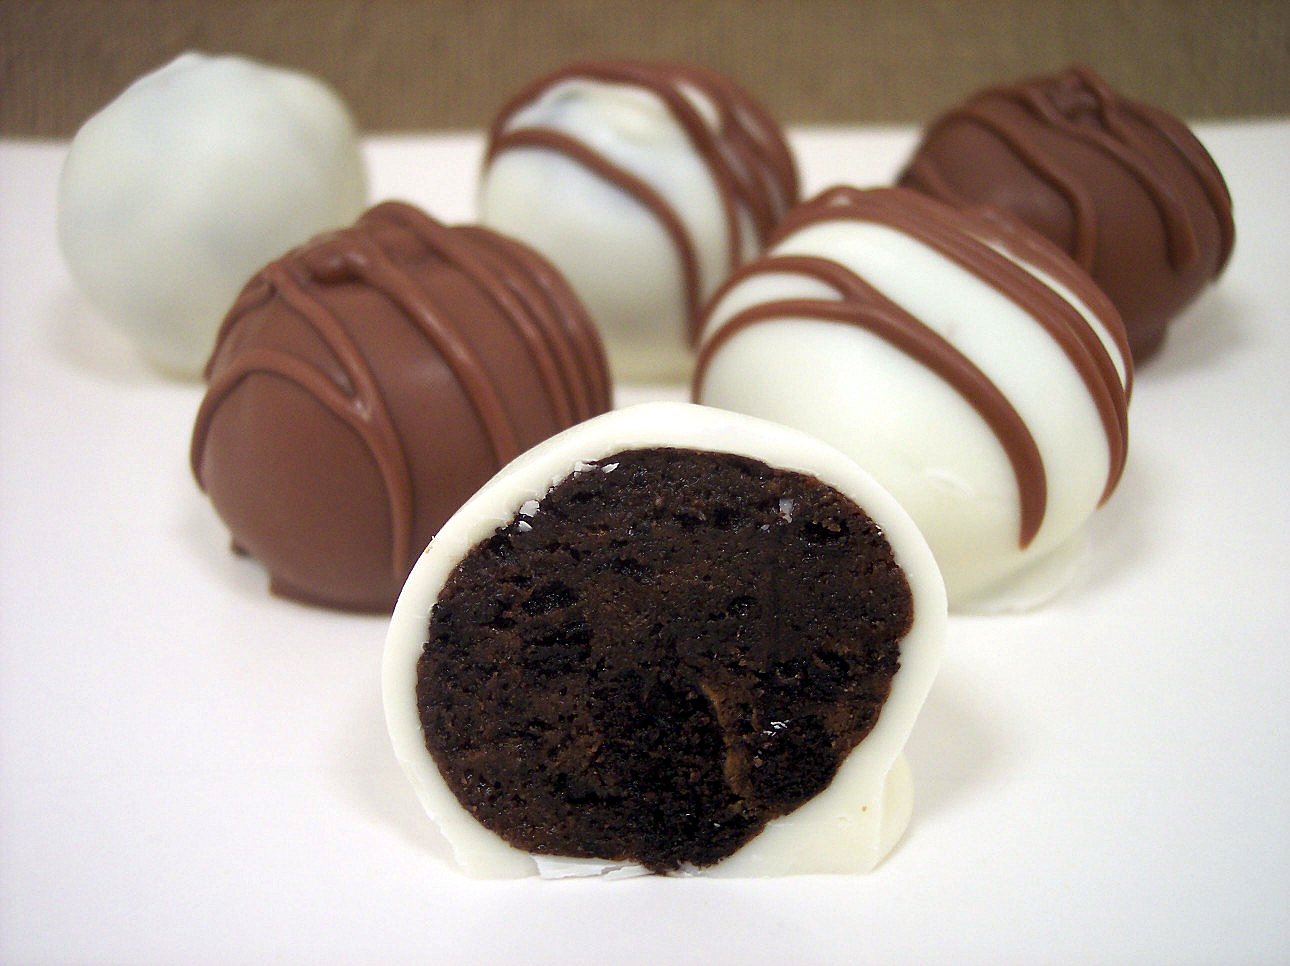
Are you a fan of the delicious and indulgent Oreo balls? These bite-sized treats, made with crushed Oreo cookies and cream cheese, are a favorite among dessert lovers. Whether you enjoy them as a sweet treat after a meal or bring them to a potluck to impress your friends, Oreo balls are a crowd-pleaser.
But what do you do when you have leftover Oreo balls? Perhaps you made a big batch and want to store them for later enjoyment. Or maybe you received a gift of Oreo balls and want to make them last as long as possible. In this article, we will guide you on how to properly store your Oreo balls to maintain their freshness and deliciousness.
By following these simple steps, you can ensure that your Oreo balls remain in perfect condition, ready to be enjoyed whenever you have a craving for a sweet and creamy treat. So, let’s dive in and learn how to store your Oreo balls for maximum satisfaction!
Key Takeaways:
- Store Oreo balls in an airtight container in the refrigerator for up to a week, or freeze them for up to 3 months for a delicious treat anytime.
- Get creative with Oreo ball toppings and enjoy these delightful treats at your own pace, knowing they can be stored to maintain their freshness.
Read more: How To Store Oreo Truffles
Ingredients
To make delicious Oreo balls, you will need the following ingredients:
- 1 package of Oreo cookies (regular or double stuffed)
- 8 ounces (226 grams) of cream cheese, softened
- Optional toppings: melted chocolate, sprinkles, crushed nuts, or powdered sugar
These simple ingredients are all you need to create the base for your Oreo balls. The Oreo cookies provide a rich, chocolatey flavor, while the cream cheese adds a creamy and tangy element to the mixture. As for the optional toppings, they add an extra touch of sweetness and texture to the final result.
The great thing about Oreo balls is that you can customize them to your liking. If you prefer a sweeter taste, you can use double stuffed Oreo cookies. Alternatively, if you want a more decadent treat, you can try different flavors of Oreo cookies, such as mint or peanut butter.
Now that you have gathered all the necessary ingredients, it’s time to move on to the next step: preparing the equipment.
Equipment
To successfully make and store Oreo balls, you’ll need the following equipment:
- Food processor or ziplock bag with a rolling pin
- Mixing bowl
- Electric mixer or spoon for mixing the cream cheese
- Baking sheet or plate lined with parchment paper
- Plastic wrap or airtight container
- Optional: Melting pot or microwave-safe bowl for melting chocolate
- Optional: Tongs or toothpicks for dipping and decorating the Oreo balls
The equipment listed above will help make the process of making and storing Oreo balls much more efficient. The food processor or a ziplock bag with a rolling pin will come in handy to crush the Oreo cookies into fine crumbs. A mixing bowl is essential for combining the crushed Oreos with cream cheese.
If you prefer a smoother texture or want to speed up the mixing process, you can use an electric mixer. However, if you don’t have one, a spoon can work just fine for mixing the cream cheese and crushed Oreos together.
A baking sheet or a plate lined with parchment paper will serve as a temporary resting place for the Oreo balls while they chill. This prevents them from sticking to the surface and makes it easier to transfer them to the storage container later on.
To keep the Oreo balls fresh and protected, you’ll need plastic wrap or an airtight container. This will help maintain their texture and prevent them from drying out or absorbing odors from the surrounding environment.
If you decide to add toppings or dip the Oreo balls in melted chocolate, having a melting pot or a microwave-safe bowl will be necessary. Using tongs or toothpicks will facilitate the dipping and decoration process.
Now that you’ve gathered all the necessary equipment, it’s time to dive into the step-by-step process of making and storing Oreo balls.
Step 1: Crushing the Oreo cookies
The first step in making Oreo balls is to crush the Oreo cookies into fine crumbs. There are two methods you can use to achieve this: using a food processor or a ziplock bag with a rolling pin.
If you have a food processor, simply place the Oreo cookies in the bowl of the processor and pulse until they are finely ground. Be sure not to overprocess them, as you want to maintain some texture in the final Oreo ball mixture.
If you don’t have a food processor, don’t worry! You can still crush the Oreo cookies using a ziplock bag and a rolling pin. Place the cookies in the bag, press out any air, and seal it tightly. Then, use the rolling pin to crush the cookies by rolling it back and forth until you achieve the desired crumb consistency.
Once the cookies are crushed, transfer them to a mixing bowl and set them aside for the next step. Now that you have the crushed Oreos ready, it’s time to move on to the next step: mixing them with cream cheese.
Step 2: Mixing the crushed Oreos with cream cheese
Now that you have the crushed Oreos prepared, it’s time to combine them with cream cheese to create the delicious Oreo ball mixture. The cream cheese will help bind the crumbs together and add a creamy texture to the final product.
In a mixing bowl, add the softened cream cheese. Using an electric mixer on low speed or a spoon, blend the cream cheese until it becomes smooth and creamy.
Once the cream cheese is smooth, add the crushed Oreos to the bowl. Use the mixer or a spoon to incorporate the crumbs into the cream cheese, ensuring that they are evenly distributed throughout the mixture. The result should be a thick and sticky dough-like consistency.
Take your time to mix the ingredients together thoroughly, ensuring that there are no lumps of cream cheese or dry spots of crumb mixture. The more evenly you mix, the better the Oreo ball texture will be.
Now that the crushed Oreos and cream cheese are well combined, you can move on to the next step: shaping the mixture into balls.
After making Oreo balls, store them in an airtight container in the refrigerator to keep them fresh and prevent them from becoming too soft.
Read more: How To Store Chocolate Covered Oreos
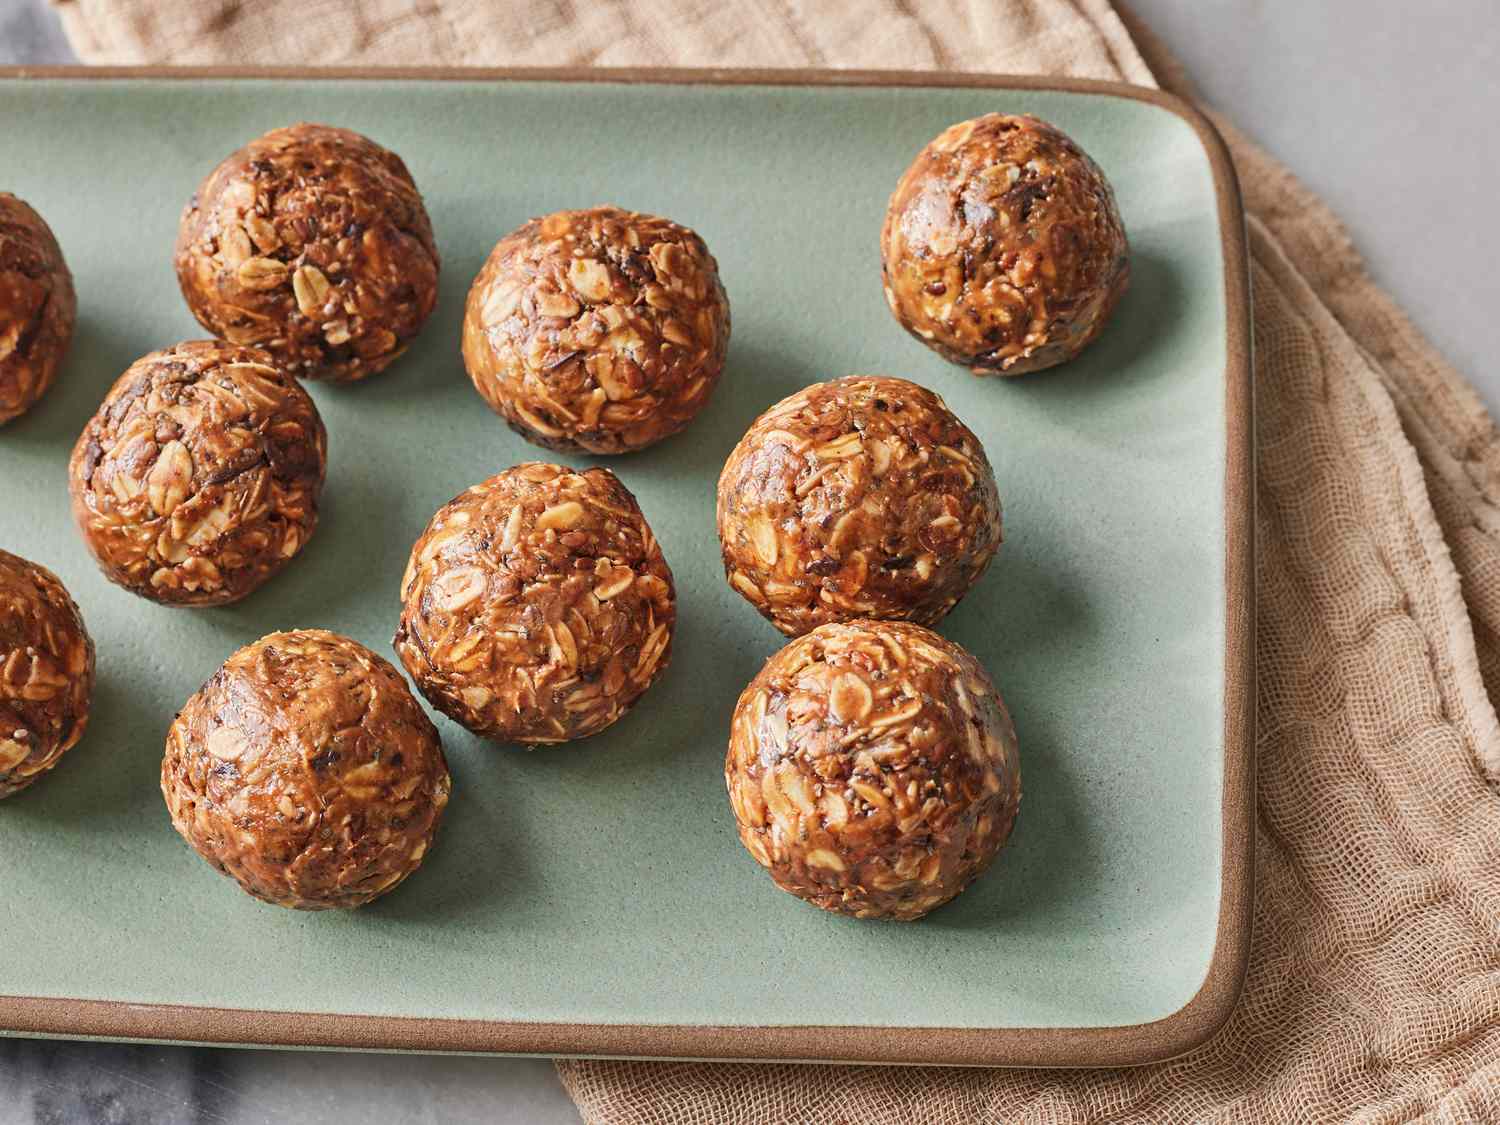
Step 3: Shaping the mixture into balls
With the Oreo and cream cheese mixture well combined, it’s time to shape it into bite-sized balls. This step is where you can get creative and make the Oreo balls as big or small as you prefer.
To begin, take a small amount of the mixture and roll it between your hands to form a smooth ball. You can start with a tablespoon-sized portion and adjust the size according to your preference. If you want larger Oreo balls, use more of the mixture; for smaller ones, use less.
Ensure that each ball is rolled tightly and compactly to prevent them from falling apart later on. Place the shaped Oreo balls on a baking sheet or plate lined with parchment paper. Continue until you have used up all the mixture, making as many balls as you desire.
As you shape the mixture into balls, you may find that it becomes sticky. If this happens, lightly wet your hands with water or lightly coat them with cooking oil. This will make it easier to roll and shape the mixture without it sticking to your hands.
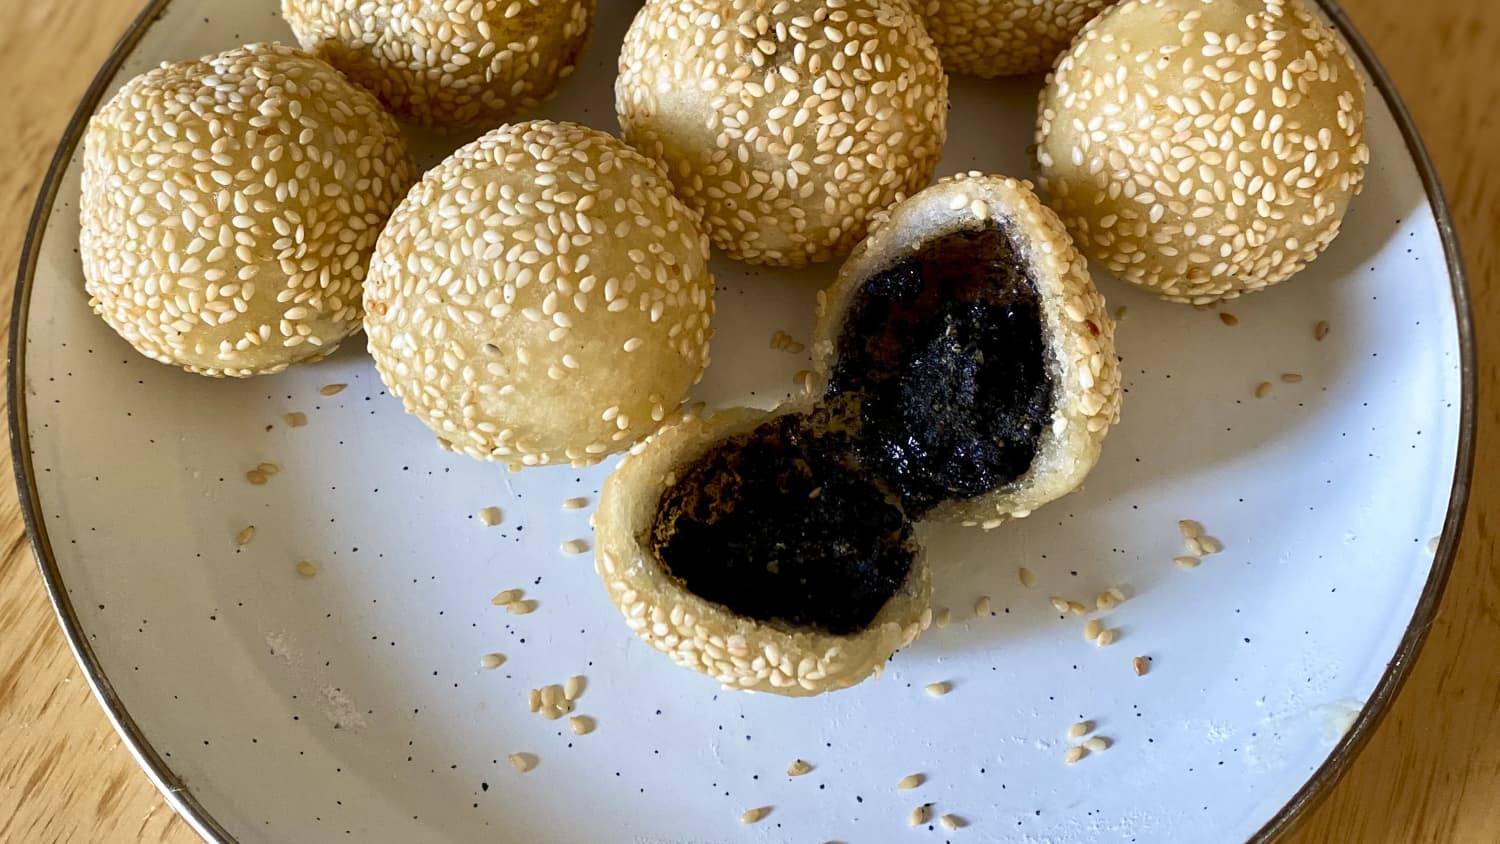
To add a decorative touch, you can gently press additional toppings onto the surface of the Oreo balls. Sprinkles, crushed nuts, powdered sugar, or even a drizzle of melted chocolate can all be used to enhance the appearance and flavor of the finished Oreo balls.
Once you have shaped and decorated all the Oreo balls, it’s time to move on to the next step: chilling them to firm up.
Step 4: Chilling the Oreo balls
After shaping the Oreo mixture into balls, it’s important to chill them to allow them to firm up and hold their shape. This step is crucial for ensuring that the Oreo balls have the perfect texture and consistency.
Place the baking sheet or plate with the shaped Oreo balls into the refrigerator. Let them chill for at least 30 minutes to 1 hour, or until they are firm to the touch. Chilling time may vary depending on the size of the balls and the temperature of your refrigerator.
During this chilling period, the cream cheese in the mixture will harden, making the Oreo balls easier to handle and preventing them from becoming too soft or sticky.
While waiting for the Oreo balls to chill, you can take this time to prepare any additional toppings or decorations you plan to use, such as melting chocolate or sprinkles.
Once the Oreo balls are firm, they are ready to be stored. However, if you prefer a colder and firmer texture, you can leave them in the refrigerator for a longer period of time.
Now that the Oreo balls have firmed up, let’s move on to the final step: storing them properly to maintain their freshness.
Step 5: Storing the Oreo balls
Properly storing your Oreo balls is crucial for maintaining their freshness and flavor. Follow these steps to ensure that your Oreo balls stay delicious for as long as possible:
1. Transferring to an airtight container: Once the Oreo balls have chilled and firmed up, carefully transfer them to an airtight container. This can be a Tupperware container or a resealable plastic bag. Make sure the container is clean and dry before placing the Oreo balls inside.
2. Layering with parchment paper: If you are storing multiple layers of Oreo balls in the same container, it’s a good idea to separate each layer with parchment paper. This will prevent the balls from sticking together and getting damaged during storage.
3. Refrigeration: It is best to store the Oreo balls in the refrigerator to maintain their freshness. The cold temperature will help them stay firm and prevent any potential spoilage. They can be stored in the refrigerator for up to a week.
4. Freezing: If you want to store your Oreo balls for a longer period, you can freeze them. Place the airtight container with the Oreo balls in the freezer. They can be stored frozen for up to 3 months.
5. Thawing: When you’re ready to enjoy your frozen Oreo balls, simply transfer them to the refrigerator and let them thaw overnight. This gradual thawing will help retain their texture and prevent them from becoming too soft or mushy.
It’s important to note that if you choose to add toppings such as melted chocolate or sprinkles to your Oreo balls, their shelf life may be slightly reduced. The added ingredients may affect the texture and taste over time, so it’s recommended to consume them within a week for the best experience.
Now that you know how to properly store your Oreo balls, you can enjoy them at your own pace without worrying about loss of freshness. Whether you keep them in the refrigerator or freezer, they will be ready to satisfy your sweet cravings whenever you desire!
Conclusion
Congratulations! You have learned the secrets to creating and storing delicious Oreo balls. With just a few simple steps, you can enjoy these delightful treats any time you want. By crushing the Oreo cookies, mixing them with cream cheese, shaping them into balls, chilling, and properly storing them, you can ensure that your Oreo balls retain their freshness and flavor for as long as possible.
Remember, the key to successful Oreo ball storage lies in keeping them in an airtight container and refrigerating or freezing them, depending on your preference. This will maintain their texture and prevent any spoilage. Whether you choose to enjoy them within a few days or preserve them for longer periods in the freezer, you can rest assured that your Oreo balls will be ready to satisfy your sweet tooth whenever the craving strikes.
Moreover, don’t be afraid to get creative with your Oreo ball toppings. Whether you prefer a simple dusting of powdered sugar or an extravagant drizzle of melted chocolate, adding your personal touch will make these treats even more enjoyable.
Now that you have mastered the art of making and storing Oreo balls, it’s time to gather the ingredients, follow the steps, and indulge in these delectable treats. Share them with friends and family, bring them to parties, or simply enjoy them as a special treat for yourself. The possibilities are endless!
So, what are you waiting for? Put on your apron, grab a package of Oreo cookies, and let the Oreo ball adventure begin! Happy baking and storing!
Frequently Asked Questions about How To Store Oreo Balls
Was this page helpful?
At Storables.com, we guarantee accurate and reliable information. Our content, validated by Expert Board Contributors, is crafted following stringent Editorial Policies. We're committed to providing you with well-researched, expert-backed insights for all your informational needs.


0 thoughts on “How To Store Oreo Balls”