
Articles
How To Store Porto’s Potato Balls
Modified: August 19, 2024
Learn how to store Porto's famous potato balls and keep them fresh for longer with these helpful articles.
(Many of the links in this article redirect to a specific reviewed product. Your purchase of these products through affiliate links helps to generate commission for Storables.com, at no extra cost. Learn more)
Introduction
Are you a fan of Porto’s Bakery famous Potato Balls? These delicious and addictive treats are a must-try for any food lover. If you’ve ever wondered how to store Porto’s Potato Balls to enjoy them at a later time, you’ve come to the right place.
Whether you want to make a big batch to stock up on your favorite snack, or you simply can’t finish them all in one sitting, storing Porto’s Potato Balls properly is crucial to maintain their taste and texture. In this article, we will guide you through the step-by-step process of storing these delectable potato balls.
Porto’s Potato Balls are a combination of mashed potatoes, seasoned ground beef, and a crispy breadcrumb coating that is deep-fried to perfection. The result is a golden and crispy exterior with a creamy and savory filling that will leave you craving for more.
While it’s best to enjoy Porto’s Potato Balls fresh from the bakery, they can be stored for later consumption without compromising their deliciousness. By following the right techniques, you can ensure that your Potato Balls remain just as tasty and satisfying as when you first purchased them from Porto’s Bakery.
In the following steps, we will cover everything you need to know about storing Porto’s Potato Balls, from gathering the ingredients to reheating and serving them. Let’s get started!
Key Takeaways:
- Enjoy Porto’s Potato Balls anytime by following these steps to store, freeze, and reheat them, ensuring a crispy, savory treat at your convenience.
- Preserve the deliciousness of Porto’s Potato Balls by properly storing and freezing them, allowing you to indulge in their irresistible flavors whenever you desire.
Read more: How To Store Porto’S Cheese Rolls
Step 1: Gather the Ingredients
Before you begin storing Porto’s Potato Balls, it’s important to gather all the necessary ingredients. Here’s what you’ll need:
- Porto’s Potato Balls
- Freezer-safe container or Ziploc bags
- Parchment paper or plastic wrap
The first and most crucial ingredient is, of course, the Potato Balls themselves. These can be purchased from Porto’s Bakery or made from scratch using their famous recipe.
Next, you’ll need a suitable container for storing the Potato Balls in the freezer. Opt for a freezer-safe container with an airtight lid, or resealable Ziploc bags that can keep the Potato Balls fresh and prevent freezer burn. Make sure the container is large enough to hold all the Potato Balls comfortably, without squishing or overcrowding them.
Lastly, you’ll need parchment paper or plastic wrap to provide an extra layer of protection and prevent the Potato Balls from sticking together.
Once you have gathered all the ingredients, you’re ready to move on to the next step of preparing the Potato Balls for storage.
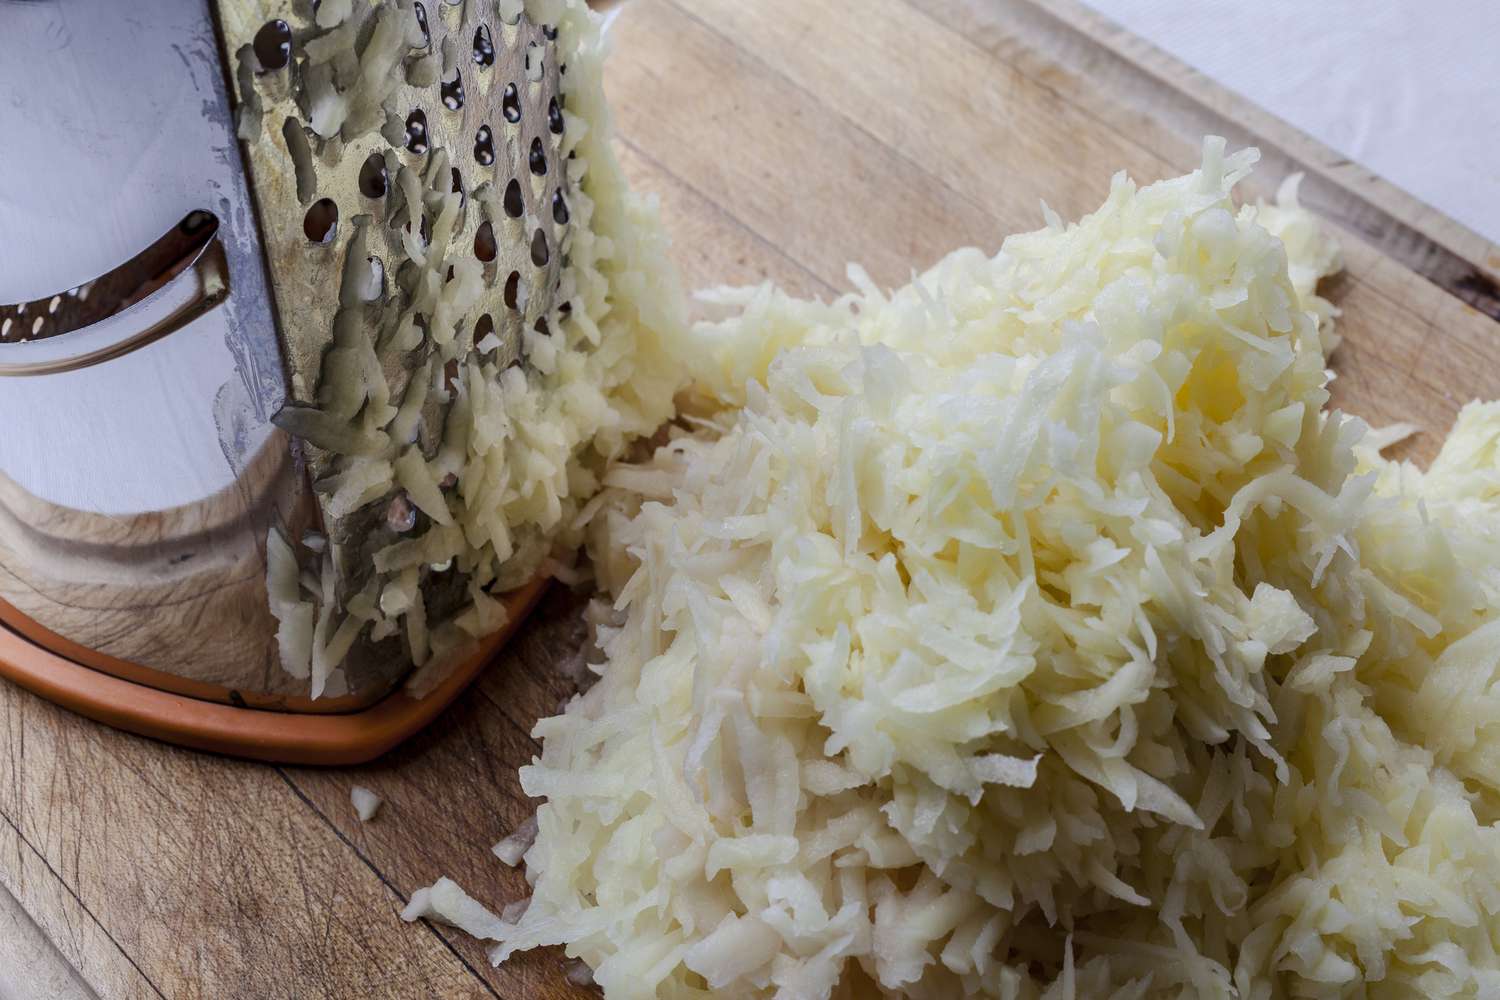
Step 2: Preparing the Potatoes
The success of storing Porto’s Potato Balls lies in properly preparing the potatoes. Follow these steps to ensure that your Potato Balls maintain their delicious taste and texture:
- Remove the Potato Balls from any packaging they came in, such as Porto’s Bakery boxes or bags.
- If the Potato Balls are still hot or warm, allow them to cool down completely. Storing hot or warm Potato Balls can result in condensation, which can make them soggy after freezing.
- While the Potato Balls are cooling, prepare a baking sheet lined with parchment paper. This will prevent the Potato Balls from sticking to the surface and make it easier to transfer them to the freezer.
- Once the Potato Balls have cooled down, arrange them in a single layer on the prepared baking sheet. It’s important not to stack or pile them on top of each other, as this can cause them to freeze together.
- Place the baking sheet with the Potato Balls in the freezer for about 1-2 hours, or until they are firm and solid to the touch. This initial freezing step will make it easier to handle and store the Potato Balls without them sticking together.
By properly preparing the potatoes before storing, you are ensuring that the Potato Balls maintain their shape and texture during the freezing process. Now that the potatoes are ready, we can move on to the next step of preparing the filling for the Potato Balls.
Step 3: Preparing the Filling
While the potatoes are an important component of Porto’s Potato Balls, the seasoned ground beef filling adds incredible flavor. Follow these steps to prepare the filling before storing your Potato Balls:
- Remove the frozen Potato Balls from the freezer and set them aside to thaw slightly. This will make it easier to remove the filling.
- Using a small spoon or your fingertips, carefully remove the filling from each Potato Ball. Be gentle to avoid breaking or damaging the outer potato layer.
- Place the filling in a separate bowl and set it aside for later use. You can refrigerate the filling if you plan on using it within a day or two, or you can freeze it separately to use in other recipes.
- Once all the fillings have been removed, return the hollowed-out Potato Balls to the freezer for a short while to firm up again. This step will help maintain their shape during the storing process.
Preparing the filling separately from the Potato Balls allows you to store them more efficiently and prevent the filling from spoiling. Whether you choose to use the filling right away or save it for another recipe, it’s important to take this step before moving on to the assembly process.
Now that the filling is prepared, it’s time to move on to the next step and assemble the Potato Balls for storage.
Step 4: Assembling the Potato Balls
Now that you have prepared the potatoes and the filling, it’s time to assemble the Potato Balls for storage. Follow these steps to ensure that your Potato Balls are properly assembled:
- Remove the frozen hollowed-out Potato Balls from the freezer and let them thaw slightly. This will make them easier to handle and assemble.
- Take a small amount of the prepared filling and carefully stuff it into the hollowed-out Potato Ball. Be sure not to overfill it, as this can cause the Potato Ball to burst during the freezing process. Aim for a balanced proportion of potato and filling.
- Gently press the edges of the Potato Ball together to seal it. Ensure that the Potato Ball is well-secured and there are no openings where the filling can escape.
- Place the assembled Potato Balls on a parchment-lined baking sheet, making sure to leave some space between each one. This will prevent them from sticking together once frozen.
- Once all the Potato Balls are assembled and placed on the baking sheet, transfer the sheet to the freezer. Let the Potato Balls freeze for at least 2 hours, or until they are completely solid.
Assembling the Potato Balls properly ensures that the filling stays intact and the Potato Balls retain their shape during storage. Once the Potato Balls are assembled and frozen, it’s time to move on to the next step of storing them in the freezer.
Store Porto’s Potato Balls in an airtight container in the refrigerator for up to 3 days. To reheat, place them on a baking sheet and bake at 350°F for 10-15 minutes until heated through. Enjoy!Step 5: Freezing the Potato Balls
Now that the Potato Balls are assembled, it’s time to freeze them for long-term storage. Follow these steps to properly freeze your Potato Balls:
- Remove the assembled Potato Balls from the baking sheet and transfer them to a freezer-safe container or resealable Ziploc bags. Ensure that the container or bags are clean and dry.
- If using Ziploc bags, gently squeeze out as much air as possible before sealing them. This will help prevent freezer burn and keep the Potato Balls fresh.
- If using a container, arrange the Potato Balls in a single layer, making sure they are not overcrowded or squished together. You can separate the layers with parchment paper or plastic wrap for added protection.
- Label the container or bags with the date and contents for easy identification.
- Place the container or bags in the freezer on a flat surface, making sure they are not stacked or pressed against other items. This will help maintain the shape and integrity of the Potato Balls during freezing.
Properly freezing the Potato Balls is essential to preserving their taste and texture. By following these steps, you can ensure that your Potato Balls will stay fresh in the freezer for an extended period.
Now that the Potato Balls are safely stored in the freezer, let’s move on to the next step of storing them for the long haul.
Step 6: Storing the Frozen Potato Balls
Now that your Potato Balls are frozen, it’s important to store them properly to maintain their quality. Follow these steps to ensure the long-term storage of your frozen Potato Balls:
- Keep the frozen Potato Balls in a dedicated section or drawer of your freezer. This helps prevent them from getting crushed or damaged by other items.
- Ensure that the temperature of your freezer remains consistently cold, ideally below 0°F (-18°C). Fluctuating temperatures can affect the texture and taste of the Potato Balls.
- Avoid storing the Potato Balls near strong-smelling foods, as they can absorb unwanted odors.
- If using resealable Ziploc bags, check for any signs of freezer burn periodically. If you notice any frost or ice crystals on the Potato Balls, it’s best to consume them as soon as possible.
- Label the storage containers or bags with the date to keep track of their shelf life. Generally, frozen Potato Balls can be stored for up to 3 months.
By properly storing the frozen Potato Balls, you can ensure that they retain their flavor and overall quality for an extended period. Now that the Potato Balls are stored, let’s move on to the final step of reheating and serving them.
Step 7: Reheating and Serving the Potato Balls
Now comes the exciting part – reheating and serving your delicious Porto’s Potato Balls. Follow these steps to enjoy them at their best:
- Preheat your oven to 375°F (190°C) and line a baking sheet with parchment paper.
- Remove the desired number of frozen Potato Balls from the freezer and arrange them on the prepared baking sheet.
- Place the baking sheet in the preheated oven and bake for around 20 minutes, or until the Potato Balls are heated through and the exterior becomes golden and crispy.
- While the Potato Balls are reheating, you can prepare any accompanying dips or sauces, such as salsa, ketchup, or garlic aioli.
- Once heated, remove the Potato Balls from the oven and let them cool slightly before serving. Be cautious, as the filling can be very hot.
- Arrange the reheated Potato Balls on a serving platter and garnish with fresh herbs, grated cheese, or your favorite toppings.
- Serve the Potato Balls with the prepared dips or sauces and enjoy!
Reheating the frozen Potato Balls in the oven helps restore their crispy texture and warm filling, providing you with a delightful snacking experience. Feel free to experiment with different dips and sauces to enhance the flavors of your Porto’s Potato Balls.
Congratulations! You now know how to properly store, freeze, and reheat Porto’s Potato Balls. With these steps, you can enjoy these delectable treats at your convenience, whether as a quick snack, appetizer, or party food. Happy munching!
Conclusion
Storing Porto’s Potato Balls for future enjoyment is a convenient way to savor these irresistible treats at your own pace. By following the step-by-step process outlined in this article, you can ensure that your Potato Balls maintain their delicious taste and crispy texture even after freezing.
Gathering the necessary ingredients, preparing the potatoes and filling, assembling the Potato Balls, and properly freezing and storing them are crucial steps in preserving their quality. It’s important to keep the Potato Balls in a dedicated section of your freezer, away from strong-smelling foods, and at a consistent, cold temperature.
When you’re ready to indulge, simply reheat your frozen Potato Balls in the oven and serve them with your favorite dips or sauces. The result will be a delicious and satisfying treat that will leave you wanting more.
Whether you’re stocking up on Porto’s Potato Balls for a party, preparing a quick snack, or simply saving them for a special occasion, these storage and reheating tips will ensure that your Potato Balls are just as tasty as the day you bought them.
So go ahead and delight your taste buds with the enticing flavors of Porto’s Potato Balls, knowing that you have the knowledge to store and enjoy them whenever the craving strikes. Get ready to experience the joy of a perfectly crispy and savory snack, right from the comfort of your own home.
Frequently Asked Questions about How To Store Porto's Potato Balls
Was this page helpful?
At Storables.com, we guarantee accurate and reliable information. Our content, validated by Expert Board Contributors, is crafted following stringent Editorial Policies. We're committed to providing you with well-researched, expert-backed insights for all your informational needs.


0 thoughts on “How To Store Porto’s Potato Balls”