Articles
How To Store Chocolate Covered Oreos
Modified: February 23, 2024
Learn how to store chocolate covered Oreos with these helpful articles. Keep your treats fresh and delicious for longer!
(Many of the links in this article redirect to a specific reviewed product. Your purchase of these products through affiliate links helps to generate commission for Storables.com, at no extra cost. Learn more)
Introduction
Giving a delicious twist to the classic Oreo cookies, chocolate covered Oreos have become a popular treat enjoyed by people of all ages. Whether you made them for a special occasion or received them as a gift, knowing how to properly store chocolate covered Oreos is crucial in order to maintain their freshness, flavor, and texture. Without proper storage, these delectable treats can become stale or lose their chocolaty goodness.
In this article, we will guide you through the step-by-step process of storing chocolate covered Oreos to ensure that they stay fresh and delicious for as long as possible. From gathering the necessary materials to properly sealing and storing the cookies, we will provide you with all the information you need to keep your chocolate covered Oreos in perfect condition.
So, whether you plan to make a large batch of chocolate covered Oreos for a party or simply want to make them last longer, read on to learn how to store these delightful treats to perfection!
Key Takeaways:
- Properly storing chocolate covered Oreos is crucial for maintaining their freshness and flavor. From inspecting the cookies to allowing the chocolate to set, each step is essential for long-lasting deliciousness.
- Remember to cool the cookies, arrange them properly, and store in an airtight container in a cool, dry place. Periodically check their freshness to ensure they remain irresistibly tasty.
Read more: How To Store Chocolate Covered Bananas
Step 1: Gather the necessary materials
Before you can start storing your chocolate covered Oreos, gather all the necessary materials to ensure an effective and efficient storage process. Here are the items you will need:
- Chocolate covered Oreos
- Airtight container or storage bags
- Parchment paper or wax paper
- Packaging tape or rubber bands
- A cool and dry storage space
First and foremost, you will need the chocolate covered Oreos that you wish to store. These can be homemade or store-bought, as long as they are already dipped in chocolate. It’s important to note that if you plan on making your own chocolate covered Oreos, ensure that they have completely set before attempting to store them.
Next, prepare an airtight container or storage bags to keep the Oreos fresh. An airtight container with a lid is the ideal option as it provides a secure seal and protects the cookies from air and moisture. Alternatively, you can also use sturdy storage bags with a good seal. Make sure the container or bags are clean and dry before use.
Additionally, you will need parchment paper or wax paper to separate the layers of chocolate covered Oreos. This helps prevent them from sticking together and keeps them looking their best. Cut the parchment or wax paper into squares or rectangles that fit the size of your container or bags.
To secure the airtight container or bags, you may need packaging tape or rubber bands. This ensures that the container remains sealed, preventing any air or moisture from getting in. Choose durable packaging tape or sturdy rubber bands that will hold the container or bags tightly closed.
Lastly, find a cool and dry storage space for your chocolate covered Oreos. Avoid areas with direct sunlight, high humidity levels, or extreme temperatures, as these can negatively affect the quality of the cookies. Ideally, store them in a pantry or cupboard away from any potential sources of moisture or heat.
Now that you have gathered all the necessary materials, you are ready to move on to the next step: preparing the chocolate covered Oreos for storage.
Step 2: Prepare the Oreo cookies
Before you can store your chocolate covered Oreos, it’s important to ensure that they are properly prepared. This involves taking a few simple steps to ensure the cookies are in the best possible condition for storage. Here’s what you need to do:
- Inspect the cookies: Before storing your chocolate covered Oreos, take a moment to inspect them. Look for any cookies that are cracked, broken, or have a soggy texture. Remove these cookies from the batch as they may not hold up well during storage. It’s important to only store cookies that are in good condition to maintain their quality.
- Cool the cookies: If you just finished making the chocolate covered Oreos, allow them to cool completely before preparing them for storage. This will prevent condensation from forming inside the storage container or bags, which can lead to a loss of texture or even mold growth.
- Arrange the cookies: Once the cookies have cooled, arrange them in a single layer on a clean surface. Be sure to leave some space between each cookie to prevent them from sticking together. If you have a large batch of cookies, you may need to use multiple layers, separated by parchment or wax paper, depending on the size of your storage container.
- Optional: Freeze for better longevity: If you want to extend the shelf life of your chocolate covered Oreos, you can freeze them before storing. Place the arranged cookies, still on their parchment or wax paper, in the freezer for about 10-15 minutes. Freezing the cookies briefly helps the chocolate set firmly, preventing any melting or smudging during storage.
By preparing the Oreo cookies in these ways, you are ensuring that they are in optimal condition for storage. Cracked or soggy cookies can quickly attract moisture and lose their desirable texture, so taking the time to inspect and cool them is essential.
Next, we’ll move on to the important step of melting the chocolate for the cookies.
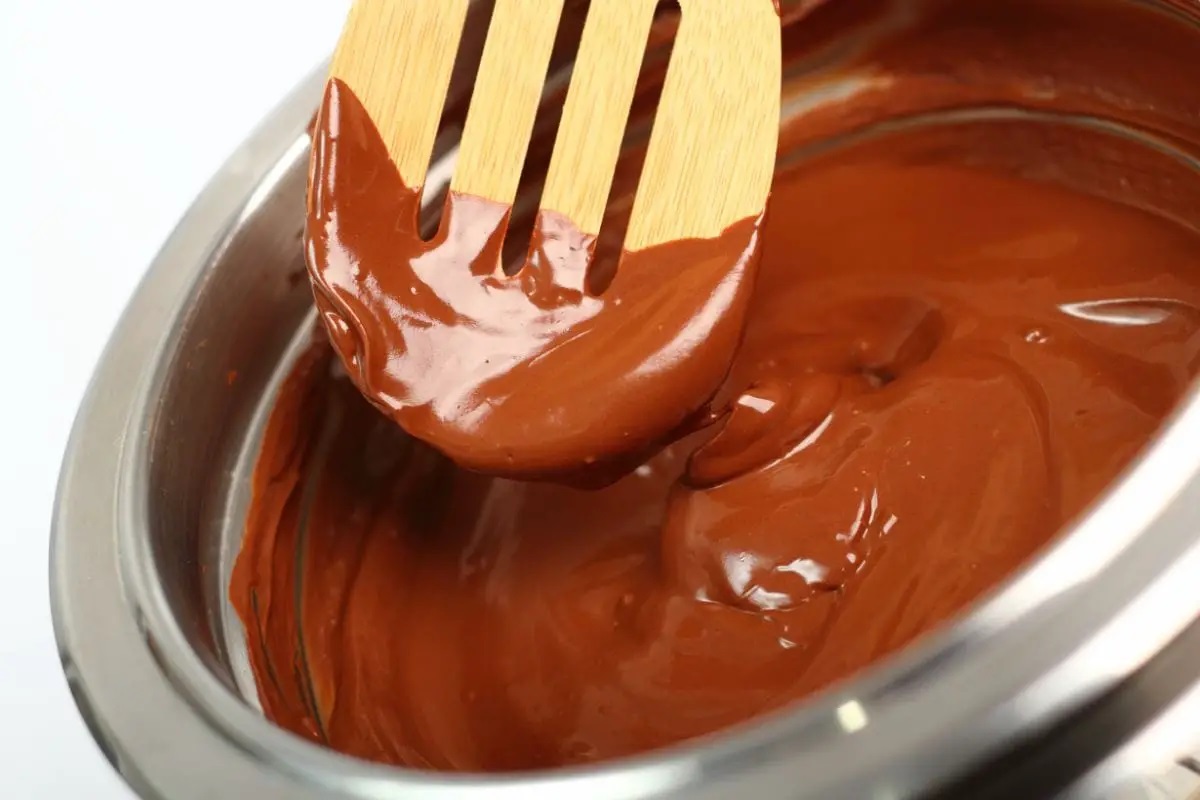
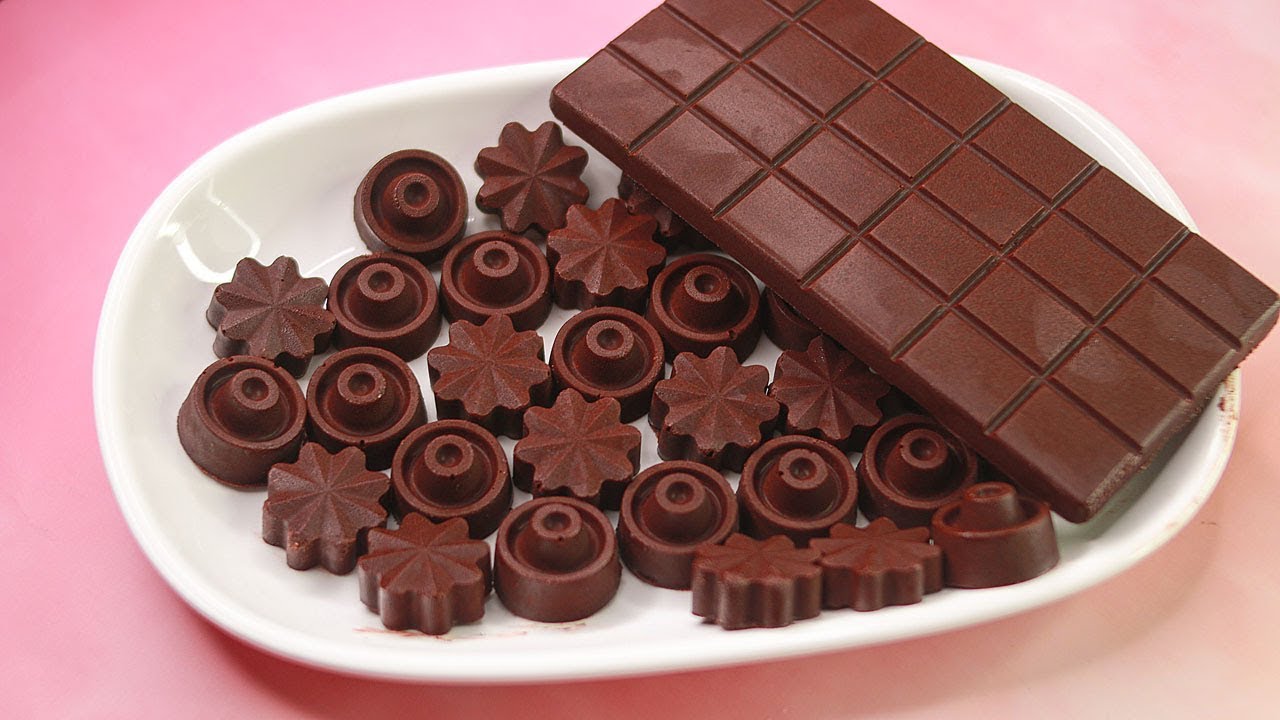
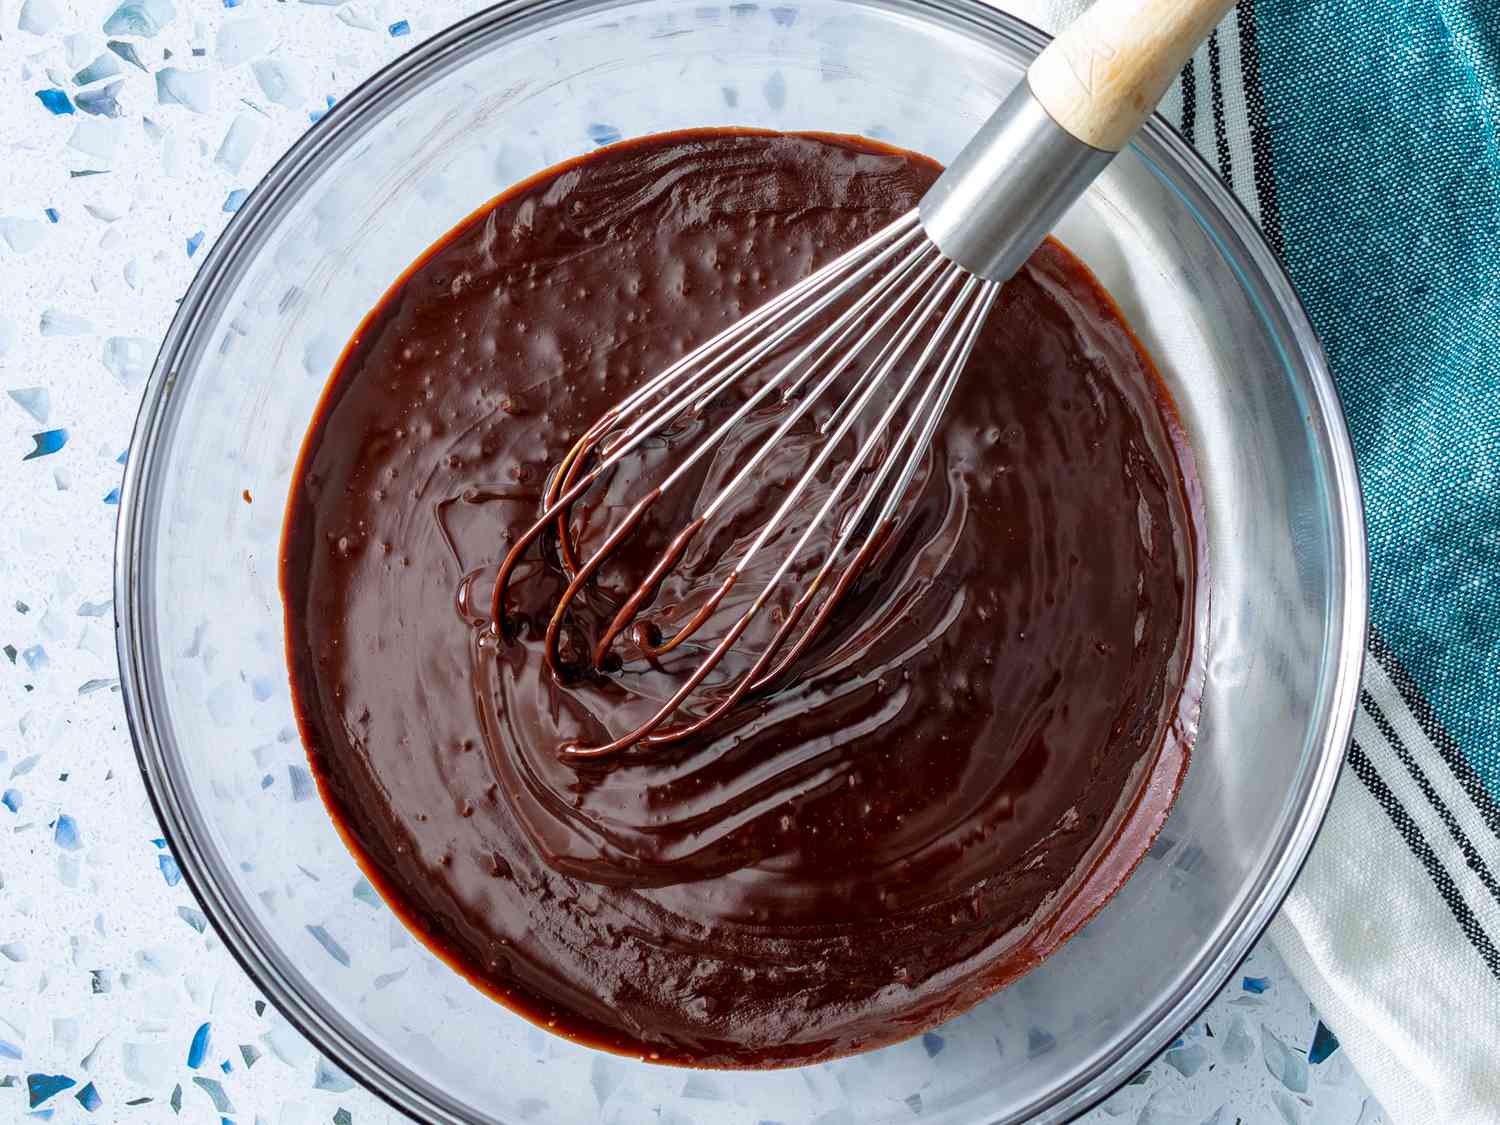
Step 3: Melt the chocolate
One of the key elements of chocolate covered Oreos is the smooth and melted chocolate coating. To properly store the cookies, it’s crucial to ensure that the chocolate is melted and set correctly. Here’s how you can melt the chocolate:
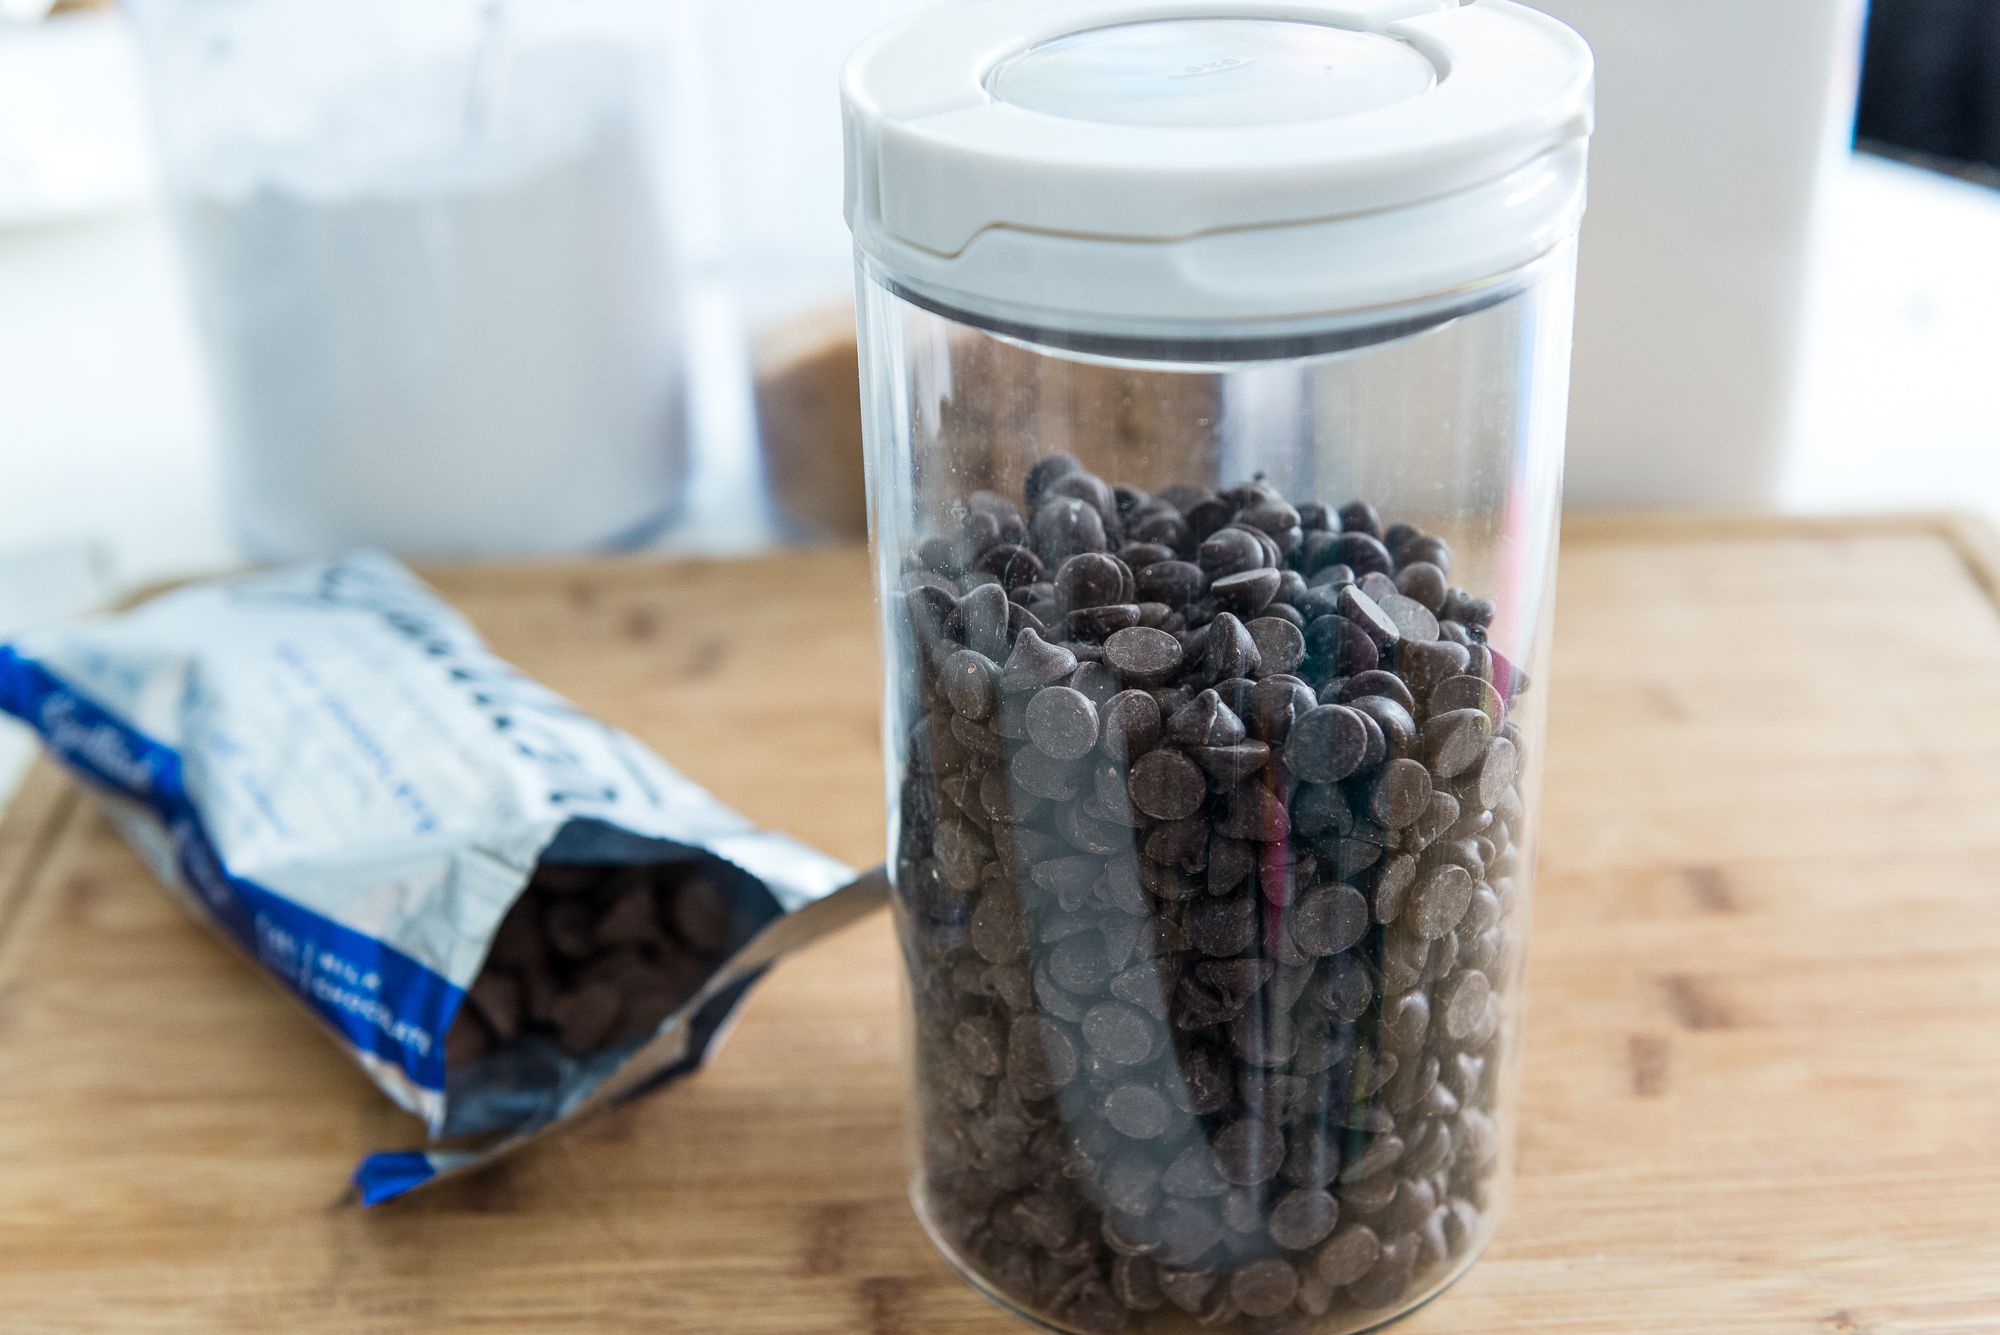
- Choose your chocolate: Depending on your preference, you can use milk, dark, or white chocolate for your chocolate covered Oreos. Use high-quality chocolate for the best taste and texture. You can either use chocolate chips or chop a chocolate bar into small pieces, making sure the pieces are roughly the same size for even melting.
- Prepare a heatproof bowl: Place the chocolate pieces in a heatproof bowl. Make sure the bowl is clean and dry, as any moisture can cause the chocolate to seize or become grainy. The bowl should be large enough to accommodate the chocolate and allow for easy stirring without spilling.
- Melt the chocolate: There are different methods you can use to melt the chocolate. One common method is to melt it in the microwave. Microwave the chocolate in short intervals of 15-20 seconds, stirring well between each interval, until it is completely melted and smooth. Alternatively, you can use a double boiler set-up, placing the heatproof bowl with the chocolate over a pot of simmering water. Stir the chocolate gently until it melts and becomes smooth.
- Be cautious with temperature: It’s important not to overheat the chocolate as it can scorch, become grainy, or lose its temper. The aim is to melt it just until it reaches a smooth and pourable consistency. If using the microwave method, be sure to check and stir the chocolate frequently to avoid overheating. If using the double boiler method, ensure that the water is simmering gently and does not come into contact with the chocolate.
Once the chocolate is melted and smooth, you can move on to the next step of dipping the Oreo cookies into the chocolate. It’s important to work quickly at this stage to prevent the chocolate from hardening.
Now that your chocolate is ready, let’s move on to the exciting part—dipping the cookies in chocolate!
Store chocolate covered Oreos in an airtight container at room temperature, away from direct sunlight and heat sources. You can also refrigerate them for longer shelf life, but bring them to room temperature before serving to avoid condensation.
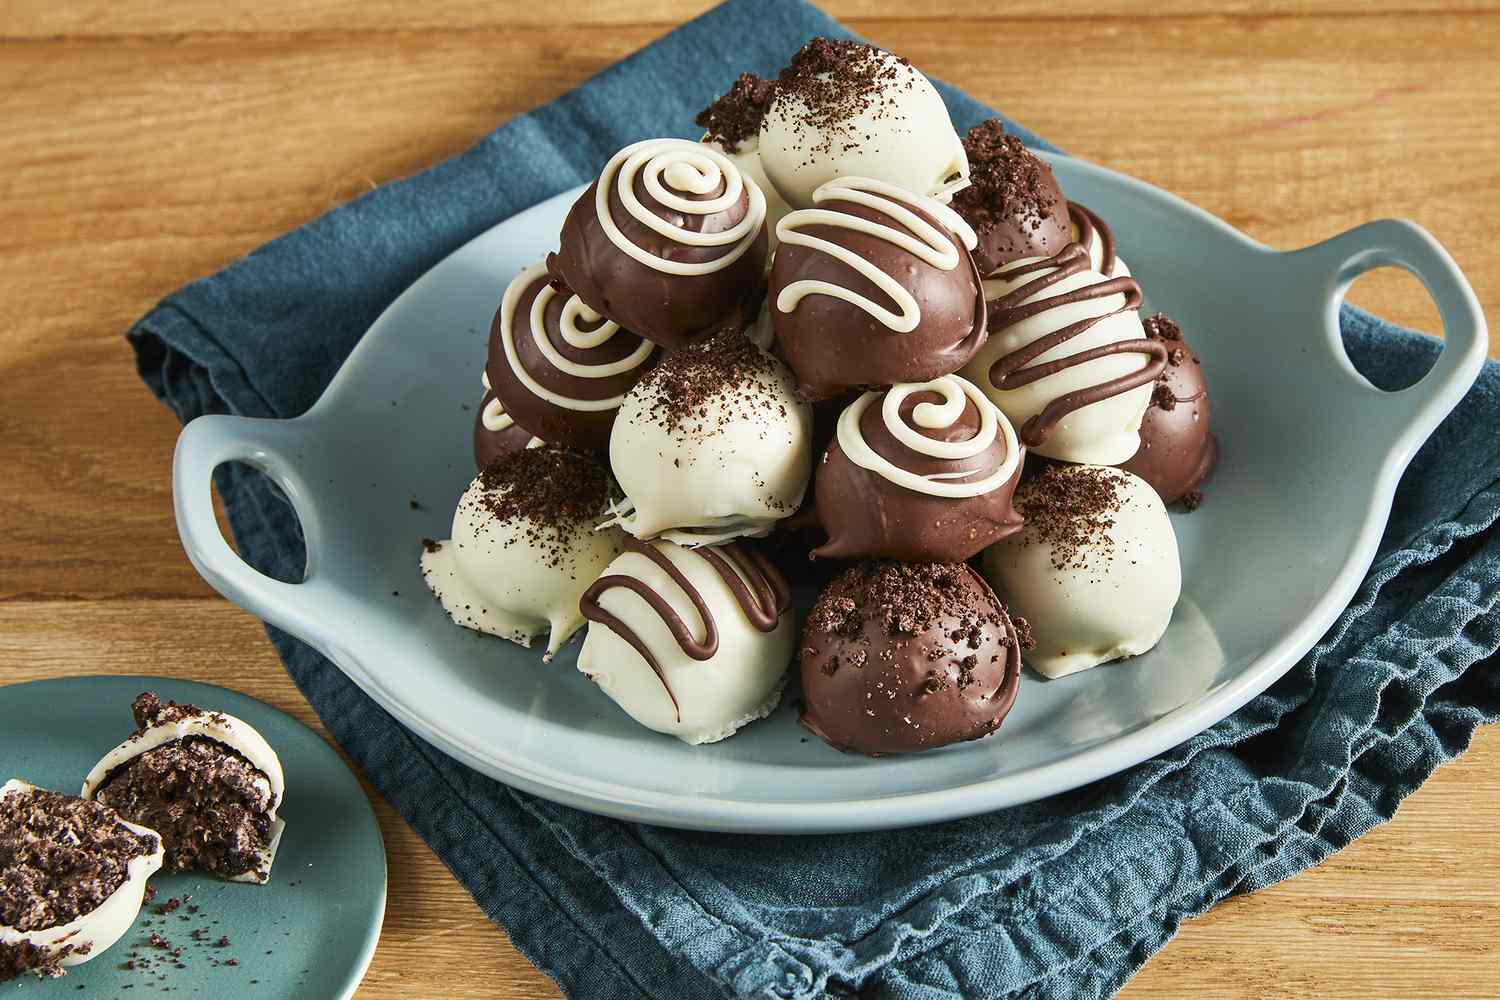
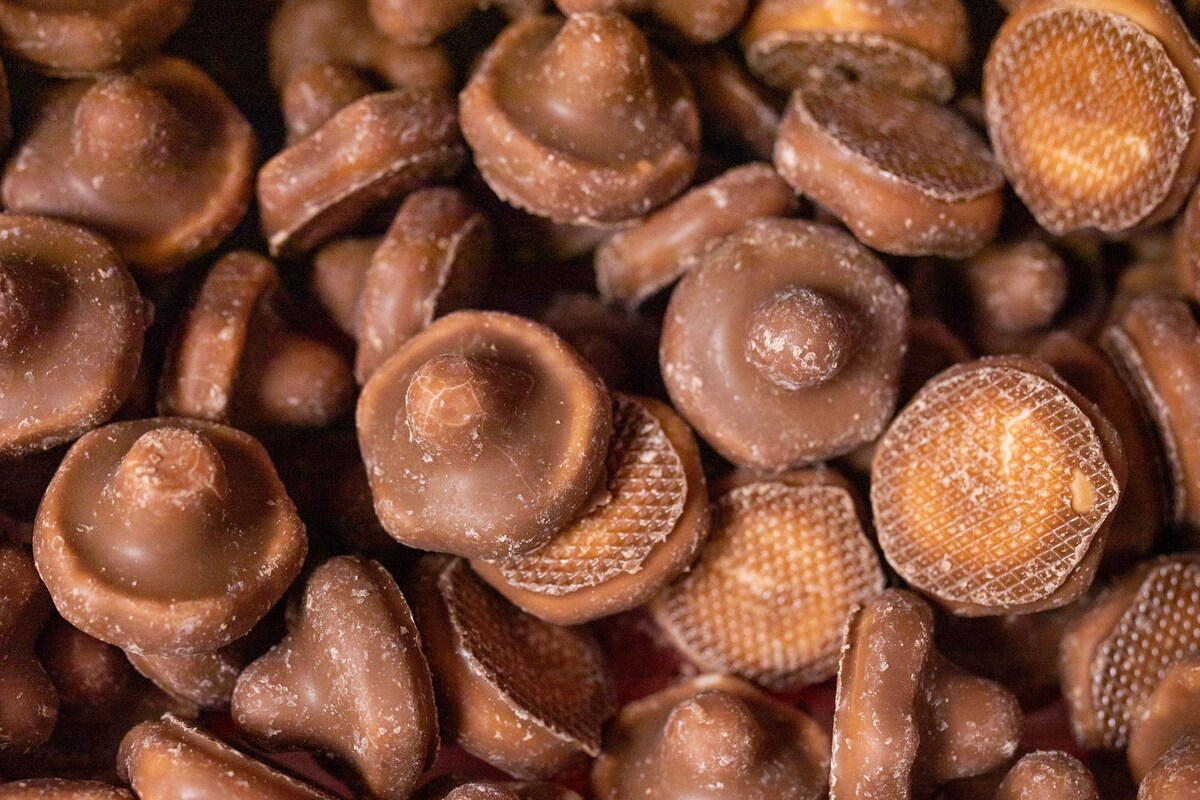
Step 4: Dip the cookies in chocolate
Now comes the fun part – dipping the Oreo cookies into the melted chocolate! This step adds the delightful chocolate coating that makes these treats so irresistibly delicious. Here’s how to dip the cookies:
- Prepare a clean surface: Place a sheet of parchment paper or wax paper on a flat surface where you can rest the dipped cookies. This will prevent sticking and make it easier to transfer them to the storage container later.
- Hold the cookie: Take an Oreo cookie and carefully hold it by the edge or use a dipping tool to avoid getting your fingers in the chocolate. This helps to keep the chocolate coating smooth and even.
- Dip the cookie: Gently dip the Oreo cookie into the melted chocolate, covering it completely. Use a spoon or dipping tool to help coat the entire cookie. Allow any excess chocolate to drip off before placing it on the prepared parchment paper.
- Smooth the coating: Once the cookie is placed on the parchment paper, you can use the back of a spoon or an offset spatula to smooth the chocolate coating and make it even. This will give the cookies a professional look!
- Repeat with remaining cookies: Repeat the dipping process with the remaining Oreo cookies until all are coated in chocolate. Make sure to leave some space between each cookie on the parchment paper to prevent them from sticking together.
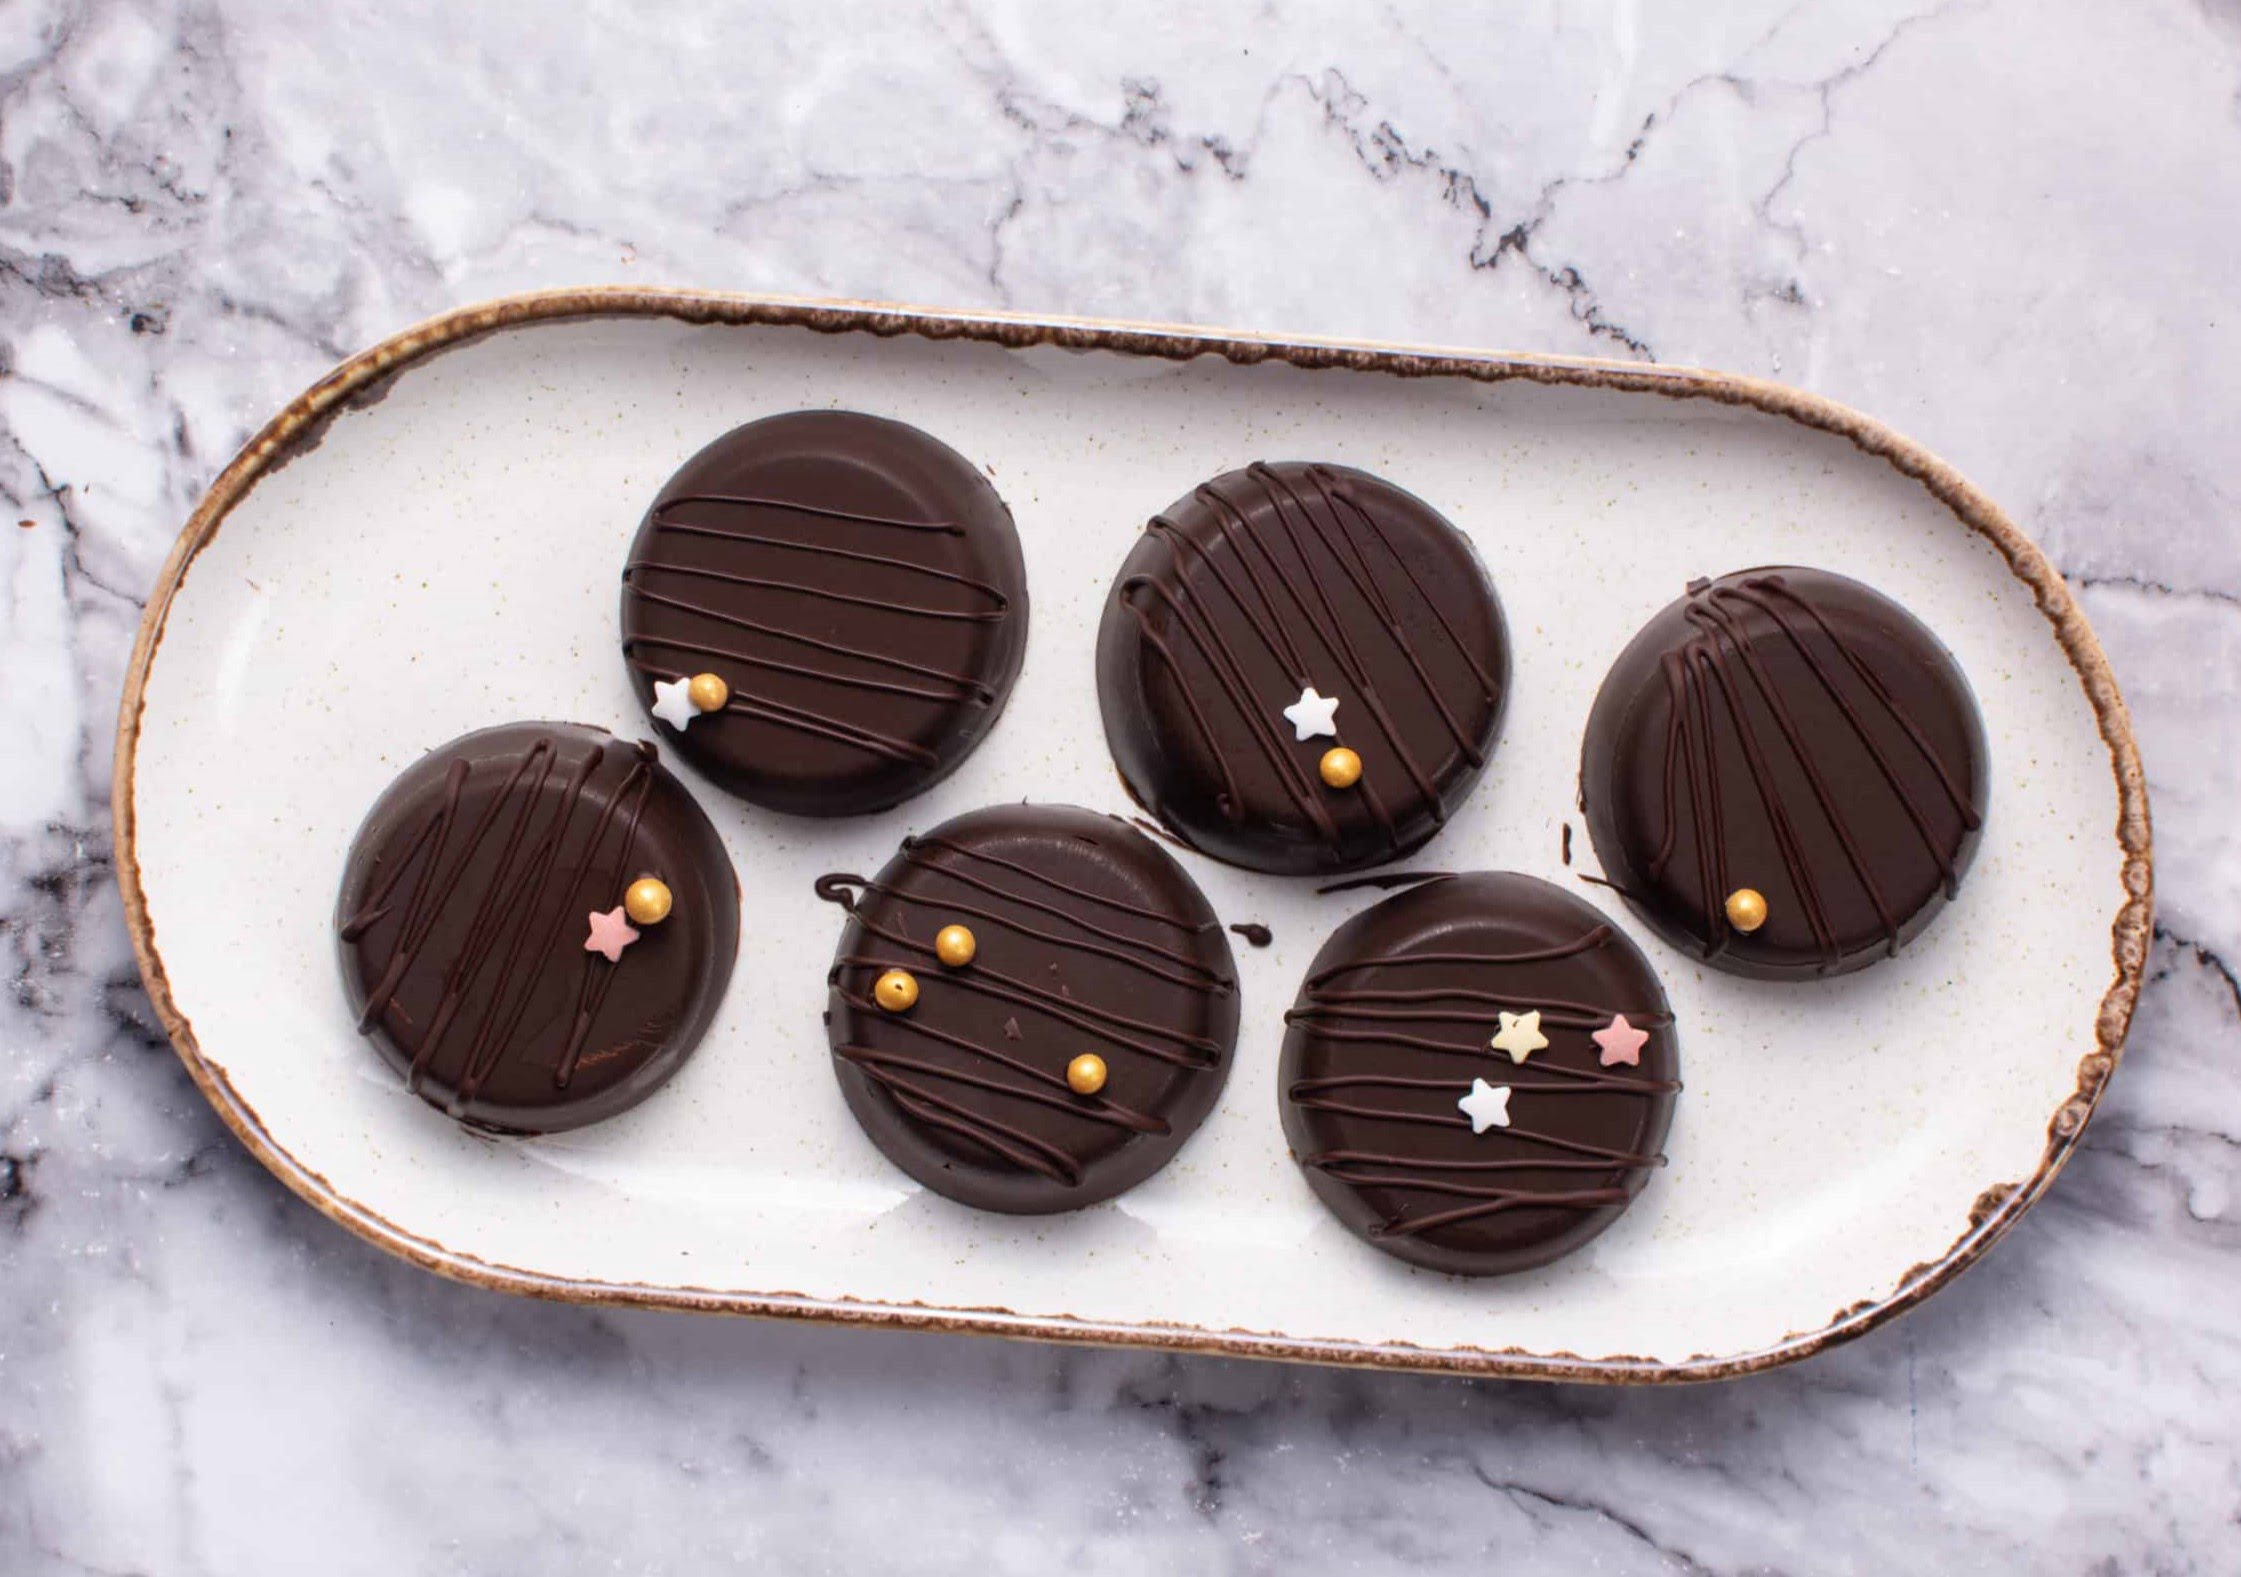
As you dip the cookies, you may also choose to decorate them with sprinkles, crushed nuts, or even drizzle additional melted chocolate on top. This adds a touch of creativity and makes the chocolate covered Oreos even more visually appealing.
Once all the cookies are dipped and decorated, it’s time to move on to the next step – allowing the chocolate to set.
Read more: How To Store Chocolate Covered Pretzels
Step 5: Allow the chocolate to set
After dipping the Oreo cookies in chocolate, it’s important to allow the chocolate to set properly. This step ensures that the chocolate coating becomes firm and forms a protective barrier around the cookie. Here’s what you need to do to let the chocolate set:
- Transfer the cookies: Carefully transfer the dipped cookies, still on the parchment paper, to a cool and flat surface. This can be a baking sheet or a clean countertop, as long as it is not exposed to direct sunlight or extreme temperatures.
- Let them rest: Allow the chocolate covered Oreos to sit undisturbed for at least 1-2 hours or until the chocolate is completely set. During this time, the chocolate will harden and form a protective layer around the Oreo cookies, ensuring that they stay fresh and delicious.
- Check for firmness: To ensure that the chocolate is properly set, gently touch the top of the cookies. If they feel firm and no longer have a sticky or tacky texture, it means the chocolate has set. If the chocolate still feels soft or malleable, allow the cookies to sit for a little longer until they firm up.
It’s important to resist the temptation to touch or move the cookies while the chocolate is setting. Disturbing the cookies too soon can cause the chocolate coating to smudge or become uneven.
Once the chocolate is fully set and firm, you can move on to the final step – storing the chocolate covered Oreos to maintain their freshness.
Step 6: Store the chocolate covered Oreos
Proper storage is crucial to maintain the freshness and quality of your chocolate covered Oreos. Follow these steps to store them correctly:
- Allow the cookies to cool completely: Before storing the chocolate covered Oreos, ensure that they have cooled completely. This will prevent any condensation from forming inside the storage container.
- Place in an airtight container: Transfer the chocolate covered Oreos to an airtight container or storage bags. If you’re using a container, arrange the cookies in a single layer, separating each layer with parchment or wax paper to prevent sticking. If using storage bags, make sure to seal them tightly to keep out any air or moisture.
- Store in a cool, dry place: Find a cool and dry location to store the chocolate covered Oreos. Pantries or cupboards away from direct sunlight, heat sources, or high humidity are ideal. Avoid storing them in the refrigerator as the moisture can cause the cookies to become stale or lose their texture.
- Label and date the container: To keep track of the freshness, it’s helpful to label the container or storage bags with the date of storage. This way, you’ll know how long the chocolate covered Oreos have been stored and when it’s time to consume or refresh them.
- Avoid stacking or crushing: When storing the container or bags of chocolate covered Oreos, make sure not to stack heavy items on top of them. This can crush or deform the cookies. Keep them in a place where they won’t be easily squished or damaged.
- Check periodically: Even under ideal storage conditions, it’s recommended to check the chocolate covered Oreos periodically. This allows you to ensure they haven’t become stale, and if needed, refresh the container or bags to maintain their freshness.
By following these storage steps, you can enjoy the deliciousness of your chocolate covered Oreos for an extended period of time. Remember that they are best consumed within a few weeks for optimal flavor and texture.
Now that you know how to store the chocolate covered Oreos, you can savor them whenever you’re craving a sweet treat or share them with friends and family. Enjoy!
Conclusion
Storing chocolate covered Oreos properly is essential to preserve their freshness, flavor, and texture. By following the steps outlined in this article, you can ensure that your delicious treats remain in perfect condition for as long as possible.
From gathering the necessary materials and preparing the Oreo cookies to melting the chocolate, dipping the cookies, allowing the chocolate to set, and storing them in the right way, each step is crucial in maintaining the quality of the chocolate covered Oreos.
Remember to inspect the cookies, cool them completely, and arrange them properly before dipping them into the melted chocolate. Be sure to let the chocolate set before storing them in an airtight container or storage bags. Find a cool and dry place to store the cookies, away from direct sunlight and moisture, and periodically check their freshness.
With these steps in mind, you can enjoy the delectable taste and delightful experience of chocolate covered Oreos for days to come. Whether you make them for yourself or gift them to loved ones, proper storage ensures that every bite is as fresh and delicious as the first.
So go ahead, indulge in these delightful treats, and impress your family and friends with perfectly stored, irresistibly tasty chocolate covered Oreos!
Frequently Asked Questions about How To Store Chocolate Covered Oreos
Was this page helpful?
At Storables.com, we guarantee accurate and reliable information. Our content, validated by Expert Board Contributors, is crafted following stringent Editorial Policies. We're committed to providing you with well-researched, expert-backed insights for all your informational needs.


0 thoughts on “How To Store Chocolate Covered Oreos”