Articles
How To Store Paint Rollers
Modified: February 20, 2024
Learn the best way to store paint rollers in this informative article. Find out how to clean and preserve your rollers for long-lasting use.
(Many of the links in this article redirect to a specific reviewed product. Your purchase of these products through affiliate links helps to generate commission for Storables.com, at no extra cost. Learn more)
Introduction:
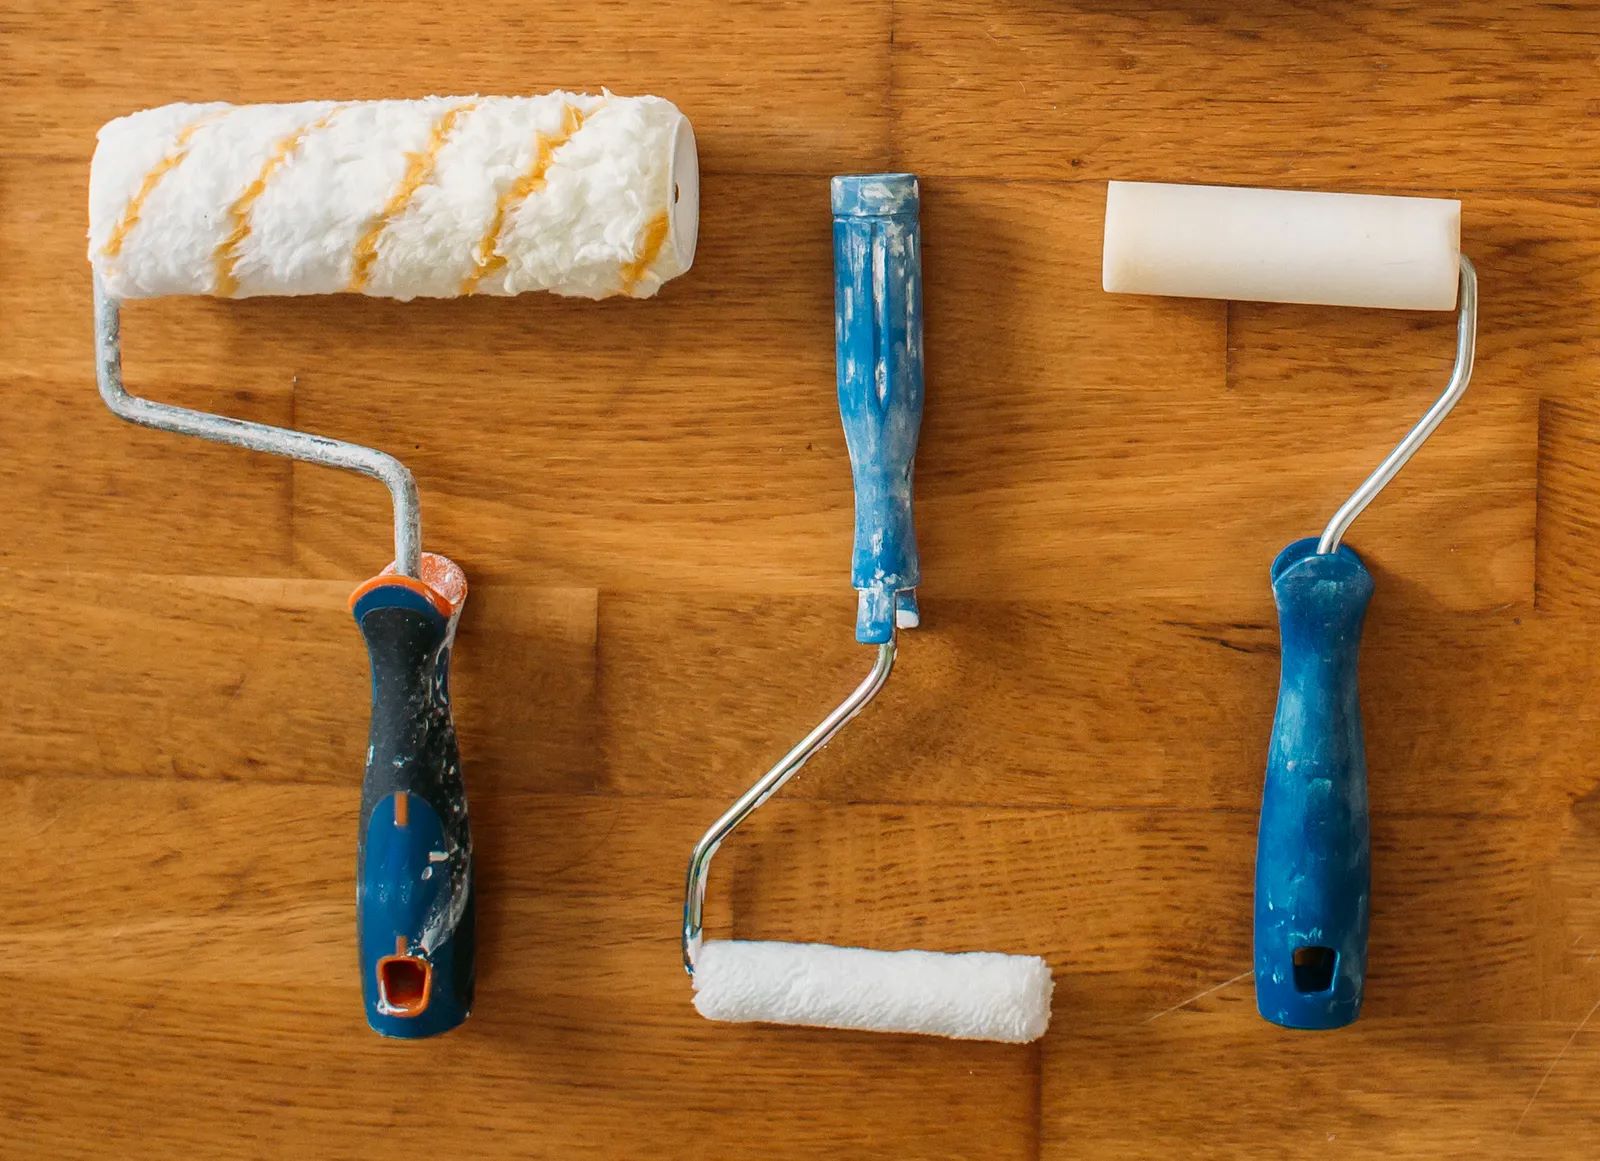
Storing paint rollers properly is essential for maintaining their quality and ensuring they can be reused effectively in future painting projects. Whether you’re a professional painter or a DIY enthusiast, knowing how to store your paint rollers correctly will save you time, money, and frustration.
When paint rollers are not stored correctly, they can dry out, become damaged, or accumulate dust and debris, making them ineffective for future use. But fear not! In this article, we will guide you through the step-by-step process of storing paint rollers to keep them in excellent condition.
By following these simple tips and techniques, you can ensure that your paint rollers are always ready for use, regardless of when your next painting project arises. So let’s dive into the details and discover the best ways to store your paint rollers properly.
Key Takeaways:
- Properly storing paint rollers is crucial for maintaining their quality and ensuring optimal performance for future painting projects. Cleaning, removing excess paint, and choosing the right storage method are key steps to preserve your paint rollers.
- Whether it’s using a plastic bag, hanging the roller, or storing it in a paint roller cover, there are various effective methods to keep your paint rollers in excellent condition. Remember to store them in a cool, dry place and label them for easy identification.
Read more: How To Store A Used Paint Roller
Step 1: Clean the Paint Roller
Before storing your paint roller, it’s crucial to clean it thoroughly to remove any excess paint. Failure to do so may result in hardened paint that can damage the roller or affect the quality of your future paint jobs.
To clean the paint roller, start by scraping off any excess paint using a putty knife or the edge of a paint can. Gently scrape the roller from top to bottom to remove as much paint as possible.
Next, fill a bucket or sink with warm water and a small amount of dish soap. Submerge the paint roller into the soapy water and agitate it gently to loosen any remaining paint. You can also use your hands or a brush to work the soapy water into the roller fibers, ensuring a thorough clean.
Continue rinsing the roller under running water until the water runs clear and all traces of paint have been removed. You may need to repeat this process several times, especially if you’re dealing with stubborn or oil-based paint.
Once the roller is clean, use a clean towel or paper towels to blot out any excess moisture. Be sure to squeeze out any remaining water to speed up the drying process. Avoid wringing the roller too forcefully as this can damage the fibers.
Place the cleaned and damp roller in a well-ventilated area to air dry completely. Avoid storing or using the roller until it is completely dry to prevent mold or mildew growth.
Remember, properly cleaning your paint roller after each use will extend its lifespan and ensure optimal performance for future paint projects.
Step 2: Remove Excess Paint
After cleaning the paint roller, the next step is to remove any excess paint that may be trapped in the roller fibers. This ensures that the roller is free from any clumps or buildup that can affect its performance and longevity.
One effective way to remove excess paint is to use a paint roller spinner or a paint roller cleaner. These tools are specifically designed to extract paint from the roller, leaving it clean and ready for storage.
To use a paint roller spinner, simply insert the roller into the spinner’s slot and spin it manually or using a power drill. As the roller spins, the centrifugal force pushes out the excess paint, which collects at the bottom of the spinner. Dispose of the collected paint according to your local waste disposal regulations.
If you don’t have access to a paint roller spinner, you can also remove excess paint by manually squeezing it out. Wrap the roller in an old towel or a clean rag and firmly squeeze the roller from one end to the other. Repeat this process several times until no more paint is being released.
Remember to wear gloves and protective clothing to avoid direct contact with the paint during this process. Additionally, make sure to perform this step in a well-ventilated area or outdoors to prevent the spread of paint fumes.
Once you have removed the excess paint, the roller is now ready for proper storage. Removing as much paint as possible prevents the roller from drying out and becoming stiff, ensuring its functionality for future painting projects.
Step 3: Store in a Plastic Bag
One of the easiest and most convenient ways to store a paint roller is by placing it in a plastic bag. This simple step helps to prevent the roller from drying out and keeps it protected from dust and debris.
To store your paint roller in a plastic bag, start by ensuring that the roller is completely dry. Any moisture left on the roller can lead to mold or mildew growth, so it’s important to let it air dry thoroughly.
Once the roller is dry, take a large resealable plastic bag, such as a freezer bag or a gallon-sized bag. Open the bag and carefully slide the roller into it, ensuring that the roller handle is facing towards the sealed end of the bag.
Seal the bag tightly, removing as much air as possible to create a vacuum seal. You can do this by gently pressing down on the bag while sealing it. Alternatively, you can use a straw to suck out the air from the bag before sealing it.
The sealed plastic bag provides an airtight environment for the paint roller, keeping it moist and ready for your next painting project. It also protects the roller from dust, debris, and other contaminants that can affect its performance.
Label the bag with the date and the type of paint used with the roller, as this will make it easier to identify in the future. Storing multiple paint rollers in separate bags can help you stay organized and ensure that each roller is readily accessible when needed.
Store the sealed plastic bag containing the paint roller in a cool, dry place, away from direct sunlight or extreme temperatures. Avoid storing the roller in areas with high humidity, as this can lead to moisture buildup and potential mold growth.
By storing your paint roller in a plastic bag, you can protect it from drying out and keep it in excellent condition, ready for your next painting project.
After cleaning, wrap the paint roller in plastic wrap or aluminum foil to keep it from drying out. Store it in a cool, dry place to prevent mold growth.
Step 4: Hang the Paint Roller
Another effective method of storing a paint roller is by hanging it. This not only helps to maintain the roller’s shape and prevent flattening but also allows for proper air circulation, helping it to dry thoroughly and preventing mold or mildew growth.
To hang your paint roller, you will need a sturdy hook or hanger. Look for a hook or hanger that can support the weight of the roller and keep it securely in place.
Start by ensuring that your paint roller is clean and dry. If there is any leftover paint or moisture, follow the cleaning and drying steps mentioned earlier before proceeding.
Next, locate a suitable spot for hanging the roller. This can be a wall hook, a pegboard, or even a clothesline. The important thing is to choose a location that is well-ventilated and away from direct sunlight or extreme temperatures.
Insert the roller handle or frame onto the hook or hanger. Make sure it is securely in place and not at risk of falling or sliding off.
Allow the paint roller to hang freely, ensuring that it is not in contact with any surfaces or other objects that could flatten or deform its shape.
Hanging your paint roller ensures that it remains in its original form, without any compression or distortion that can affect its performance. Additionally, the air circulation helps to dry the roller completely, preventing any moisture buildup that could lead to mold growth.
Keep in mind that if you choose to hang your paint roller, you should still cover it with a plastic bag to protect it from dust and other contaminants.
By hanging your paint roller, you can maintain its shape and allow for proper drying, ensuring that it is ready for use whenever you need it.
Read more: How To Paint Exterior Stucco With A Roller
Step 5: Store in a Paint Roller Cover
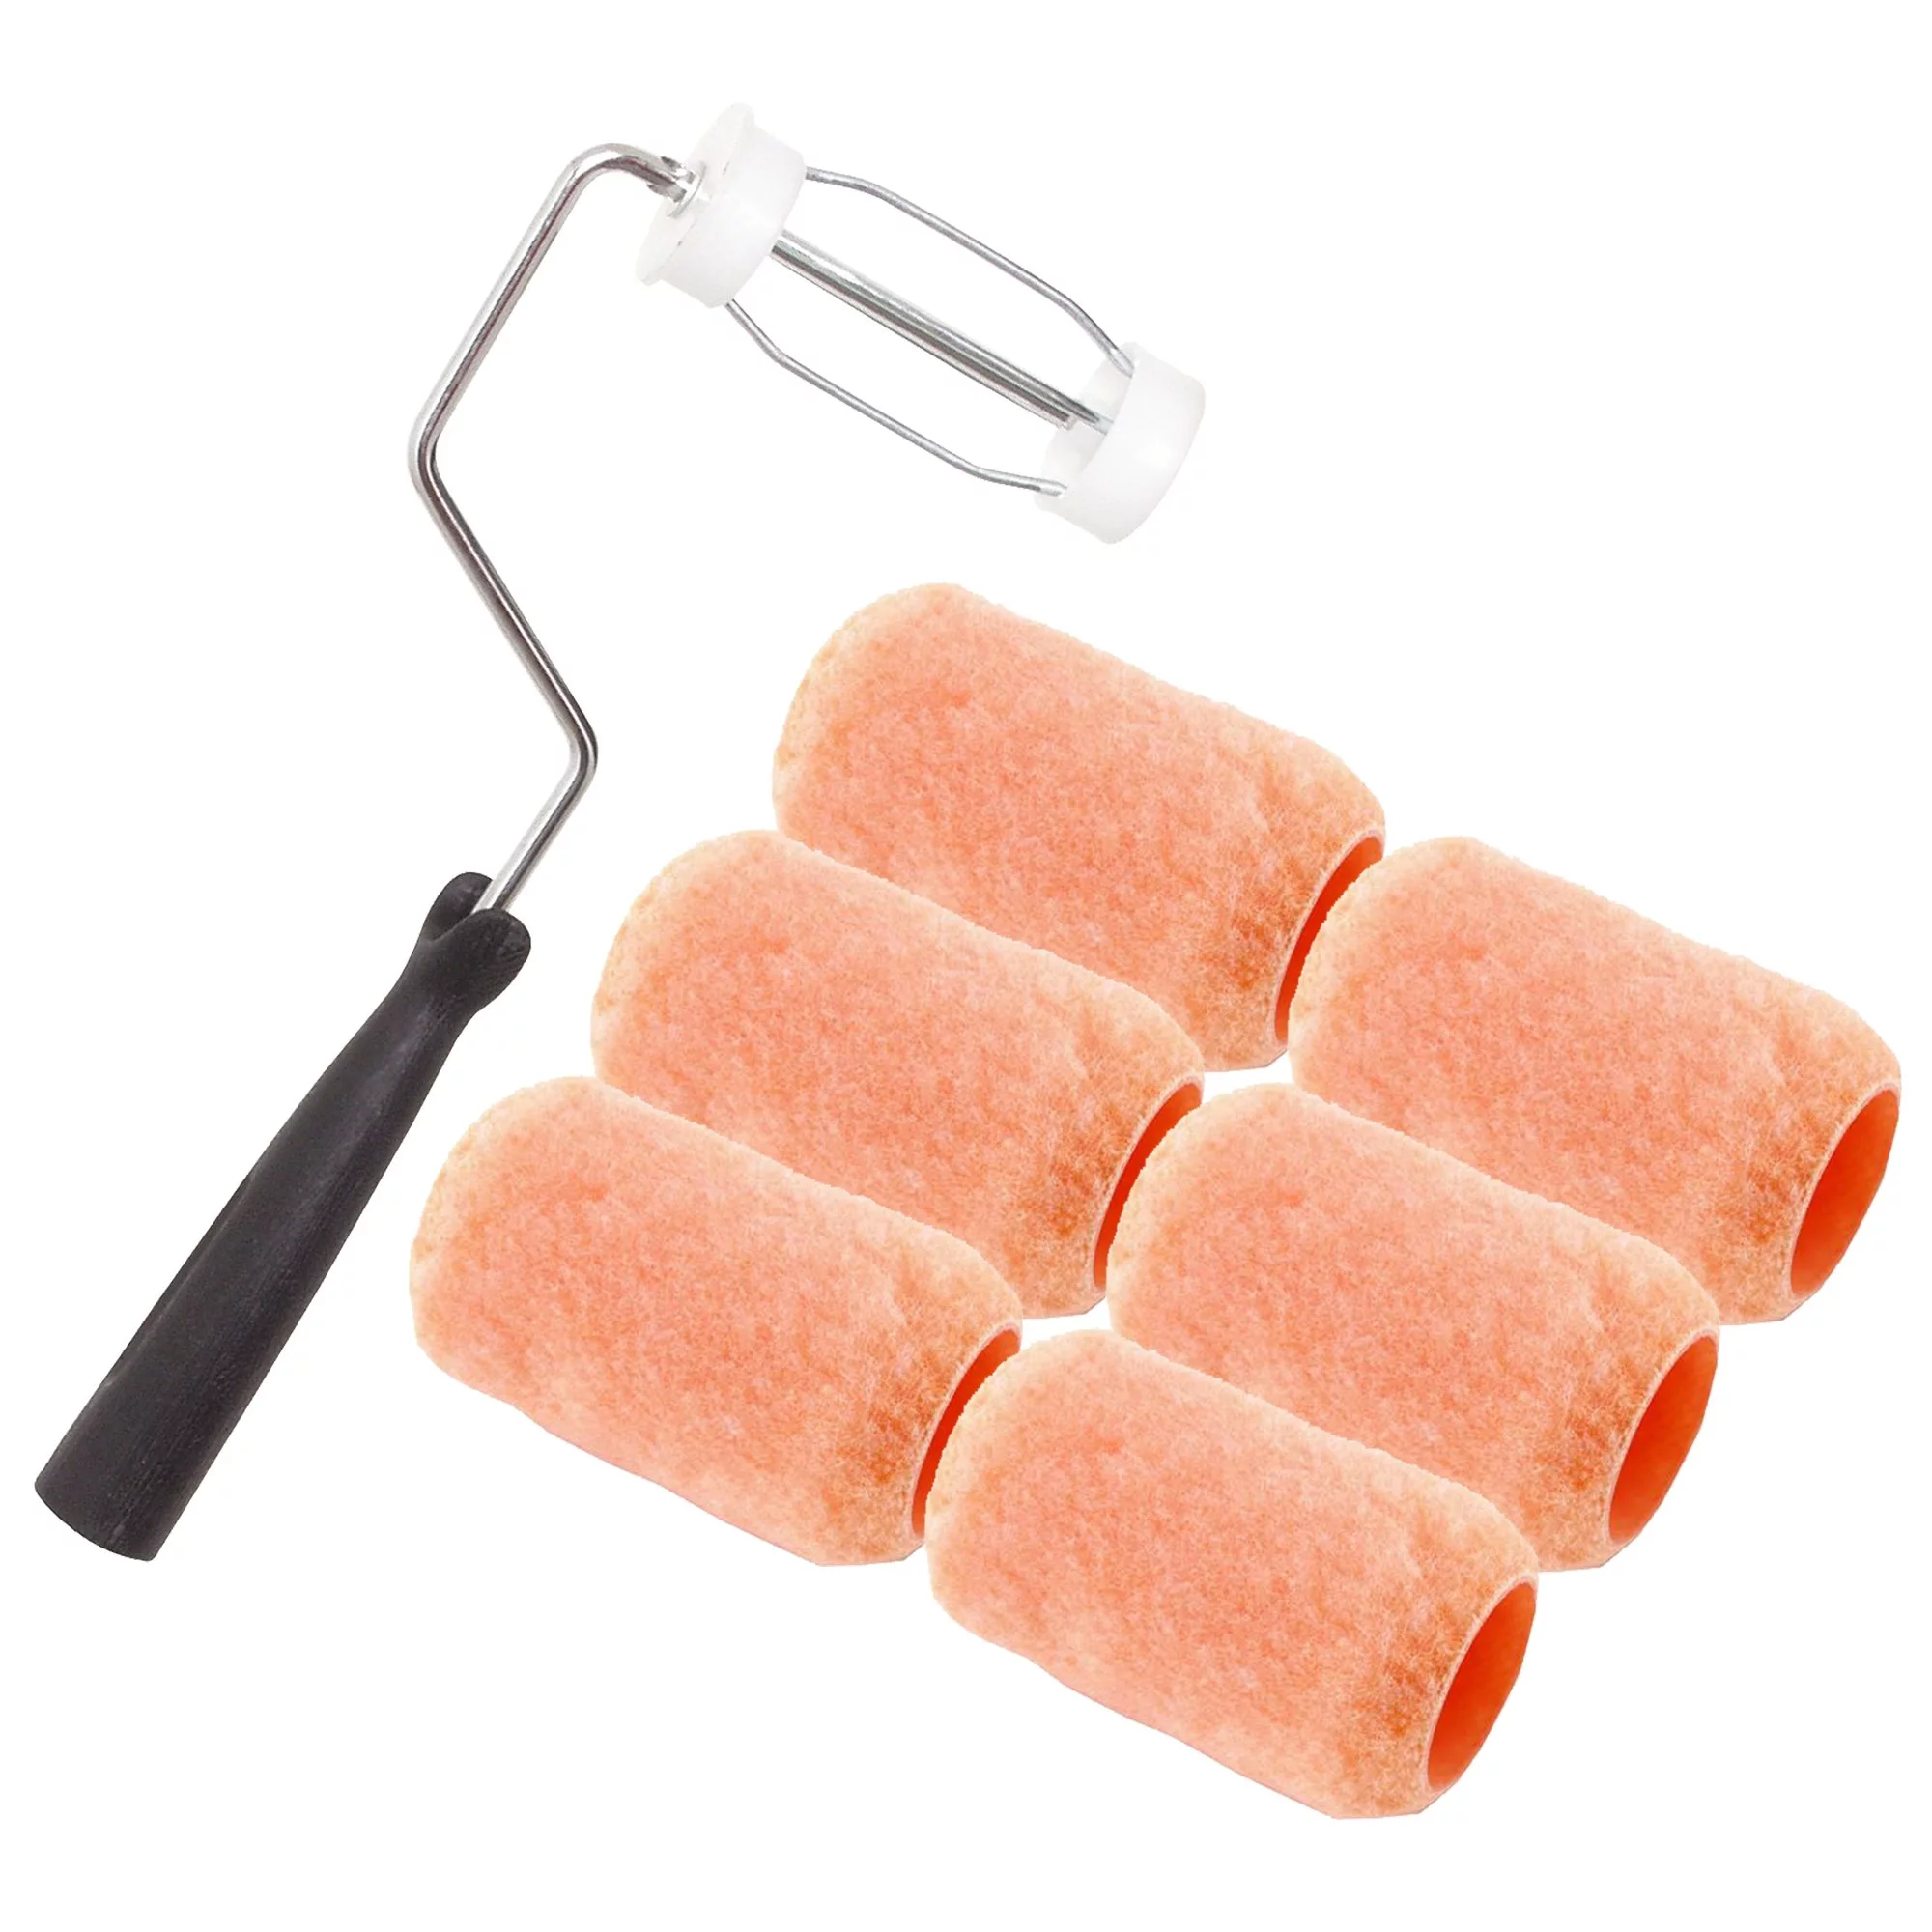
For added protection and convenience, storing your paint roller in a dedicated paint roller cover is a great option. A paint roller cover is a specially designed sleeve that fits snugly over the roller, providing an extra layer of defense against dust, debris, and damage.
When selecting a paint roller cover, look for one that is compatible with the size and type of your paint roller. Most covers have a universal fit, but it’s always a good idea to double-check for a proper fit before purchasing.
To store your paint roller in a paint roller cover, follow these steps:
- Clean and dry the paint roller, removing any excess paint as mentioned in the earlier steps.
- Slide the paint roller cover over the roller, ensuring that it fits snugly and covers the entire roller surface.
- Gently press down on the cover to secure it in place, making sure it is not loose or prone to slipping off.
- Label the cover with the date and the type of paint used with the roller for future reference.
- Store the covered paint roller in a cool, dry place away from direct sunlight or extreme temperatures.
A paint roller cover offers numerous advantages. It keeps the roller protected from dust, which can affect the roller’s performance and leave unwanted particles on your walls or surfaces. It also protects the roller fibers from damage that can occur during storage, such as bending or crushing.
Additionally, using a paint roller cover makes it more convenient to store and retrieve your paint roller. The cover provides a designated space for the roller, preventing it from getting lost or mixed up with other tools or supplies.
Remember to periodically check the condition of the paint roller cover. If it becomes torn, frayed, or no longer fits securely, replace it with a new one to ensure optimal protection for your roller.
By storing your paint roller in a dedicated paint roller cover, you can extend its lifespan, keep it in excellent condition, and have it readily available whenever you need it for your next painting project.
Conclusion
Properly storing your paint rollers is essential for preserving their quality and ensuring their effectiveness for future painting projects. By following the steps outlined in this article, you can extend the lifespan of your paint rollers and save both time and money in the long run.
Remember to start by cleaning the paint roller thoroughly, removing any excess paint and allowing it to dry completely. This step is crucial to prevent the roller from drying out or becoming damaged.
Once the roller is clean and dry, you have several options for storing it. Placing the roller in a sealed plastic bag protects it from drying out, dust, and debris. Alternatively, hanging the roller allows it to maintain its shape and ensures proper air circulation for thorough drying.
If you prefer added protection and convenience, storing the paint roller in a paint roller cover is an excellent choice. The cover shields the roller from dust and damage, keeping it in optimal condition for future use.
Regardless of the storage method you choose, always keep your paint rollers in a cool, dry place away from direct sunlight or extreme temperatures. This helps to maintain their quality and prevents any potential moisture-related issues.
By implementing these steps, your paint rollers will be ready for action the next time you embark on a painting project. Not only will you save money by preserving your tools, but you’ll also achieve better results with a well-maintained and properly stored paint roller.
So, don’t forget to clean, remove excess paint, store in a plastic bag or a cover, and keep your paint rollers in a safe and suitable environment. With these simple steps, you can ensure that your paint rollers are always in top-notch condition, ready to deliver smooth and flawless finishes every time.
Frequently Asked Questions about How To Store Paint Rollers
Was this page helpful?
At Storables.com, we guarantee accurate and reliable information. Our content, validated by Expert Board Contributors, is crafted following stringent Editorial Policies. We're committed to providing you with well-researched, expert-backed insights for all your informational needs.


0 thoughts on “How To Store Paint Rollers”