Home>Technology>Smart Home Devices>How To Clean A Printer Roller
Smart Home Devices
How To Clean A Printer Roller
Modified: January 18, 2024
Learn how to effectively clean a printer roller for optimal performance of your smart home devices. Follow our step-by-step guide now!
(Many of the links in this article redirect to a specific reviewed product. Your purchase of these products through affiliate links helps to generate commission for Storables.com, at no extra cost. Learn more)
Introduction
Welcome to the comprehensive guide on how to clean a printer roller! If you've noticed streaks, smudges, or paper jams in your printed documents, the culprit might be dirty or worn-out printer rollers. These essential components of your printer can accumulate dust, paper fibers, and other debris over time, leading to print quality issues. However, fear not! With the right tools, a bit of know-how, and some careful attention, you can restore your printer rollers to their optimal condition and enjoy crisp, flawless prints once again.
In this guide, we'll delve into the intricacies of printer rollers, explore the tools and materials you'll need for the cleaning process, and provide a step-by-step walkthrough to help you effectively clean your printer rollers. Whether you're a seasoned DIY enthusiast or a first-time troubleshooter, this article aims to equip you with the knowledge and confidence to tackle this common printer maintenance task.
So, let's roll up our sleeves and embark on this journey to rejuvenate your printer's rollers, ensuring that your future printouts showcase the clarity and professionalism you expect. Let's dive in and discover the art of cleaning printer rollers to revitalize your printing experience!
Key Takeaways:
- Regularly cleaning your printer rollers with simple tools like lint-free cloths and distilled water can ensure high-quality printouts and prevent common printing issues.
- By following a step-by-step process to access, clean, and reassemble your printer rollers, you can maintain optimal print quality and prolong the lifespan of your printer.
Understanding Printer Rollers
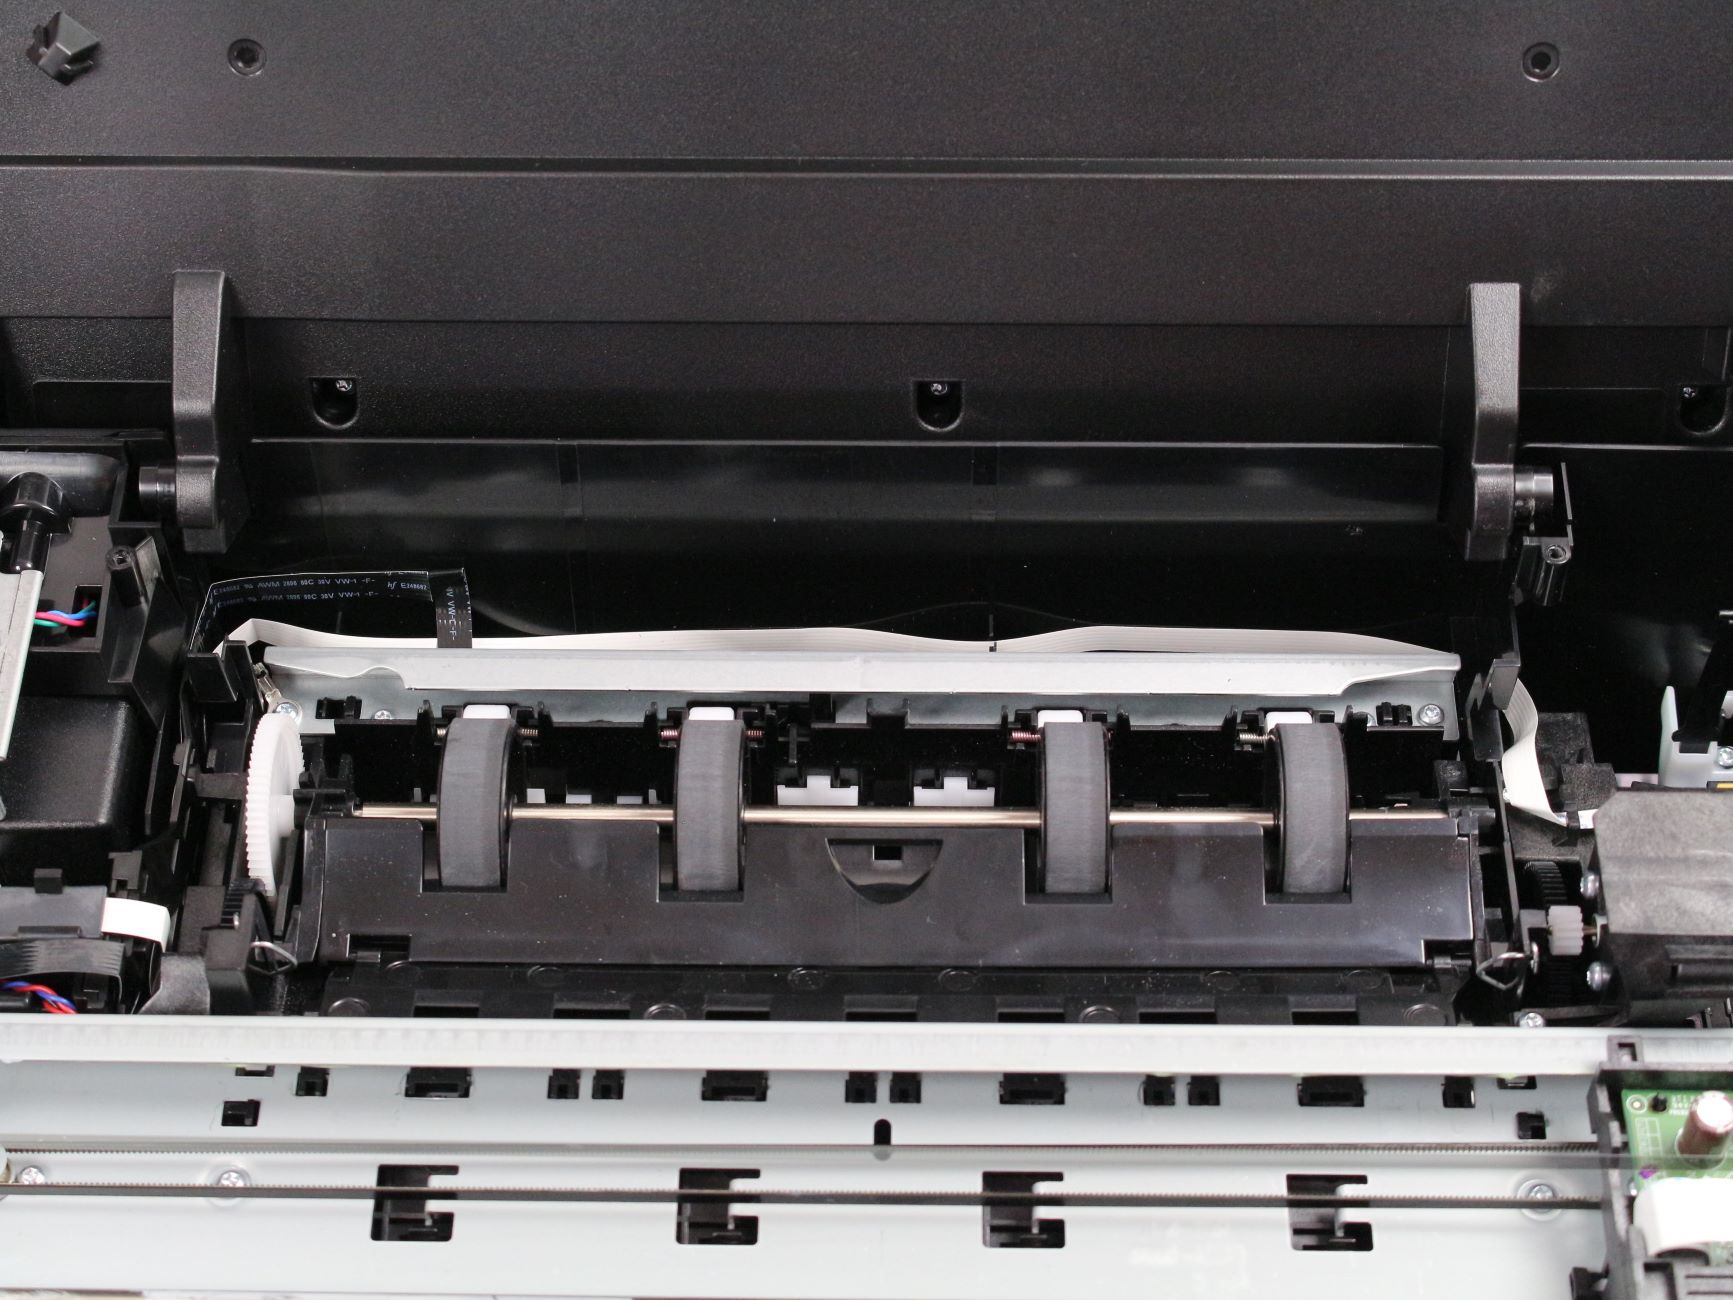
Printer rollers are vital components responsible for feeding paper through the printing process. They come in various types, including feed rollers, pickup rollers, and transfer rollers, each playing a crucial role in ensuring smooth and precise paper handling. Feed rollers guide the paper from the input tray, pickup rollers lift the paper from the tray, and transfer rollers apply toner to the paper during the printing process.
These rollers are typically made of rubber or a similar material with a textured surface to provide traction and grip on the paper. Over time, the constant friction and exposure to paper dust and debris can cause the rollers to accumulate residue, leading to performance issues such as paper jams, misfeeds, and print quality issues.
Understanding the function and condition of your printer rollers is essential for maintaining optimal print quality and overall printer performance. Regular inspection and cleaning of the rollers can prevent common printing problems and prolong the lifespan of your printer. By familiarizing yourself with the types and locations of the rollers in your printer, you can effectively troubleshoot and address any issues related to paper handling and print output.
Now that we've gained insight into the significance of printer rollers in the printing process, let's equip ourselves with the necessary tools and materials to embark on the cleaning process and restore these essential components to their peak condition.
Tools and Materials Needed
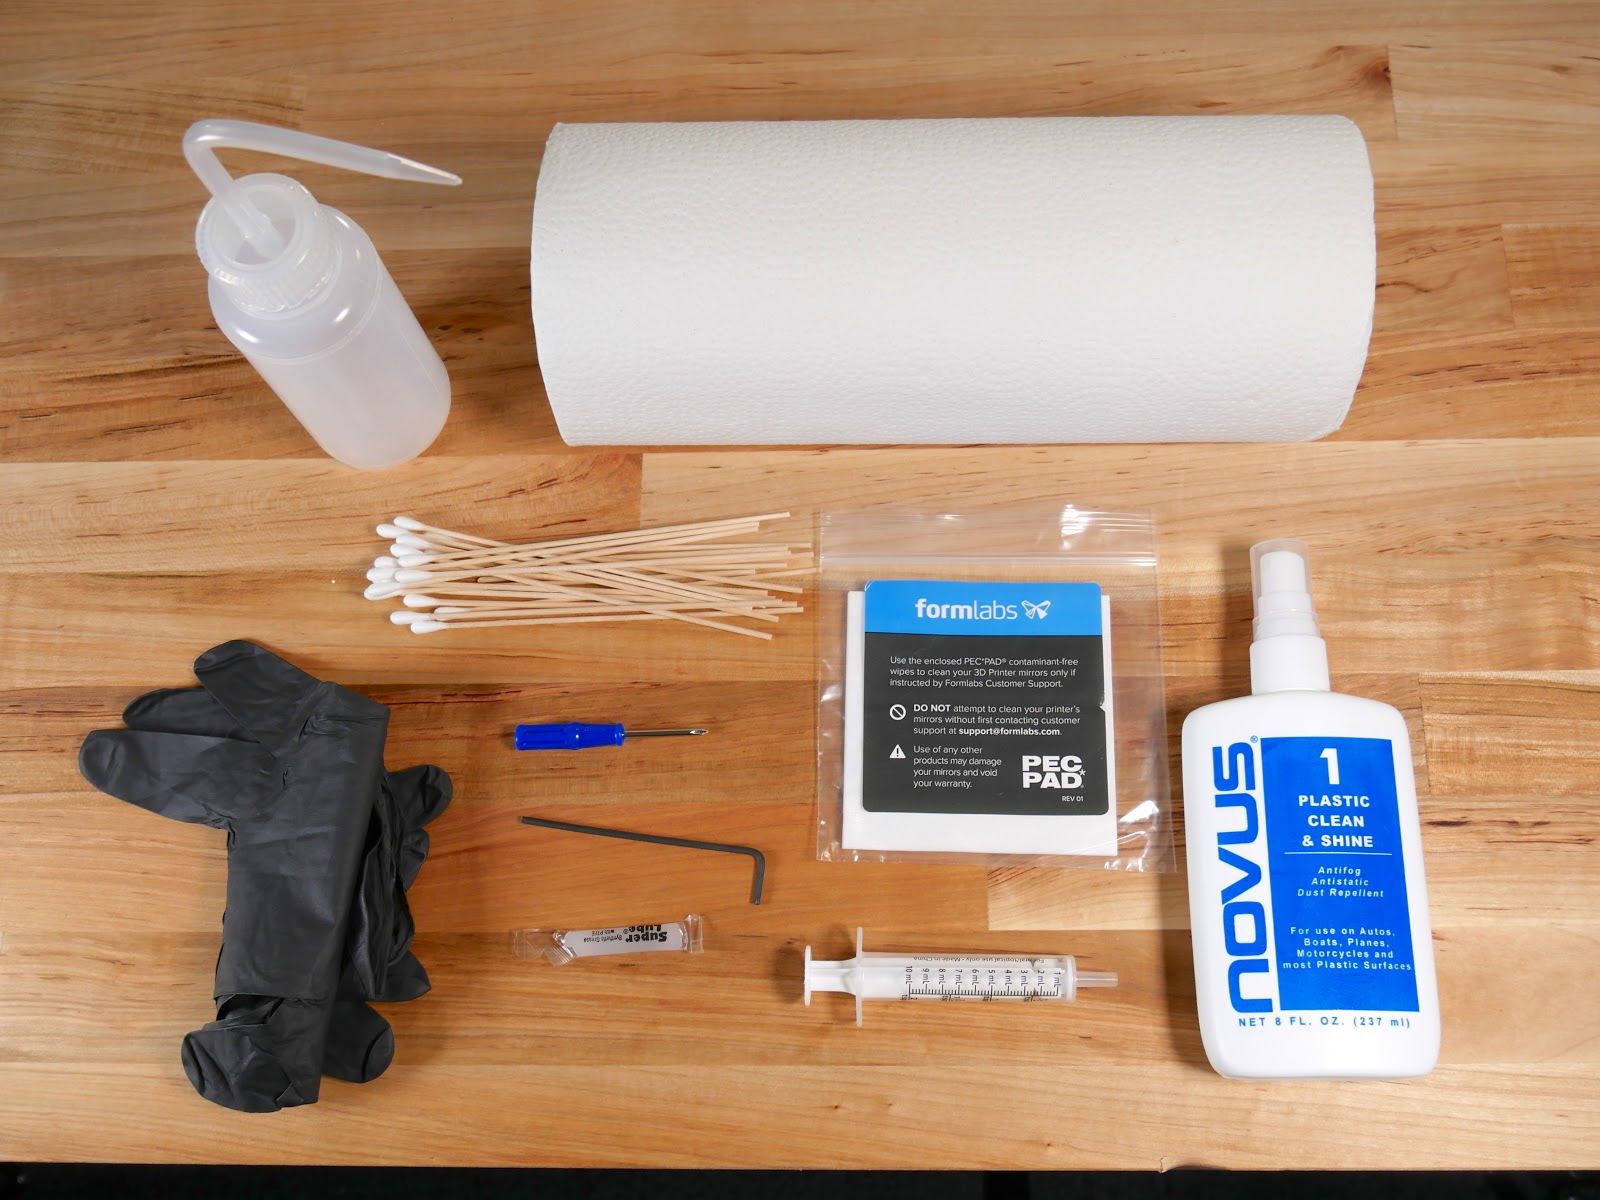
Before diving into the printer roller cleaning process, it’s essential to gather the necessary tools and materials to ensure a smooth and effective maintenance procedure. Here’s a list of items you’ll need:
- Lint-free cloths or swabs: These are essential for gently wiping and cleaning the printer rollers without leaving behind any lint or residue.
- Distilled water: Using distilled water ensures that no impurities or minerals will be transferred to the printer rollers during the cleaning process.
- Isopropyl alcohol: This is an effective cleaning agent for removing stubborn residue and buildup from the printer rollers.
- Cotton swabs: These are useful for reaching and cleaning smaller areas of the rollers with precision.
- Latex gloves: Wearing gloves can help protect your hands from any residual ink or debris during the cleaning process.
- Printer manual: It’s always handy to have the printer manual nearby, as it may contain specific instructions or precautions for cleaning the printer rollers, tailored to your printer model.
- Printer-safe lubricant (if applicable): Some printers may benefit from the application of a specialized printer-safe lubricant to ensure smooth roller operation after cleaning.
By ensuring you have these tools and materials at your disposal, you’ll be well-prepared to tackle the printer roller cleaning process with confidence and precision. Now that we’ve assembled our arsenal of cleaning essentials, let’s proceed to the step-by-step process of cleaning the printer rollers to restore your printer’s optimal performance.
Step 1: Turn Off the Printer
Before initiating the cleaning process, it’s crucial to start with the fundamental step of turning off the printer. This simple yet essential precaution ensures your safety and prevents any potential damage to the printer during the maintenance procedure.
Here’s how to safely power off your printer:
- Complete Print Jobs: Ensure that all print jobs are finished and that the printer is not actively processing any documents. This prevents any interruptions or data loss during the shutdown process.
- Press the Power Button: Locate the power button on your printer and press it to initiate the shutdown sequence. Wait for the printer to power down completely before proceeding to the next step.
- Disconnect Power Source: For an added layer of safety, consider unplugging the printer from the power source. This precaution eliminates the risk of electrical mishaps while you work on cleaning the printer rollers.
By following these steps to power off your printer, you create a safe and controlled environment for the subsequent cleaning process. Remember to exercise caution and patience during this phase, as it sets the stage for the thorough maintenance of your printer’s essential components.
With the printer safely powered off, we can now move on to the next step, which involves accessing the printer rollers in preparation for the cleaning procedure. Let’s proceed with confidence, knowing that we’ve taken the necessary precautions to ensure a smooth and safe maintenance process.
To clean a printer roller, use a lint-free cloth dampened with water or isopropyl alcohol. Gently wipe the roller to remove any dust or debris, then allow it to dry completely before using the printer again.
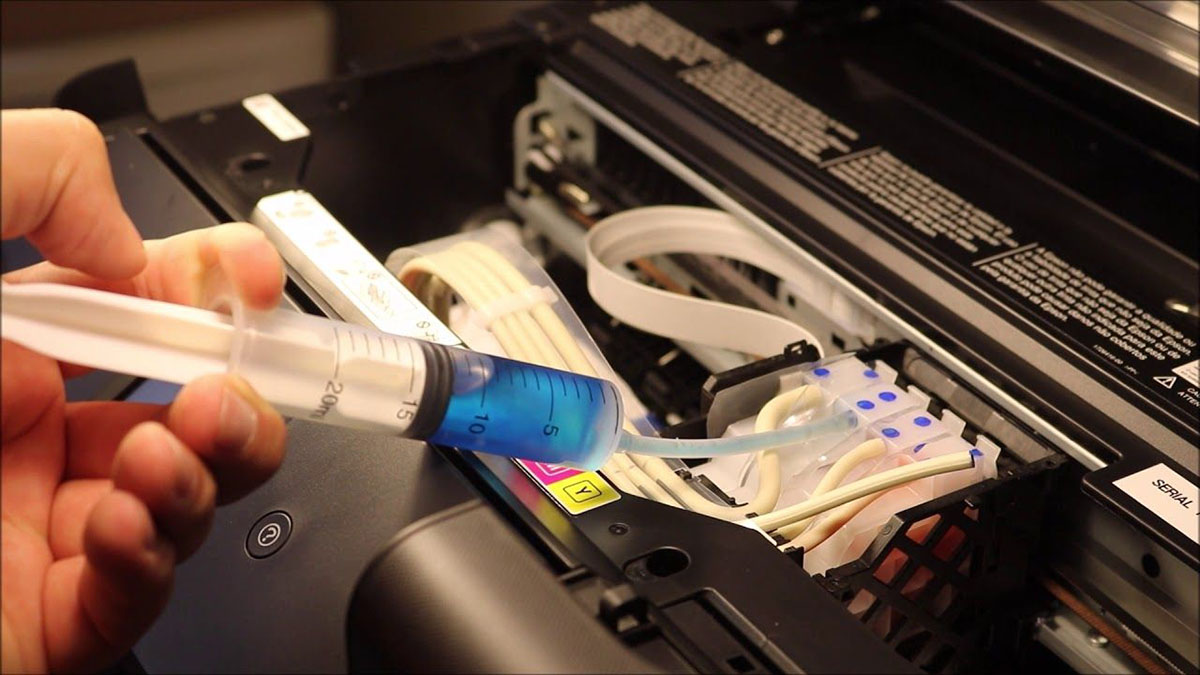
Step 2: Accessing the Printer Rollers
After safely powering off the printer, the next crucial step in the roller cleaning process is accessing the printer rollers. Depending on your printer model, accessing the rollers may vary, but here are general steps to guide you through the process:
- Open the Printer Cover: Locate and open the printer cover or access panel to reveal the internal components, including the printer rollers. Refer to your printer manual for specific instructions on accessing the rollers, as the location and method may differ across various printer models.
- Locate the Rollers: Once the internal components are exposed, identify the position of the printer rollers. Common roller locations include the paper tray area, the rear access door, or the toner cartridge area for laser printers.
- Observe Safety Precautions: As you access the internal components, be mindful of any sensitive parts, electrical connections, or delicate mechanisms. Handle the printer components with care to avoid causing damage during the roller cleaning process.
- Refer to the Manual: If you encounter any difficulties or uncertainties while accessing the printer rollers, consult the printer manual or seek online resources specific to your printer model for guidance.
By following these steps, you’ll successfully gain access to the printer rollers, setting the stage for the next phase of the cleaning process. It’s essential to approach this step with attentiveness and precision, ensuring that you handle the printer components with care and adhere to any specific instructions provided for your printer model.
With the printer rollers within reach, we’re ready to proceed to the pivotal stage of cleaning the rollers to eliminate any accumulated debris and restore their optimal functionality. Let’s delve into the next step and rejuvenate the essential components of your printer to enhance its performance and print quality.
Read more: How To Clean Zebra Roller Blinds
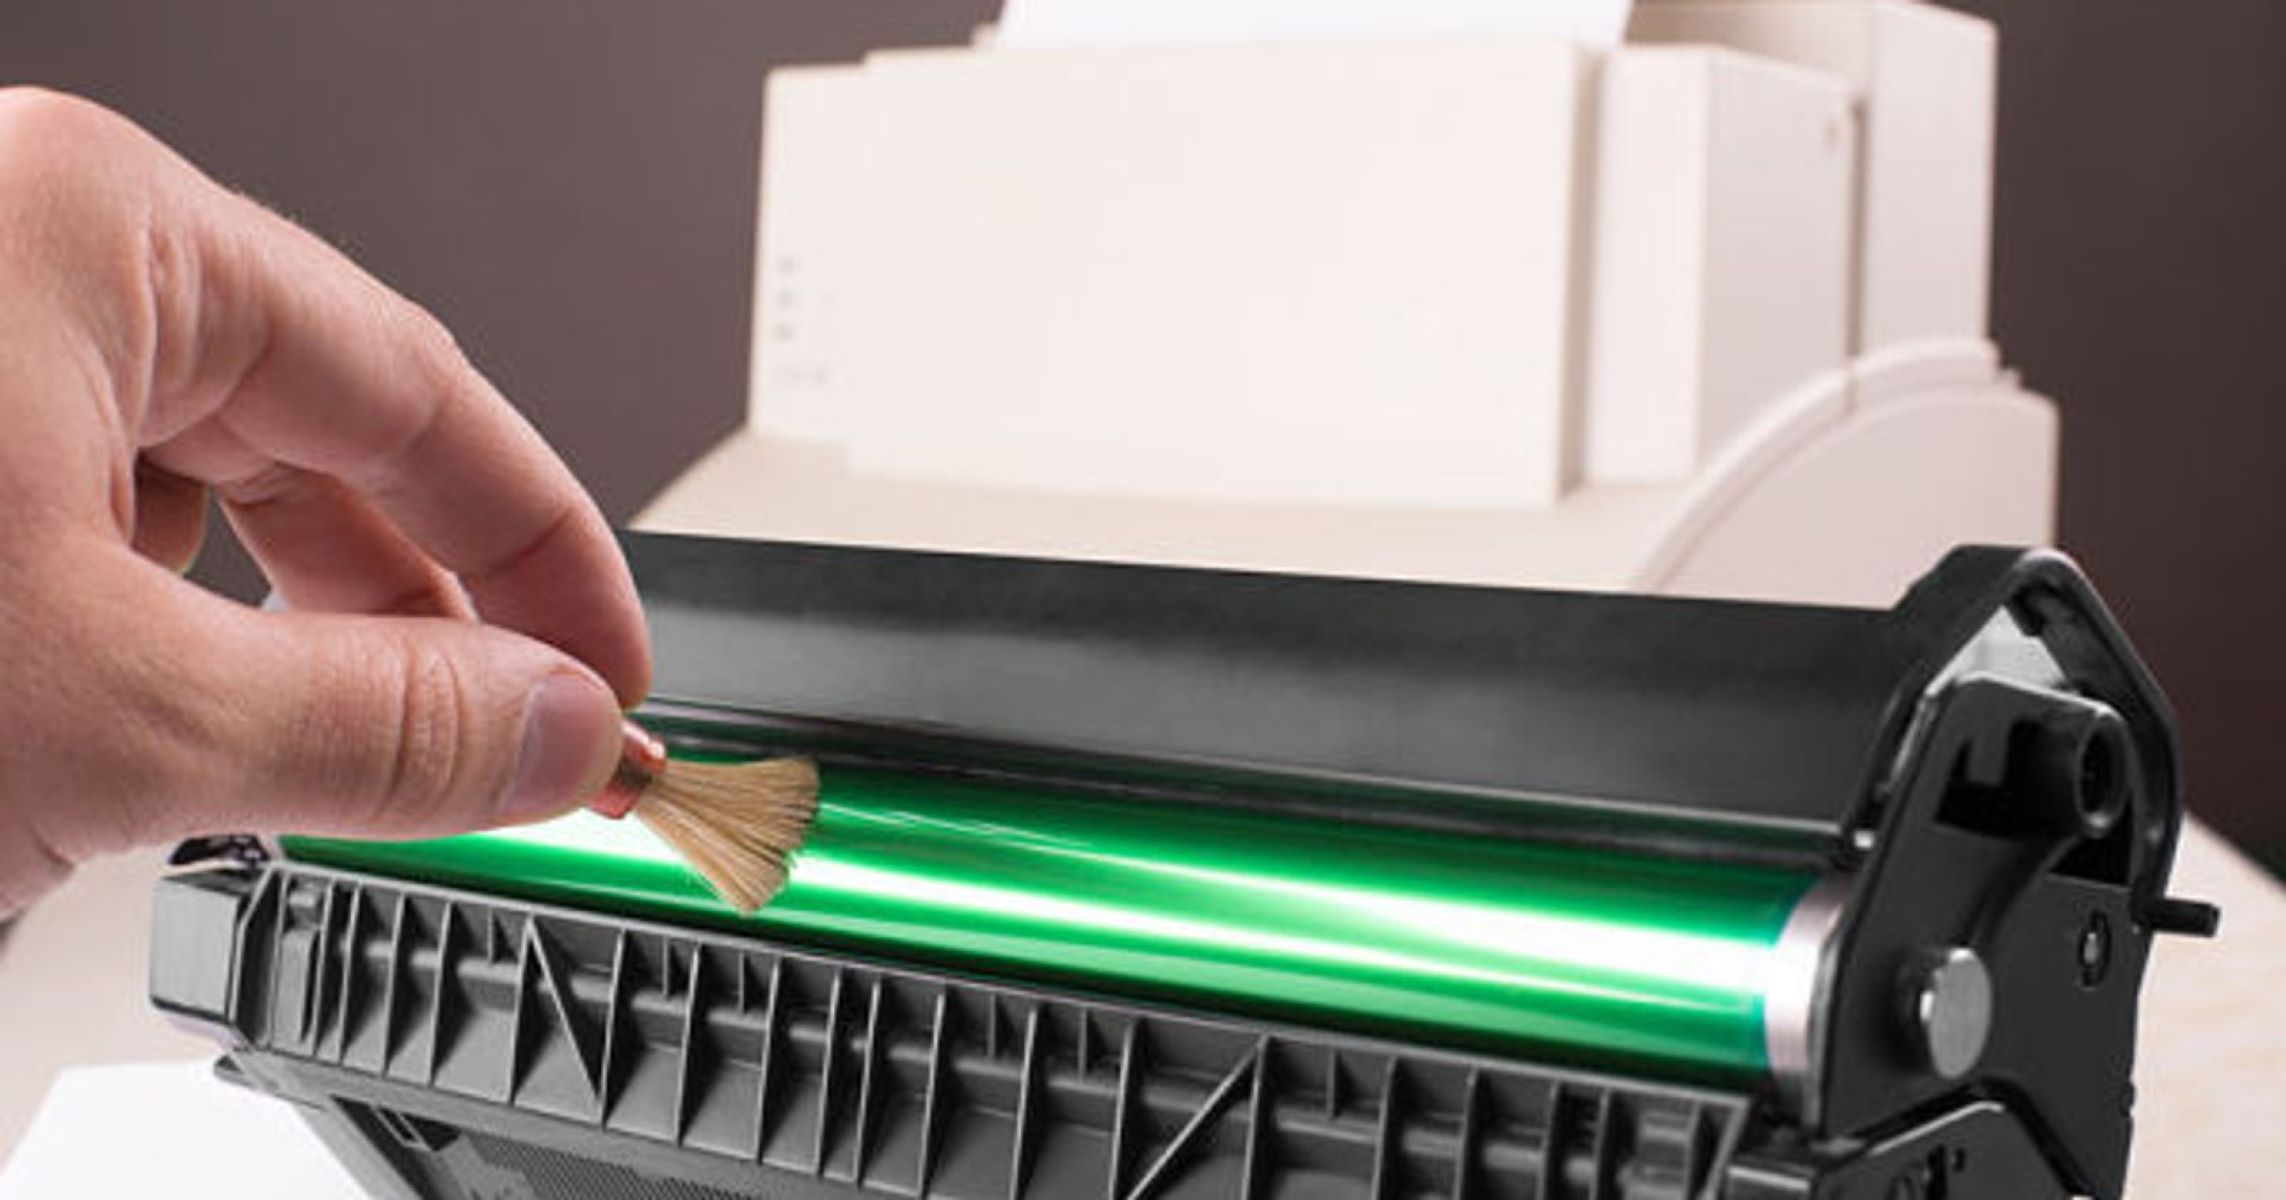
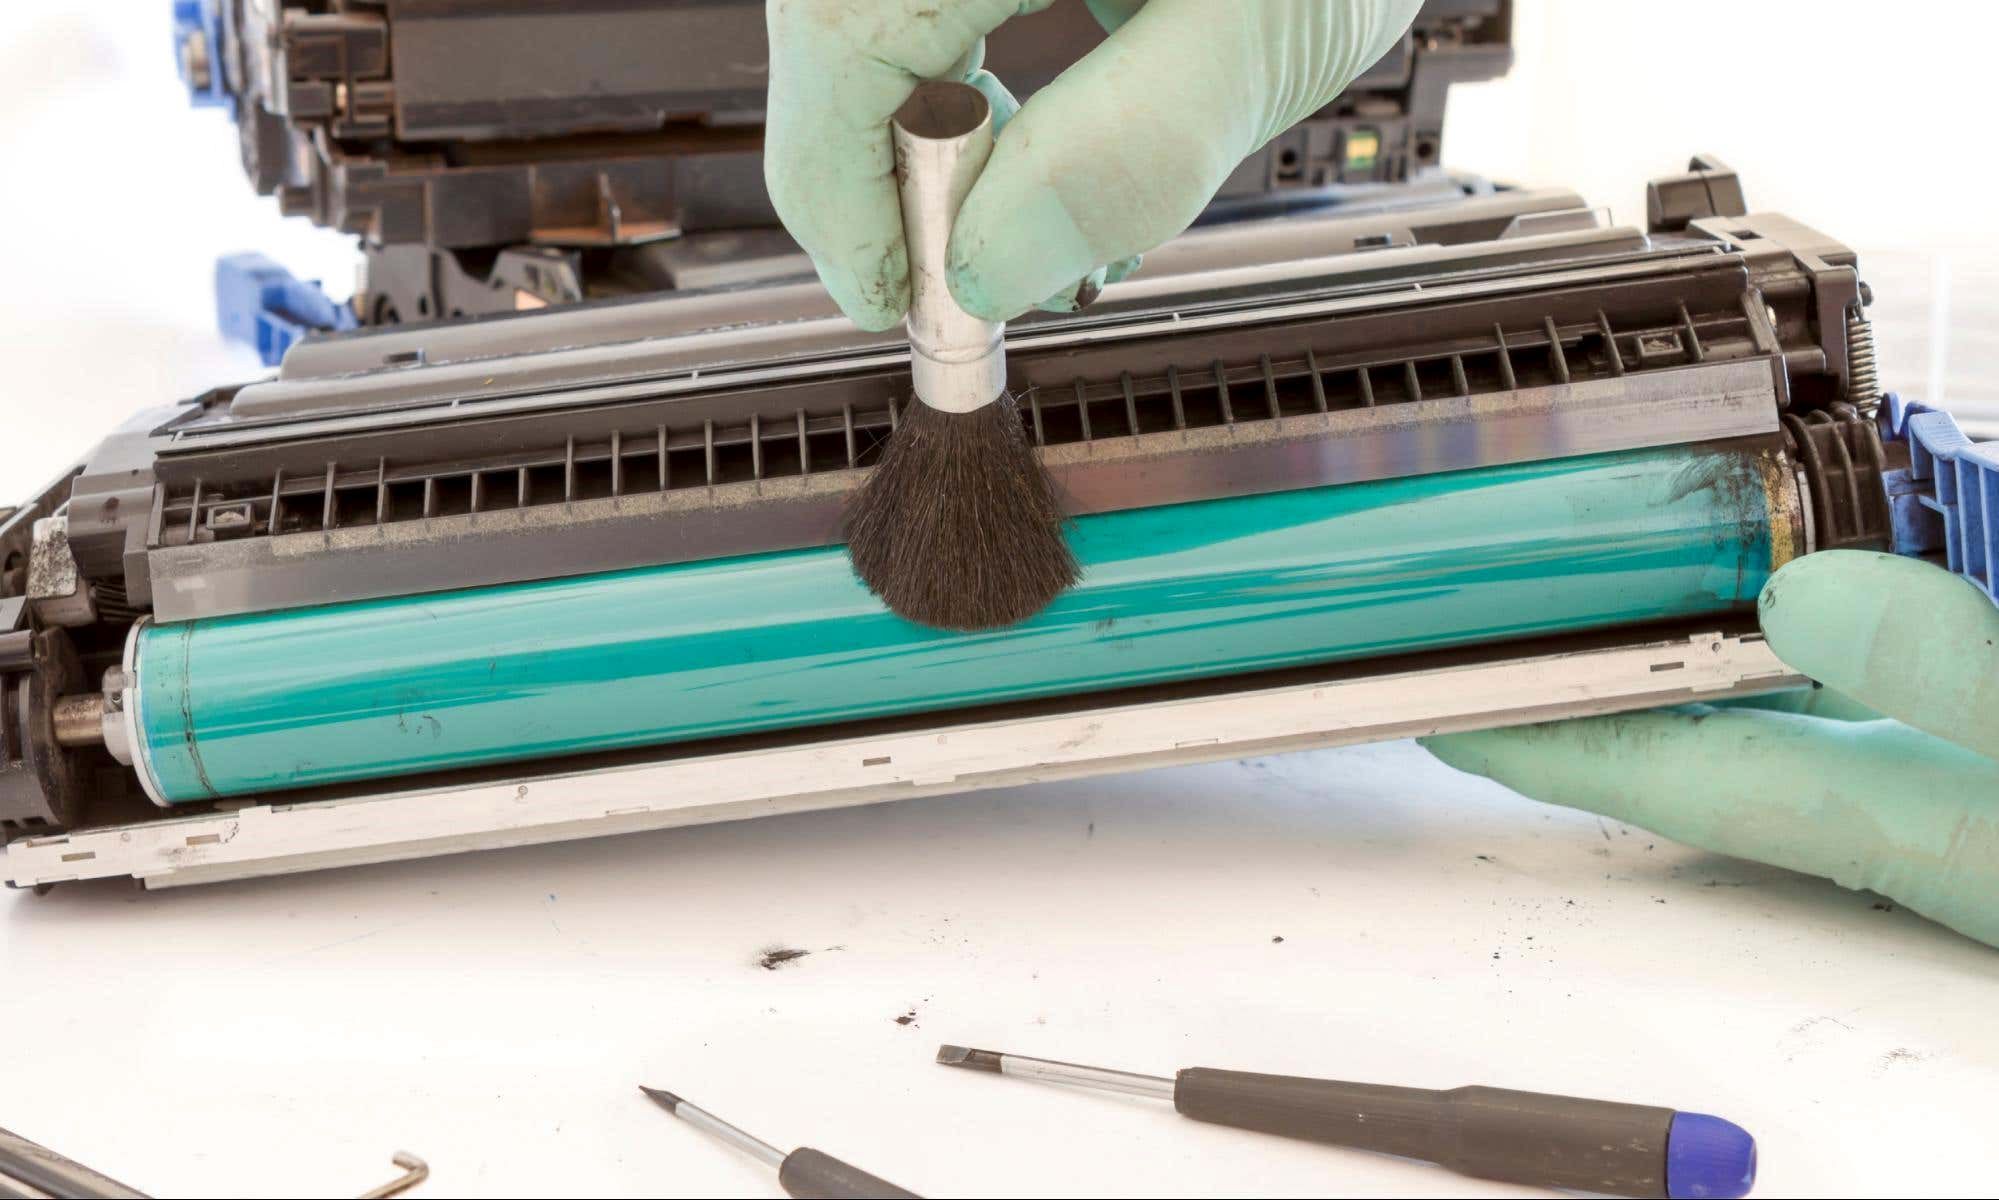
Step 3: Cleaning the Rollers
Now that you’ve accessed the printer rollers, it’s time to embark on the pivotal phase of the cleaning process. Follow these steps to effectively clean the printer rollers and restore their optimal functionality:
- Identify the Rollers: Take note of the specific rollers that require cleaning, such as the feed rollers, pickup rollers, or transfer rollers, based on their location within the printer.
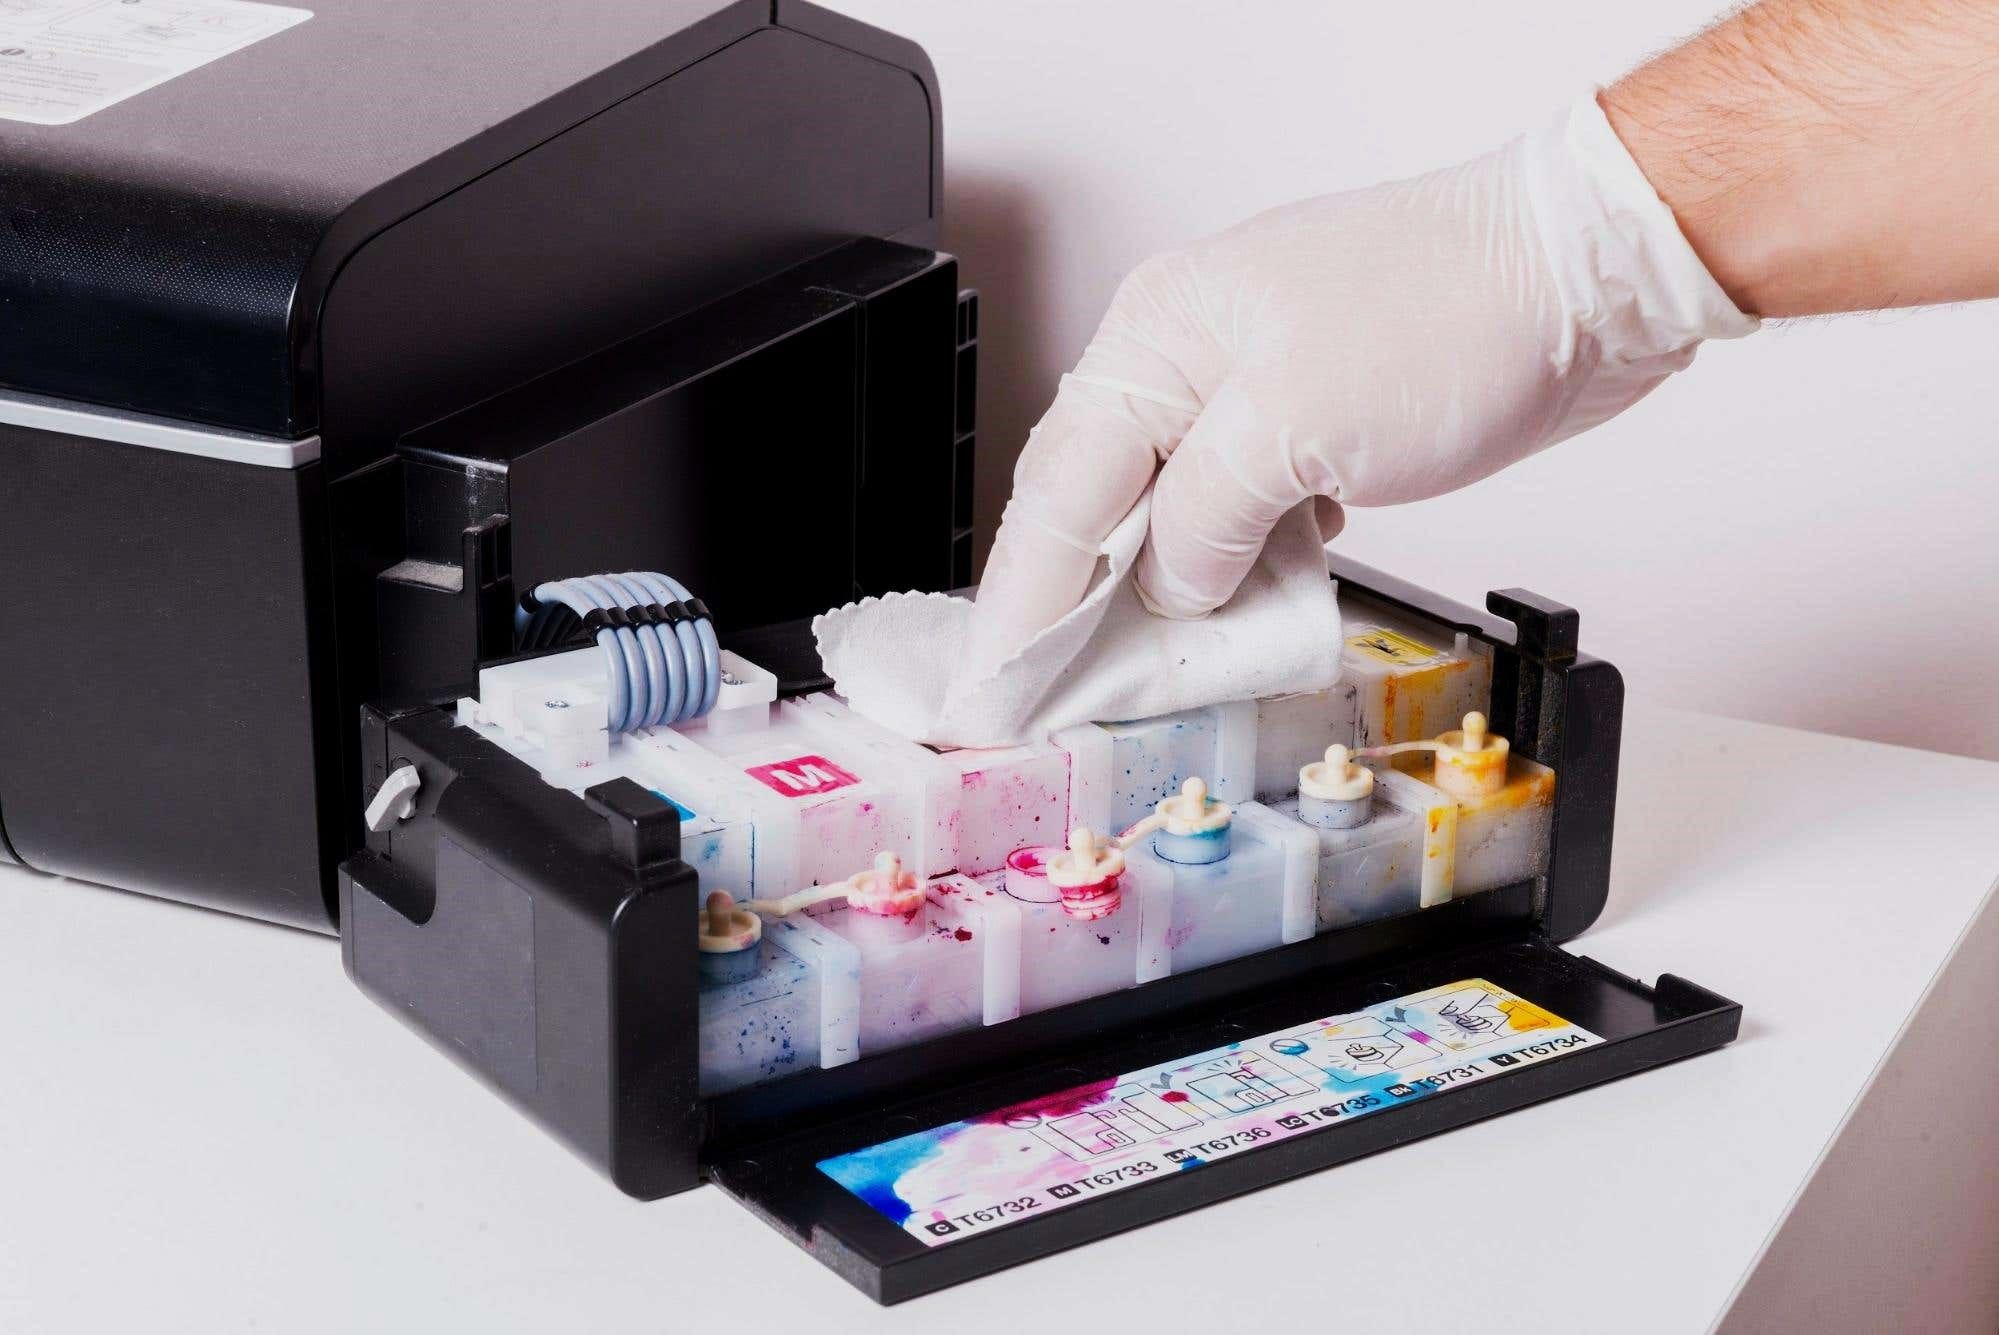
- Use Lint-Free Cloths or Swabs: Dampen a lint-free cloth or swab with distilled water. Ensure that the cloth is not dripping wet, as excess moisture can potentially damage the printer components.
- Clean the Rollers: Gently wipe the rollers with the damp cloth to remove any visible debris, dust, or residue. Rotate the rollers as you clean to address the entire surface area thoroughly.
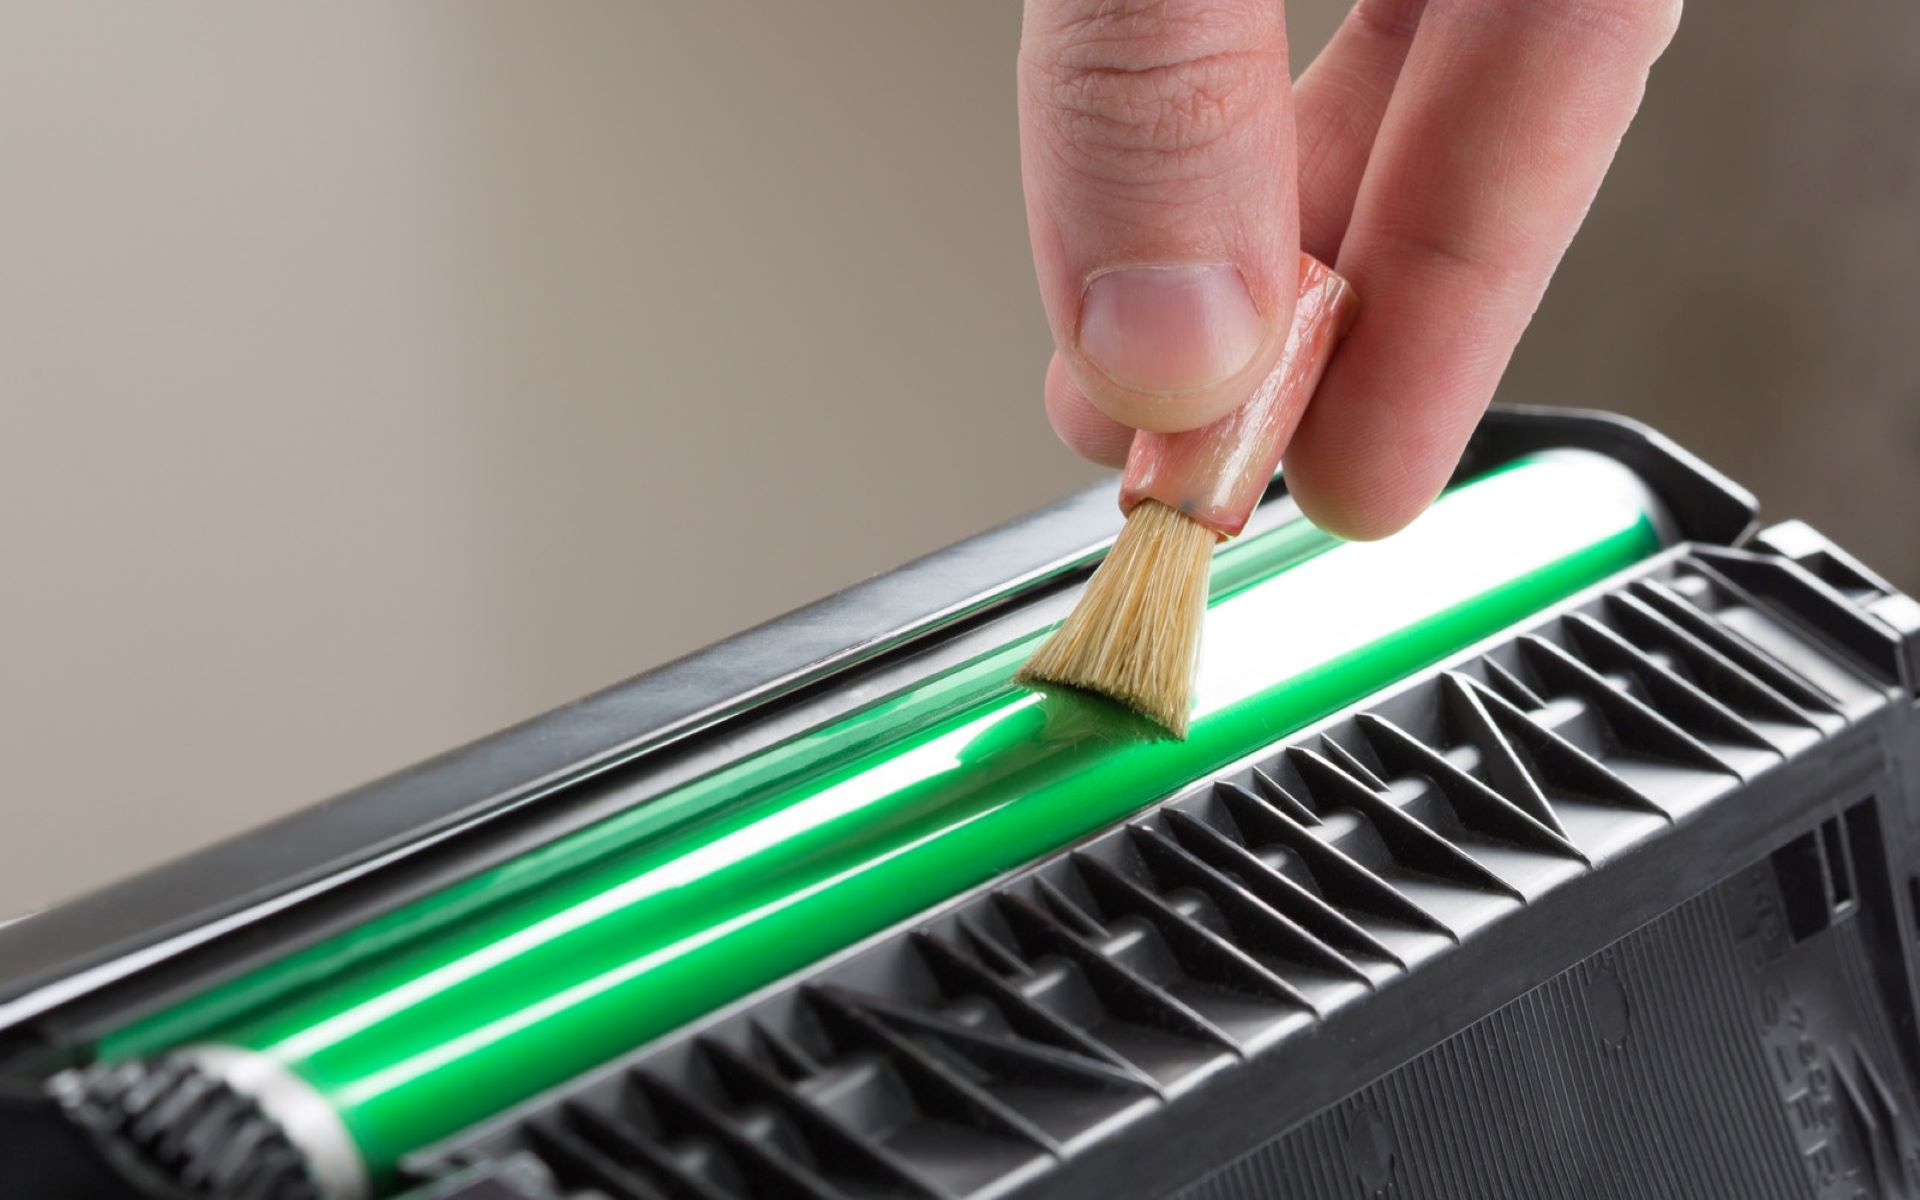
- Address Stubborn Residue: For stubborn residue or buildup, moisten a cloth or swab with isopropyl alcohol and carefully clean the affected areas of the rollers. Exercise caution to avoid excessive saturation of the rollers with alcohol.
- Use Cotton Swabs for Precision: For smaller or hard-to-reach areas of the rollers, utilize cotton swabs moistened with distilled water or isopropyl alcohol to ensure precise cleaning.
- Allow the Rollers to Dry: After cleaning, allow the rollers to air dry completely before reassembling the printer. It’s crucial to ensure that no moisture remains on the rollers to prevent potential damage to the printer or print quality issues.
By meticulously following these steps, you can effectively remove debris and residue from the printer rollers, promoting smooth paper handling and high-quality print output. It’s essential to approach the cleaning process with patience and attention to detail, ensuring that the rollers are thoroughly cleaned without causing any damage to the delicate components.
With the printer rollers rejuvenated through careful cleaning, we’re now prepared to proceed to the final step of reassembling the printer and preparing it for optimal performance. Let’s move forward and conclude the maintenance process, knowing that your efforts will result in enhanced print quality and prolonged printer functionality.
Step 4: Reassembling the Printer
After successfully cleaning the printer rollers, the final step in the maintenance process involves reassembling the printer to prepare it for optimal performance. Follow these essential steps to ensure a seamless and effective reassembly:
- Ensure Rollers are Dry: Before reassembling the printer, verify that the cleaned rollers are completely dry to prevent any moisture-related issues during operation.
- Closing Access Panels: If you opened any access panels or covers to access the printer rollers, securely close and latch them to ensure that the internal components are properly enclosed.
- Reinsert Paper Trays: If you removed paper trays or input components during the cleaning process, carefully reinsert them into their designated positions, ensuring a proper fit.
- Powering On the Printer: Once the printer is reassembled, power it on and allow it to undergo the startup sequence. This ensures that the printer is ready for operation with the cleaned rollers in place.
- Test Print: Initiate a test print to verify that the printer rollers are functioning smoothly and that the print quality meets your expectations. This allows you to confirm the success of the maintenance process and the restoration of optimal print output.
- Refer to the Manual: If you encounter any issues during the reassembly or startup process, consult the printer manual for troubleshooting guidance or specific instructions tailored to your printer model.
By carefully following these reassembly steps, you can ensure that the printer is ready to deliver high-quality prints with smoothly functioning rollers. It’s essential to approach the reassembly process with attentiveness and precision, verifying that all components are securely in place and that the printer is ready for seamless operation.
With the printer reassembled and the rollers restored to their optimal condition, you can now enjoy the confidence of knowing that your printer is primed for reliable performance and exceptional print quality. Your diligence in maintaining the printer rollers will contribute to prolonged printer functionality and a consistent output of professional-grade prints.
With the completion of the reassembly process, we’ve successfully navigated through the comprehensive journey of cleaning and rejuvenating the printer rollers. Let’s celebrate the accomplishment of enhancing your printer’s performance and ensuring the production of flawless printouts for your future endeavors.
Conclusion
Congratulations on successfully completing the comprehensive process of cleaning and rejuvenating your printer rollers! By following the step-by-step guide and exercising care and precision, you’ve taken a proactive approach to maintaining your printer’s essential components and ensuring optimal print quality.
Throughout this journey, we’ve delved into the significance of printer rollers in the printing process, understanding their roles and the impact of their condition on print output. Armed with the necessary tools and materials, you navigated through the process of accessing, cleaning, and reassembling the printer rollers with confidence and attentiveness.
As a result of your efforts, your printer is now primed for reliable performance, smooth paper handling, and high-quality print output. The meticulous cleaning process has eliminated debris and residue from the rollers, promoting an enhanced printing experience and prolonging the lifespan of your printer.
Remember, regular maintenance and cleaning of the printer rollers are crucial for sustaining optimal print quality and preventing common printing issues such as paper jams and misfeeds. By incorporating this maintenance task into your printer care routine, you’re actively contributing to the longevity and consistent performance of your valuable printing equipment.
As you embark on your future printing endeavors, may the rejuvenated printer rollers serve as a testament to your dedication to quality and reliability. Your proactive approach to printer maintenance ensures that each printout reflects the precision and professionalism you strive for in your work and personal projects.
Thank you for investing your time and attention in mastering the art of cleaning printer rollers. Your commitment to printer maintenance sets the stage for a seamless and exceptional printing experience, empowering you to achieve outstanding results with every document and image you bring to life.
With your printer revitalized and your printing aspirations ready to soar, embrace the confidence and peace of mind that come with a well-maintained and optimized printing environment. Here’s to a future filled with impeccable prints and effortless printing experiences, all made possible by your dedication to printer care and maintenance.
Frequently Asked Questions about How To Clean A Printer Roller
Was this page helpful?
At Storables.com, we guarantee accurate and reliable information. Our content, validated by Expert Board Contributors, is crafted following stringent Editorial Policies. We're committed to providing you with well-researched, expert-backed insights for all your informational needs.

0 thoughts on “How To Clean A Printer Roller”