Home>Interior Design>Painting With A Roller: 10 Expert Tips
Interior Design
Painting With A Roller: 10 Expert Tips
Modified: September 2, 2024
Discover 10 expert tips for painting with a roller in interior design. Achieve flawless results with these tried and tested techniques.
(Many of the links in this article redirect to a specific reviewed product. Your purchase of these products through affiliate links helps to generate commission for Storables.com, at no extra cost. Learn more)
Introduction
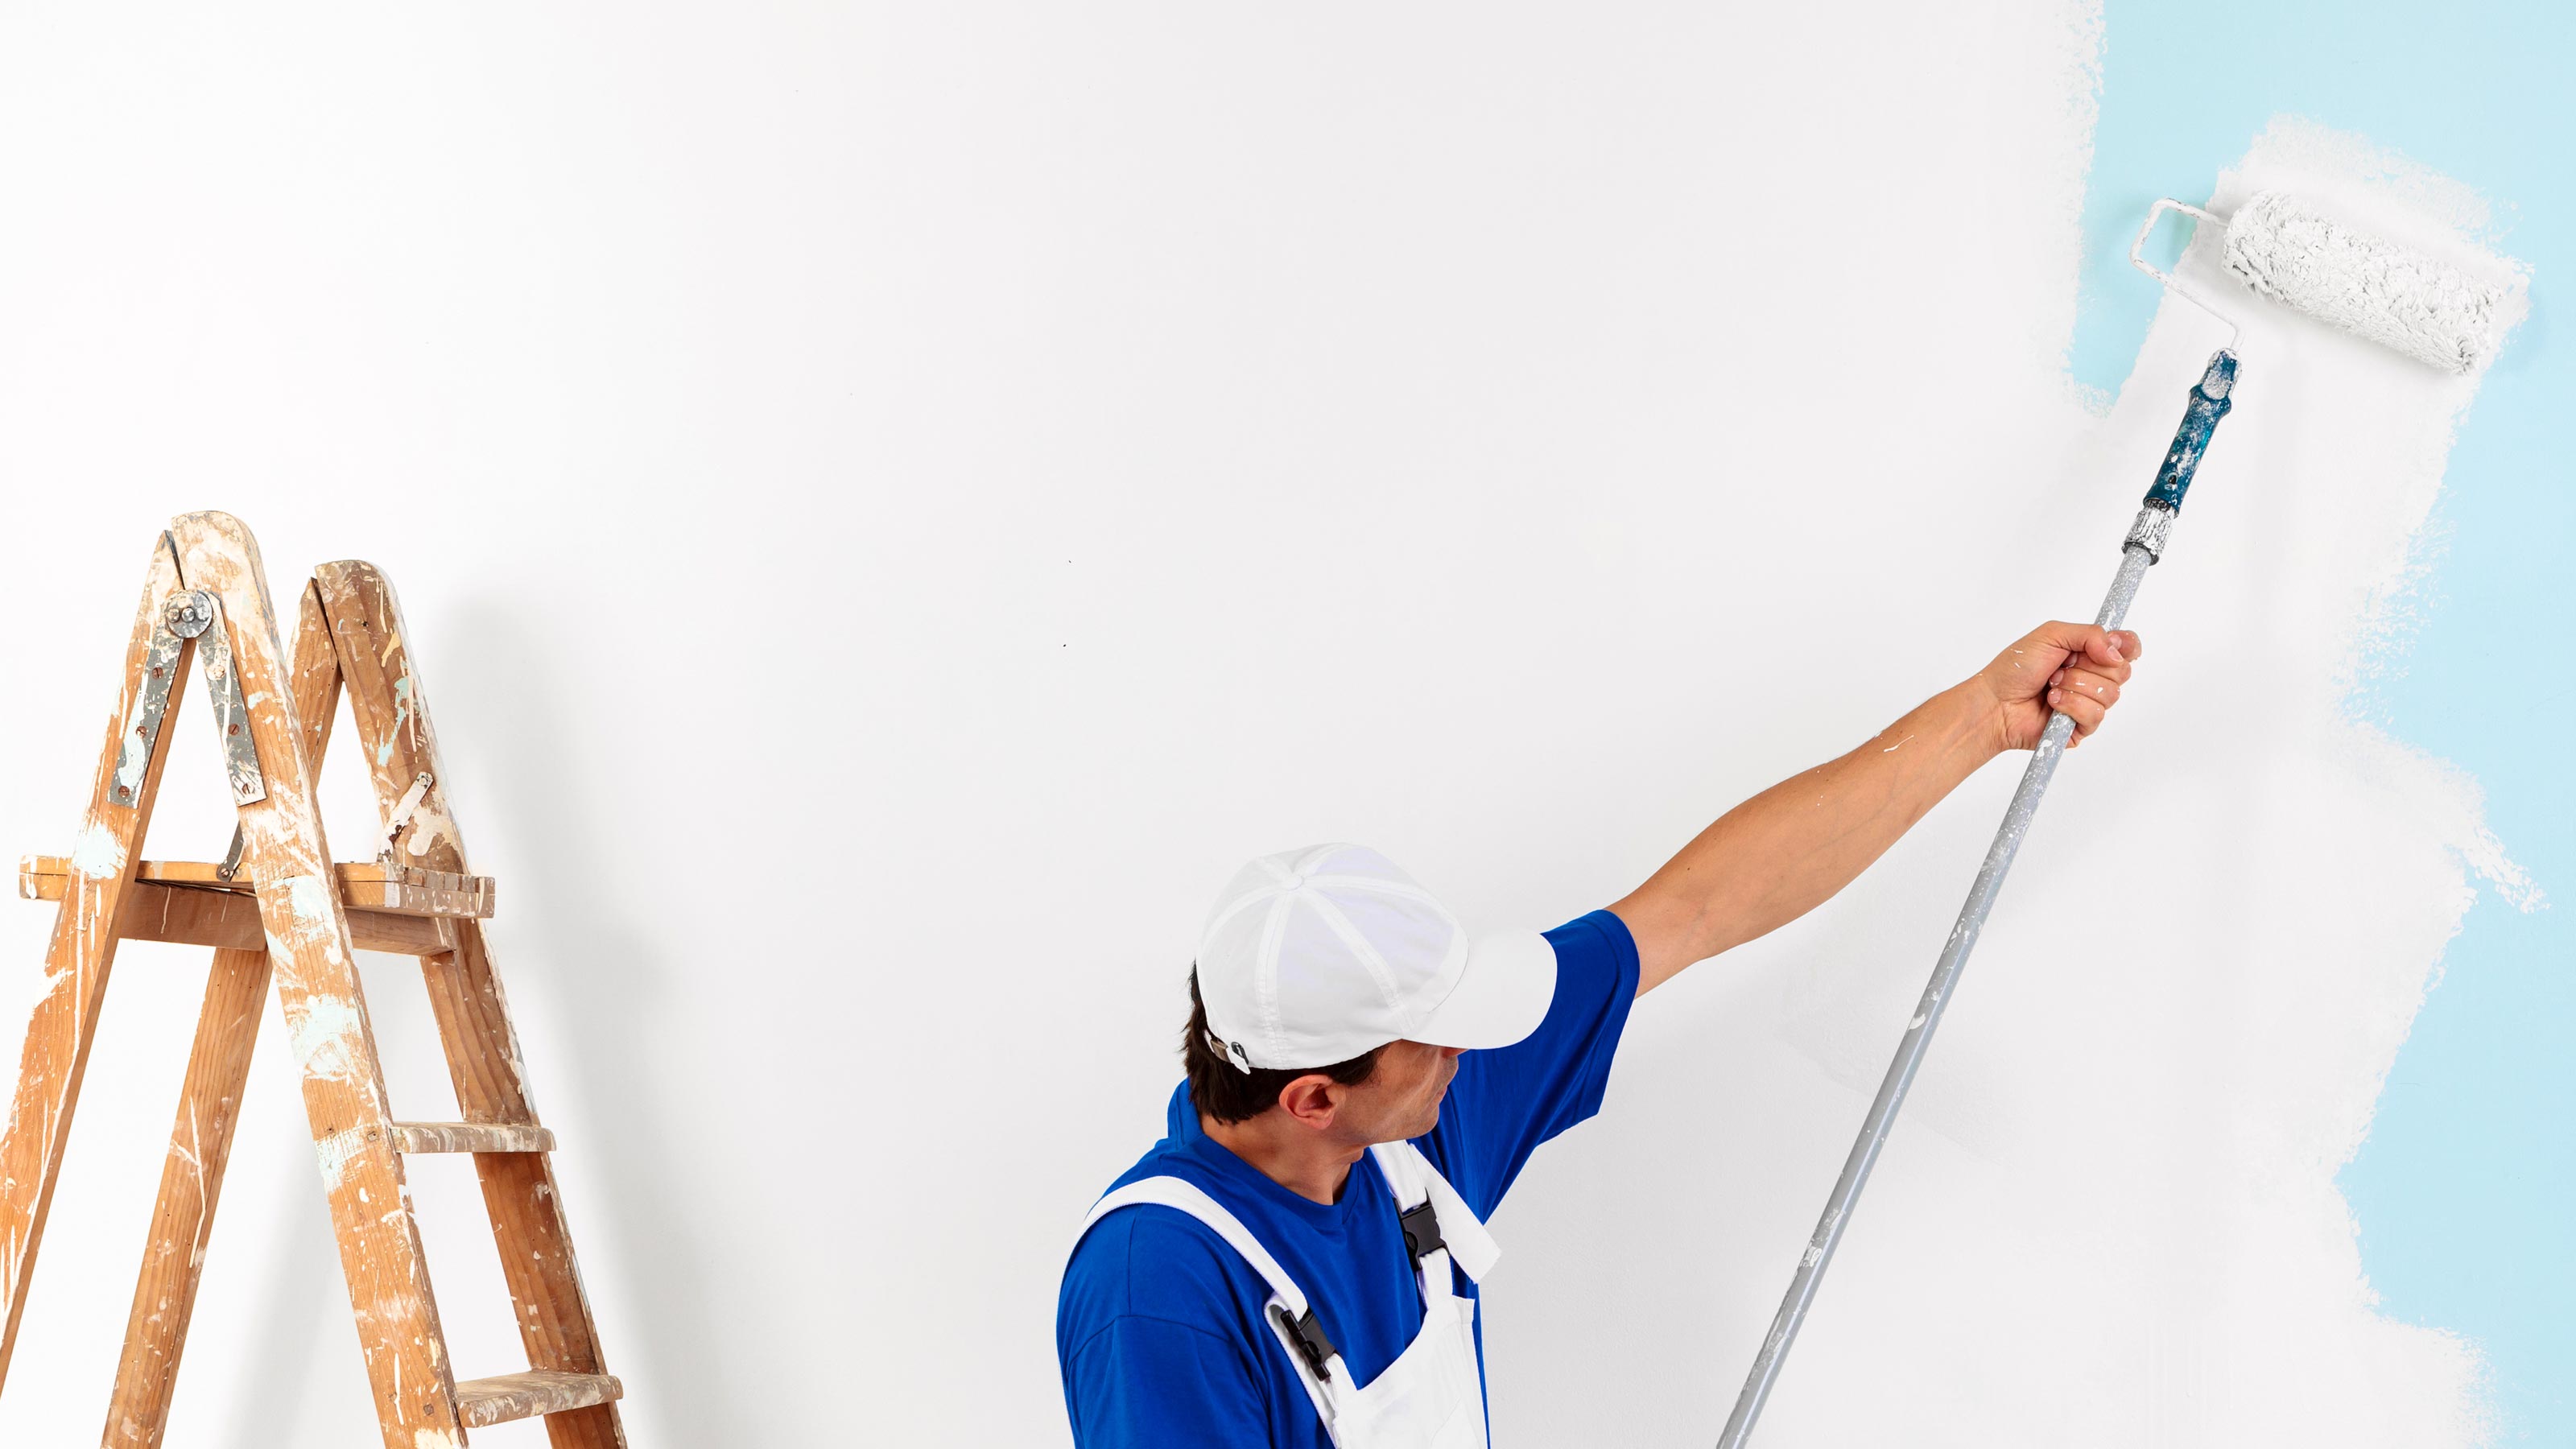
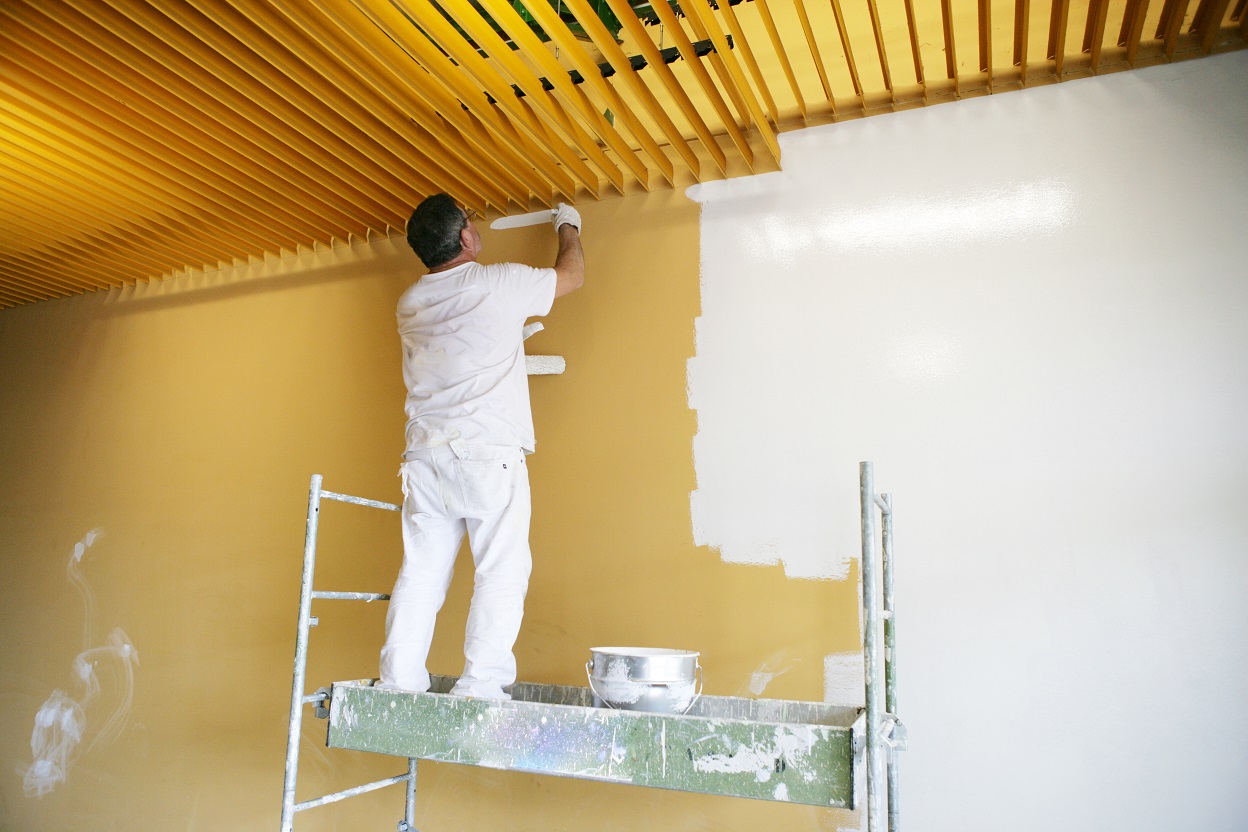
Welcome to the world of interior design! Whether you are decorating your own home or working on a client’s project, painting is an essential part of the process. And when it comes to painting walls, using a roller is one of the most common and efficient methods. However, achieving a smooth, flawless finish requires more than just rolling paint onto the walls. In this article, we will share 10 expert tips on how to paint with a roller like a pro.
Using the right roller and technique can make a world of difference in the final result of your paint job. From choosing the right roller to prepping the surface and applying multiple coats, we will cover everything you need to know to achieve professional-looking results.
So, whether you are a beginner or looking to up your painting game, let’s dive in and explore the expert tips for painting with a roller.
Key Takeaways:
- Choose the right roller cover for your project by considering materials, nap length, and size to ensure better paint application and a smoother finish.
- Prepping the surface, using primer, and employing proper painting techniques are essential for achieving a flawless and professional finish with a roller.
Tip 1: Choose the right roller
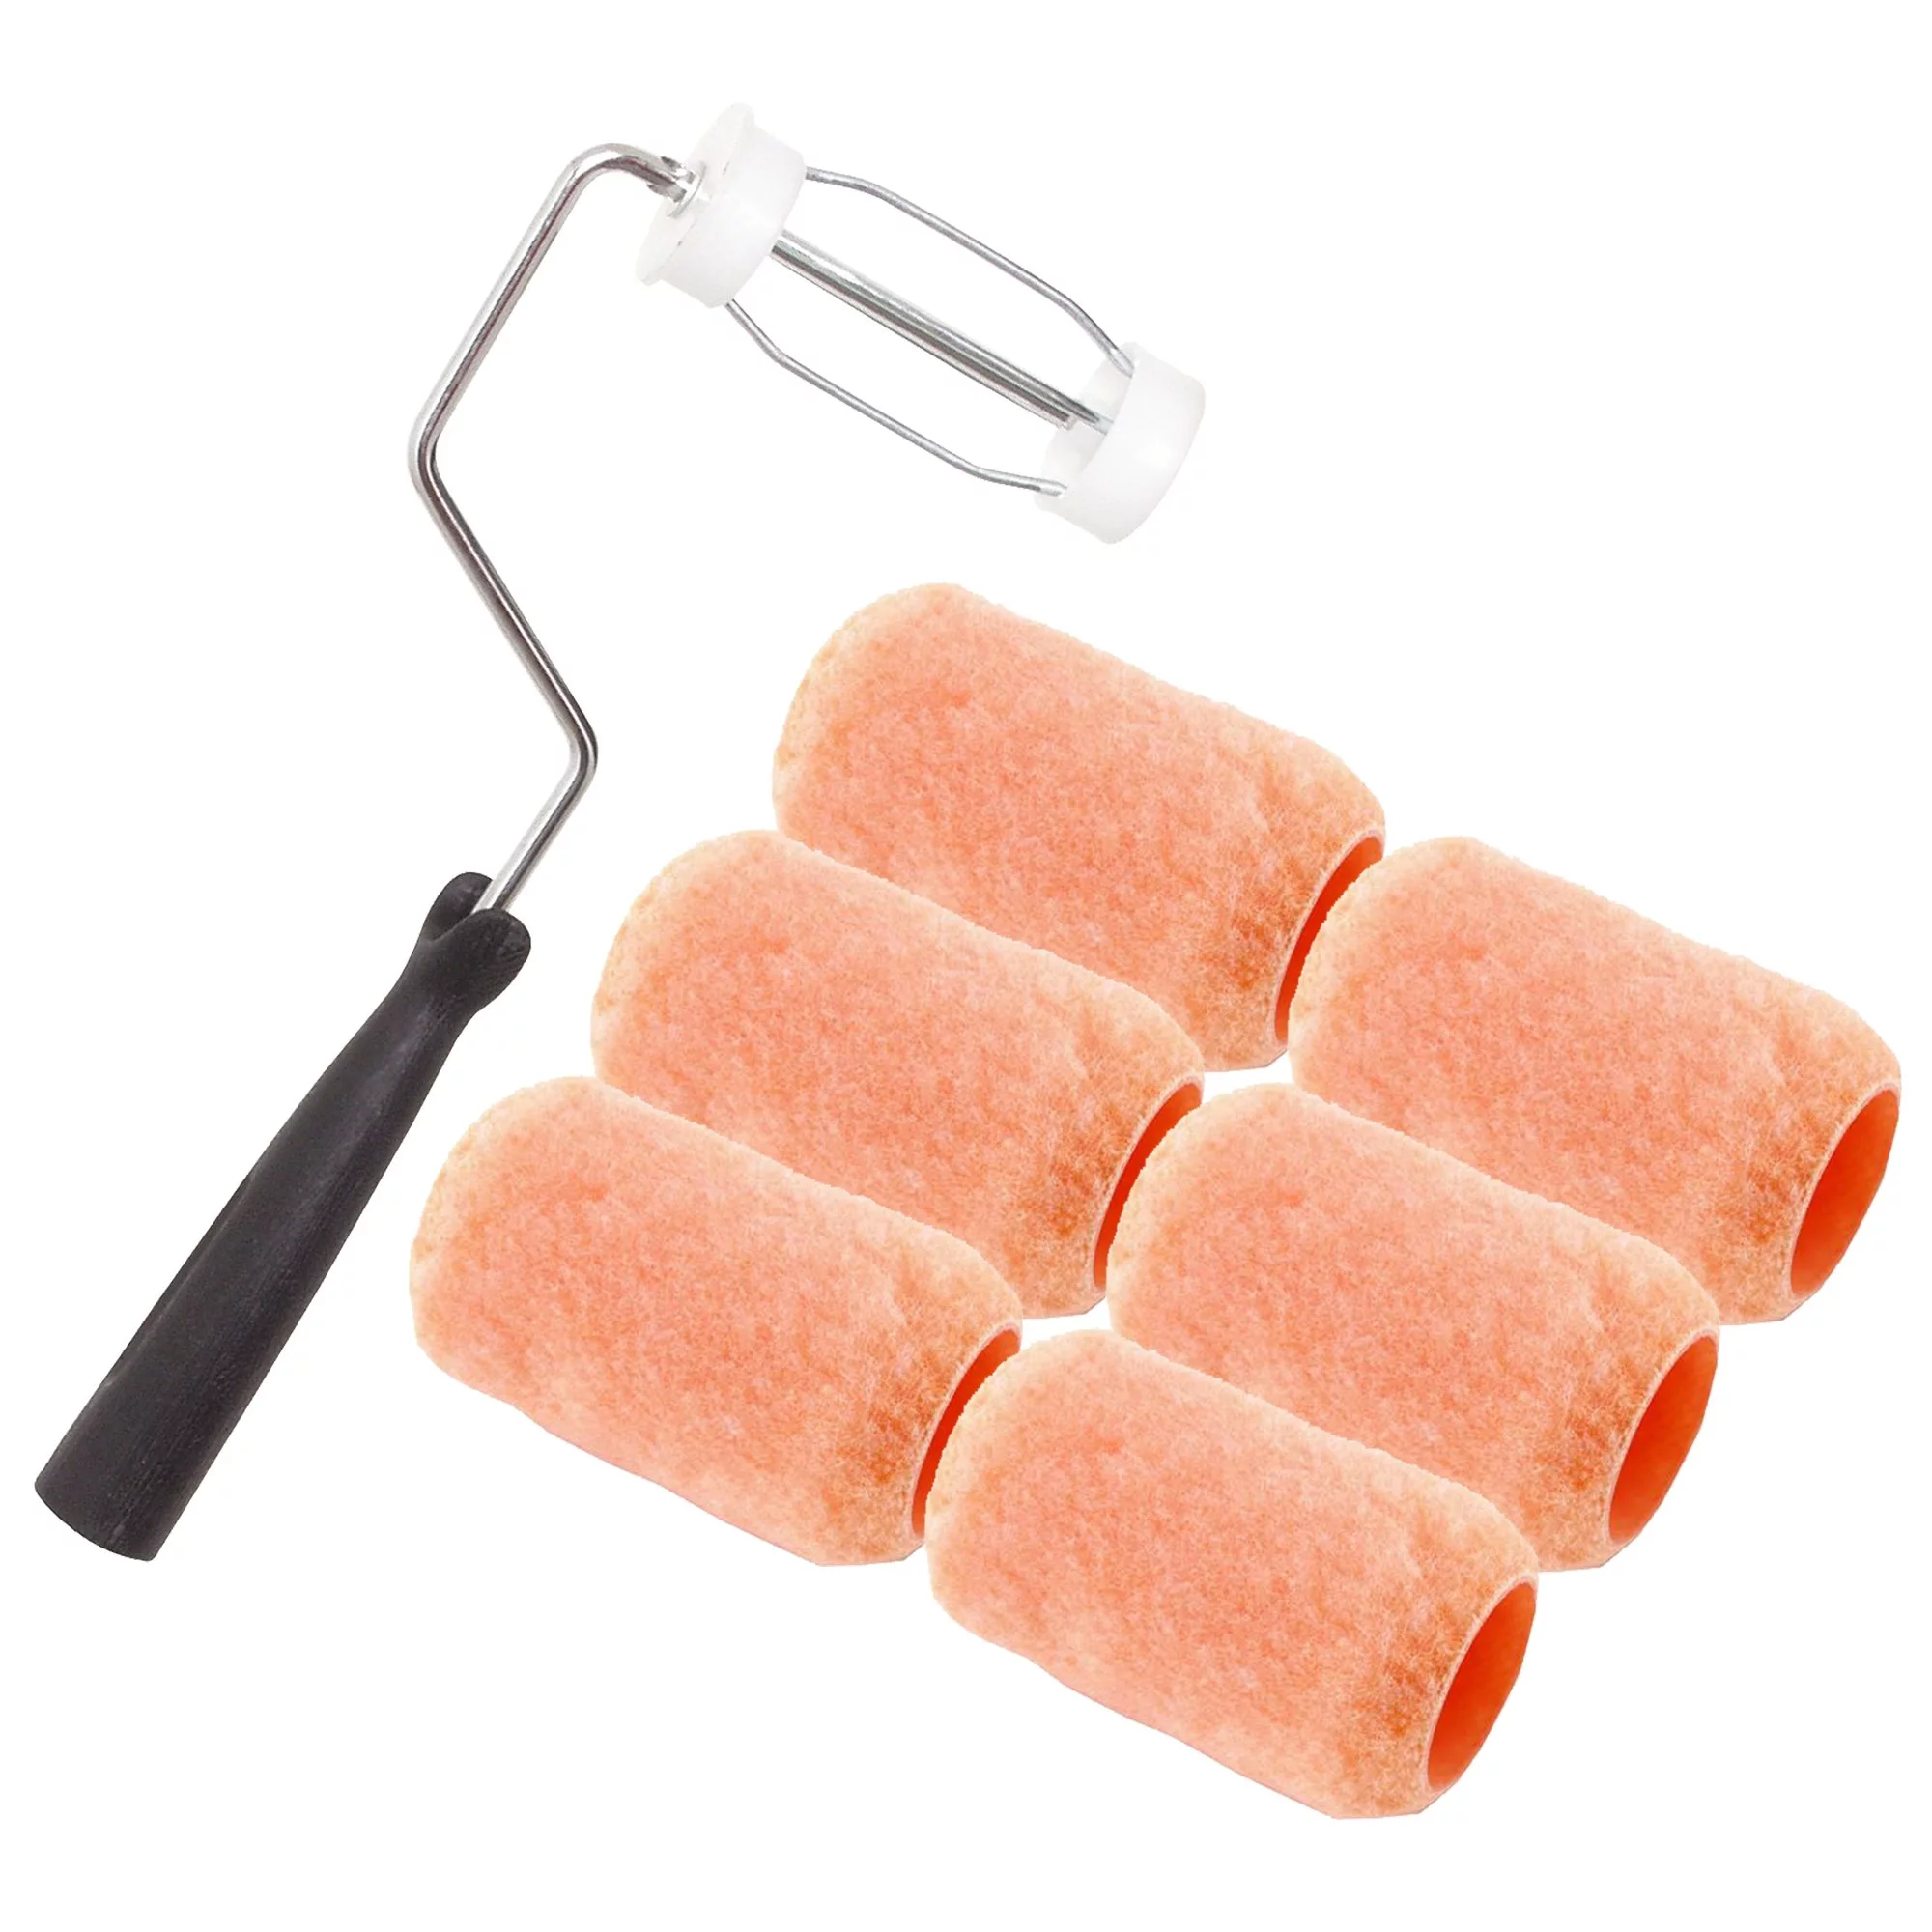
The first step in achieving a successful paint job with a roller is to choose the right roller cover. Roller covers come in various materials, nap lengths, and thicknesses, and selecting the appropriate one for your project is crucial.
When it comes to materials, there are typically three options: synthetic, natural, or foam. Synthetic roller covers, usually made of polyester or nylon, are versatile and suitable for most paint types. They are durable and easy to clean, making them a popular choice among professionals. Natural roller covers, made of materials such as lambswool, are ideal for oil-based paints as they provide excellent absorption and release. Foam roller covers are best for smooth surfaces and produce a very smooth finish.
The next consideration is the nap length, which refers to the thickness and density of the roller cover. A general rule of thumb is to use shorter nap lengths (around 1/4 to 3/8 inch) for smooth surfaces and longer nap lengths (3/8 to 1/2 inch or more) for textured surfaces. Shorter nap rollers are less likely to leave behind texture marks on smooth surfaces, while longer nap rollers can reach into crevices and cover more uneven areas.
Lastly, consider the roller size in relation to the surface area you’ll be painting. For larger areas, a wider roller (9 inches) can cover more surface area, while a narrower roller (4 to 6 inches) is better for smaller, more detailed work.
By selecting the appropriate roller cover for your specific project, you’ll ensure better paint application and a smoother finish.
Tip 2: Prep the surface
Before you start painting with a roller, it’s essential to properly prepare the surface you’ll be working on. Surface preparation ensures better adhesion and a more even paint finish.
Start by cleaning the walls to remove any dirt, dust, or grease. Use a mild detergent mixed with water and a sponge or cloth to gently scrub the surface. Rinse with clean water and allow the walls to dry completely.
Next, inspect the walls for any imperfections such as cracks, holes, or uneven surfaces. Fill in any holes or cracks using a spackling compound or putty. Allow the compound to dry according to the manufacturer’s instructions, and then sand the repaired areas until they are smooth and flush with the surrounding wall.
If there are any glossy or shiny areas, it’s important to lightly sand them to create a rough surface that the paint can adhere to. This step is particularly necessary when painting over glossy surfaces or applying a new coat of paint over an existing one.
After sanding, it’s time to prime the walls. Priming creates a smooth and even base for the paint, helps the paint adhere better, and ensures better color coverage. Apply a coat of primer using a brush or roller, making sure to cover the entire surface. Allow the primer to dry thoroughly before proceeding with the actual paint application.
Properly prepping the surface before painting ensures that the paint adheres well and provides a consistent and professional-looking finish. Don’t skip this step if you want your paint job to last and look its best.
Tip 3: Use primer
When it comes to achieving a flawless paint job, using a primer is essential. Primer acts as a preparatory layer between the surface and the paint, providing several benefits that contribute to a professional-looking finish.
One of the main advantages of using primer is that it helps the paint adhere better to the surface. Primer creates a uniform and porous surface, allowing the paint to grip onto it more effectively. This is particularly important when painting over surfaces that are glossy, stained, or have a different texture.
Primer also helps to block stains and prevent them from bleeding through the paint. Certain surfaces, such as water-damaged walls or areas with grease or smoke stains, may require a stain-blocking primer to ensure that the stains don’t show through the final paint coat.
Additionally, primer can help with color coverage. It provides a consistent base color, allowing the paint to go on more evenly and with better color intensity. This is especially beneficial when you’re painting over a dark or bold color with a lighter shade.
When selecting a primer, consider the type of paint you’ll be using. If you’re using latex or water-based paint, choose a water-based primer. For oil-based paints, opt for an oil-based primer. Always follow the manufacturer’s instructions for proper application and drying times.
Apply the primer using a brush or roller, making sure to cover the entire surface. Pay extra attention to any problem areas or stains that need to be concealed. Allow the primer to dry completely before applying the paint.
By using a primer, you’ll ensure better paint adhesion, stain-blocking capabilities, and improved color coverage, resulting in a professional-looking finish that lasts.
Tip 4: Use the proper technique
Using the proper painting technique is crucial when using a roller to achieve a smooth and professional finish. Here are some key techniques to keep in mind:
1. Roll in a “W” or “M” pattern: Instead of simply rolling up and down, it’s best to create a “W” or “M” pattern on the wall. Start at the top corner of the wall and roll downwards in a zigzag motion, then roll back up in the opposite direction. This method ensures even distribution of paint and minimizes the risk of visible roller marks.
2. Apply even pressure: Apply consistent pressure while rolling the paint. Avoid pressing too hard, as this can result in excess paint being released and uneven coverage. Conversely, not applying enough pressure may lead to streaks or roller marks. Experiment with different amounts of pressure to find the sweet spot that creates a smooth and even finish.
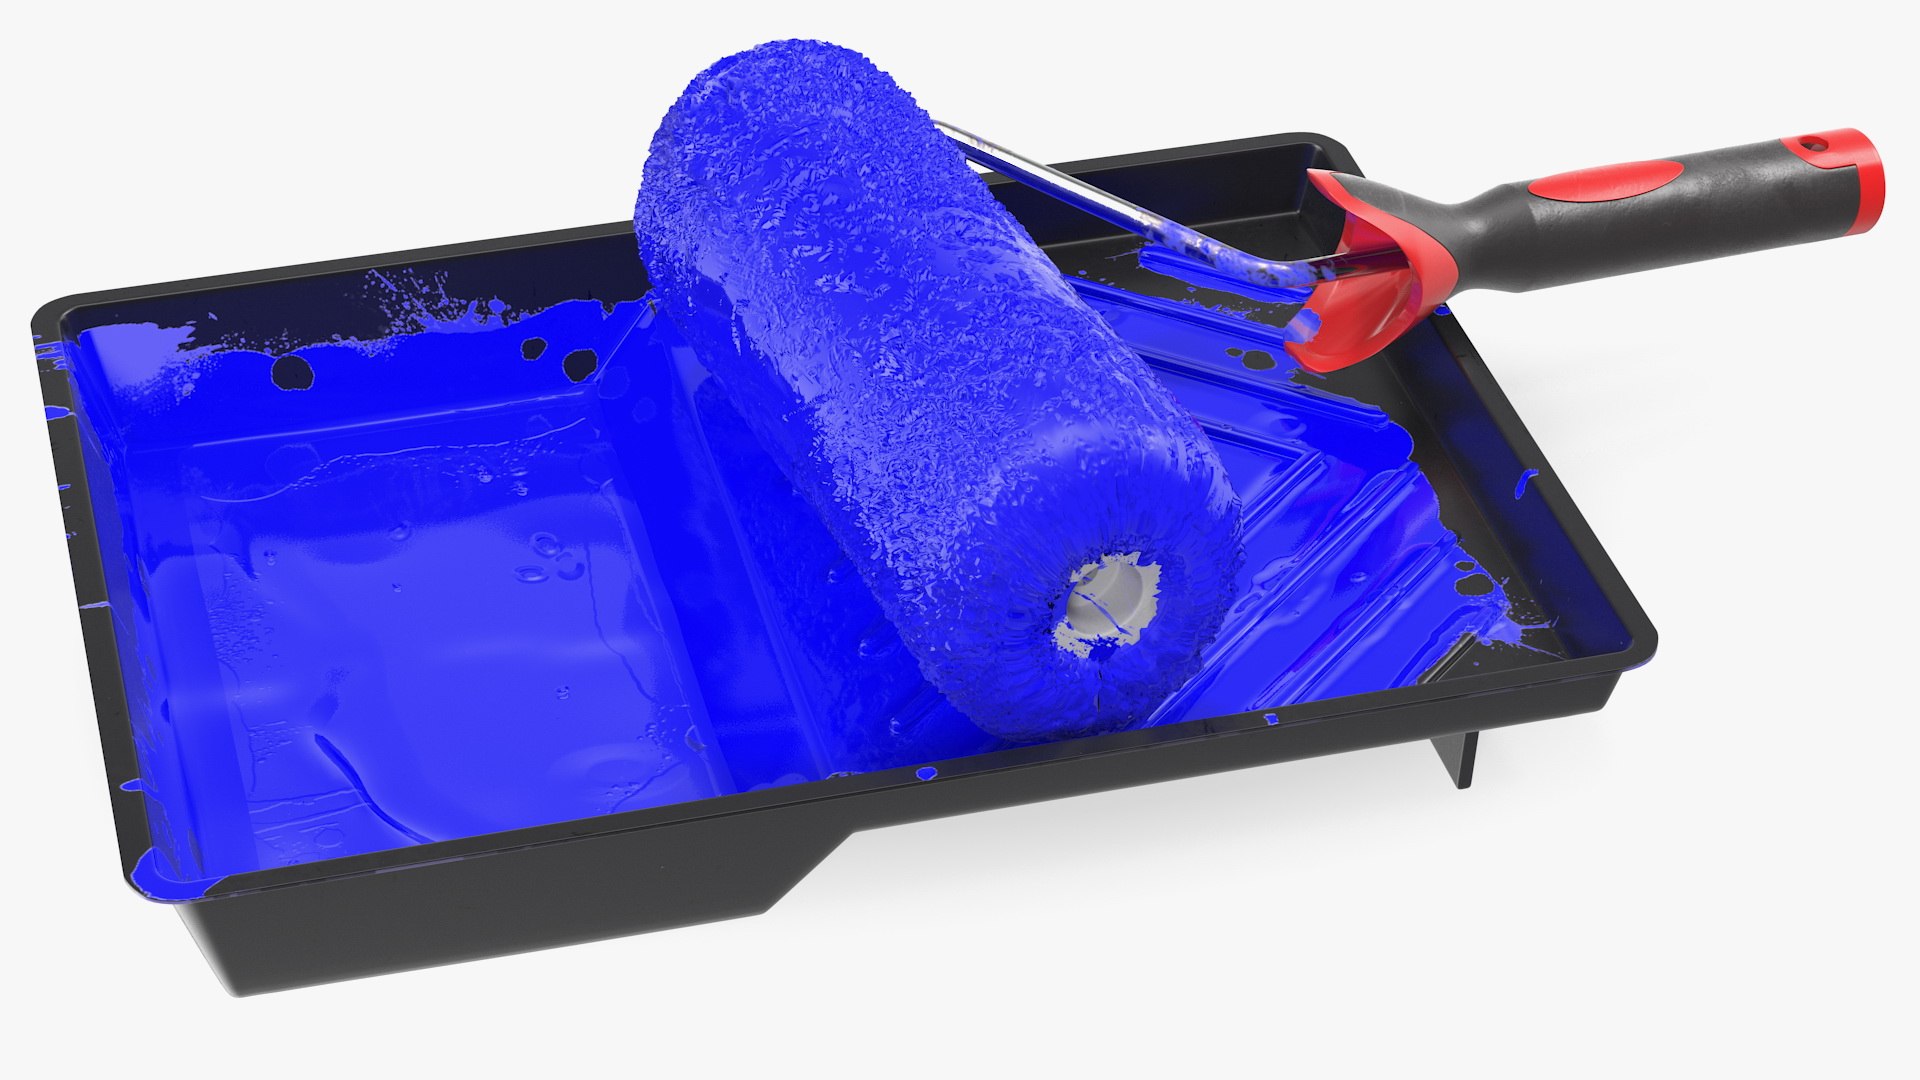
3. Avoid oversaturating the roller: Dip the roller into the paint tray, then roll it back and forth to distribute the paint evenly. Make sure the roller is covered in a thin, even layer of paint. Excess paint on the roller can lead to drips, drips, and a blotchy finish. If necessary, lightly roll the roller on the ridges of the paint tray to remove any excess paint.
4. Feather the edges: When rolling, feather the edges of each section to create a seamless blend. This means overlapping the newly painted section with the previously painted area while the paint is still wet. This technique helps to avoid visible lines or marks between different sections.
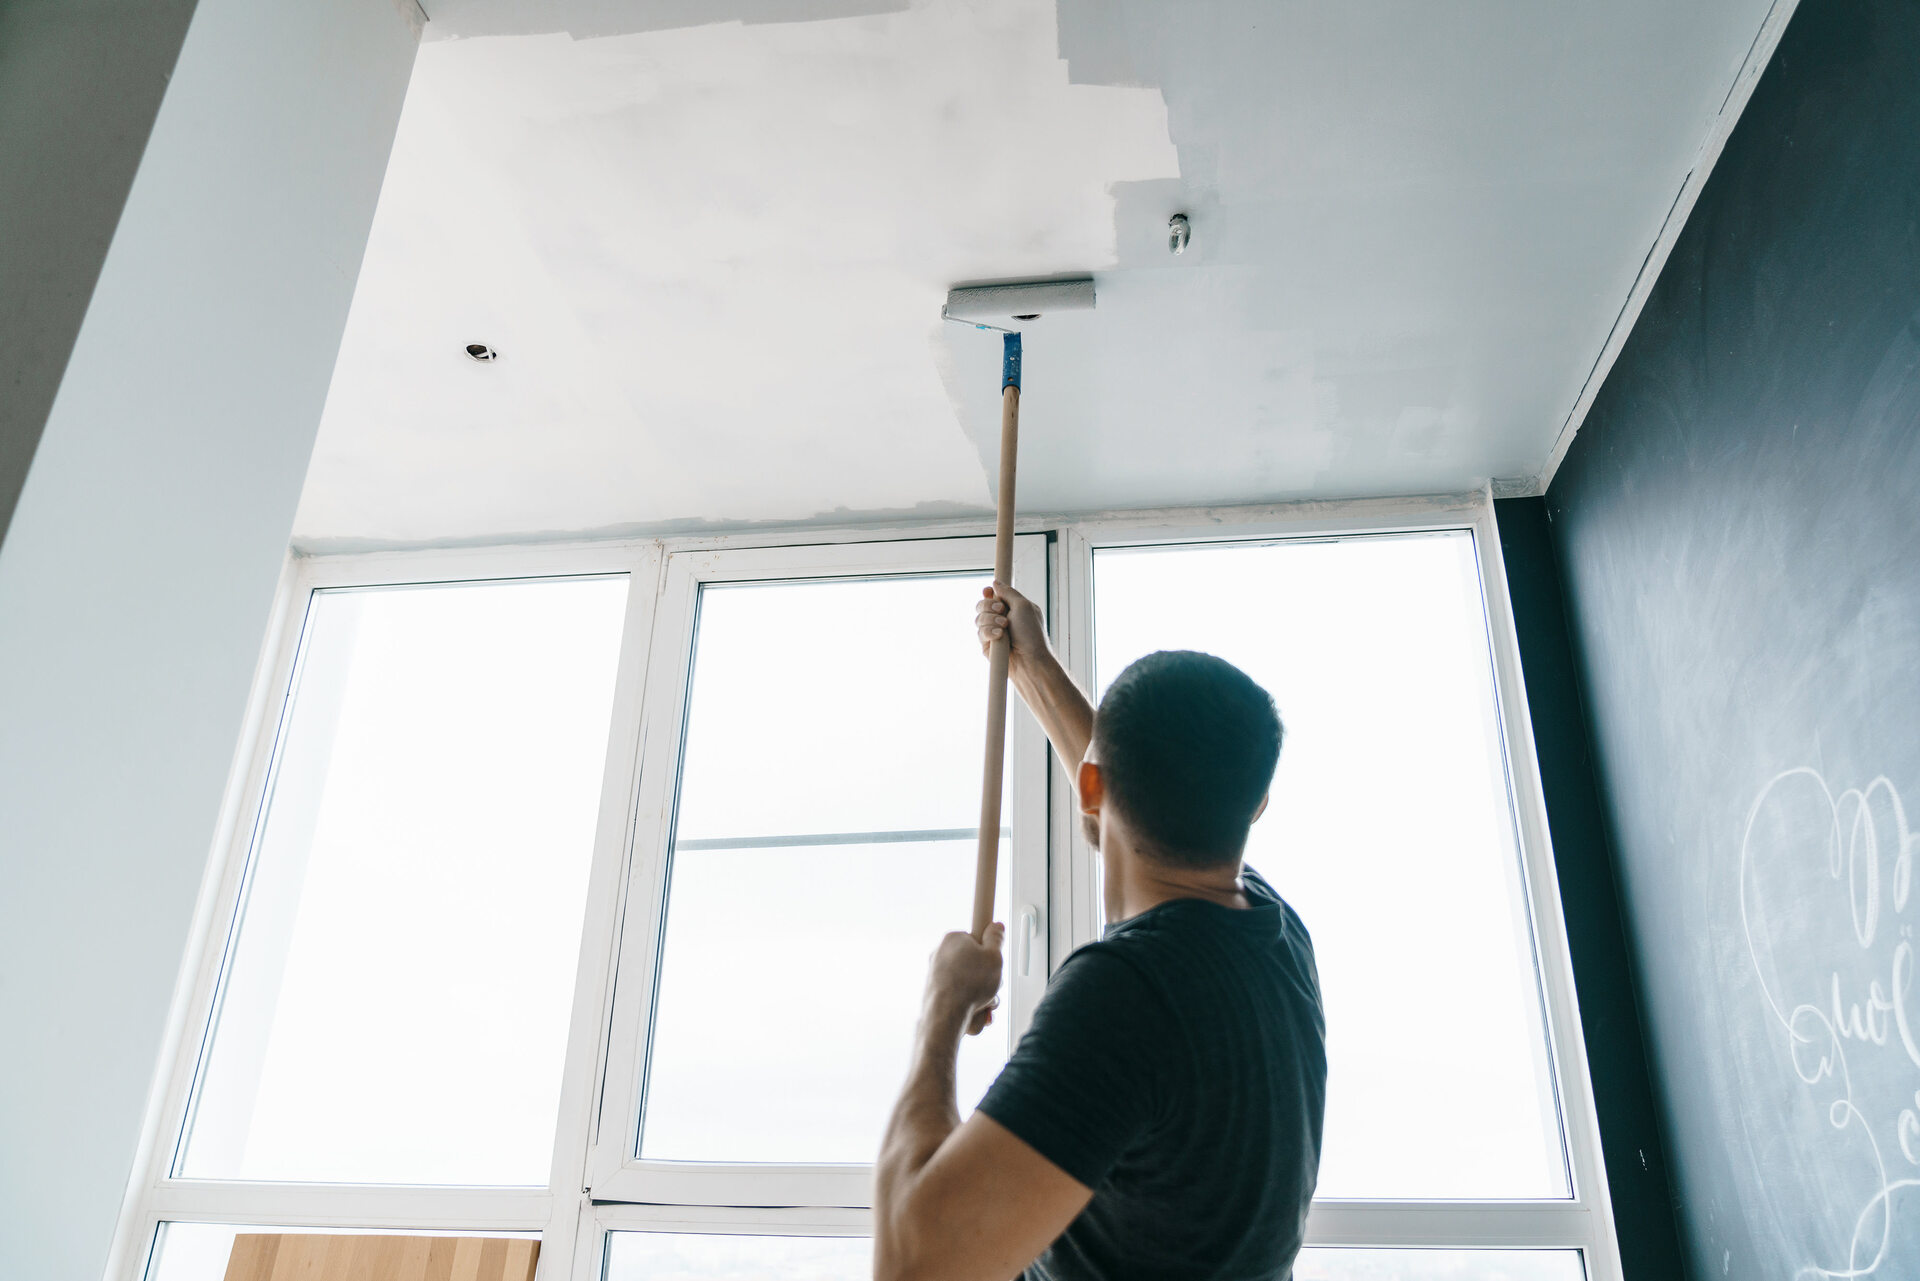
5. Roll from top to bottom: Start painting from the top of the wall and work your way down. This technique helps to prevent drips or splatters from falling onto already painted areas. It also allows you to spot and correct any imperfections as you work your way down.
6. Use an extension pole: For higher walls or ceilings, use an extension pole to reach areas that are beyond your normal reach. This will help maintain a consistent technique and avoid uneven coverage.
By using these proper techniques, you’ll achieve an even, professional-looking finish with your roller painting. Practice, patience, and attention to detail will go a long way in mastering the technique and producing outstanding results.
Read more: How To Store Paint Rollers
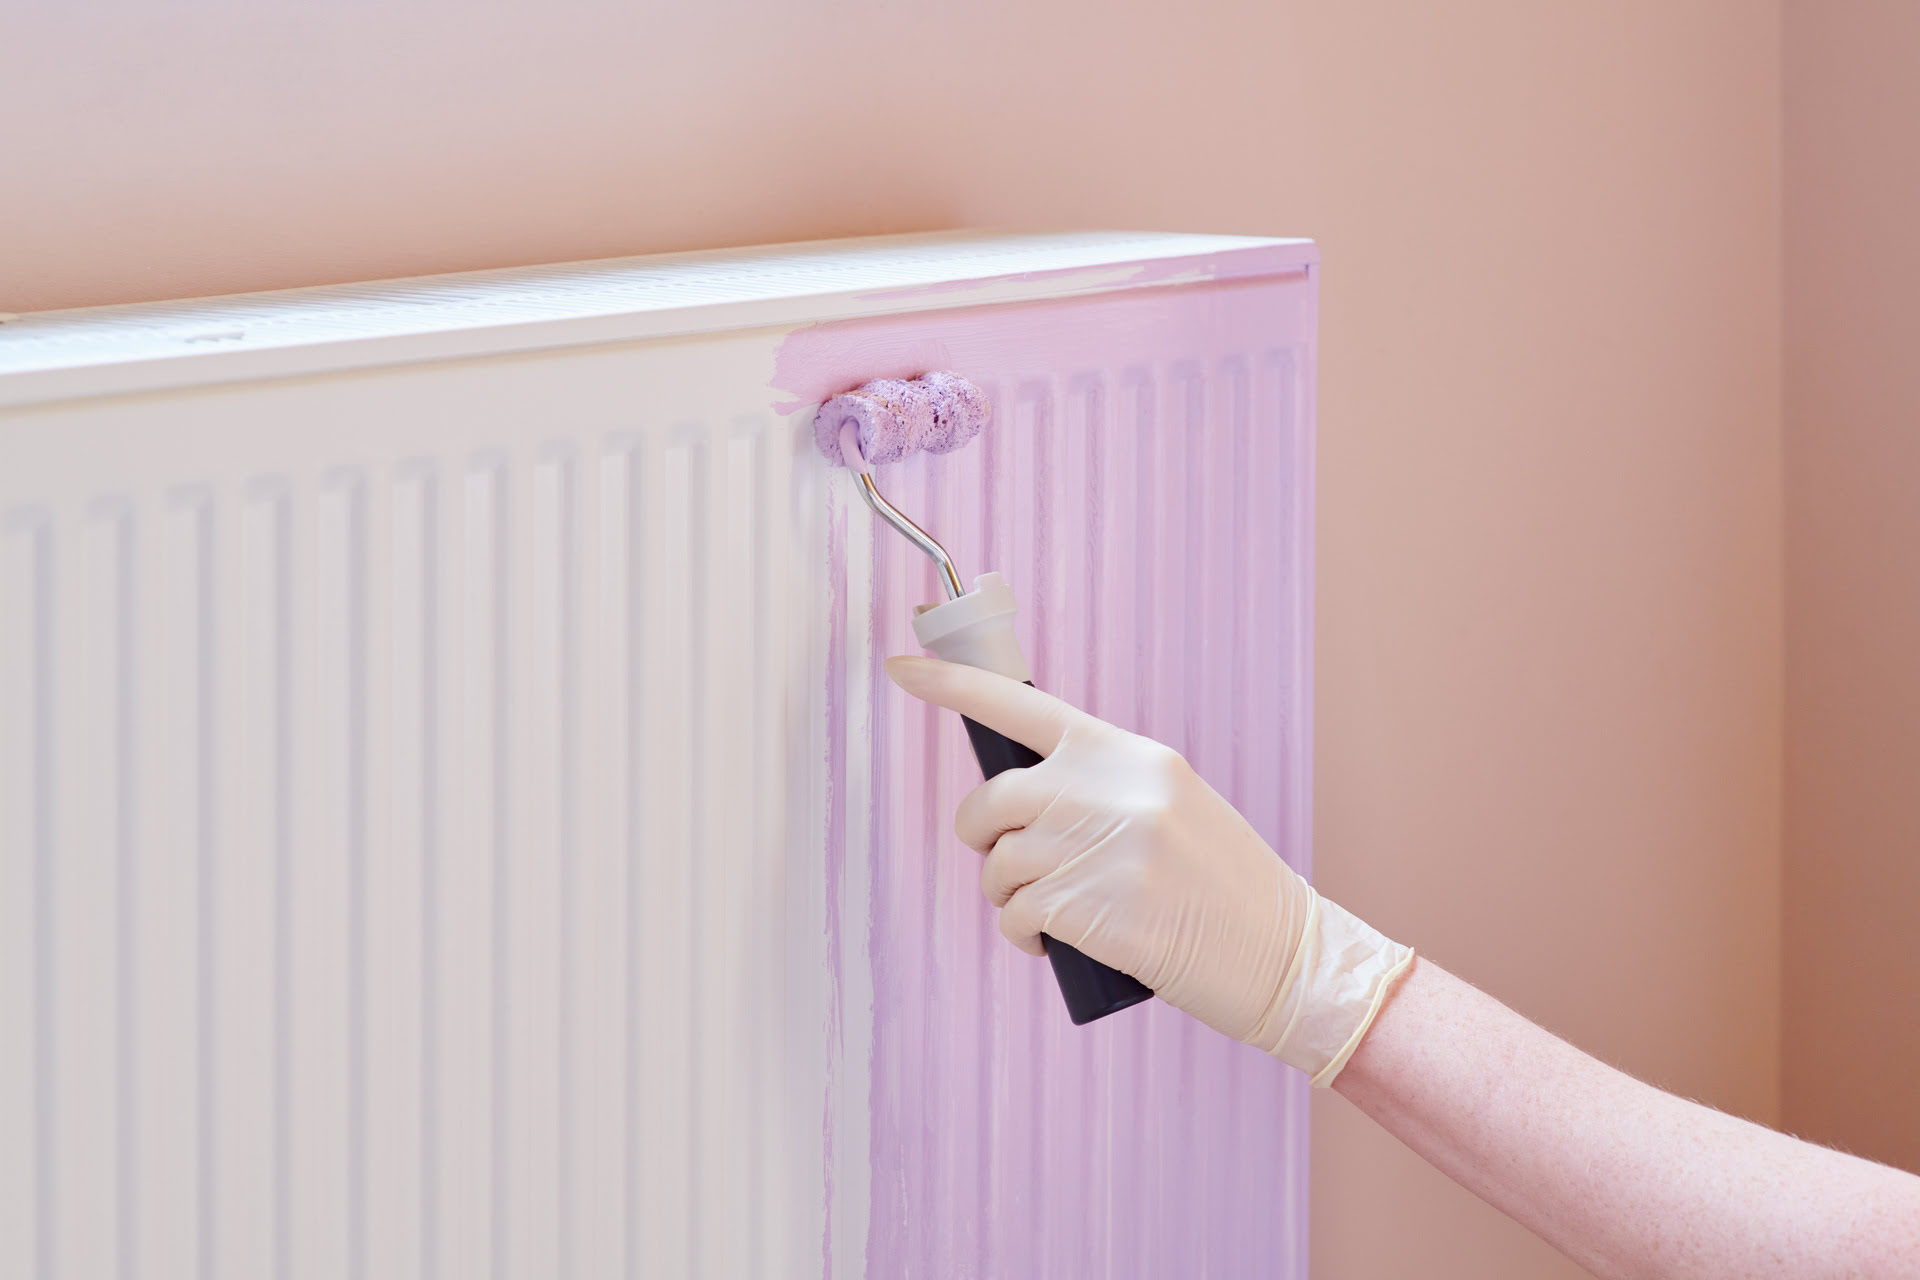
Tip 5: Cut in before rolling
Before you start rolling paint onto the walls, it is essential to “cut in” or paint the edges and corners of the room using a brush or smaller roller. This technique ensures clean lines and a polished finish.
Use a high-quality angled brush to carefully paint along the edges, corners, and trim where the roller can’t reach. This includes areas like baseboards, window and door frames, and ceiling edges. The goal is to create a neat and precise line that will serve as a guide for the roller.
When cutting in, take your time and use a steady hand. Start by loading the brush with a small amount of paint and remove any excess on the edge of the paint can or tray. Then, holding the brush like a pencil, carefully drag it along the edge, applying gentle and even pressure. For more control, brace your hand against the surface or use a painter’s tape for a cleaner line.
After cutting in, allow the paint to dry before proceeding with the rolling. Once the cut-in areas are dry, you can use a roller to cover the main wall surfaces. By painting the edges first, you ensure that the roller seamlessly blends with the brushed areas, creating a cohesive and professional-looking finish.
Remember to feather the edges of the rolled paint onto the cut-in areas while they are still wet to achieve a smooth transition between the brushwork and the rolled paint.
By following this tip and cutting in before rolling, you’ll achieve clean lines, eliminate the risk of the roller touching areas where it shouldn’t, and produce a polished result that will elevate the overall look of your paint job.
When using a roller, start by applying a “W” pattern to evenly distribute the paint, then fill in the gaps with vertical strokes for a smooth finish.
Tip 6: Work in smaller sections
When painting with a roller, it’s important to work in smaller sections rather than trying to cover the entire wall in one go. This approach allows for better control, ensures even coverage, and prevents the paint from drying too quickly.
Divide the wall into manageable sections, typically about 3 to 4 feet wide. Start by painting along the top edge of the section, known as “cutting in,” using a brush or smaller roller. This will create a clean edge for the roller to blend into. Then, using the roller, begin at the top and roll downwards, covering the section from top to bottom in smooth, overlapping strokes.
Working in smaller sections helps to avoid lap marks, which can occur if the paint starts to dry before you’ve finished rolling. Lap marks are visible lines that result from overlapping dried paint with wet paint. By keeping the sections smaller, you can maintain a wet edge, ensuring that each stroke blends seamlessly into the previous one without visible lines or variations.
Additionally, working in smaller sections allows you to focus on one area at a time, ensuring thorough coverage and attention to detail. It allows you to consistently apply the same pressure and technique, producing a more uniform result.
Don’t rush the process. Take your time and pay attention to the edges and corners of each section, using a brush to cut in, if necessary. This will result in a more professional and well-executed paint job.
Remember to step back frequently to assess your work and make any necessary touch-ups. Once a section is completed, move on to the next one, overlapping slightly with the previous section to ensure a seamless transition.
By working in smaller sections, you’ll have greater control over the application, minimize the risk of lap marks, and achieve a beautifully painted wall with consistent coverage throughout.
Tip 7: Apply multiple coats
When painting with a roller, it’s often necessary to apply multiple coats of paint to achieve the desired coverage and a professional-looking finish. Applying multiple coats ensures even color distribution, hides imperfections, and enhances the longevity of the paint job.
Here are a few tips to keep in mind when applying multiple coats:
1. Allow sufficient drying time: Before applying additional coats, make sure the previous coat is fully dry. Check the paint can or manufacturer’s instructions for recommended drying times. Rushing the process can lead to lifting or smudging of the previous coat.
2. Use a light touch: Apply each subsequent coat with a lighter touch than the previous one. This helps to avoid overloading the roller with paint and creating an uneven finish. Smooth and even application is key to achieving professional results.
3. Pay attention to coverage: Assess the coverage of each coat as you go. If the underlying color or imperfections are still visible after one coat, apply an additional coat to achieve better coverage. Be mindful of the paint opacity and adjust the number of coats accordingly.
4. Allow drying time between coats: Even when the paint feels dry to the touch, it may not have cured completely. Give each coat ample time to cure before applying the next one. This ensures better adhesion and prevents the risk of the paint peeling or coming off when multiple layers are applied.
5. Maintain a consistent technique: When applying multiple coats, it’s important to maintain a consistent technique and roller pressure. This helps to ensure even coverage and a uniform finish across all layers.
Remember, the number of coats required will depend on factors such as the original wall color, the paint color and type, and the desired final result. Always refer to the paint manufacturer’s guidelines for the recommended number of coats.
By applying multiple coats with care and attention, you’ll achieve a beautifully saturated and well-covered surface that enhances the overall appearance of your painted walls.
Tip 8: Watch for drips and uneven coverage
When painting with a roller, it’s important to keep a vigilant eye out for drips and uneven coverage. These common issues can detract from the overall quality of the paint job, but with some careful attention, you can prevent and address them effectively.
1. Manage excess paint: Before you start rolling, make sure to remove any excess paint from the roller by rolling it back and forth on the ridges of the paint tray. Excessive paint on the roller can lead to drips and uneven coverage. It’s better to have a slightly drier roller and apply multiple thin coats, rather than using too much paint at once.
2. Roll with steady, even strokes: When applying the paint with the roller, use smooth and consistent motions. Avoid applying excessive pressure or hesitating mid-stroke, as this can result in uneven coverage. Maintain a steady pace and ensure the roller is fully loaded with paint for each stroke.
3. Watch for drips: Drips can occur when too much paint is applied or when the roller is overloaded. As you roll, keep an eye out for any drips forming on the walls and address them immediately. Use a brush to smooth out or remove any drips before they dry. This will prevent unsightly drips from drying onto the surface.
4. Feather out uneven coverage: If you notice any areas with uneven coverage or roller marks, you can make corrections while the paint is still wet. Using the roller, lightly roll over those areas without applying additional paint. This technique, known as “feathering,” helps to blend the paint and create a smoother, more consistent appearance.
5. Inspect your work: Regularly step back and inspect your work from different angles and under different lighting to identify any areas that require touch-ups. Take the time to correct any drips, streaks, or uneven spots before the paint dries to achieve a flawless finish.
Remember, patience and attention to detail are key in avoiding drips and achieving even coverage. Be mindful of your technique, manage excess paint, and address any issues as you go along. With careful observation and small adjustments, you’ll be able to create a beautifully painted surface without unsightly drips or patchy areas.
Read more: How To Paint Exterior Stucco With A Roller
Tip 9: Clean and maintain your roller
Properly cleaning and maintaining your roller is essential for achieving consistent results and extending its lifespan. Here are some tips on how to clean and maintain your roller:
1. Remove excess paint: After you’ve finished painting, use a putty knife or the curved edge of a paint tray to scrape off any excess paint from the roller. This prevents the paint from drying and clogging the roller fibers.
2. Rinse with water or solvent: Depending on the type of paint you’ve used, you can rinse the roller with water for latex paints or a solvent recommended for oil-based paints. Fill a bucket or sink with enough water or solvent to submerge the roller and roll it back and forth, squeezing gently to remove any remaining paint.
3. Use a roller cleaner or detergent: For stubborn or dried-on paint, you may need to use a roller cleaner or a mild detergent. Follow the manufacturer’s instructions on the cleaner or mix a small amount of detergent with water and gently scrub the roller with a brush or your hands. Rinse thoroughly to remove all traces of paint and cleaner.
4. Dry the roller properly: After cleaning, shake off excess water or solvent and use a clean cloth or paper towel to blot the roller and remove any remaining moisture. Ensure the roller is fully dry before storing or reusing it. You can air dry it by hanging it upside down or use a fan to expedite the drying process.
5. Store the roller properly: When not in use, store the roller in a plastic bag or wrap it tightly in plastic wrap to prevent it from drying out or collecting dust. Avoid storing the roller on its end, as this can cause it to become misshapen or affect the quality of the roller cover.
6. Consider roller covers for reuse: If you have a high-quality roller cover that you want to reuse for future projects, you can protect it by sliding it onto a cardboard tube or wrapping it tightly with plastic wrap. This helps maintain its shape and prevents damage.
By regularly cleaning and maintaining your roller, you’ll ensure better paint application, avoid cross-contamination of paint colors, and extend the life of your roller. Investing a little time in proper maintenance will go a long way toward achieving consistent and professional results with each use.
Tip 10: Take breaks and evaluate your work
When painting with a roller, it’s important to take breaks and step back to evaluate your work. This allows you to assess your progress, make necessary adjustments, and ensure a flawless and professional finish. Here are some key considerations for taking breaks and evaluating your work:
1. Give yourself time: Painting can be a physically demanding task, so it’s important to take regular breaks to rest and recharge. This will help you maintain focus and avoid fatigue, which can lead to sloppy paint application. Listen to your body and take breaks as needed.
2. Step back and assess: Throughout the painting process, take frequent breaks to step back and evaluate your work from a distance. This allows you to get a better perspective on the overall appearance of the painted surface. Look for any areas that may need touch-ups, uneven coverage, or other imperfections.
3. Consider the lighting: Lighting plays a crucial role in how the paint color and finish appear. Step back and evaluate your work under different lighting conditions. This can help you identify any inconsistencies or areas that require further attention.
4. Check for drips and brush marks: During your evaluation, look for any drips, runs, or brush marks that may have occurred. Use a brush or roller to smooth out these imperfections while the paint is still wet. Pay attention to corners, edges, and other areas that may be prone to drips or brush marks.
5. Address touch-ups: As you evaluate your work, identify any areas that require touch-ups. Use a small brush or roller to address these spots, ensuring a consistent and seamless finish. Taking the time to address touch-ups will enhance the overall appearance of your paint job.
6. Seek a second opinion: If possible, ask someone else to evaluate your work and provide feedback. Another pair of eyes can often spot things that you may have missed. Their fresh perspective can help identify any areas that require improvement or additional attention.
Taking breaks and evaluating your work throughout the painting process allows you to maintain quality control and make necessary adjustments. It ensures that you end up with a professional and polished result that you can be proud of.
Remember, painting requires patience and attention to detail. By taking the time to step back, assess your work, and address any issues, you’ll achieve a truly impressive paint finish that enhances the overall look and feel of your space.
Conclusion
Congratulations! You are now equipped with expert tips on how to paint with a roller like a pro. Painting with a roller can transform the look and feel of a room, and by following these tips, you can achieve a flawless and professional finish.
Remember to start by choosing the right roller for your project, considering factors such as materials, nap length, and size. Prepping the surface, using primer, and employing the proper technique are essential for creating a smooth and even paint application. Cutting in before rolling and working in smaller sections help maintain control and ensure clean lines.
Applying multiple coats of paint ensures better coverage and color intensity, while watching for drips and uneven coverage helps you address issues as they arise. Cleaning and maintaining your roller prolongs its life and ensures consistent results. And lastly, taking breaks and evaluating your work throughout the painting process allows you to make necessary adjustments and achieve a flawless finish.
Painting with a roller can be a rewarding and enjoyable experience, especially when armed with the right knowledge and techniques. So take your time, be patient, and enjoy the process of transforming your space with a professionally painted finish.
Remember, practice makes perfect, so don’t be discouraged if you don’t achieve perfection on your first try. With each project, you’ll gain more experience and refine your skills. So go ahead, grab your roller and paint with confidence!
Frequently Asked Questions about Painting With A Roller: 10 Expert Tips
Was this page helpful?
At Storables.com, we guarantee accurate and reliable information. Our content, validated by Expert Board Contributors, is crafted following stringent Editorial Policies. We're committed to providing you with well-researched, expert-backed insights for all your informational needs.


0 thoughts on “Painting With A Roller: 10 Expert Tips”