Articles
How To Make Roller Blinds
Modified: December 7, 2023
Discover the best articles on how to make roller blinds. Step-by-step guides, tips, and techniques to create custom and stylish window coverings for any space.
(Many of the links in this article redirect to a specific reviewed product. Your purchase of these products through affiliate links helps to generate commission for Storables.com, at no extra cost. Learn more)
Introduction
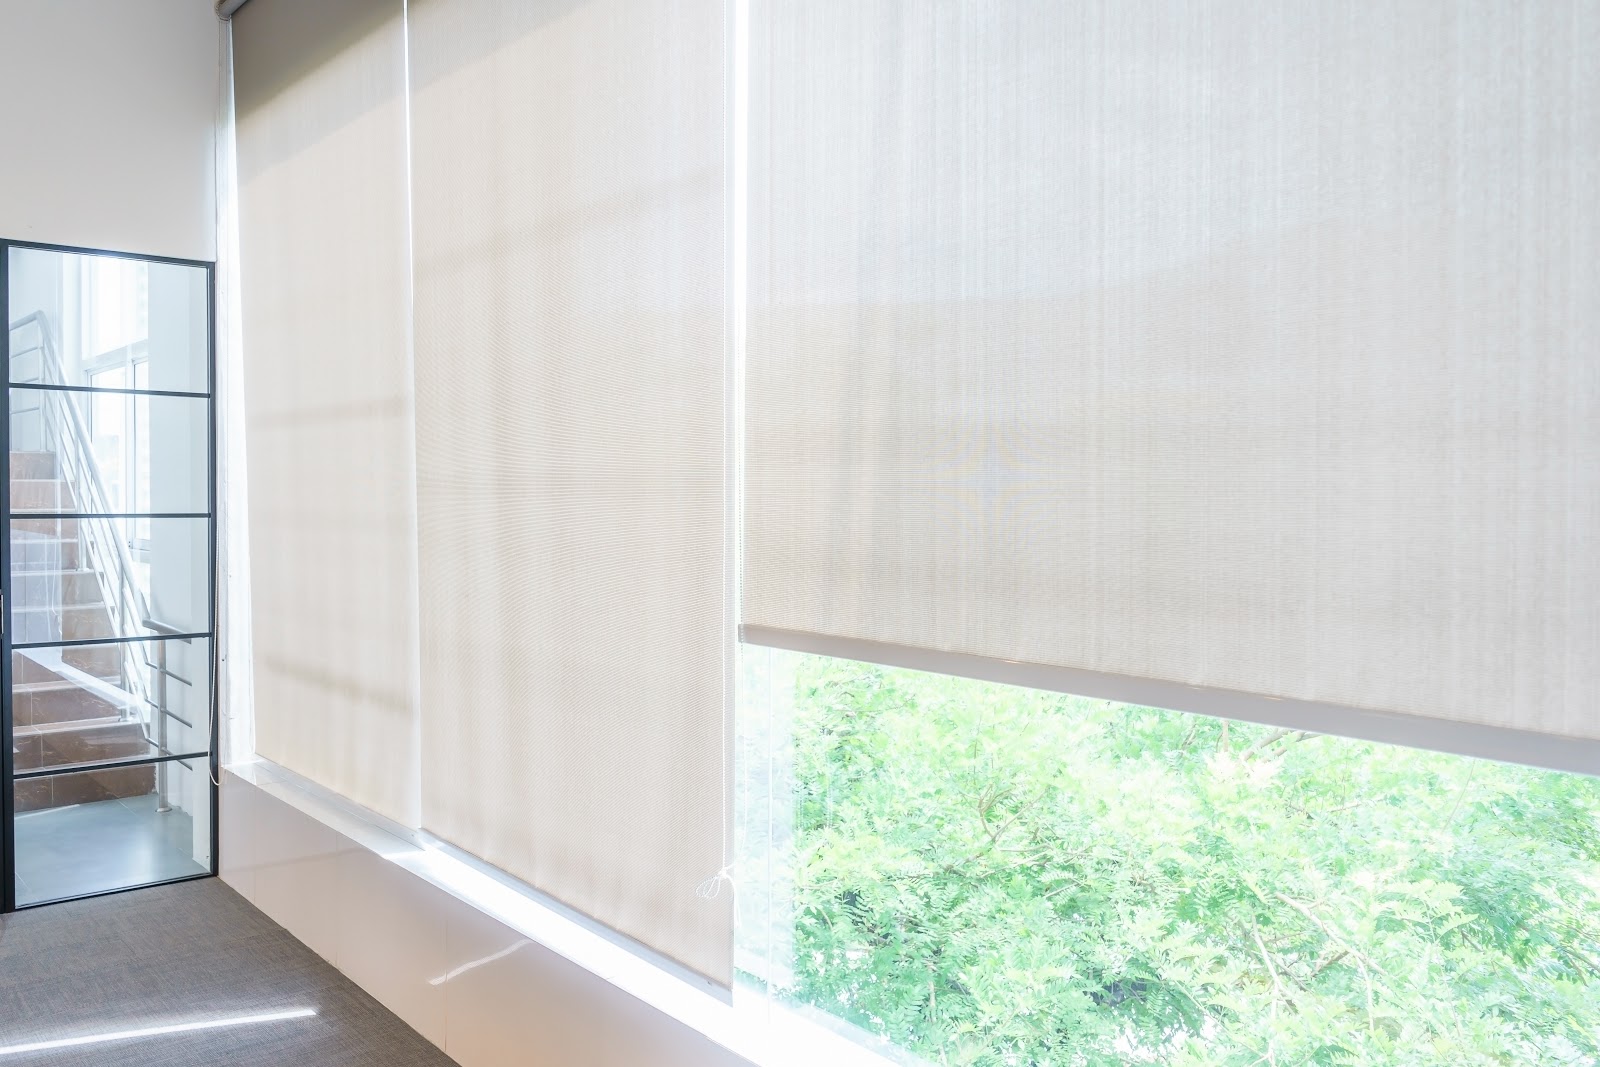
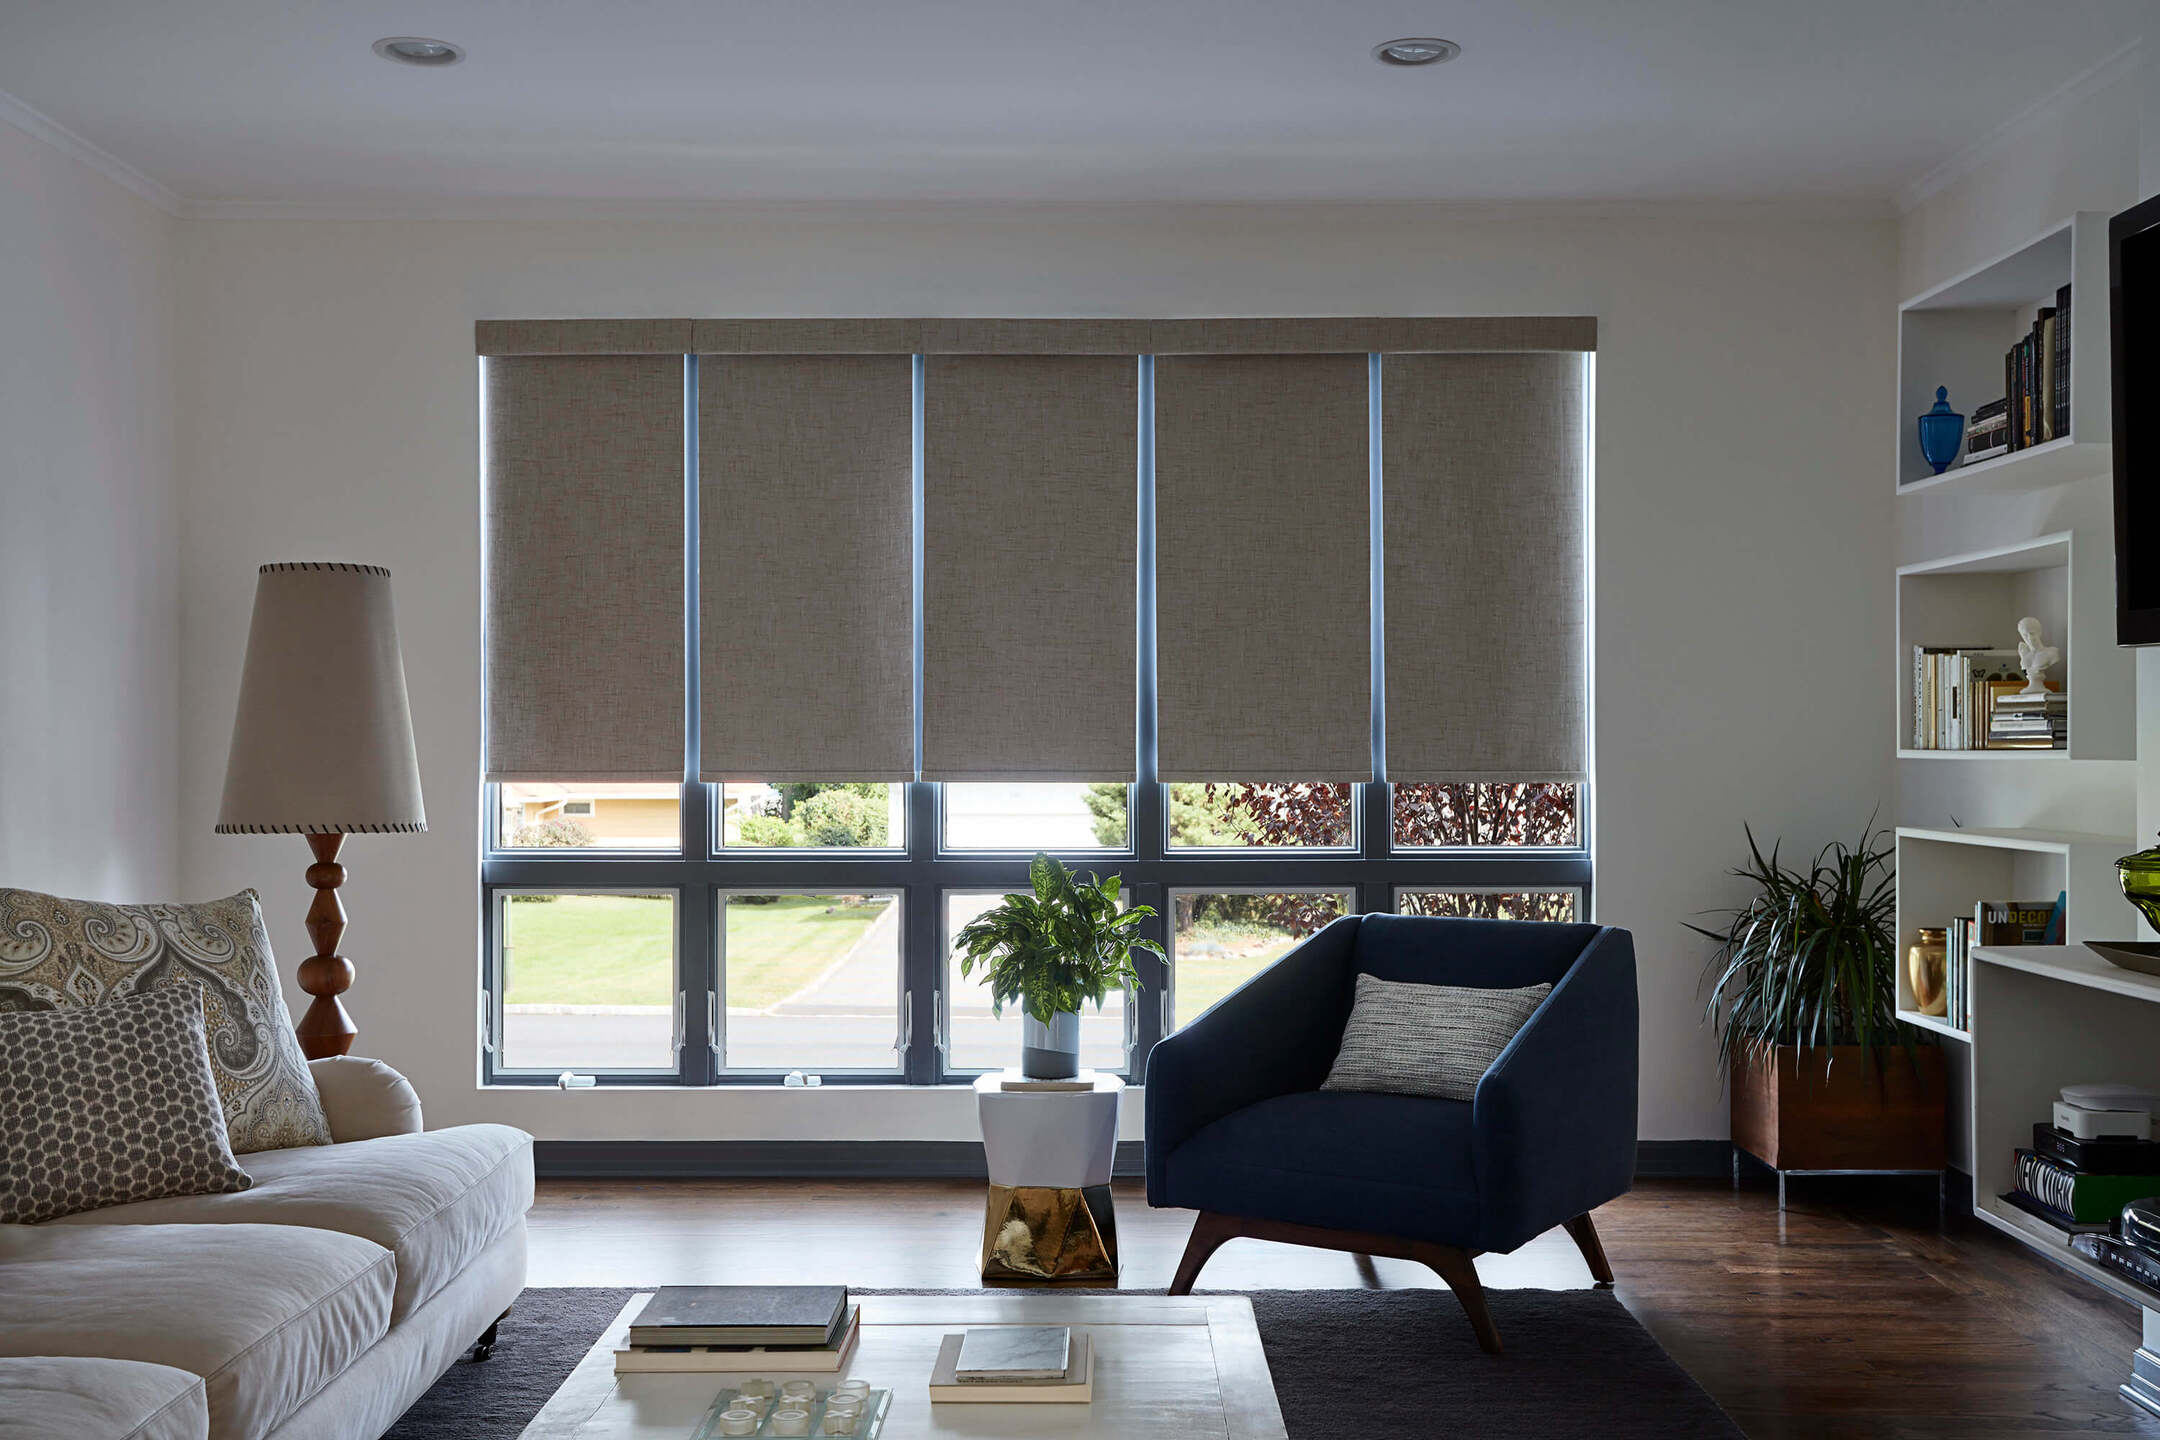
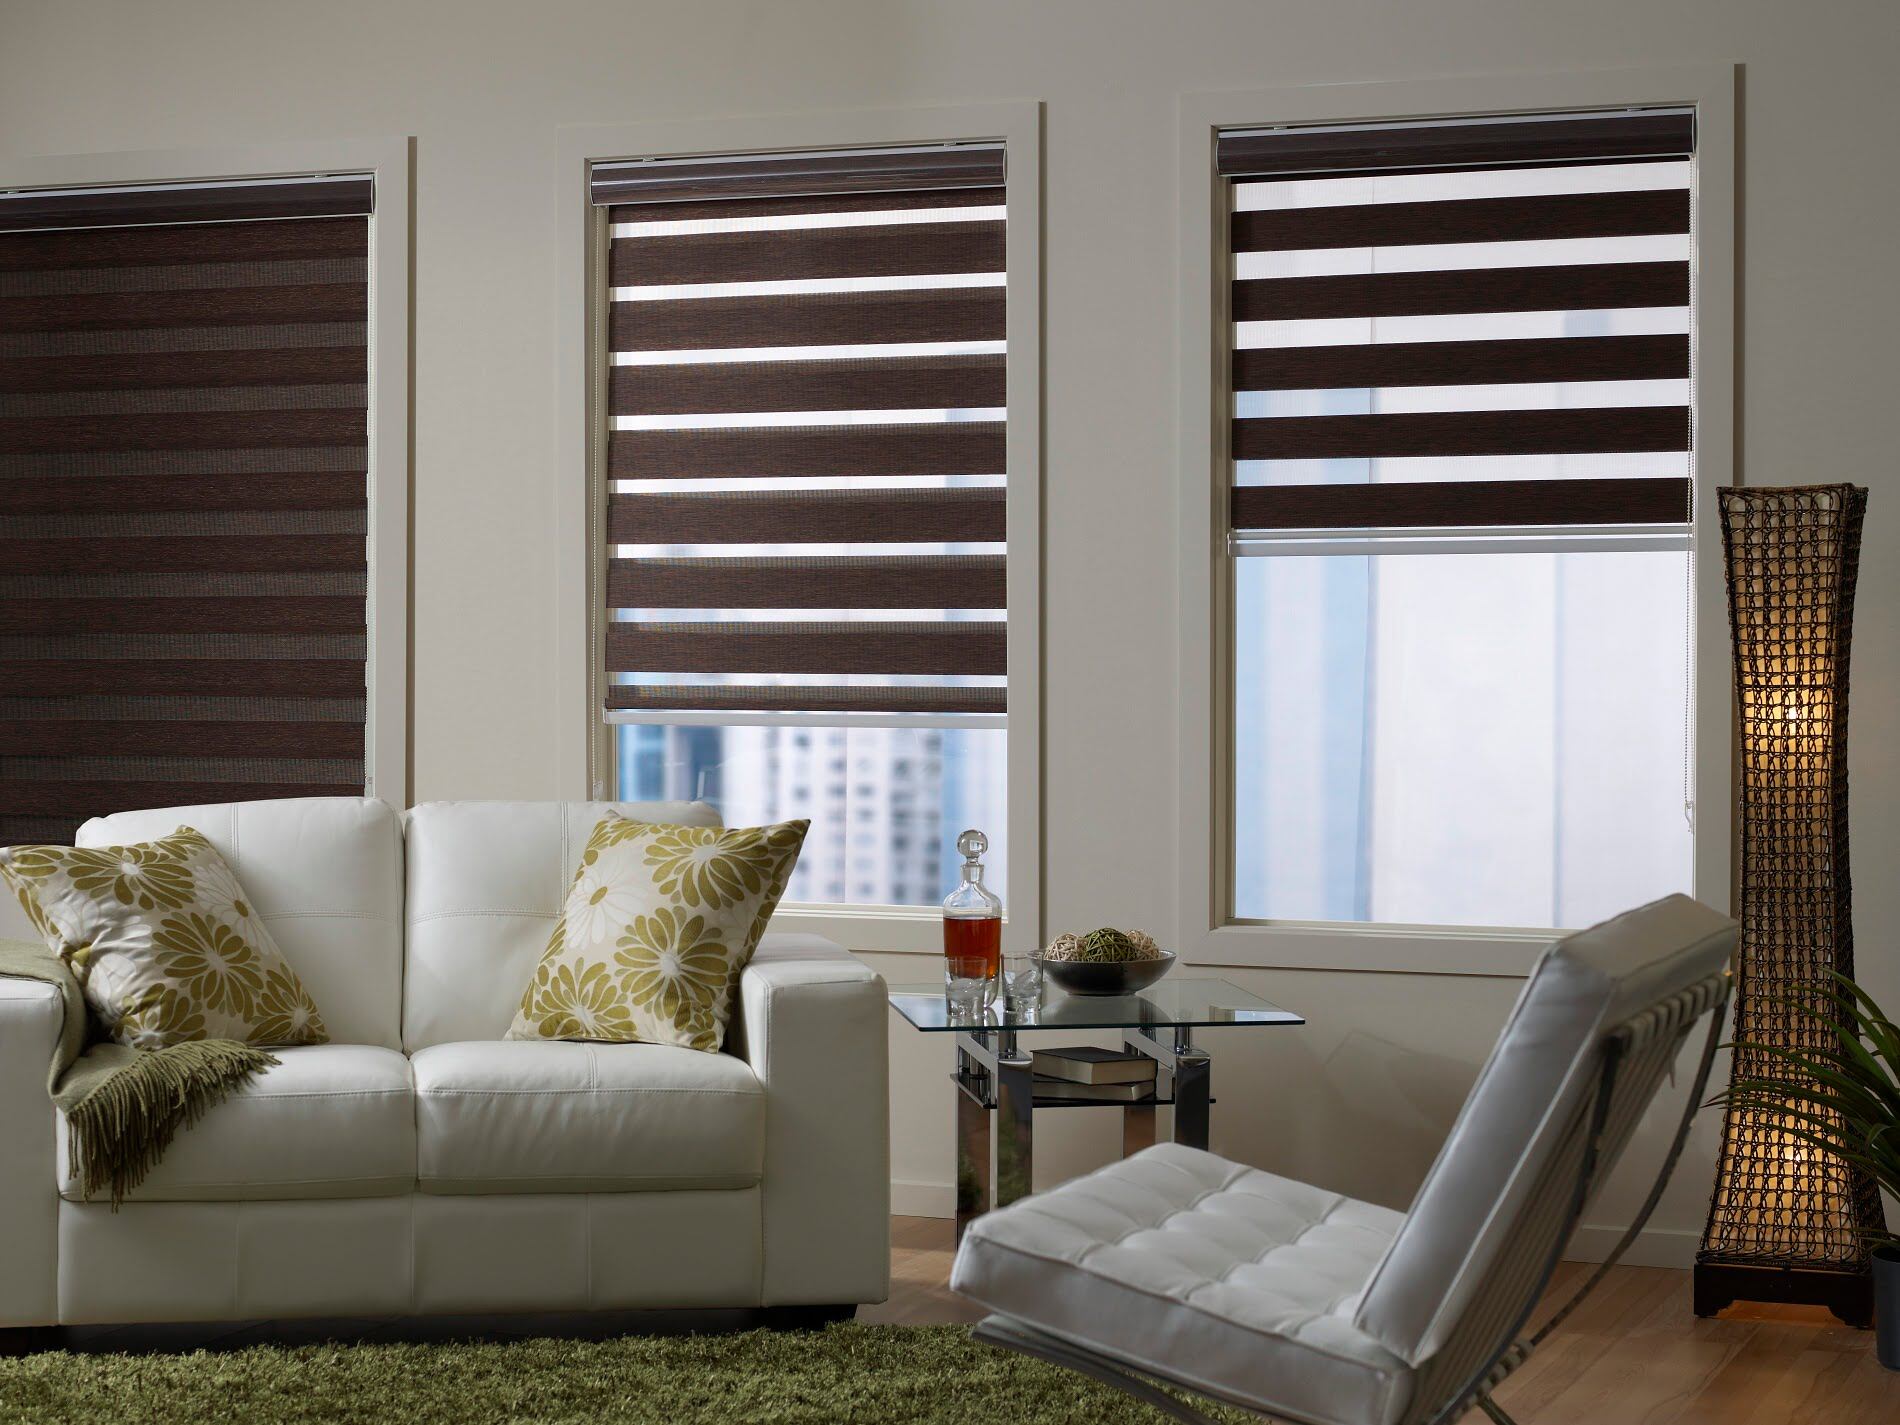
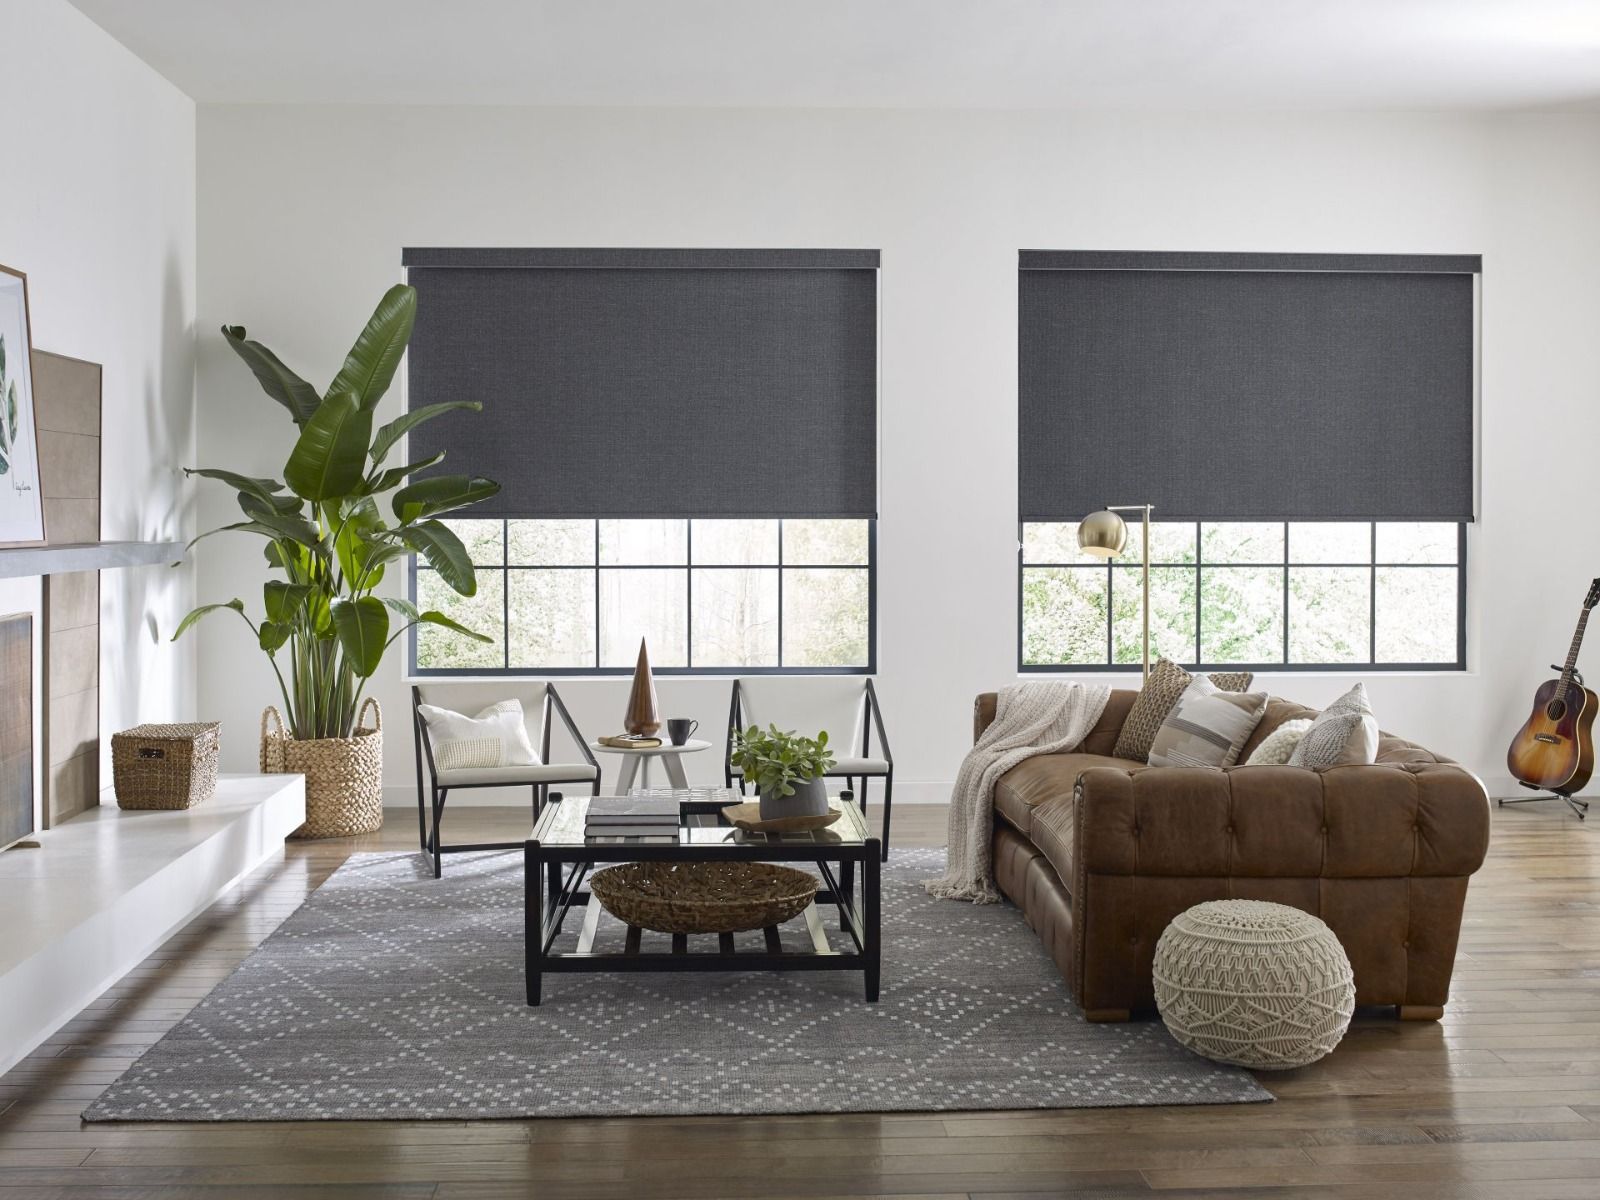
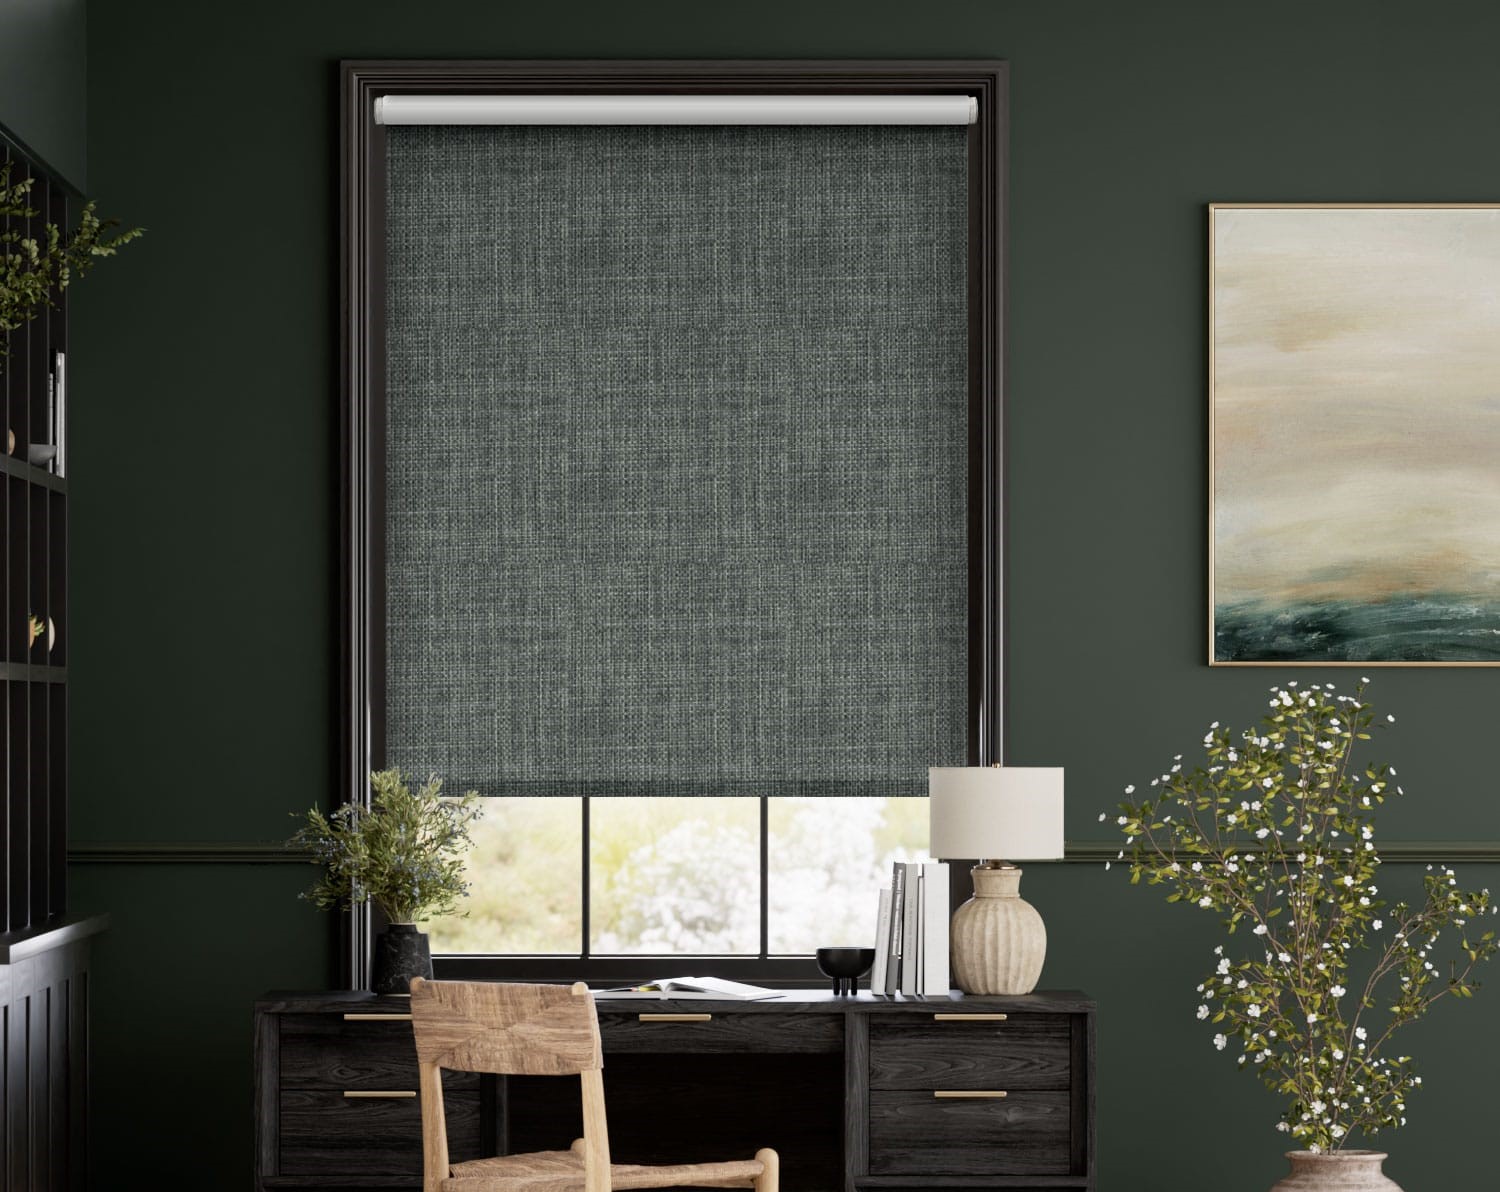
Roller blinds are a popular and versatile window treatment option that can add both style and functionality to any room. They provide privacy, control sunlight, and can even help insulate a space. While there are many ready-made roller blinds available in stores, making your own roller blinds allows you to customize them to perfectly fit your windows and match your decor.
In this article, we will walk you through the step-by-step process of making your own roller blinds. We will cover everything from measuring and cutting the fabric to installing the roller mechanism and attaching the bottom hem. Whether you’re a DIY enthusiast or simply looking to save some money, this guide will help you create beautiful roller blinds that are customized to your unique style.
Before we dive into the process, let’s take a look at the materials you will need to gather:
Key Takeaways:
- Create custom roller blinds to perfectly fit your windows and match your style. Save money, gain satisfaction, and enjoy the benefits of a versatile and practical window treatment option.
- Master the DIY process of making roller blinds with accurate measurement, precise cutting, skillful hemming, and secure installation. Customize your living space and enjoy the fruits of your labor.
Read more: What Are Roller Blinds
Materials Needed
- Fabric of your choice
- Roller mechanism
- Thread
- Scissors
- Tape measure
- Sewing machine
- Iron and ironing board
- Cord or chain for operating the blinds
- Screws and brackets for installation
Now that you have gathered all the necessary materials, let’s dive into the step-by-step process of making your own roller blinds.
Key Takeaways:
- Create custom roller blinds to perfectly fit your windows and match your style. Save money, gain satisfaction, and enjoy the benefits of a versatile and practical window treatment option.
- Master the DIY process of making roller blinds with accurate measurement, precise cutting, skillful hemming, and secure installation. Customize your living space and enjoy the fruits of your labor.
Read more: What Are Roller Blinds
Materials Needed
Before you begin making your roller blinds, it’s essential to gather all the necessary materials. Here’s a list of what you’ll need:
- Fabric of your choice: Select a fabric that suits your style and complements the decor of your space. Consider factors such as light filtering, privacy, and durability when choosing your fabric.
- Roller mechanism: This is the core component of your roller blinds, responsible for rolling and unrolling the fabric. You can find roller mechanisms in hardware stores or purchase them online.
- Thread: Choose a thread color that matches your fabric. It’s best to use a strong thread that can withstand the weight of the fabric.
- Scissors: A good pair of fabric scissors will make it easier to cut the fabric cleanly and precisely.
- Tape measure: Accurate measurements are crucial when making roller blinds, so ensure you have a reliable tape measure on hand.
- Sewing machine: While it’s possible to sew roller blinds by hand, a sewing machine will save you time and effort. Make sure your sewing machine is in good working condition.
- Iron and ironing board: To ensure professional-looking results, iron the fabric before sewing to remove any wrinkles or creases.
- Cord or chain for operating the blinds: Depending on the type of roller mechanism you choose, you may need a cord or chain to raise and lower the blinds. Ensure it is strong and durable for long-lasting use.
- Screws and brackets for installation: Once your roller blinds are ready, you’ll need screws and brackets to mount them securely on your window frame or wall.
By gathering all these materials in advance, you’ll be fully prepared to embark on your roller blinds making journey. Remember to choose high-quality materials that will ensure the longevity and functionality of your blinds.
Step 1: Measuring and Cutting the Fabric
The first step in making your roller blinds is to accurately measure and cut the fabric. Follow these steps to ensure precise measurements for a perfect fit:
- Start by measuring the window or space where you plan to install the roller blinds. Use a tape measure and measure the width and length of the window or the dimensions of the space you want to cover. Take into account any window frames or obstacles that may affect the measurements.
- Add a few inches to the width and length measurements. This additional fabric will allow for hems and provide a better fit.
- Transfer the measurements onto the fabric. Using a fabric pen or chalk, mark the dimensions on the fabric, ensuring straight lines and accurate measurements.
- Carefully cut the fabric along the marked lines using fabric scissors. Take your time and ensure precise cuts to avoid any crooked or uneven edges.
Once you have cut the fabric to the correct size, you are ready to move on to the next step. Remember to double-check your measurements to ensure an accurate fit. Taking accurate measurements and cutting the fabric properly will contribute to the overall appearance and functionality of your roller blinds.
Step 2: Hemming the Fabric
After cutting the fabric to the desired size, the next step in making your roller blinds is to hem the edges. Hemming the fabric will prevent fraying and give your blinds a clean and professional look. Follow these steps to hem the fabric:
- Start by folding over one edge of the fabric by about 1/4 inch. Use an iron to press the fold and create a crease. This will help keep the edge in place while you sew.
- Once the edge is folded and creased, fold it over again by about 1 inch. Pin the fold in place to secure it temporarily.
- Repeat the folding, creasing, and pinning process for all sides of the fabric. Make sure the folds are even and straight.
- Using a sewing machine, stitch along the edge of the folded fabric, securing the hem in place. Use a straight stitch or a zigzag stitch for added durability.
- Trim any loose threads and remove the pins.
Hemming the fabric will give your roller blinds a finished look and help prevent the fabric from unraveling over time. Take your time to ensure straight and even hems. Once you have finished hemming all sides, your fabric is ready for the next step in the roller blinds making process.
When measuring for roller blinds, always measure the width at the top, middle, and bottom of the window to account for any variations in the window frame. This will ensure a perfect fit for your blinds.
Read more: How To Measure For Roller Blinds
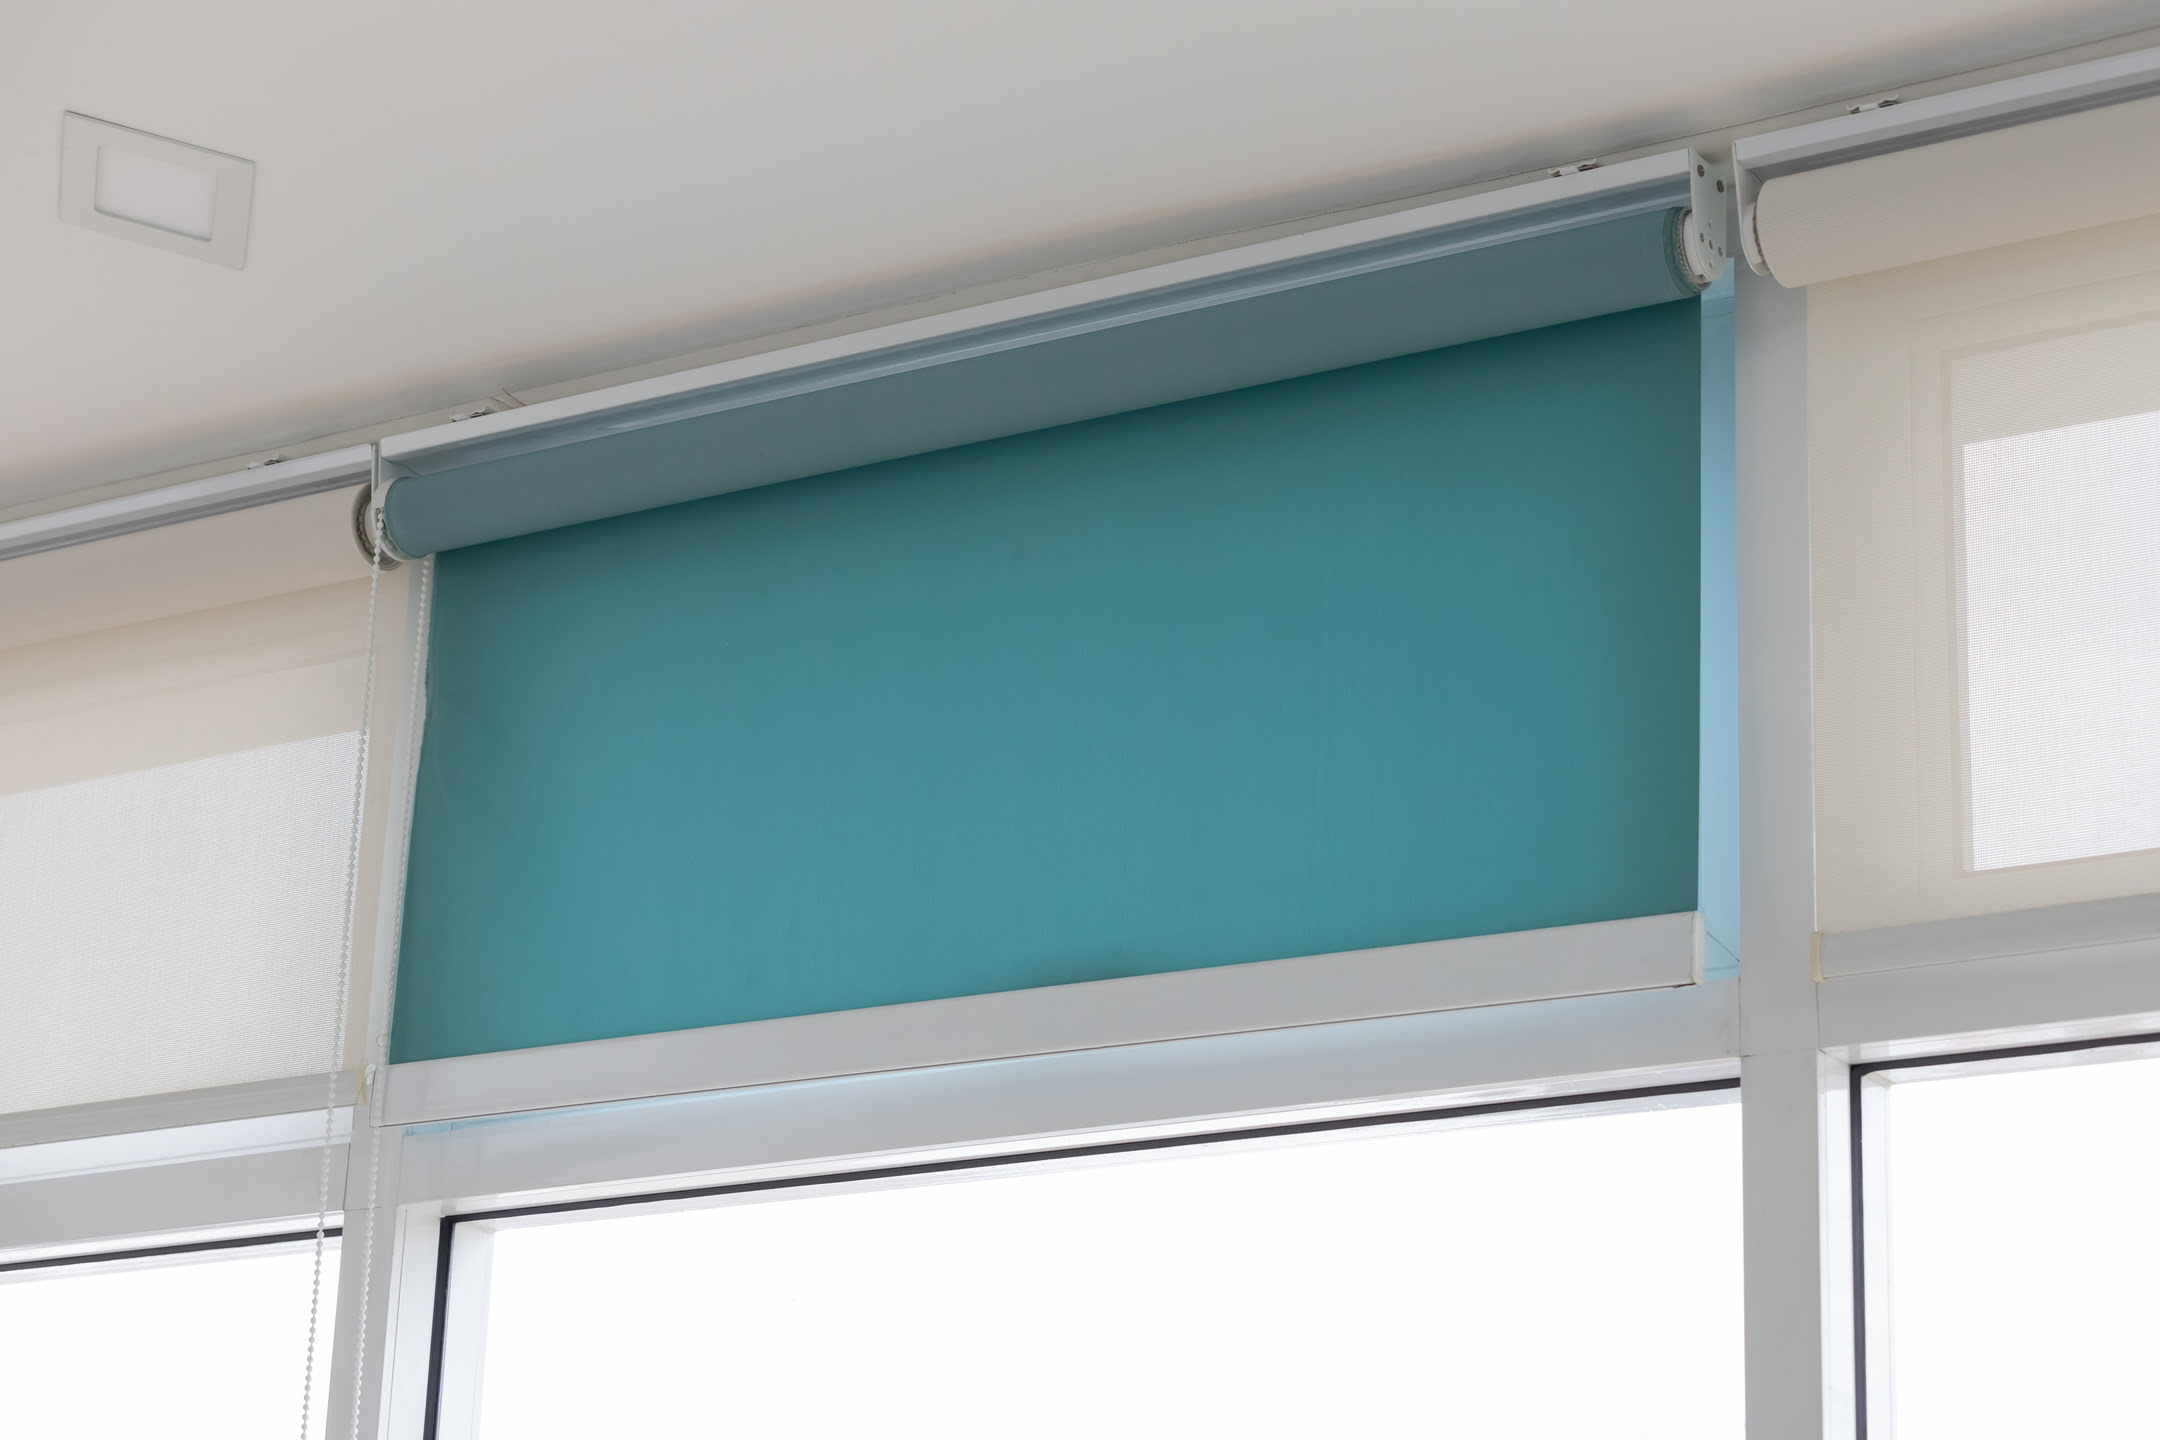
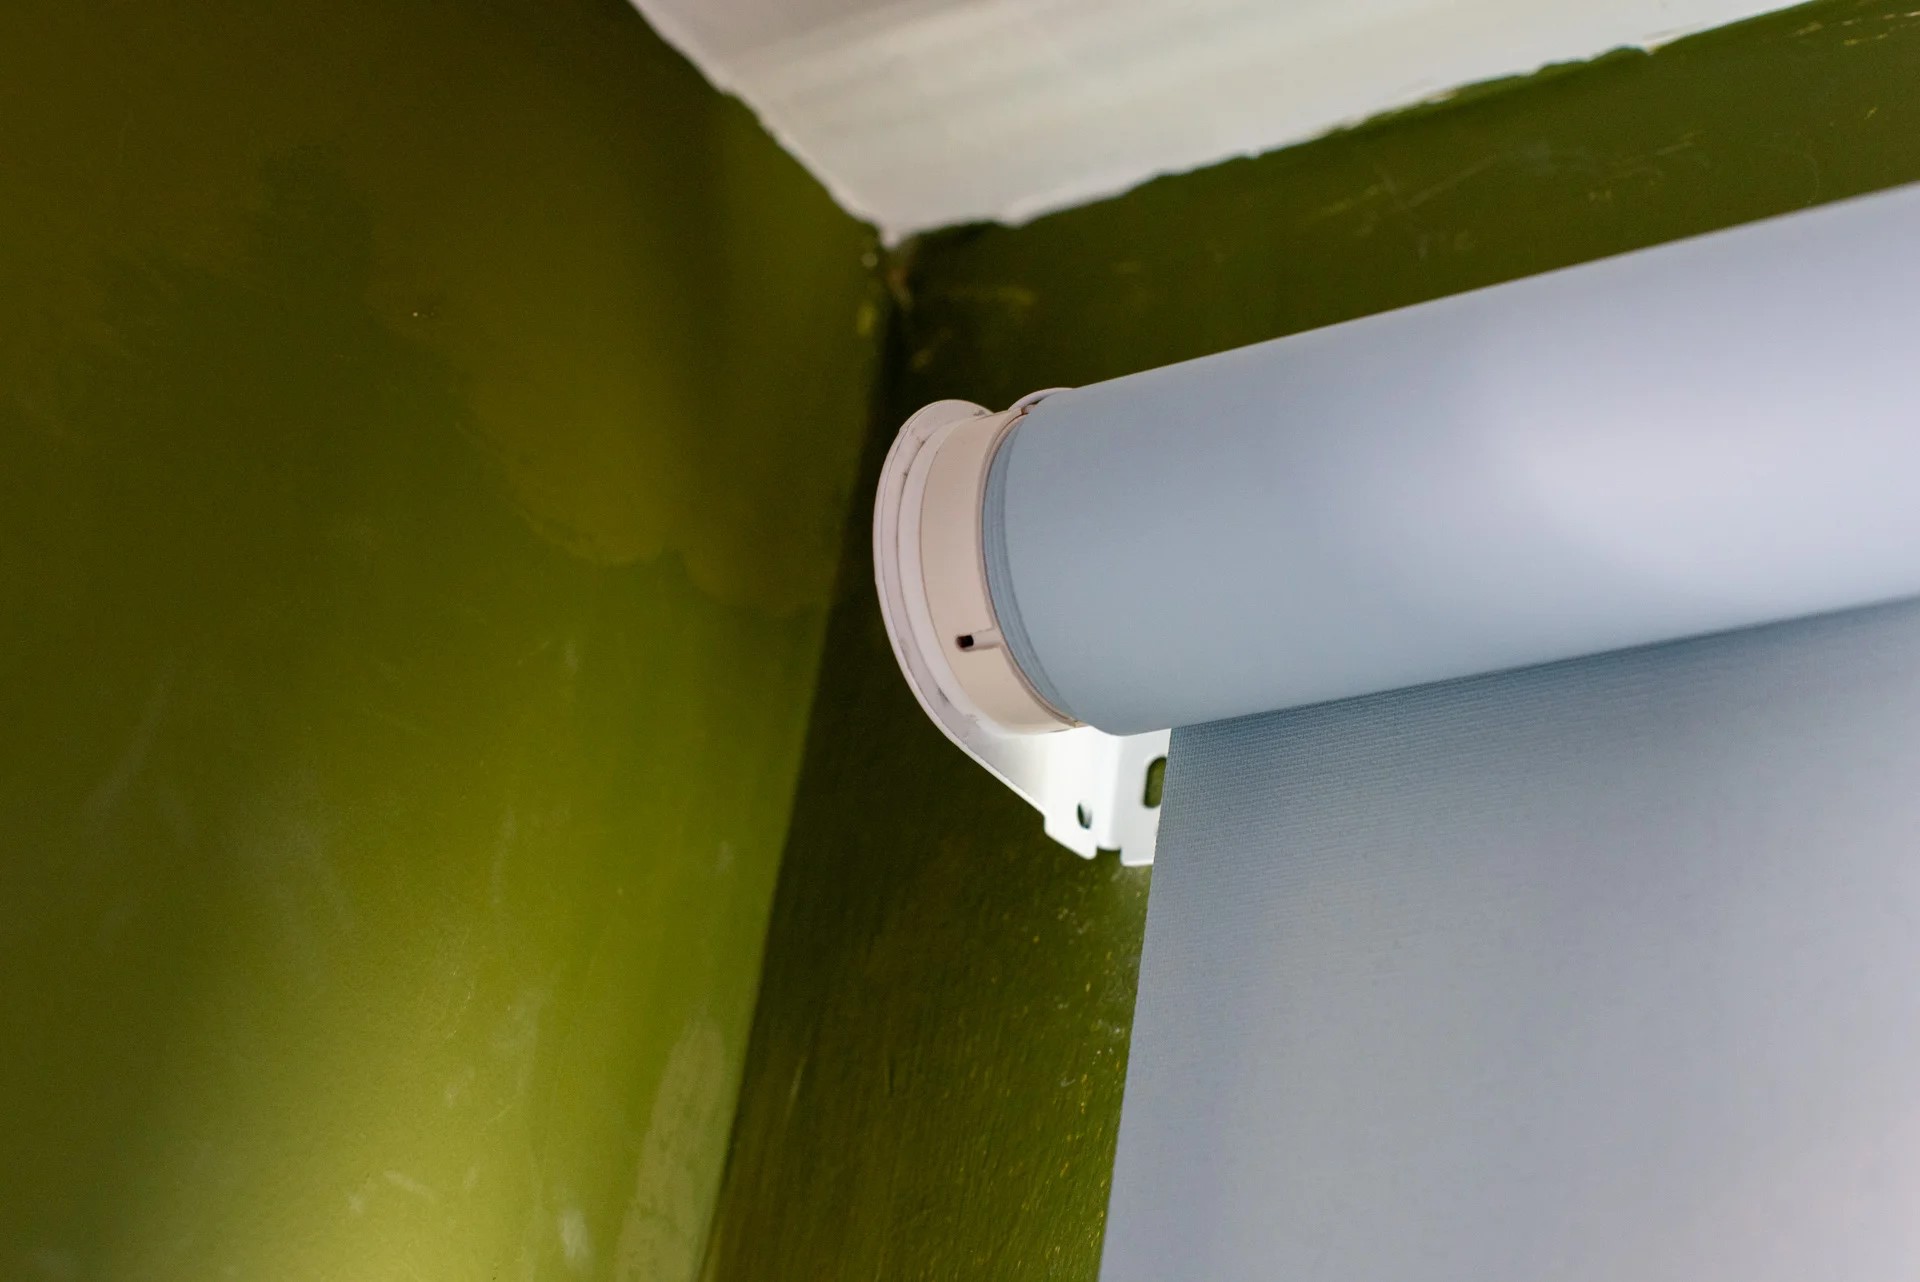
Step 3: Adding the Roller Mechanism
Now that you’ve measured, cut, and hemmed the fabric, it’s time to add the roller mechanism. This mechanism is what allows the blinds to roll up and down smoothly. Follow these steps to add the roller mechanism:
- Unroll the roller mechanism completely and lay it flat on a clean surface.
- Measure the width of the fabric and trim the roller to match the width, if necessary. The roller should be slightly narrower than the fabric to allow for smooth rolling.
- Position the roller at the top of the fabric, aligning one end with the edge of the fabric.
- Using the provided screws or brackets, attach the roller to the fabric. Make sure it is securely fastened and centered.
- If your roller mechanism comes with a control mechanism, attach it according to the manufacturer’s instructions. This may involve screwing it into place or sliding it onto the roller.
- Roll up the fabric onto the roller, ensuring it is evenly aligned and tensioned.
Adding the roller mechanism is a crucial step in creating functional roller blinds. Be sure to follow the manufacturer’s instructions for your specific roller mechanism to ensure proper installation. Once you have completed this step, you are one step closer to having your very own custom roller blinds.
Step 4: Attaching the Bottom Hem
With the roller mechanism in place and the fabric rolled up onto it, the next step in making your roller blinds is attaching the bottom hem. The bottom hem adds weight to the blinds, helps them hang straight, and provides a finished appearance. Follow these steps to attach the bottom hem:
- Start by measuring the desired length of your roller blinds. Consider how much fabric you want to have rolled up onto the roller and how much you want to extend below the window.
- Mark the desired length on the fabric, making sure it is even and straight.
- Fold up the bottom edge of the fabric by about 1/4 inch and press it with an iron to create a crease.
- Fold up the fabric again, this time by the desired length of the bottom hem. For example, if your desired length is 2 inches, fold it up by 2 inches and press with an iron.
- Pin the folded hem in place to keep it secure.
- Using your sewing machine, stitch along the folded edge of the hem, starting from one end and going all the way to the other end. Use a straight stitch or a zigzag stitch for added durability.
- Trim any loose threads and remove the pins.
Attaching the bottom hem will give your roller blinds a polished and finished appearance. Take your time to ensure straight and even hems. Once you have completed this step, your roller blinds are almost ready for installation.
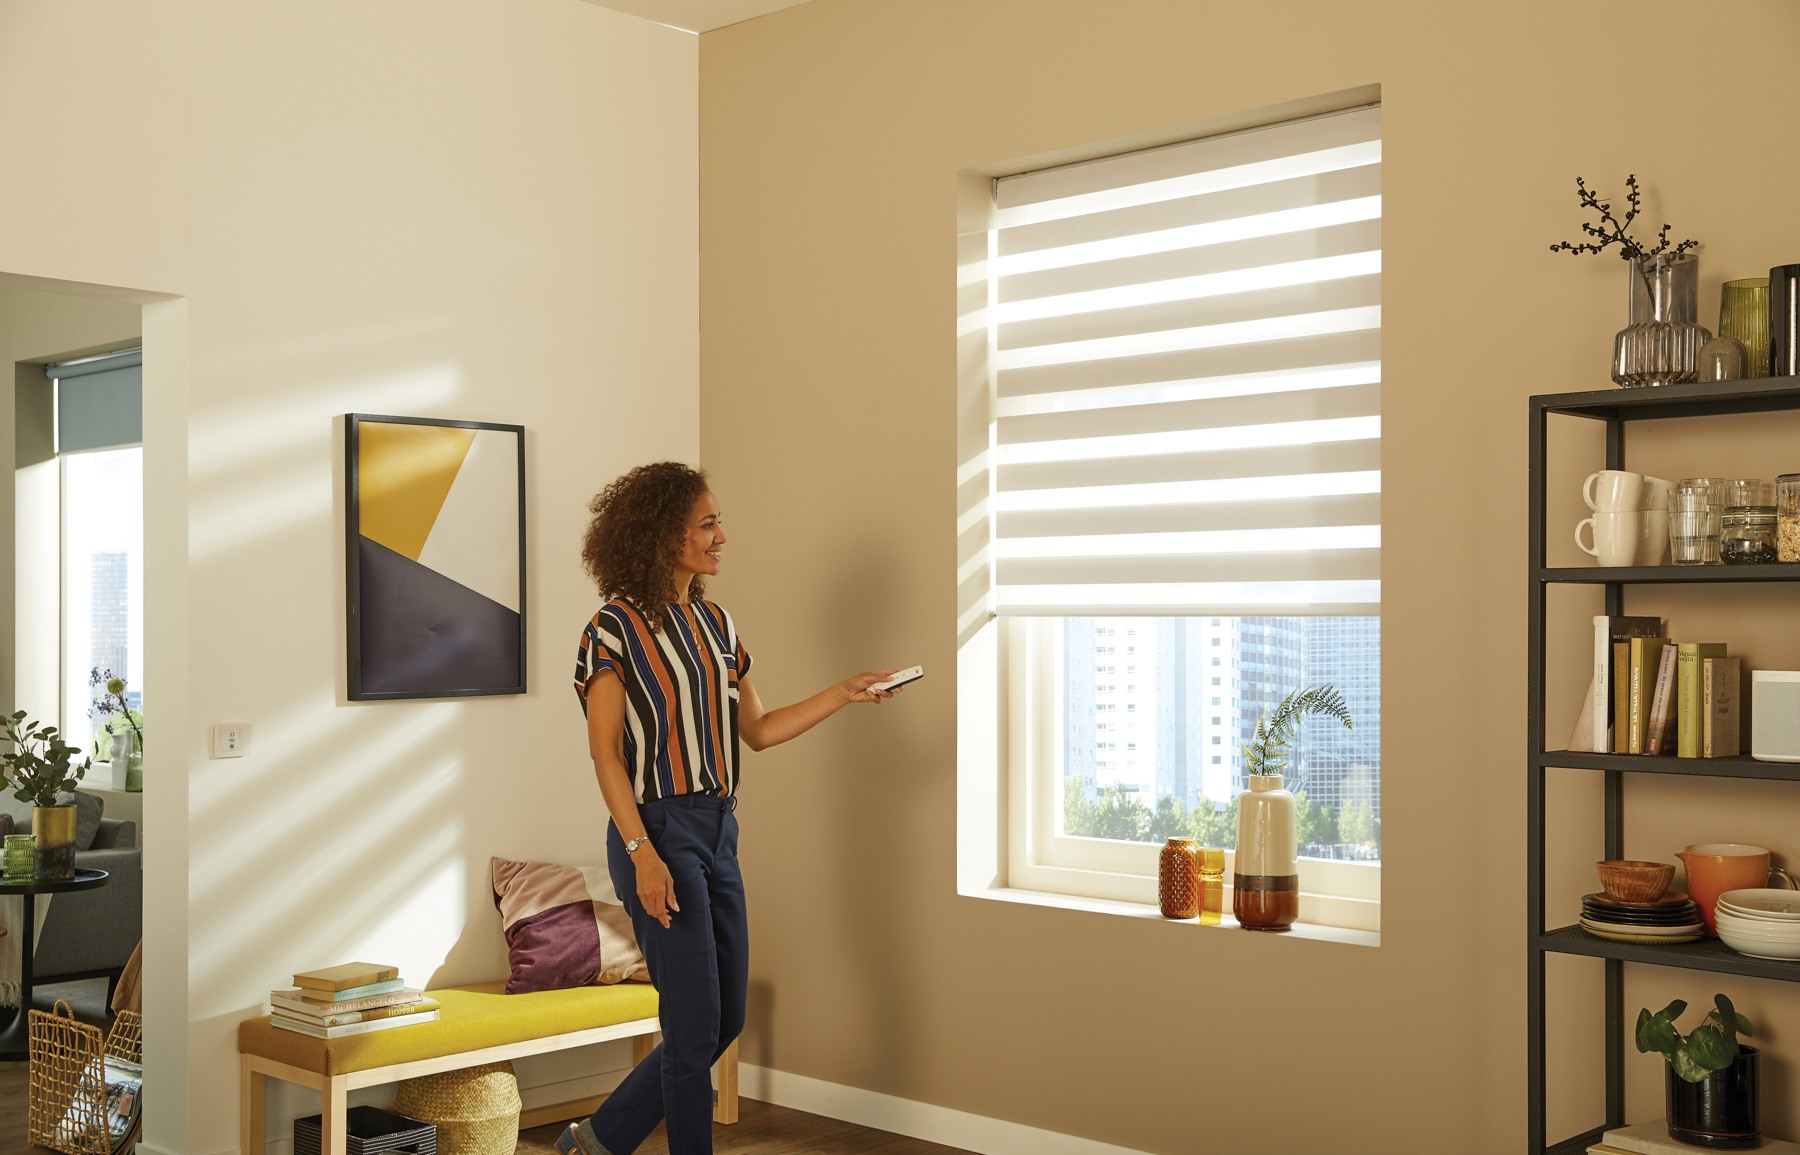
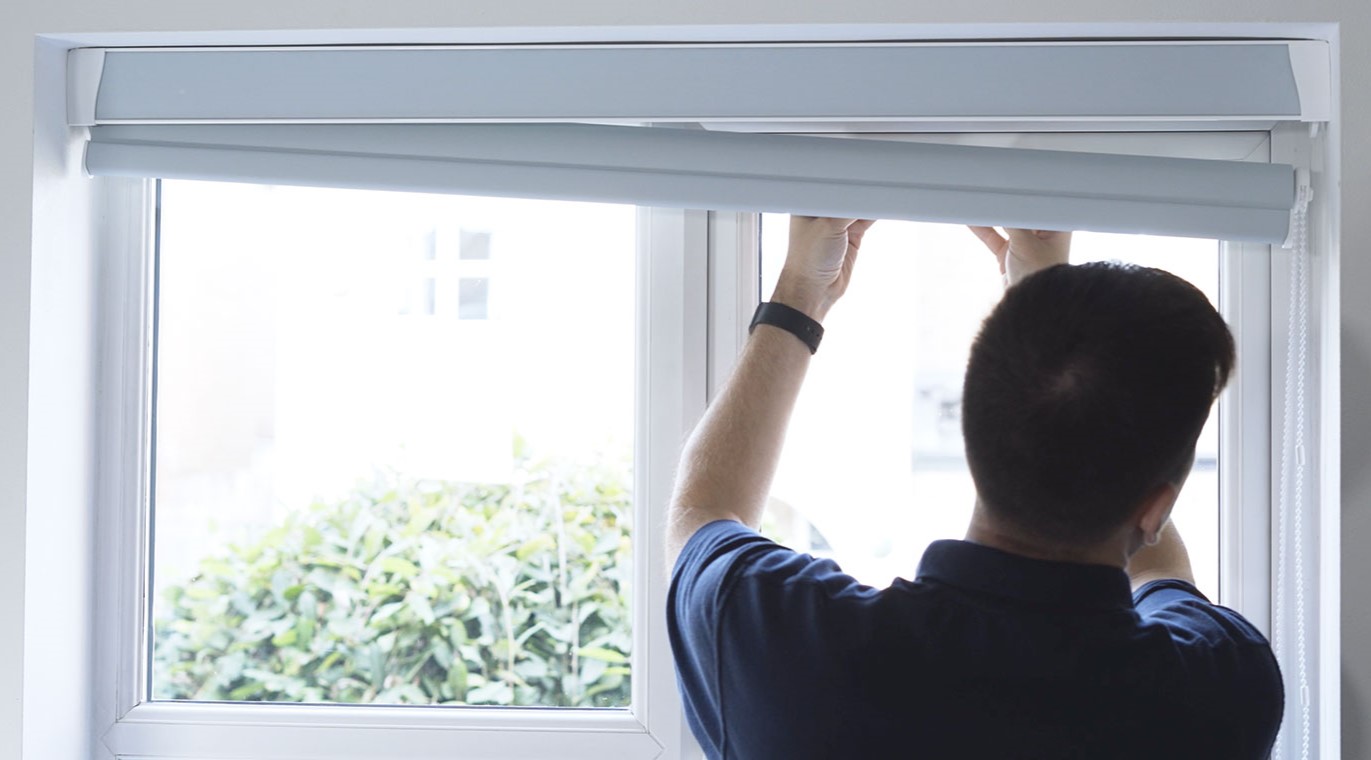
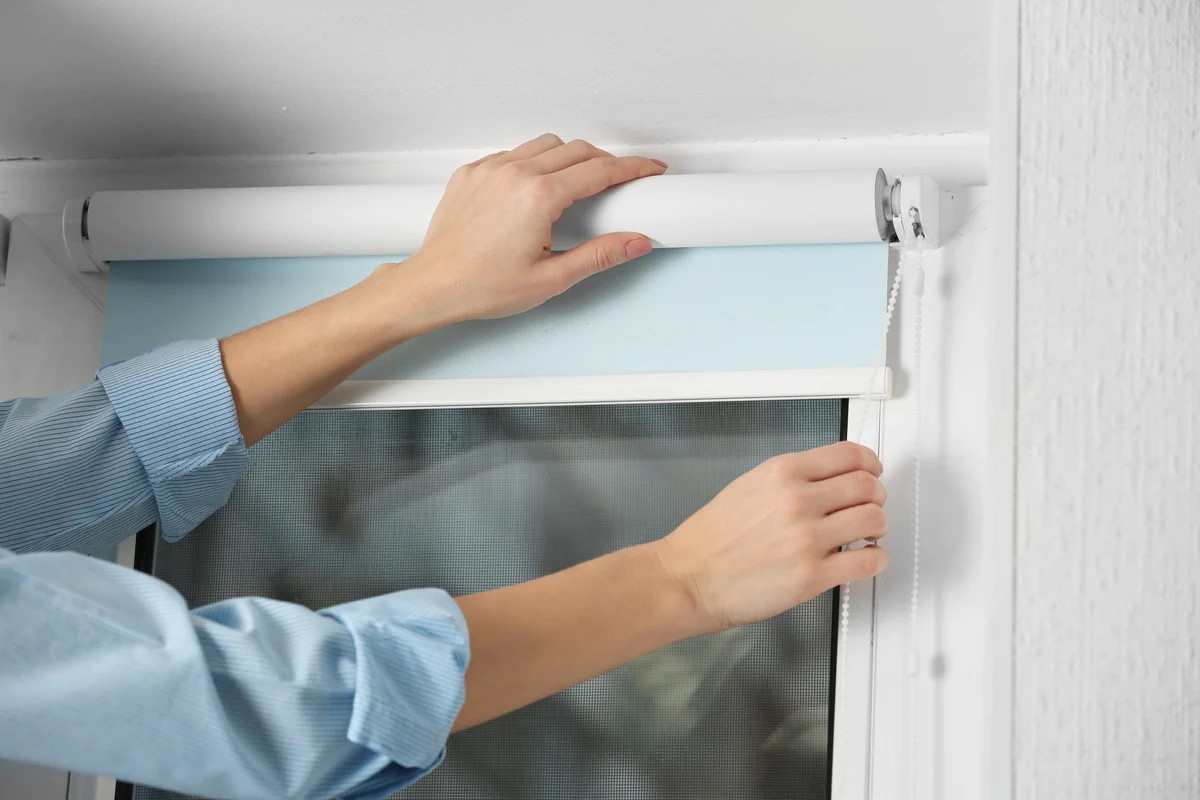
Step 5: Installing the Roller Blinds
You’ve made it to the final step of creating your roller blinds – installing them. Follow these steps to properly install your roller blinds:
- Decide whether you want to mount the blinds inside the window frame or on the wall above the window. This will depend on your personal preference and the type of window you have.
- Measure and mark the mounting points for the brackets. These should be evenly spaced and aligned on both sides of the window.
- Using a drill, create small pilot holes at the marked points. Make sure the holes are slightly smaller than the screws you will be using.
- Attach the brackets to the window frame or wall using the provided screws. Ensure they are securely fastened.
- With the brackets in place, carefully lift the roller blinds and insert the roller into the brackets. It should fit snugly and be securely held in place.
- Once the blinds are in the brackets, test their functionality by pulling the cord or chain to raise and lower them. Ensure they move smoothly and lock into place when desired.
- Adjust the tension of the cord or chain if necessary, following the instructions provided with your roller mechanism. This will ensure the blinds stay in the desired position.
Proper installation is key to ensuring your roller blinds function effectively and securely. Take your time to align the brackets and insert the roller smoothly. Once you have completed this step, your roller blinds are ready to be enjoyed.
Conclusion
Congratulations! You have successfully made your own roller blinds. By following the step-by-step process outlined in this article, you have created custom roller blinds that perfectly fit your windows and match your style. Not only have you saved money by making them yourself, but you have also gained the satisfaction of completing a DIY project.
Roller blinds are a versatile and practical window treatment option. They provide privacy, control sunlight, and add a touch of elegance to any room. By making your own roller blinds, you have the freedom to choose the fabric, customize the size, and ensure they are made to your exact preferences.
Remember, accurate measurement, precise cutting, and skillful hemming are crucial in creating professional-looking roller blinds. Adding the roller mechanism and attaching the bottom hem contribute to their functionality and polished appearance. Finally, installing the blinds securely ensures they operate smoothly and serve their purpose effectively.
Enjoy the benefits of your homemade roller blinds, whether it’s enhancing the ambiance of your living room, creating a cozy atmosphere in your bedroom, or adding privacy to your office space. Get creative and experiment with different fabrics and colors to match your decor and style.
Now that you have the knowledge and skills to make roller blinds, you can take on more DIY projects to make your living space truly your own. So, go ahead and enjoy the fruits of your labor, basking in the comfort and style of your handmade roller blinds.
Happy crafting and enjoy your new roller blinds!
Frequently Asked Questions about How To Make Roller Blinds
Was this page helpful?
At Storables.com, we guarantee accurate and reliable information. Our content, validated by Expert Board Contributors, is crafted following stringent Editorial Policies. We're committed to providing you with well-researched, expert-backed insights for all your informational needs.