Articles
How To Store Pickled Radish
Modified: August 16, 2024
Discover the best way to store pickled radish with our informative articles. Learn how to keep your pickled radishes fresh and flavorful.
(Many of the links in this article redirect to a specific reviewed product. Your purchase of these products through affiliate links helps to generate commission for Storables.com, at no extra cost. Learn more)
Introduction
Pickled radishes are a delightful and tangy addition to any meal. With their crisp texture and zesty flavor, they can elevate the taste of sandwiches, salads, and even rice dishes. The process of pickling radishes not only preserves their freshness but also enhances their unique taste. Whether you’re a culinary enthusiast or a beginner in the kitchen, learning how to store pickled radishes is a valuable skill that will allow you to enjoy this delicious condiment at any time.
In this article, we will guide you through the step-by-step process of storing pickled radishes. We’ll cover everything from preparing the ingredients to properly sealing the jars for long-term storage. So, let’s roll up our sleeves and get started on this flavorful adventure!
Key Takeaways:
- Master the art of pickling radishes to enjoy tangy, crisp goodness anytime. From preparing the brine to storing the jars, savor the satisfaction of creating your own flavorful condiment.
- Elevate your culinary creations with homemade pickled radishes. Experiment with sandwiches, salads, rice dishes, and fusion recipes to add a zingy kick and vibrant flavor to your meals.
Read more: How To Store Radish Greens
Step 1: Prepare the Ingredients
Before you begin pickling radishes, it’s essential to gather all the necessary ingredients. Here’s what you’ll need:
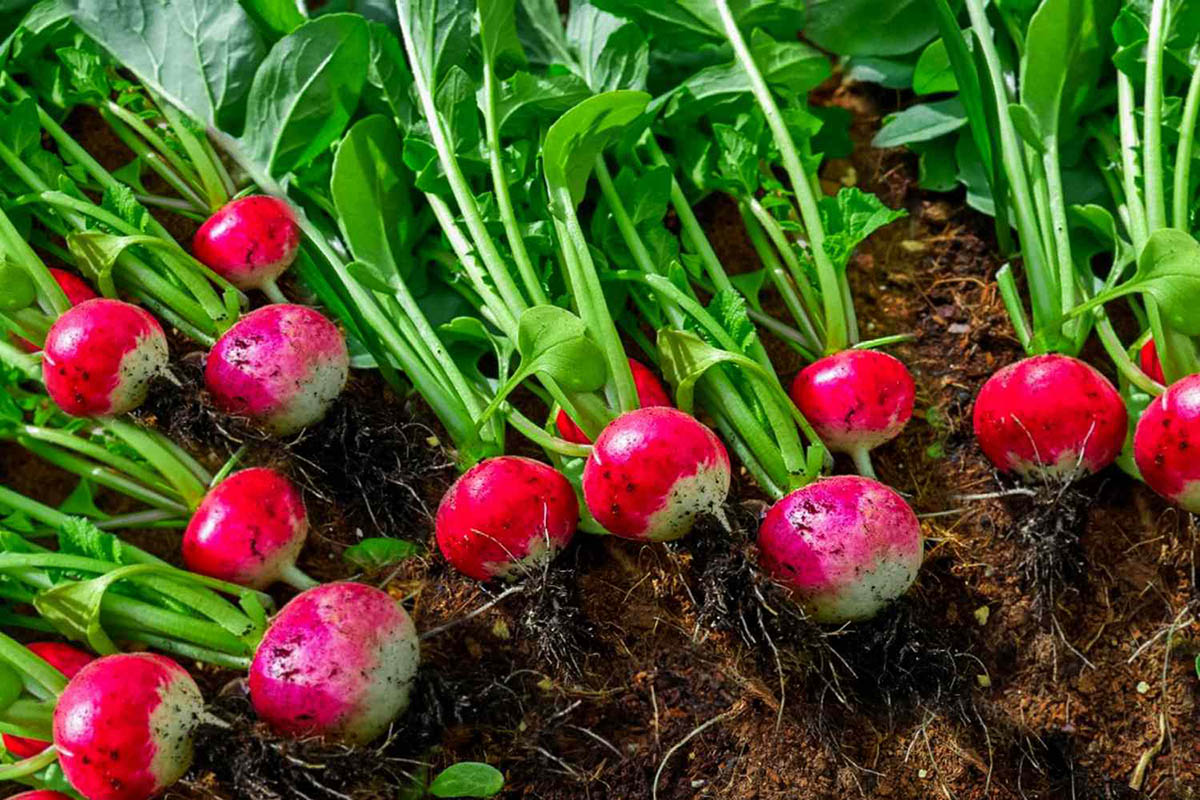
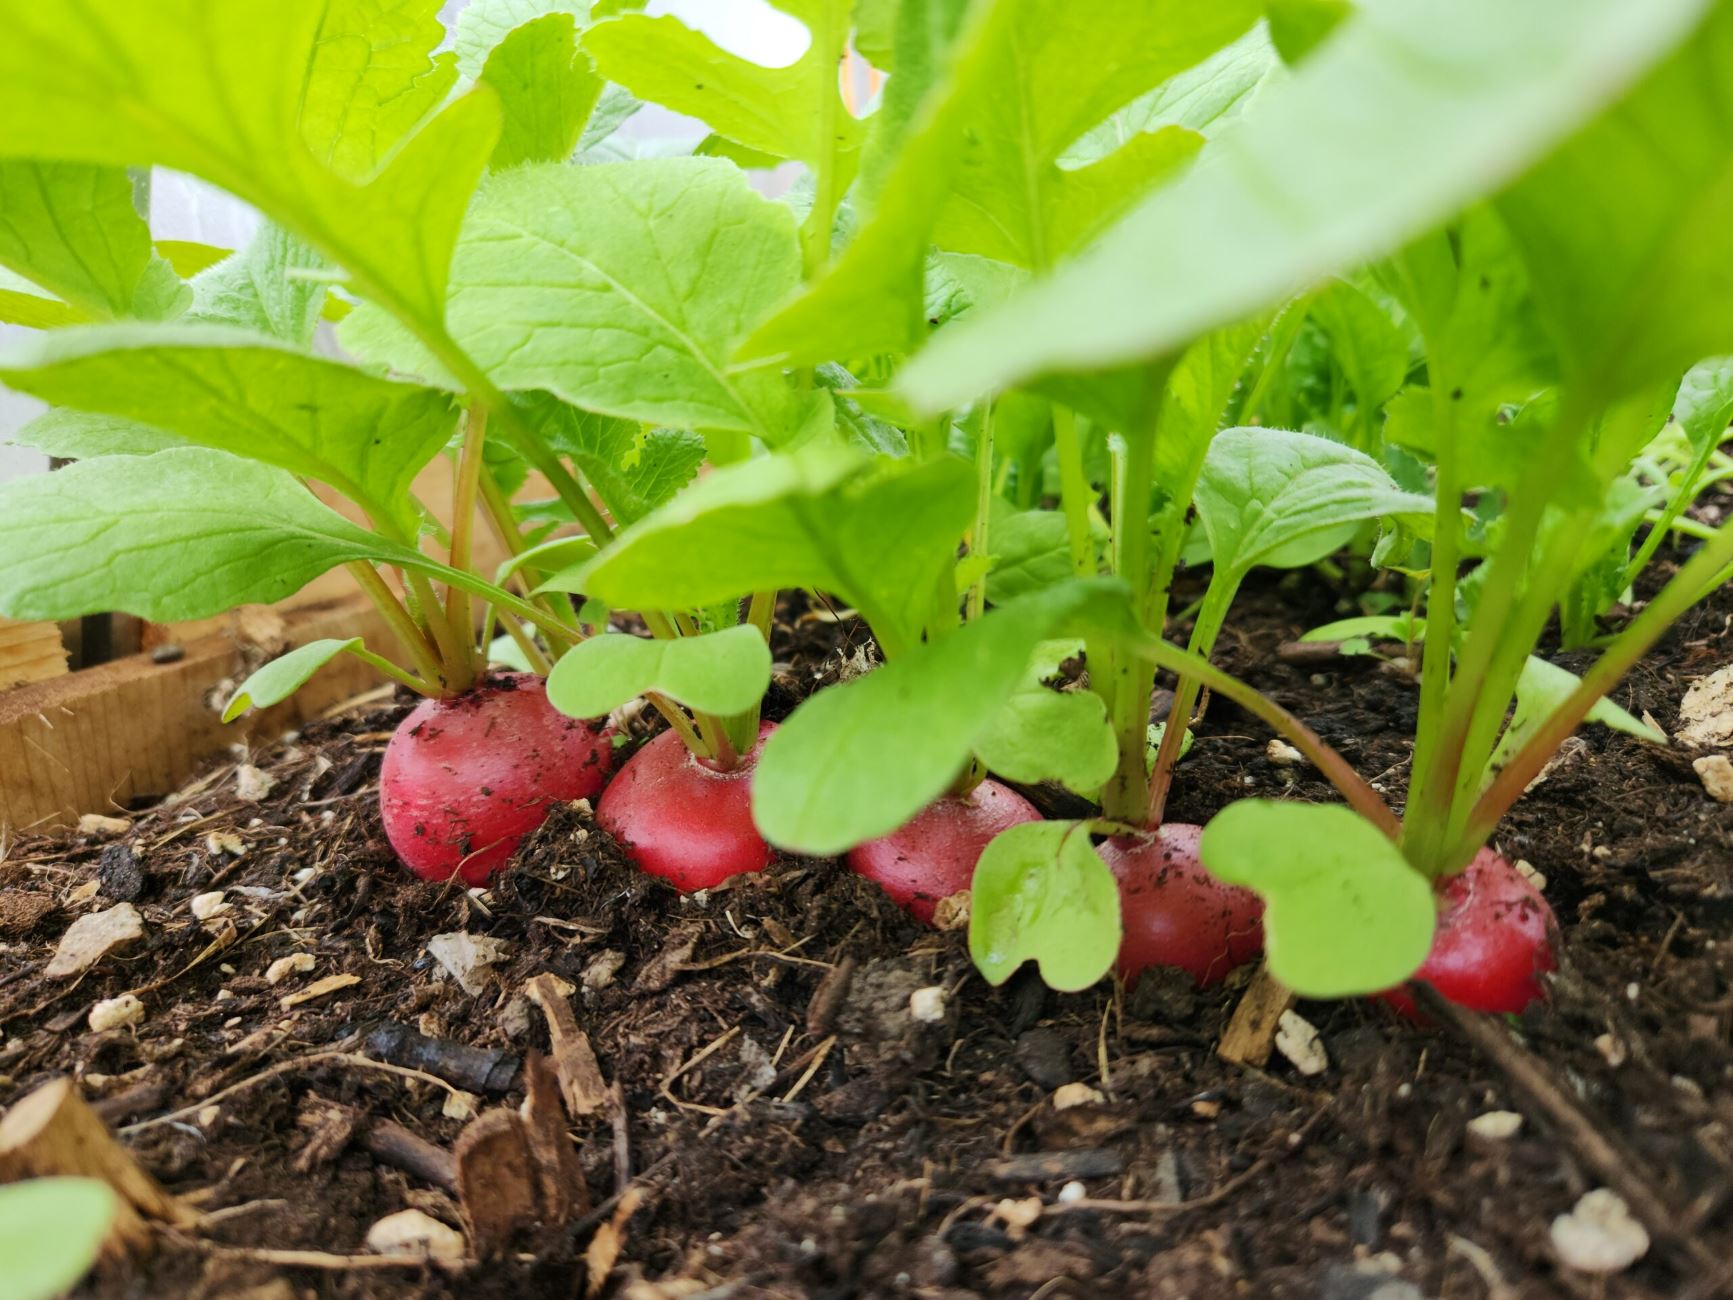
- Radishes: Choose fresh radishes of your choice, preferably firm and with vibrant color.
- Vinegar: Opt for distilled white vinegar or rice vinegar for a mild flavor.
- Water: Use filtered water to ensure the purity of the brine.
- Sugar: Adding sugar adds a subtle sweetness to balance out the tanginess.
- Salt: Salt is crucial for flavor and preservation.
- Spices and Herbs (optional): You can enhance the flavor with spices like mustard seeds, coriander seeds, or herbs like dill or mint.
- Jars: Choose clean, sterilized glass jars with airtight lids to store your pickled radishes.
Once you have gathered all the ingredients, ensure that your workspace is clean and sanitized. This will help maintain the quality and freshness of the finished product. Having everything prepared and within easy reach will save you time and make the pickling process smoother.
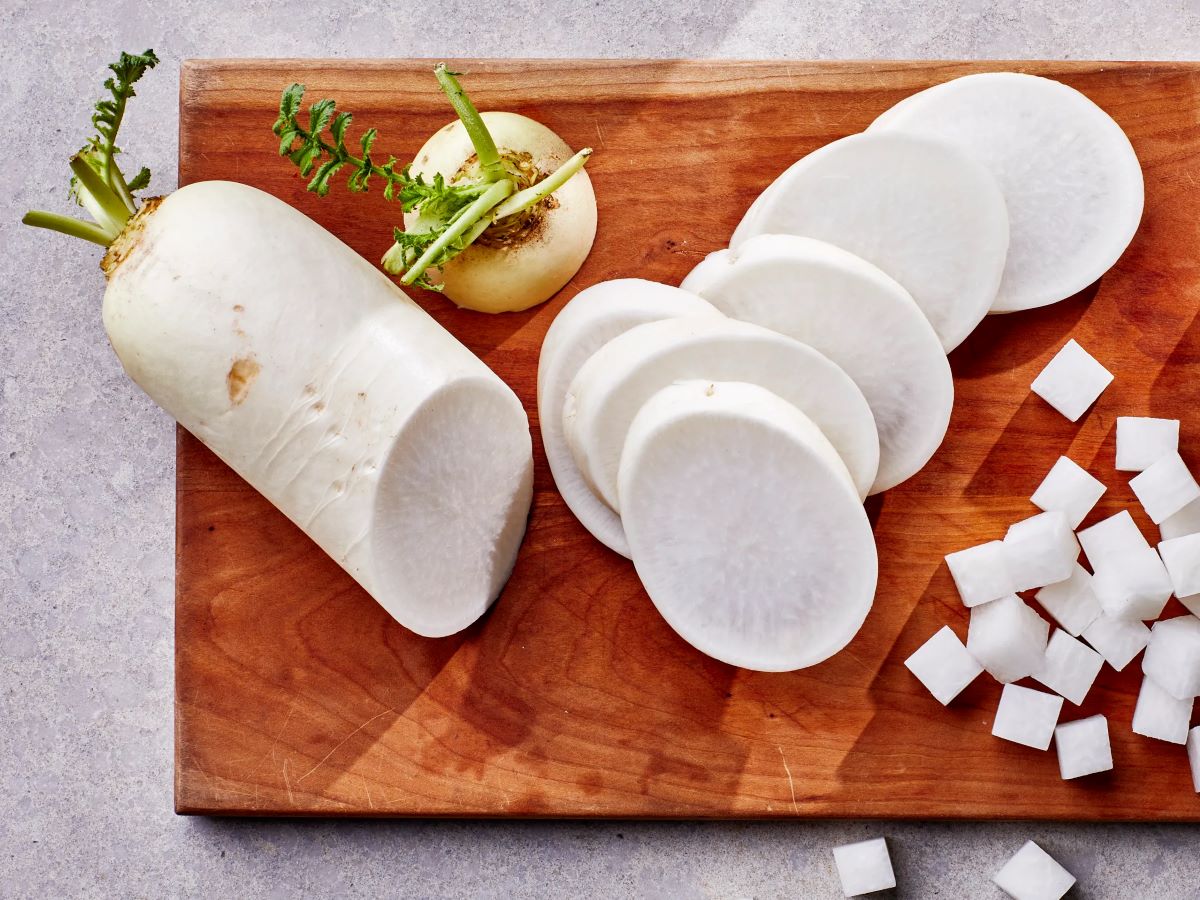
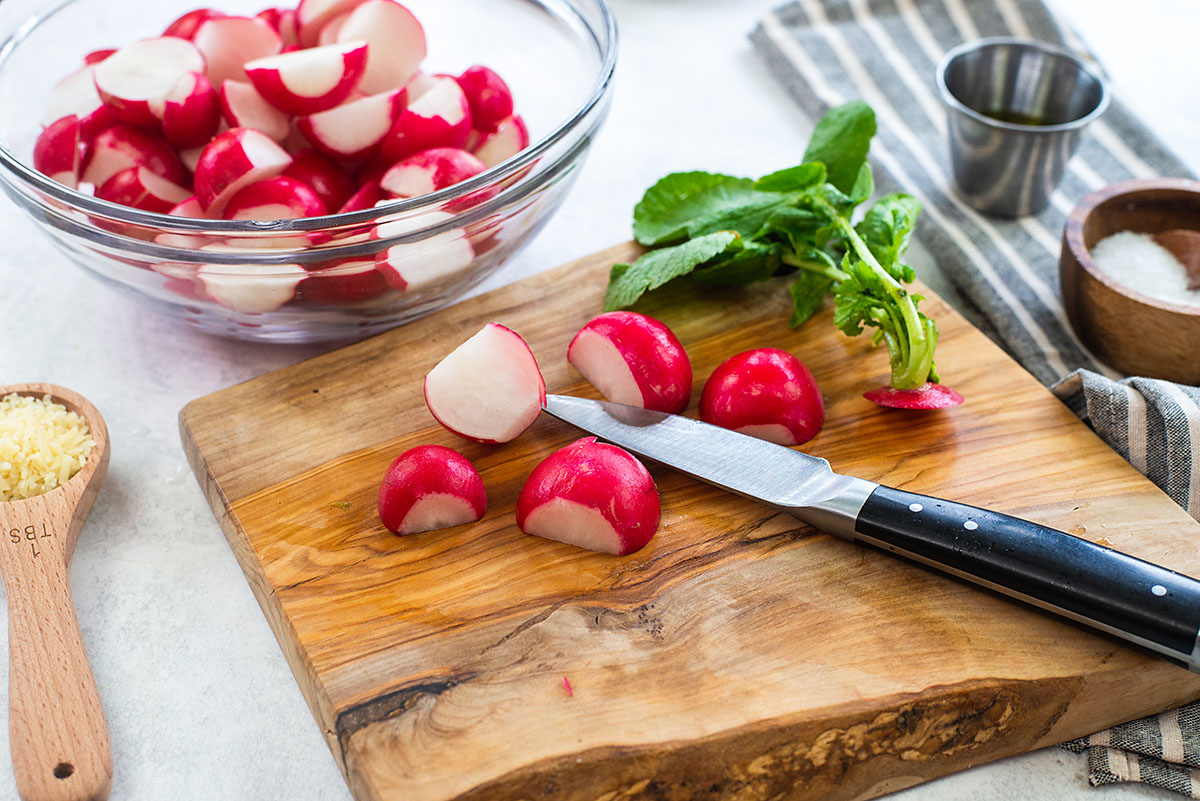
Step 2: Clean and Cut the Radishes
After gathering your fresh radishes, it’s important to clean and prepare them properly before pickling. Follow these simple steps:
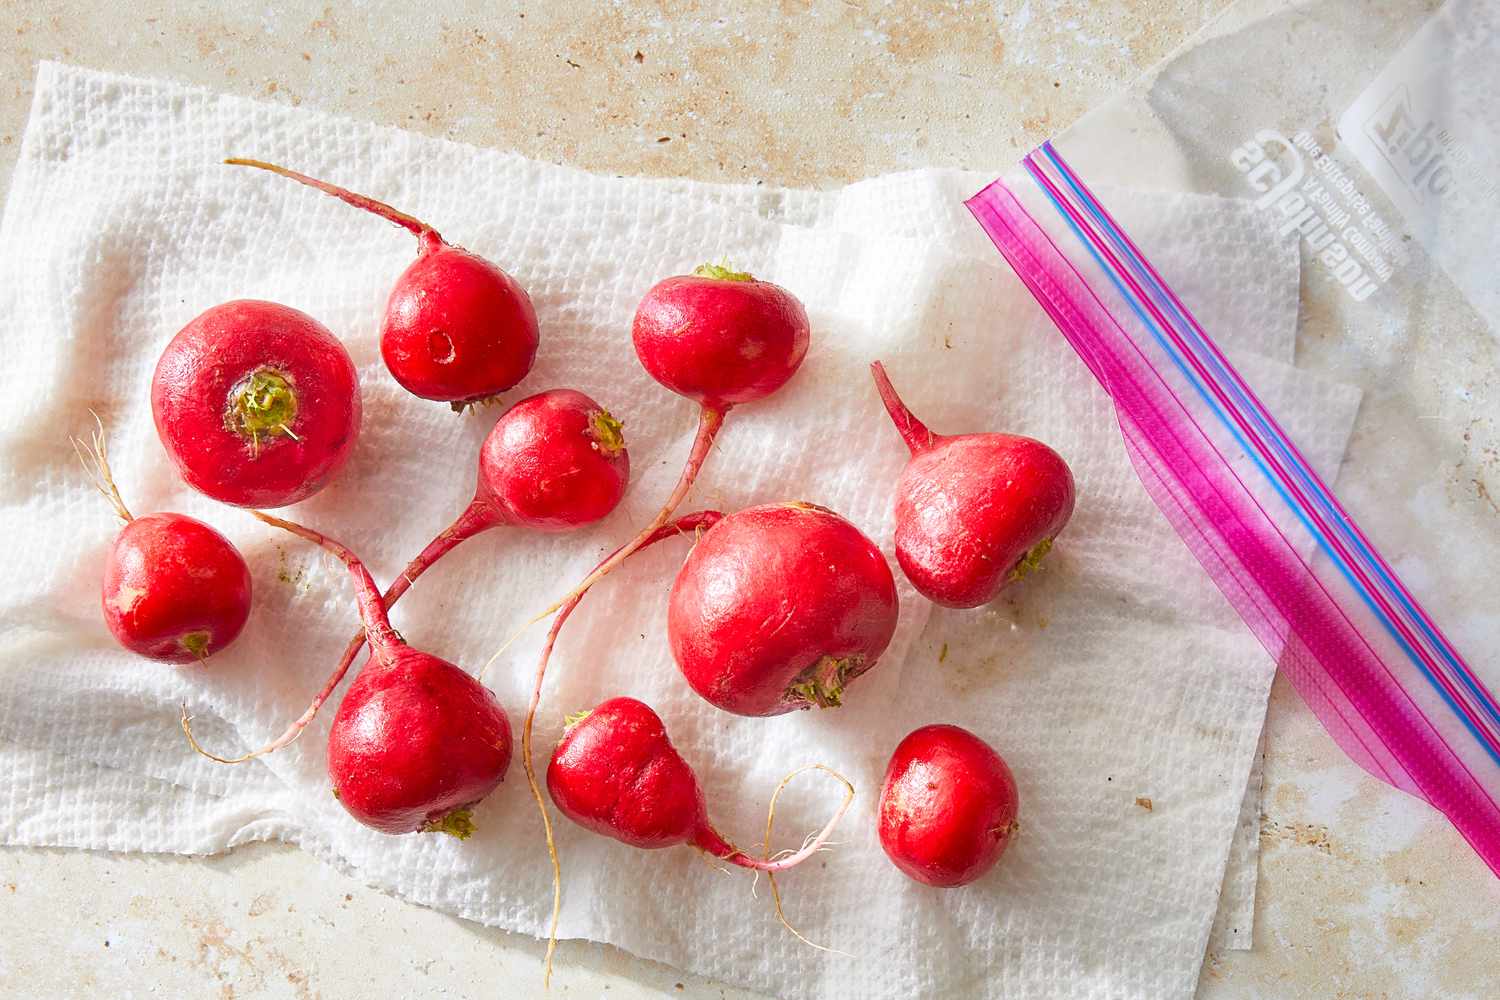
- Wash the radishes under cold running water to remove any dirt or debris. Use a vegetable brush if necessary.
- Trim off the tops and the root ends of the radishes.
- Peel the radishes if desired, although it’s not necessary for pickling.
- Decide how you want to slice your radishes. You can cut them into thin rounds, matchsticks, or even leave them whole if they are small enough.
Remember, the size and shape of your radish slices will affect the texture of the pickled radishes. Thinner slices will absorb the flavors more quickly, while larger pieces may retain some of their crunchiness. Choose the slicing method that suits your preference and the desired outcome.
Once you have cleaned and prepared the radishes, set them aside while you prepare the pickling brine. This will ensure that they stay fresh and crisp until it’s time to pack them into jars.
Step 3: Make the Pickling Brine
The pickling brine is the key to preserving and flavoring the radishes. Here’s how to make it:
- In a saucepan, combine vinegar, water, sugar, and salt.
- Place the saucepan over medium heat and stir until the sugar and salt dissolve completely.
- If desired, add spices and herbs like mustard seeds, coriander seeds, or dill to infuse additional flavor into the brine.
- Bring the brine to a gentle boil, then remove it from the heat and let it cool to room temperature.
The pickling brine serves two purposes: it adds a tangy taste to the radishes and acts as a preserving agent. The combination of vinegar, sugar, and salt creates an acidic environment that helps inhibit the growth of harmful bacteria and extends the shelf life of the pickled radishes.
Once the brine has cooled, it’s time to move on to the next step: packing the radishes into jars.
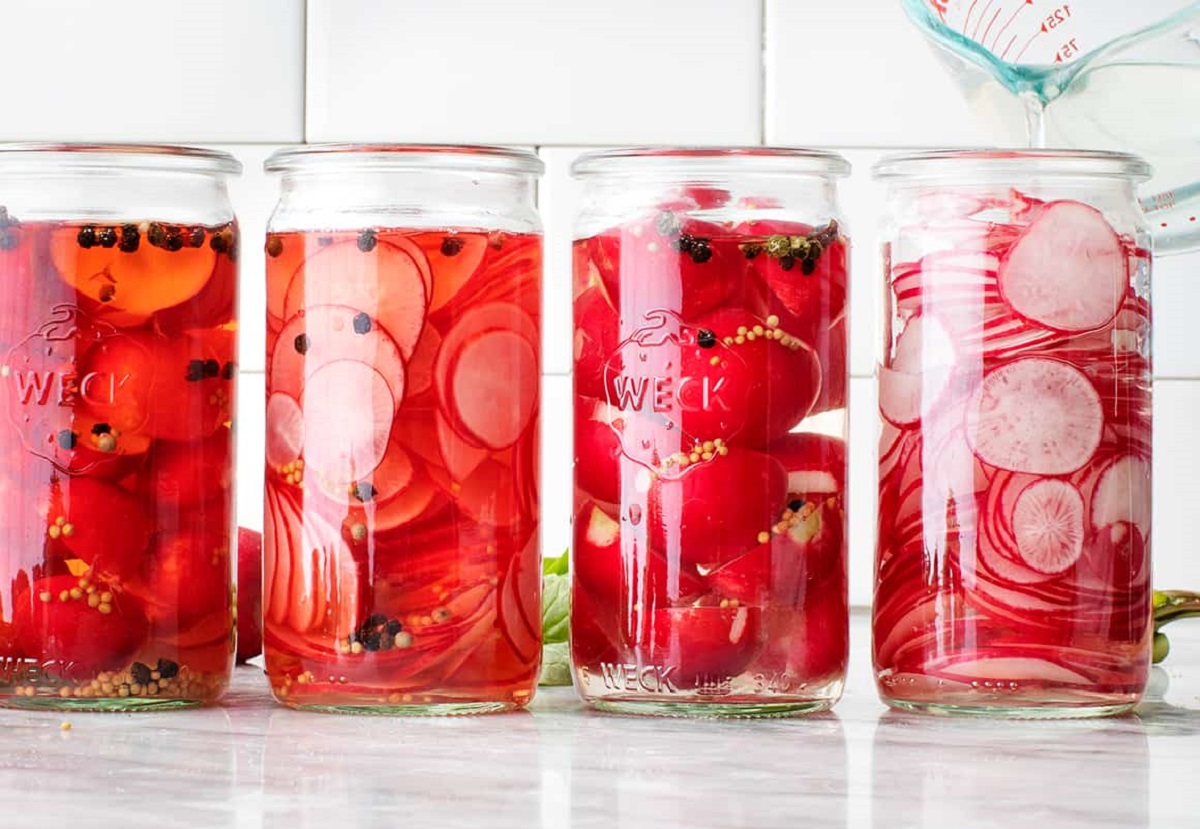
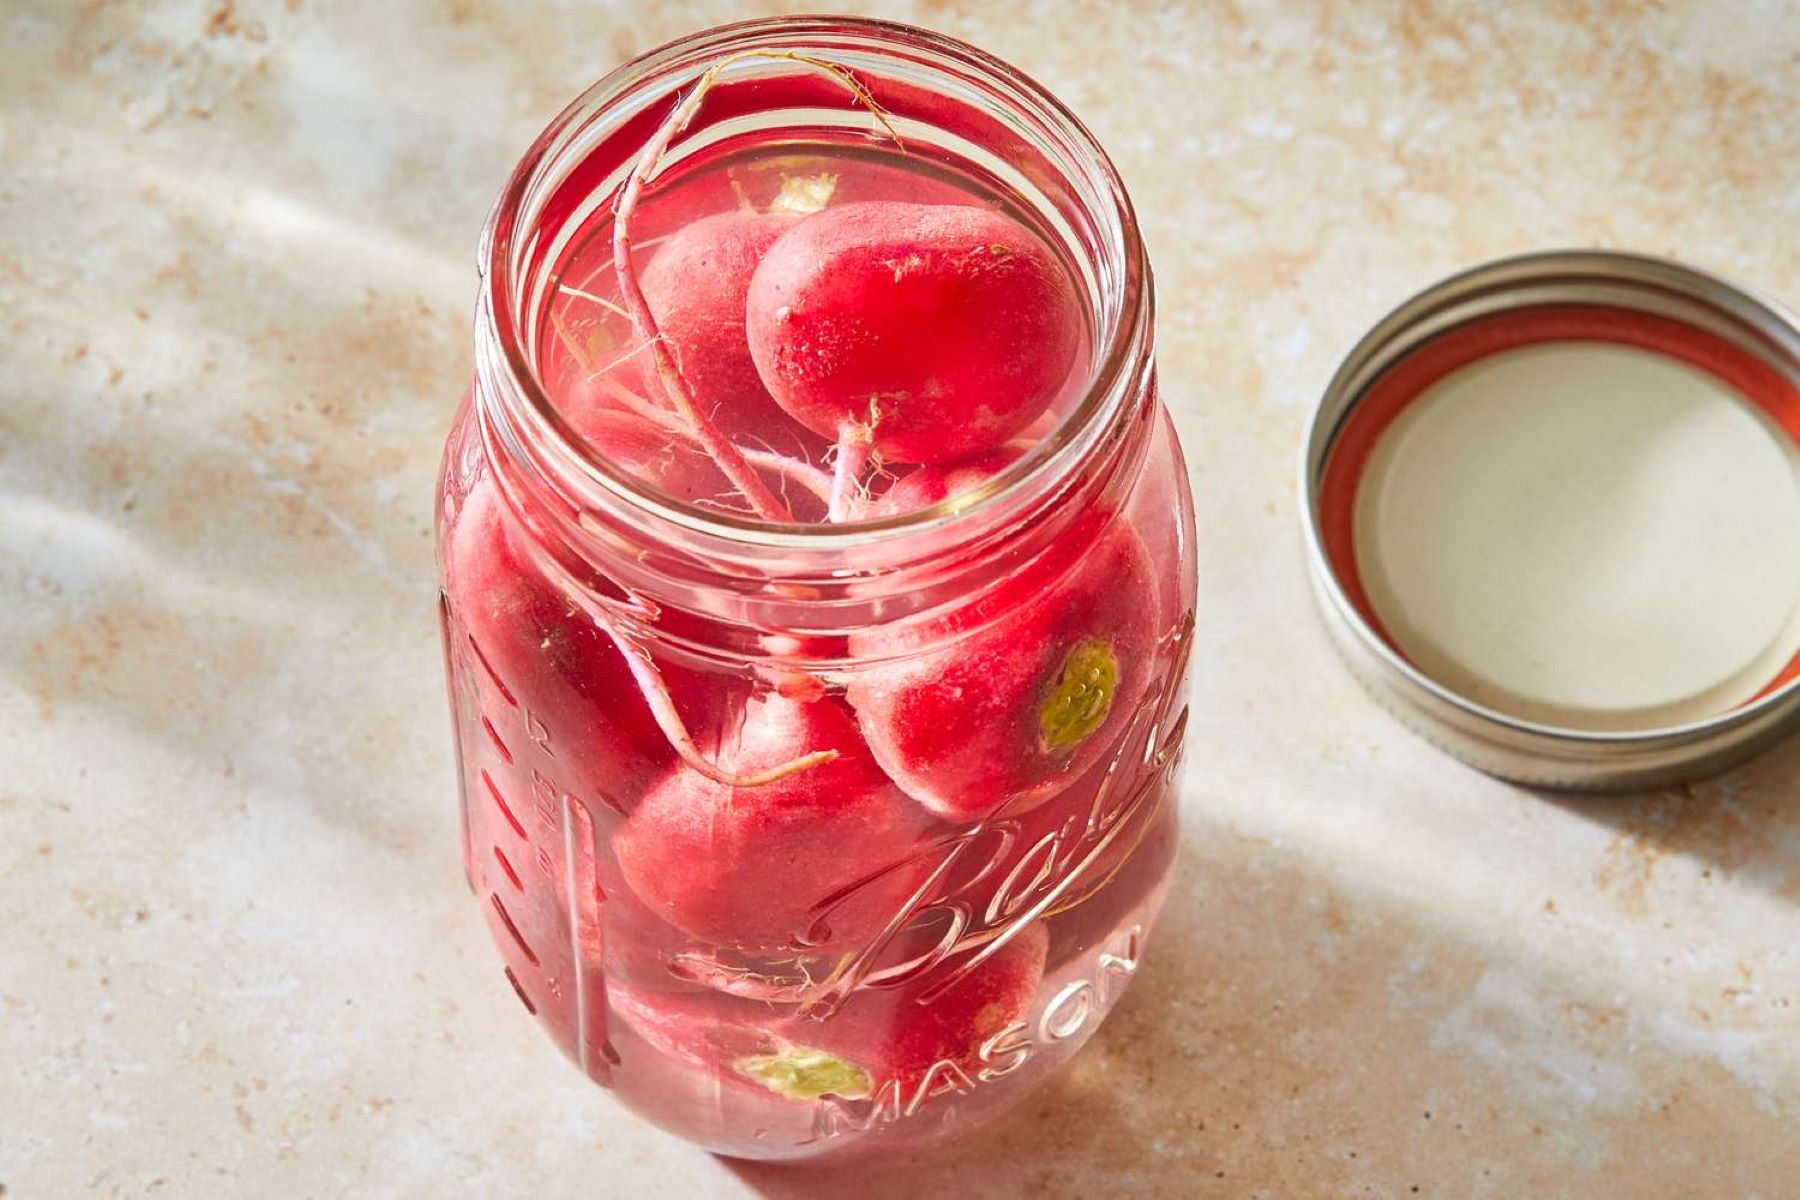
Step 4: Pack the Radishes in Jars
Now that you have your pickling brine prepared, it’s time to pack the radishes into jars. Follow these simple instructions:
- Take your sterilized glass jars and ensure they are dry.
- Layer the sliced radishes into the jars, leaving about half an inch of headspace at the top.
- If you are using whole radishes, make sure they fit comfortably in the jars without being too tightly packed.
- If desired, you can also add additional flavorings like garlic cloves, chili peppers, or herbs between the layers of radishes for extra taste.
Packing the radishes tightly ensures that they are evenly distributed and maximizes the space in the jars. However, be careful not to overstuff the jars, as this can lead to uneven pickling and may cause the brine to overflow when sealed.
Once you’ve packed the radishes, it’s time to move on to the next step: pouring the pickling brine over the radishes.
Store pickled radish in an airtight container in the refrigerator to keep it fresh and maintain its flavor. Make sure the radish is fully submerged in the pickling liquid to prevent it from drying out.
Read more: How To Store Fermented Pickles
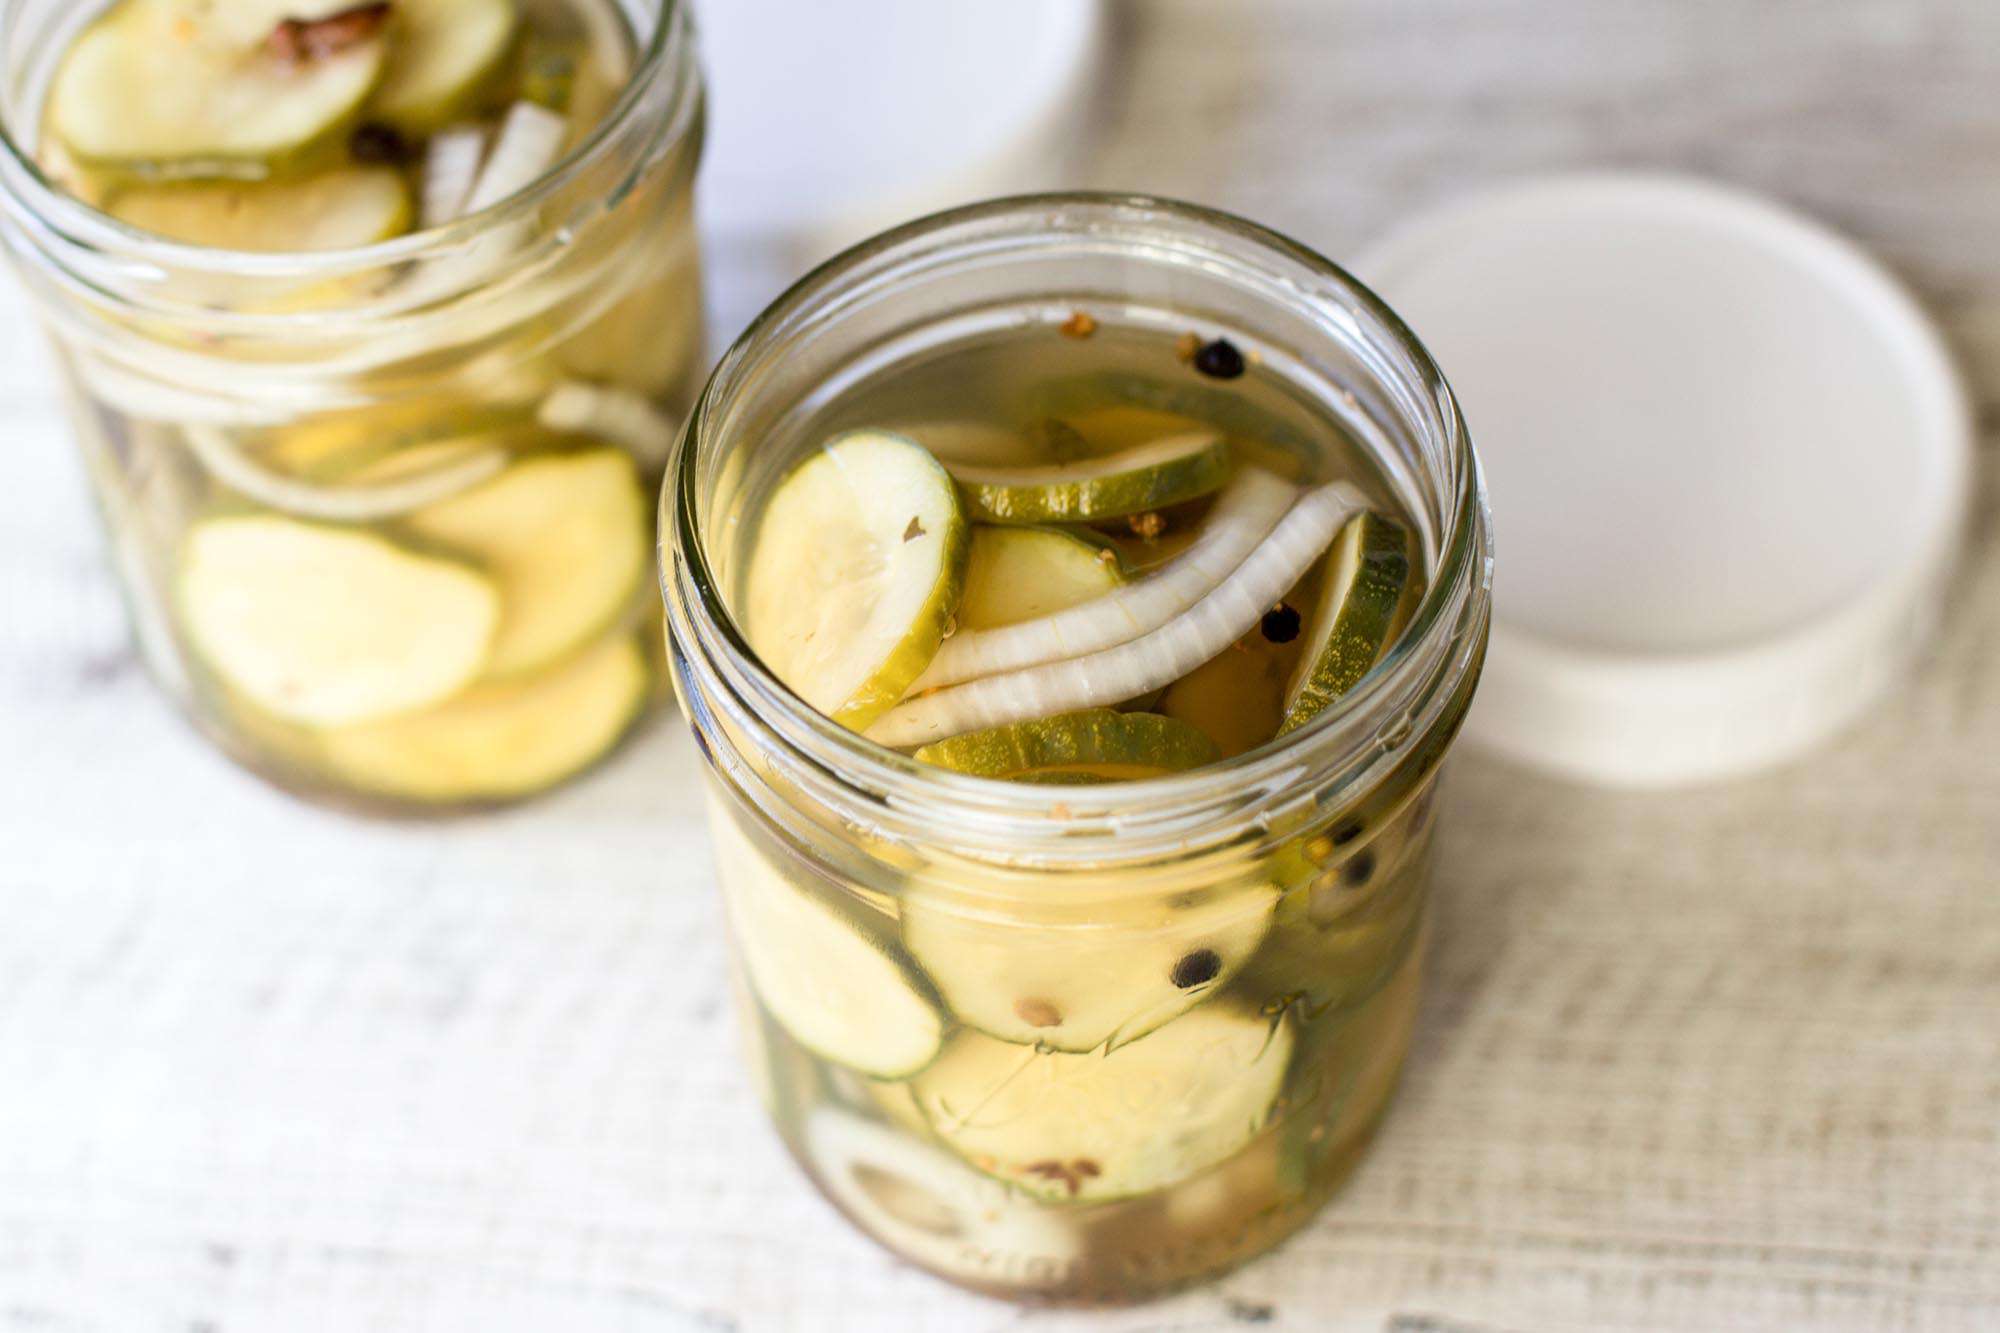
Step 5: Pour the Brine over the Radishes
The next step in the pickling process is pouring the prepared brine over the packed radishes. Here’s how to do it:
- Ensure that the pickling brine has cooled to room temperature.
- Carefully pour the brine into the jars, covering the radishes completely.
- Leave about half an inch of headspace at the top of each jar to allow for expansion during the pickling process.
- Use a spoon or a clean utensil to gently press down on the radishes, removing any trapped air bubbles within the jars.
The purpose of pouring the brine over the radishes is to fully immerse them in the flavorful liquid, ensuring that every slice gets evenly pickled. Removing air bubbles is important to prevent spoilage and maintain the quality of the pickled radishes.
Once you have poured the brine and removed any air bubbles, it’s time to move on to the next step: sealing the jars.
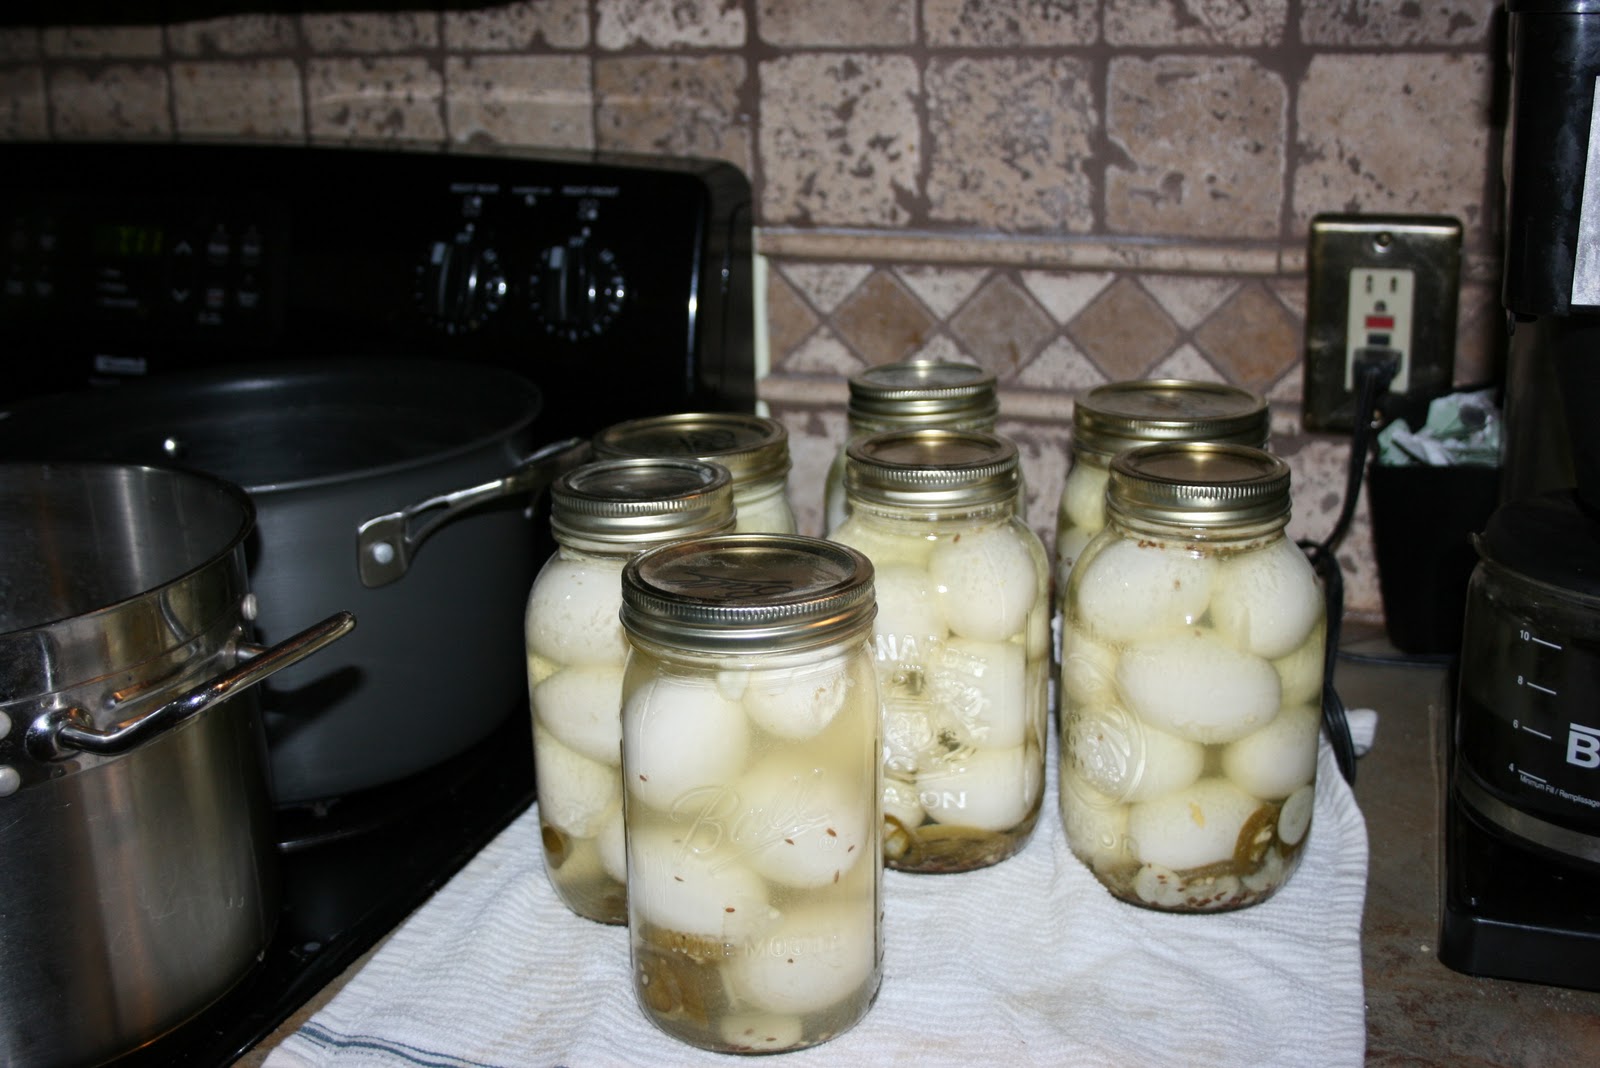
Step 6: Remove Air Bubbles and Seal the Jars
After pouring the brine over the radishes, it’s crucial to remove any trapped air bubbles from the jars before sealing them. Here’s how to do it:
- Take a clean utensil, such as a wooden skewer or a chopstick, and gently run it along the inside edges of the jars.
- This will help release any air bubbles that may have formed during the pouring process.
- Continue this process until no more bubbles rise to the surface.
- Once all the air bubbles are removed, wipe the rims of the jars clean with a damp cloth or paper towel.
- Ensure that the lids and bands of the jars are also clean and dry.
- Place the lids onto the jars and screw the bands on tightly.
Sealing the jars properly is essential to maintain the freshness and integrity of the pickled radishes. The tight seal prevents air from entering the jars and ensures that the radishes remain pickled for an extended period.
With the radishes packed, brine poured, air bubbles removed, and jars sealed, it’s time to move on to the final step of the process: storing the pickled radishes.
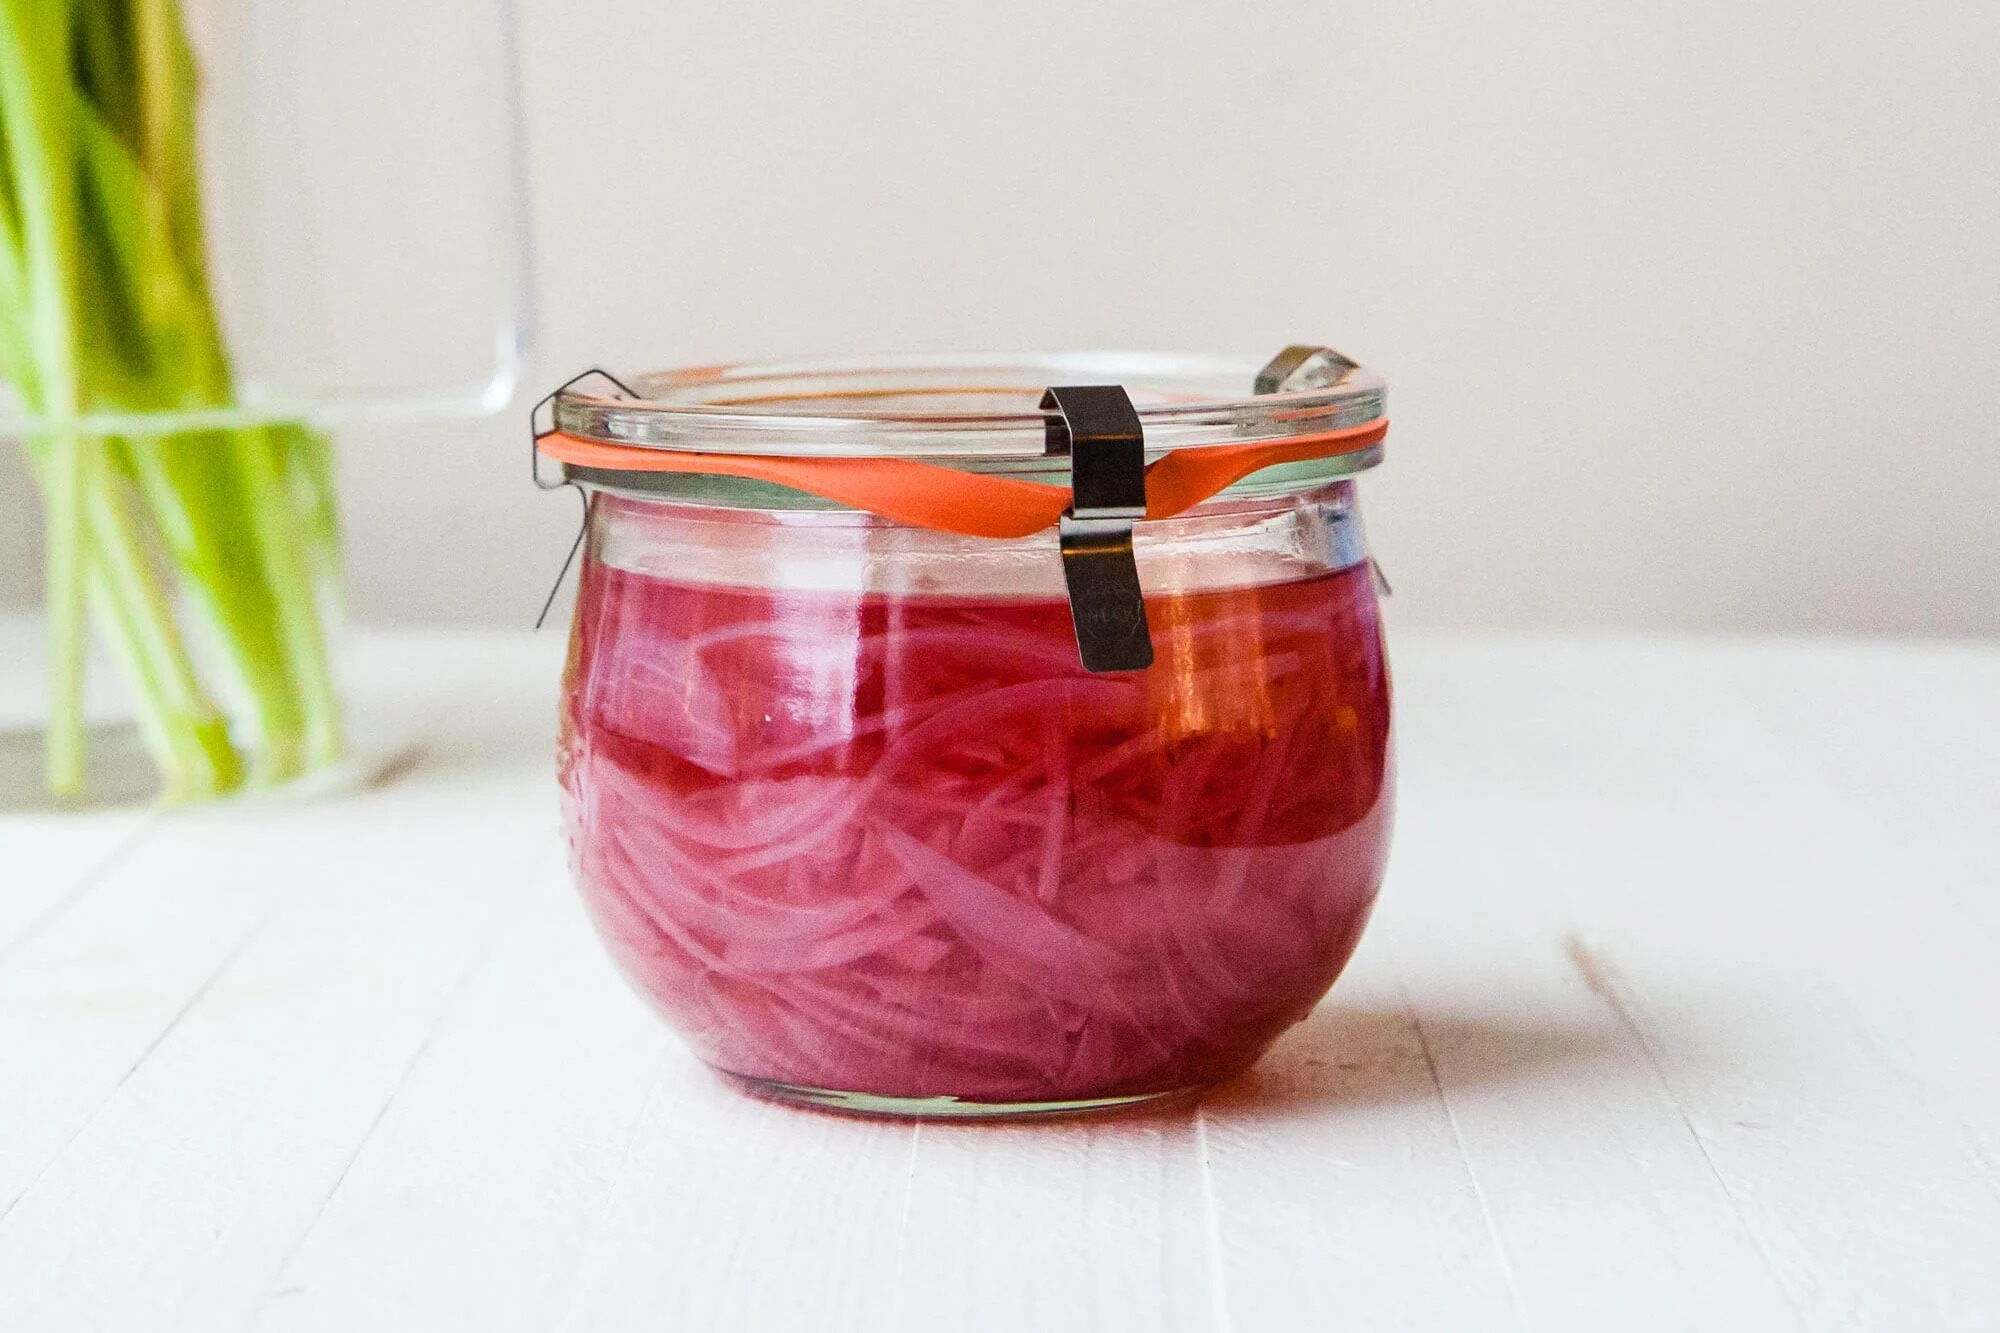
Step 7: Store the Pickled Radishes
Now that your pickled radishes are packed, sealed, and ready, it’s important to store them properly to maintain their quality and flavor. Follow these steps:
- Choose an appropriate storage location that is cool, dry, and away from direct sunlight.
- A pantry or a cellar is an ideal place for storing pickled radishes.
- Ensure that the temperature remains consistent, as fluctuations can affect the quality of the pickles.
- Label the jars with the date of pickling for easy reference.
- Allow the pickles to ferment and develop their flavor by storing them undisturbed for at least 1 to 2 weeks.
The pickled radishes will continue to mature and develop their tangy flavor over time. It is recommended to wait a few weeks before indulging in their deliciousness. However, you can also enjoy them sooner if you’re unable to resist!
Keep in mind that once opened, the pickled radishes should be refrigerated to maintain freshness. They will typically last for several months when stored properly.
Now that you know how to store pickled radishes, it’s time for the final step: enjoying your homemade pickles!
Step 8: Enjoy Your Homemade Pickled Radishes
After patiently waiting for the pickled radishes to mature, it’s finally time to savor the fruits of your labor. Here are a few ways to enjoy your homemade pickled radishes:
- Add them to sandwiches: The tangy and crunchy texture of pickled radishes is a perfect complement to sandwiches. Layer them in your favorite deli creations for an extra burst of flavor.
- Incorporate them into salads: Sprinkle pickled radishes over salads to add a zingy kick. They can impart both color and a refreshing tang to your greens.
- Pair them with rice dishes: Serve pickled radishes as a side dish with rice-based meals like stir-fries, sushi, or bibimbap. Their vibrant taste can balance out rich and savory flavors.
- Create a pickle platter: Arrange your pickled radishes alongside other pickled vegetables like cucumbers, carrots, and onions for a delightful pickle platter. It’s a great addition to any appetizer spread.
- Experiment with fusion dishes: Let your creativity run wild and incorporate pickled radishes into various fusion dishes. They can add a unique flair to tacos, wraps, and even noodle dishes.
Remember, the possibilities are endless when it comes to using pickled radishes in your culinary creations. Don’t be afraid to explore different flavor combinations and experiment in the kitchen. Your homemade pickled radishes will surely elevate any dish they accompany.
So, sit back, relax, and indulge in the tangy and crisp deliciousness of your very own pickled radishes. Enjoy the fruits of your labor and the satisfaction of knowing that you can create a homemade condiment that bursts with flavor and enhances your meals.
Congratulations on successfully storing and pickling radishes! Now, go and savor every bite!
Read more: How To Store Korean Radish
Conclusion
Learning how to store pickled radishes is a rewarding and worthwhile skill that allows you to enjoy the tangy and vibrant flavors of this delicious condiment at any time. By following the step-by-step process outlined in this article, you can successfully pickle radishes and store them for extended periods while maintaining their freshness and taste.
From preparing the ingredients and cutting the radishes to making the pickling brine and packing the jars, each step plays a crucial role in the pickling process. Removing air bubbles and sealing the jars properly ensures the longevity of the pickled radishes. Proper storage in a cool, dark place allows them to ferment and develop their unique flavor profile.
Once the pickled radishes are ready, the possibilities for enjoyment are endless. Whether added to sandwiches, salads, rice dishes, or served as part of a pickle platter, they bring a delightful tang and crunch to any meal. Feel free to experiment and incorporate them into your favorite recipes to experience new and exciting flavors.
By creating your own homemade pickled radishes, you have full control over the ingredients and flavors. You can customize the pickling brine to your liking and explore different spice combinations to suit your taste preferences. Plus, the satisfaction of enjoying a condiment you made from scratch is unbeatable.
So, don’t hesitate to embark on this flavorful adventure and start pickling radishes today. With a little time and effort, you can create a jar of tangy goodness that will brighten up your meals and impress your taste buds. Enjoy your homemade pickled radishes and share them with others to spread the joy of this delightful condiment!
Frequently Asked Questions about How To Store Pickled Radish
Was this page helpful?
At Storables.com, we guarantee accurate and reliable information. Our content, validated by Expert Board Contributors, is crafted following stringent Editorial Policies. We're committed to providing you with well-researched, expert-backed insights for all your informational needs.

0 thoughts on “How To Store Pickled Radish”