Articles
How To Make Wooden Wick Candles
Modified: January 4, 2024
Learn how to make wooden wick candles with our informative articles. Get step-by-step instructions and expert tips for creating beautiful and aromatic candles.
(Many of the links in this article redirect to a specific reviewed product. Your purchase of these products through affiliate links helps to generate commission for Storables.com, at no extra cost. Learn more)
Introduction
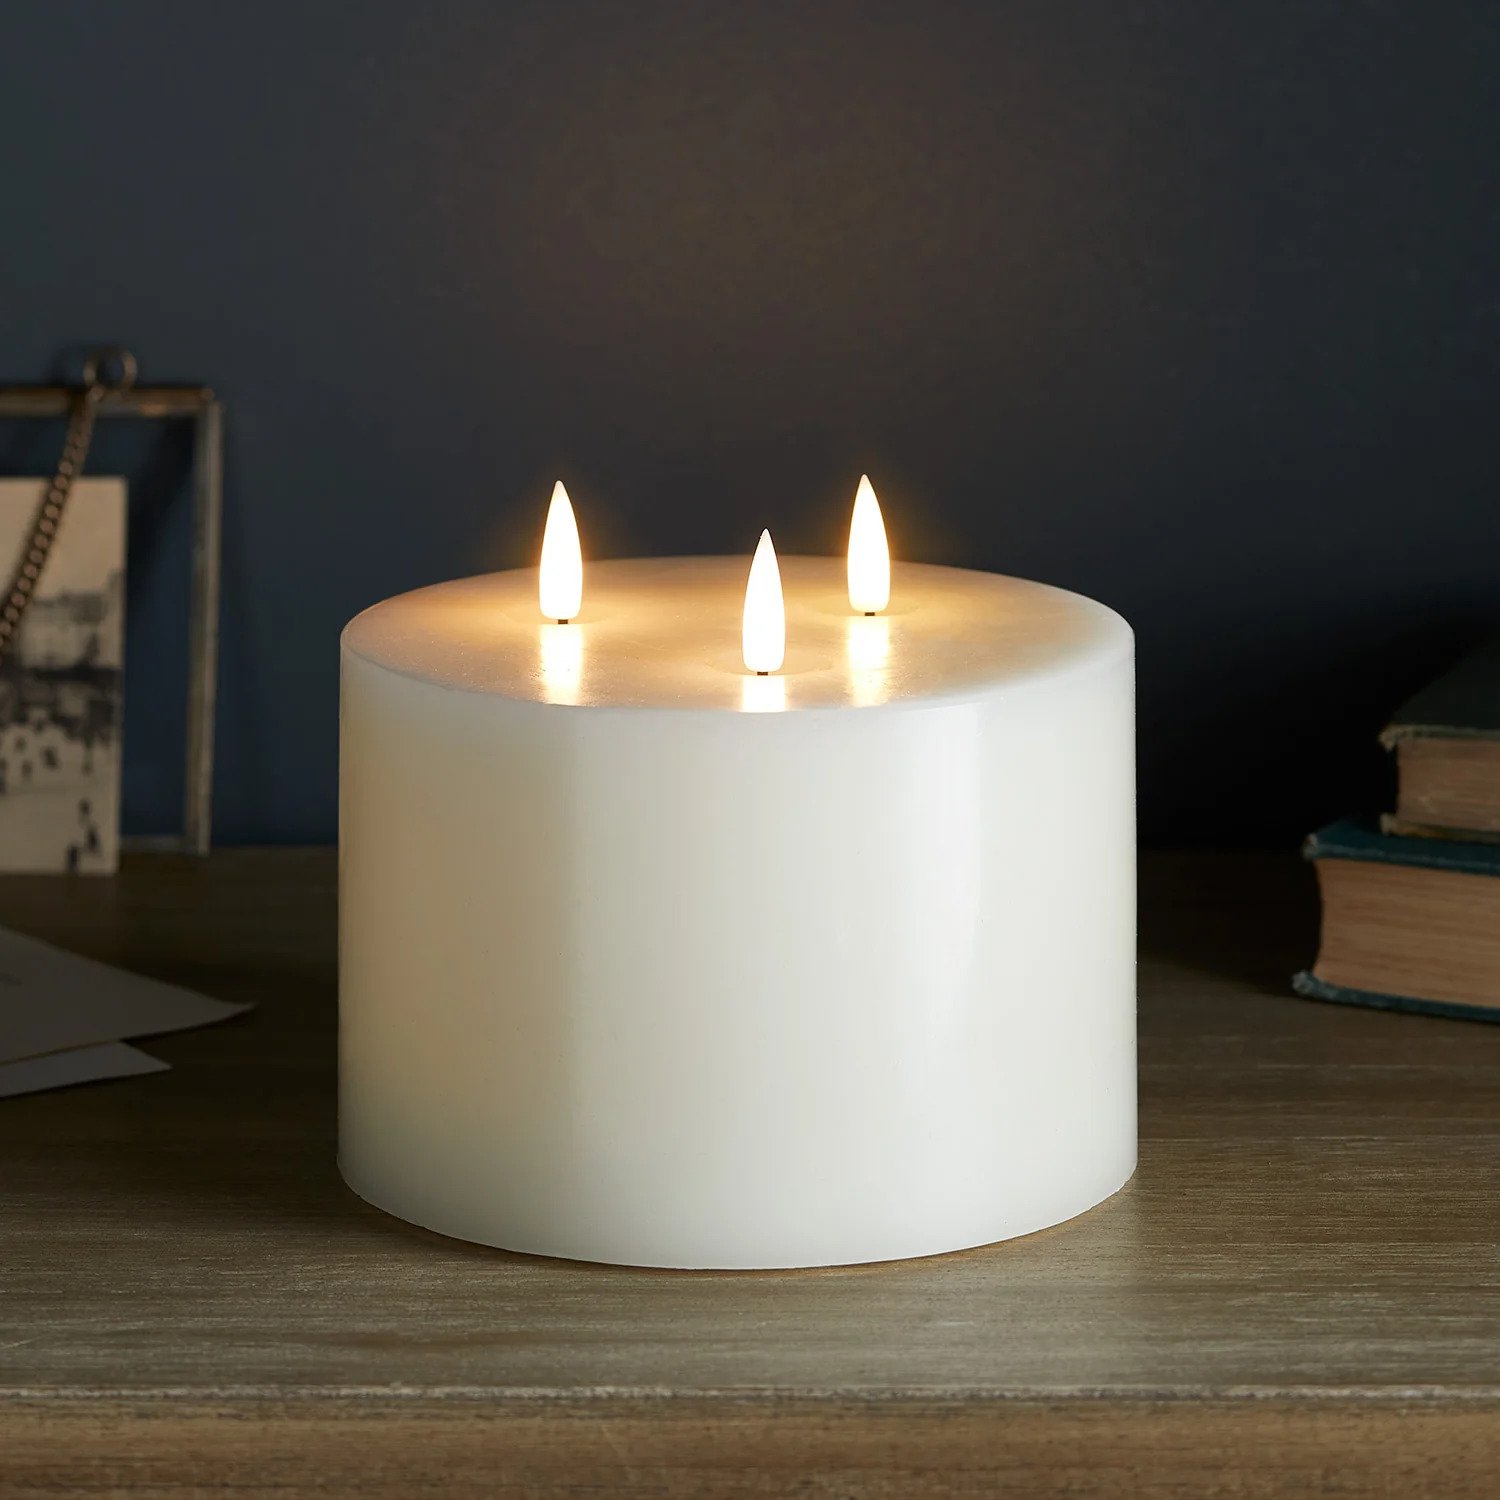
Welcome to the world of wooden wick candles! If you’re looking for a unique and charming way to add a cozy ambiance to your home, wooden wick candles are the perfect choice. Their crackling sound and warm glow create a soothing atmosphere that is both visually appealing and emotionally comforting.
But what makes wooden wick candles stand out from traditional cotton wick candles? One word: ambiance. The wooden wicks not only provide a distinct crackling sound reminiscent of a gentle fireplace, but they also have a longer burn time and provide a stronger fragrance throw. Additionally, wooden wicks are known for their eco-friendly nature and are often made from sustainable materials.
In this article, we will guide you through the process of making your own wooden wick candles. From choosing the right wood for your wick to enjoying the final product, we will cover each step in detail, ensuring that you have all the information you need to create beautiful and aromatic candles.
So, roll up your sleeves, gather your materials, and let’s dive into the world of wooden wick candles!
Key Takeaways:
- Embrace the Cozy Ambiance: Creating wooden wick candles offers a rewarding and customizable experience, bringing soothing crackling sounds and delightful fragrances into your home for a tranquil atmosphere.
- Personalized Candle Crafting: From choosing the right wood wick to adding fragrance and color, crafting wooden wick candles allows for creativity and customization, resulting in unique and charming creations for relaxation and enjoyment.
Read more: How To Make Wicks For Candles
Choosing the Right Wood for Wick
When it comes to choosing the right wood for your wooden wick candles, there are a few factors to consider. The type of wood you select plays a significant role in the performance of your candle, including its burn time, crackling sound, and overall aesthetic appeal.
First, you’ll want to choose a wood that is known for its sustainability. Look for wicks made from FSC-certified wood or eco-friendly materials, such as birch or cherry. These options not only align with environmentally conscious practices but also offer excellent burn characteristics.
In addition to sustainability, the size of your candle should influence your wood wick choice. If you are creating a smaller candle, a thinner wood wick will suffice. However, for larger candles, you’ll want a thicker wick to ensure a consistent burn and maintain the integrity of the wood.
Furthermore, consider the scent you plan to use. Some wood varieties, such as cedar or pine, can subtly complement earthy or woody fragrances. On the other hand, lighter scents like lavender or citrus might pair well with lighter wood types like birch or cherry.
Lastly, you may want to experiment with different wood types to achieve different crackling sounds. Some woods, like bamboo, produce a softer and smoother crackling sound, perfect for creating a calm and relaxing ambiance. Others, like cherry or hickory, have a more pronounced and robust crackle, adding a touch of dramatic flair to your candles.
Remember, the choice of wood for your wick can greatly affect the overall experience of your candle. So take your time to research and experiment with different options until you find the perfect combination that suits your preferences and desired atmosphere.
Preparing the Wood Wick
Before you can begin making your wooden wick candles, you’ll need to prepare the wood wick itself. This involves a few simple steps to ensure that your wick is ready to provide a steady and consistent burn.
The first step is to measure and cut your wood wick to the desired length. For the best results, cut the wick slightly longer than the height of your candle mold, allowing for trimming later on. Use a pair of sharp scissors or a craft knife to make a clean and precise cut.
Once you have cut your wick to the appropriate length, it’s time to prepare the wood. This step is essential to improve the wick’s performance by increasing its absorbency and promoting an even burn.
Start by soaking the wood wick in either warm water or melted wax for several hours. This helps to condition the wood and remove any potential contaminants. If using warm water, you may add a few drops of essential oils to infuse a pleasant scent into the wick. If opting for melted wax, choose a wax that matches the one you’ll be using for your candle.
After soaking, remove the wood wick from the water or wax and set it aside to dry completely. This drying process allows the wood to absorb the moisture and ensures that it burns more evenly once it is placed in the candle.
Once the wood wick is fully dried, you can further enhance its burn performance by treating it with a coating of mineral oil or beeswax. Gently rub a small amount of oil or melted beeswax along the length of the wick, ensuring that it is evenly coated. This step helps to prevent the wick from splintering or cracking during burning.
Now that your wood wick is prepared, you are ready to move on to the next exciting step: preparing the candle mold and shaping your wax.
Preparing the Candle Mold
Before you can pour the melted wax into your candle mold, you need to ensure that the mold is properly prepared. This step is essential for creating a smooth and well-formed candle.
First, choose a candle mold that suits your desired candle shape and size. There are many options available, including tin molds, glass jars, or silicone molds. Consider the overall aesthetic you want to achieve and select a mold that complements your vision.
Once you have chosen the mold, thoroughly clean it to remove any dust, debris, or residue that may affect the appearance of your candle. You can use warm soapy water and a soft cloth to clean the mold, ensuring that it is completely dry before proceeding.
After cleaning, prepare the mold by securing the wood wick in the center. There are different methods for attaching the wick, depending on the type of mold you are using. For tin or glass jar molds, you can use a wick sticker or hot glue to adhere the wick to the bottom of the mold. If using a silicone mold, you can insert the wood wick through the predetermined wick hole.
Ensure that the wood wick is centered and straight, as this will affect the burn and appearance of your candle. You can use a wick holder or a small stick placed horizontally across the mold to keep the wick in place while pouring the wax.
Additionally, if you want to add any decorative elements to your candle, such as dried flowers or herbs, now is the time to place them in the mold. Arrange the decorations around the wood wick, ensuring that they are evenly distributed and will be visible once the candle is completed.
With your candle mold properly prepared and the wood wick securely in place, you are now ready to move on to the next step: melting the wax.
Melting the Wax
Now that your candle mold is prepared, it’s time to melt the wax. The melting process is crucial for achieving a smooth and even consistency, ensuring a high-quality finished product.
Start by selecting the appropriate type of wax for your candle. There are various options available, including soy wax, beeswax, or paraffin wax. Each type has its own unique characteristics, so choose the one that best suits your preferences and desired outcome.
To melt the wax, you have a few different methods to choose from. The most common method is using a double boiler. Fill a large pot with water and place it on the stove over medium heat. Then, place a smaller pot or heat-safe container inside the larger pot, making sure it doesn’t touch the water. Add the wax to the smaller pot and allow it to gradually melt, stirring occasionally to ensure even heating.
Alternatively, you can use a microwave-safe container to melt the wax in the microwave. Cut the wax into smaller chunks or use wax pellets for quicker and more even melting. Place the container in the microwave and heat in short intervals, stirring in between, until the wax is completely melted and smooth.
While melting the wax, you may choose to add fragrance oils or essential oils for a delightful aroma. Keep in mind the recommended fragrance load or concentration for the specific type of wax you are using, as adding too much can affect the performance of the candle. Stir the fragrance oils into the melted wax thoroughly to ensure an even distribution.
If desired, you can also add color to your candle by using dye chips or liquid candle dye. Start with a small amount and gradually add more until you achieve the desired hue. Mix well to ensure the color is evenly dispersed throughout the wax.
Once the wax has melted and any fragrance or color has been added, you are ready to move on to the exciting step of pouring the wax into the prepared mold.
Read more: How To Remove Wicks From Candles
Adding Fragrance and Color
Adding fragrance and color to your candles is a wonderful way to enhance their aesthetic appeal and create a personalized sensory experience. With a variety of options available, you can easily customize your candles to suit your preferences and create a delightful ambiance.
When selecting a fragrance for your candle, choose scents that resonate with you and complement the overall mood you want to create. Opt for high-quality fragrance oils or essential oils specifically formulated for candle making. These oils are designed to withstand the heat of the melted wax and provide a long-lasting, pleasant scent when the candle is burned.
To add fragrance, carefully measure the desired amount of oil according to the recommended fragrance load for the specific type of wax you are using. Typically, this is around 6-10% of the total wax weight. Stir the fragrance oil into the melted wax thoroughly to ensure an even distribution and to avoid any pockets of concentrated fragrance.
Next, if you wish to add color to your candle, there are various options available. You can use dye chips, which are small, concentrated blocks of color specifically designed for candle making. Alternatively, you can use liquid candle dye, which allows for more precise color customization. Start with a small amount of dye and gradually add more until you achieve the desired color intensity. Remember, a little goes a long way, so add the dye cautiously to avoid overpowering the wax.
When adding color, stir the dye into the melted wax thoroughly, ensuring that it is evenly dispersed. Keep in mind that the color may appear darker in the melted wax than it will when the candle solidifies, so exercise patience and caution when adjusting the color.
Additionally, if you want to create unique visual effects, you can experiment with layering different colored waxes or adding decorative elements like glitter or dried flowers. This allows for endless creativity and customization, making each candle a unique work of art.
Once you have added the fragrance and color to your melted wax, it’s time to move on to the next step: pouring the wax into the prepared mold.
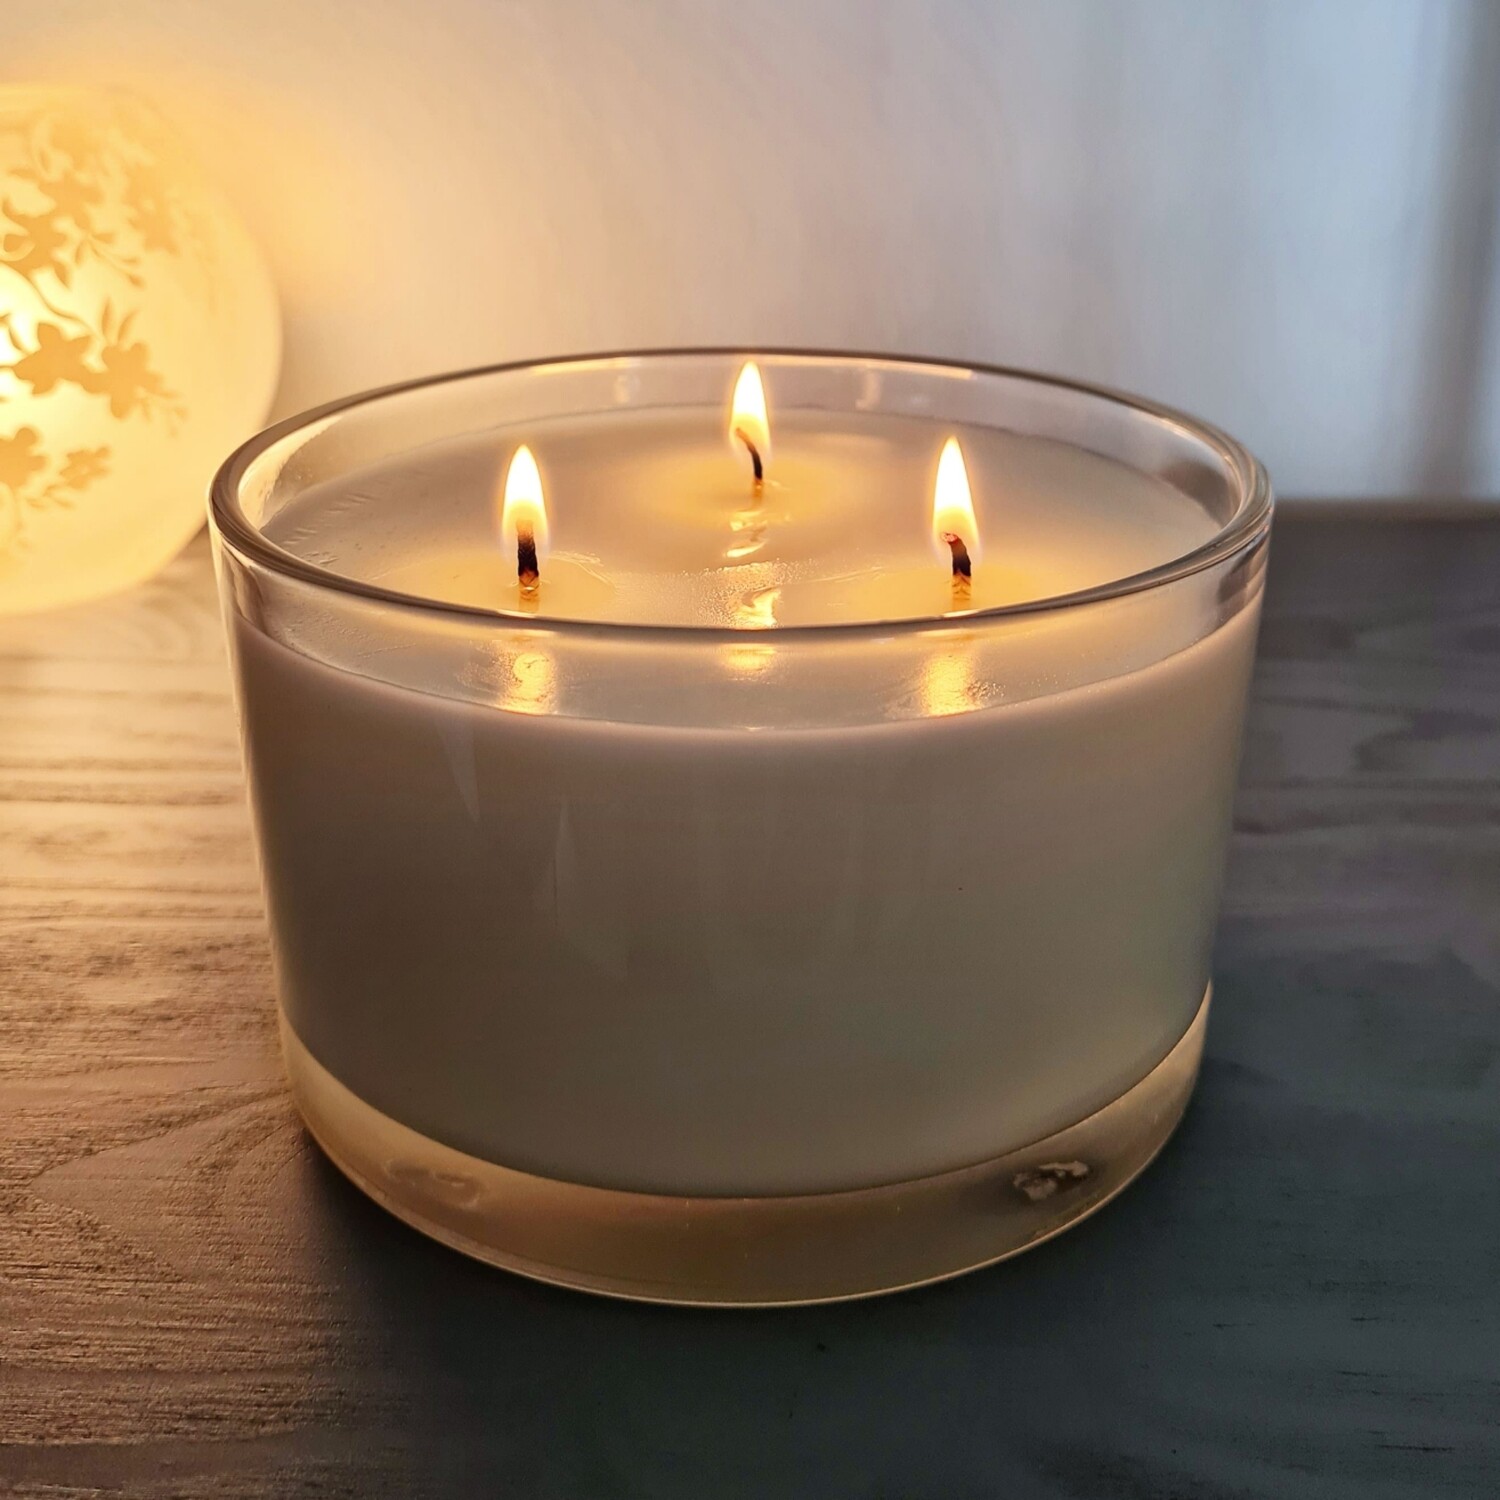
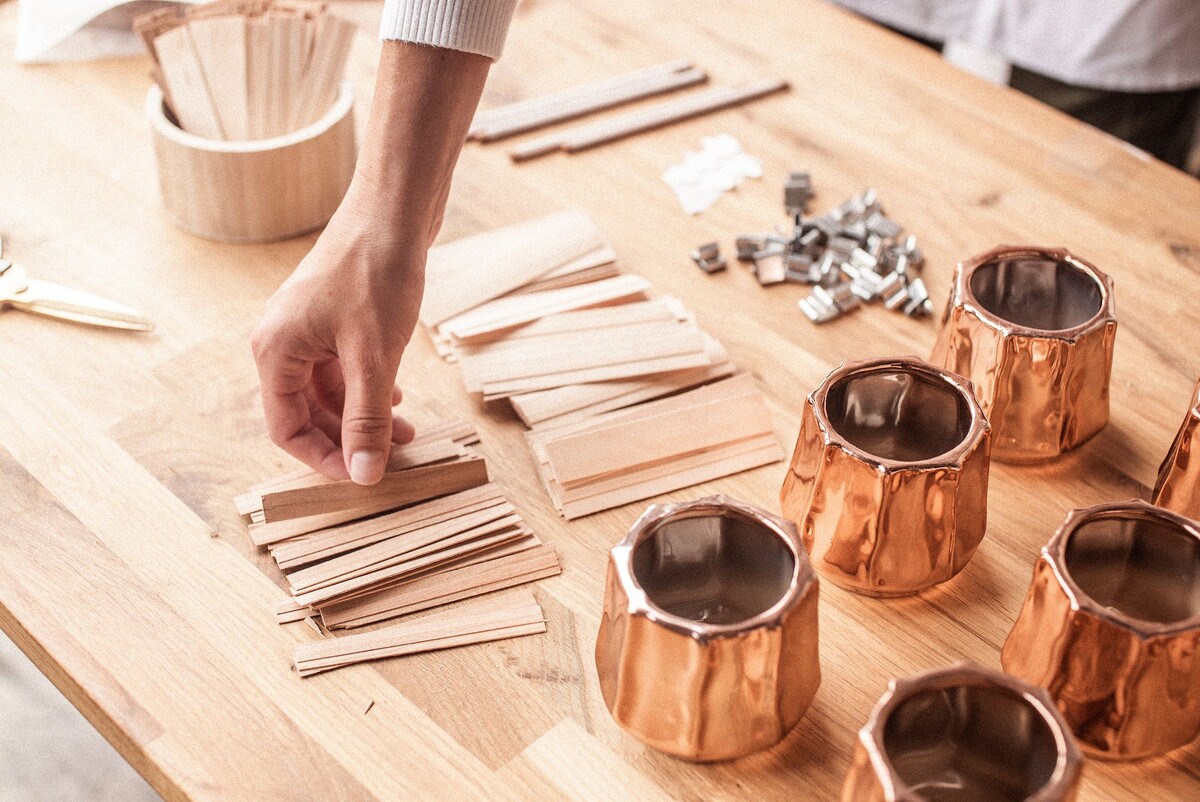
When making wooden wick candles, ensure the wick is centered in the container and secured in place before pouring the hot wax to prevent it from moving or tilting.
Pouring the Wax into the Mold
Now that your wax is melted, fragranced, and colored to perfection, it’s time to pour it into the prepared candle mold. This step requires a steady hand and careful attention to detail to ensure that the wax is poured evenly and fills the mold without any air bubbles or gaps.
Before you begin pouring, make sure your mold is stable and in a secure position. This will prevent any accidental spills and ensure that the wax sets properly.
Start by slowly and steadily pouring the melted wax into the mold. Aim for the center of the mold, allowing the wax to flow naturally and evenly. Avoid pouring too quickly or forcefully, as this can cause splashing or overflow.
As you pour, keep an eye on the wood wick to ensure it remains centered and straight. You may need to gently adjust it if it shifts during the pouring process. Holding the wick holder or stick across the top of the mold can help keep the wick in place while you pour the wax.
Continue pouring the wax until you reach the desired fill level, leaving a small amount of space at the top to accommodate for any shrinkage that may occur during the cooling process.
If you are creating layered candles or adding decorative elements, pour the first layer of wax and allow it to cool and solidify before pouring the next layer. This will help create distinct layers and prevent blending of colors or elements.
Once the mold is filled, set it aside in a safe area and allow the wax to cool and solidify completely. The cooling time will vary depending on the size and type of candle, so refer to the specific recommendations for the wax you are using.
It’s important to note that during the cooling process, a slight sinkhole may form around the wick. This is completely normal and can be easily remedied in the next step: inserting the wood wick.
So, take your time, pour the wax with precision, and enjoy the process of creating your own custom candles. In the next step, we will guide you through inserting the wood wick into your beautiful creation!
Inserting the Wood Wick
With your melted wax poured into the mold and left to cool and solidify, it’s time to insert the wood wick. This step completes the assembly of your wooden wick candle and ensures that it will burn properly and beautifully.
Begin by examining the surface of the cooled wax. If you notice any sinkholes or cavities around the wood wick, don’t worry – this is common and easily fixable. Gently tap or press down on the wax around the wick with a tool or the back of a spoon to level it out and fill in any gaps. This will help the wood wick stay in place and prevent it from sinking deeper into the candle when it burns.
Next, trim the wood wick to a suitable length, leaving about a quarter to half an inch above the surface of the wax. This length will ensure a proper burn and minimize the risk of excessive smoking or flickering. Use sharp scissors or a wick trimmer to achieve a clean and precise cut.
To insert the wood wick into the candle, gently hold the top of the wick and lower it into the center of the candle, ensuring it is aligned with the bottom of the mold. If necessary, use a wick holder or a small stick laid across the top of the mold to keep the wick straight and centered as you guide it downward.
As the wood wick is lowered into the candle, it should naturally find its place in the softened wax. Lightly press down on the top of the wick to ensure it is firmly embedded and surrounded by wax but be careful not to push it too deeply.
Once the wood wick is in place, take a moment to double-check its alignment and ensure that it stands straight and centered within the candle. This will help promote an even burn and prevent any leaning or off-centered flames.
Now that the wood wick is securely inserted into your candle, it’s time to move on to the next step: allowing the candle to cool and set completely.
So sit back, admire your work, and let the candle cool undisturbed. In the meantime, feel free to clean up any spills or excess wax to maintain a clean workspace. Once the candle is fully cooled, we will move on to the next step: trimming the wood wick.
Allowing the Candle to Cool and Set
After inserting the wood wick into your candle, it’s crucial to allow the candle to cool and set completely. This step is essential for ensuring that your candle maintains its shape, texture, and overall integrity.
Once you have positioned the wood wick in the softened wax, it’s time to exercise patience and let nature take its course. Avoid moving or disturbing the candle during the cooling period to prevent any potential misalignments or blemishes.
The cooling time will vary depending on factors such as the size of the candle, the type of wax used, and the ambient temperature. It’s generally recommended to allow the candle to cool for at least 24 hours or until the wax has become firm and solid.
During this time, it’s normal for the surface of the candle to develop a slight sinkhole or indent around the wood wick. This is due to the natural tendency of the wax to shrink as it cools and solidifies. Don’t worry – this can easily be fixed in the next step when we trim the wood wick.
While the candle is cooling, ensure that it is placed in a safe and level area away from any drafts or direct sunlight. This will help the candle cool evenly and prevent any potential warping.
As the candle cools, you may notice a slight aroma from the fragrance oils or essential oils you added. This is a delightful indication that your candle is starting to come to life and is ready to be enjoyed.
Once the cooling time has passed and the wax is fully set, it’s time to move on to the next step: trimming the wood wick to the appropriate length. This step ensures a clean and efficient burn and prepares your candle for its first lighting.
So, exercise patience and allow your candle to cool and set undisturbed. In the meantime, take pride in your creation and start envisioning the cozy ambiance it will soon bring to your space.
Read more: How To Use Wood Wick Candles
Trimming the Wood Wick
Now that your candle has cooled and set, it’s time to trim the wood wick to the appropriate length. Trimming the wick is essential to ensure a clean and efficient burn, as well as to maintain the overall appearance of your wooden wick candle.
Begin by examining the top of the candle. You may notice that the wood wick has slightly charred or burned during the initial lighting. Trimming the wick will help remove any excess charred wood and create a fresh surface for the next burn.
Using a pair of sharp scissors or a wick trimmer, carefully trim the wood wick to about a quarter to half an inch above the surface of the candle. This length is optimal for achieving a controlled and even flame, minimizing soot, smoke, and flickering.
Be sure to cut the wood wick straight across to create a clean and neat edge. Avoid cutting the wick too close to the surface of the wax, as this can cause the flame to sputter or become unstable.
During the trimming process, you may notice some small wood fragments or charred remnants falling into the wax. Don’t worry – these can be easily removed before lighting the candle. Gently blow on the surface of the candle or use a soft brush to eliminate any loose debris.
Trimming the wood wick before each burn is important for maintaining the performance and aesthetics of your candle. It promotes a steady and controlled burn, ensuring that your wooden wick candle continues to provide a soothing crackling sound and a warm, inviting glow.
Now that your wood wick is properly trimmed, you’re ready to light your candle and bask in its cozy ambiance. But before you do, let’s recap the journey we’ve taken to create your wooden wick candle.
We’ve covered everything from choosing the right wood for your wick, preparing the wood wick itself, and preparing the candle mold. We’ve also delved into melting the wax, adding fragrance and color, pouring the wax into the mold, inserting the wood wick, allowing the candle to cool and set, and finally, trimming the wood wick.
Now, it’s time to sit back, relax, and enjoy the flickering glow and gentle crackling sounds of your homemade wooden wick candle. Embrace the cozy atmosphere it creates and let it enhance your space with its soothing charm.
Congratulations on creating your personalized wooden wick candle, and may it bring you many moments of relaxation and tranquility.
Enjoying Your Wooden Wick Candle
Now that you have created your own wooden wick candle, it’s time to sit back, relax, and fully enjoy the cozy ambiance it brings to your space. Here are a few tips on how to maximize your experience with your wooden wick candle:
1. Find the perfect setting: Choose a tranquil spot in your home where you can fully immerse yourself in the ambiance created by your wooden wick candle. Whether it’s your living room, bedroom, or bathroom, create a cozy atmosphere with dimmed lights, soft music, and your favorite scents.
2. Light the wick properly: Before lighting the candle, ensure that the wood wick is properly trimmed to a quarter to half an inch in length. Hold a flame, such as a lighter or match, to the base of the wick and allow it to catch fire. Avoid blowing out the flame too forcefully to prevent hot wax from splattering.
3. Enjoy the crackling sound: One of the unique features of wooden wick candles is the delightful crackling sound they produce. This sound adds an extra layer of coziness and relaxation to your environment. Sit back, close your eyes, and allow the gentle crackling to transport you to a peaceful state of mind.
4. Appreciate the fragrance: As your wooden wick candle burns, the fragrance will gradually fill the room, creating a pleasant and inviting atmosphere. Take a moment to appreciate the aroma and let it soothe your senses. Remember to choose high-quality fragrance oils or essential oils to ensure a long-lasting and pleasing scent.
5. Practice candle safety: While enjoying your wooden wick candle, it’s important to keep safety in mind. Never leave a burning candle unattended, and make sure it is placed on a heat-resistant surface away from any flammable objects. Avoid burning the candle for more than four hours at a time, and always trim the wick before each use.
6. Explore different scents and designs: Part of the joy of wooden wick candles is the ability to customize them according to your preferences. Experiment with different scents, colors, and even decorative elements to create a variety of candles that suit different moods and occasions. Let your creativity soar and enjoy the process of creating unique candles that reflect your personal style.
7. Give as thoughtful gifts: Wooden wick candles make wonderful gifts for friends and loved ones. Share the cozy ambiance and soothing effects of these candles by packaging them in a beautiful box or wrapping them with a personalized touch. Your handmade wooden wick candles are sure to bring joy and relaxation to those you care about.
With these tips in mind, go ahead and indulge yourself in the warm glow and gentle crackling of your wooden wick candle. Let its flickering flame and enchanting scent create a serene and cozy atmosphere that rejuvenates your mind and lifts your spirits.
Enjoy the tranquil moments, the captivating fragrance, and the soothing ambiance of your very own wooden wick candle. Embrace the comfort and relaxation it brings as it becomes a cherished part of your daily routine.
Remember to always practice candle safety and enjoy the simple pleasure of basking in the soft glow of your handmade creation.
Now, go forth and savor the moments of tranquility and serenity that your wooden wick candle provides!
Conclusion
Creating your own wooden wick candles is not only a rewarding and enjoyable experience, but it also allows you to customize your candles to your unique preferences and style. With a combination of the right wood for the wick, carefully prepared molds, and fragranced, colored wax, you can bring cozy ambiance and soothing aromas into your space.
Throughout this article, we have explored the step-by-step process of making wooden wick candles, from choosing the right wood for the wick to trimming the wick for an optimal burn. We’ve discussed the importance of preparing the wood wick, selecting the perfect candle mold, and melting the wax to achieve a smooth consistency. We’ve also delved into adding fragrance and color, pouring the wax into the mold, inserting the wood wick, and allowing the candle to cool and set.
By following these steps and infusing your creativity, you can create stunning wooden wick candles that offer an immersive sensory experience. The crackling sound, warm glow, and delightful fragrances will fill your home with a cozy and tranquil atmosphere.
As you enjoy the flickering glow and comforting crackling of your wooden wick candle, remember to prioritize safety by practicing proper candle care. Always trim the wick before each use, never leave a burning candle unattended, and place it on a heat-resistant surface.
Whether you choose to keep your wooden wick candles for personal use or share them as thoughtful gifts, they are sure to bring joy, relaxation, and a touch of elegance to any space. Revel in the calming ambiance and allow the delightful fragrances to transport you to a state of tranquility.
So, embrace your inner candle maker, experiment with different fragrances and designs, and immerse yourself in the cozy beauty of wooden wick candles. Let their warmth and enchantment invigorate your senses, offering moments of serenity and relaxation in the midst of your busy life.
Now, go forth and embark on your journey of creating beautiful wooden wick candles. Bring the cozy ambiance and soothing aromas to your home, and let the gentle crackling of the wood wick create an atmosphere of tranquility and warmth.
Enjoy the process, enjoy the results, and may the glow of your handmade wooden wick candles illuminate your life with comfort and serenity.
Frequently Asked Questions about How To Make Wooden Wick Candles
Was this page helpful?
At Storables.com, we guarantee accurate and reliable information. Our content, validated by Expert Board Contributors, is crafted following stringent Editorial Policies. We're committed to providing you with well-researched, expert-backed insights for all your informational needs.