Articles
How To Store Sage Leaves
Modified: February 23, 2024
Learn how to store sage leaves in this informative article. Discover the best methods for preserving the flavor and aroma of your sage for future use.
(Many of the links in this article redirect to a specific reviewed product. Your purchase of these products through affiliate links helps to generate commission for Storables.com, at no extra cost. Learn more)
Introduction
Welcome to the world of culinary herbs, where the aroma and flavor of sage leaves add a delightful touch to countless dishes. Whether you grow your own sage or purchase it from a grocery store or farmer’s market, knowing how to properly store sage leaves is essential for preserving their freshness and flavor.
In this comprehensive guide, we will walk you through the process of harvesting, drying, and storing sage leaves so that you can enjoy their aromatic goodness all year round. Whether you’re a seasoned chef or a passionate home cook, these tips will help you ensure that your stored sage leaves retain their quality and potency.
So let’s dive in and discover the various methods of storing sage leaves to maintain their flavor, aroma, and nutritional value.
Key Takeaways:
- Preserve the essence of sage by harvesting, drying, and storing the leaves properly. Enjoy the aromatic goodness of sage in your culinary creations all year round with these expert techniques.
- Whether using the mason jar method, freezing, or vacuum sealing, ensure airtight storage in a cool, dark place to maintain the flavor and aroma of sage leaves. Label and date containers for easy tracking and usage.
Read more: How To Store Fresh Sage Leaves
Harvesting Sage Leaves
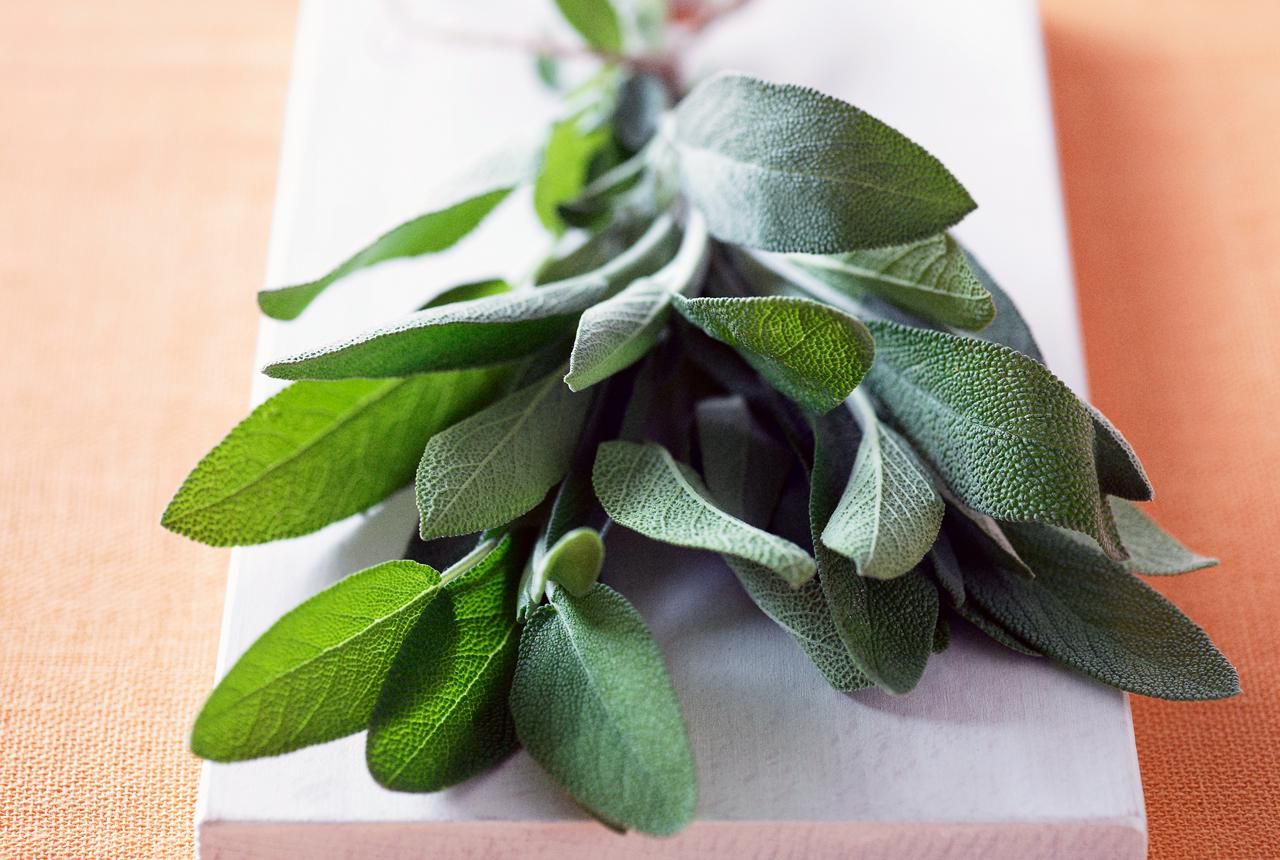
Before we delve into the different methods of storing sage leaves, it is important to understand when and how to harvest them. The best time to harvest sage leaves is in the morning, after the dew has evaporated and before the heat of the day sets in.
To harvest sage leaves, simply use a pair of kitchen shears or sharp scissors to cut the leafy sprigs from the plant. Aim to cut the stem about 2 inches from the base, ensuring that you leave enough stem for easy handling during the drying and storing process.
Remember to harvest sage leaves selectively, taking only a few sprigs from each plant. This allows the plant to continue growing and ensures a sustainable harvest throughout the growing season.
Drying Sage Leaves
One of the oldest and most popular methods of preserving sage leaves is by drying them. Drying sage leaves not only concentrates their flavor but also extends their shelf life significantly. Here’s how you can easily dry sage leaves:
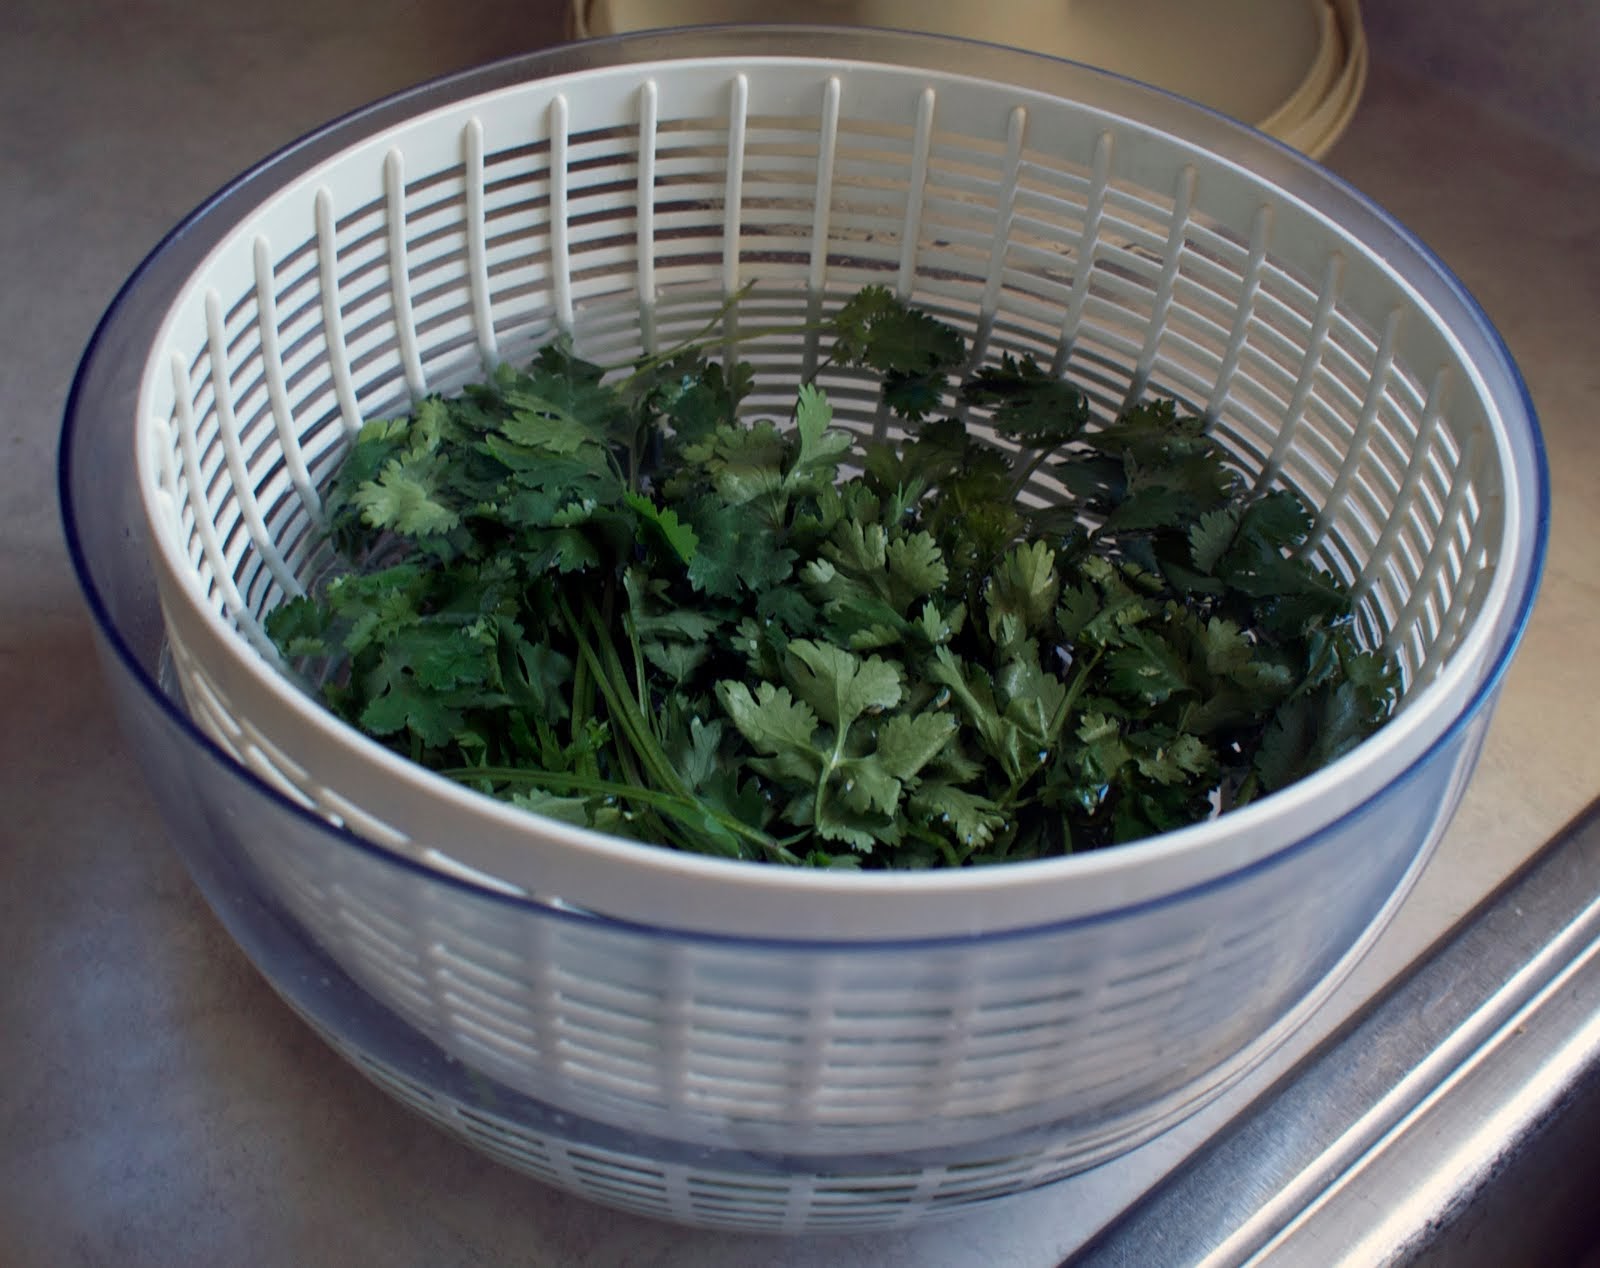
- Step 1: Gently rinse the freshly harvested sage leaves under cold running water to remove any dirt or debris.
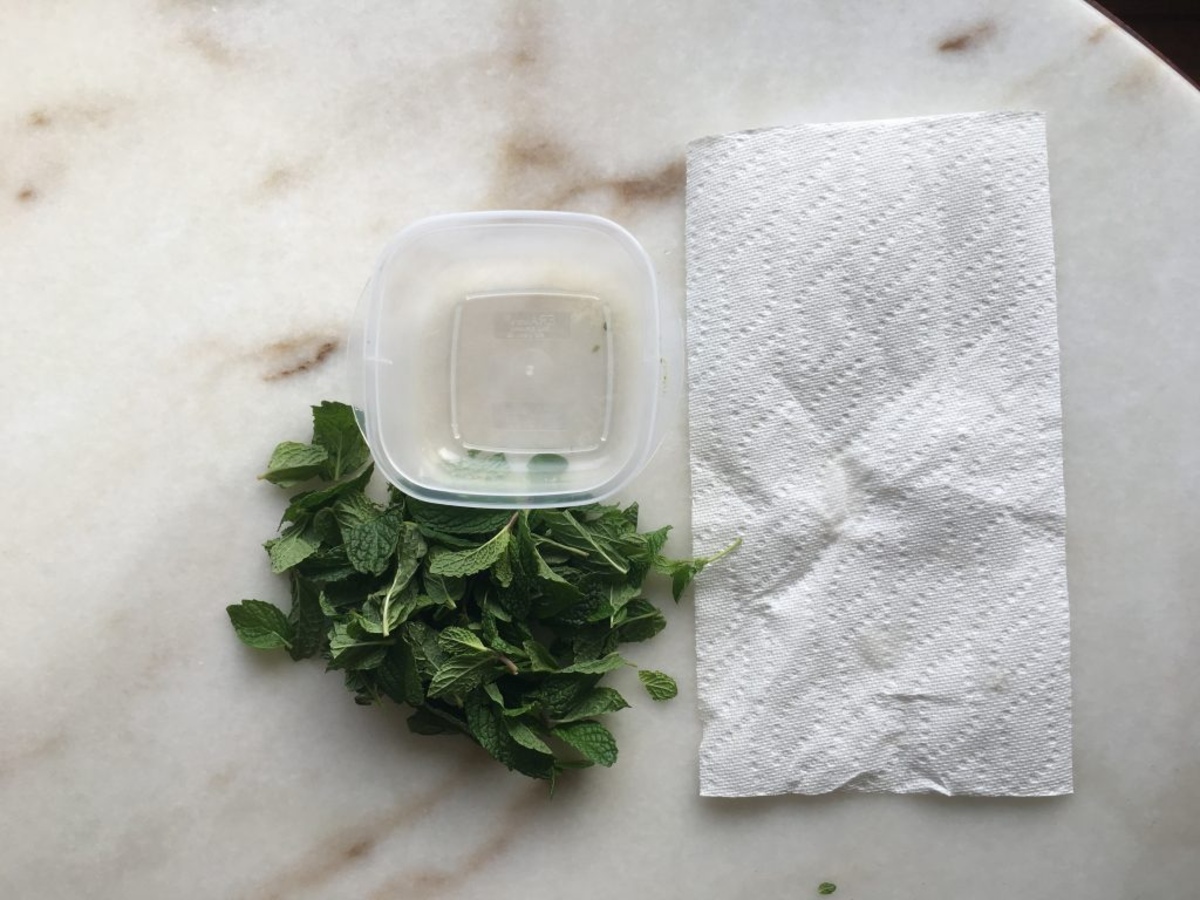
- Step 2: Pat them dry with a clean kitchen towel or paper towel.
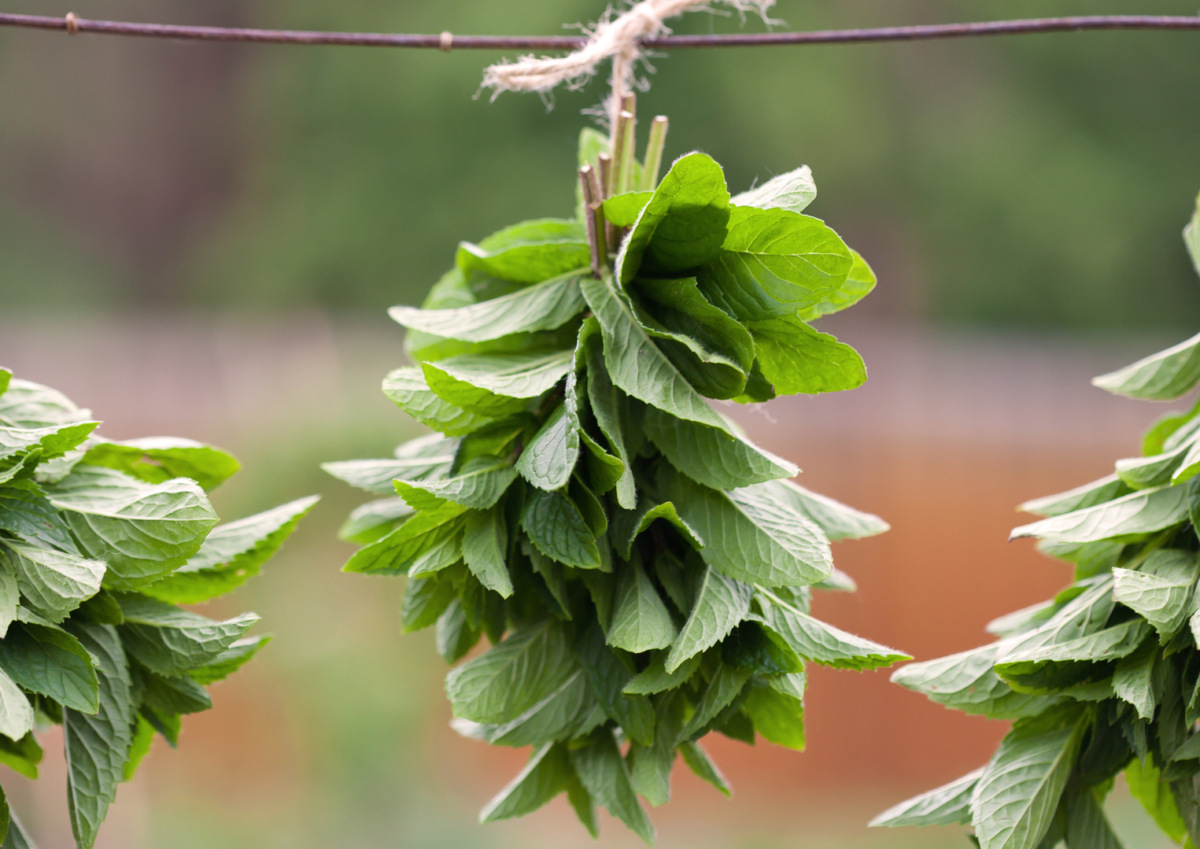
- Step 3: Bundle a few sage sprigs together, tie them tightly with kitchen twine, and hang them upside down in a cool, well-ventilated area, away from direct sunlight.
- Step 4: Allow the sage sprigs to air dry for about 1 to 2 weeks or until they become brittle and crumble easily when touched.
Once the sage leaves are completely dry, you can proceed to the next step of storing them for future use.
Key Takeaways:
- Preserve the essence of sage by harvesting, drying, and storing the leaves properly. Enjoy the aromatic goodness of sage in your culinary creations all year round with these expert techniques.
- Whether using the mason jar method, freezing, or vacuum sealing, ensure airtight storage in a cool, dark place to maintain the flavor and aroma of sage leaves. Label and date containers for easy tracking and usage.
Read more: How To Store Fresh Sage Leaves
Harvesting Sage Leaves
Before we delve into the different methods of storing sage leaves, it is important to understand when and how to harvest them. The best time to harvest sage leaves is in the morning, after the dew has evaporated and before the heat of the day sets in. This is when the leaves are the most flavorful and aromatic.
To harvest sage leaves, you will need a pair of kitchen shears or sharp scissors. Simply locate the leafy sprigs on the sage plant and carefully cut them from the stems. It is important to cut the stem about 2 inches from the base, leaving enough stem for easy handling during the drying and storing process.
When harvesting sage leaves, it is best to practice selective harvesting. This means taking only a few sprigs from each plant, allowing the rest of the plant to continue growing and producing more leaves. By doing this, you ensure a sustainable harvest throughout the growing season.
Before you begin harvesting, take a moment to inspect the sage leaves for any signs of damage or disease. Discard any leaves that are discolored, wilted, or have insect damage. It is important to pick only the best, healthiest leaves for storage.
If you are harvesting sage from your own garden, be mindful of the size of the plant. Sage plants should be at least 8 to 10 inches tall before you start harvesting. This ensures that the plant has enough energy and resources to sustain its growth.
Once you have finished harvesting the sage leaves, it is recommended to use them immediately in your culinary creations for the freshest flavor. However, if you have more sage leaves than you can use at once, it is important to properly store them to maintain their freshness and flavor.
Now that you know how to harvest sage leaves, let’s move on to the next step: drying them for long-term storage.
Drying Sage Leaves
One of the oldest and most popular methods of preserving sage leaves is by drying them. Drying sage leaves not only concentrates their flavor but also extends their shelf life significantly, allowing you to enjoy the herb’s delightful taste and aroma even after the growing season has ended.
Here is a simple step-by-step guide to drying sage leaves:
- Step 1: Clean the Leaves
- Step 2: Pat Dry
- Step 3: Bundle the Sprigs
- Step 4: Hang Upside Down
- Step 5: Dry Until Brittle
Gently rinse the freshly harvested sage leaves under cold running water to remove any dirt or debris. Be sure to handle the leaves with care to avoid damaging them.
After rinsing, pat the leaves dry with a clean kitchen towel or paper towel. Removing excess moisture will aid in the drying process and prevent the growth of mold or bacteria.
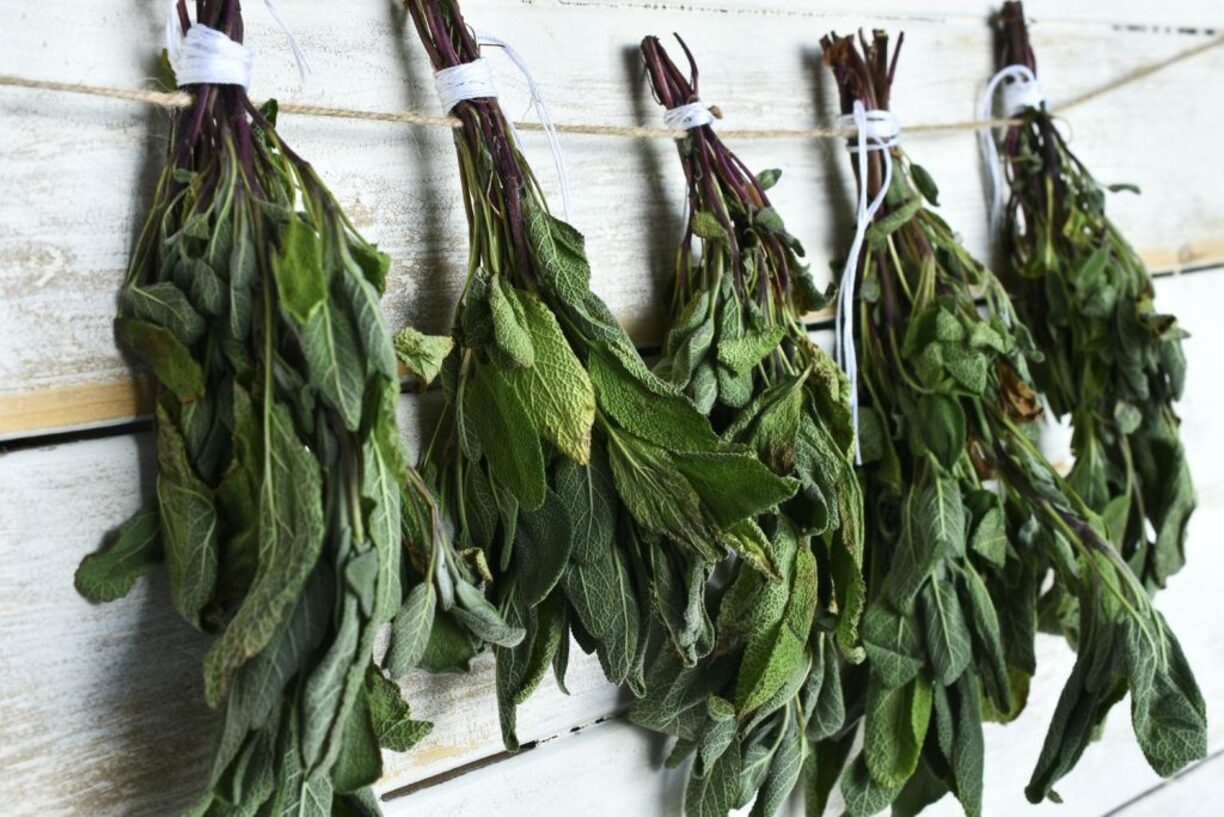
Bundle a few sage sprigs together, tying them tightly with kitchen twine. This helps to keep the leaves organized and prevents them from scattering during the drying process.
Find a cool, well-ventilated area for drying the sage leaves. It is important to hang the bundled sprigs upside down to allow for proper air circulation. This will help prevent moisture buildup and promote even drying.
Leave the sage sprigs hanging for about 1 to 2 weeks, or until the leaves become brittle and crumble easily when touched. The drying time may vary depending on the humidity levels in your area, so be sure to check the leaves regularly.
Once the sage leaves are completely dry, you can remove the individual leaves from the stems, discarding the stems or using them for other purposes. Crush the dried leaves between your fingers to break them into smaller pieces or use a mortar and pestle to grind them into a fine powder.
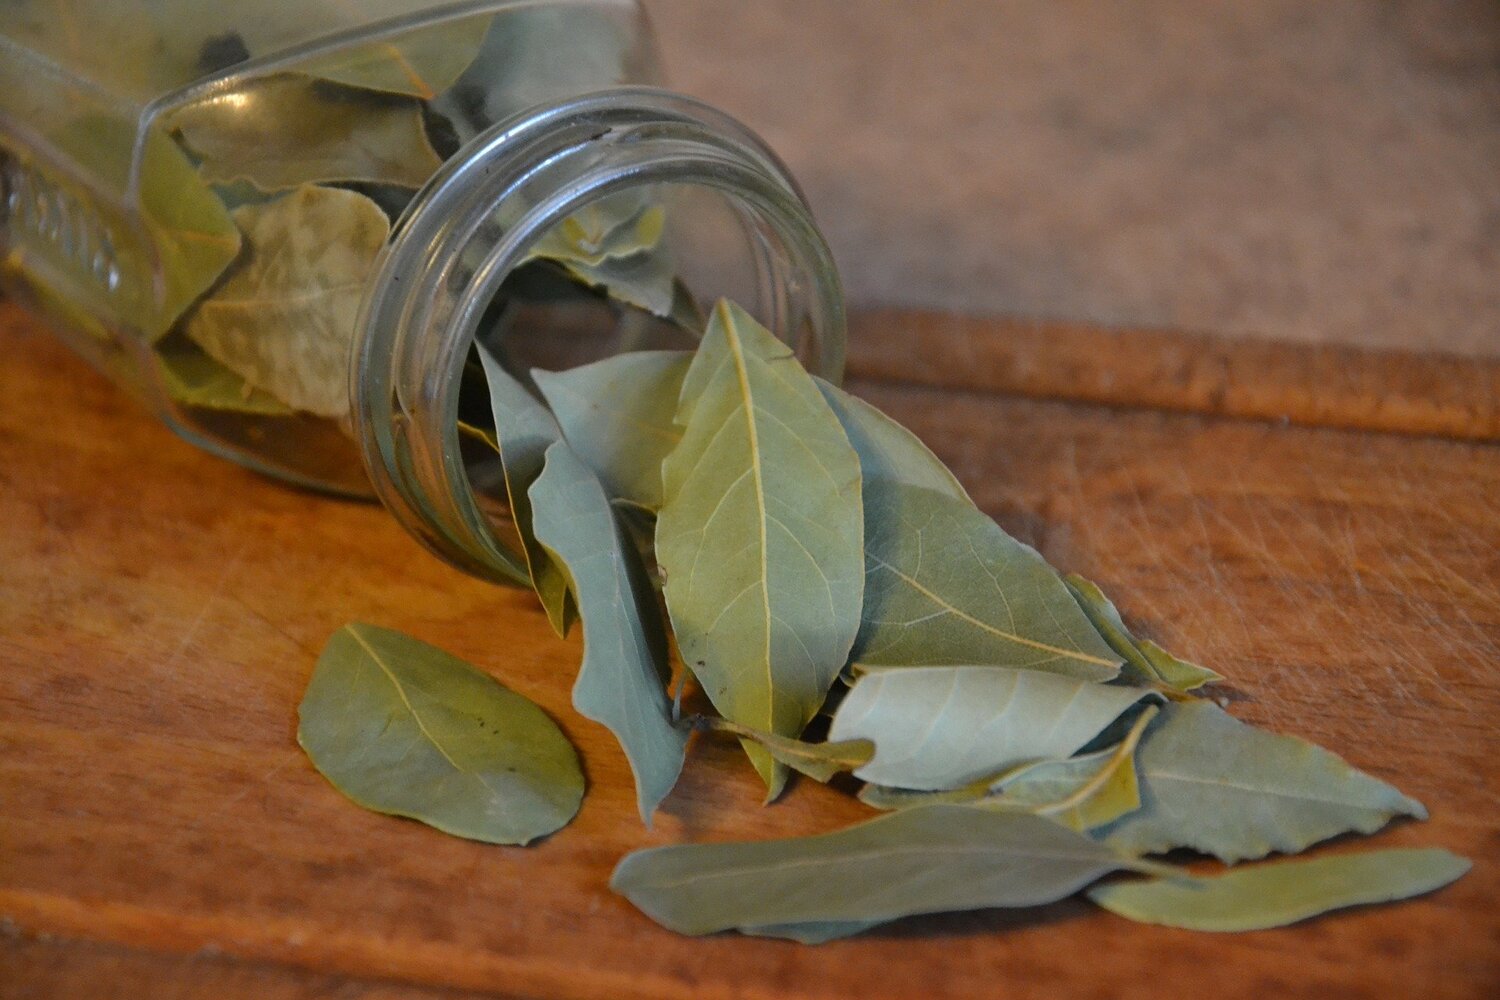
Store the dried sage leaves in an airtight container, such as a glass jar or airtight plastic bag, in a cool, dark place. Properly dried and stored sage leaves can retain their flavor and potency for up to a year.
Now that you have successfully dried your sage leaves, let’s move on to the next step: storing them properly to ensure their long-term freshness.
Read more: How To Store Sage
Storing Sage Leaves
Proper storage is key to preserving the flavor and aroma of dried sage leaves. Storing them in the right conditions will help maintain their freshness and potency. There are several methods you can use to store sage leaves, depending on your preferences and the available resources.
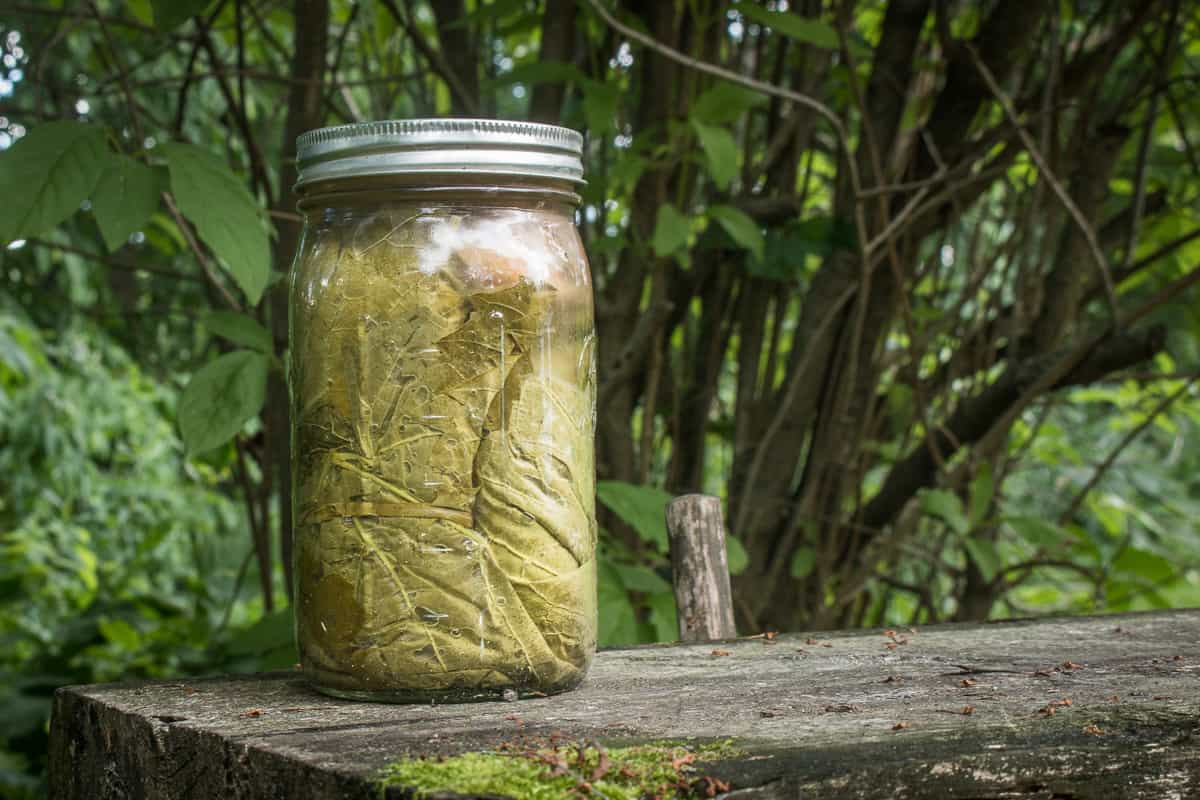
Mason Jar Method:
The mason jar method is a popular way to store dried herbs, including sage leaves. Here’s how you can do it:
- Step 1: Ensure your dried sage leaves are completely free of moisture to prevent mold or spoilage.
- Step 2: Place the dried sage leaves into a clean and dry mason jar. It’s best to use smaller jars to minimize air exposure.
- Step 3: Seal the jar tightly to prevent air and moisture from entering.
- Step 4: Store the jar in a cool, dark place away from direct sunlight or heat sources. A pantry or cupboard works well.
The mason jar method keeps the sage leaves protected from light and humidity, helping to maintain their flavor and quality over time.
Freezing Sage Leaves:
Another option for storing sage leaves is to freeze them. Freezing sage leaves helps retain their freshness and flavor. Here’s how you can freeze sage leaves:
- Step 1: Wash and thoroughly dry the sage leaves to remove any dirt or moisture.
- Step 2: Lay the individual sage leaves in a single layer on a baking sheet. Make sure the leaves are not touching each other.
- Step 3: Place the baking sheet with the sage leaves in the freezer for a few hours or until the leaves are completely frozen.
- Step 4: Transfer the frozen sage leaves into an airtight freezer bag or freezer-safe container.
- Step 5: Label the container with the date and return it to the freezer.
Frozen sage leaves can be stored for several months and can be used directly from the freezer in your cooking. Freezing is an ideal method when you have an abundant harvest of sage or want to preserve a large quantity.
Vacuum Sealing Sage Leaves:
Vacuum sealing is a great option for long-term storage of sage leaves, ensuring maximum freshness and flavor retention. Here’s how to vacuum seal sage leaves:
- Step 1: Dry the sage leaves thoroughly and ensure they are free of any moisture.
- Step 2: Place the leaves in a vacuum-seal bag or vacuum-seal roll.
- Step 3: Use a vacuum sealer to remove the air from the bag and seal it tightly.
- Step 4: Label the bag with the date and store it in a cool, dark place.
Vacuum-sealed sage leaves can be stored for an extended period, maintaining their flavor and quality.
Read more: How To Store Dried Sage
Tips for Proper Storage:
- Airtight Containers: Whether using the mason jar method or freezing, ensure that the storage containers are airtight to prevent moisture and air from affecting the sage leaves.
- Avoid Light and Heat: Store sage leaves in a cool, dark place away from direct sunlight or heat sources as exposure to light and heat can cause the leaves to lose their flavor and aroma quickly.
- Label and Date: Always label the storage containers with the herb name and the date of storage to track their freshness and usage.
By following these storage methods and tips, you can enjoy the aromatic and flavorful taste of sage leaves throughout the year.
Now that you have mastered the art of storing sage leaves, you can confidently add this versatile herb to your culinary creations whenever needed.
Mason Jar Method
The mason jar method is a popular and effective way to store dried sage leaves, ensuring their long-term freshness and flavor. This method provides airtight protection, keeping the sage leaves free from moisture and air exposure. Here’s how you can use the mason jar method to store your dried sage leaves:
- Step 1: Ensure Proper Drying
- Step 2: Choose the Right Size Jar
- Step 3: Fill the Jar with Dried Sage Leaves
- Step 4: Seal the Jar Tightly
- Step 5: Store in a Cool, Dark Place
- Step 6: Label the Jar
- Step 1: Wash and Dry
- Step 2: Prepare for Freezing
- Step 3: Flash Freeze
- Step 4: Transfer to Freezer Bags or Containers
- Step 5: Store in the Freezer
- Step 1: Ensure Proper Drying
- Step 2: Prepare the Packaging
- Step 3: Fill the Bags or Rolls
- Step 4: Vacuum Seal
- Step 5: Label and Store
- Use Airtight Containers: Whether you choose to store dried sage leaves in mason jars or vacuum-sealed bags, ensure that the containers are airtight. This helps to prevent moisture, air, and odors from affecting the quality of the sage leaves.
- Avoid Light and Heat: Sage leaves are sensitive to light and heat, which can cause them to lose their flavor and aroma quickly. Store sage leaves in a cool, dark place away from direct sunlight and heat sources. A pantry or cupboard is an ideal location.
- Label and Date: It is important to label the storage containers with the herb name and the date of storage. This allows you to track the freshness of your sage leaves and use the oldest leaves first to ensure optimal flavor.
- Handle with Care: When handling sage leaves, always use clean, dry hands or utensils to prevent introducing moisture or contaminants. Moisture can lead to spoilage and affect the quality of the stored sage leaves.
- Do Not Crush or Grind in Advance: It is recommended to keep the sage leaves whole and crush or grind them just before use. This helps retain the maximum flavor and aroma, as the essential oils in the leaves can evaporate over time.
- Store in Small Batches: If possible, store sage leaves in smaller quantities to reduce the frequency of opening and closing the storage containers. This helps to minimize air exposure, maintaining the freshness and potency of the sage leaves.
Before storing sage leaves in a mason jar, make sure they are completely dry. Moisture can lead to mold or spoilage, so it is crucial to ensure your sage leaves are fully dried. Follow the drying process mentioned earlier in this guide to dry the sage leaves properly.
Select a clean mason jar that is appropriately-sized for the amount of dried sage leaves you have. It is best to choose a smaller jar to minimize the amount of air inside the jar, as air can cause the herbs to deteriorate more quickly. The jar should have a tight-fitting lid to create an airtight seal.
Place the fully dried sage leaves into the mason jar. Avoid crushing or mashing the leaves during this process to help preserve their integrity and flavor. Fill the jar loosely, allowing some empty space at the top to prevent compression of the leaves.
Once the jar is filled with dried sage leaves, securely close the lid to create an airtight seal. Ensure that the lid is tightly screwed on to prevent any air or moisture from entering the jar.
Find a cool, dark spot in your pantry or cupboard to store the mason jar filled with dried sage leaves. Exposure to light and heat can quickly degrade the quality of the herbs. Choose a location away from direct sunlight and other heat sources to maintain the flavor and potency of the sage leaves.
It is important to label the mason jar with the date of storage. This helps you keep track of the freshness of your sage leaves and ensures you use the oldest leaves first. You can also label the jar with the herb name for easy identification.
With the mason jar method, your dried sage leaves can remain fresh and flavorful for up to a year when stored properly. Whenever you need sage for your recipes, simply open the jar, take out the desired amount of dried leaves, and reseal the jar tightly to preserve the remaining sage leaves.
Remember to check the sage leaves periodically to ensure there is no moisture or signs of spoilage. If you notice any moisture or mold, discard the affected leaves immediately to prevent contamination of the rest of the dried sage.
Using the mason jar method provides a convenient and effective way to store dried sage leaves, allowing you to enjoy their aromatic flavor in your culinary creations throughout the year.
Now that you know the mason jar method, you can confidently store your dried sage leaves and elevate your dishes with the delightful flavor of sage!
Freezing Sage Leaves
Freezing sage leaves is an excellent method for preserving their freshness and flavor. Freezing helps to retain the herb’s vibrant taste and aroma, allowing you to enjoy the essence of sage even long after the growing season has passed. Here’s a simple guide on how to freeze sage leaves:
Begin by washing the sage leaves under cold running water to remove any dirt or debris. Gently pat them dry with a clean kitchen towel or paper towel to remove excess moisture. It is important to ensure the leaves are completely dry before freezing to prevent ice crystal formation.
Prepare a clean baking sheet lined with parchment paper or a silicone baking mat. Lay the individual sage leaves in a single layer on the baking sheet, making sure that they are not touching each other. This will prevent the leaves from sticking together during the freezing process.
Place the baking sheet with the sage leaves into the freezer and let them freeze for a few hours or until they are completely frozen. Freezing the leaves individually before storing them together will prevent them from clumping together and allow easy portioning in the future.
Once the sage leaves are frozen solid, carefully remove them from the baking sheet. Place them in airtight freezer bags or freezer-safe containers. It is recommended to label the bags or containers with the date of freezing for tracking purposes.
Place the bags or containers of sage leaves in the freezer and store them in a dedicated spot where they won’t be easily disturbed. The leaves can be stored for up to 6 months in the freezer without significant loss of flavor or quality.
When you’re ready to use frozen sage leaves, simply take out the desired amount from the freezer bag or container and promptly return the rest to the freezer. Frozen sage leaves can be used directly in cooking without the need for thawing. They will retain their flavor and aroma, enhancing your recipes with the delightful essence of sage.
Freezing sage leaves is a convenient method, especially when you have a bountiful harvest or come across a surplus of sage. It allows you to enjoy the taste of fresh sage throughout the year and adds a touch of herbal goodness to your dishes.
Now that you know how to freeze sage leaves, you can confidently capture the essence of this versatile herb and savor its flavor in your culinary creations whenever you desire.
Store sage leaves by wrapping them in a damp paper towel and placing them in a plastic bag in the refrigerator. Alternatively, you can freeze the leaves in an airtight container for longer storage.
Vacuum Sealing Sage Leaves
Vacuum sealing is an excellent method for preserving the freshness and flavor of sage leaves for an extended period. By removing the air from the packaging, vacuum sealing helps to maintain the quality of the herbs by minimizing oxidation and preventing moisture from entering the container. Here’s a step-by-step guide on how to vacuum seal sage leaves:
Before vacuum sealing sage leaves, it is crucial to ensure they are completely dry. Moisture can lead to spoilage and compromise the quality of the herbs. Follow the drying process mentioned earlier in this guide to ensure your sage leaves are thoroughly dried.
Cut the vacuum sealing bags or rolls into the desired size, ensuring they are large enough to accommodate the sage leaves comfortably. Leave enough space for sealing the bags or rolls later on.
Place the dried sage leaves into the vacuum sealing bags or rolls. Arrange them in a single layer, ensuring they are not overlapping or crammed together. Covering the herbs in a single layer allows for better sealing and preserves their quality.
Follow the instructions provided by your vacuum sealing machine to seal the bags or rolls. Place the open end of the bag or roll into the vacuum sealing machine and activate the sealing process. The machine will remove the air from the packaging and create a tight seal.
Label the vacuum-sealed bags or rolls with the date of sealing. It is important to identify the bags or rolls to keep track of their freshness. Store them in a cool, dark place away from direct sunlight and heat sources.
Vacuum-sealed sage leaves can be stored for an extended period, typically up to a year, while retaining their flavor, color, and aroma. Whenever you need sage for your culinary creations, simply open the sealed bag or roll, take out the desired amount of sage leaves, and reseal the packaging tightly to preserve the remaining herbs.
Keep in mind that once the vacuum-sealed bag or roll is opened, the remaining sage leaves should be used as soon as possible to maintain their freshness. If moisture or mold develops in the packaging, discard the affected leaves immediately to prevent contamination of the rest.
By vacuum sealing sage leaves, you can enjoy the delightful flavor and aroma of the herb well beyond the growing season. This method ensures that your herbs are well-preserved and ready to enhance your dishes with the wonderful essence of sage.
Now that you know how to vacuum seal sage leaves, you can confidently store your herbs for long-term use without compromising their quality and flavor.
Read more: How To Store Dry Sage
Tips for Proper Storage
Proper storage is essential for preserving the freshness, flavor, and fragrance of sage leaves. Here are some valuable tips to help you store sage leaves effectively:
By following these tips, you can ensure the long-term storage of sage leaves while preserving their flavor and aroma. Properly stored sage leaves will enhance your culinary creations and bring the delightful essence of sage to your dishes.
Remember to regularly inspect the stored sage leaves for any signs of moisture, mold, or deterioration. If you notice any issues, discard the affected leaves immediately to prevent contamination of the remaining herbs.
With these storage tips in mind, you can confidently preserve the freshness and quality of your sage leaves, allowing you to enjoy their delightful flavor in your cooking throughout the year.
Conclusion
Congratulations! You have now learned the art of storing sage leaves, ensuring that you can enjoy their delightful flavor and aroma long after the harvest season has ended. By following the techniques discussed in this guide, you can preserve the freshness and potency of sage leaves, enhancing your culinary creations with this versatile herb whenever you desire.
Remember, harvesting sage leaves at the right time and drying them properly are the first crucial steps in the storage process. Harvest your sage leaves in the morning when they are at their peak flavor and aroma. Dry them carefully, either by hanging them upside down or using a dehydrator, until they are completely brittle and crumble easily.
Once your sage leaves are dry, you have several storage options. The mason jar method provides airtight protection, while freezing sage leaves allows for long-term storage without compromising their flavor. Vacuum sealing is another effective way to preserve the freshness of sage leaves by removing air and preventing moisture from entering.
When storing your sage leaves, remember to shield them from light and heat and use airtight containers. Proper labeling and dating will help you keep track of their freshness. Handle the leaves with care to prevent any moisture or contaminants from affecting their quality.
By implementing these storage techniques and following the provided tips, you can keep your sage leaves flavorful and aromatic for an extended period. They will be ready to elevate your dishes with their delightful taste and fragrance, infusing them with the essence of sage.
Now, armed with the knowledge of how to store sage leaves, you can confidently incorporate this versatile herb into your culinary adventures. Whether you’re adding it to a hearty stew, infusing it into a savory sauce, or sprinkling it over roasted vegetables, the freshness and flavor of properly stored sage leaves will make your dishes truly memorable.
So, go ahead and explore the wonderful world of sage, experiment with new recipes, and savor the richness it brings to your cooking. Happy storing and happy cooking!
Frequently Asked Questions about How To Store Sage Leaves
Was this page helpful?
At Storables.com, we guarantee accurate and reliable information. Our content, validated by Expert Board Contributors, is crafted following stringent Editorial Policies. We're committed to providing you with well-researched, expert-backed insights for all your informational needs.


0 thoughts on “How To Store Sage Leaves”