Home>Storage Ideas>Kitchen Storage>How To Clean Baking Sheets So They Look Brand New
Kitchen Storage
How To Clean Baking Sheets So They Look Brand New
Modified: January 19, 2024
Discover effective kitchen storage ideas to keep your baking sheets looking brand new. Learn how to clean and organize your kitchen with these helpful tips.
(Many of the links in this article redirect to a specific reviewed product. Your purchase of these products through affiliate links helps to generate commission for Storables.com, at no extra cost. Learn more)
Introduction
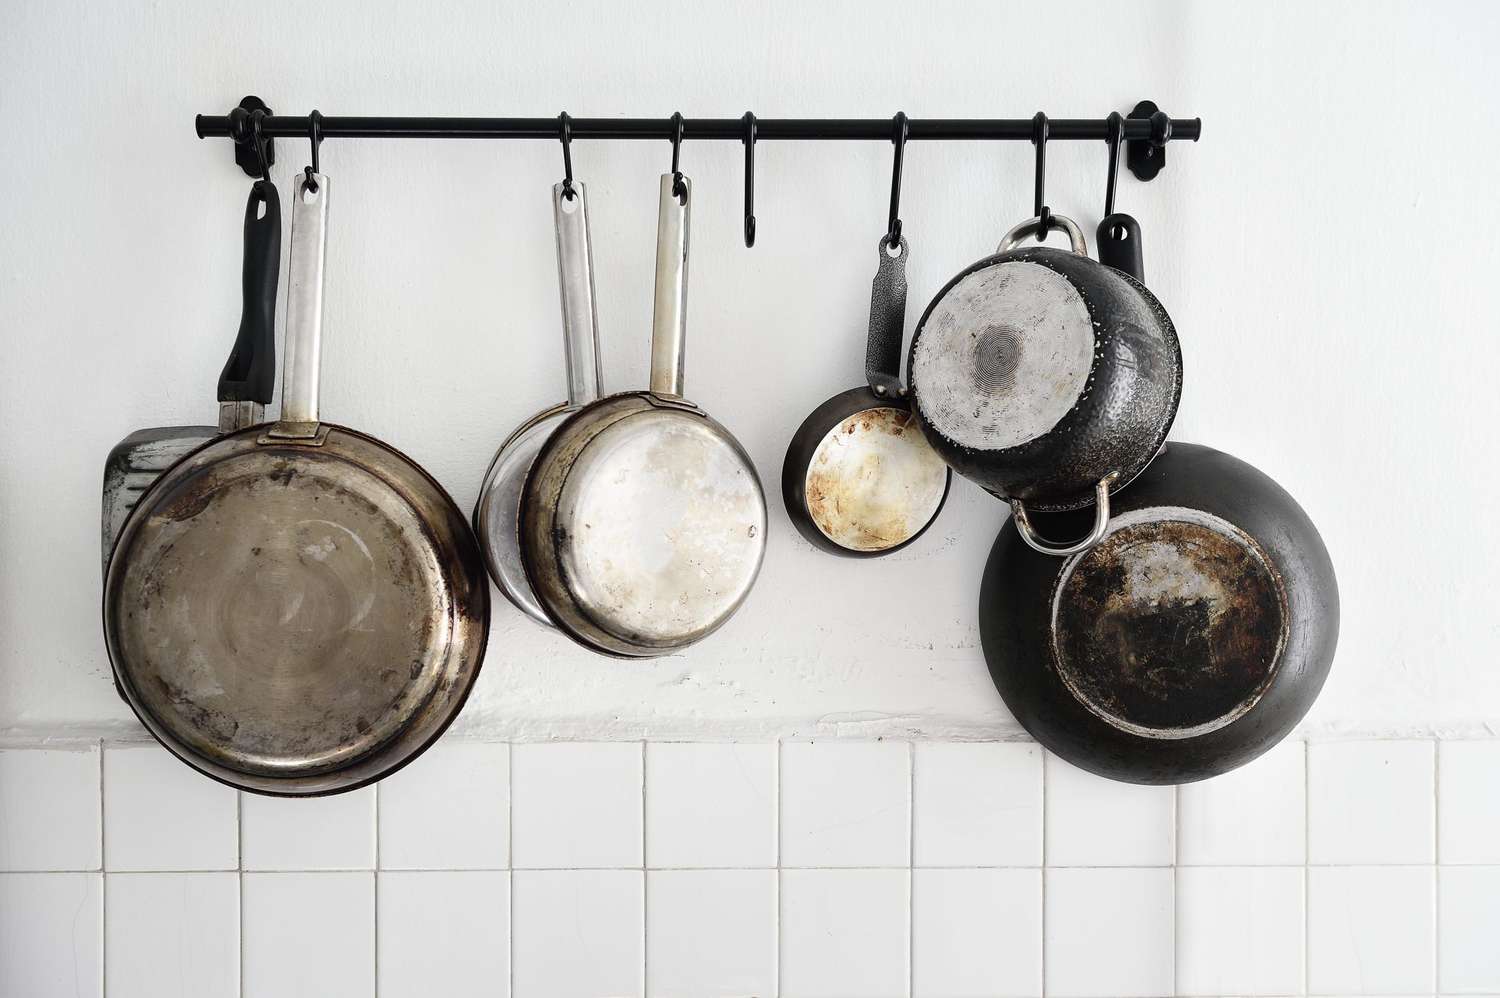
Having a clean and well-organized kitchen is essential for a smooth cooking process. However, one area that often gets overlooked in kitchen cleaning routines is the baking sheets. Baking sheets play a crucial role in many recipes, from baking cookies and pastries to roasting vegetables and meats. Over time, these versatile kitchen tools can accumulate stubborn stains, burnt-on grease, and baked-on food particles, which can affect their performance and appearance.
In this article, we will explore various methods and tips on how to clean baking sheets effectively, so they look and perform as good as new. Whether you have aluminum, stainless steel, or non-stick baking sheets, these cleaning techniques will help restore their shine and remove any built-up residue.
Key Takeaways:
- Regularly cleaning baking sheets is essential for food safety, performance, longevity, and aesthetics, ensuring a hygienic kitchen and consistent baking results.
- Utilize natural ingredients like baking soda, vinegar, and citrus peels to effectively clean baking sheets, maintaining their quality and appearance for years to come.
Why Cleaning Baking Sheets is Important
Cleaning baking sheets may seem like a tedious task, but it is an essential part of maintaining a clean and sanitary kitchen. Here are a few reasons why cleaning your baking sheets regularly is important:
1. Food Safety: Baking sheets can accumulate food debris, grease, and oils over time. These residues can harbor bacteria and other microorganisms, posing a potential health risk. Cleaning your baking sheets thoroughly helps prevent cross-contamination and ensures that your food is prepared in a hygienic environment.
2. Performance: Baked-on food particles and greases can affect the performance of your baking sheets. They can cause uneven heating, resulting in unevenly baked goods. By keeping your baking sheets clean, you ensure that they function at their best and deliver consistent and reliable results.
3. Longevity: Regular cleaning and maintenance can extend the lifespan of your baking sheets. Accumulated grease and burnt-on residues can damage the surface of the sheets, leading to discoloration, warping, and even corrosion. Cleaning them properly helps preserve their quality and ensures that they last for years to come.
4. Aesthetics: Baking sheets that are covered in stains and grime not only affect their performance but can also make your entire kitchen look dull and unappealing. Cleaning your baking sheets regularly helps maintain their appearance, giving your kitchen a fresh and tidy look.
Now that we understand the importance of cleaning baking sheets, let’s explore some common problems you might encounter with your baking sheets and how to address them effectively.
Common Problems with Baking Sheets
Despite their durability and versatility, baking sheets can face a few common problems that can affect their performance and appearance. Here are some of the most common issues you might encounter with your baking sheets:
1. Stains and Discoloration: Over time, baking sheets can develop stubborn stains and discoloration. These can be caused by burnt-on food, grease, or exposure to high heats. Stains not only make your baking sheets look unsightly but can also transfer onto your baked goods, affecting their appearance.
2. Baked-On Food Residue: Baked-on food particles can accumulate on baking sheets, making them sticky and difficult to clean. This residue can be a result of using cooking oils, sauces, or sugary ingredients that adhere to the surface of the sheet during baking.
3. Grease Build-Up: Grease and oils can accumulate on baking sheets, especially when cooking fatty meats or fried foods. This grease build-up can be problematic as it can affect the texture and taste of your baked goods and can also contribute to uneven heating.
4. Warping or Bending: Baking sheets can warp or bend over time due to exposure to high heats or improper handling. Warped baking sheets can cause your baked goods to cook unevenly and can be challenging to place flat on oven racks.
Now that we have identified some common problems, let’s gather the necessary supplies required for cleaning baking sheets effectively.
Supplies Needed for Cleaning Baking Sheets
Before you embark on cleaning your baking sheets, it’s important to gather the necessary supplies to ensure an effective and thorough cleaning process. Here are the supplies you’ll need:
1. Baking soda: Baking soda is a versatile and gentle abrasive that works wonders in removing tough stains and baked-on residue from baking sheets.
2. Hydrogen peroxide: Hydrogen peroxide is a powerful cleaning agent that can help break down grease and stains on baking sheets.
3. Vinegar: Vinegar is a natural ingredient that can effectively remove grease and stains from baking sheets. It also helps eliminate odors.
4. Dish soap: A good quality dish soap is an essential tool for cutting through grease and removing food residue from baking sheets.
5. Warm water: Warm water is used to create solutions and soak the baking sheets, facilitating the cleaning process.
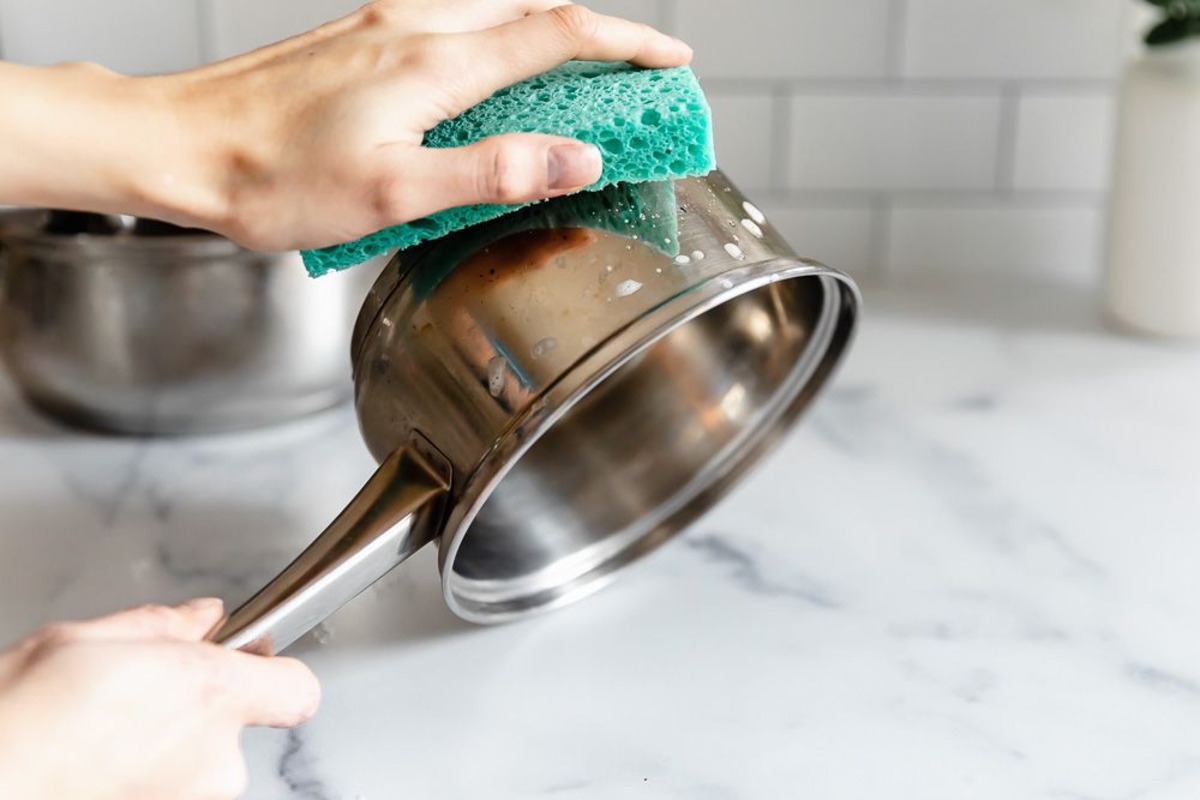
6. Non-abrasive scrub brush or sponge: A non-abrasive scrub brush or sponge is ideal for scrubbing away stains and residue without scratching the surface of the baking sheet.
7. Aluminum foil: Aluminum foil can be used as a protective layer to prevent further staining or to create a barrier for baking soda or other cleaning solutions. It also helps with easy removal of grease or burnt-on residue.
8. Commercial oven cleaner (optional): If your baking sheets have severe grease build-up or stubborn stains, you may opt for a commercial oven cleaner. Follow the product instructions carefully and ensure proper ventilation when using these cleaners.
9. DIY citrus cleaner (optional): You can also create your own natural cleaner using ingredients like citrus peels and vinegar. This can be an effective and eco-friendly alternative to commercial cleaners.
Now that you have gathered all the necessary supplies, let’s dive into the various methods of cleaning baking sheets effectively.
Method 1: Using Baking Soda and Hydrogen Peroxide
Baking soda and hydrogen peroxide are two powerful ingredients that, when combined, can help remove stubborn stains and baked-on residue from your baking sheets. Follow these steps to use this method:
Step 1: Start by rinsing your baking sheet with warm water to remove any loose debris or grease.
Step 2: Sprinkle a generous amount of baking soda over the entire surface of the baking sheet.
Step 3: Pour hydrogen peroxide over the baking soda, ensuring that it covers the entire surface. The mixture will start to fizz, which helps in lifting the stains.
Step 4: Gently scrub the baking soda and hydrogen peroxide mixture into the baking sheet using a non-abrasive scrub brush or sponge. Focus on areas with stubborn stains or residue.
Step 5: Let the mixture sit on the baking sheet for about 15-20 minutes. This allows the baking soda and hydrogen peroxide to penetrate and loosen the stains and baked-on residue.
Step 6: After the soaking time, scrub the baking sheet again to remove any remaining residue. If needed, you can add more baking soda or hydrogen peroxide to stubborn areas and continue scrubbing.
Step 7: Rinse the baking sheet thoroughly with warm water to remove the baking soda and hydrogen peroxide mixture.
Step 8: Dry the baking sheet with a clean towel or air-dry it completely before storing or using it again.
This method is highly effective for removing tough stains and baked-on residue from your baking sheets. However, if you are dealing with more severe stains or grease build-up, you may need to try an alternative method or cleaning solution.
Next, let’s explore another method using vinegar and baking soda to clean your baking sheets.
Method 2: Using Vinegar and Baking Soda
Vinegar and baking soda are a powerful combination when it comes to cleaning, and they can also work wonders on your baking sheets. Follow these steps to utilize these ingredients for effective cleaning:
Step 1: Begin by rinsing off any loose debris or grease from your baking sheet with warm water.
Step 2: Sprinkle a generous amount of baking soda over the entire surface of the baking sheet.
Step 3: Spray vinegar over the baking soda. The mixture will start to fizz, which helps in breaking down stains and baked-on residue.
Step 4: Allow the mixture to sit on the baking sheet for about 15 minutes. This “soaking” time helps the vinegar and baking soda to work their magic on the stains and residue.
Step 5: After the soaking time, use a non-abrasive scrub brush or sponge to scrub the baking soda and vinegar mixture into the baking sheet. Pay extra attention to areas with stubborn stains or residue.
Step 6: If needed, you can add more baking soda and vinegar to stubborn areas and continue scrubbing until the stains and residue are lifted.
Step 7: Rinse the baking sheet thoroughly with warm water to remove the baking soda and vinegar mixture.
Step 8: Dry the baking sheet with a clean towel or allow it to air-dry completely before storing or using it again.
This method is especially effective for removing stains and residue, thanks to the potent combination of vinegar’s acidity and baking soda’s gentle abrasive properties. However, if your baking sheet requires a different approach, continue reading to explore additional cleaning methods.
Next, let’s look at another method where dish soap and warm water are the primary cleaning agents.
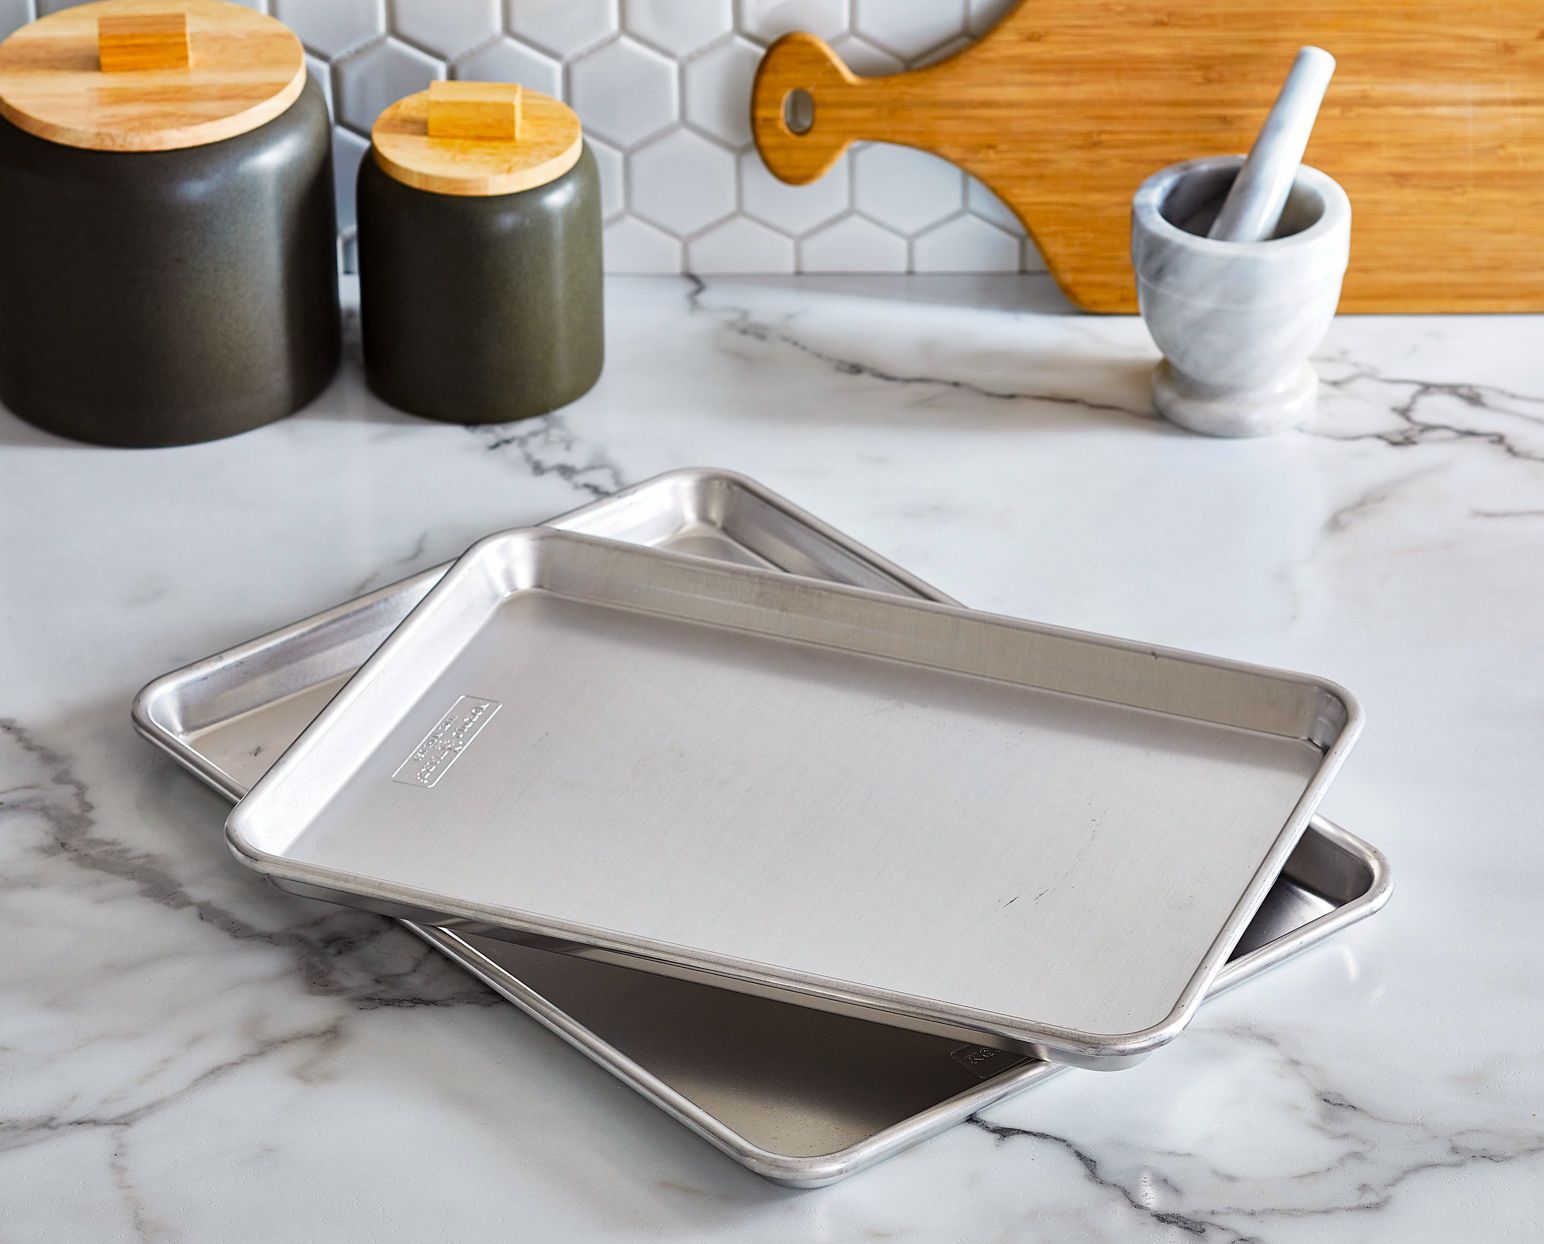
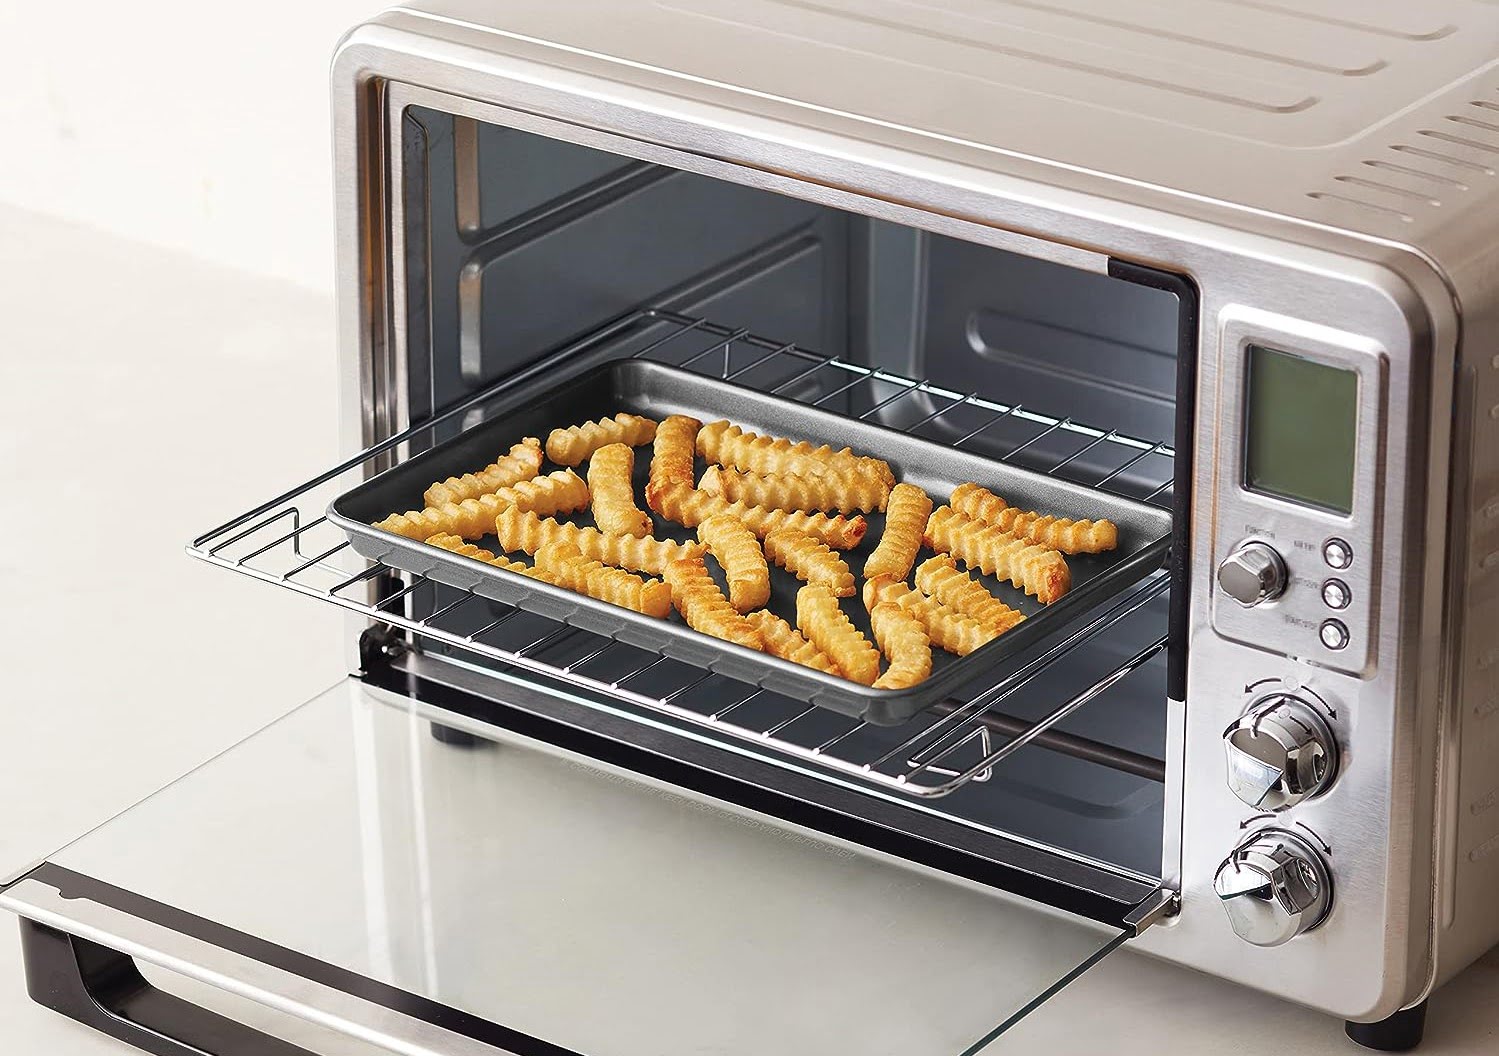
To clean baking sheets and make them look brand new, sprinkle baking soda over the surface, then pour hydrogen peroxide over it. Let it sit for a few hours, then scrub with a sponge and rinse. Repeat if necessary.
Method 3: Using Dish Soap and Warm Water
If you prefer a gentler approach to cleaning your baking sheets, using dish soap and warm water can be an effective and safe method. Follow these steps to clean your baking sheets using this method:
Step 1: Start by filling your sink or a large basin with warm water. Ensure that there is enough water to fully submerge the baking sheet.
Step 2: Add a few drops of dish soap to the warm water and mix it until it forms a soapy solution.
Step 3: Place the baking sheet in the soapy water and let it soak for about 15-20 minutes. This soaking time helps to loosen any baked-on residue or grease.
Step 4: After the soaking period, use a non-abrasive scrub brush or sponge to scrub the baking sheet gently. Pay attention to areas with stubborn stains or residue.
Step 5: If needed, you can apply a small amount of undiluted dish soap directly on the stubborn stains and scrub again.
Step 6: Rinse the baking sheet thoroughly with warm water to remove any soap residue.
Step 7: Dry the baking sheet with a clean towel or allow it to air-dry completely before storing or using it again.
This method is excellent for routine cleaning and maintaining the cleanliness of your baking sheets. However, for more stubborn stains or heavy grease build-up, you may need to try alternative methods or cleaning solutions.
Next, let’s explore using a commercial oven cleaner as another option for cleaning baking sheets.
Method 4: Using a Commercial Oven Cleaner
If you’re dealing with stubborn stains, burnt-on residue, or heavy grease build-up on your baking sheets, using a commercial oven cleaner can be an effective solution. Here’s how you can use a commercial oven cleaner to clean your baking sheets:
Step 1: Ensure that you are working in a well-ventilated area. Open windows or turn on the exhaust fan to minimize exposure to fumes.
Step 2: Read and follow the instructions provided on the commercial oven cleaner carefully. Different brands may have specific directions, so it’s important to adhere to them for safe and effective use.
Step 3: Preheat your oven to the temperature recommended by the oven cleaner manufacturer, usually around 120-150 degrees Fahrenheit.
Step 4: Spray the commercial oven cleaner directly onto the baking sheets, ensuring that you cover all stained and greasy areas. Take care not to spray the cleaner on any non-metal parts, such as handles or silicone coatings.
Step 5: Place the baking sheets in the preheated oven and let them sit for the recommended amount of time specified on the oven cleaner instructions. This typically ranges from 15 to 30 minutes.
Step 6: After the designated time, carefully remove the baking sheets from the oven, using oven mitts or heat-resistant gloves. Avoid inhaling any fumes and be cautious as the sheets may be hot.
Step 7: Rinse the baking sheets thoroughly with warm water to remove the oven cleaner and the loosened residue.
Step 8: Dry the baking sheets with a clean towel or allow them to air-dry completely before storing or using them again.
It’s important to note that while commercial oven cleaners are effective, they can be harsh and contain strong chemicals. Therefore, it’s crucial to handle them with care, follow the manufacturer’s instructions, and ensure proper ventilation during the cleaning process.
If you prefer a more natural and eco-friendly approach, let’s explore another method using a DIY citrus cleaner to clean your baking sheets.
Method 5: Using a DIY Citrus Cleaner
If you prefer a natural and eco-friendly option for cleaning your baking sheets, you can create a DIY citrus cleaner using simple ingredients that you may already have at home. Here’s how to make and use a DIY citrus cleaner:
Step 1: Gather the following ingredients: citrus peels (such as oranges, lemons, or limes), white vinegar, and water.
Step 2: Fill a jar or container with citrus peels, ensuring that they fill about half of the container.
Step 3: Pour white vinegar into the container, covering the citrus peels completely. Make sure to leave some space at the top for expansion.
Step 4: Seal the container tightly and let it sit for at least two weeks. This allows the citrus oils to infuse into the vinegar.
Step 5: After the two-week period, strain the citrus-infused vinegar into a spray bottle or a bowl, discarding the citrus peels.
Step 6: If the citrus cleaner is too concentrated, you can dilute it with water. Mix equal parts of citrus-infused vinegar and water in a spray bottle or a bowl.
Step 7: Spray the DIY citrus cleaner directly onto the baking sheets, ensuring that you cover all stained and greasy areas. Alternatively, you can soak the baking sheets in the citrus cleaner solution for about 15-30 minutes.
Step 8: Use a non-abrasive scrub brush or sponge to scrub the baking sheets gently, focusing on areas with stubborn stains or residue.
Step 9: Rinse the baking sheets thoroughly with warm water to remove the citrus cleaner and the loosened residue.
Step 10: Dry the baking sheets with a clean towel or allow them to air-dry completely before storing or using them again.
This DIY citrus cleaner is a natural alternative to commercial cleaners, and the citrus peels add a pleasant scent to the cleaning solution. It is effective in cutting through grease and removing stains from your baking sheets.
Now that you have learned various methods to clean your baking sheets effectively, let’s move on to some essential tips to help you maintain clean baking sheets.
Read more: How To Store Baking Sheets
Tips for Maintaining Clean Baking Sheets
Keeping your baking sheets clean and well-maintained is key to ensuring their longevity and optimal performance. Here are some tips to help you maintain clean baking sheets:
1. Use parchment paper or silicone mats: Line your baking sheets with parchment paper or silicone mats before baking. Not only does this make cleaning easier, but it also helps prevent food from sticking to the surface of the sheet.
2. Avoid using harsh abrasives: When cleaning your baking sheets, refrain from using harsh abrasives or metal scrubbers, as they can scratch the surface. Opt for non-abrasive scrub brushes or sponges to avoid damaging the coating or finish of the sheet.
3. Clean immediately after use: It’s best to clean your baking sheets soon after use, as this helps prevent food residue from hardening and becoming more difficult to remove. If you can’t clean them right away, soak them in warm soapy water to loosen any stuck-on food particles.
4. Avoid using metal utensils: Metal utensils can scratch the surface of your baking sheets, leading to potential damage and a shorter lifespan. Opt for silicone or wooden utensils instead.
5. Remove grease build-up: Grease can accumulate on baking sheets, especially when cooking fatty meats or oily ingredients. To remove grease build-up, use methods like the baking soda and hydrogen peroxide mixture or the vinegar and baking soda solution mentioned earlier in this article.
6. Regularly check for stains: Pay attention to any stains or discoloration on your baking sheets. Clean them promptly using suitable cleaning methods to prevent them from becoming permanent.
7. Avoid extreme temperature changes: Extreme temperature changes can cause warping or bending of your baking sheets. Allow them to cool down gradually after use and avoid exposing them to cold water immediately after removing them from the oven.
8. Store properly: When storing your baking sheets, stack them with care, placing a layer of parchment paper or silicone mats between each sheet. This helps prevent scratching and maintains their cleanliness.
9. Follow manufacturer’s instructions: Different types of baking sheets may have specific cleaning and care instructions. Always follow the manufacturer’s guidelines to ensure the longevity and performance of your baking sheets.
By following these tips, you can maintain clean and functional baking sheets that will continue to provide excellent baking results for years to come.
Remember, regular cleaning and proper maintenance are essential for the longevity and performance of your baking sheets. With the methods and tips shared in this article, you can keep your baking sheets looking brand new and ready for your next delicious culinary creations.
Happy baking and happy cleaning!
Conclusion
Your baking sheets are valuable tools in your kitchen, and keeping them clean and well-maintained is crucial for both hygiene and optimal performance. Regular cleaning helps prevent cross-contamination, ensures even baking, extends the lifespan of your baking sheets, and maintains the aesthetic appeal of your kitchen.
In this article, we explored various methods to effectively clean baking sheets, from using baking soda and hydrogen peroxide to vinegar and baking soda solutions. We also discussed the option of using a commercial oven cleaner and creating a DIY citrus cleaner. Each method offers its unique benefits and can be chosen based on the level of stains or residue you need to tackle.
Additionally, we provided essential tips for maintaining clean baking sheets, including using parchment paper or silicone mats, avoiding harsh abrasives, cleaning immediately after use, and removing grease build-up. By incorporating these tips into your cleaning routine, you can ensure the longevity and performance of your baking sheets.
Remember to always follow the manufacturer’s instructions for your specific type of baking sheets to maintain their quality and avoid any damage during the cleaning process. And don’t forget to store them properly to prevent scratching and maintain their cleanliness.
Cleaning your baking sheets doesn’t have to be a daunting task. With the right methods, supplies, and tips, you can keep your baking sheets looking brand new and ready to assist you in creating delicious culinary masterpieces.
So, roll up your sleeves, gather your supplies, and give those baking sheets the thorough cleaning they deserve. Your future baking endeavors will thank you for it!
Frequently Asked Questions about How To Clean Baking Sheets So They Look Brand New
Was this page helpful?
At Storables.com, we guarantee accurate and reliable information. Our content, validated by Expert Board Contributors, is crafted following stringent Editorial Policies. We're committed to providing you with well-researched, expert-backed insights for all your informational needs.


0 thoughts on “How To Clean Baking Sheets So They Look Brand New”