Articles
How To Store Shallots In The Fridge
Modified: December 7, 2023
Learn the best techniques for storing shallots in the fridge in this informative article. Keep your shallots fresh and flavorful with these expert tips.
(Many of the links in this article redirect to a specific reviewed product. Your purchase of these products through affiliate links helps to generate commission for Storables.com, at no extra cost. Learn more)
Introduction
Shallots are a versatile and flavorful member of the onion family, prized for their delicate taste and culinary uses. Whether you grow your own shallots or purchase them from a local market, proper storage is essential to ensure their freshness and longevity. One of the best methods to keep shallots fresh is by storing them in the fridge.
In this article, we will guide you through the process of storing shallots in the fridge, from harvesting and curing to preparing and monitoring their condition. By following these steps, you can extend the shelf life of your shallots and ensure they remain flavorful for a longer period.
So, if you’re ready to learn how to store shallots in the fridge and make the most of your onion harvest or market-bought shallots, let’s dive in!
Key Takeaways:
- Preserve the delicate flavor of shallots by storing them in the fridge, extending their shelf life and ensuring they remain fresh and aromatic for your culinary creations.
- Master the art of storing shallots in the fridge to enjoy their versatile flavor year-round, reducing waste and always having these delicious ingredients on hand.
Read more: How To Store Shallots
Why Store Shallots in the Fridge?
Storing shallots in the fridge offers several benefits that help maintain their quality and flavor. Here are a few reasons why storing shallots in the fridge is a smart choice:
- Extended Shelf Life: Shallots are sensitive to humidity and temperature, which can cause sprouting, spoilage, or flavor loss. By storing them in the fridge, you can slow down the natural aging process, allowing them to stay fresh for a longer period.
- Preservation of Flavor: Shallots have a distinct flavor that enhances dishes when used fresh. Storing them in the fridge helps preserve their natural taste, keeping them aromatic and full of flavor until you’re ready to use them.
- Protection from Spoilage: Shallots are prone to mold, moisture, and bacterial growth, especially in warmer temperatures. Refrigeration creates a cooler and drier environment, reducing the risk of spoilage and ensuring the shallots stay in pristine condition.
- Convenience and Accessibility: Storing shallots in the fridge makes them readily available for your cooking needs. You can easily access them whenever you’re preparing a meal, eliminating the need to make frequent trips to the grocery store.
- Prevents Sprouting: Shallots have the tendency to sprout and develop green shoots when stored in warm conditions. Cold temperatures in the fridge can inhibit sprouting, allowing you to prolong their storage life without sacrificing quality.
Overall, refrigerating shallots offers an effective way to preserve their freshness, flavor, and texture, ultimately ensuring that you have delicious and aromatic shallots on hand for your culinary creations.
Step 1: Harvesting Shallots
The first step in storing shallots in the fridge starts with properly harvesting them. Here is a step-by-step guide to help you harvest shallots:
- Select the Right Time: Shallots are typically ready for harvest when the tops start to turn yellow and the foliage begins to die back. This usually occurs around 90 to 120 days after planting. Harvesting shallots too early can result in small, immature bulbs, while waiting too long can cause them to rot or sprout.
- Loosen the Soil: Gently loosen the soil around the shallot bulbs using a garden fork or shovel. Be careful not to damage the bulbs during this process.
- Lift the Bulbs: Carefully lift the shallot bulbs from the soil, grasping them near the base of the foliage. Avoid pulling on the foliage, as this can cause the tops to detach from the bulbs.
- Clean the Bulbs: Once harvested, gently brush off any excess soil from the bulbs. Avoid washing them with water, as moisture can promote rotting. Allow the shallots to air dry for a few hours before moving on to the next step.
Harvesting shallots at the right time and handling them with care will help ensure that they are in optimal condition for storage. Once you have harvested the shallots, it’s time to move on to the next step: curing them.
Step 2: Curing Shallots
After harvesting, shallots need to go through a curing process before they can be stored in the fridge. Curing allows the outer layers of the shallots to dry and toughen, providing a protective barrier against moisture and rot. Here’s how to properly cure shallots:
- Prepare a Dry, Well-Ventilated Area: Choose a cool, dry, and well-ventilated space where you can lay out the shallots for curing. A shaded porch, a garage, or a well-ventilated indoor area are all suitable options.
- Create a Single Layer: Arrange the shallots in a single layer on a clean and dry surface, such as a mesh rack, a wire basket, or a piece of newspaper. Make sure the shallots are not touching or overlapping each other to allow for proper airflow.
- Avoid Sunlight: Keep the curing shallots away from direct sunlight, as this can cause them to become sunburned and affect their quality.
- Allow for Air Circulation: Ensure that there is adequate air circulation around the shallots by spacing them out and avoiding overcrowding. Good airflow helps facilitate the drying process.
- Keep them in a Dry Environment: Curing shallots need a dry environment to properly dry out. Avoid areas with high humidity or dampness that can hinder the curing process.
- Monitor the Progress: Check the shallots regularly during the curing process. They should gradually develop a papery skin and become firm to the touch. The curing process typically takes around 2 to 3 weeks.
Properly curing the shallots ensures that they are well-prepared for storage in the fridge. Once the shallots have completed the curing process, it’s time to move on to the next step: preparing them for storage.
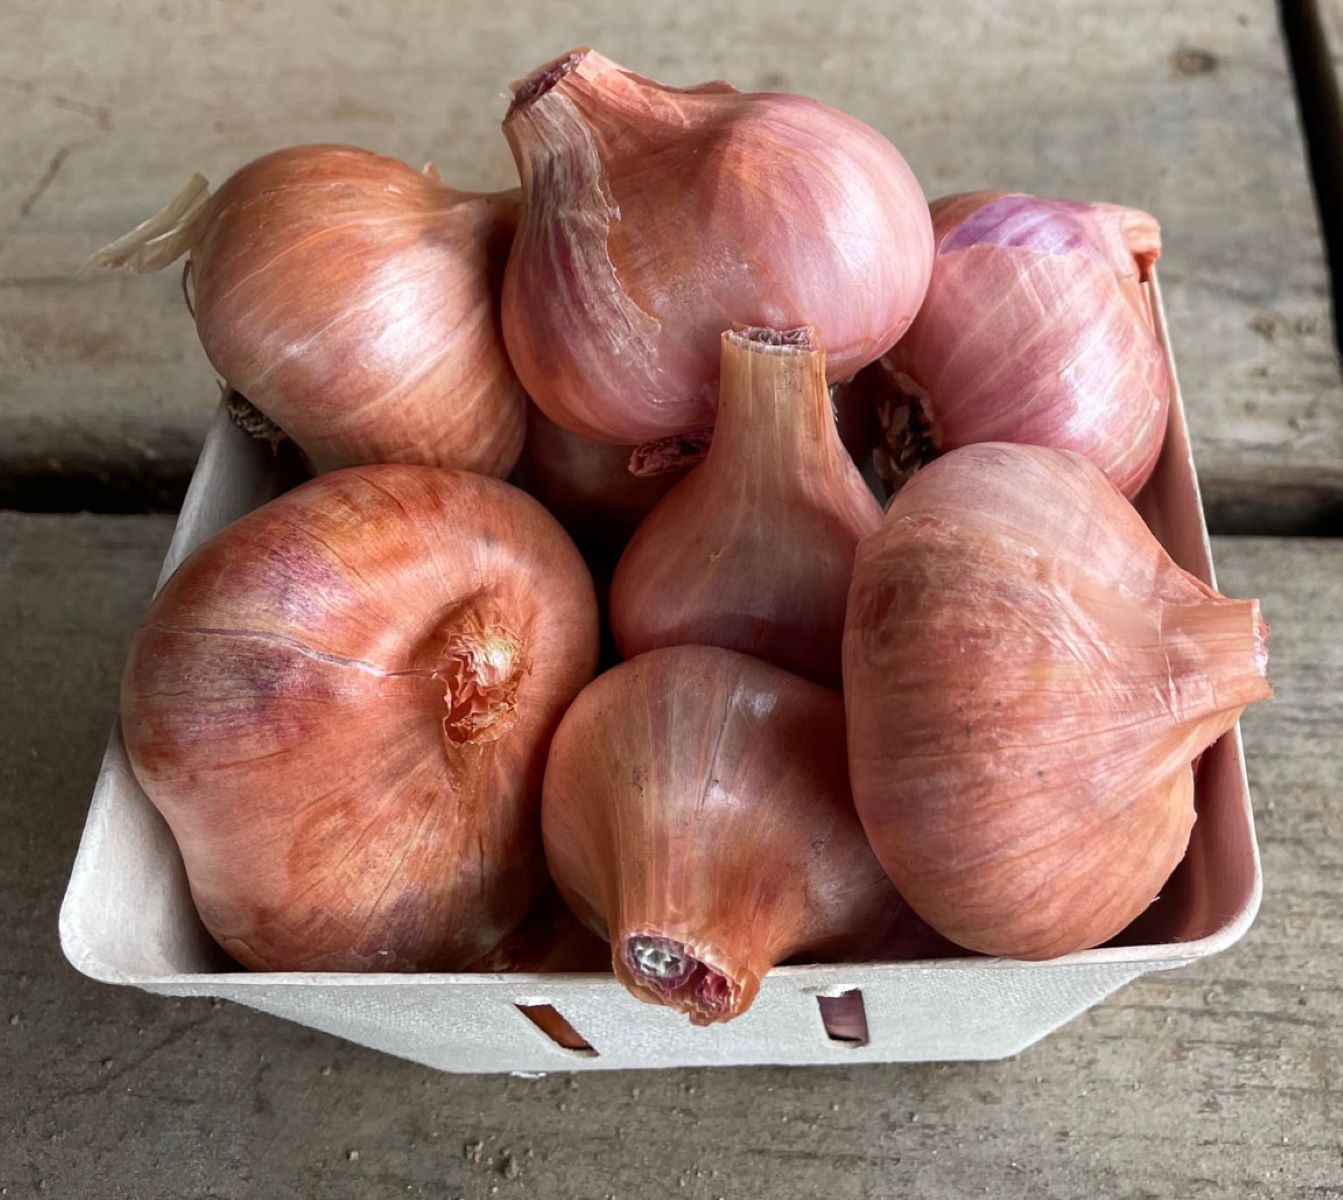
Step 3: Preparing Shallots for Storage
Before you can store shallots in the fridge, it’s important to properly prepare them. This step involves cleaning, inspecting, and trimming the shallots to ensure they are in optimal condition for storage. Here’s how to prepare shallots for storage:
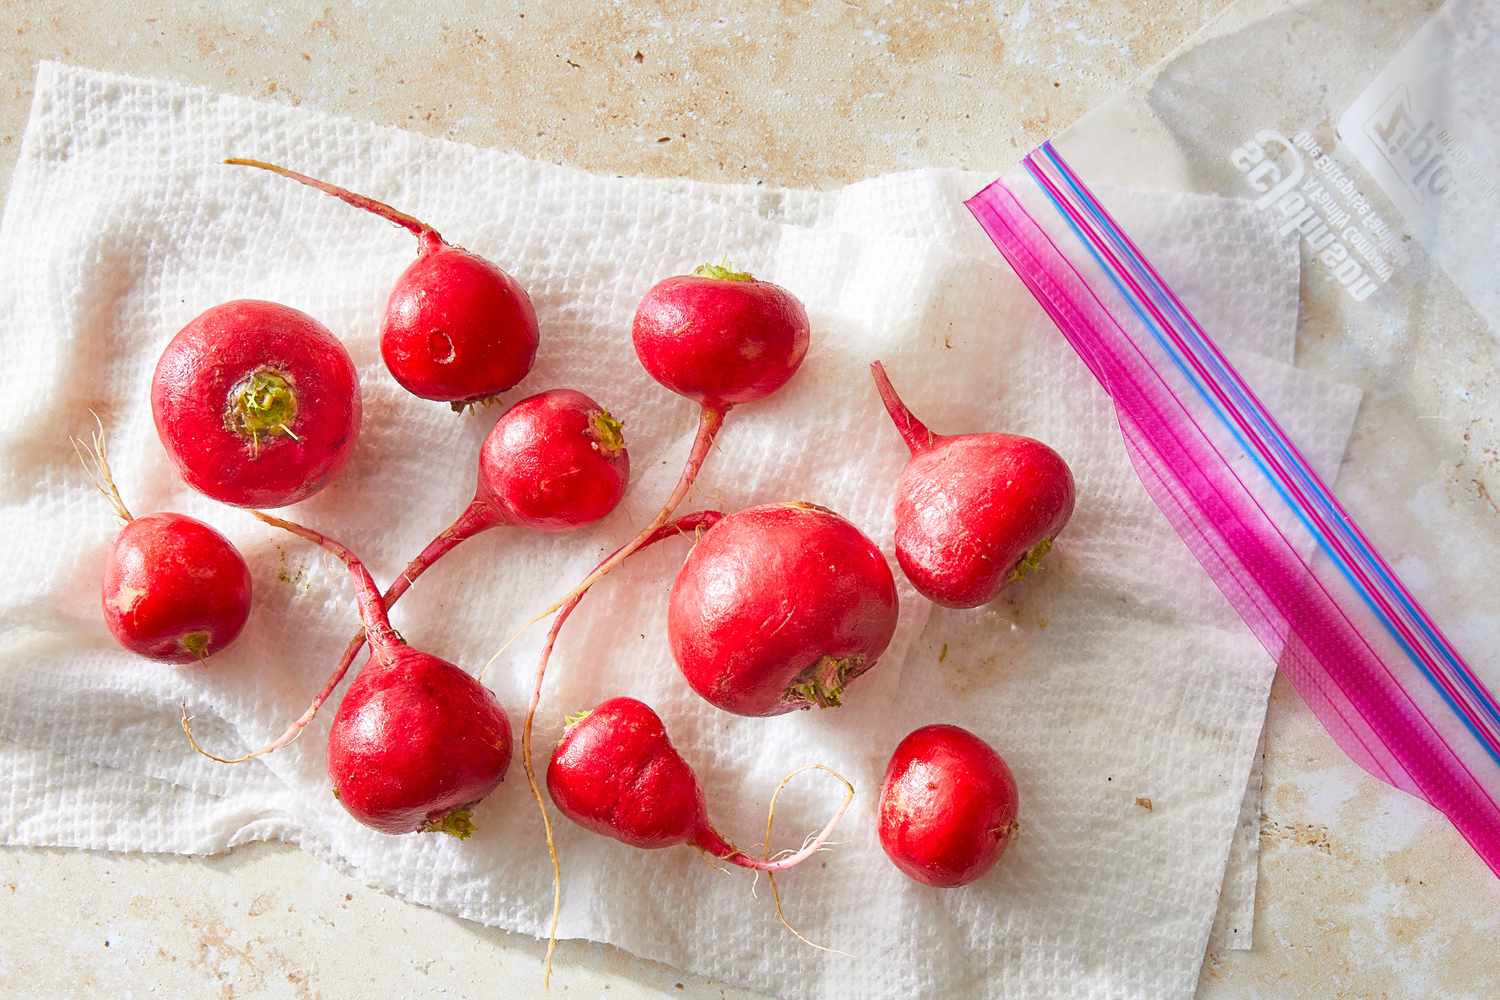
- Clean the Shallots: Gently remove any remaining soil or debris from the shallots by brushing them off or wiping them with a dry cloth. Avoid washing the shallots with water, as excess moisture can lead to rotting.
- Inspect for Damage: Carefully examine each shallot for any signs of damage, such as soft spots, mold, or sprouting. Remove any shallots that show signs of spoilage or have been compromised.
- Trim the Tops: Trim the tops of the shallots, leaving about ½ to 1 inch of the dried foliage attached. This helps to prevent moisture loss from the bulbs while maintaining their protective layers.
- Sort and Separate: Sort the shallots based on size and quality. Separate any shallots that are smaller, damaged, or showing signs of sprouting, as these may have a shorter storage life.
- Use Storage Containers: Place the prepared shallots in storage containers or mesh bags that allow for proper airflow. Avoid using plastic bags, as they can trap moisture and promote rotting. Alternatively, you can use a shallow tray lined with parchment paper or a clean cloth.
- Label and Date: To keep track of the storage duration, label the containers or bags with the date of preparation. This will help you identify the older shallots and use them first.
By following these steps, you’ll ensure that your shallots are clean, sorted, and ready for storage in the fridge. Now, let’s move on to the next step: storing the shallots in the fridge.
Store shallots in the fridge in a cool, dry place. Place them in a paper bag or perforated plastic bag to allow for air circulation and prevent moisture buildup. Avoid storing them near foods with strong odors.
Read more: How To Store Shallots Long Term
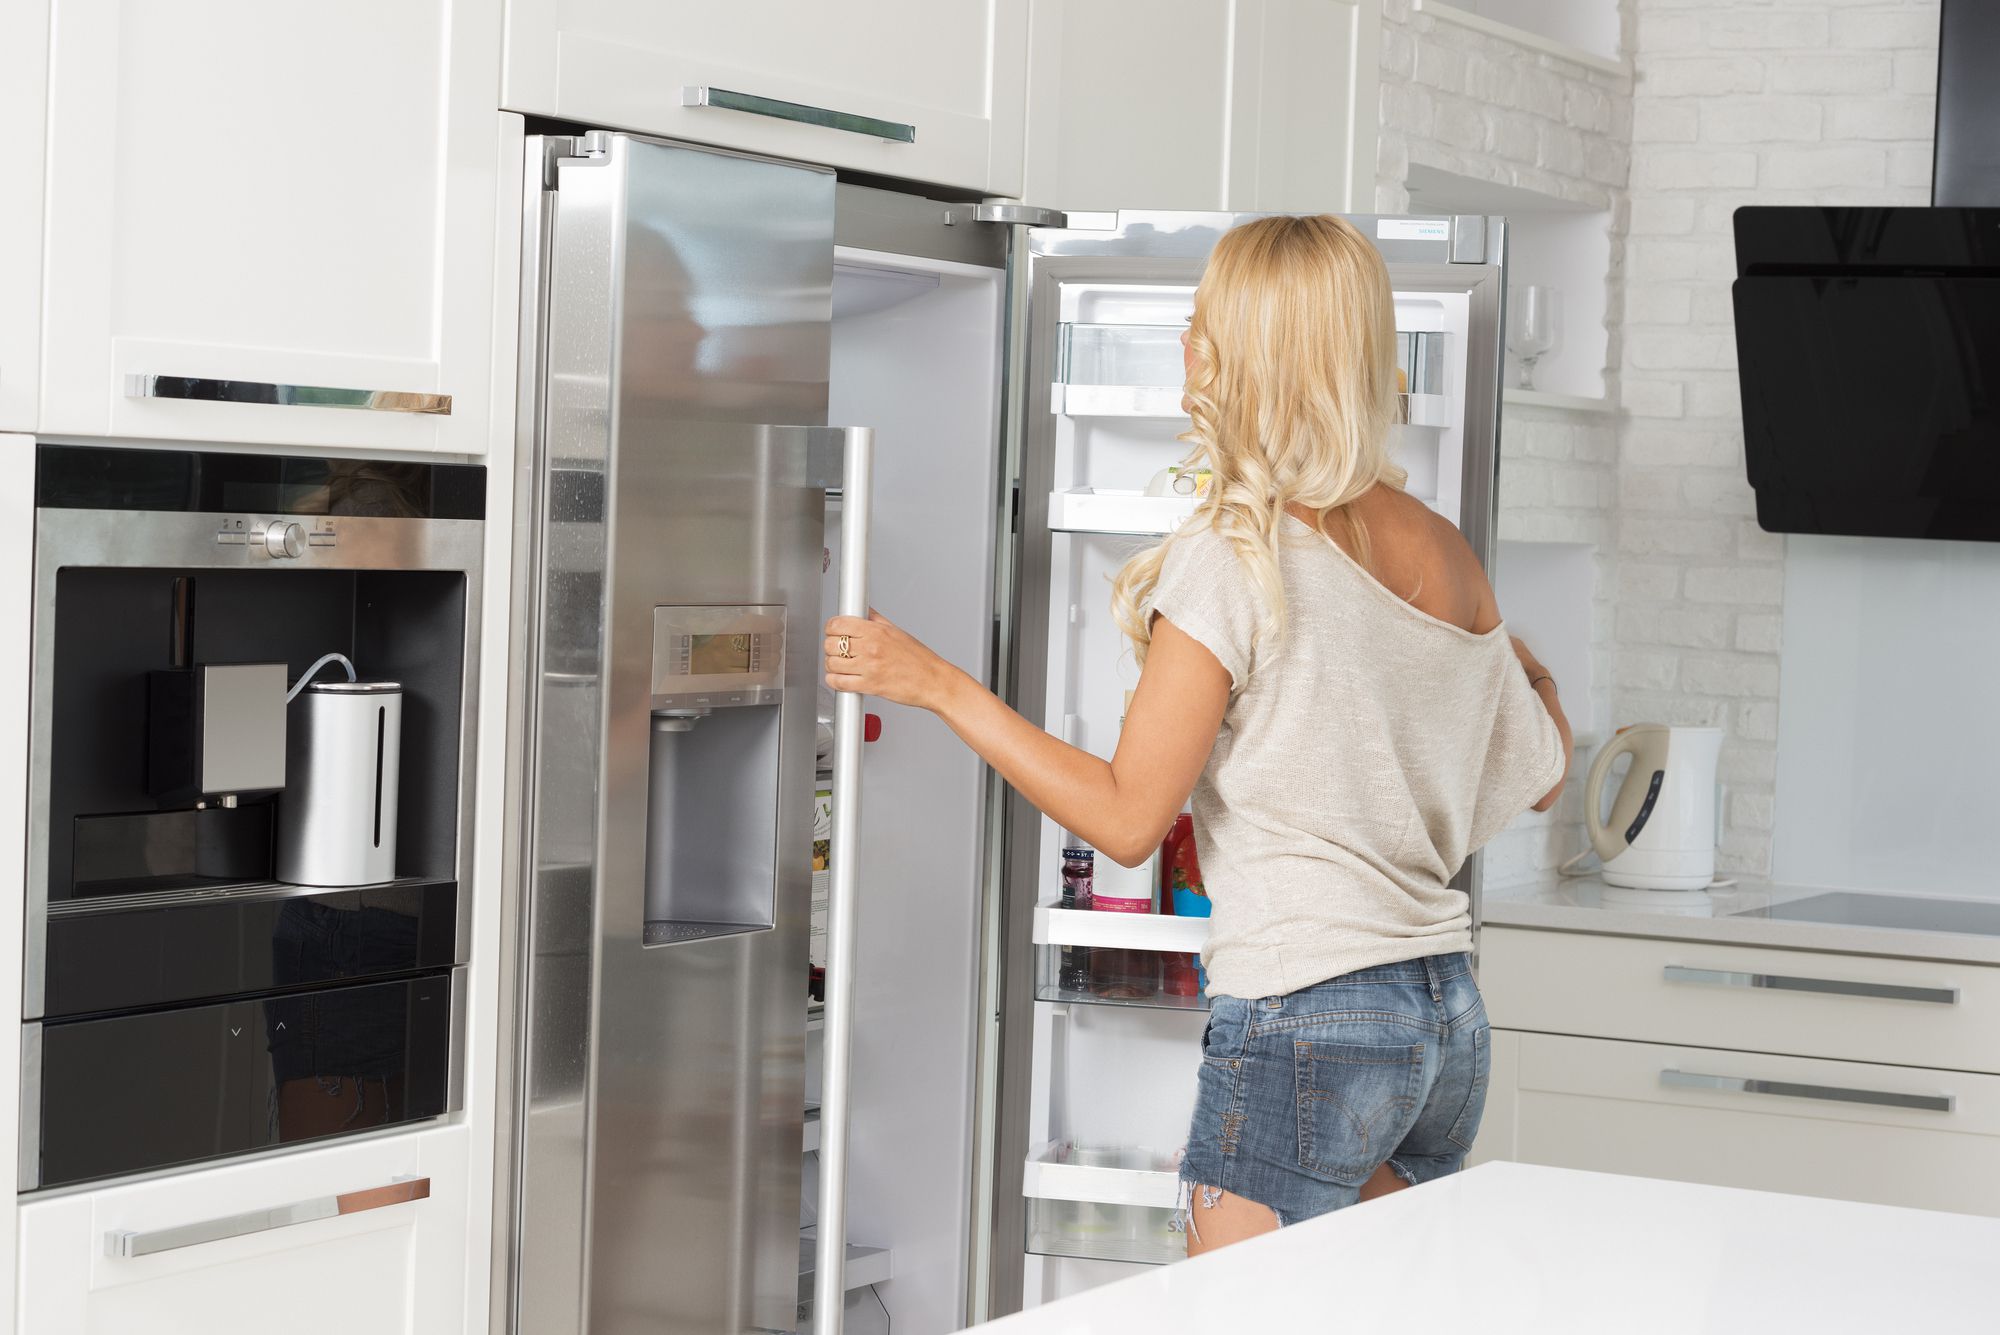
Step 4: Storing Shallots in the Fridge
Once you have prepared your shallots for storage, it’s time to carefully place them in the fridge for optimal preservation. Storing shallots in the fridge helps maintain their freshness and flavor for an extended period. Here’s how to store shallots in the fridge:
- Choose the Right Storage Container: Select a storage container or bag that is breathable and allows for proper airflow. Mesh bags or perforated plastic bags are ideal options as they provide ventilation while protecting the shallots from moisture.
- Place Shallots in the Container: Arrange the prepared, trimmed shallots in a single layer in your chosen storage container or bag. Avoid overcrowding to ensure good airflow between the shallots.
- Find the Right Shelf: Locate a spot in the fridge where the temperature is consistent and cool. The vegetable crisper drawer or a lower shelf are generally suitable options for storing shallots.
- Monitor the Temperature: Ensure that the fridge temperature is set between 32°F (0°C) and 40°F (4°C). This cool temperature range helps slow down the aging process and prolong the shelf life of the shallots.
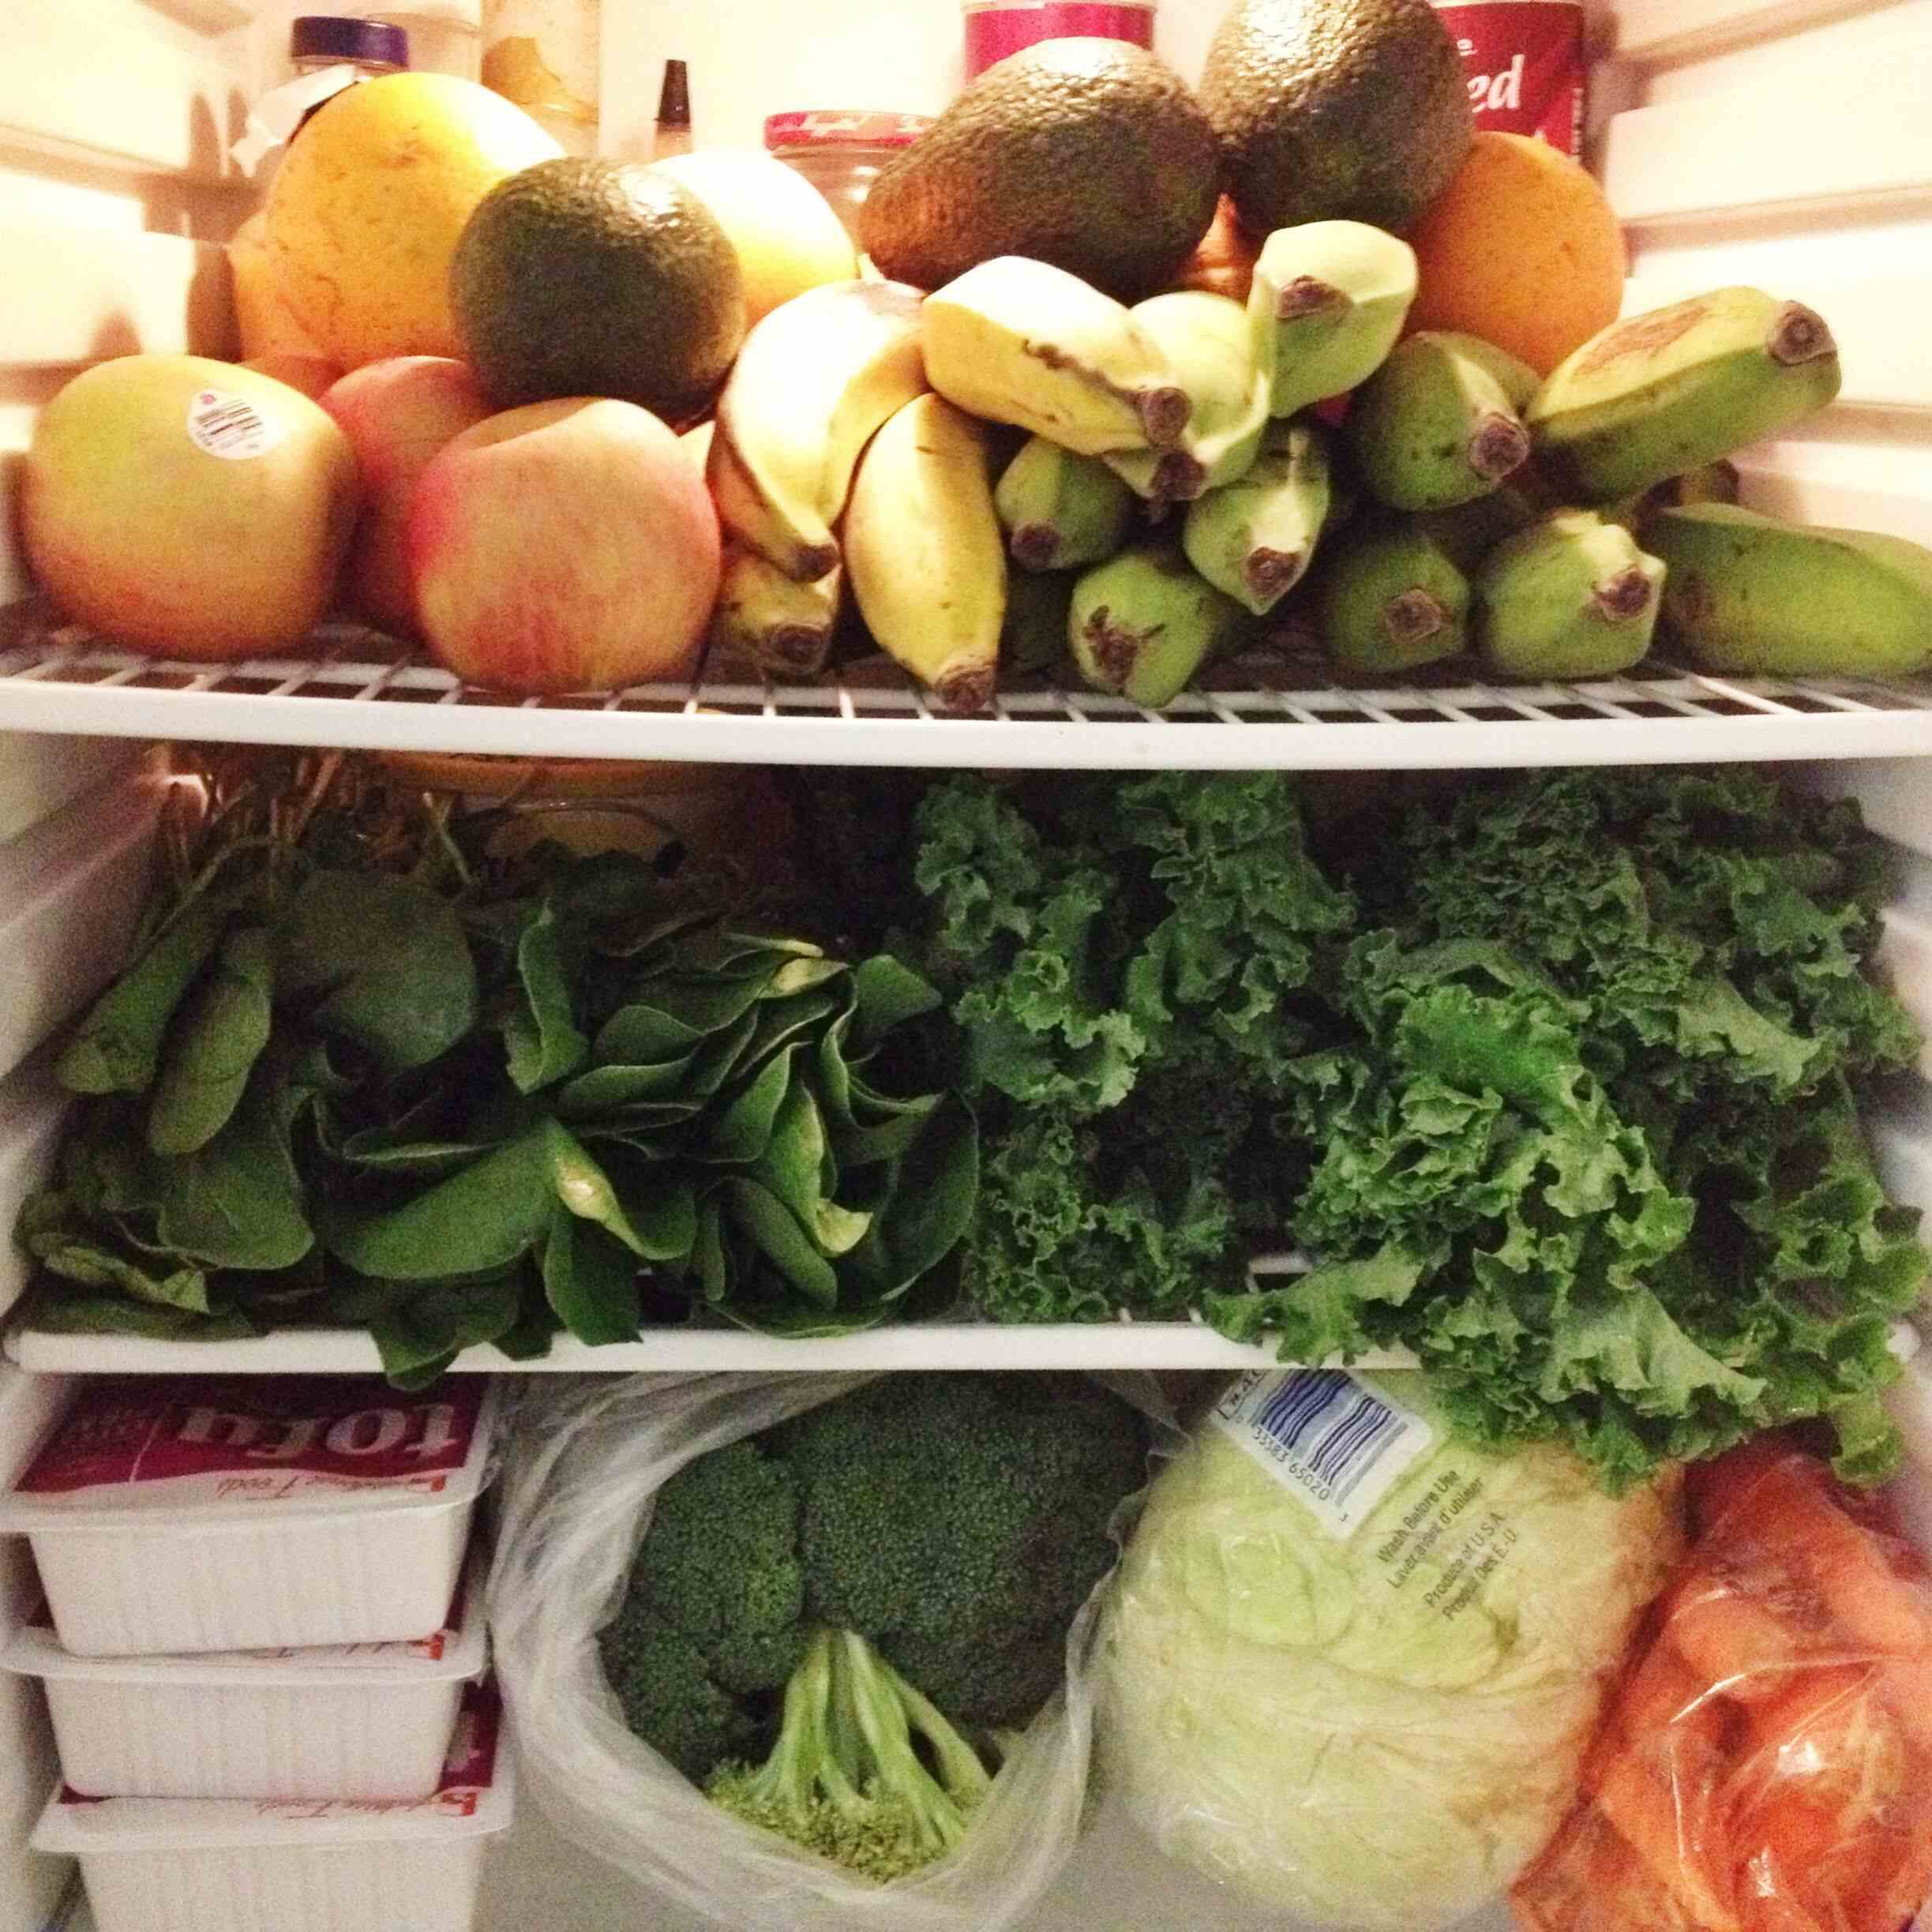
- Avoid Storage with Certain Foods: Keep shallots away from foods that release ethylene gas, such as apples, bananas, and avocados. Ethylene can cause shallots to sprout or spoil more quickly.
- Keep the Storage Area Dry: Moisture is the enemy of shallots, so make sure the storage area in the fridge is dry. Avoid placing shallots near any areas that may have excess moisture, such as dripping water or condensation.
- Check and Rotate: Regularly check the stored shallots for any signs of spoilage or sprouting. If you notice any affected shallots, remove them promptly to prevent the spread of spoilage.
By following these steps, you can effectively store shallots in the fridge and extend their shelf life while maintaining their optimum freshness. Now, it’s time to move on to the next step: monitoring the shallots in the fridge.
Step 5: Monitoring Shallots in the Fridge
Once you have stored shallots in the fridge, it’s important to regularly monitor their condition to ensure they remain fresh and free from spoilage. Here are some tips for effectively monitoring shallots in the fridge:
- Check for Spoilage: Regularly inspect the stored shallots for any signs of mold, decay, or soft spots. If you notice any spoiled shallots, remove them immediately to prevent the spread of spoilage to other shallots.
- Watch for Sprouting: Keep an eye out for any shallots that start to sprout green shoots. Sprouting is a natural process but can affect the overall quality and flavor of the shallots. If sprouting occurs, it’s best to use them promptly.
- Rotate the Shallots: As you monitor, periodically rotate the shallots to prevent them from sitting in one spot for too long. This helps ensure consistent air circulation and helps prevent any moisture buildup that may lead to spoilage.
- Adjust Temperature if Needed: Check and adjust the fridge temperature if necessary. The ideal temperature range for storing shallots is between 32°F (0°C) and 40°F (4°C). Maintaining a consistent cool temperature helps prolong their freshness.
- Maintain a Dry Environment: Check for any signs of excess moisture in the storage area. If you notice any condensation or moisture buildup, wipe it away and ensure the area is dry. Excess moisture can encourage shallots to rot.
- Use the Oldest Shallots First: Label the storage containers or bags with the date of storage. This will help you prioritize using the older shallots first to prevent any from going to waste.
- Properly Dispose of Spoiled Shallots: If you encounter any shallots that are spoiled beyond use, dispose of them properly to prevent any foul odors or contamination. Seal them in a bag before discarding them in the trash.
By regularly monitoring the stored shallots, you can ensure their freshness and quality over an extended period. Now, let’s move on to the final step: using the stored shallots in your culinary creations.
Step 6: Using Stored Shallots
Now that you have successfully stored shallots in the fridge, it’s time to put them to good use in your cooking. Here are some tips on how to use the stored shallots effectively:
- Plan Your Meals: Take some time to plan your meals and recipes in advance, considering the use of shallots. This will help you make the most of your stored shallots and ensure they are utilized before they start to deteriorate.
- Thaw if Frozen: If you have stored shallots in the freezer for long-term storage, thaw them in the fridge before using. This will prevent any texture changes and allow you to easily chop or slice them as needed.
- Peel and Chop: Before incorporating the shallots into your recipes, peel off the papery skin and chop them according to your desired size or recipe requirements. Shallots add a subtle flavor to dishes and can be used in a wide variety of recipes.
- Use Shallots as A Flavor enhancer: Shallots provide a milder and sweeter flavor compared to onions. Use them in soups, stews, stir-fries, sauces, dressings, marinades, and sautéed dishes to elevate the overall taste of your culinary creations.
- Experiment with Different Cuisines: Shallots are versatile and can be used in various cuisines. From French to Asian and Mediterranean dishes, shallots lend their flavor to a wide range of recipes, so don’t hesitate to explore different culinary traditions.
- Sauté or Caramelize: Sautéing or caramelizing shallots brings out their sweetness and aroma. Add them to a hot pan with some oil or butter, and cook them until they become soft, translucent, and slightly golden. This process enhances their flavor and adds depth to your recipes.
- Store Leftover Shallots: If you have leftover chopped shallots, store them in an airtight container in the fridge for a few days. Alternatively, you can freeze them in a sealed container or freezer bag for longer-term storage.
Using your stored shallots in your everyday cooking will not only add a delicious flavor but also allow you to fully enjoy the benefits of your preserved shallots. So, get creative in the kitchen and savor the flavors that shallots bring to your meals!
With the final step complete, you have successfully learned how to store shallots in the fridge and make the most of their freshness and flavor. By following these steps, you can ensure that your shallots retain their quality for an extended period, allowing you to enjoy their unique taste in your favorite recipes.
Conclusion
Storing shallots in the fridge is a great way to preserve their freshness and flavor for an extended period. By following the step-by-step process of harvesting, curing, preparing, storing, and monitoring shallots, you can ensure that these versatile ingredients stay in optimal condition until you’re ready to use them in your culinary creations.
Harvesting shallots at the right time and curing them in a dry, well-ventilated area sets the stage for successful storage. Properly preparing the shallots by cleaning, inspecting, and trimming them ensures that they are in optimal condition for storage.
Storing shallots in breathable containers in the fridge, along with monitoring their condition regularly, helps to maintain their freshness and prevent spoilage. By keeping an eye on the shallots, rotating them, and maintaining a suitable storage temperature, you can prolong their shelf life and preserve their delicate flavor.
Once stored, you can utilize the shallots in a variety of delicious recipes. From soups and sauces to stir-fries and marinades, shallots enhance the taste of your dishes and add a touch of complexity to your meals.
By mastering the art of storing shallots in the fridge, you can enjoy these flavorful ingredients year-round and reduce waste. So, go ahead and put your harvest or market-bought shallots to good use, knowing that you have the knowledge to keep them fresh and delicious!
Remember, proper storage plays a crucial role in maintaining the quality of shallots, so follow these steps diligently, and you’ll always have fresh and flavorful shallots ready for your culinary adventures.
Frequently Asked Questions about How To Store Shallots In The Fridge
Was this page helpful?
At Storables.com, we guarantee accurate and reliable information. Our content, validated by Expert Board Contributors, is crafted following stringent Editorial Policies. We're committed to providing you with well-researched, expert-backed insights for all your informational needs.


0 thoughts on “How To Store Shallots In The Fridge”