Articles
How To Store Soil Outside
Modified: January 9, 2024
Learn how to store soil outside with these helpful articles. Keep your soil fresh and ready for gardening all year round.
(Many of the links in this article redirect to a specific reviewed product. Your purchase of these products through affiliate links helps to generate commission for Storables.com, at no extra cost. Learn more)
Introduction
Proper soil storage is essential for gardeners and landscapers who want to ensure the quality and effectiveness of their gardening projects. Whether it’s excess soil from a construction site or leftover soil from a gardening project, knowing how to store soil outside can save you time, money, and effort in the long run.
When soil is not stored correctly, it can lose its nutrients, become compacted, or even be exposed to pests and diseases. By following the right steps, you can keep your soil in prime condition and ready for use whenever you need it.
In this article, we will guide you through the process of storing soil outside, from choosing the right location and preparing the storage area to protecting the soil from pests and diseases. Let’s dig in!
Key Takeaways:
- Choose a sunny, accessible, and well-drained location to store soil outside. Proper preparation, covering, and drainage are essential for maintaining soil quality and preventing pests and diseases.
- Storing soil in containers, covering it with mulch, and implementing proper drainage systems are key to preserving soil quality. Regular monitoring and maintenance ensure nutrient-rich soil for gardening and landscaping projects.
Read more: How To Store Garden Soil
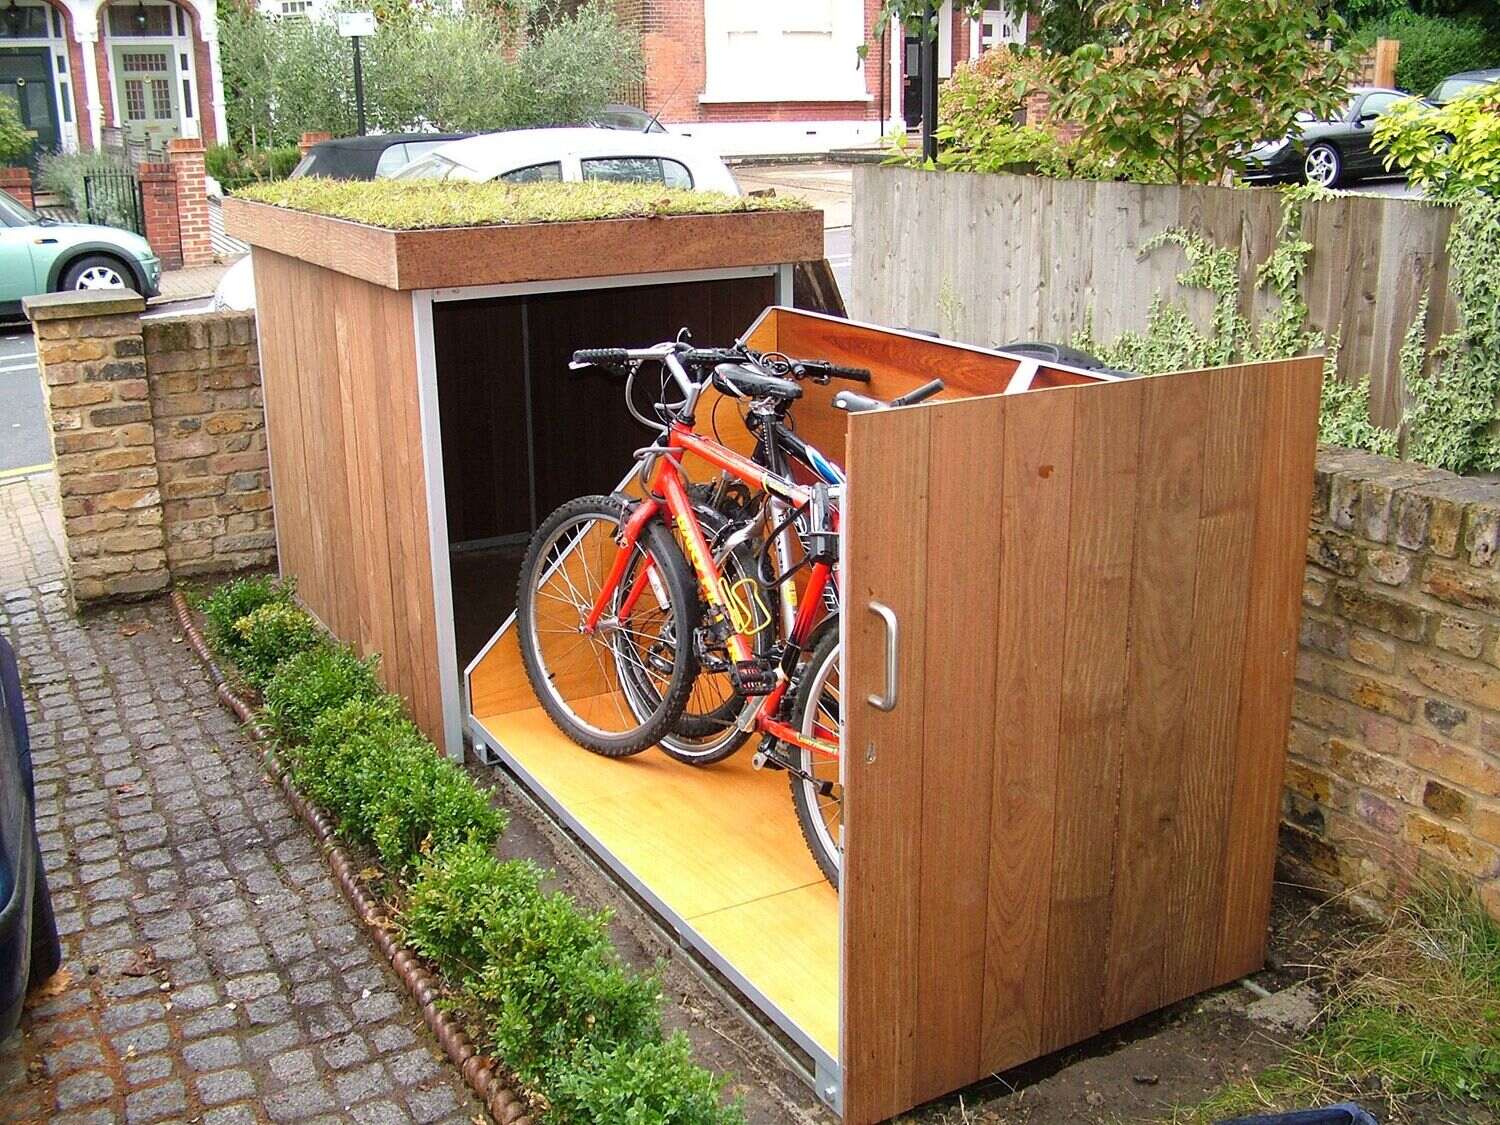
Choosing the Right Location
When it comes to storing soil outside, selecting the right location is crucial. Here are a few factors to consider when choosing where to store your soil:
- Sunlight: Find a spot that receives adequate sunlight. Sunlight helps promote natural biological activity in the soil and prevents excess moisture buildup.
- Accessibility: Ensure that the storage area is easily accessible so you can retrieve soil as needed. It’s best to have a location close to your garden or landscape project.
- Drainage: Look for an area with good drainage to prevent waterlogging. Excess water can lead to soil erosion and nutrient loss.
- Security: Consider the security of the storage area. If you’re concerned about theft or animals tampering with the soil, you may want to install a fence or use locked containers.
Additionally, if you’re storing a large quantity of soil, consider the potential impact on neighboring plants and structures. Avoid storing soil near sensitive plants or in areas where water runoff could cause damage.
By carefully selecting the right location, you can ensure that your stored soil remains in good condition and is easily accessible for future use.
Preparing the Storage Area
Before storing soil outside, it’s important to prepare the storage area to ensure the optimal conditions for soil preservation. Follow these steps to prepare the storage area:
- Clean the space: Clear any debris, weeds, or rocks from the storage area. This will help prevent contamination and ensure a clean environment for your soil.
- Level the ground: Use a rake or shovel to level the ground. This will provide a stable surface for containers or piles of soil.
- Install a barrier: If you’re storing soil directly on the ground, consider installing a barrier to prevent direct contact with the soil. This can be a layer of thick plastic sheeting or landscaping fabric.
- Consider drainage: Ensure that the storage area has proper drainage to prevent water accumulation. If the area is prone to waterlogging, you may need to create a raised bed or install drainage pipes.
- Provide ventilation: If you’re storing soil in enclosed containers, ensure that there is adequate ventilation. This will prevent the buildup of excess moisture, which can lead to mold or mildew.
By preparing the storage area properly, you create an environment that promotes soil preservation. The clean and level surface, along with the appropriate barriers and drainage, will help maintain the quality of the stored soil.
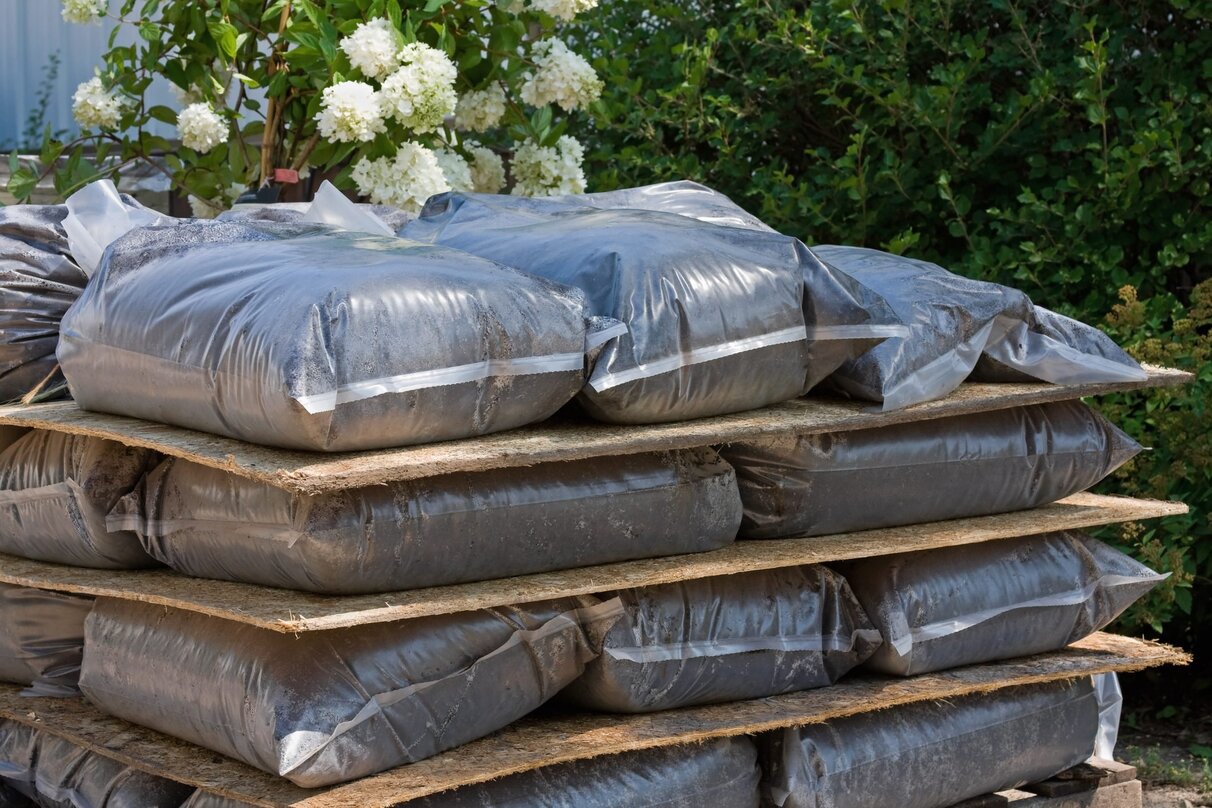
Storing Soil in Containers
One of the most convenient ways to store soil outside is by using containers. Containers provide a controlled environment and help protect the soil from external elements. Here’s how to store soil in containers:
- Select the right containers: Choose containers that are sturdy, durable, and of the appropriate size. Plastic pots, bins, or wooden crates with drainage holes are excellent options. Avoid containers made from materials that may leach harmful chemicals into the soil.
- Fill the containers: Fill the containers with the soil, leaving a little space at the top for watering and expansion. Avoid compacting the soil too tightly, as it needs room to breathe.
- Label the containers: Use labels or markers to identify the type of soil and the date it was stored. This will help you keep track of different soil types and their age.
- Stack the containers: If you have multiple containers, stack them on top of each other to save space. Ensure that they are stable and won’t topple over.
- Protect the containers: Cover the containers with lids or tarp to protect the soil from rain, wind, and direct sunlight. This will help maintain the moisture levels and prevent nutrient loss.
When storing soil in containers, it’s important to regularly check the moisture levels. If the soil becomes too dry, add water, but avoid oversaturating it. Additionally, inspect the containers for any signs of pests or diseases, and take immediate action if necessary.
By using containers, you can store your soil in a neat, organized manner and easily access it whenever needed for your gardening or landscaping projects.
Covering the Stored Soil
Once you have stored the soil in containers or piles, it’s important to cover it properly to protect it from the elements and maintain its quality. Here are some tips for covering the stored soil:
- Use mulch: Apply a layer of organic mulch, such as straw, wood chips, or leaves, on top of the soil. Mulch acts as a protective barrier, regulating temperature and moisture levels while preventing weed growth.
- Utilize tarps or covers: If storing soil in open piles, use tarps or covers to shield the soil from rain, wind, and excessive sunlight. Secure the edges of the covers to prevent them from blowing away.
- Avoid compacting the soil: When covering the soil, be careful not to press down too hard, as this can compact the soil. Compacted soil restricts root growth and hampers its overall health.
- Monitor and adjust: Regularly check the covers and mulch to ensure they are in place and intact. If they become damaged or displaced, make the necessary adjustments to maintain proper coverage.
Proper covering of stored soil helps retain moisture, prevent erosion, and safeguard the soil from extreme temperature fluctuations. It also discourages weed growth and reduces the risk of soilborne diseases.
Remember, different types of soil may require different coverings. For example, sandy soil may need a heavier cover to prevent it from drying out too easily, while clay soil may benefit from a lighter cover to allow for better aeration.
By taking the time to cover the stored soil adequately, you will protect its quality and ensure that it remains in optimal condition for future use in your gardening and landscaping endeavors.
When storing soil outside, make sure to keep it in a covered area to protect it from rain and moisture. This will help prevent the soil from becoming waterlogged and losing its quality.
Read more: How To Store Soil Indoors
Proper Drainage Systems
Having a proper drainage system is crucial when storing soil outside. Excess moisture can lead to waterlogging, which can negatively impact the quality of the stored soil. Here are some tips to ensure proper drainage:
- Elevate the soil: If storing soil directly on the ground, consider elevating it slightly to allow for better drainage. You can do this by creating a raised bed or using pallets or bricks to lift the soil off the ground.
- Add drainage materials: Incorporate drainage materials, such as gravel or coarse sand, in the bottom layer of the storage area or containers. These materials will help water flow through the soil and prevent it from becoming waterlogged.
- Provide drainage holes: If storing soil in containers, ensure that they have proper drainage holes. These holes allow excess water to escape and prevent water from pooling at the bottom of the container.
- Regularly monitor moisture levels: Keep an eye on the moisture levels in the stored soil. If you notice excessive moisture, adjust the drainage system accordingly. This may involve adding more drainage materials or increasing the size or number of drainage holes.
- Redirect runoff: If your storage area is prone to water runoff, consider redirecting the water away from the soil storage area. This can be done through the use of gutters or trenches to guide water away from the stored soil.
Proper drainage is essential to prevent water buildup, which can lead to soil compaction and nutrient leaching. It also helps maintain the right balance of moisture in the soil, promoting healthy microbial activity and root growth.
By implementing a robust drainage system, you can ensure that your stored soil remains in optimal condition and ready for use in your gardening and landscaping projects.
Protecting Soil from Pests and Diseases
When storing soil outside, it’s important to take precautions to protect it from pests and diseases that can negatively impact its quality. Here are some strategies to safeguard your stored soil:
- Clean and sterilize containers: Before using containers to store soil, ensure that they are clean and free from any debris or previous plant residues. Sterilize the containers by washing them with a mild bleach solution to kill any lingering pests or diseases.
- Inspect for pests: Regularly inspect both the stored soil and the containers for signs of pests, such as insects or larvae. If you notice any pests, take immediate action to address the issue, using organic pest control methods whenever possible.
- Rotate stored soil: If you have multiple containers or piles of stored soil, consider rotating them periodically. This helps prevent the buildup of pests and diseases in one area and ensures that all soil is well-maintained.
- Secure the storage area: Keep the storage area well-maintained and secure to prevent animals or rodents from accessing the stored soil. Erecting a fence or using locked containers can help deter pests and protect the soil.
- Practice good hygiene: When working with stored soil, maintain good hygiene practices. Clean your gardening tools and equipment after each use to prevent the spread of pests and diseases.
Additionally, it’s important to note that some pests or diseases may be present in the soil itself. In such cases, consider treating the soil before storage by using composting techniques or solarization to kill off any pathogens or unwanted organisms.
By taking proactive measures to protect your stored soil from pests and diseases, you can ensure that it remains healthy and free from unwanted contaminants. This will contribute to the success of your gardening and landscaping projects.
Monitoring and Maintaining the Stored Soil
Proper monitoring and maintenance of stored soil are essential to ensure its quality and effectiveness for future use. Here are some key steps to follow:
- Regularly check moisture levels: Monitor the moisture levels of the stored soil to prevent it from drying out or becoming waterlogged. Aim for a slightly moist consistency, similar to a wrung-out sponge.
- Adjust watering: If you notice the soil drying out, lightly water it to maintain the moisture levels. Use a gentle spray or sprinkle watering method to avoid compacting the soil.
- Inspect for signs of compaction: Regularly inspect the soil for signs of compaction, such as hard clumps or poor drainage. If necessary, gently loosen the soil using a garden fork or cultivator to improve its structure.
- Rotate the stored soil: If you have multiple containers or piles of stored soil, periodically rotate them to prevent soil depletion and optimize nutrient distribution.
- Control temperature: Avoid exposing the stored soil to extreme temperature fluctuations. Keep it away from direct sunlight and provide some shade if necessary.
- Test soil quality: Periodically test the stored soil for nutrient levels and pH balance. This will help you determine if any amendments or adjustments are needed before using it in your garden or landscaping projects.
- Address any issues promptly: Keep an eye out for any signs of pests, diseases, or weed growth in the stored soil. Take immediate action to address these issues before they spread or worsen.
- Label and organize: Maintain clear labels on containers or piles of stored soil to easily identify their contents. Organize them in a way that allows for easy access and retrieval.
By consistently monitoring and maintaining the stored soil, you can ensure that it remains in optimal condition and retains its nutrient content. This will contribute to the success of your gardening or landscaping projects while saving you time and money in the long run.
Conclusion
Properly storing soil outside is essential for gardeners and landscapers who want to maintain the quality and effectiveness of their gardening projects. By following the right steps, you can ensure that your stored soil remains nutrient-rich, free from pests and diseases, and ready for use whenever you need it.
In this article, we discussed various important aspects of storing soil outside. We explored how to choose the right location, prepare the storage area, and store soil in containers. We also covered the importance of covering the stored soil, implementing proper drainage systems, and protecting the soil from pests and diseases. Lastly, we emphasized the significance of monitoring and maintaining the stored soil to ensure its quality over time.
Remember to choose a suitable location that provides adequate sunlight, accessibility, and proper drainage. Prepare the storage area by clearing debris, leveling the ground, and considering the use of barriers. When storing soil in containers, be sure to select the right ones, fill them appropriately, and cover them to protect the soil from the elements. Implement drainage systems and take preventive measures against pests and diseases to safeguard the stored soil. Regularly monitor and adjust moisture levels, inspect for compaction or issues, and maintain good hygiene practices.
By following these guidelines, you can ensure that your stored soil remains in optimal condition, ready to nourish and support the growth of your plants and landscaping projects. Whether you are a home gardener or a professional landscaper, proper soil storage is a crucial aspect of maintaining a thriving garden or landscape.
So, take the time to store your soil properly, and reap the benefits of healthy and fertile soil for all your gardening endeavors!
Frequently Asked Questions about How To Store Soil Outside
Was this page helpful?
At Storables.com, we guarantee accurate and reliable information. Our content, validated by Expert Board Contributors, is crafted following stringent Editorial Policies. We're committed to providing you with well-researched, expert-backed insights for all your informational needs.


0 thoughts on “How To Store Soil Outside”