Articles
How To Store Soil Indoors
Modified: August 17, 2024
Learn the best techniques for storing soil indoors with our informative articles. Find out how to keep your soil fresh and ready for your gardening projects.
(Many of the links in this article redirect to a specific reviewed product. Your purchase of these products through affiliate links helps to generate commission for Storables.com, at no extra cost. Learn more)
Introduction
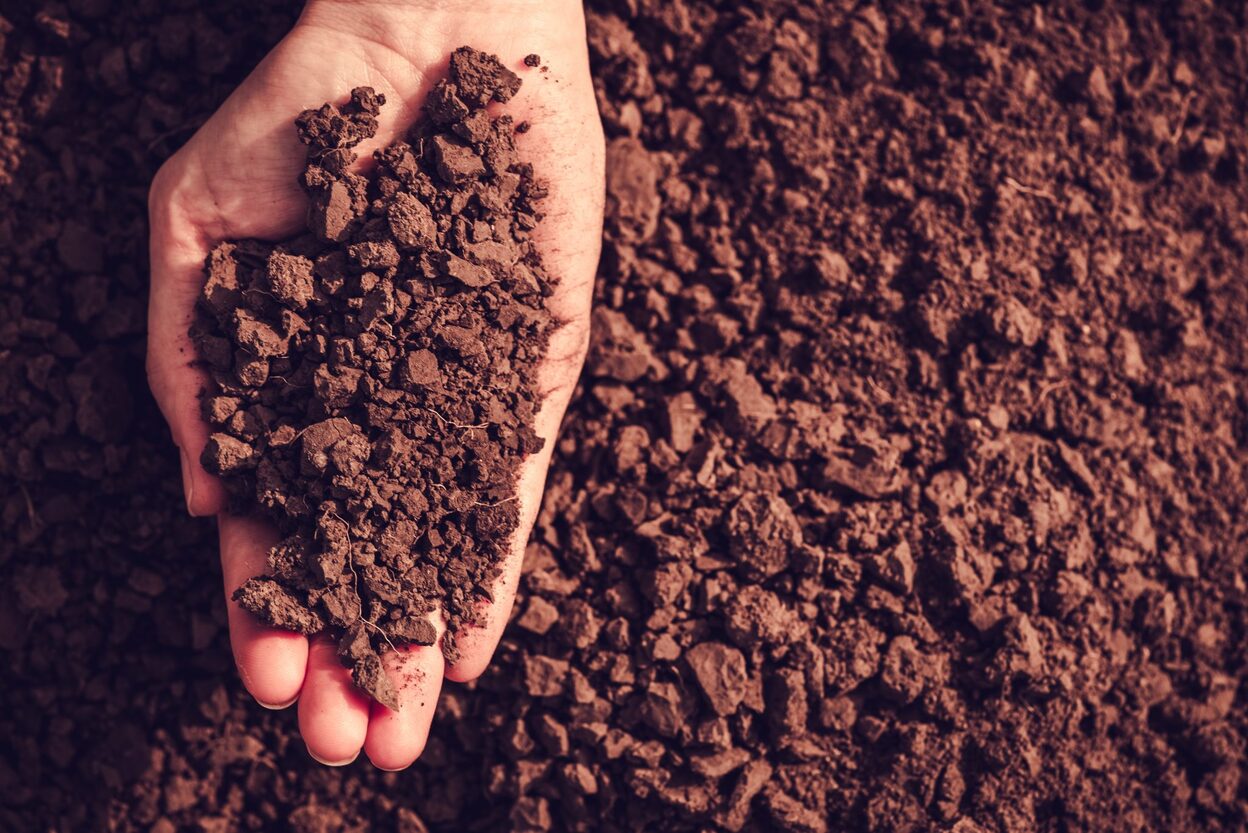
When it comes to indoor gardening, ensuring that you have high-quality soil is absolutely essential. The right soil not only provides the necessary nutrients for your plants to thrive, but it also helps with moisture retention, root aeration, and overall plant health. However, having access to fresh soil year-round can be a challenge, especially if you live in an area where outdoor gardening is limited during certain seasons. That’s where indoor soil storage comes in.
In this article, we will guide you on how to store soil indoors effectively, ensuring that it remains fertile and ready for use whenever you need it. We will cover everything from choosing the right soil to preparing containers for storage, as well as maintaining its quality over time. Whether you are an avid indoor gardener or a beginner looking to start your own indoor garden, this article will provide you with the knowledge and tips to store soil properly.
So let’s dive in and discover the secrets to successfully storing soil indoors!
Key Takeaways:
- Properly storing soil indoors involves choosing nutrient-rich, well-draining soil, preparing clean, labeled containers with proper drainage, and maintaining a cool, dark storage environment. This ensures high-quality soil for year-round indoor gardening.
- When using stored soil for indoor gardening, inspect for pests, rejuvenate with fresh compost, and consider a soil test. Blend with fresh soil, monitor plant health, and replenish for long-term fertility and thriving indoor plants.
Read more: How To Store Soil Outside
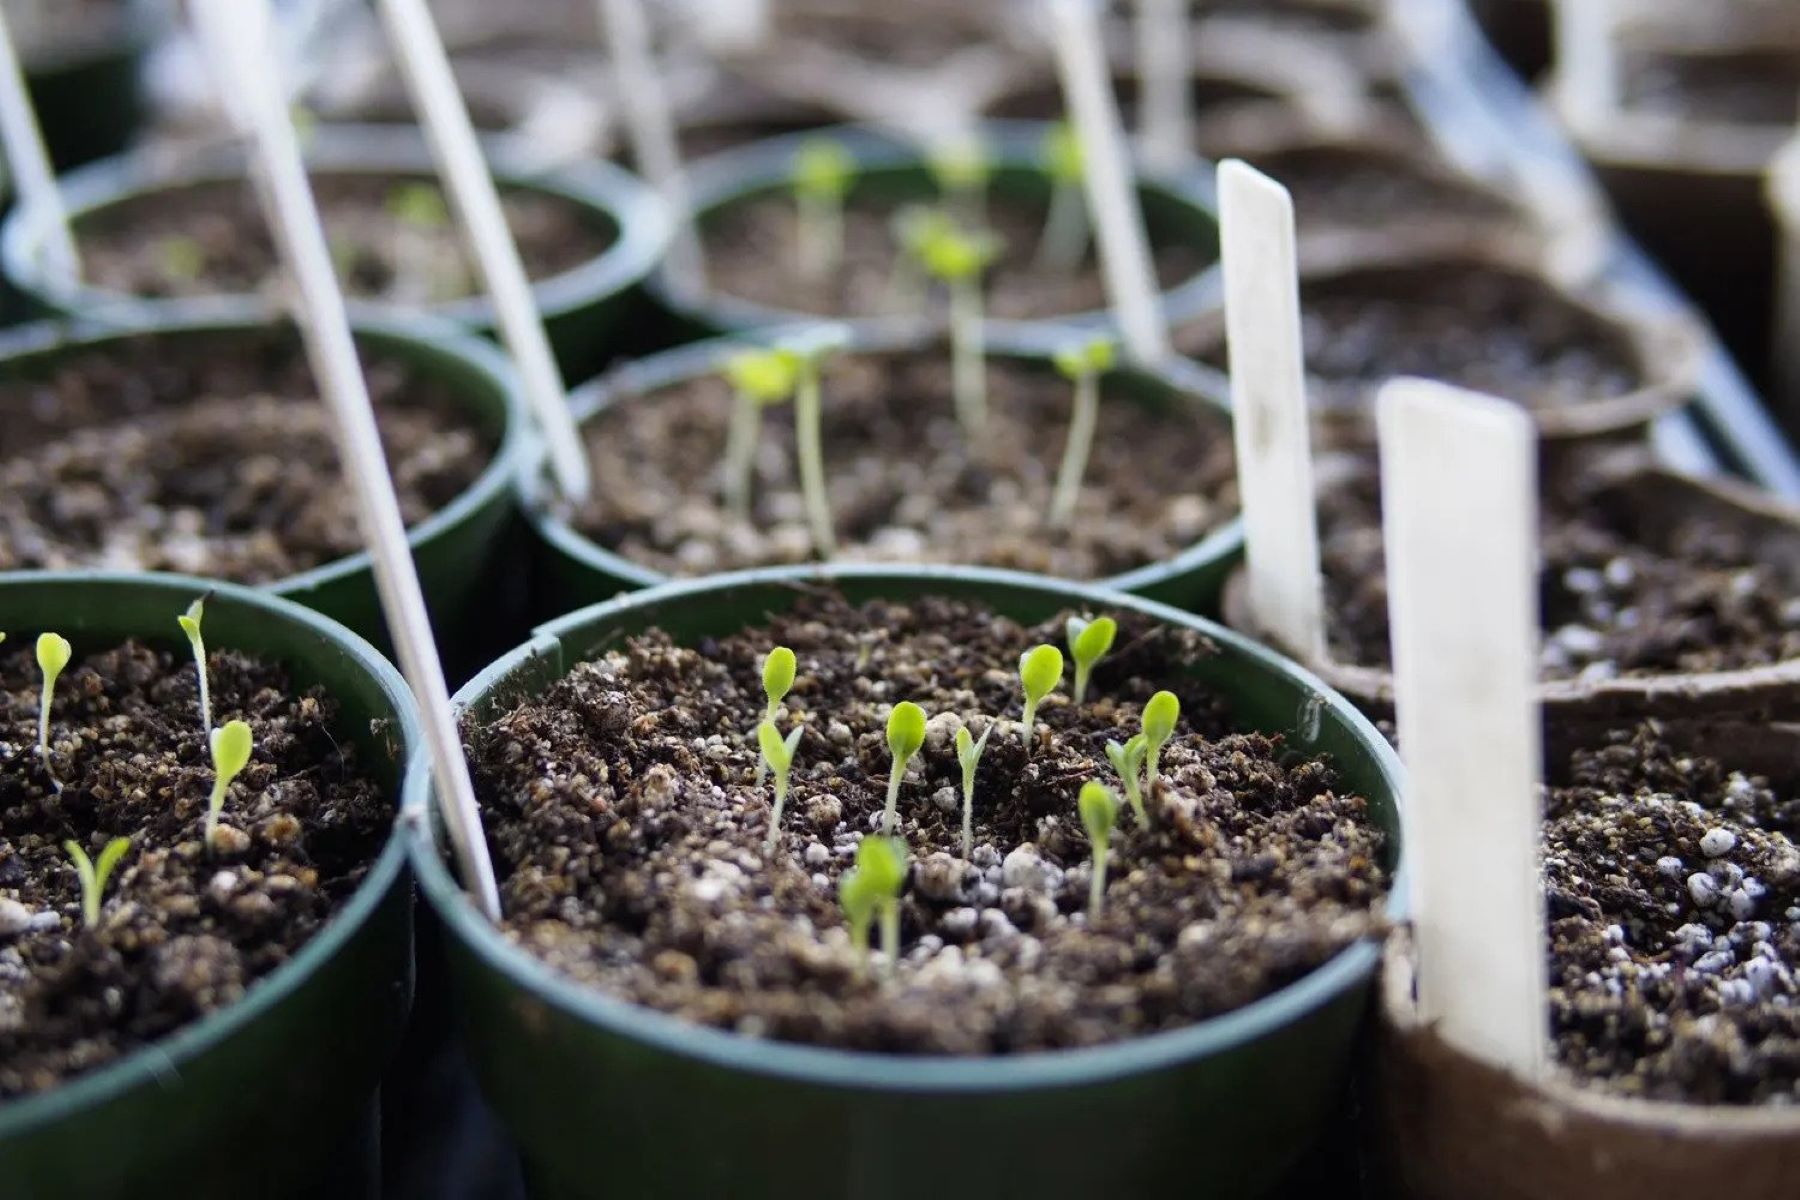
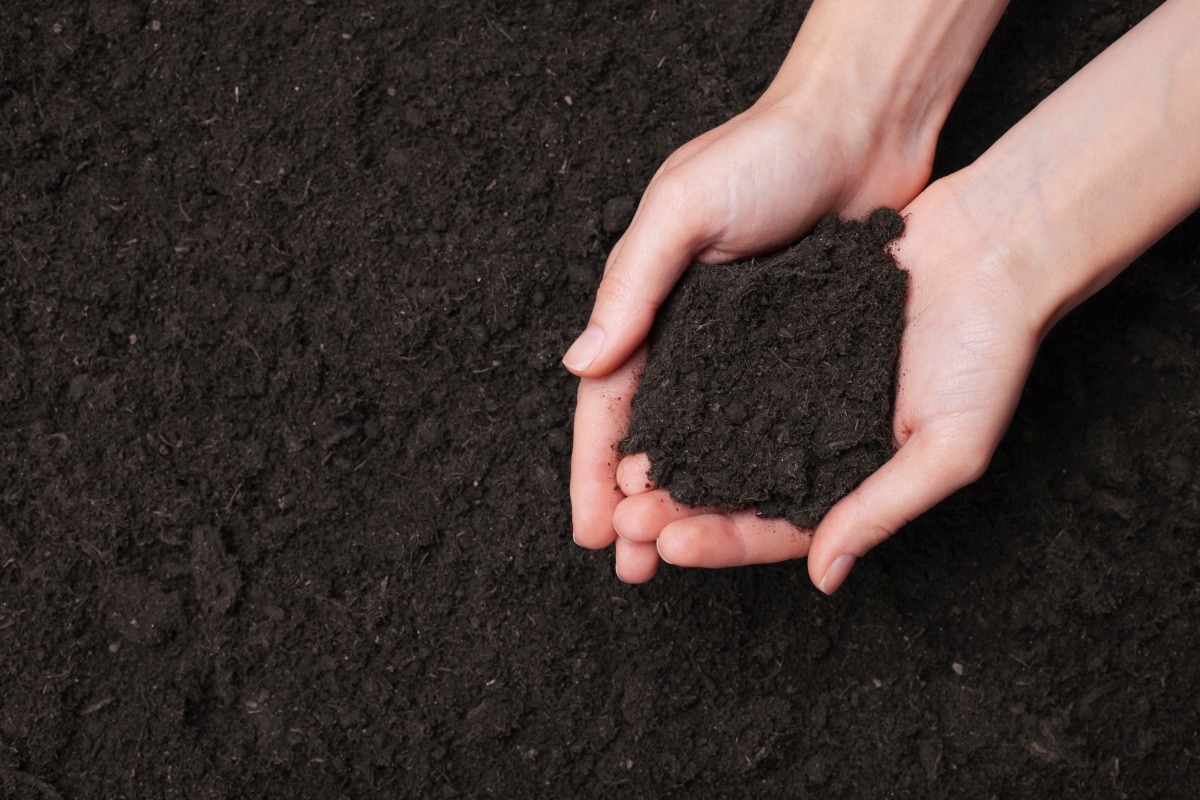
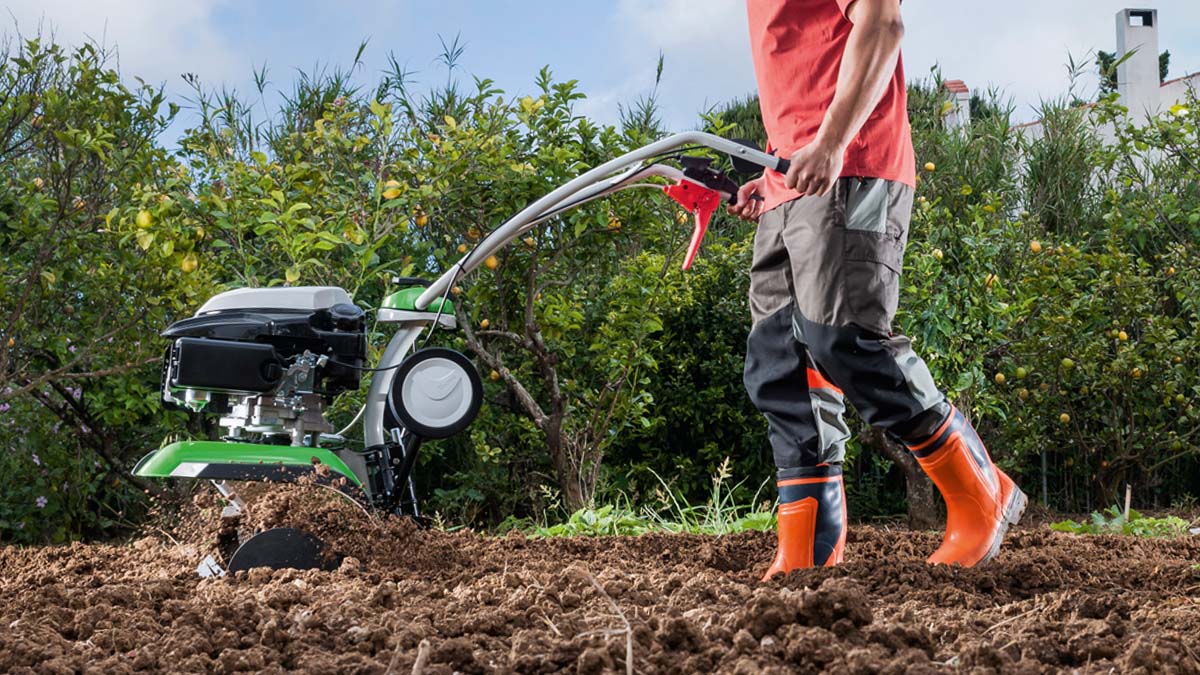
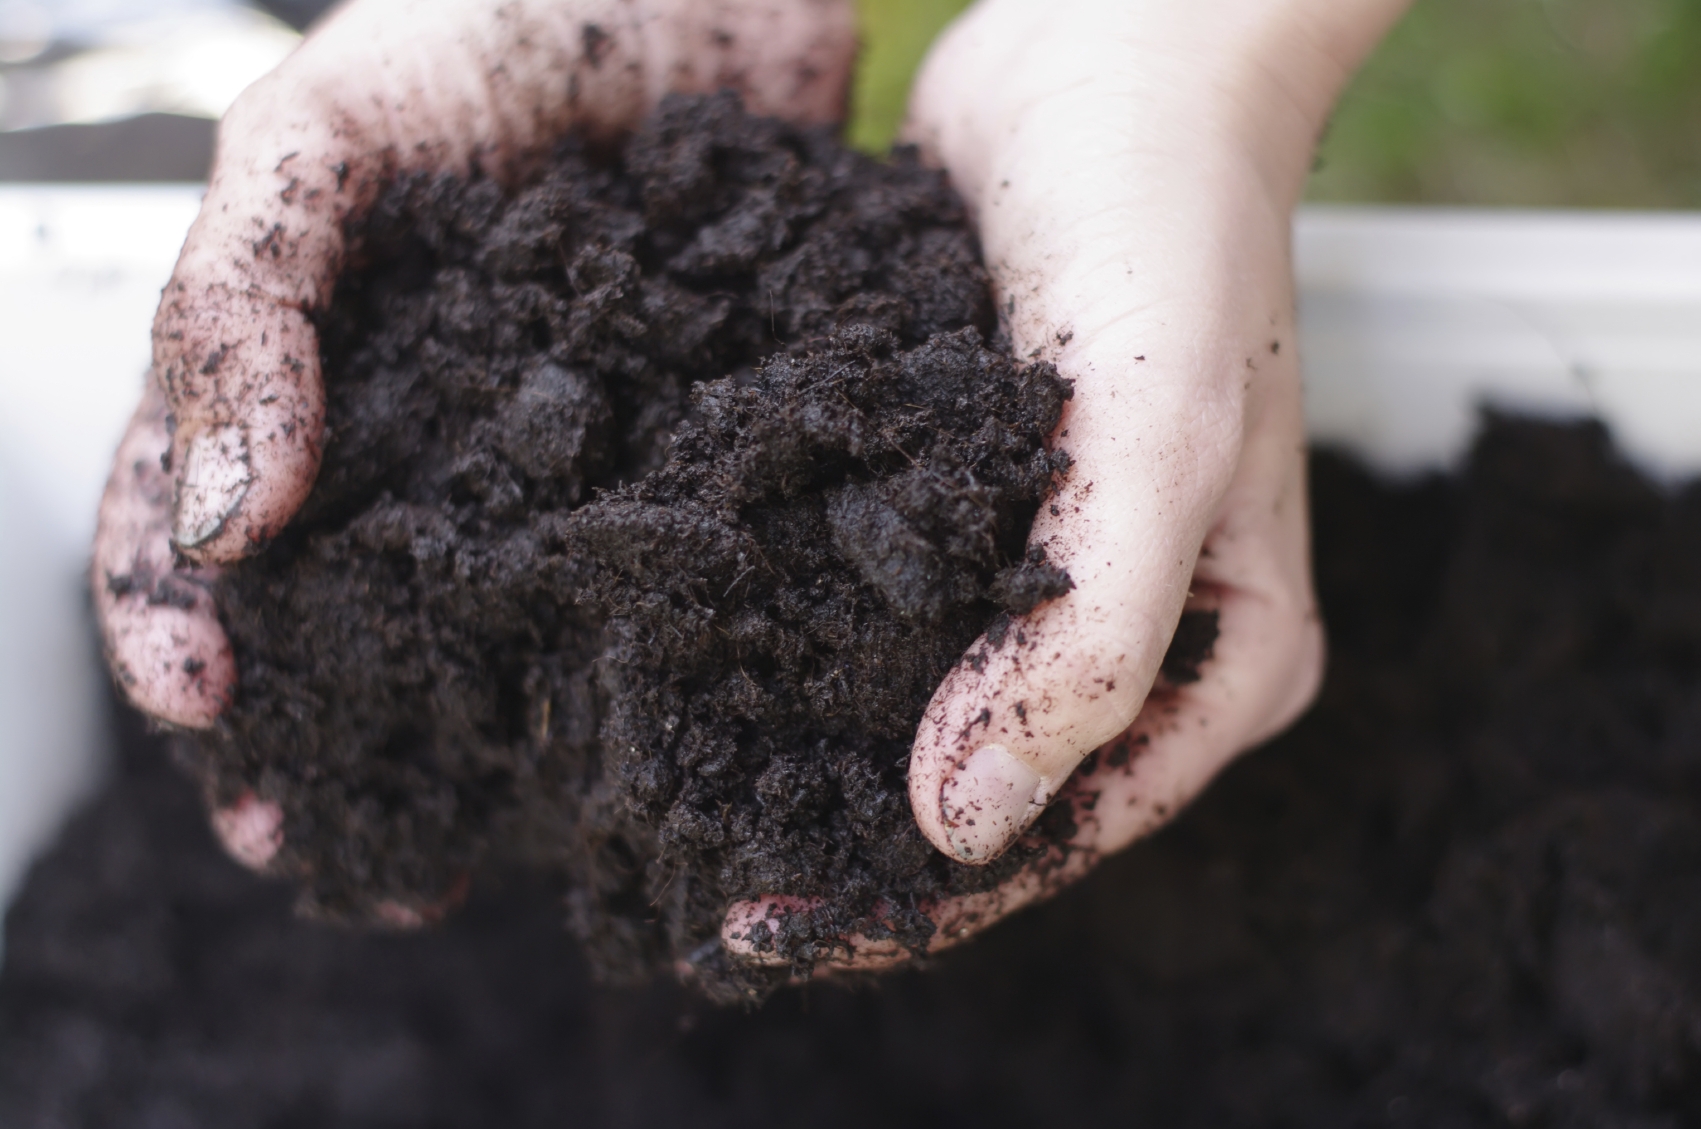
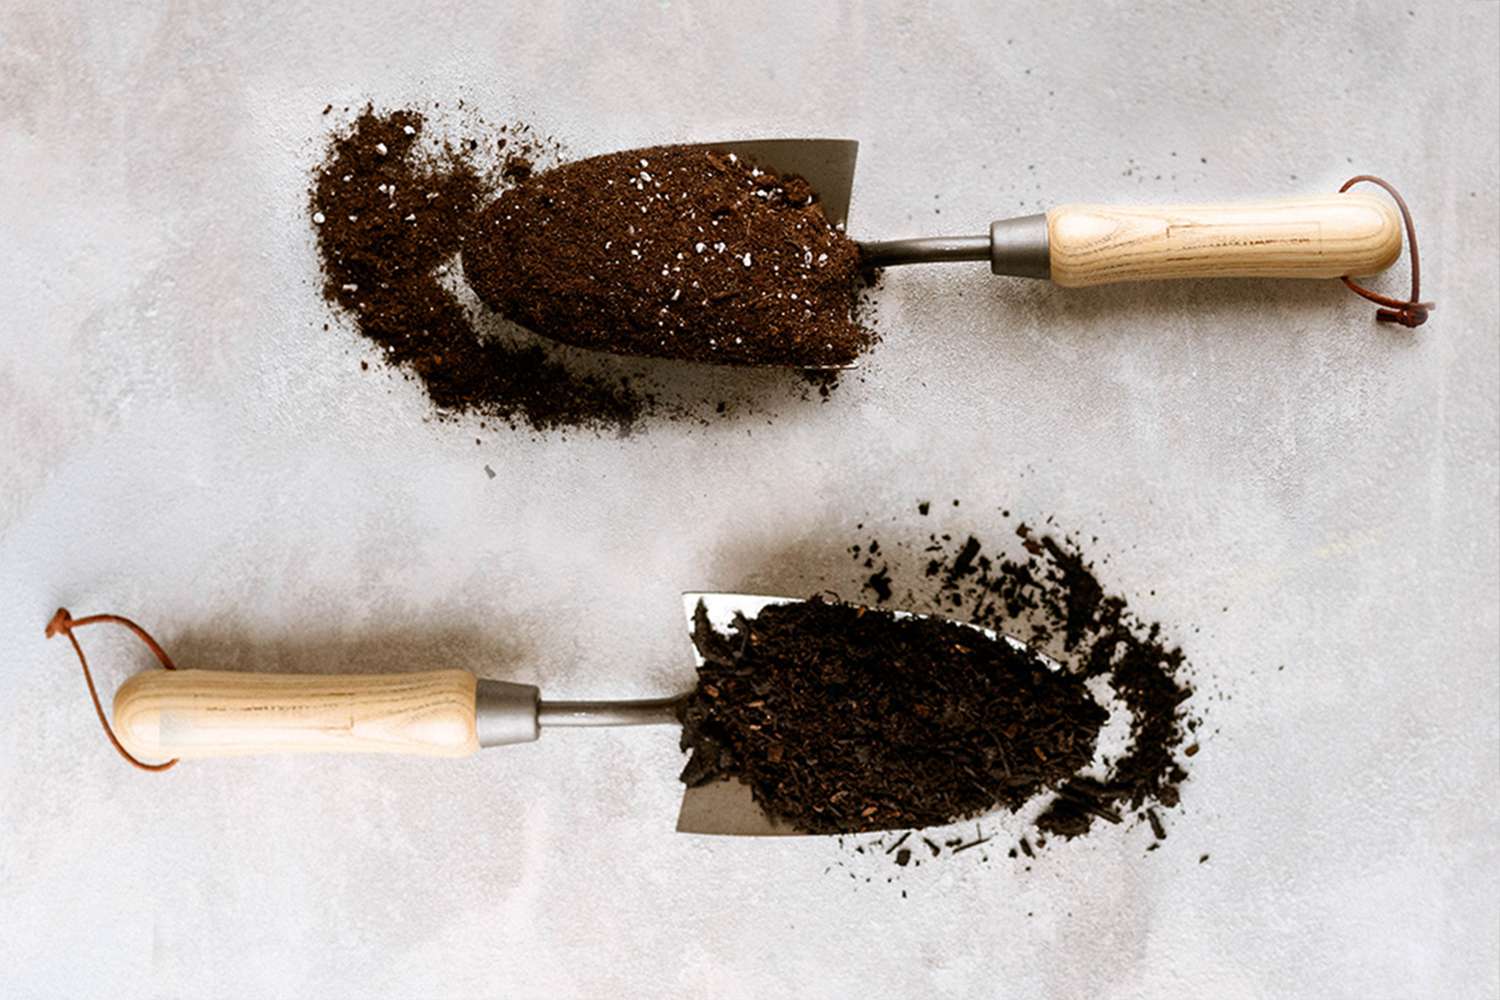
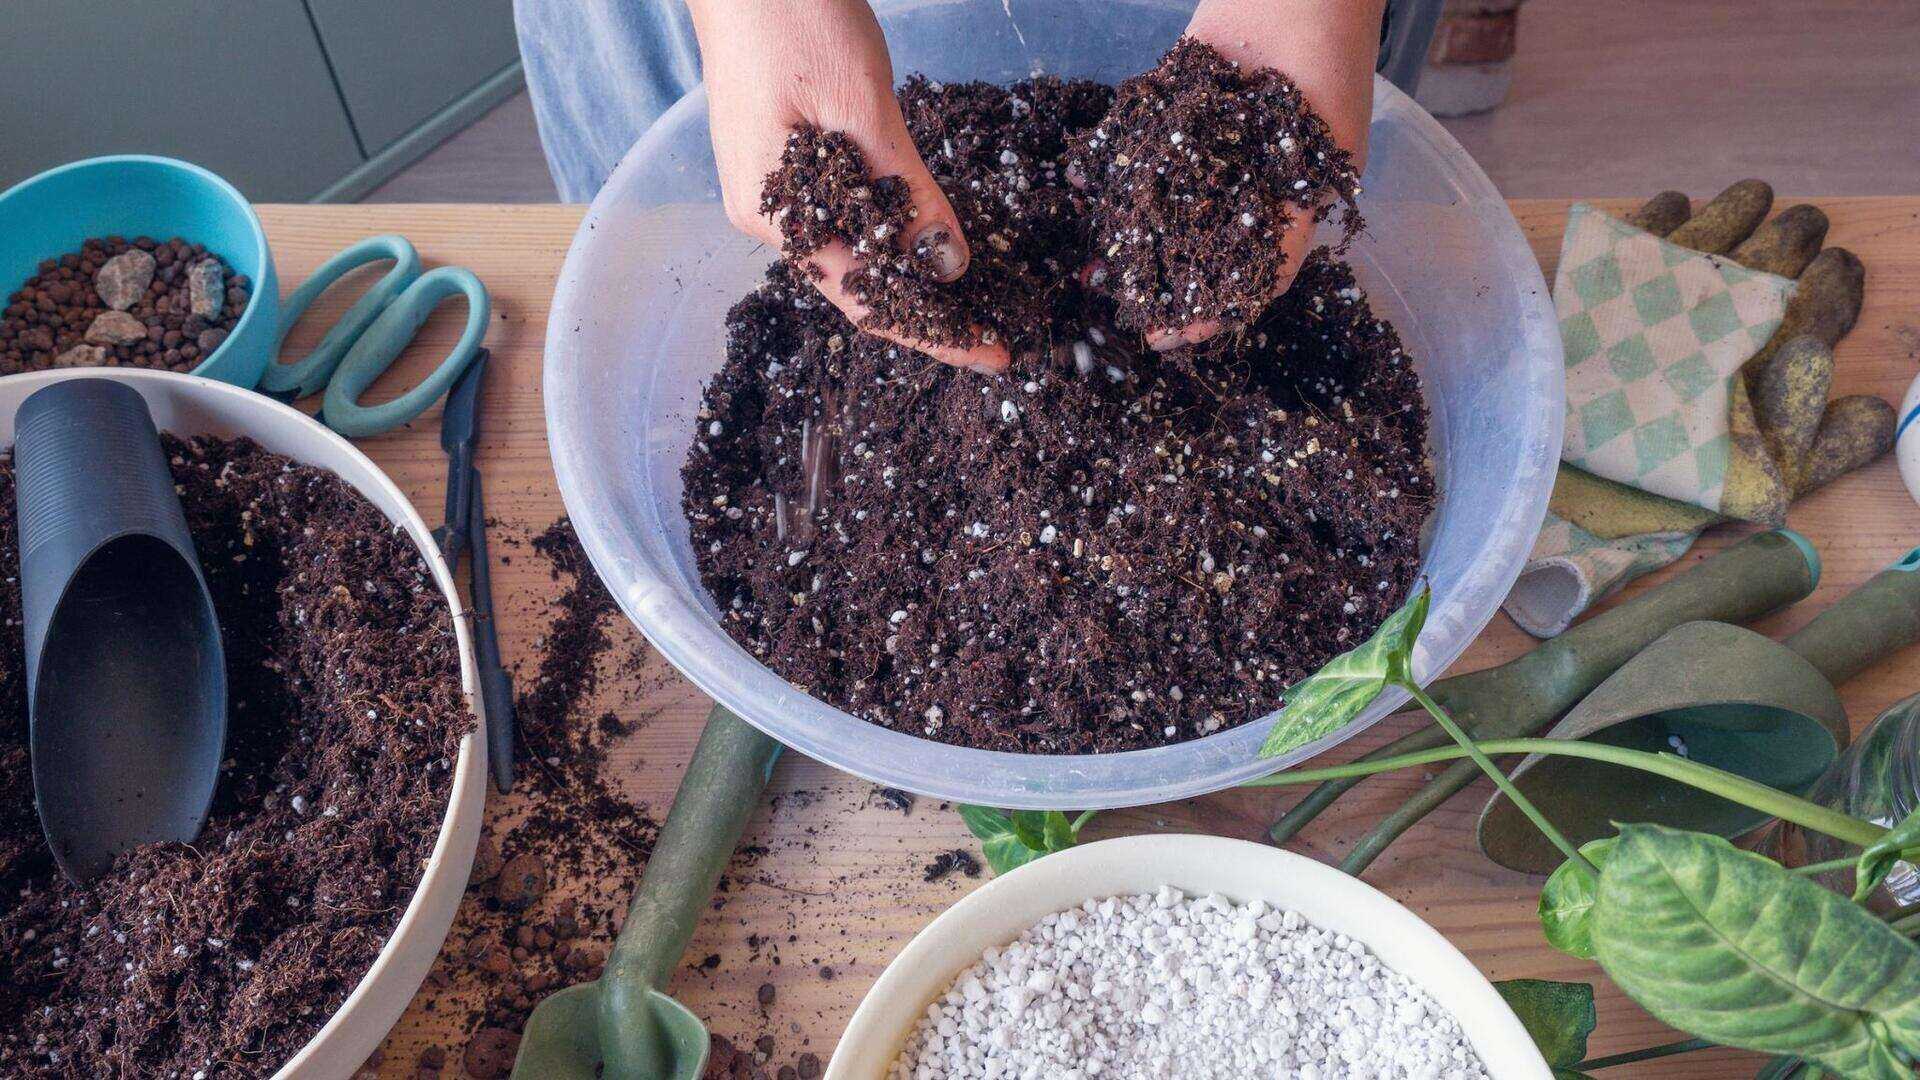
Choosing the Right Soil
When it comes to indoor gardening, selecting the right soil is crucial. The soil you choose should be rich in nutrients, well-draining, and suitable for the types of plants you’ll be growing. Here are a few key factors to consider when choosing the right soil for indoor gardening:
- Nutrient Content: Look for soil that is rich in organic matter and nutrients. You can opt for pre-made potting mixes that are specifically formulated for indoor plants, or you can create your own by combining high-quality compost, peat moss, and perlite.
- Drainage: Good drainage is essential for indoor plants to prevent water-logging and root rot. Choose soil that is well-draining and allows excess water to flow through easily. Avoid soils that are heavy and tend to retain too much moisture.
- pH Level: Different plants thrive in different pH levels. Some plants prefer slightly acidic soil, while others prefer alkaline or neutral soil. Consider the pH requirements of the plants you will be growing and choose soil with a pH level that aligns with their needs.
- Texture: Soil texture plays a crucial role in root development and water retention. Find soil that has a lightweight and crumbly texture, allowing roots to easily penetrate and facilitating proper air circulation.
- Disease and Weed-Free: Ensure that the soil you choose is free from any disease-causing organisms or weed seeds. It’s best to opt for sterilized or pasteurized soil, especially when storing it indoors for an extended period.
It is also important to consider the specific requirements of the plants you will be growing. Some plants, such as succulents, prefer a well-draining soil mix with a higher proportion of sand, while other plants, like tropical houseplants, thrive in soil mixes with higher organic content. Research the needs of your plants and choose soil accordingly.
Once you have chosen the right soil, it’s time to prepare the containers for indoor soil storage.
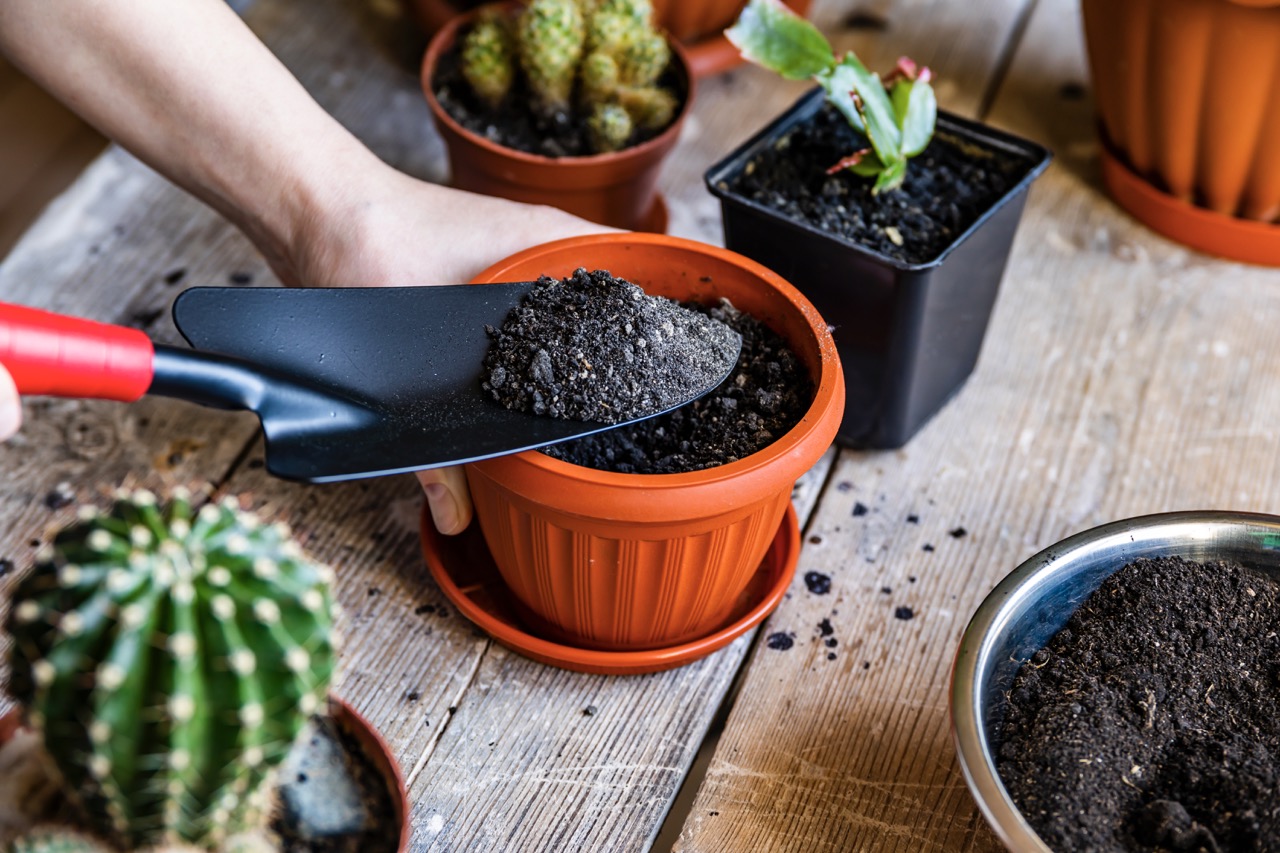
Preparing Containers for Indoor Soil Storage
Before storing soil indoors, it is important to prepare the containers properly to ensure optimal conditions for soil storage. Here are some steps to follow when preparing containers for indoor soil storage:
- Clean the containers: Start by cleaning the containers thoroughly to remove any dirt, debris, or residues from previous use. Use warm soapy water or a mixture of water and vinegar to clean both the inside and outside of the containers. Rinse them well and allow them to dry completely.
- Select the right containers: Choose containers that are suitable for soil storage. Opt for sturdy plastic containers or storage bins with tight-fitting lids. Avoid using containers made of materials that may leach harmful substances into the soil.
- Size and quantity of containers: Consider the amount of soil you need to store and select containers accordingly. It’s best to store soil in smaller containers rather than large ones, as this makes it easier to manage and use when needed.
- Label the containers: To avoid confusion later on, label each container with the type of soil and the date it was stored. This will help you keep track of the soil’s age and its suitability for different types of plants.
- Provide drainage: To prevent moisture buildup, it’s important to provide some form of drainage in the containers. You can achieve this by drilling a few small holes in the bottom of each container or using containers that already have drainage holes. This will allow excess water to drain out, preventing the soil from becoming waterlogged.
- Add a layer of gravel or mesh: Before filling the containers with soil, add a layer of gravel or a piece of mesh at the bottom. This will further enhance drainage and prevent the soil from coming into direct contact with the container’s bottom.
- Store in a cool and dry place: Choose a cool and dry location for storing the containers of soil. Excessive heat and humidity can deteriorate the quality of the soil over time, so it’s important to keep the stored soil in a suitable environment.
By following these steps, you can ensure that your containers are properly prepared for indoor soil storage. With the containers ready, you can now move on to storing the soil properly.
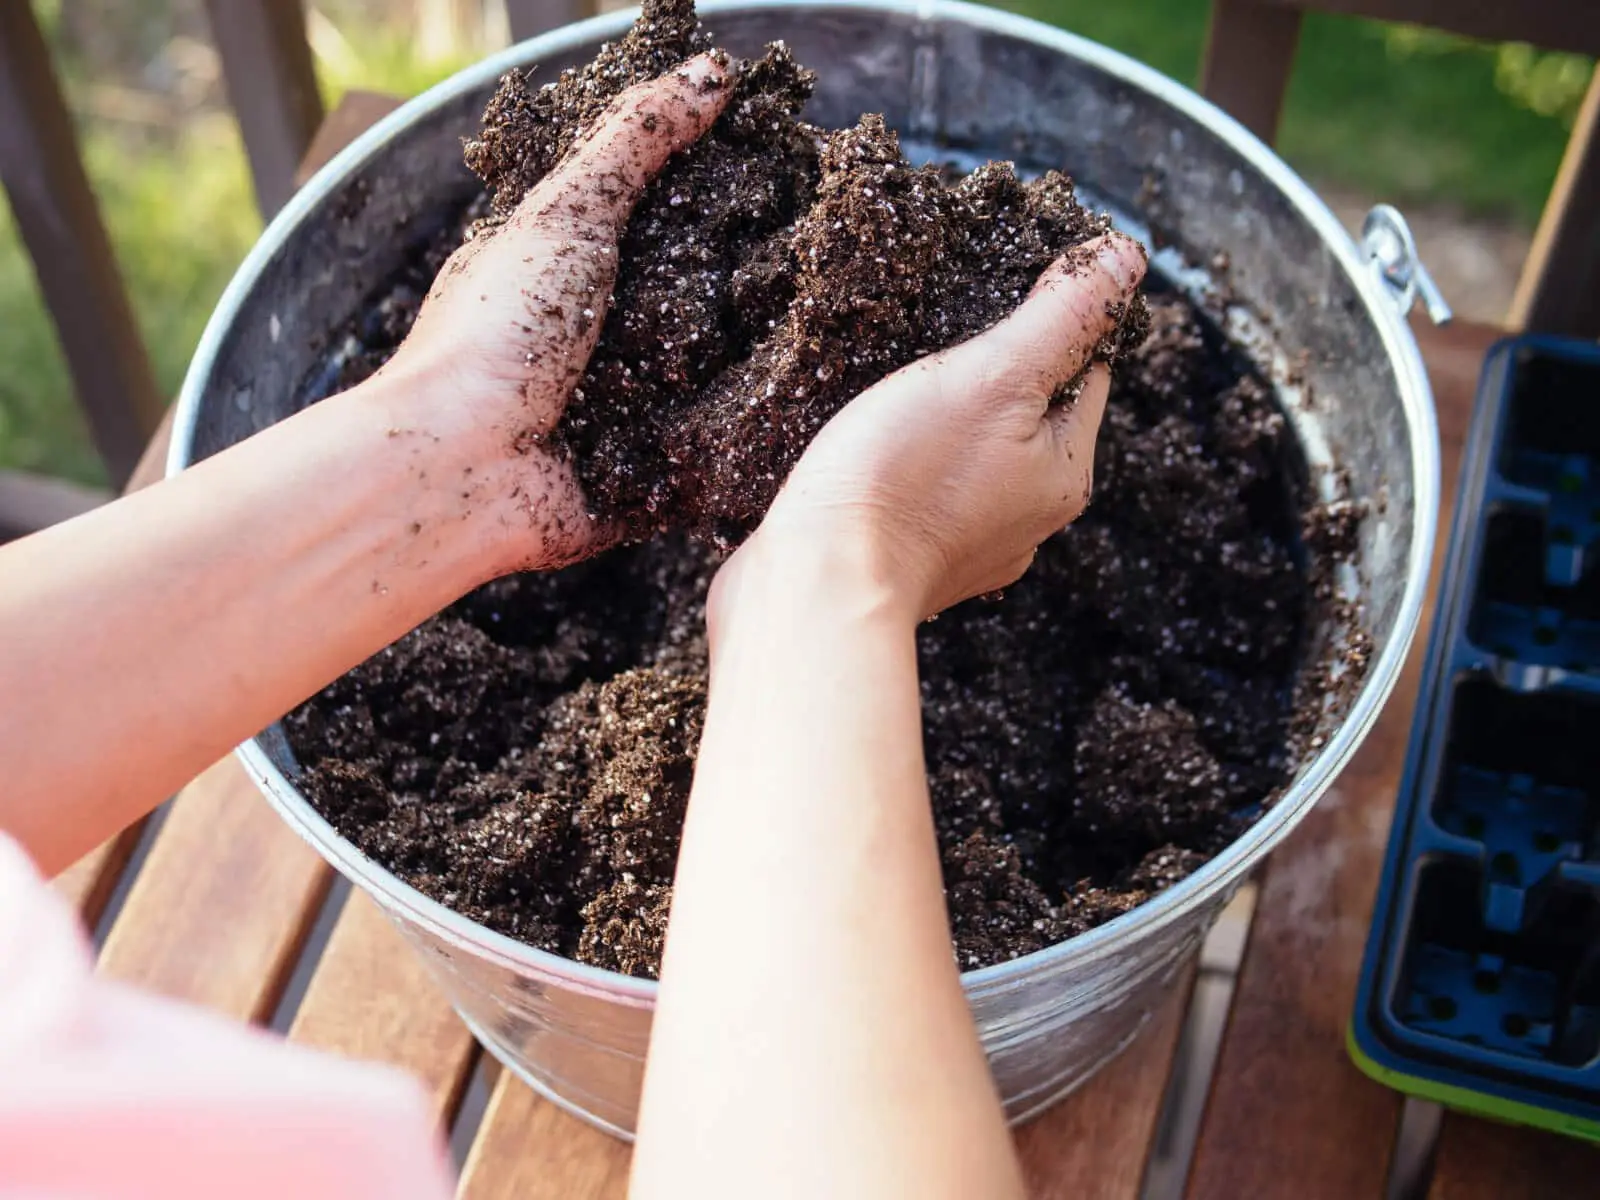
Storing Soil Properly
Storing soil properly is crucial to maintain its quality and ensure it remains suitable for indoor gardening. Here are some guidelines to follow for storing soil properly:
- Fill the containers: Fill each prepared container with the selected soil mix, leaving a small gap at the top to allow for expansion when watering.
- Seal the containers: Securely fasten the lids on the containers to create an airtight seal. This will prevent any moisture or contaminants from entering the containers and affecting the soil.
- Store in a cool and dark place: Find a cool, dark, and dry location for storing the containers. Exposure to direct sunlight can cause the soil to dry out and lose its moisture content, negatively impacting its quality.
- Avoid extreme temperatures: Temperature fluctuations can affect the soil’s composition. Avoid storing the containers in areas that experience extreme temperatures, such as near heaters or in unheated storage spaces.
- Keep away from pests: Ensure that the storage area is pest-free to prevent any infestations or damage to the stored soil. Using sealed containers and regularly inspecting the storage area can help minimize the risk of pests.
- Rotate the containers: Regularly rotate the containers to distribute moisture evenly and prevent any pockets of excessive dryness or dampness. This will help maintain uniform moisture levels throughout the stored soil.
- Monitor moisture levels: Check the moisture levels in the stored soil periodically. If the soil feels too dry, lightly mist it with water to maintain proper moisture content. Be cautious not to overwater, as this can lead to mold growth and other issues.
By following these storage guidelines, you can maximize the shelf life of your stored soil and ensure it remains of high quality. Regular monitoring and proper maintenance will help preserve the soil’s nutrients, texture, and overall integrity, making it ready for use whenever you need it.
Now that you know how to store soil properly, let’s discuss how to maintain its quality over time.
Store soil indoors in a cool, dry place to prevent mold and pests. Use airtight containers to keep it fresh and free from contaminants.
Maintaining Soil Quality
Maintaining the quality of stored soil is essential to ensure its viability for indoor gardening. By taking proper care of the soil, you can preserve its nutrient content, texture, and overall health. Here are some tips for maintaining the quality of your stored soil:
- Monitor moisture levels: Regularly check the moisture levels in the stored soil to ensure it remains adequately hydrated. Keep it slightly moist but not overly wet to prevent issues such as mold growth or rot. Adjust the moisture levels as needed by lightly misting the soil or adding water incrementally.
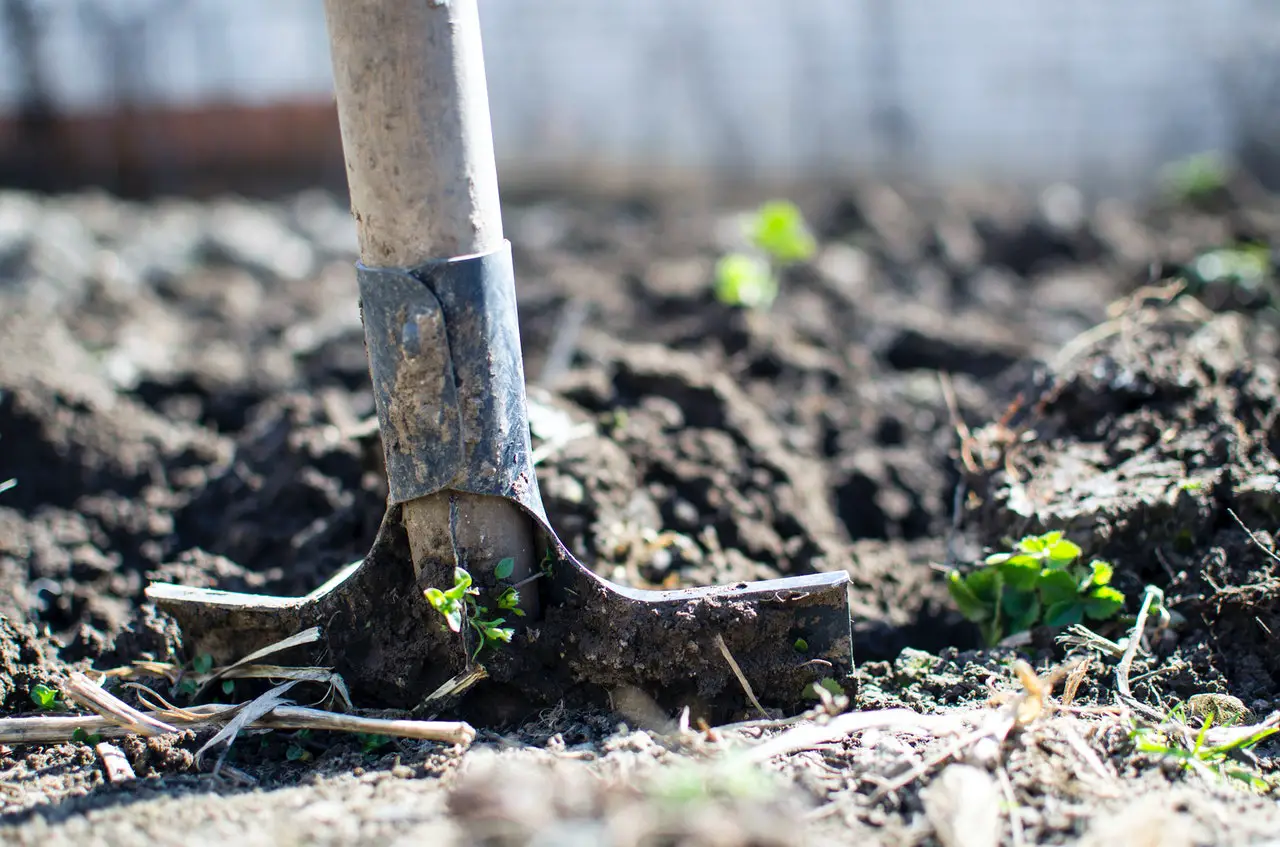
- Aerate the soil: Over time, stored soil may become compacted, limiting air circulation and causing drainage problems. To combat this, gently loosen the soil with a fork or hand tool to improve aeration. This will prevent the soil from becoming too dense and improve root growth when it’s time to use the stored soil.
- Check for pests and diseases: Regularly inspect the stored soil for any signs of pests or diseases. Look out for pests such as fungus gnats, mealybugs, or aphids, as well as signs of fungal or bacterial infections. If detected, take necessary measures to address the issue and prevent it from spreading to your plants.
- Rotate containers: Rotate the containers periodically to ensure even exposure to light and equal distribution of moisture. This will help maintain consistent conditions throughout the soil, preventing any pockets of excessive dryness or moisture.
- Prevent cross-contamination: Avoid mixing old and fresh soil together, as this can introduce pests, diseases, or nutrient imbalances. Instead, use the older soil first and then replenish it with fresh soil when necessary. This will help maintain the overall health of both stored and new soil.
- Store in a suitable environment: Ensure that the storage area remains cool, dry, and protected from extreme temperatures or fluctuations. Extreme heat or cold can impact the soil’s structure and nutrient content. Also, protect the stored soil from direct sunlight, as prolonged exposure can cause it to dry out and degrade.
- Monitor expiration dates: Keep track of the expiration dates of stored soil or the recommended shelf life provided by the manufacturer. While stored soil can remain usable for a while, it is best to use it within a certain period to ensure optimal plant growth and health.
By following these maintenance tips, you can extend the life and quality of your stored soil. Proper care and attention will ensure that when it’s time to use the soil for indoor gardening, you’ll have healthy and thriving plants.
Now that you have learned how to maintain the soil’s quality, let’s explore how to effectively use stored soil for indoor gardening.
Read more: How To Store Garden Soil
Using Stored Soil for Indoor Gardening
Stored soil can be a valuable resource for indoor gardening projects. When using stored soil, it’s important to ensure its quality and suitability for the specific plants you plan to grow. Here are some tips for effectively using stored soil for indoor gardening:
- Inspect the soil: Before using the stored soil, inspect it for any signs of pests, diseases, or unusual odors. If you notice any issues, it’s best to discard the soil to prevent potential problems from affecting your indoor plants.
- Amend and rejuvenate the soil: Over time, stored soil may lose some of its nutrient content. To rejuvenate the soil, mix in some fresh compost or organic fertilizers to replenish the nutrient levels. This will ensure that your plants have access to the necessary nutrients for healthy growth.
- Combine with fresh soil: Consider mixing the stored soil with fresh soil to create a blend that offers optimal growing conditions. The fresh soil will introduce beneficial microorganisms and help improve the overall texture and structure of the mixture. Aim for a ratio of approximately 50% stored soil to 50% fresh soil.
- Perform a soil test: If you are unsure about the fertility or pH level of the stored soil, consider conducting a soil test. This will provide insights into its nutrient composition and pH, helping you make any necessary adjustments to create an ideal growing environment for your plants.
- Use for container gardening: Stored soil is particularly well-suited for container gardening, as it provides a controlled environment for plants to thrive. Fill your pots or containers with the stored soil mixture, ensuring proper drainage, and transplant your indoor plants into the containers.
- Monitor plant health: Keep a close eye on your plants’ health when using stored soil. Watch for any signs of nutrient deficiencies or water issues, and adjust your watering and fertilizing routine as needed. Regularly inspect for pests or diseases and take immediate action to prevent any potential damage.
- Reuse and replenish: As you use the stored soil, you can continue to replenish and reuse it by incorporating fresh organic matter, such as compost or aged manure. This will help maintain its fertility and ensure its long-term usability for indoor gardening projects.
By following these tips, you can effectively utilize your stored soil for indoor gardening and create a nurturing environment for your plants. Remember to adapt your care routine based on the specific needs of your plants and provide them with the appropriate lighting, watering, and maintenance for optimal growth.
Now that you are equipped with the knowledge to use stored soil effectively, let’s wrap up this article.
Conclusion
Storing soil indoors allows you to have access to high-quality soil year-round, even when outdoor gardening is limited. By choosing the right soil, preparing the containers correctly, and storing it properly, you can ensure the soil remains fertile and ready for use whenever you need it.
Remember to select soil that is rich in nutrients, well-draining, and suitable for the types of plants you will be growing. Clean and label your containers, provide proper drainage, and store the soil in a cool and dry place. Pay attention to maintaining the moisture levels, aerating the soil, and checking for pests or diseases.
When it’s time to use the stored soil for indoor gardening, inspect it for quality, amend and mix it with fresh soil if necessary, and consider performing a soil test. Use the soil for container gardening, monitoring the health of your plants and making adjustments as needed. Reuse and replenish the stored soil to maintain its fertility and usability in the long run.
Storing soil indoors requires proper care and maintenance, but the benefits are well worth it. You’ll have a readily available supply of high-quality soil that can support the growth of healthy and thriving indoor plants.
So, get started with indoor soil storage and enjoy the rewards of successful indoor gardening all year round!
Frequently Asked Questions about How To Store Soil Indoors
Was this page helpful?
At Storables.com, we guarantee accurate and reliable information. Our content, validated by Expert Board Contributors, is crafted following stringent Editorial Policies. We're committed to providing you with well-researched, expert-backed insights for all your informational needs.

0 thoughts on “How To Store Soil Indoors”