
Articles
How To Store Potting Soil
Modified: January 9, 2024
Learn the proper way to store potting soil with our helpful articles. Follow these tips to keep your soil fresh and ready for your next gardening project.
(Many of the links in this article redirect to a specific reviewed product. Your purchase of these products through affiliate links helps to generate commission for Storables.com, at no extra cost. Learn more)
Introduction
When it comes to gardening and plant cultivation, having high-quality potting soil is essential. A good potting soil provides the necessary nutrients, moisture retention, and aeration for plants to thrive in containers. But what happens when you have some leftover potting soil? How do you store it properly to maintain its quality and longevity?
In this article, we will guide you on how to store potting soil effectively, ensuring that it remains in optimal condition and ready for future use. Whether you are an avid gardener or a beginner, these tips will help you maximize the lifespan of your potting soil and save you money in the long run.
Key Takeaways:
- Properly storing potting soil is crucial for maintaining its quality and effectiveness. Choose the right container, maintain proper temperature and humidity, and avoid contamination to ensure fresh, nutrient-rich soil for your plants.
- Regularly monitor and discard expired potting soil to maintain optimal plant growth. Inspect for signs of deterioration, pests, and expiration, and responsibly dispose of expired soil to support healthy gardening endeavors.
Read more: How To Store Potting Soil In An Apartment
Choosing the Right Container
When it comes to storing potting soil, the first step is to choose the right container. It is essential to select a container that is clean, durable, and airtight to prevent moisture and pests from getting inside.
The ideal containers for storing potting soil include plastic storage bins, buckets with tight-fitting lids, or sealable bags. These options offer protection against moisture, humidity, and pests, ensuring that your potting soil remains in excellent condition.
Please note that if you choose to use plastic containers, make sure they are clean and free from any residue or contaminants. You can wash them with mild soap and water before storing the potting soil inside.
Another factor to consider is the size of the container. It is best to store potting soil in smaller, manageable portions to minimize air exposure. Using smaller containers also makes it easier to access and use the soil when needed, without having to expose the entire batch.
Additionally, labeling your containers can be helpful for future reference. You can use masking tape or adhesive labels to write down the date of storage and the type of potting soil contained within. This way, you can keep track of the freshness and specific characteristics of each batch.
Selecting the Appropriate Type of Potting Soil
When storing potting soil, it is important to consider the type of soil you are working with. Different plants have varying soil requirements, so it’s crucial to select the appropriate type of potting soil for your specific gardening needs.
There are several types of potting soil available on the market, each designed to cater to different plant species and growing conditions. Some common types include all-purpose potting soil, cactus mix, seed starting mix, and orchid mix.
If you are unsure about which type of potting soil to choose, consult the packaging or do some research to determine the best option for your plants. Select a potting soil that is suitable for your specific plants or opt for an all-purpose mix that works well with most plant varieties.
It is worth noting that some potting soils are specially formulated for indoor plants, while others are better suited for outdoor gardening. Consider the environment in which your plants will be growing to ensure that you select the right potting soil.
Remember that the quality of potting soil can deteriorate over time, so if you are using stored soil for sensitive or high-maintenance plants, it may be best to start fresh with a new batch of soil when needed.
By selecting the appropriate type of potting soil for storage, you can ensure that your plants receive the right nutrients and growing conditions when it’s time to use the soil again. This will contribute to the overall health and vitality of your plants.
Storing Potting Soil in Sealed Bags
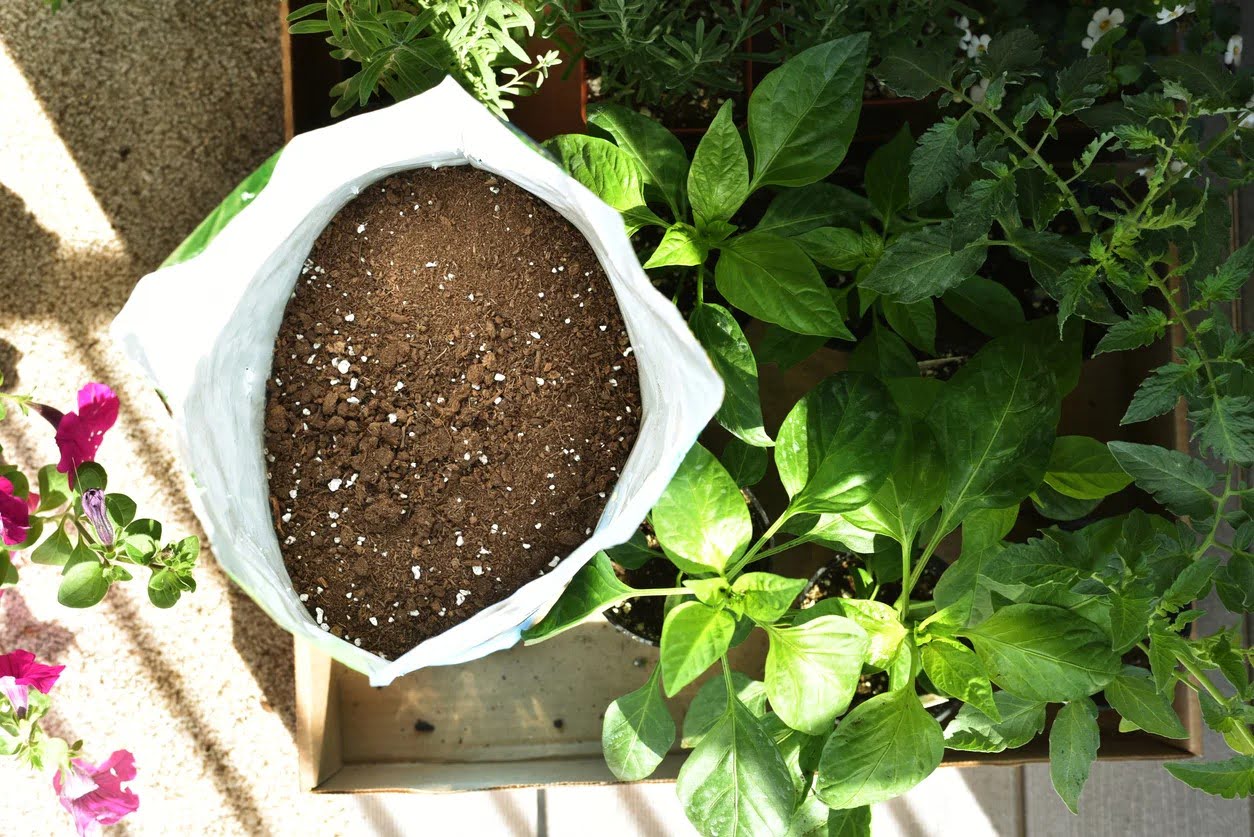
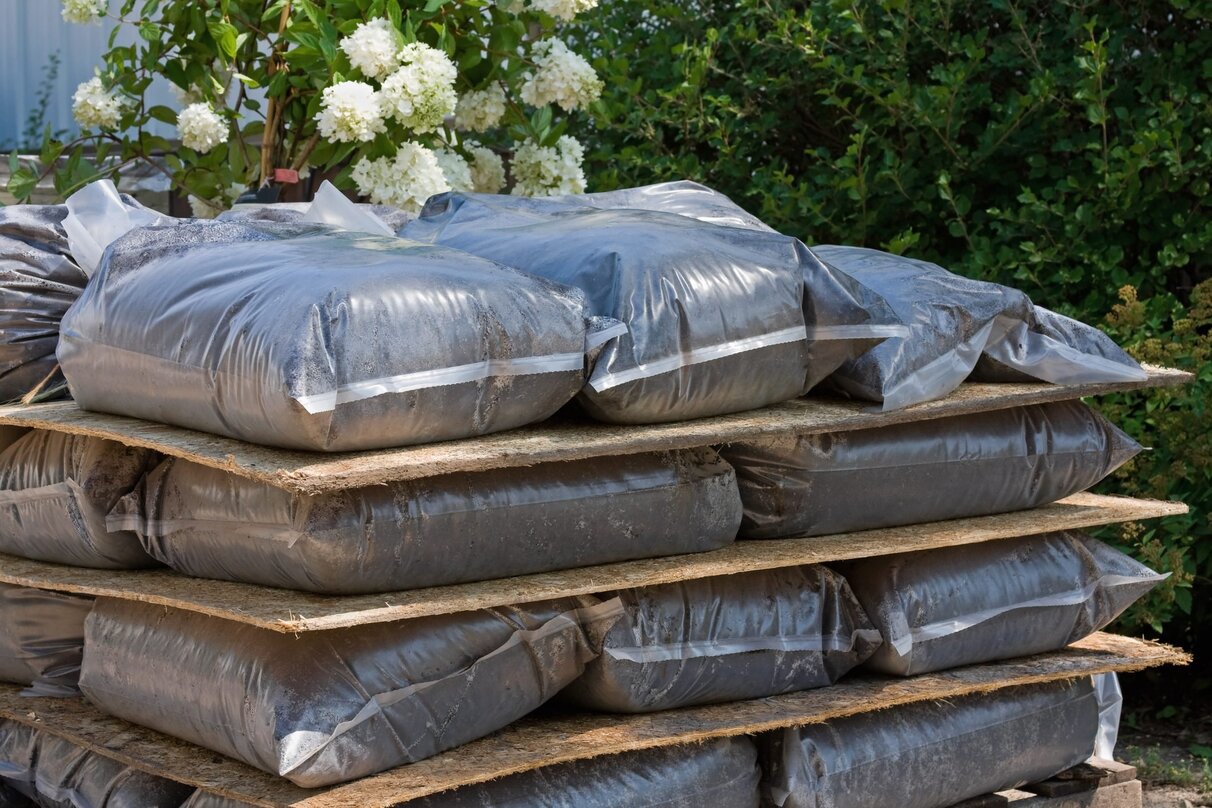
One effective method for storing potting soil is to use sealed bags. Sealed bags provide an airtight environment that helps preserve the quality of the soil and prevent moisture and pests from entering.
When choosing bags for storing potting soil, opt for thick plastic bags that are durable and puncture-resistant. Heavy-duty resealable bags or vacuum-sealed bags are excellent options. Make sure the bags you use are clean and free from any contaminants.
Here’s how to store potting soil in sealed bags:
- Scoop the potting soil into the bag, leaving some space at the top to allow for easy sealing.
- Press out any excess air from the bag before sealing it tightly. You can use a vacuum sealer if available to remove all the air, ensuring maximum freshness.
- If the bag does not have a built-in closure, use a twist tie or a sturdy rubber band to secure the opening tightly.
- Label the bag with the date of storage and the type of potting soil for future reference.
- Store the sealed bags in a cool, dry, and dark area, away from direct sunlight and extreme temperatures. This will help maintain the quality of the soil and prevent degradation.
When it’s time to use the stored potting soil, simply open the sealed bag and transfer the desired amount into your planting container. Reseal any remaining soil to maintain its freshness for future use.
Storing potting soil in sealed bags is convenient, as it allows for easy access and minimum exposure to air and moisture. This method also helps keep the soil contaminants-free and reduces the risk of pest infestation.
Storing Potting Soil in Plastic Containers
If you prefer a more reusable and sustainable option for storing potting soil, plastic containers can be a great choice. Plastic containers provide a sturdy and secure storage solution, protecting the soil from moisture, pests, and contaminants.
Here’s how to store potting soil in plastic containers:
- Choose clean plastic containers with tight-fitting lids. Make sure the containers are large enough to accommodate the amount of potting soil you wish to store.
- Thoroughly clean the containers with mild soap and water, ensuring there is no residue or dirt left behind.
- Fill the containers with the potting soil, leaving a small gap at the top to allow for easy closure.
- Press down gently on the soil to remove any excess air and ensure it is packed evenly in the container.
- Secure the lids tightly to create an airtight seal, preventing moisture and pests from entering.
- Label the containers with the date of storage and the type of potting soil for future reference.
- Store the containers in a cool, dry, and dark area, away from direct sunlight and extreme temperatures.
When you need to use the stored potting soil, simply open the container and scoop out the required amount. Reseal the container tightly to maintain the freshness of the remaining soil.
With plastic containers, you have the flexibility to store larger quantities of potting soil, making it convenient for avid gardeners or if you have multiple planting projects in the future.
Remember to regularly inspect the containers for any signs of moisture, mold, or pest infestation. If you notice any issues, remove the affected soil and properly clean the container before storing new soil.
Storing potting soil in plastic containers is a practical and reusable method that ensures the longevity and quality of the soil. It allows for easy access and protects the soil from external elements, providing you with a reliable source of potting soil for your gardening needs.
Store potting soil in a cool, dry place to prevent mold and pests. Keep the bag sealed to maintain its moisture content. Avoid exposing it to extreme temperatures.
Read more: How To Store Used Potting Soil
Maintaining Proper Temperature and Humidity
Proper temperature and humidity control are crucial for storing potting soil effectively. Extreme temperatures and excessive moisture can degrade the quality of the soil or promote the growth of mold and pests.
Here are some tips to help you maintain the ideal temperature and humidity for storing potting soil:
- Store potting soil in a cool and dry area. Avoid areas that are prone to temperature fluctuations, such as attics or basements, as they can be too hot or humid.
- Aim for a storage temperature between 40°F (4°C) and 70°F (21°C). This temperature range helps to preserve the nutrients and microbial activity in the soil.
- Avoid exposing the stored potting soil to direct sunlight or sources of heat, as this can accelerate the breakdown of organic matter and compromise the quality of the soil.
- Avoid storing potting soil in areas with high humidity, as excess moisture can lead to mold growth and attract pests. Use a dehumidifier in damp areas, if necessary.
- If storing potting soil outdoors, make sure it is covered and protected from rain and moisture. Consider using a waterproof tarp or storing it in a shed or garage.
By maintaining proper temperature and humidity, you can ensure that your stored potting soil remains in optimal condition, ready for use when needed. This helps to preserve the nutrient content and microbial activity, ultimately benefiting the health and growth of your plants.
Avoiding Contamination and Pest Infestation
When storing potting soil, it is crucial to prevent contamination and pest infestation. Contaminants and pests can compromise the quality of the soil and negatively impact your plants. Here are some tips to avoid contamination and pest infestation:
- Ensure that the containers or bags used for storage are clean and free from any residue or contaminants before filling them with potting soil.
- Store potting soil above ground level to minimize the risk of water damage and pest access. Elevated shelving or pallets can help to keep the soil off the ground.
- Regularly inspect the storage area for any signs of pests, such as rodents or insects. If detected, take immediate action to remove them and clean the area thoroughly.
- Consider using pest deterrents or natural repellents, such as herbal sachets or essential oils, to deter pests from entering the storage area.
- Keep the storage area clean and free from organic debris, as this can attract pests. Sweep or vacuum regularly to remove any potential food sources for pests.
- Inspect the stored potting soil for any signs of mold, fungus, or unusual odors. If you notice any issues, discard the affected soil and thoroughly clean the storage containers before refilling them.
- Do not mix new and old potting soil together. Use up the stored soil first before opening a new bag or container to avoid cross-contamination.
- Consider using pest-resistant containers or adding pest control measures, such as diatomaceous earth or beneficial nematodes, to the stored soil as an extra precaution.
By following these steps, you can minimize the risk of contamination and pest infestation, ensuring that your stored potting soil remains clean, healthy, and ready for use in your gardening endeavors.
Monitoring and Discarding Expired Soil
Monitoring the quality and expiration of stored potting soil is essential to ensure optimal performance and plant growth. Over time, potting soil can become depleted of nutrients or develop issues that may affect its effectiveness. Here are some tips for monitoring and discarding expired soil:
- Regularly check the stored potting soil for any signs of deterioration, such as a foul smell, mold growth, or excessive clumping. If you notice any of these indicators, it may be time to discard the soil.
- Inspect the soil for the presence of pests, such as insects or larvae. Pests can damage the soil and potentially harm your plants, so it is important to discard any soil that shows signs of infestation.
- Observe the performance of plants grown in the stored potting soil. If you notice a decline in plant health or lackluster growth, it could be a sign that the soil has lost its beneficial properties and should be replaced.
- Check the expiration date on the packaging of the potting soil. While potting soil typically does not have a specific expiration date, manufacturers often indicate a shelf life. If the soil has exceeded its recommended storage time, it is advisable to discard it.
- Consider conducting a soil test to assess the nutrient content and pH level of the stored soil. If the results show significant deficiencies or imbalances, it may be time to replace the soil with a fresh batch.
- When discarding expired potting soil, do not reuse it for planting or composting as it may contain pathogens, pests, or unbalanced nutrients that can hinder plant growth or introduce diseases.
- Dispose of the expired potting soil responsibly. You can add it to your outdoor garden bed as a soil amendment or contact your local waste management facility for guidance on proper disposal methods.
By consistently monitoring the quality of your stored potting soil and discarding expired batches, you can ensure that your plants receive the best growing medium for healthy development and optimal yields.
Conclusion
Properly storing potting soil is essential for maintaining its quality and effectiveness for future gardening endeavors. By following the tips outlined in this article, you can ensure that your potting soil remains fresh, free from contamination, and ready to support the growth of your plants.
Choosing the right container, whether it’s sealed bags or plastic containers, is the first step in proper storage. Ensure the containers are clean, airtight, and labeled for easy identification.
Selecting the appropriate type of potting soil for storage is crucial to meet the specific needs of your plants. Different plants require different soil compositions, so it’s important to choose a potting soil that matches their requirements.
Whether you store potting soil in sealed bags or plastic containers, maintaining proper temperature and humidity is vital. Keeping the stored soil in a cool, dry area away from direct sunlight and extreme temperatures helps preserve its quality.
Avoiding contamination and pest infestation is equally important. Clean containers, elevated storage, and regular inspections can help prevent contaminants and pests from compromising the stored soil.
Monitoring the quality of the stored soil and discarding expired soil is crucial. Regular inspections, plant performance assessment, and checking expiration dates or conducting soil tests can help determine when it’s time to replace the soil.
In conclusion, by following these guidelines, you can store potting soil effectively and ensure its longevity for your future gardening projects. Proper storage practices contribute to the overall success of your plants, helping them thrive and flourish in nutrient-rich and well-aerated soil.
Frequently Asked Questions about How To Store Potting Soil
Was this page helpful?
At Storables.com, we guarantee accurate and reliable information. Our content, validated by Expert Board Contributors, is crafted following stringent Editorial Policies. We're committed to providing you with well-researched, expert-backed insights for all your informational needs.

0 thoughts on “How To Store Potting Soil”