Articles
How To Store Garden Soil
Modified: August 17, 2024
Learn the art of storing garden soil with expert tips and guidelines. Explore our informative articles to ensure the longevity and quality of your soil.
(Many of the links in this article redirect to a specific reviewed product. Your purchase of these products through affiliate links helps to generate commission for Storables.com, at no extra cost. Learn more)
Introduction
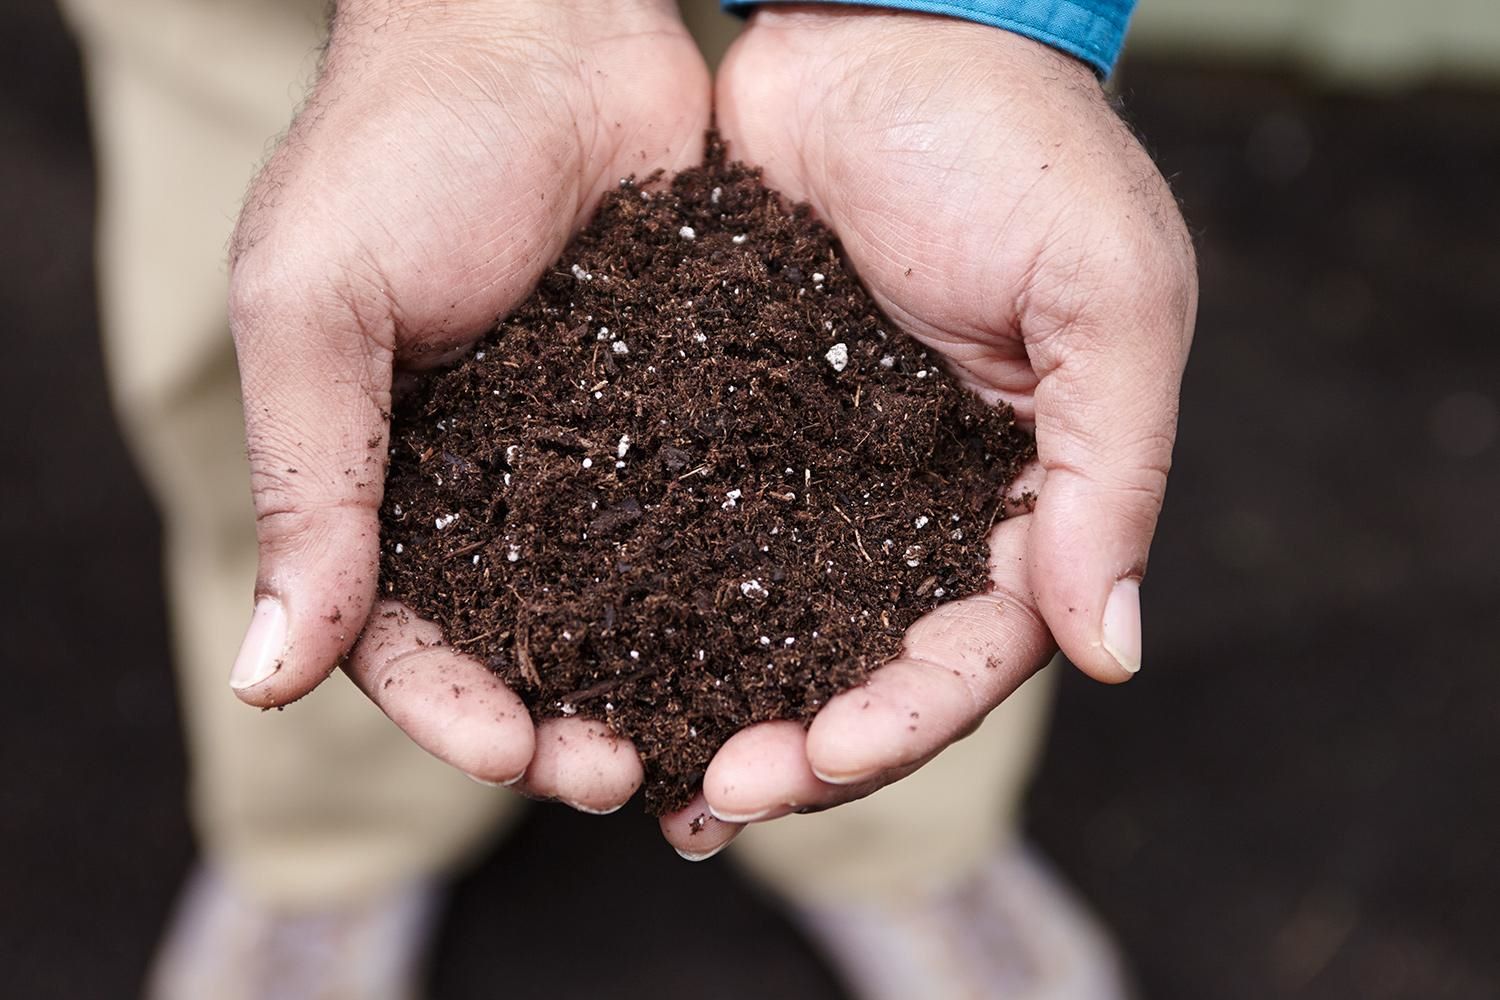
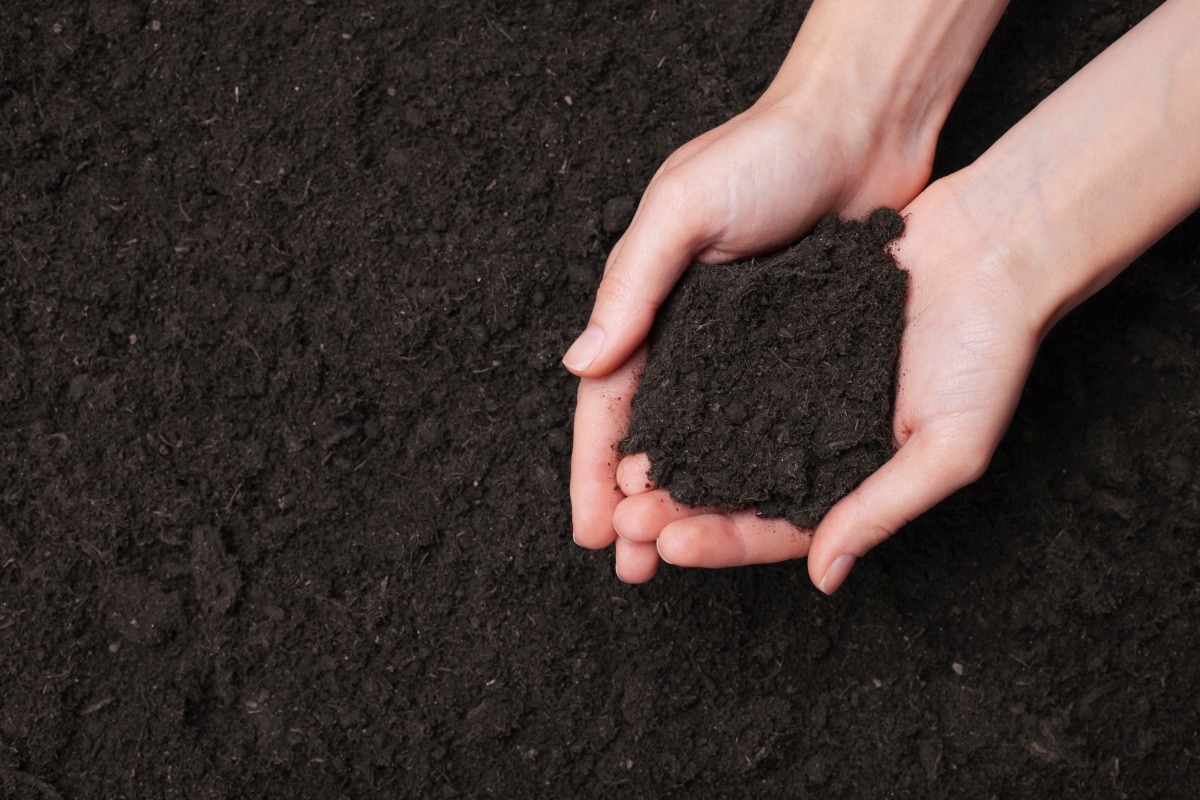
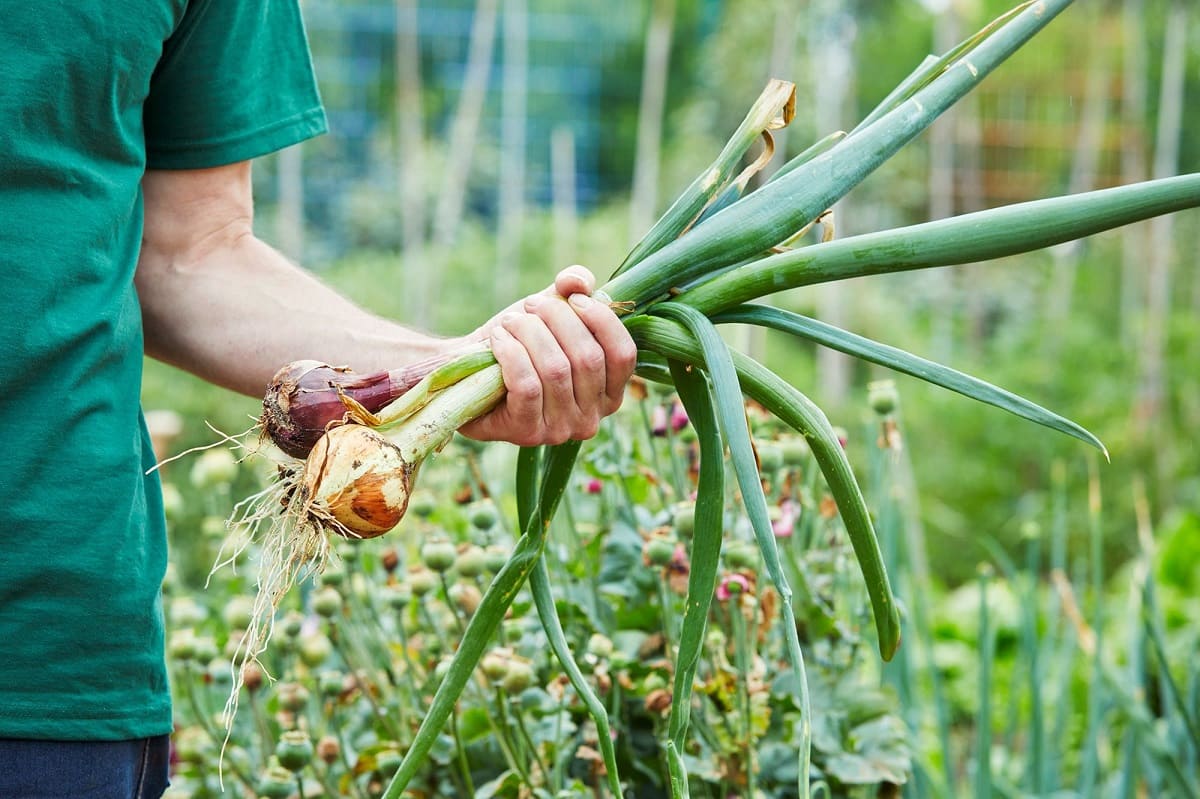
Welcome to the world of gardening! As a passionate gardener, you know that quality soil is the foundation for healthy plant growth. Whether you have a small vegetable garden or a sprawling flower bed, properly storing your garden soil is essential to maintaining its nutrient-rich composition.
Storing garden soil can be particularly useful if you have excess soil after a project, or if you want to save a batch of nutrient-rich soil for future use. By following a few simple steps, you can ensure that your stored soil remains fertile and ready to nourish your plants whenever you need it.
In this article, we will guide you through the process of storing garden soil effectively. From preparation to storage containers, labeling to maintaining the right moisture levels, we will cover everything you need to know to keep your soil in prime condition and ready for future gardening ventures.
So, let’s dig in and learn how to store garden soil the right way!
Key Takeaways:
- Properly storing garden soil involves preparation, debris removal, sterilization, container selection, labeling, cool and dry storage, and moisture checks. Following these steps ensures nutrient-rich soil for future gardening success.
- Regular moisture checks and proper storage conditions are essential for maintaining the quality and fertility of stored garden soil. Prioritize soil health to ensure successful future gardening projects.
Read more: How To Store Soil Indoors
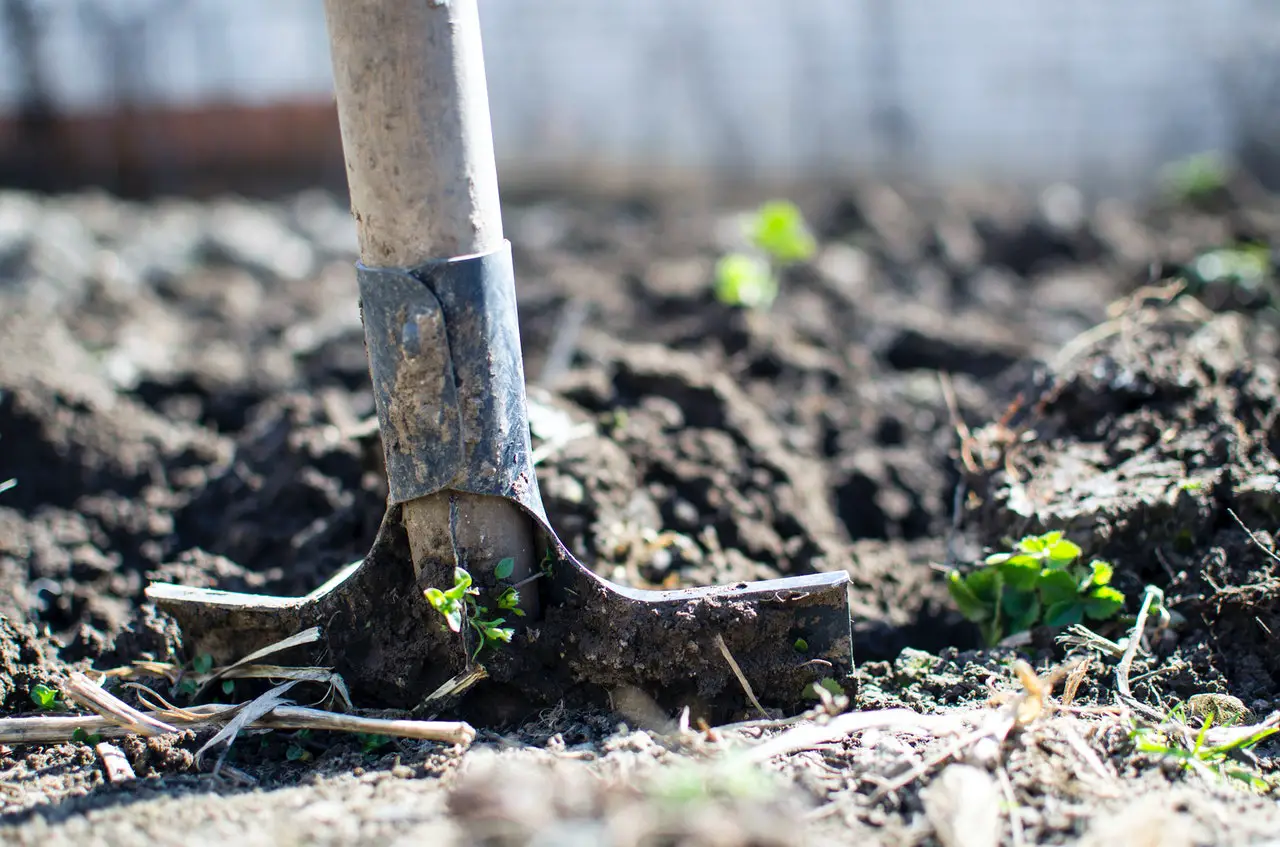
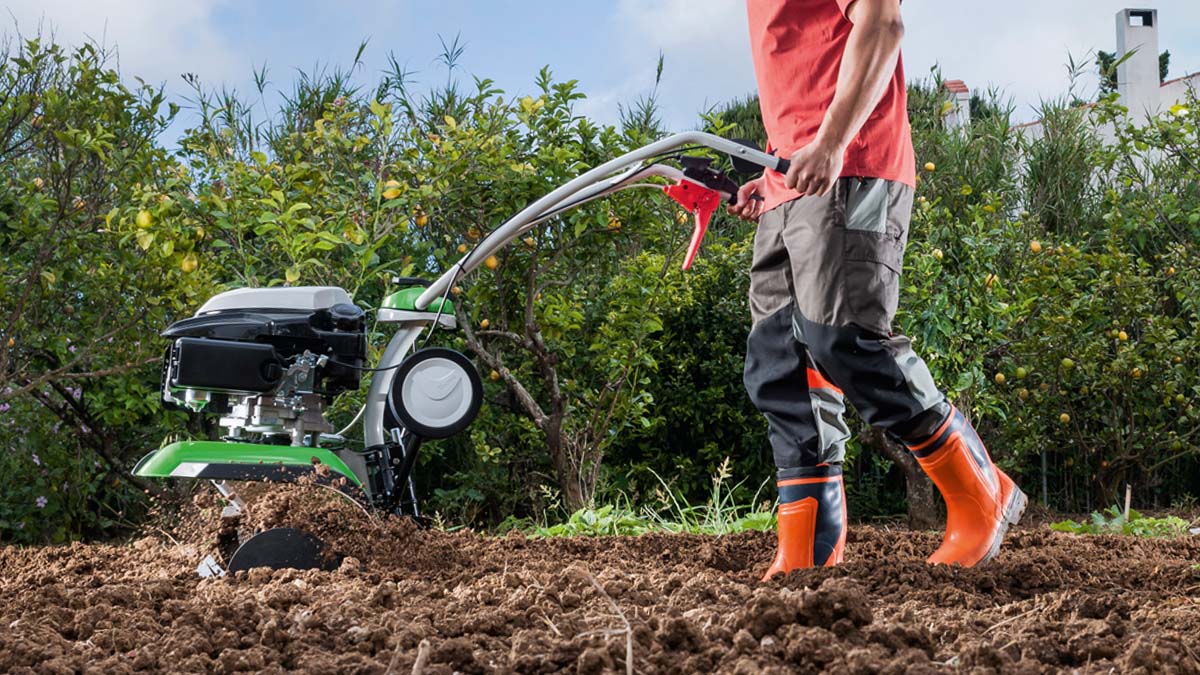
Step 1: Preparation
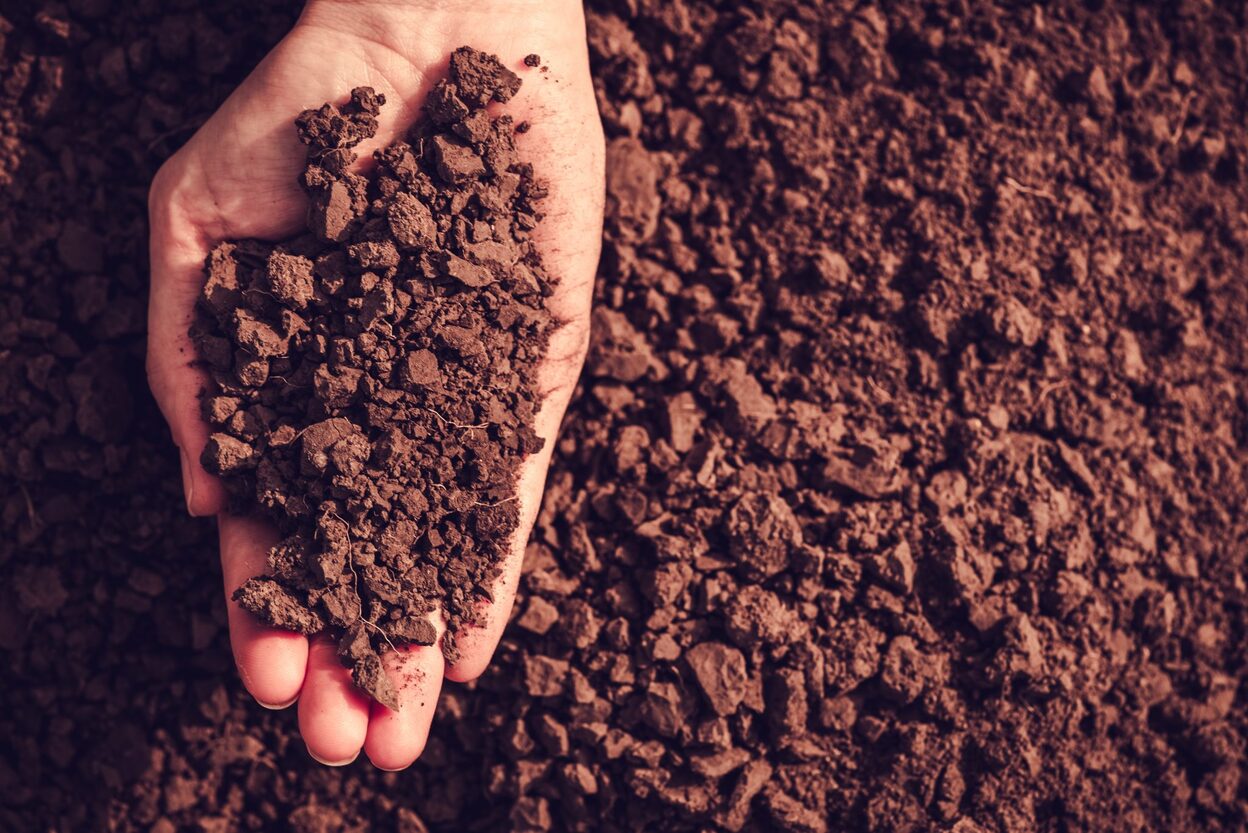
Before you start storing your garden soil, it’s important to prepare it properly. This step ensures that any unwanted debris, such as rocks, roots, or weeds, is removed, and the soil is ready for storage.
Start by clearing the area where the soil will be stored. Remove any plants, weeds, or other materials that may be present. This will help prevent the soil from getting contaminated and keep it free from unwanted pests or diseases.
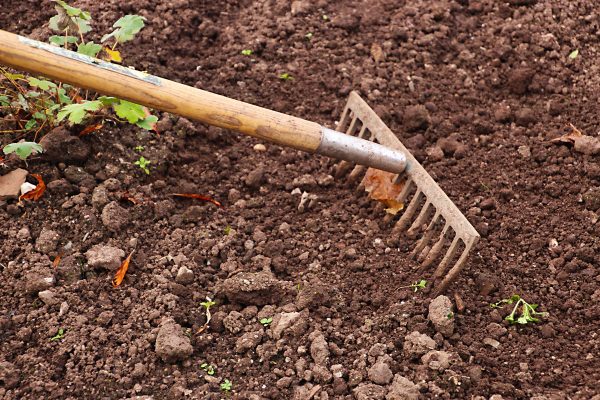
Next, gather the necessary tools for preparing your soil. These may include a garden rake, shovel, garden fork, and a wheelbarrow or buckets for transporting the soil. Having the right tools handy will make the process easier and more efficient.
Now, it’s time to start preparing the soil. Begin by loosening the top layer using a garden fork or rake. This will help improve aeration and break up any clumps or compacted areas. It also allows for better drainage, which is crucial for maintaining soil health during storage.
As you work through the soil, remove any visible debris such as rocks, roots, or large clumps. These can interfere with the storage process and compromise the quality of the soil. Take your time to ensure that the soil is free from any unwanted elements that could hinder its usability in the future.
Once you have cleared the debris, you may consider adding organic matter, such as compost or well-rotted manure. This step is optional but can further enhance the nutrient content of the soil and improve its structure. Mix the organic matter into the soil thoroughly to ensure even distribution.
After completing these preparation steps, your soil is now ready for storage. However, it’s important to note that the quality of the soil will deteriorate over time. Therefore, it’s best to use the stored soil within a year to maintain its fertility and effectiveness.
By taking the time to properly prepare your soil before storing it, you are setting a solid foundation for successful gardening in the future. So, let’s move on to the next step and learn how to remove debris from the soil before storing it.
Step 2: Removing Debris
One of the key steps in storing garden soil is ensuring that it is free from any debris that could affect its quality or usability. Removing debris not only helps to maintain the integrity of the soil but also reduces the risk of pests or diseases being transferred to your stored soil. Here’s how you can effectively remove debris from your garden soil:
1. Sifting: One of the most effective methods of removing debris from your soil is by sifting it through a mesh screen or sieve. This process allows you to separate larger debris like rocks, twigs, or roots from the finer soil particles. You can either purchase a soil sieve or make one by attaching a mesh screen to a wooden frame.
2. Handpicking: While sifting can remove larger debris, there may still be smaller objects like stones or clumps of soil that need to be manually removed. Use your hands or gardening gloves to carefully inspect the soil and pick out any remaining debris. This step ensures that your stored soil is clean and free from unnecessary elements.
3. Composting: If you come across any organic debris like leaves or dead plants while removing debris, consider composting them instead of discarding them. Composting not only helps reduce waste but also transforms organic matter into nutrient-rich compost that can be added back into your garden soil in the future.
4. Inspecting for pests: While removing debris, keep an eye out for any signs of pests or pests themselves. Some common garden pests, like slugs or insects, may have taken refuge in the soil. Removing them beforehand will prevent any infestations or damage to your stored soil.
Remember, the goal is to have clean and debris-free soil for storage. Take your time during this step to ensure thorough removal of all visible debris. Properly cleaned soil will not only preserve its quality but also make it easier to work with when you are ready to use it again in your garden.
Now that you have removed debris from your soil, it’s time to move on to the next step: sterilization. Sterilization helps eliminate any potential diseases, pests, or weed seeds that may be present in the soil, ensuring that it remains healthy and ready for future use. Let’s dive into the details of sterilizing your garden soil in the next step.
Step 3: Sterilization
Sterilizing your garden soil before storage is an important step to eliminate any pests, weed seeds, or diseases that might be present. This process helps ensure that your stored soil remains healthy and free from any potential contaminants. Here are a few methods you can use to sterilize your garden soil:
1. Solarization: This method utilizes the power of the sun to kill pests and weed seeds present in the soil. Start by moistening the soil slightly and removing any large debris. Then, cover the soil with a clear plastic sheet and secure the edges to create a sealed environment. The sun’s heat will raise the temperature under the plastic, effectively sterilizing the soil. Leave the plastic in place for 4-6 weeks, allowing ample time for the heat to penetrate and kill off any pests or weed seeds.
2. Steam sterilization: Another effective method is using steam to sterilize the soil. You can either use a commercial steam sterilizer or create a DIY setup with a large pot, a steam generator, and a container to hold the soil. Place the soil in the container and cover it with a lid or aluminum foil. Allow the steam to circulate through the soil for at least 30 minutes, ensuring that the temperature reaches around 180°F (82°C). This heat will effectively kill off any pests, diseases, or weed seeds present in the soil.
3. Oven sterilization: If you have a small amount of soil to sterilize, using your oven can be a convenient option. Spread a thin layer of soil on a baking tray and preheat the oven to 180°F (82°C). Place the tray in the oven and bake the soil for about 30 minutes. It’s important to monitor the temperature to ensure that it does not exceed the recommended range. Once the soil is heated, remove it from the oven and allow it to cool before storing.
4. Chemical sterilization: Chemical sterilization involves using disinfectants or fumigants to kill off pests and diseases in the soil. However, it’s important to note that this method should only be used as a last resort, as it may have environmental implications and can affect soil health. If you decide to use chemical sterilization, make sure to follow the instructions provided by the manufacturer carefully.
When sterilizing your soil, it’s essential to prioritize safety. Wear protective clothing, gloves, and a mask to avoid inhaling any potentially harmful substances. Additionally, consider the environmental impact of each method and choose the one that aligns with your sustainability goals.
By sterilizing your garden soil before storage, you are taking proactive measures to ensure that it remains clean and free from unwanted pests or diseases. With the sterilization step complete, let’s move on to the next step: selecting the appropriate storage containers for your soil.
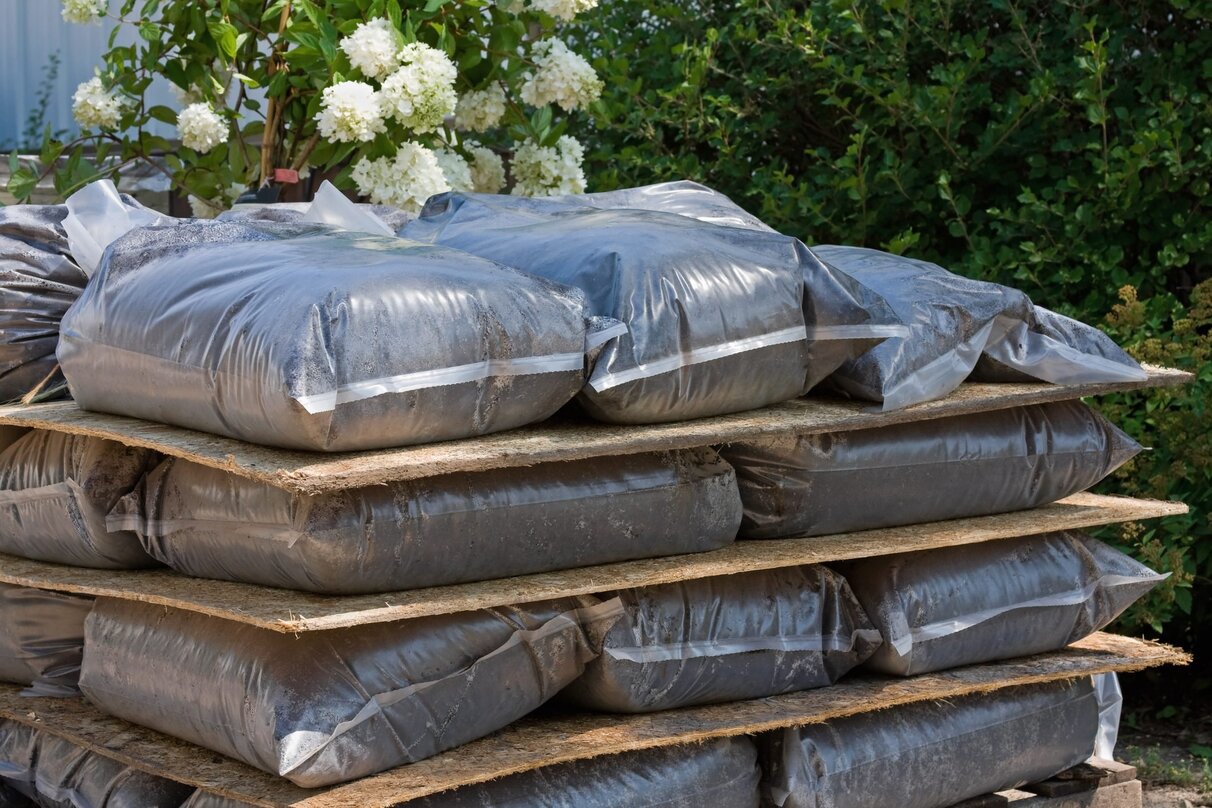
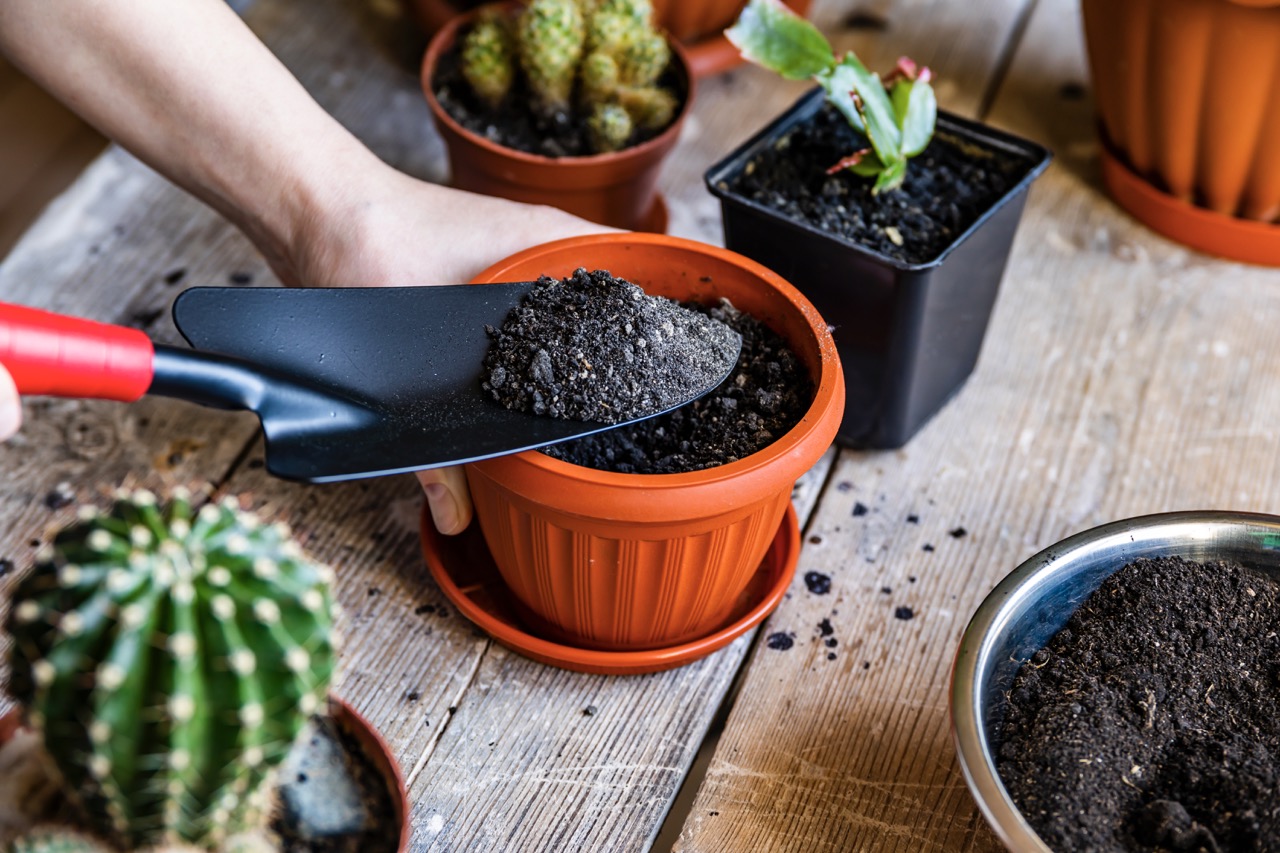
Step 4: Storage Containers
Choosing the right storage containers for your garden soil is crucial to maintaining its quality and usability during the storage period. The containers should provide adequate protection from external elements while allowing proper airflow to prevent moisture buildup. Here are some factors to consider when selecting storage containers for your soil:
1. Material: Opt for containers made from durable materials such as plastic, metal, or wood. Plastic containers are lightweight, resistant to moisture, and easy to clean. Metal containers are sturdy and provide better protection against pests and rodents. Wooden containers can also work well, but ensure they are treated to prevent rotting or deterioration.
2. Size: Choose containers that are sized appropriately for the quantity of soil you plan to store. Avoid overfilling containers as it can lead to compaction and reduce the quality of the stored soil. Consider how much soil you will need for future gardening projects and select containers that can accommodate that volume.
3. Drainage: Ensure that the containers have adequate drainage holes or perforations to allow excess moisture to escape. Proper drainage prevents waterlogging, which can lead to the growth of mold, fungus, or rot in the stored soil. If the containers you choose do not have drainage holes, you can drill or create them yourself.
4. Pests and Rodent Protection: Look for containers with tight-fitting lids or covers to keep out pests and rodents. This will prevent infestations or unwanted critters from accessing your stored soil and potentially causing damage. If you opt for containers without lids, ensure you have a way to secure a mesh screen or cover on top to keep pests out.
5. Accessibility: Consider how easily you can access the stored soil when needed. Containers with removable or hinged lids make it convenient to retrieve soil without disturbing the rest of the contents. Additionally, stackable containers save space and allow for efficient storage in limited areas.
6. Light Protection: Exposure to direct sunlight can affect the quality of the stored soil. Choose containers that are opaque or ones that can be stored in a dark area to prevent the soil from drying out or losing its nutrient content due to prolonged sunlight exposure.
When storing your soil, it’s advisable to divide it into smaller batches within the containers rather than storing large amounts in a single container. This allows for better airflow and easier access to the needed quantity of soil without disturbing the rest.
By selecting suitable storage containers, you can ensure that your garden soil remains in optimal condition until you’re ready to use it again. With the containers chosen, let’s move on to the next step: labeling your stored soil.
When storing garden soil, make sure to keep it in a cool, dry place to prevent mold and bacteria growth. Store it in a sealed container to maintain its quality.
Read more: How To Store Unused Potting Soil
Step 5: Labeling
Labeling your stored garden soil is an essential step that helps you easily identify and track the contents of each container. Proper labeling ensures that you can quickly find and use the specific type of soil you need for different gardening projects. Here’s how you can effectively label your stored soil:
1. Container Identification: Start by labeling each storage container with a unique identifier. This can be a number, letter, or any system that works for you. Use a permanent marker or label maker to clearly mark the container. If you are using multiple containers, this identification system will help you keep track of each batch of soil.
2. Soil Type and Composition: Include information about the type of soil and its composition on the label. For example, if it’s potting mix, indicate whether it’s a general-purpose mix, seed-starting mix, or specialized mix for specific plants. If you have mixed amendments into the soil, mention those as well. This information will help you select the appropriate stored soil for specific gardening needs.
3. Date of Storage: Write down the date when the soil was stored on the label. This ensures that you can track the age of the soil and prioritize using older soil first, as its nutrient content may have started to degrade over time. It’s important to use the stored soil within a year for best results.
4. Gardening Notes: Leave space on the label to jot down any additional notes or observations about the soil. For example, you can mention if the soil needs any amendments or if it has proven successful for a particular plant variety. These notes will serve as a helpful reference for future gardening projects.
5. Storage Location: If you have multiple storage areas or shelves, include the location of the container on the label. This will save you time and effort when you’re searching for a specific container of soil.
Ensure that the labels are securely attached to the containers and are visible and readable. If you are reusing containers, make sure to remove any old labels or markings to avoid confusion.
Properly labeled containers not only help you stay organized but also provide valuable information about the stored soil. With the containers labeled, let’s move on to the next step: storing the soil in a cool and dry place.
Step 6: Storing in a Cool and Dry Place
Once your garden soil is properly prepared, debris-free, sterilized, and stored in appropriate containers, the next crucial step is finding the perfect location to store the soil. Storing your soil in a cool and dry place helps maintain its quality and prevents moisture buildup, which can lead to mold, fungi, or rot. Here’s how you can ensure your stored soil remains in optimal condition:
1. Temperature: Choose a storage location that maintains a relatively cool temperature. Extreme heat or cold can affect the quality of the soil over time. Aim for a temperature range between 40°F (4°C) and 70°F (21°C) for best results.
2. Sunlight Exposure: Avoid storing your soil in direct sunlight. Prolonged exposure to sunlight can dry out the soil and diminish its nutrient content. Choose a dark or shaded area, such as a garage, basement, or utility closet, where the soil is protected from direct sunlight.
3. Moisture Control: Ensure that the storage area is dry and well-ventilated. Excessive moisture can lead to the growth of mold, fungi, or bacteria, compromising the quality of the stored soil. Avoid humid spaces, and consider using a dehumidifier or moisture-absorbing materials, like silica gel packets, to maintain optimal moisture levels.
4. Pest Prevention: Take precautions to prevent pests and rodents from accessing your soil. Ensure that the storage area is properly sealed, without any gaps or openings that pests can squeeze through. Regularly inspect the area for signs of pests and take necessary measures to keep them at bay.
5. Elevated Storage: Whenever possible, store your soil containers off the ground. This helps prevent moisture from seeping in through the bottom and reduces the risk of pests or rodents accessing the soil. Use pallets, shelves, or storage racks to elevate the containers.
6. Accessibility: Arrange the containers in a way that allows easy access to each batch of stored soil. Consider organizing them by type, date, or any other system that makes retrieval convenient. This avoids unnecessary disturbance to other containers when you need to retrieve a specific batch of soil.
Regularly inspect the storage area and check the condition of the soil containers. If you notice any signs of moisture, pests, or deterioration, take immediate action to address the issue and preserve the quality of the stored soil.
By storing your garden soil in a cool and dry place, you are ensuring that it remains in optimal condition for future use. With the soil safely stored, let’s move on to the final step: periodic moisture checks.
Step 7: Moisture Check
Regularly checking the moisture level of your stored garden soil is vital to maintain its quality and prevent any moisture-related issues. Proper moisture levels help prevent mold, fungi, or bacterial growth, ensuring that your soil remains in prime condition. Here’s how you can perform periodic moisture checks:
1. Visual Inspection: Start by visually inspecting the soil containers. Look for any signs of excess moisture, such as condensation on the inside of the containers or a damp feeling when touching the soil. If you notice any of these signs, it’s an indication that the soil may be too moist and requires attention.
2. Hand Test: Perform a simple hand test to assess the moisture level of the soil. Take a small handful of soil from different areas of the container and squeeze it gently in your hand. If the soil retains its shape and feels wet or excessively damp, it indicates that it is retaining too much moisture. In contrast, if the soil crumbles easily or feels excessively dry, it may be too dry and in need of moisture.
3. Moisture Meter: Consider using a moisture meter, a handy tool that provides accurate readings of the soil’s moisture content. Insert the probe of the moisture meter into several areas of the soil to get an average reading. If the moisture level is too high or low, adjust it accordingly by allowing the soil to dry out or adding water as needed.
4. Treatments: If you find that the soil is too moist, take steps to address the issue. Remove the lid of the storage container and allow the soil to dry out for a period of time. Use a fan or open the container in a well-ventilated area to facilitate drying. On the other hand, if the soil is too dry, lightly mist it with water or add a small amount of moisture to restore proper hydration.
5. Regular Monitoring: Make moisture checks a regular part of your gardening routine. Aim to check the moisture levels of stored soil every few weeks. This helps ensure that the soil remains in the optimal moisture range and avoids any potential issues that may arise from excessive moisture or dryness.
Remember that maintaining the right moisture level is crucial for the longevity and quality of your stored soil. Consistently monitoring and adjusting the moisture content will help preserve the nutrient-rich composition and prevent any moisture-related problems.
With the final step of moisture checks completed, you have successfully learned how to store garden soil effectively. By following these steps – preparation, removing debris, sterilization, selecting storage containers, labeling, storing in a cool and dry place, and conducting moisture checks – you can confidently store your garden soil and have it ready for future gardening projects.
So go ahead and store your soil with care, knowing that you have taken the necessary steps to maintain its quality and ensure the success of your future gardening endeavors!
Conclusion
Properly storing your garden soil is essential for maintaining its quality and ensuring its readiness for future gardening projects. By following the steps outlined in this article – preparation, removing debris, sterilization, selecting storage containers, labeling, storing in a cool and dry place, and conducting moisture checks – you can confidently store your soil and have it ready when you need it.
Throughout the process, it’s important to prioritize soil health and take precautions to preserve its nutrient content. Clearing debris, sterilizing the soil, and choosing appropriate storage containers are all crucial for maintaining the integrity of the soil. Labeling containers and storing them in a cool and dry place help protect soil quality and prevent moisture-related issues.
Regular moisture checks ensure that the stored soil remains in the optimal moisture range, preventing mold, fungi, or bacterial growth. By periodically assessing the soil’s moisture content and making necessary adjustments, you can prolong the usability and effectiveness of your stored soil.
Remember, quality soil is the foundation for healthy plant growth and successful gardening. By properly storing your garden soil, you are investing in the future health and productivity of your plants. When it’s time to use the soil for a new gardening project, you can rest assured knowing that you have preserved its fertility and nutrient-rich composition.
So whether you have excess soil from a previous project or want to save a batch of nutrient-rich soil for later use, the process of storing garden soil is worth the effort. Take the time to prepare the soil, remove debris, sterilize it, select suitable storage containers, label them appropriately, store them in a cool and dry place, and conduct regular moisture checks.
With each step completed with care, you can confidently store your garden soil and have it ready to nourish your plants when it’s time to start your next gardening adventure. Happy gardening!
Frequently Asked Questions about How To Store Garden Soil
Was this page helpful?
At Storables.com, we guarantee accurate and reliable information. Our content, validated by Expert Board Contributors, is crafted following stringent Editorial Policies. We're committed to providing you with well-researched, expert-backed insights for all your informational needs.


0 thoughts on “How To Store Garden Soil”