
Articles
How To Store Table Leaf Under Table
Modified: May 6, 2024
Learn the best method to store table leaf under table with our informative articles. Keep your table leaf safe and secure.
(Many of the links in this article redirect to a specific reviewed product. Your purchase of these products through affiliate links helps to generate commission for Storables.com, at no extra cost. Learn more)
Introduction
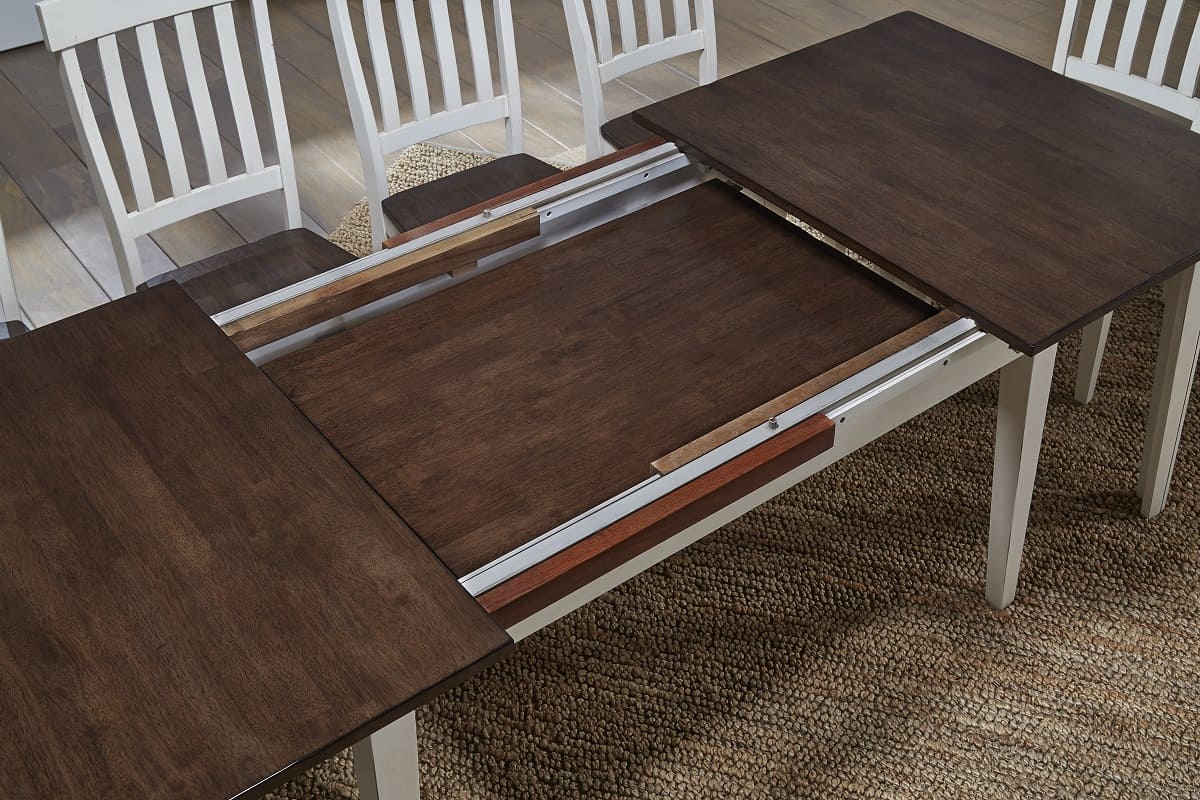
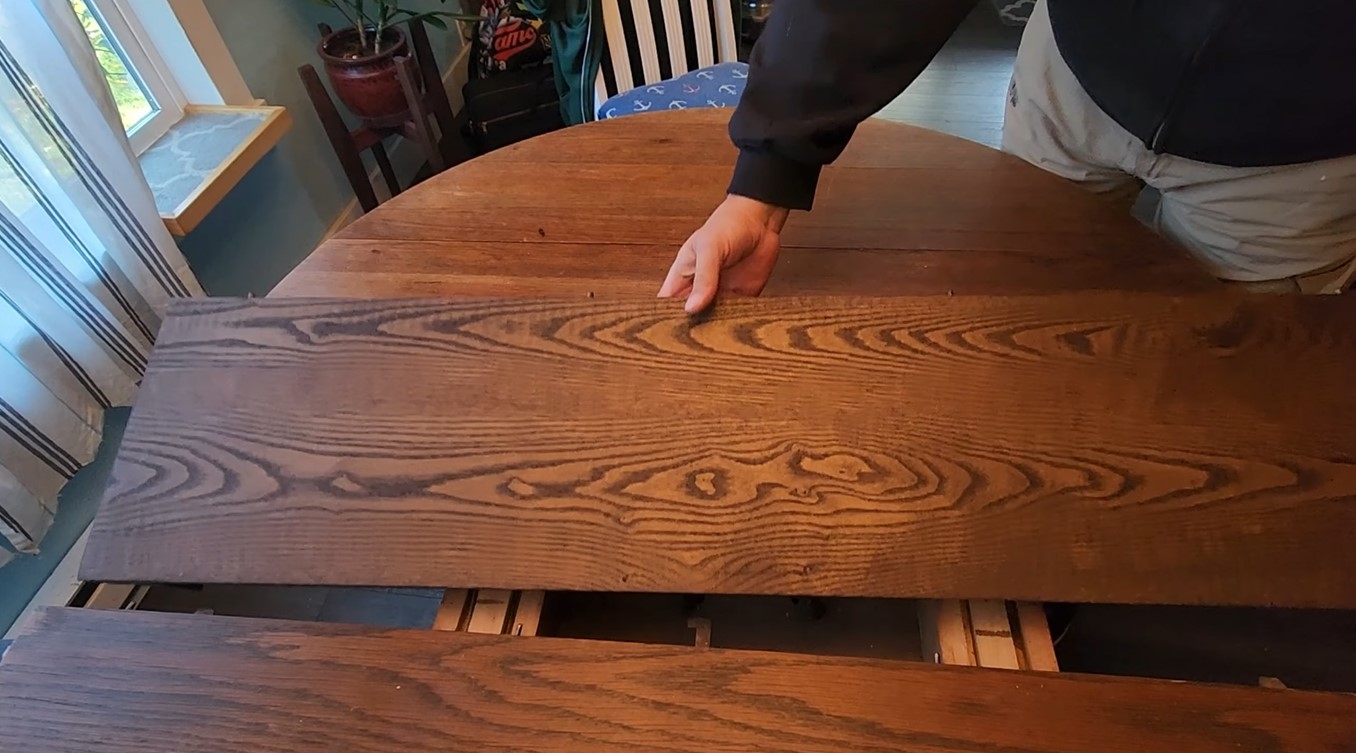
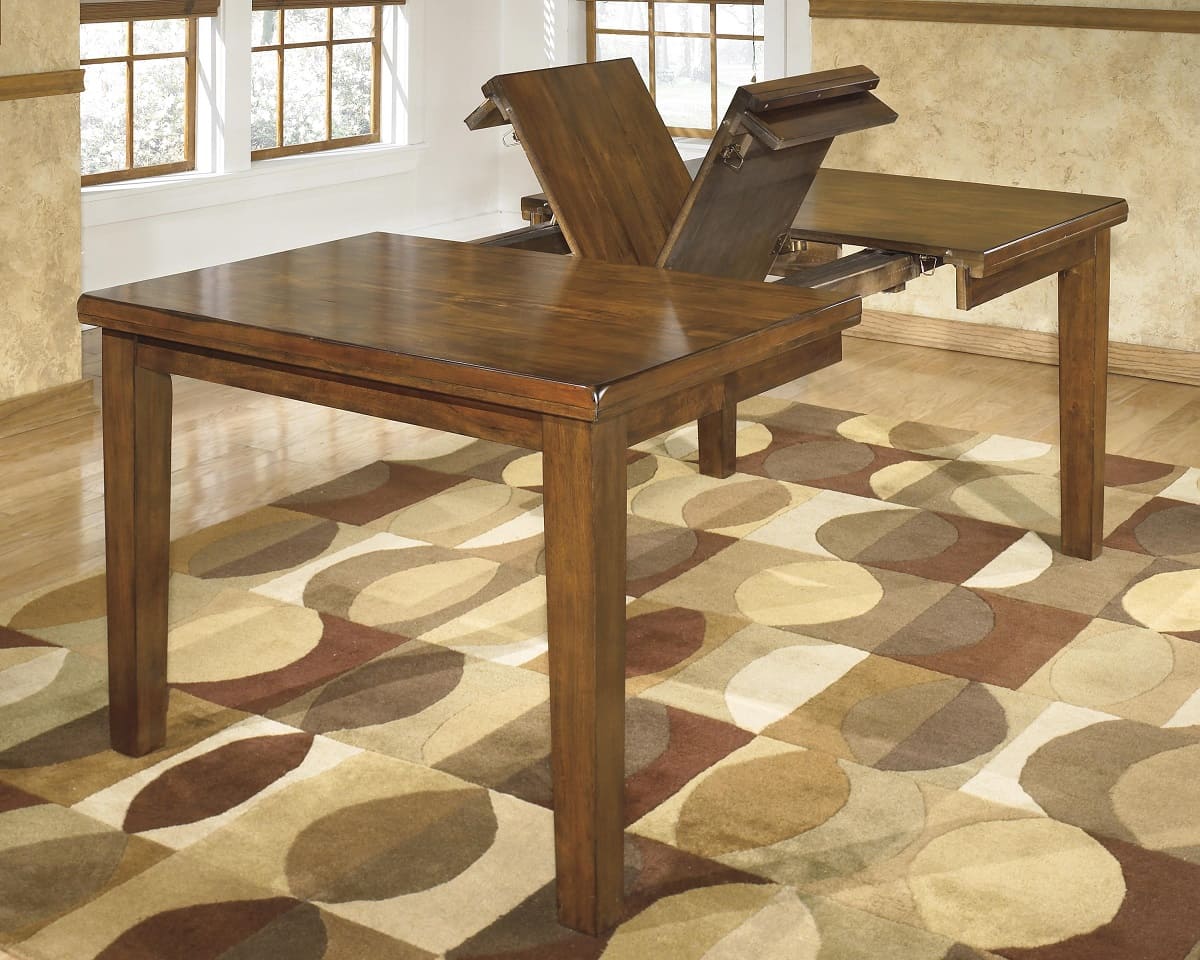
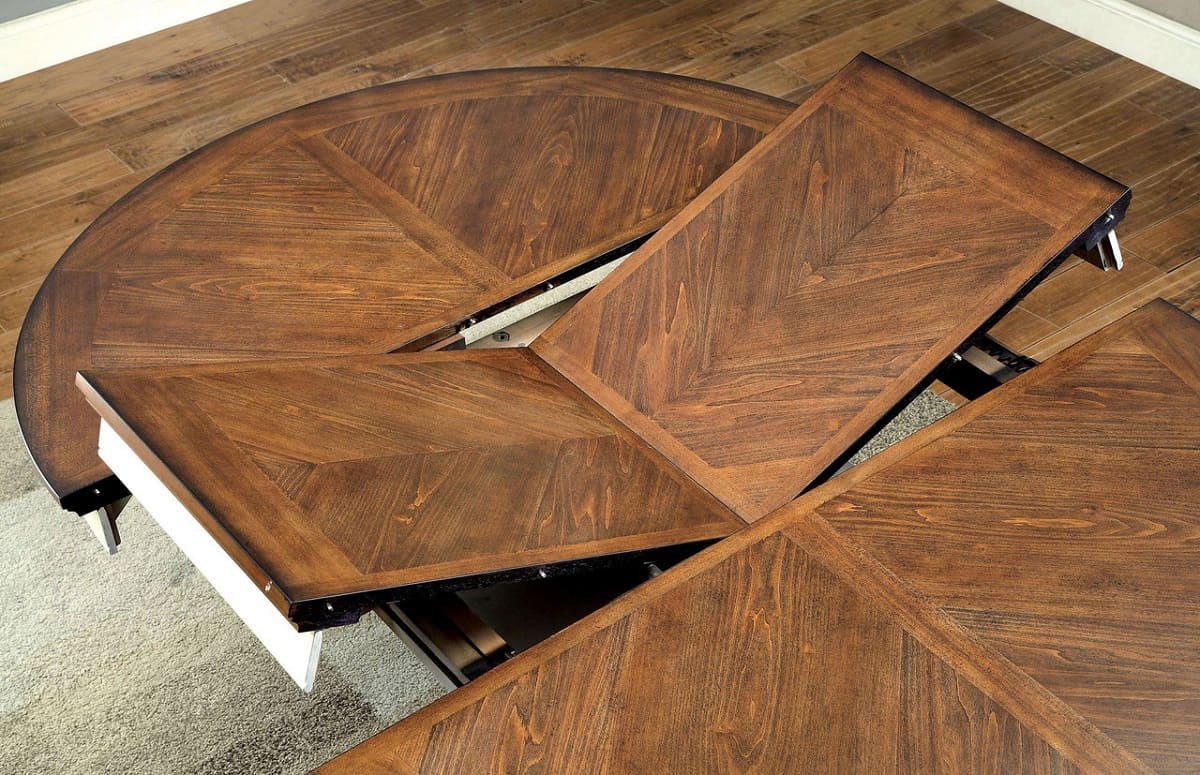
When it comes to maximizing the space in your dining area or kitchen, finding a convenient storage solution for your table leaf is essential. Table leaves, also known as extension leaves, are detachable sections of the table that allow you to expand the surface area when you need extra seating during large gatherings or special occasions.
However, when the table leaf is not in use, it can take up valuable space and become an obstacle in your home. That’s where storing the table leaf under the table comes in handy. This not only frees up additional space but also keeps the table leaf conveniently accessible whenever you need it.
In this article, we will guide you through a step-by-step process on how to store the table leaf under the table effectively. With these simple instructions, you can keep your table leaf safe, secure, and out of the way until it is needed again.
Key Takeaways:
- Maximize space by storing your table leaf under the table, keeping it easily accessible for special occasions while freeing up valuable space in your dining area.
- Ensure the longevity of your table leaf by properly preparing and securing it under the table, creating a clutter-free and functional dining area.
Read more: How To Remove A Dining Table Leaf
Step 1: Clear the tabletop
The first step in storing the table leaf under the table is to ensure that the tabletop is clear of any items or decorations. This includes plates, glassware, centerpieces, and any other objects that might obstruct the smooth removal and storage of the table leaf.
Begin by carefully removing all items from the tabletop and placing them in a safe and designated area. If necessary, clean the tabletop to remove any crumbs or spills that could potentially damage the table leaf during storage. Use a mild cleaner and a soft cloth to gently wipe down the surface, ensuring it is clean and free from any debris.
Once the tabletop is cleared and clean, inspect it for any signs of damage or wear. If you notice any scratches or dents, consider using a furniture polish or wax to restore the surface and protect it from further damage.
Clearing the tabletop not only creates a clean and unobstructed surface for storing the table leaf but also ensures that the table leaf fits properly when it is placed back in its original position.
Step 2: Determine the storage space
Before storing the table leaf under the table, it is important to assess the available storage space and determine the best location for keeping the table leaf. The storage space should be easily accessible, secure, and provide adequate protection for the table leaf.
Start by measuring the height, length, and width of the table leaf to ensure it will fit comfortably in the chosen storage area. This will help you avoid any unnecessary struggles or damage when trying to insert or retrieve the table leaf.
Depending on the design and structure of your table, there are several potential storage spaces to consider. One common option is to store the table leaf vertically against the table legs. This allows for easy access and keeps the leaf securely in place. Another option is to store the table leaf horizontally under the table, between the legs. This method works well if there is enough clearance and space underneath the table.
Take into account any additional furniture or items that may impact the storage space. Consider if there are any shelves, cabinets, or drawers that can accommodate the table leaf without compromising the stability of the table or the safety of the leaf.
If you are unsure about the best storage space or need assistance, consult the manufacturer’s guidelines or contact a furniture professional for guidance.
By carefully determining the storage space, you can ensure that the table leaf remains protected and easily accessible whenever you need to extend your table for a larger seating arrangement.
Step 3: Prepare the table leaf for storage
Before storing the table leaf under the table, it is essential to properly prepare it to ensure its longevity and protection. This step involves cleaning and protecting the table leaf, so it remains in optimal condition while in storage.
Start by carefully inspecting the table leaf for any dirt, spills, or stains. If there are any visible marks, gently clean the surface using a non-abrasive cleaner and a soft cloth. Be cautious not to use any harsh chemicals or abrasive materials that could damage the table leaf’s finish.
Once the table leaf is clean, consider applying a protective layer to prevent scratches or other damage while in storage. You can use a table leaf storage bag or a soft cloth to cover the table leaf before placing it under the table. The storage bag will provide an extra layer of protection against dust, moisture, and accidental bumps or scratches.
If a storage bag is not available, you can use a clean and breathable fabric, such as a cotton sheet or towel, to cover the table leaf. Avoid using plastic or materials that do not allow air circulation, as they can trap moisture and lead to mold or mildew growth.
Before placing the table leaf under the table, ensure that it is completely dry and that no residue or moisture remains on the surface. This will help maintain the quality of the table leaf during storage.
By properly preparing the table leaf for storage, you can safeguard it from potential damage and ensure its longevity, allowing you to enjoy its functionality for years to come.
When storing a table leaf under a table, make sure to clean and dry the leaf before sliding it into the designated storage area. This will prevent any moisture or debris from damaging the leaf while it’s not in use.
Step 4: Store the table leaf under the table
Now that you have cleared the tabletop, determined the storage space, and prepared the table leaf, it’s time to store it under the table. This step requires careful maneuvering and positioning to ensure the table leaf fits securely and remains protected.
If you have chosen to store the table leaf vertically against the table legs, carefully align it with one of the table legs. Make sure the table leaf is positioned in a way that balances the weight and prevents it from tipping over. Slowly slide the table leaf down towards the floor, ensuring it is snugly nestled against the table leg.
If you are storing the table leaf horizontally under the table, carefully lift one end of the table and slide the table leaf in between the table legs. Ensure that the table leaf is placed flat on the ground and centred between the legs. Gently lower the table back down, making sure it rests securely on the floor.
Make sure that there is enough clearance under the table for the table leaf to fit comfortably. Avoid forcing the table leaf into a tight space, as this could cause damage to the table or the leaf itself. If necessary, adjust the table leaf or make modifications to the storage space to ensure a proper fit.
It’s important to note that the table leaf should be stored in a way that does not interfere with the stability or functionality of the table. Ensure that the table remains sturdy and balanced even with the table leaf stored underneath.
By securely storing the table leaf under the table, you can keep it conveniently accessible while maximizing your available space and maintaining the overall aesthetic of your dining area.
Read more: How To Store Leaf Blower
Step 5: Secure the table leaf in place
After storing the table leaf under the table, it is important to secure it in place to prevent any unintentional movement or damage. By properly securing the table leaf, you can ensure that it remains stable and protected while stored.
One common method to secure the table leaf is by using table leaf locks or clips. These are small devices that attach to the underside of the table and hold the table leaf in place. Follow the manufacturer’s instructions to install the locks or clips correctly.
If your table doesn’t have specific locks or clips, you can use alternative methods to secure the table leaf. One option is to place rubber or non-slip pads on the underside of the table where the table leaf rests. These pads provide friction and help prevent the table leaf from sliding or shifting.
Another method is to use adjustable straps or bungee cords to strap the table leaf to the table legs. Wrap the straps or cords around the table leaf and securely fasten them to the table legs. This will provide extra stability and prevent the table leaf from moving or falling out of place.
Ensure that the table leaf is tightly secured but avoid applying excessive pressure that could damage the leaf or the table itself. It’s important to strike a balance between securing the table leaf and maintaining its integrity.
Regularly check the security of the table leaf to make sure that it remains in place. If needed, re-adjust the locks, clips, or straps to ensure a tight and secure fit.
By taking the necessary steps to secure the table leaf, you can have peace of mind knowing that it will remain in place, allowing you to confidently utilize your table without any concerns.
Step 6: Test the stability and accessibility
Once you have stored and secured the table leaf under the table, it’s important to test its stability and accessibility. This final step ensures that the table leaf is properly positioned and easily retrievable when needed.
Start by gently giving the table a light shake or push to check if the table leaf remains stable and in place. If you notice any movement or instability, re-evaluate the securing methods and make any necessary adjustments to enhance the stability of the table leaf.
Next, assess the accessibility of the table leaf. Can it be easily retrieved and installed when you need to extend the table? Carefully remove the table leaf from its storage space and test how smoothly it fits back into its original position. Make sure it aligns properly with the table and there are no obstacles preventing it from being inserted or removed.
If you find that the table leaf is difficult to handle or doesn’t fit snugly into place, consider making modifications or reaching out to a professional for assistance. It’s crucial to ensure that the table leaf can be easily accessed and utilized without any complications.
Lastly, double-check the security of the table leaf after testing its stability and accessibility. Ensure that the locks, clips, or straps are still securely in place and holding the table leaf tightly under the table.
By testing the stability and accessibility of the table leaf, you can confirm that it is properly stored and ready to be utilized whenever you need to extend your table for additional seating or surface area.
Conclusion
Storing the table leaf under the table is a practical and efficient solution for maximizing space in your dining area. By following the step-by-step process outlined in this article, you can safely and effectively store your table leaf, freeing up valuable space while keeping it easily accessible for future use.
Clearing the tabletop, determining the storage space, and preparing the table leaf are essential steps that ensure a smooth storage process. By properly securing the table leaf in place using locks, clips, or straps, you can prevent any accidental movement or damage. Testing the stability and accessibility of the table leaf ensures that it fits seamlessly into its original position and can be effortlessly retrieved when needed.
Remember, choose a storage space that provides adequate protection and accessibility for the table leaf. Take proper care of the table leaf by cleaning it and using protective covers to keep it in optimal condition while in storage.
By following these steps and incorporating them into your routine, you can seamlessly store the table leaf under the table, creating a clutter-free and functional dining area. Enjoy the convenience of having the table leaf readily available for those special occasions or gatherings that require additional seating or table space, all while keeping your dining area organized and visually appealing.
With these simple yet effective methods, you can make the most out of your table and create a versatile dining area that meets your needs and lifestyle.
Now that you've mastered storing your table leaf, why stop there? Optimize your living space with clever solutions like elegant table storage options. Our guide highlights inventive ways to keep essentials neatly tucked away, enhancing both functionality and style. On another note, for those aiming to declutter and organize various home spaces, discovering the best fabric storage cubes is a must-read. These versatile organizers offer simple yet effective solutions to maintain order and calm in any room.
Frequently Asked Questions about How To Store Table Leaf Under Table
Was this page helpful?
At Storables.com, we guarantee accurate and reliable information. Our content, validated by Expert Board Contributors, is crafted following stringent Editorial Policies. We're committed to providing you with well-researched, expert-backed insights for all your informational needs.



0 thoughts on “How To Store Table Leaf Under Table”