Articles
How To Store Backpack Leaf Blower In Garage
Modified: August 26, 2024
Learn the best tips for storing your backpack leaf blower in the garage with our informative articles. Keep your equipment safe and organized for long-lasting use.
(Many of the links in this article redirect to a specific reviewed product. Your purchase of these products through affiliate links helps to generate commission for Storables.com, at no extra cost. Learn more)
Introduction
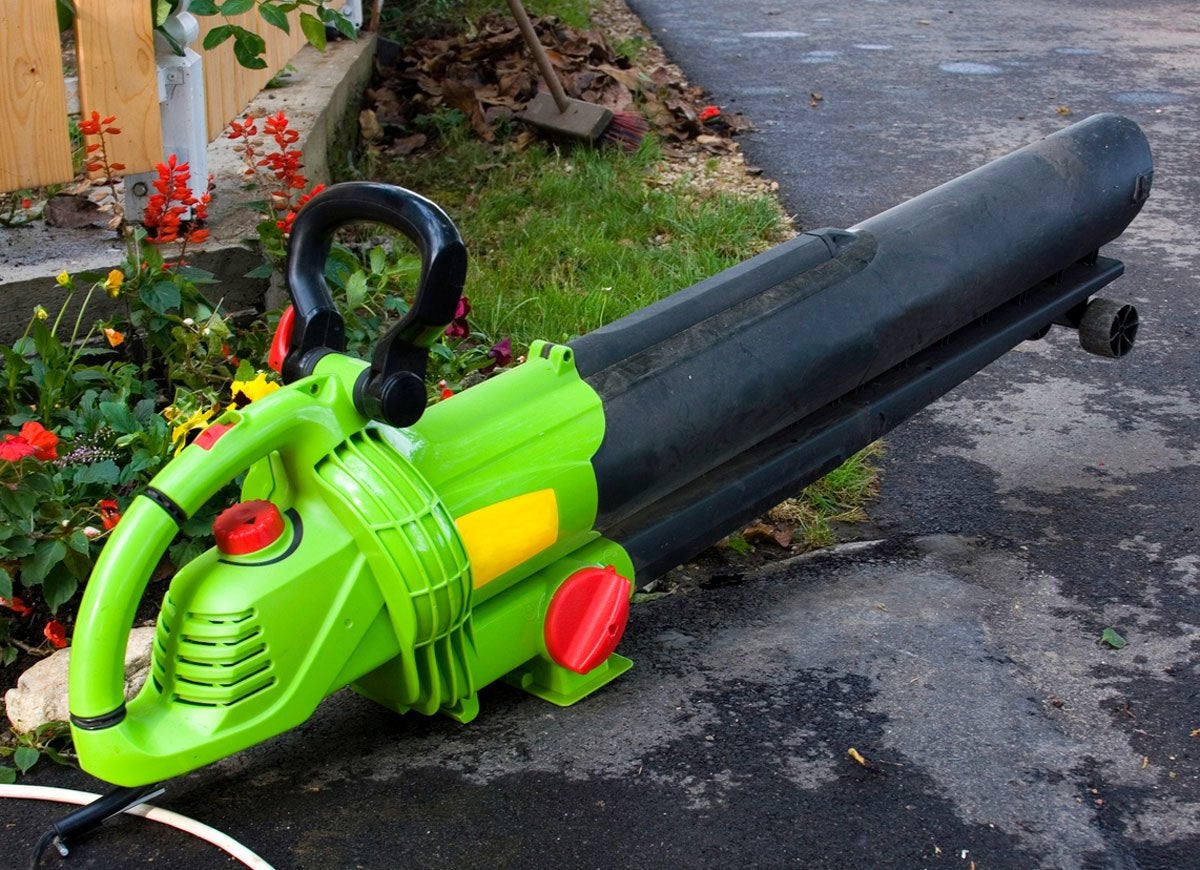
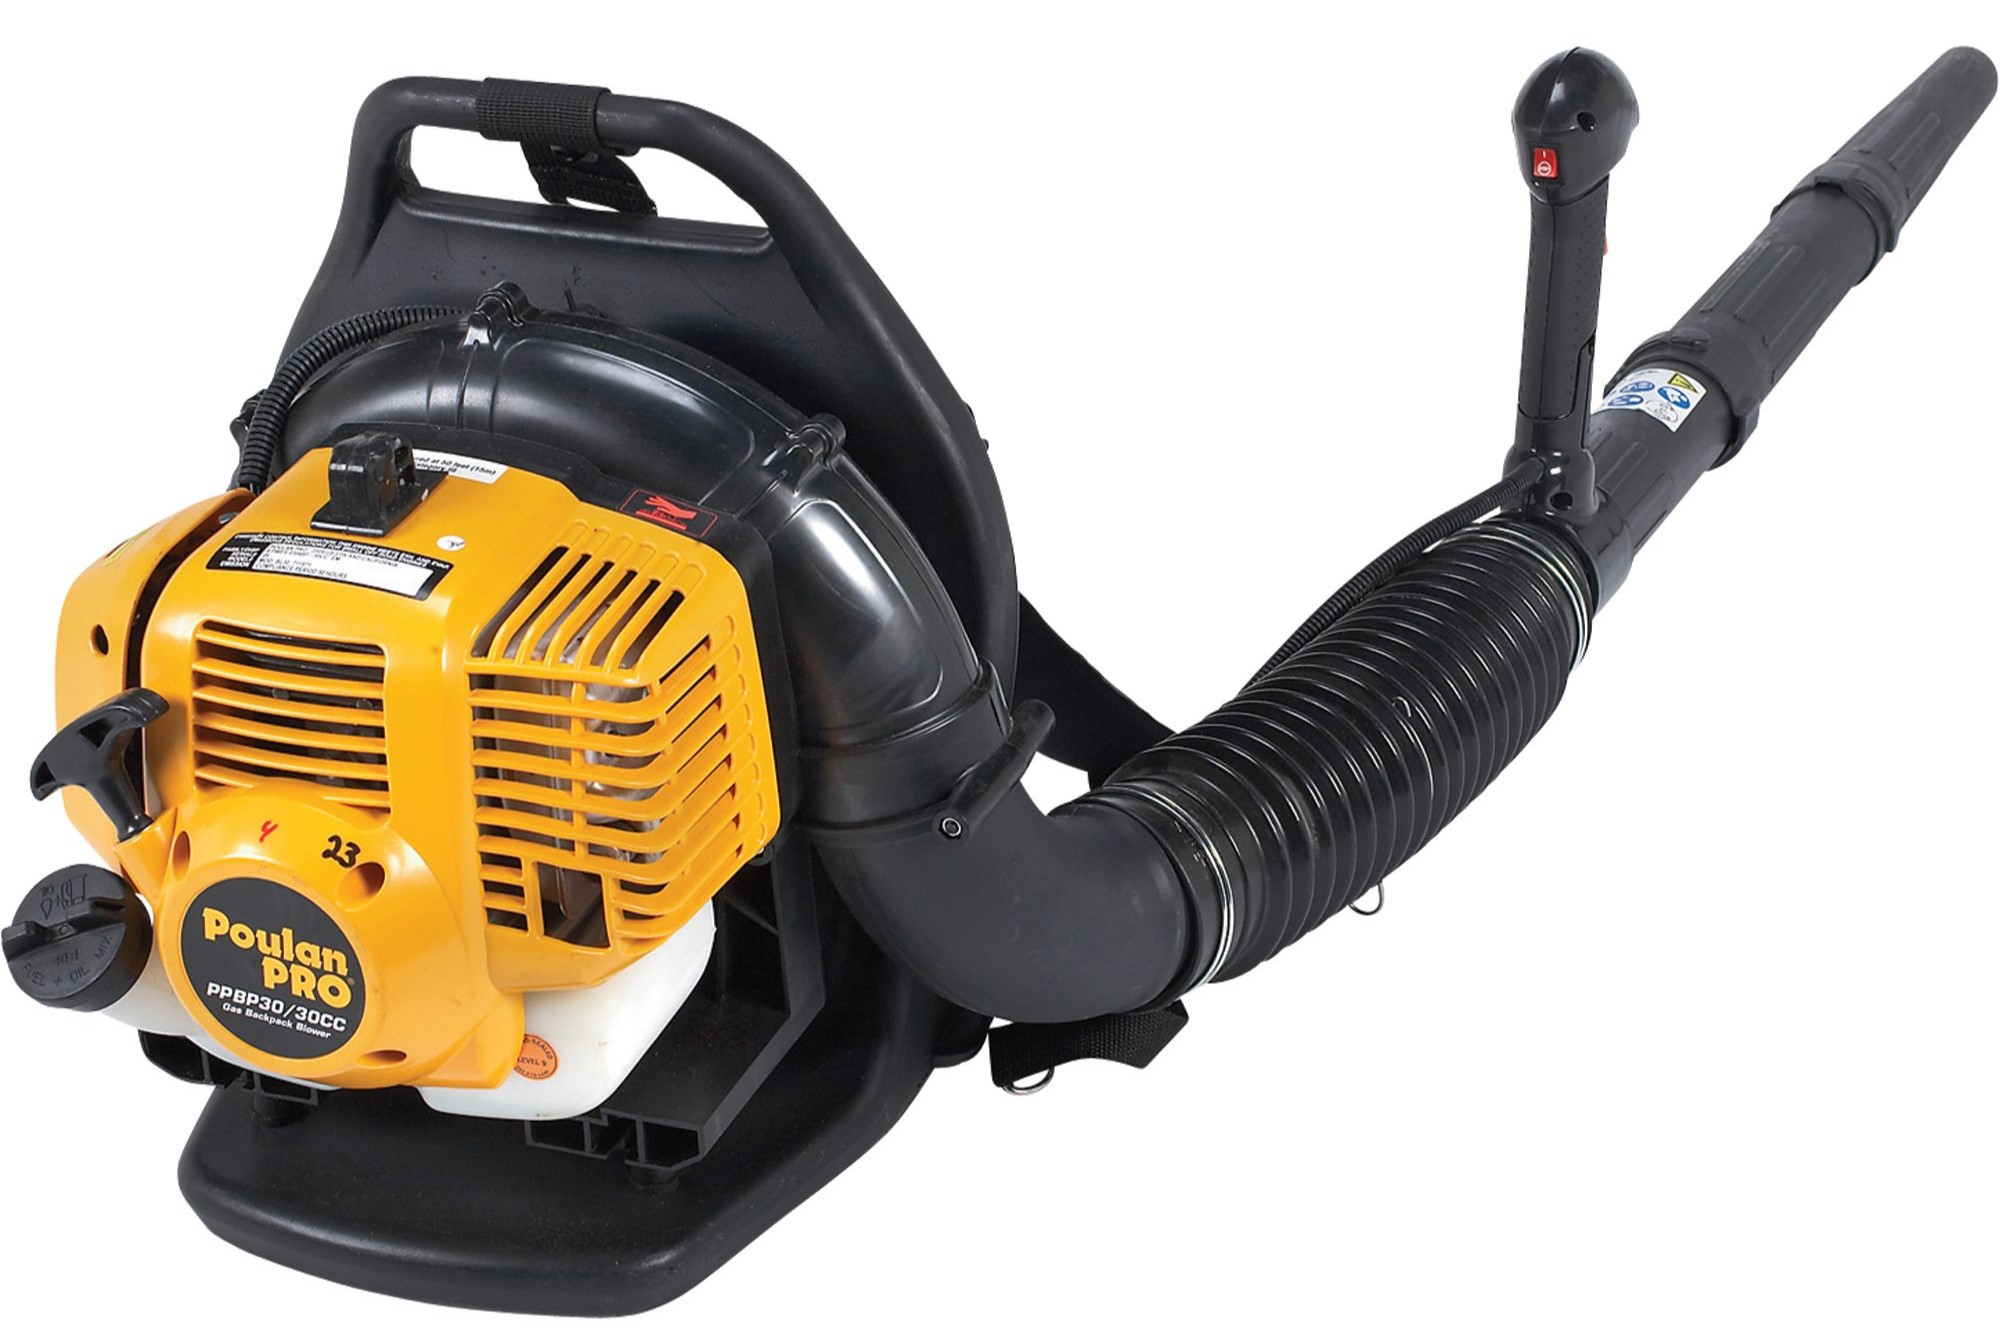
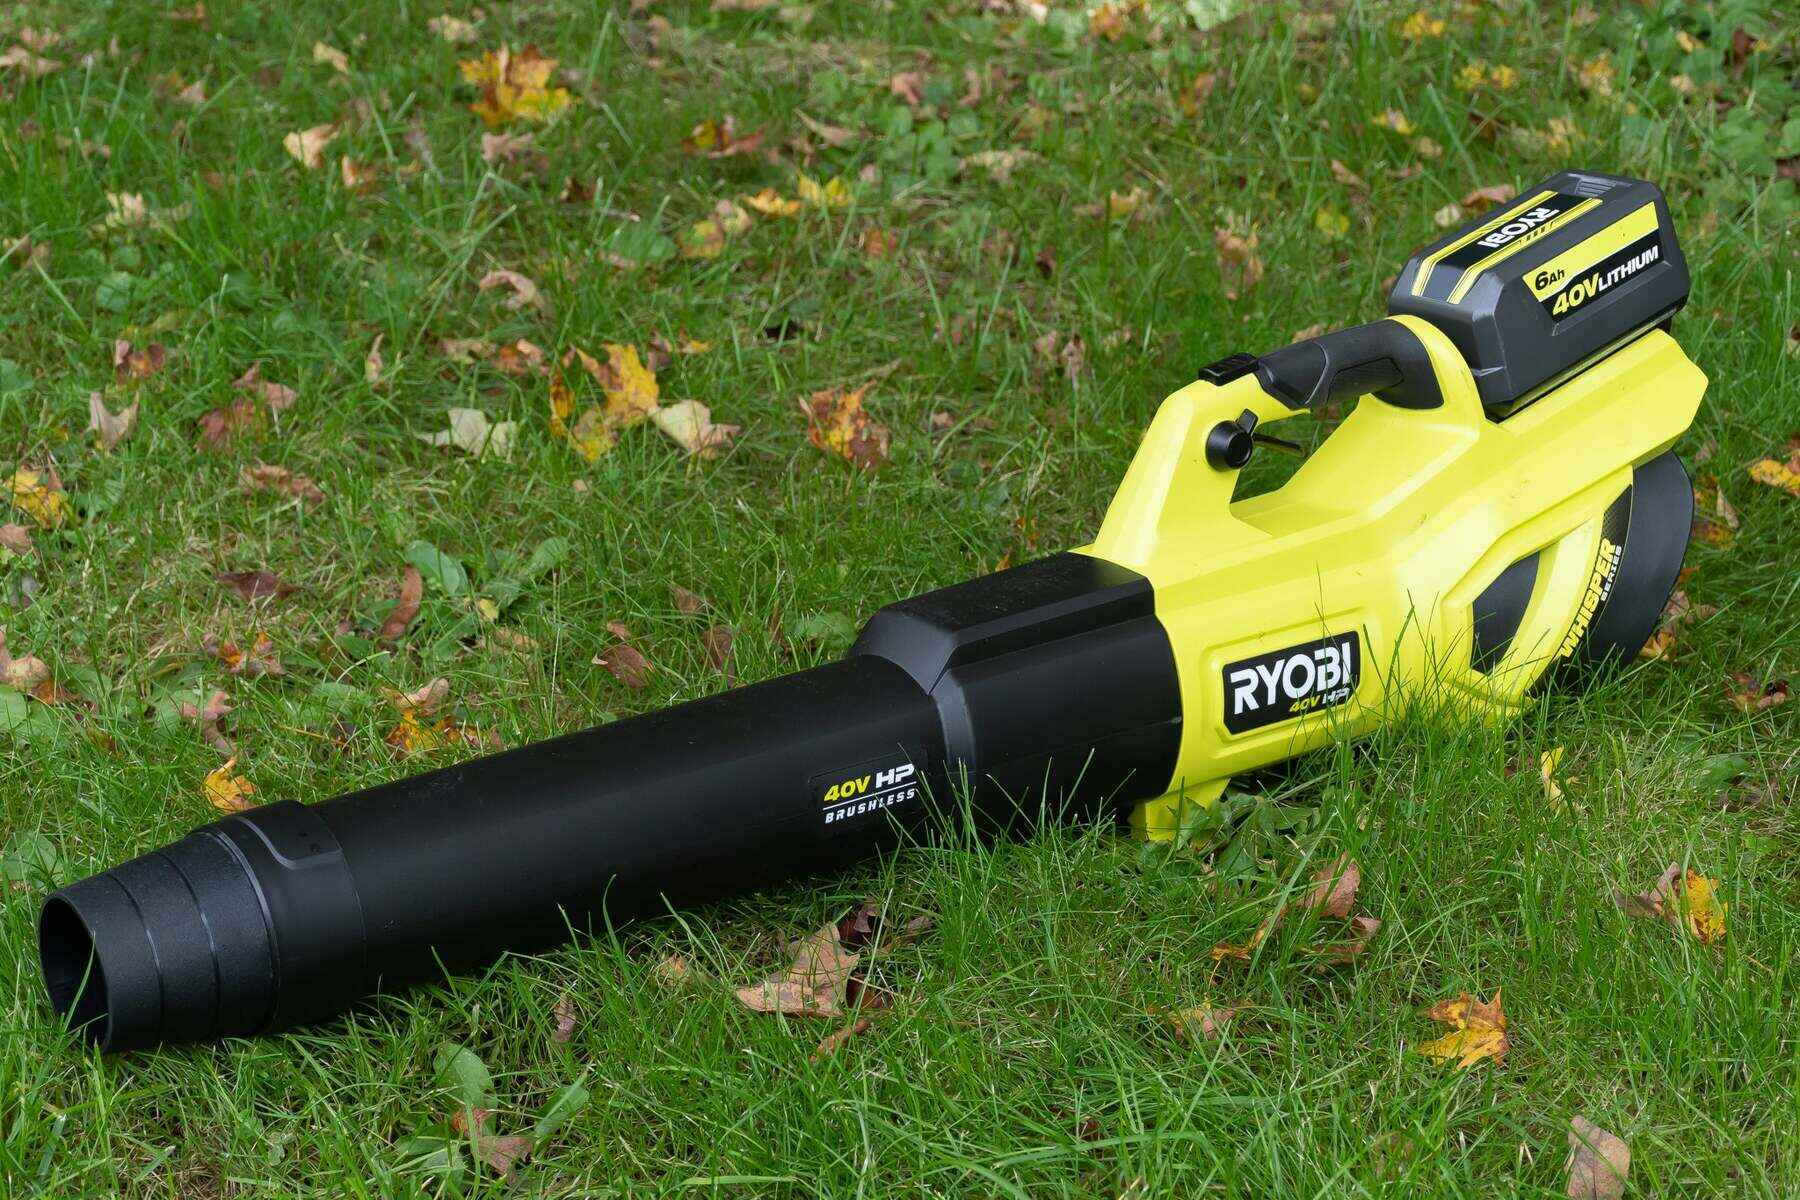
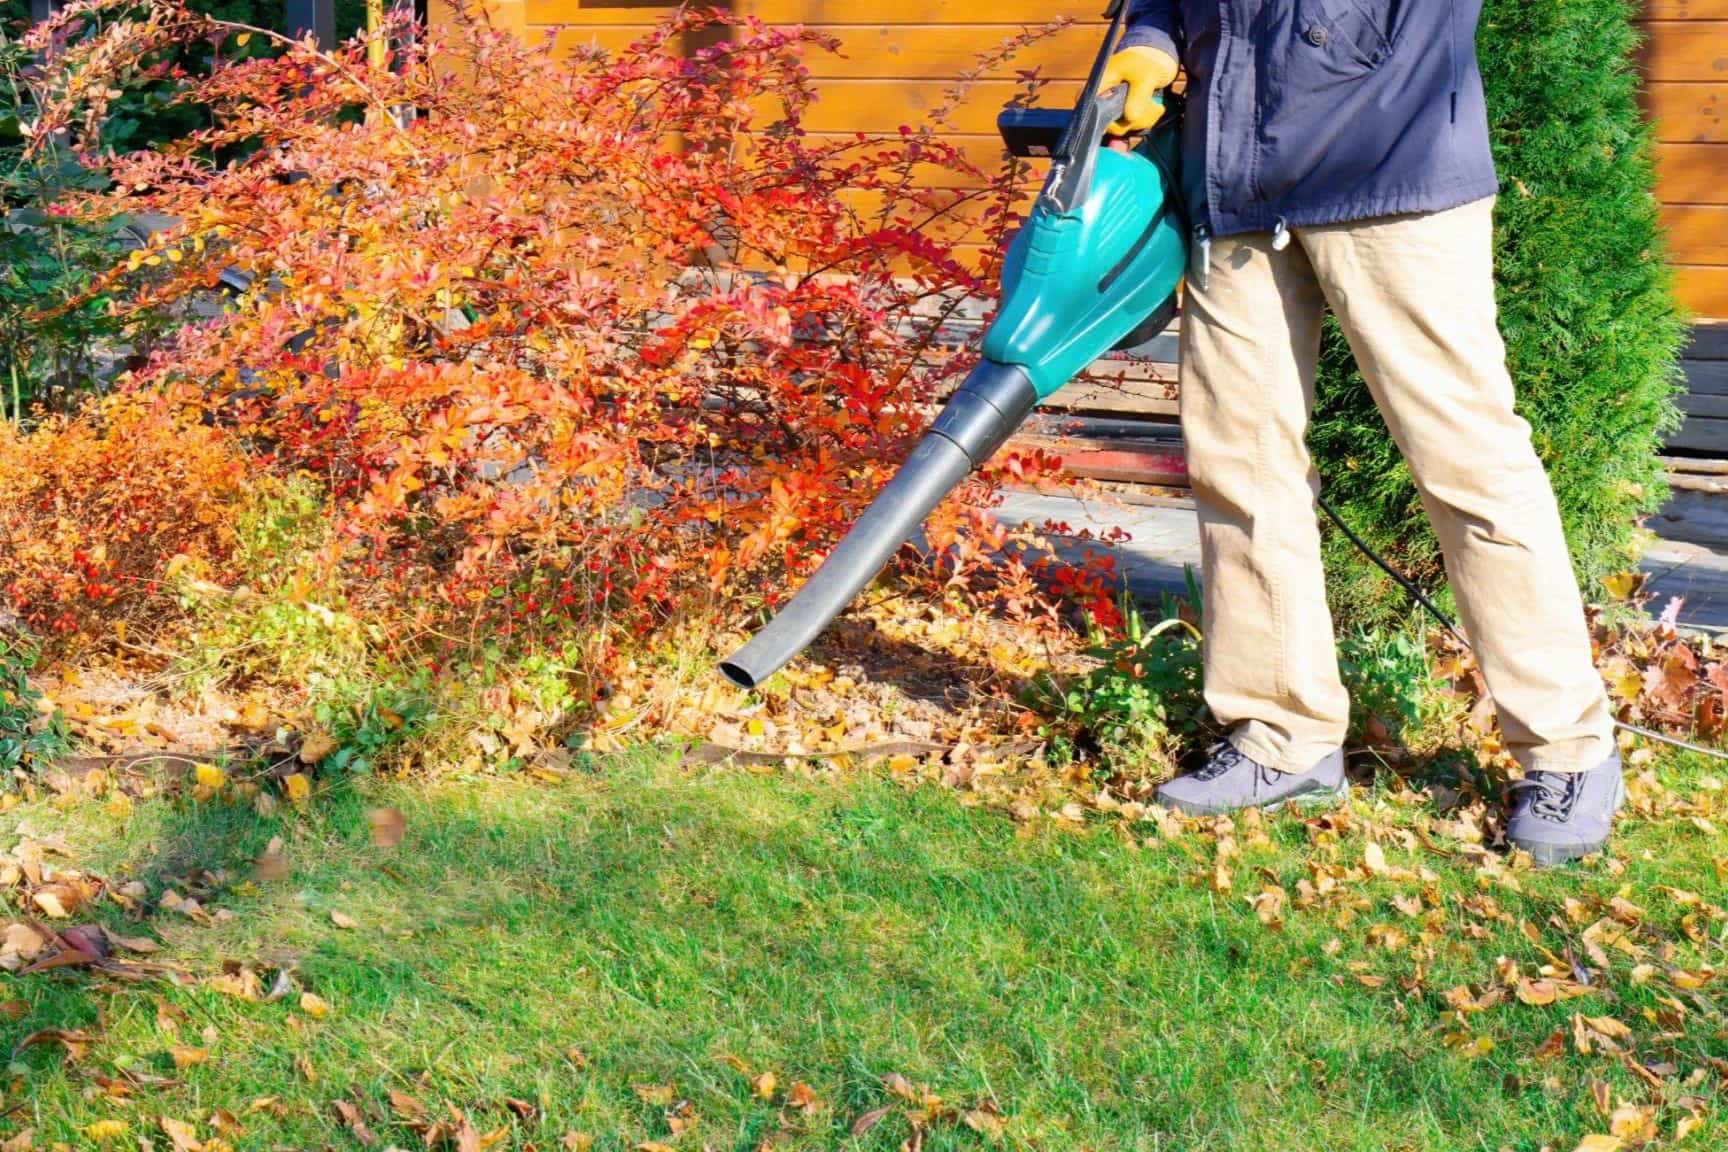
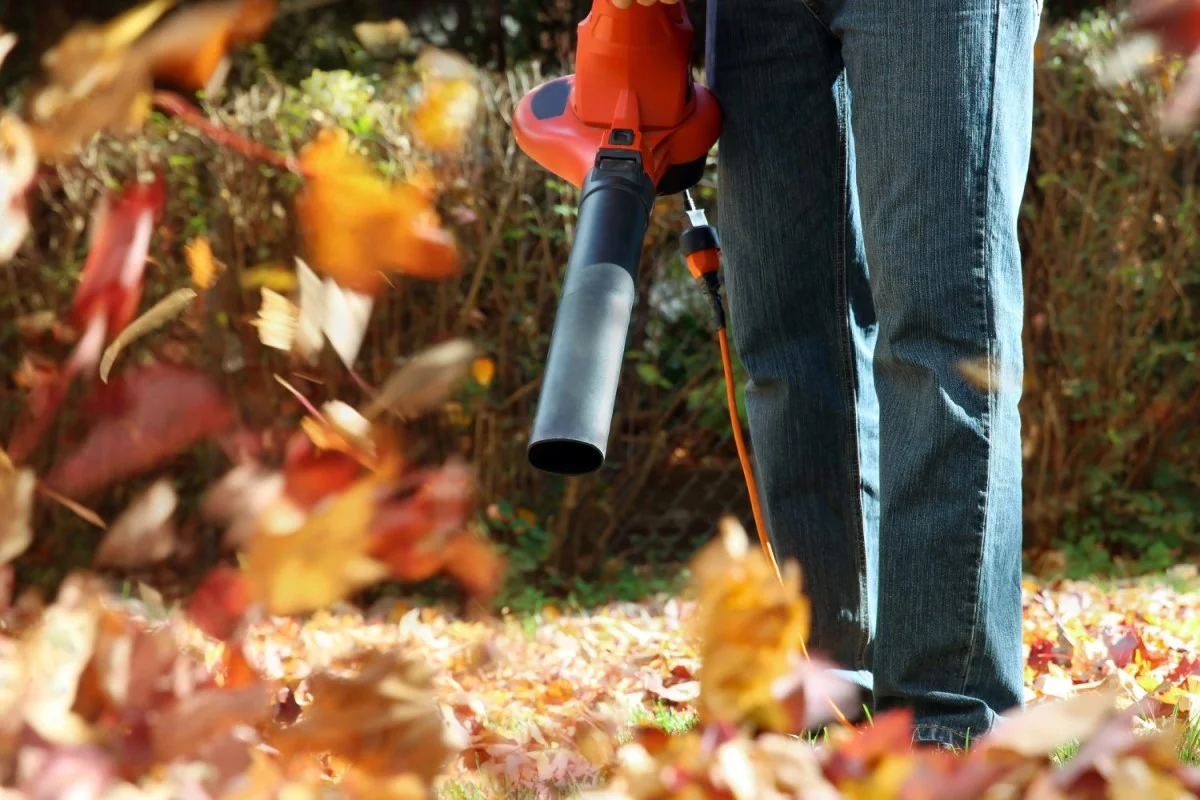
Having a backpack leaf blower can make yard maintenance a breeze. These powerful tools are designed to quickly and efficiently clear away leaves, debris, and grass clippings, saving you time and effort. However, when the season comes to an end, it’s important to properly store your backpack leaf blower to ensure its longevity and reliable performance for years to come.
In this article, we will guide you through the steps to store your backpack leaf blower in the garage. By following these steps, you can protect your investment and have your leaf blower ready to go when spring arrives.
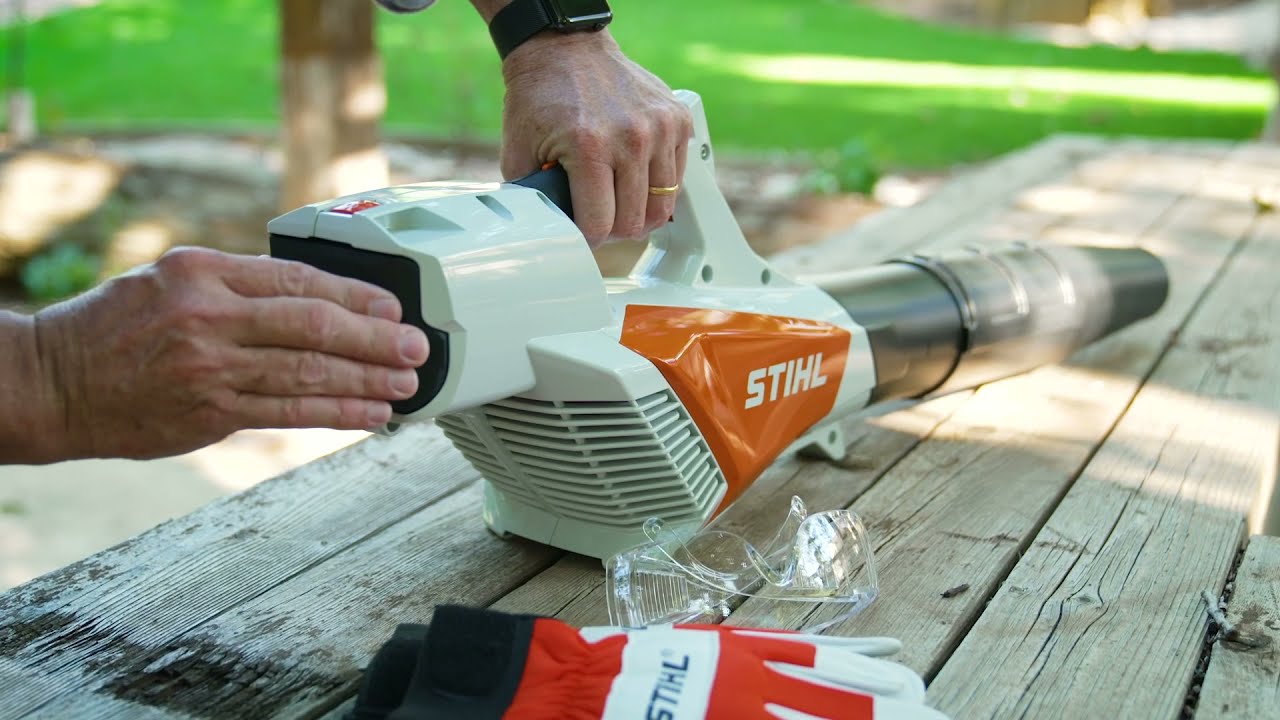
Before diving into the storage process, it’s crucial to note that safety should always be a priority. Make sure to carefully read and follow the manufacturer’s instructions for your specific backpack leaf blower model. Additionally, take necessary safety precautions by wearing protective gear, such as goggles, gloves, and ear protection, when handling and storing your leaf blower.
Now, let’s dive into the steps to properly store your backpack leaf blower in the garage.
Key Takeaways:
- Properly storing your backpack leaf blower in the garage is essential for maintaining its longevity and performance, ensuring it’s ready for use when needed.
- Regular maintenance and inspection, even during storage, will help identify and address any issues promptly, ensuring your leaf blower remains in top condition.
Read more: How To Store Leaf Blower In Garage
Step 1: Prepare the Backpack Leaf Blower
Before storing your backpack leaf blower, it’s essential to prepare it properly. This will help ensure that it remains in good condition during its time in storage. Here are some steps to follow:
- Clean the exterior: Start by cleaning the exterior of the leaf blower. Use a soft cloth or brush to remove any dirt, debris, or grass clippings that may have accumulated on the surface. This will prevent any build-up from causing damage or corrosion over time.
- Inspect the air filter: The air filter plays a crucial role in the performance of your leaf blower. It filters out dust and debris, preventing them from entering the engine. Check the air filter for any signs of damage or clogging. If necessary, clean or replace the air filter before storage.
- Check the spark plug: The spark plug is responsible for igniting the fuel-air mixture in the engine. Inspect the spark plug to ensure it is in good condition and functioning properly. If it appears worn out or damaged, consider replacing it before storing your leaf blower.
- Inspect the fuel lines: Carefully inspect the fuel lines for any cracks or leaks. Damaged fuel lines can lead to fuel leakage and pose a fire hazard. If you notice any issues, it’s best to replace the fuel lines before storage.
- Examine the throttle trigger and controls: Check the throttle trigger and other controls to ensure they are working smoothly. Lubricate any moving parts if necessary to prevent them from seizing up while in storage.
By taking the time to prepare your backpack leaf blower before storing it, you can prevent potential problems and ensure it’s ready for use when you need it next.
Step 2: Clean the Backpack Leaf Blower
A clean leaf blower is not only more efficient but also less likely to suffer from damage or deterioration while in storage. Follow these steps to thoroughly clean your backpack leaf blower:
- Remove loose debris: Use a brush or compressed air to remove any loose debris, such as leaves or grass clippings, from the exterior of the leaf blower. Pay attention to the air intake vents and cooling fins, as they can easily become clogged.
- Clean the air filter: Remove the air filter and clean it according to the manufacturer’s instructions. Depending on the type of filter, you may need to wash it with soapy water, rinse it thoroughly, and allow it to air dry before reinstalling.
- Inspect and clean the cooling system: Check the cooling fins and air passages for any blockages. Use a soft brush or compressed air to remove any dirt or debris that may hinder proper airflow.
- Wipe down the exterior: Use a damp cloth or sponge to wipe down the entire exterior of the leaf blower. Remove any grease, oil, or dirt that may have accumulated. For stubborn stains, you can use a mild detergent diluted in water.
- Clean the fan and impeller: Carefully remove any debris, such as twigs or grass clippings, from the fan and impeller. These components are crucial for efficient operation, so ensure they are clean and free from obstruction.
Regularly cleaning your backpack leaf blower not only improves its performance but also helps extend its lifespan. By following these cleaning steps before storing your leaf blower, you can ensure it’s in the best possible condition for future use.
Step 3: Disconnect any Power Sources
Before storing your backpack leaf blower, it’s important to disconnect any power sources to prevent accidents and damage. Follow these steps to disconnect the power sources:
- Turn off the engine: If your leaf blower is running, turn off the engine by pressing the stop switch or flipping the ignition switch to the “OFF” position. This will ensure that the engine is not accidentally started during the storage period.
- Remove the spark plug wire: Locate the spark plug wire, which is usually connected to the spark plug or ignition coil. Gently pull the wire away from the spark plug to disconnect it. This will prevent the engine from starting when attempting to use the leaf blower later.
- Disconnect the battery (if applicable): If your backpack leaf blower has a battery, remove it according to the manufacturer’s instructions. This will prevent any power drain or potential damage to the battery while in storage. Store the battery in a cool, dry place away from flammable materials.
- Empty the starter fuel tank: If your leaf blower has a separate starter fuel tank, drain any remaining fuel from it. Follow the manufacturer’s instructions to safely drain the fuel, as some models may have a drain plug or fuel line that needs to be disconnected.
By disconnecting the power sources, you minimize the risk of accidental starting and ensure the safety of both the equipment and yourself. It also helps prevent any power drain or damage that can occur while the backpack leaf blower is in storage.
Step 4: Empty the Fuel Tank
Before storing your backpack leaf blower, it’s crucial to empty the fuel tank to prevent fuel degradation and potential damage to the engine. Here’s how you can properly empty the fuel tank:
- Run the engine until it runs out of fuel: Start by running the leaf blower until it completely runs out of fuel. Ensure that you do this in a well-ventilated area to avoid inhaling any exhaust fumes.
- Use a fuel siphon or drain the fuel manually: If there is still some fuel left in the tank after running the engine, you can use a fuel siphon or a hand pump to drain the fuel into a suitable container. Alternatively, you can remove the fuel tank cap and carefully pour out the remaining fuel.
- Dispose of the fuel properly: It’s essential to dispose of the fuel safely and in accordance with local regulations. Contact your local waste management facility to learn about proper disposal methods for gasoline or any other fuel types used in your leaf blower.
- Start the engine and let it run: Once the fuel tank is empty, start the engine and allow it to run until it stalls. This helps burn any residual fuel in the carburetor and fuel lines, preventing them from clogging or causing issues when the leaf blower is stored.
Emptying the fuel tank is crucial to prevent fuel from sitting in the tank for an extended period, which can lead to fuel degradation and the formation of deposits that can clog the fuel system. By following these steps, you ensure that your backpack leaf blower is ready for storage without any fuel-related problems.
Read more: What Is The Best Backpack Leaf Blower
Step 5: Remove any Attachments or Accessories
Before storing your backpack leaf blower, it’s important to remove any attachments or accessories that may be attached to it. This will help prevent damage and ensure that the components are stored properly. Follow these steps to remove attachments and accessories:
- Inspect the leaf blower: Take a close look at your backpack leaf blower and identify any attachments or accessories that are currently attached. This may include items such as extension tubes, nozzles, or collection bags.
- Check for any quick-release mechanisms: Some attachments may have quick-release mechanisms that allow for easy removal. Look for any buttons, levers, or locks that can be disengaged to detach the attachment from the leaf blower.
- Follow the manufacturer’s instructions: If you’re unsure about how to remove a specific attachment or accessory, consult the manufacturer’s instructions or refer to their website for guidance. They will provide specific instructions tailored to your leaf blower model.
- Store attachments separately: Once you have removed the attachments, it’s essential to store them separately from the leaf blower. This will help prevent damage and ensure that everything is organized when you need to use them again.
By removing attachments and accessories from your backpack leaf blower before storage, you can prevent any potential damage to these components and ensure that they are in good condition when you need to use them again. Store attachments in a safe and dry place to protect them from dust, moisture, and any other elements that may cause deterioration.
To store a backpack leaf blower in the garage, make sure to clean it thoroughly, empty the fuel tank, and store it in a dry, well-ventilated area away from direct sunlight and moisture. Hang it on a wall or place it on a shelf to prevent any damage.
Step 6: Check for Any Damages or Repairs Needed
Before storing your backpack leaf blower, it’s important to inspect it for any damages or repairs that may be needed. Identifying and addressing any issues in advance will help ensure that your leaf blower is in optimal condition when you need to use it again. Follow these steps to check for damages or repairs:
- Examine the housing and body: Carefully inspect the housing and body of your leaf blower for any cracks, dents, or signs of damage. These could indicate potential weak points that may need repair before storage.
- Check the fuel lines and connections: Inspect the fuel lines and connections for any leaks, cracks, or loose fittings. Replace any damaged or worn-out parts to ensure proper fuel flow and prevent potential hazards.
- Inspect the ignition system: Check the ignition system, including the spark plug and ignition coil, for any signs of damage or wear. Replace the spark plug if needed and ensure the ignition system is in good working condition.
- Inspect the air filter and carburetor: Take a look at the air filter and carburetor for any dirt, debris, or signs of clogging. Clean or replace the air filter and ensure the carburetor is properly adjusted for optimal performance.
- Test the engine performance: Start the leaf blower and observe its performance. Listen for any unusual sounds, vibrations, or irregularities that may indicate a problem. If you notice any issues, consult a professional for further inspection and repairs.
By conducting a thorough inspection for damages or repairs, you can address any potential issues before storing your backpack leaf blower. This will help ensure that your equipment is in the best possible condition and ready for use when you need it in the future.
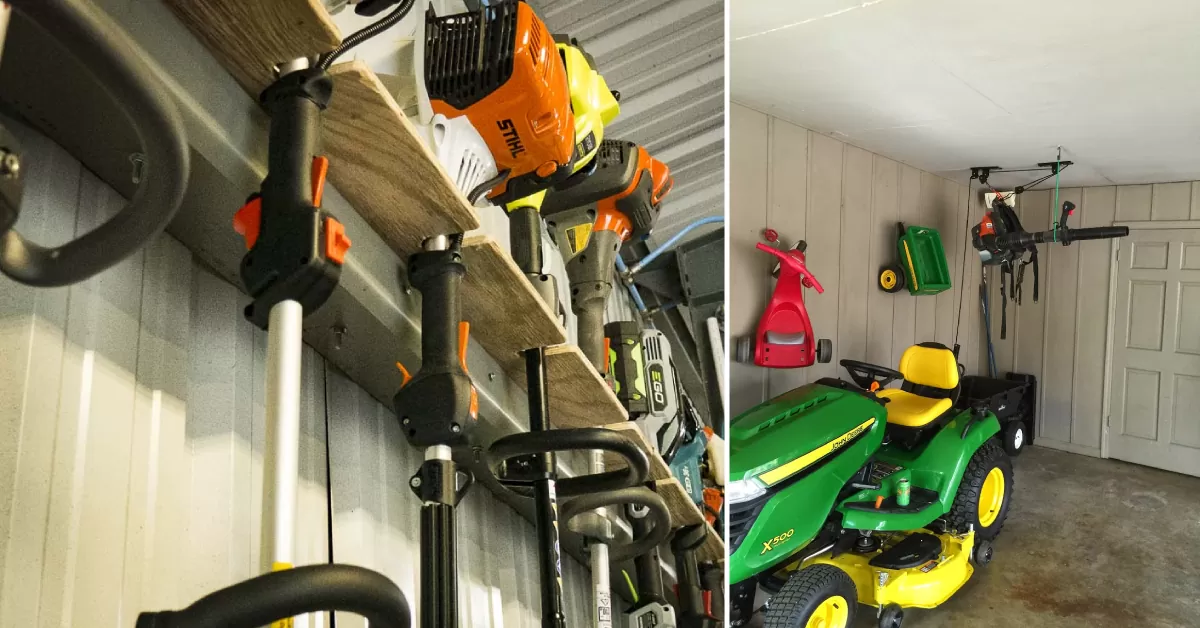
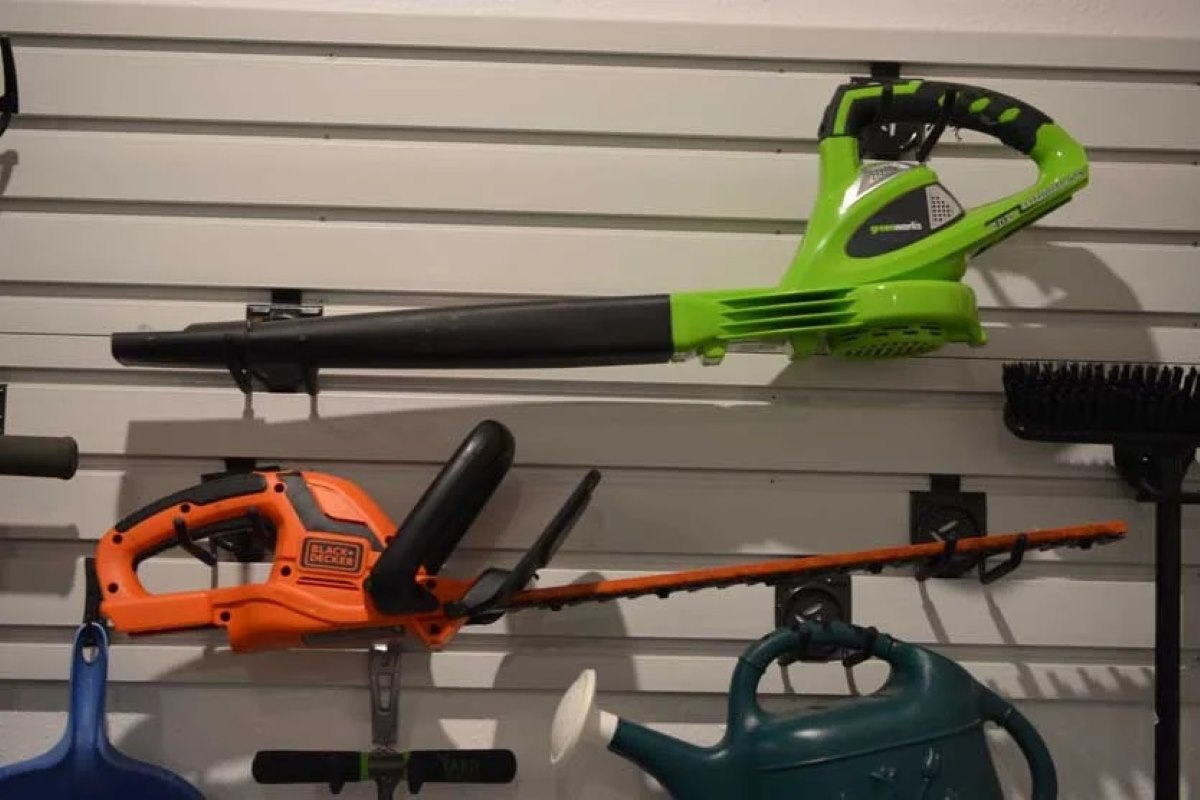
Step 7: Determine the Storage Location
Choosing the right storage location for your backpack leaf blower is crucial to ensure its safety and longevity. Consider the following factors when determining the ideal storage location:
- Indoor vs. outdoor storage: Whenever possible, it’s best to store your backpack leaf blower indoors to protect it from the elements. If you have a garage or shed, that would be an ideal location. However, if indoor storage is not feasible, consider using a sturdy, weatherproof cover to protect the leaf blower from rain, snow, and direct sunlight.
- Temperature and humidity: Aim for a storage location with relatively stable temperature and humidity levels. Extreme temperature fluctuations and high humidity can negatively affect the components of the leaf blower, leading to corrosion and deterioration. Avoid places that are prone to excessive moisture or extreme heat.
- Security and accessibility: Choose a storage location that is secure and inaccessible to children and unauthorized individuals. Consider using a lock or placing the leaf blower in a locked cabinet or storage box to prevent theft or tampering.
- Adequate ventilation: Ensure that the storage location provides adequate ventilation to prevent the accumulation of harmful fumes or the growth of mold and mildew. Proper air circulation will help maintain the condition of the leaf blower.
Take some time to assess your available storage options and choose the one that meets these criteria. Remember, the goal is to protect your backpack leaf blower from the elements, maintain its condition, and ensure it’s easily accessible when you need it again.
Step 8: Choose a Suitable Storage Container or Cover
Once you have determined the storage location for your backpack leaf blower, it’s important to choose a suitable storage container or cover to provide additional protection. This will help safeguard your equipment from dust, moisture, and other potential hazards. Follow these steps to choose the right storage container or cover:
- Consider a storage container: If storing your leaf blower indoors, you may opt for a storage container specifically designed for tools and equipment. Look for a durable container that is large enough to accommodate your leaf blower and any accessories.
- Ensure proper insulation: Select a storage container with insulating properties to protect your leaf blower from extreme temperature fluctuations. Insulation can help prevent condensation and minimize the risk of corrosion or damage.
- Choose a cover for outdoor storage: If you are storing your leaf blower outdoors, a weatherproof cover is essential. Look for a cover that is designed to resist UV rays, water, and dust. Ensure it is the right size to properly fit over your leaf blower and securely fasten it to prevent any movement or exposure.
- Consider a breathable cover: If storing your leaf blower in a container or enclosed space, choose a cover that is breathable. This will allow for proper airflow, preventing the buildup of moisture and avoiding the growth of mold or mildew.
- Label the storage container or cover: To stay organized, label the storage container or cover with the name or description of the contents. This will make it easy to locate your backpack leaf blower when needed.
By selecting the right storage container or cover, you can provide an extra layer of protection for your backpack leaf blower. Whether storing it indoors or outdoors, the proper storage solution will help preserve the condition and performance of your equipment during its time in storage.
Read more: How To Store A Backpack Blower
Step 9: Store the Backpack Leaf Blower Safely
Now that you have prepared your backpack leaf blower and chosen the appropriate storage location and container or cover, it’s time to safely store your equipment. Follow these steps to ensure your leaf blower is securely stored:
- Place the leaf blower in the storage container: Carefully position your leaf blower in the chosen storage container, ensuring it is secure and well-balanced.
- Arrange any accessories: If you have removed any attachments or accessories, store them alongside the leaf blower in the storage container. This will help keep everything together and easily accessible when you need them in the future.
- Fasten any loose parts: Before closing the storage container, ensure that any loose parts, such as extension tubes or nozzles, are securely fastened to prevent them from shifting or getting damaged during storage.
- Close and lock the container: If using a storage container, close the lid securely and, if possible, lock it to prevent any unauthorized access.
- Cover the leaf blower (if applicable): If storing your leaf blower outdoors, cover it with the selected weatherproof cover. Make sure the cover extends over the entire leaf blower, including any attached accessories, and is properly secured to prevent it from blowing off in strong winds.
- Place the storage container in the designated storage location: If storing the leaf blower indoors, place the storage container in the chosen storage location, ensuring it is not obstructing any pathways or posing a safety hazard.
- Store the leaf blower in a dry area: Regardless of whether you are storing your leaf blower indoors or outdoors, it’s crucial to ensure that the storage area is dry. Moisture can lead to rust and other damage, so keep your leaf blower in a location that is free from excessive humidity or water exposure.
By following these steps to safely store your backpack leaf blower, you are taking the necessary precautions to protect your equipment, keep it organized, and ensure its readiness for future use.
Step 10: Regular Maintenance and Inspection
Even when your backpack leaf blower is in storage, it’s important to perform regular maintenance and inspection to keep it in optimal condition. Follow these steps to ensure your leaf blower remains in good shape during its storage period:
- Follow the manufacturer’s guidelines: Consult the manufacturer’s manual or website for specific instructions on maintenance tasks and recommended intervals. Adhering to their guidelines will help you maintain your leaf blower properly.
- Inspect the storage container or cover: Periodically check the storage container or cover for any signs of damage or wear. Repair or replace it if necessary to ensure continued protection for your leaf blower.
- Inspect for pests: Regularly inspect the storage area and container for any signs of pests, such as rodents or insects. Take appropriate measures to prevent or remove them as they can cause damage to your equipment.
- Check for moisture or humidity: Monitor the storage area for any signs of moisture or excessive humidity. Address any issues promptly, as moisture can lead to corrosion and other damage to your leaf blower.
- Inspect the fuel system: Periodically check the fuel lines, carburetor, and fuel tank for any signs of damage, leaks, or blockage. Clean or replace any components as needed to ensure proper fuel flow and prevent potential issues.
- Check the air filter: Regularly inspect and clean or replace the air filter as recommended by the manufacturer. A clogged or dirty air filter can impact the performance and efficiency of your leaf blower.
- Inspect the spark plug: Check the spark plug regularly to ensure it is clean and in good condition. Replace the spark plug if necessary, following the manufacturer’s recommendations.
- Perform a test run: Before the leaf-blowing season begins, perform a test run of your equipment. Start the leaf blower and listen for any unusual sounds or vibrations. Ensure that it runs smoothly and everything is in working order.
By regularly maintaining and inspecting your backpack leaf blower even during storage, you can address any potential issues early on and ensure that your equipment remains in top condition. This will help prolong its lifespan and ensure reliable performance when you need it.
Conclusion
Properly storing your backpack leaf blower in the garage is essential to maintain its longevity and performance. By following the steps outlined in this article, you can ensure that your leaf blower remains in excellent condition during its storage period. From preparing the leaf blower and cleaning it thoroughly to disconnecting power sources and emptying the fuel tank, each step is crucial to protect your investment.
Choosing a suitable storage location, whether indoors or outdoors, is important to shield your leaf blower from the elements. Additionally, using a proper storage container or cover adds an extra layer of protection. Regular maintenance and inspection, even during storage, will help you identify and address any issues promptly, ensuring that your leaf blower is always ready for use.
Remember to follow the manufacturer’s guidelines and consult the owner’s manual for specific recommendations tailored to your leaf blower model. Safety should always be a priority, so wear appropriate protective gear and take necessary precautions when handling and storing your leaf blower.
By taking the time to properly store and maintain your backpack leaf blower, you are not only safeguarding your equipment but also ensuring that it will be in optimal condition when you need it next. With these steps in mind, you can enjoy the convenience and efficiency of your backpack leaf blower for many seasons to come.
Frequently Asked Questions about How To Store Backpack Leaf Blower In Garage
Was this page helpful?
At Storables.com, we guarantee accurate and reliable information. Our content, validated by Expert Board Contributors, is crafted following stringent Editorial Policies. We're committed to providing you with well-researched, expert-backed insights for all your informational needs.


0 thoughts on “How To Store Backpack Leaf Blower In Garage”