Articles
How To Store A Leaf Blower
Modified: October 28, 2024
Learn how to properly store a leaf blower with these helpful articles. Ensure the longevity and functionality of your equipment.
(Many of the links in this article redirect to a specific reviewed product. Your purchase of these products through affiliate links helps to generate commission for Storables.com, at no extra cost. Learn more)
Introduction
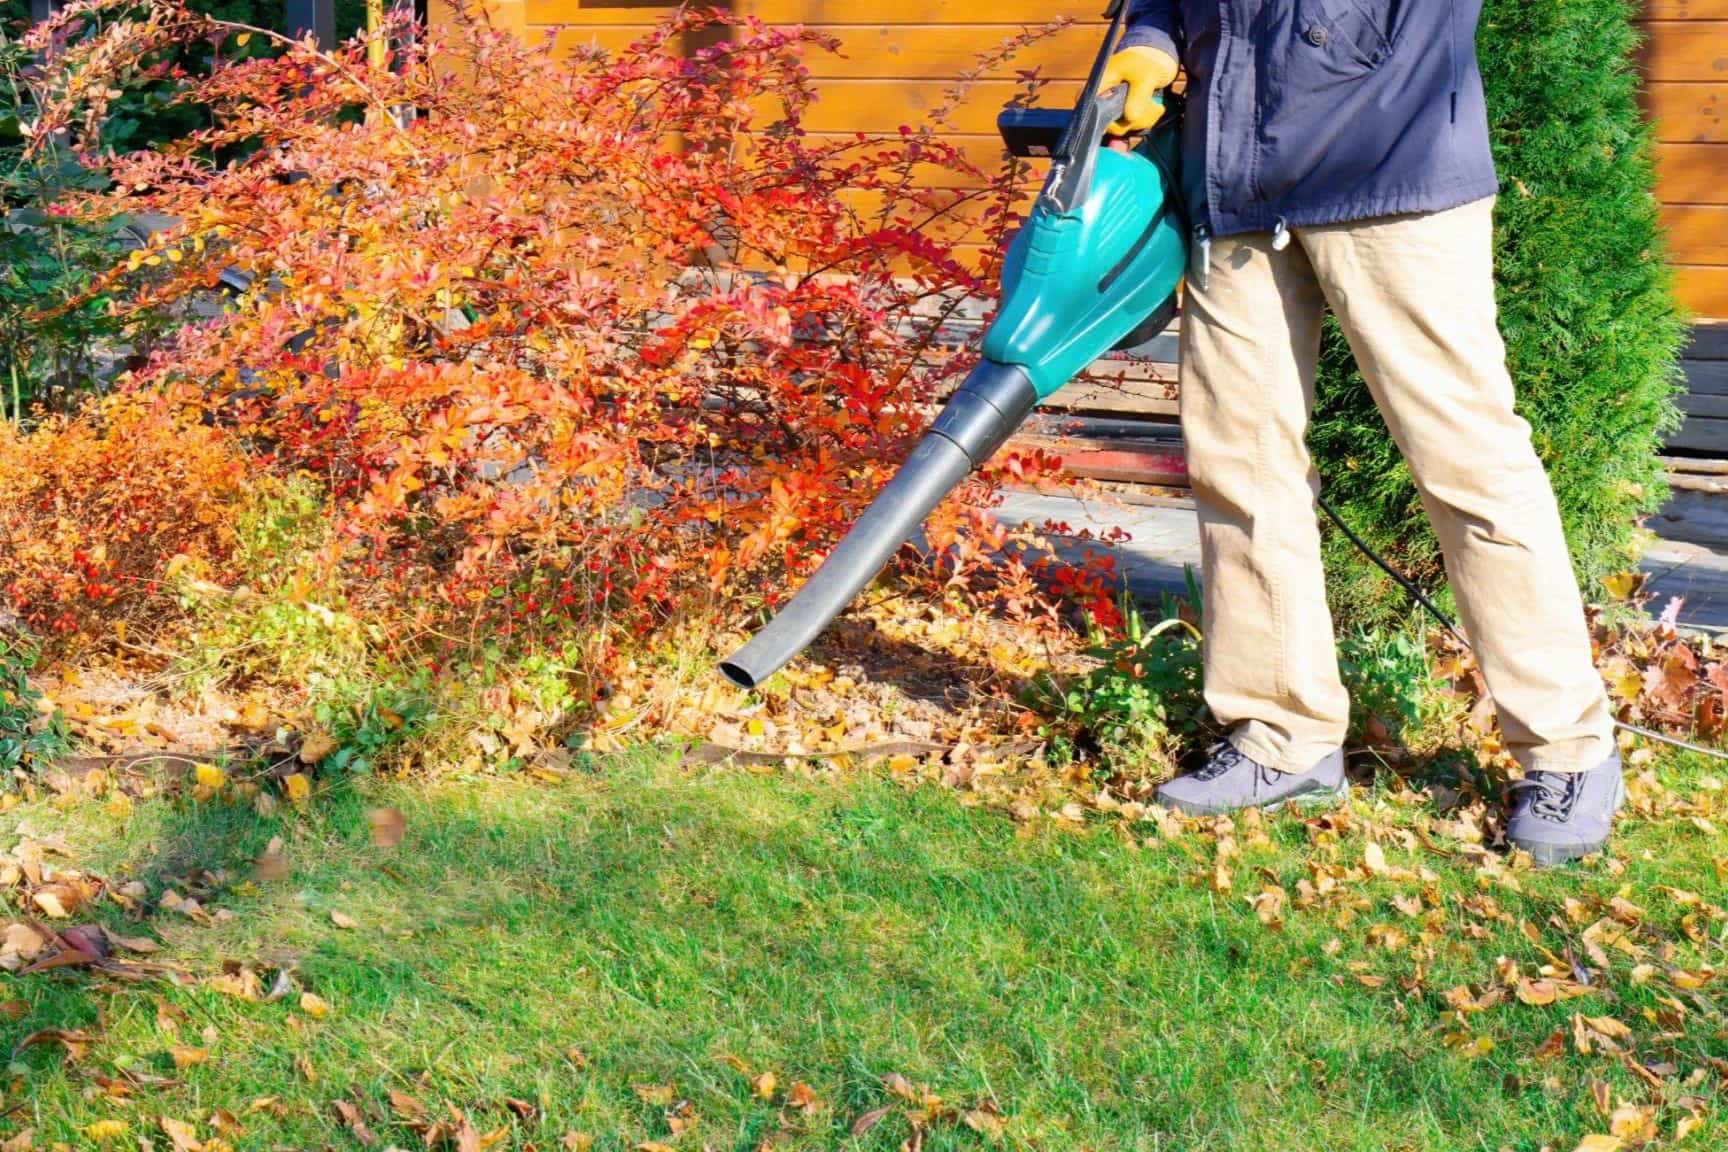
Storing your leaf blower properly is crucial to ensure its longevity and optimal performance. Whether you need to store it during the off-season or for a short period between usage, following the right steps will help protect your investment and keep it in top shape. In this article, we will guide you through the process of storing a leaf blower effectively.
Leaf blowers are a versatile and valuable tool for homeowners, making yard maintenance a breeze. However, improper storage can lead to damage, corrosion, and even premature wear and tear. By taking the time to properly clean, drain, and store your leaf blower, you can ensure that it stays in excellent condition and ready to tackle your landscaping needs whenever you need it.
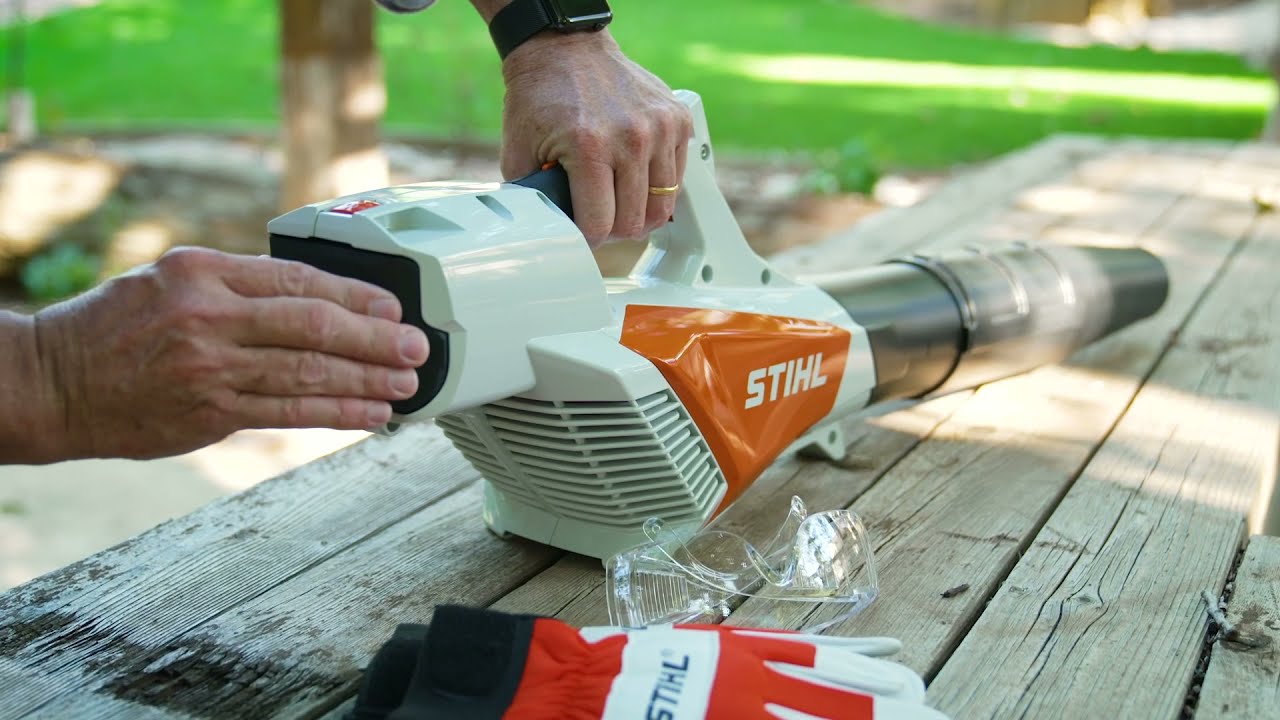
Before diving into the storage process, it’s important to note that different types of leaf blowers may have specific requirements. Gas-powered, electric, and battery-operated leaf blowers may each require different steps for optimal storage. Consult your leaf blower’s user manual for any specific instructions or recommendations.
Now, let’s dive into the step-by-step process of storing a leaf blower to keep it in pristine condition for years to come.
Key Takeaways:
- Properly storing and maintaining your leaf blower is crucial for its longevity and optimal performance. Follow the step-by-step guide to protect your investment and ensure it’s always ready for use.
- Regular maintenance, including cleaning, draining fuel, and removing batteries, is essential for keeping your leaf blower in top shape. Storing it in a dry, safe location and covering it adds an extra layer of protection.
Read more: How To Store Leaf Blower
Step 1: Cleaning the Leaf Blower
The first step in storing a leaf blower is to ensure that it is thoroughly cleaned. Over time, debris, dirt, and grass clippings can accumulate in the blower’s intake and impeller, hindering its performance and potentially causing damage. Cleaning your leaf blower before storage will help prevent clogs and prolong its lifespan.
Start by removing any loose debris or clumps of dirt from the exterior of the blower using a soft brush or cloth. Be sure to pay attention to any air vents and crevices where debris may accumulate. Gently wipe away dirt or grime to give the blower a clean and polished appearance.
Next, turn your attention to the blower’s intake area and impeller. Use a brush or compressed air to remove any remaining debris or clogs. Be thorough in your cleaning, ensuring that all parts are free from dirt and obstruction.
If you notice any stubborn debris that won’t budge, you can use a mild detergent and water solution to gently clean the affected area. Be cautious not to use excessive water or submerge the blower in liquid, as this can damage the internal components.
Once you are satisfied that the leaf blower is clean both inside and out, allow it to dry completely before proceeding to the next step. Dampness can lead to rust and corrosion, so it’s crucial to ensure that the blower is completely dry before storing it.
Cleaning your leaf blower regularly, even when it’s not being stored, is essential to maintain its efficiency and performance. Make it a part of your regular maintenance routine to keep your leaf blower in optimal condition.
Step 2: Draining Fuel and Oil
Properly draining the fuel and oil from your leaf blower is a crucial step in the storage process. Storing a leaf blower with fuel and oil can lead to varnish buildup, clogged carburetors, and potential engine damage. Follow these steps to ensure safe and effective fuel and oil removal.
Begin by checking the fuel tank of your leaf blower. If there is still fuel present, it’s important to drain it before storing the blower. Using a clean container or fuel siphon, carefully remove the fuel from the tank. Be sure to follow local regulations regarding the proper disposal of gasoline.
If your leaf blower is equipped with a two-stroke engine, it may require a fuel mixture of gasoline and oil. In this case, it’s crucial to drain both the fuel and oil. Consult your leaf blower’s manual or manufacturer’s instructions for specific guidance on draining the fuel and oil mixture.
Once the fuel has been drained, it’s time to remove the oil. Locate the oil filler cap or plug and remove it. Tilt the leaf blower to drain the oil into a suitable container. Avoid tilting the blower too much, as this can result in oil spillage. Allow the oil to fully drain from the blower.
After draining both the fuel and oil, it’s a good practice to run the leaf blower for a few minutes to ensure that any remaining fuel in the carburetor is used up. This step helps prevent residual fuel from causing issues during storage.
Remember to dispose of the drained fuel and oil in accordance with local regulations. Never discard them in regular trash or pour them down the drain, as this can harm the environment.
By properly draining the fuel and oil, you will protect your leaf blower’s engine and avoid potential damage or costly repairs. This step is essential, especially when storing your leaf blower for an extended period of time.
Step 3: Removing Batteries (if applicable)
If your leaf blower is battery-operated, it’s important to remove the batteries before storing it. Removing the batteries helps prevent corrosion, leakage, and potential damage to both the batteries and the blower itself.
Start by turning off the leaf blower and ensuring that it is completely powered off. Locate the battery compartment, which is typically located on the side or bottom of the blower. Follow the instructions in your leaf blower’s manual to remove the batteries safely.
Remove the batteries from the compartment and inspect them for any signs of damage or corrosion. If you notice any leaks, rust, or other abnormalities, it’s best to replace the batteries before storing the leaf blower. Damaged batteries can cause issues when left in the blower, such as corrosion on the battery terminals or a potential risk of electrical malfunctions.
Once the batteries have been removed, it’s important to store them properly as well. Keep them in a cool and dry place, away from direct sunlight and extreme temperatures. It’s also a good idea to check the battery charge periodically during storage and recharge them if needed to maintain their performance.
When it’s time to use your leaf blower again, make sure to insert the batteries correctly according to the manufacturer’s instructions. Inspect the batteries for any signs of damage or deterioration before reinserting them into the blower.
By removing the batteries before storing your leaf blower, you will help prolong their lifespan and ensure that your blower remains in optimal condition. Follow these steps to take proper care of your battery-operated leaf blower during storage.
Step 4: Detaching Nozzle and Accessories
Before storing your leaf blower, it’s important to detach the nozzle and any other accessories that are removable. This step helps prevent any damage or misplacement of these components during storage, ensuring that your leaf blower is ready to go when you need it again.
Start by turning off the leaf blower and allowing it to cool down, especially if it has been in use recently. Once it has cooled, locate the nozzle attachment point where the nozzle connects to the blower. Depending on the model, this may involve twisting, sliding, or unlocking mechanisms.
Carefully remove the nozzle from the blower, keeping it in a safe place. Pay attention to any additional accessories that may be attached, such as extension tubes or brushes. Remove them as well and set them aside.
Inspect the nozzle and accessories for any signs of damage, wear, or debris. Clean them if necessary, using a soft brush or cloth to remove any dirt or obstructions. It’s essential to keep these components in good condition to ensure optimal performance when you use your leaf blower again.
Once you have detached and inspected the nozzle and accessories, store them separately from the leaf blower in a safe and organized manner. This can help prevent misplacement or damage during storage. Consider using a storage box or bag specifically designed for leaf blower accessories to keep them protected and easily accessible.
When it’s time to use your leaf blower again, simply reattach the nozzle and any other accessories. Ensure that they are securely fastened and in proper working order before operating the blower.
By detaching and storing the nozzle and accessories separately, you can help prolong their lifespan and ensure that your leaf blower is always ready for efficient and effective use.
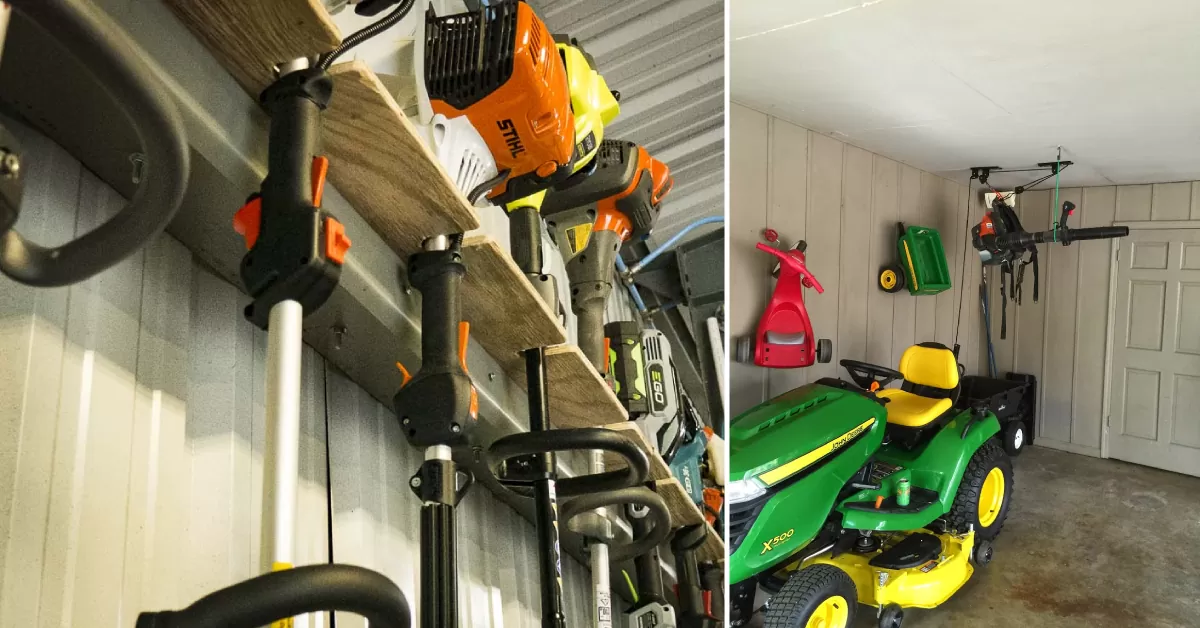
Store your leaf blower in a dry, well-ventilated area to prevent rust and damage. Make sure to clean it thoroughly before storing to prolong its lifespan.
Read more: How To Store Leaf Blower In Garage
Step 5: Securing the Power Cord (if applicable)
If your leaf blower is electric-powered and has a power cord, it’s important to properly secure and protect the cord before storing the blower. By taking the time to ensure the power cord is in good condition, you can prevent damage and ensure safe usage when you need it next.
Start by inspecting the power cord for any signs of wear, fraying, or damage. If you notice any issues, it’s crucial to address them before storing the leaf blower. Consider replacing the cord or contacting a professional for repairs if necessary.
Next, gently untangle any knots or twists in the power cord. Straighten it out to prevent any tangling or kinks that could potentially cause damage over time. A neatly organized and untangled power cord is not only easier to store, but it also helps maintain the overall integrity of the cord.
Once the power cord is untangled, consider using a cord reel or wrap to keep it organized and protected during storage. Cord reels are designed specifically for managing cords and help prevent tangles, knots, and damage. Alternatively, you can use secure cable ties or Velcro straps to neatly bundle and secure the power cord.
When storing the leaf blower, be mindful of the power cord’s position. Avoid placing heavy objects on top of or near the cord to prevent any potential crushing or damage. It’s also important to store the blower in a dry location, away from excessive moisture or extreme temperatures that could adversely affect the cord’s integrity.
Regularly inspect the power cord during storage to ensure that it remains in good condition. Check for any signs of wear or damage and address them promptly to maintain the safety and functionality of the cord.
By properly securing and protecting the power cord, you can prolong its lifespan and ensure that your electric-powered leaf blower is always ready for use when you need it.
Step 6: Storing in a Dry and Safe Location
Choosing the right storage location for your leaf blower is crucial to ensure its longevity and protection from potential damage. Storing your leaf blower in a dry and safe environment will help prevent rust, corrosion, and other issues that can arise from exposure to moisture, extreme temperatures, or accidental damage.
When selecting a storage location, look for a cool, dry area away from direct sunlight and excessive humidity. Moisture can lead to rust and corrosion, so it’s important to keep your leaf blower in a location where it can stay dry and free from water exposure.
If possible, consider storing the leaf blower in a dedicated storage shed or garage where it is protected from the elements and potential hazards. This provides an extra layer of security and shields the blower from extreme temperature fluctuations.
When placing your leaf blower in storage, ensure that it is in an upright position to prevent any oil or fuel leakage. Avoid resting it on its side or upside down, as this can lead to potential damage or leaks.
If you do not have access to a storage shed or garage, you can make use of a waterproof cover to protect your leaf blower from dust, debris, and potential moisture. Ensure that the cover is a proper fit and securely fastened to prevent any movement or exposure.
Additionally, consider storing your leaf blower away from other items that may inadvertently damage or puncture it. Keep it in a designated space where it is easily accessible but also protected from accidental bumps or falls.
By selecting a dry and safe storage location, you are taking proactive measures to preserve the overall condition and performance of your leaf blower. This step is essential to ensure that it remains in top shape and ready for use when you need it again.
Step 7: Covering the Leaf Blower
Covering your leaf blower is an additional protective measure to safeguard it from dust, debris, and potential damage during storage. A proper cover helps maintain the blower’s cleanliness and preserves its appearance, further extending its lifespan. Here’s how to effectively cover your leaf blower:
Before covering the blower, ensure it is clean and dry. Wipe down any remaining dust or dirt on the surface. A clean blower not only looks better but also prevents the buildup of grime, which can lead to corrosion or hinder performance.
Using a cover specifically designed for leaf blowers is recommended, as it offers a snug fit and protects against moisture. Look for a cover made from waterproof and durable materials that can withstand outdoor conditions. Measure your blower beforehand to ensure the cover is the correct size.
Carefully place the cover over the leaf blower, ensuring it fits securely and covers the entire unit. Fasten any straps or cords, if provided, to secure the cover in place. This prevents the cover from being blown away by wind or coming loose accidentally.
If a specialized cover is not available, you can use a tarp or a heavy-duty plastic bag to cover the blower. Make sure to secure it tightly with ties or bungee cords to prevent it from coming loose or getting damaged by wind or pests.
Store the leaf blower with the cover in a clean, dry, and safe location as discussed in the previous step. Avoid placing heavy objects on top of the covered blower, as this can cause unnecessary pressure or potential damage.
Periodically check the cover during storage for any signs of wear, damage, or mold. If you notice any issues, replace the cover to continue effectively protecting the leaf blower.
Properly covering your leaf blower provides an extra layer of protection against dust, insects, and moisture, ultimately prolonging its lifespan. By following this step, you ensure that your blower stays in optimal condition for years to come.
Step 8: Regular Maintenance Tips
In addition to the steps mentioned above for storing your leaf blower, regular maintenance is key to keeping it in optimal condition throughout its lifespan. By following these maintenance tips, you can ensure that your leaf blower is always ready for use and performs at its best:
1. Check the air filters: Dirty or clogged air filters can affect the performance of your leaf blower. Regularly inspect and clean or replace the air filters as recommended by the manufacturer. This helps ensure proper airflow and prevents damage to the engine.
2. Clean the spark plug: Over time, the spark plug can become fouled with carbon deposits, affecting the blower’s starting and performance. Clean or replace the spark plug periodically to maintain efficient ignition and smooth operation.
3. Inspect and tighten screws and bolts: Vibrations during operation can cause screws and bolts to loosen. Regularly check all the fasteners on your leaf blower and tighten them as necessary to prevent any parts from coming loose.
4. Lubricate moving parts: Some leaf blowers have moving parts that require lubrication for smooth operation. Check your blower’s manual to determine which parts need lubrication, and apply the recommended oil or grease accordingly.
5. Clean the cooling fins: The engine’s cooling fins help dissipate heat effectively. Periodically inspect and remove any debris or obstructions from the fins to ensure proper airflow, preventing overheating.
6. Check the fuel system: For gas-powered leaf blowers, inspect the fuel lines, fuel filters, and carburetor for any signs of damage or clogs. Clean or replace these components regularly to maintain fuel efficiency and prevent engine damage.
7. Store in a temperature-controlled environment: Extreme temperatures can affect the performance and longevity of your leaf blower. Whenever possible, store your blower in a location where temperatures are stable and moderate.
8. Follow recommended maintenance schedule: Consult your leaf blower’s manual for manufacturer’s recommendations on specific maintenance tasks and schedules. Adhering to these guidelines ensures that you provide the necessary care and attention to your blower.
By incorporating these regular maintenance practices into your leaf blower care routine, you can prolong its lifespan, enhance its performance, and reduce the likelihood of costly repairs or premature replacement.
Read more: What Is A Leaf Blower
Conclusion
Properly storing your leaf blower is essential for maintaining its longevity and performance. By following the steps outlined in this article, you can ensure that your leaf blower remains in top shape and ready for use whenever you need it.
From cleaning the blower and draining fuel and oil to removing batteries (if applicable) and detaching accessories, each step plays a crucial role in protecting your investment. Securing the power cord, storing the blower in a dry and safe location, and covering it with a suitable cover adds an extra layer of protection against damage and environmental elements.
Regular maintenance, including checking air filters, cleaning the spark plug, and lubricating moving parts, helps to keep your leaf blower running smoothly and efficiently. Following a recommended maintenance schedule and storing the blower in a temperature-controlled environment further contribute to its longevity.
By taking the time to properly store and maintain your leaf blower, you can enjoy its optimal performance and extend its lifespan. These simple steps can save you time, money, and frustration in the long run by preventing unnecessary repairs or replacement.
Remember to consult your leaf blower’s manual for any specific instructions or recommendations from the manufacturer. Each leaf blower may have its unique requirements, and it’s important to follow those guidelines for the best results.
By implementing these storage and maintenance practices, you can ensure that your leaf blower is always in excellent condition, ready to tackle your yard work with ease.
Frequently Asked Questions about How To Store A Leaf Blower
Was this page helpful?
At Storables.com, we guarantee accurate and reliable information. Our content, validated by Expert Board Contributors, is crafted following stringent Editorial Policies. We're committed to providing you with well-researched, expert-backed insights for all your informational needs.


0 thoughts on “How To Store A Leaf Blower”