Articles
How To Store Venison Jerky
Modified: December 7, 2023
Learn the best ways to store your homemade venison jerky for long-lasting freshness. Expert articles offer tips and tricks to maximize flavor and prevent spoilage.
(Many of the links in this article redirect to a specific reviewed product. Your purchase of these products through affiliate links helps to generate commission for Storables.com, at no extra cost. Learn more)
Introduction
Welcome to our comprehensive guide on how to store venison jerky! Venison jerky is a delicious and protein-packed snack that is perfect for outdoor adventures, road trips, or simply as a tasty and healthy snack option. Whether you have made your own jerky or purchased it from a store, proper storage is essential to maintain its flavor, texture, and shelf life.
In this article, we will walk you through the process of choosing the right cuts of venison, preparing the venison for jerky, marinating the meat, drying the jerky, and the best practices for storing venison jerky. By following these guidelines, you will be able to enjoy your jerky for an extended period without compromising its quality.
So, let’s dive in and learn how to store venison jerky properly!
Key Takeaways:
- Properly storing venison jerky is essential for maintaining its flavor and texture. Choose lean cuts, marinate carefully, and store in a cool, dry place to enjoy this delicious snack for an extended period.
- Follow best practices for maintaining the quality of venison jerky, including proper handling, avoiding moisture, and regular inspection. Share the joy of jerky with loved ones and enjoy it at its best!
Read more: How To Store Deer Jerky
Choosing the Right Cuts of Venison
When it comes to making venison jerky, choosing the right cuts of meat is crucial. The texture and taste of your jerky will largely depend on the quality and type of meat you select.
1. Lean Cuts: It’s essential to choose lean cuts of venison for making jerky. Look for cuts like the eye of round, top round, or bottom round. These cuts are naturally low in fat and have a firm texture, making them perfect for jerky production.
2. Fat Trimming: Before slicing the meat, make sure to trim off any visible fat. Fat does not dehydrate well and can become rancid, affecting the overall flavor and shelf life of the jerky. Removing the fat also helps in achieving a chewier and more tender jerky.
3. Consistent Thickness: To ensure even drying, it’s important to slice the meat into uniform thickness. A thickness of around 1/4 inch works well for venison jerky. Use a sharp knife or a meat slicer to ensure consistent slices, and try to maintain a consistent shape and size for each piece.
4. Quality of the Meat: Opt for fresh, high-quality venison cuts. Check for any signs of spoilage or discoloration, and avoid using meat that has been previously frozen and thawed multiple times. Fresh meat not only enhances the flavor of the jerky but also improves its shelf life.
Remember, the quality of your venison meat will significantly impact the final product. So, take your time when choosing the right cuts, and ensure that you have lean and fresh meat to create the best-tasting venison jerky.
Preparing the Venison for Jerky
Once you have chosen the right cuts of venison, it’s time to prepare the meat for jerky making. Proper preparation ensures that the meat is clean, safe to consume, and ready for the marinating process.
1. Cleaning the Meat: Before starting, thoroughly rinse the venison cuts under cold running water to remove any dirt or debris. Gently pat the meat dry with paper towels to remove excess moisture.
2. Partial Freezing: To achieve thin and even slices, it’s recommended to partially freeze the meat for about 1-2 hours. This makes it easier to handle and slice into uniform strips. However, be cautious not to freeze the meat completely, as it can make slicing difficult.
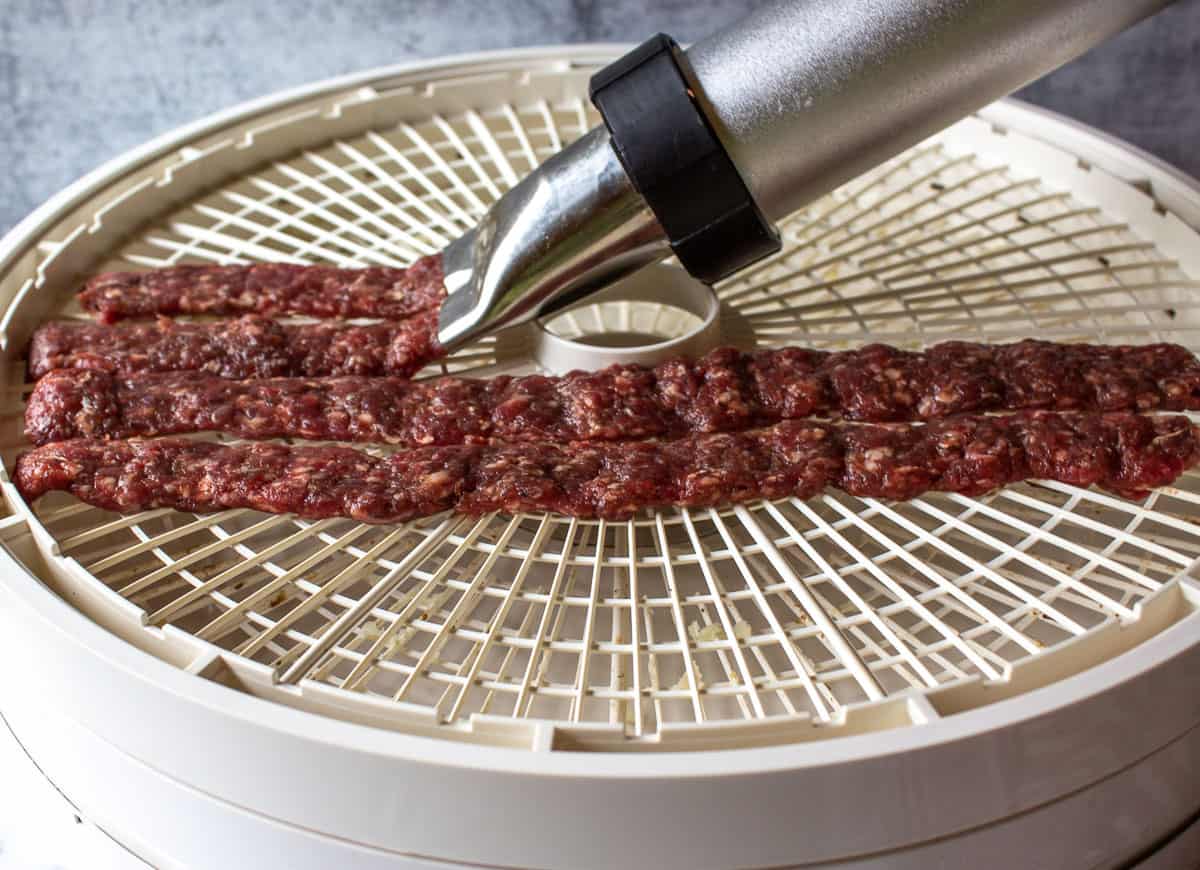
3. Slicing the Meat: Using a sharp knife or a meat slicer, cut the partially frozen meat into thin, uniform strips. Aim for a thickness of around 1/4 inch. Remember to slice against the grain for a more tender texture.
4. Remove Silverskin: While slicing, keep an eye out for any remaining silverskin—the tough, fibrous membrane that covers parts of the meat. Remove it using a knife to ensure a more enjoyable eating experience and even dehydration.
5. Final Inspection: Once you have sliced all the meat, give it a final inspection, checking for any remaining fat or unwanted connective tissues. Trim off any excess fat to prevent it from going rancid during the drying process.
By following these steps, you will have properly prepared venison meat that is ready for the next crucial step—marinating. Preparing the meat with care ensures that you create flavorful and high-quality venison jerky that will delight your taste buds.
Marinating the Venison
Marinating the venison is a vital step in the jerky-making process. A well-crafted marinade enhances the flavor, tenderizes the meat, and aids in preserving the jerky for longer periods. Follow these steps to marinate your venison:
1. Choose a Marinade: The marinade acts as the flavor base for your jerky. You can choose from a variety of pre-made marinades available in stores or create your own custom blend. Common marinade ingredients include soy sauce, Worcestershire sauce, vinegar, liquid smoke, various spices, and herbs. Experiment with different combinations to find your favorite flavor profile.
2. Combine the Ingredients: In a bowl or a resealable plastic bag, combine the marinade ingredients according to your recipe or preferences. Make sure to mix everything well so that each piece of venison is coated evenly. If using a plastic bag, squeeze out any excess air before sealing tightly.
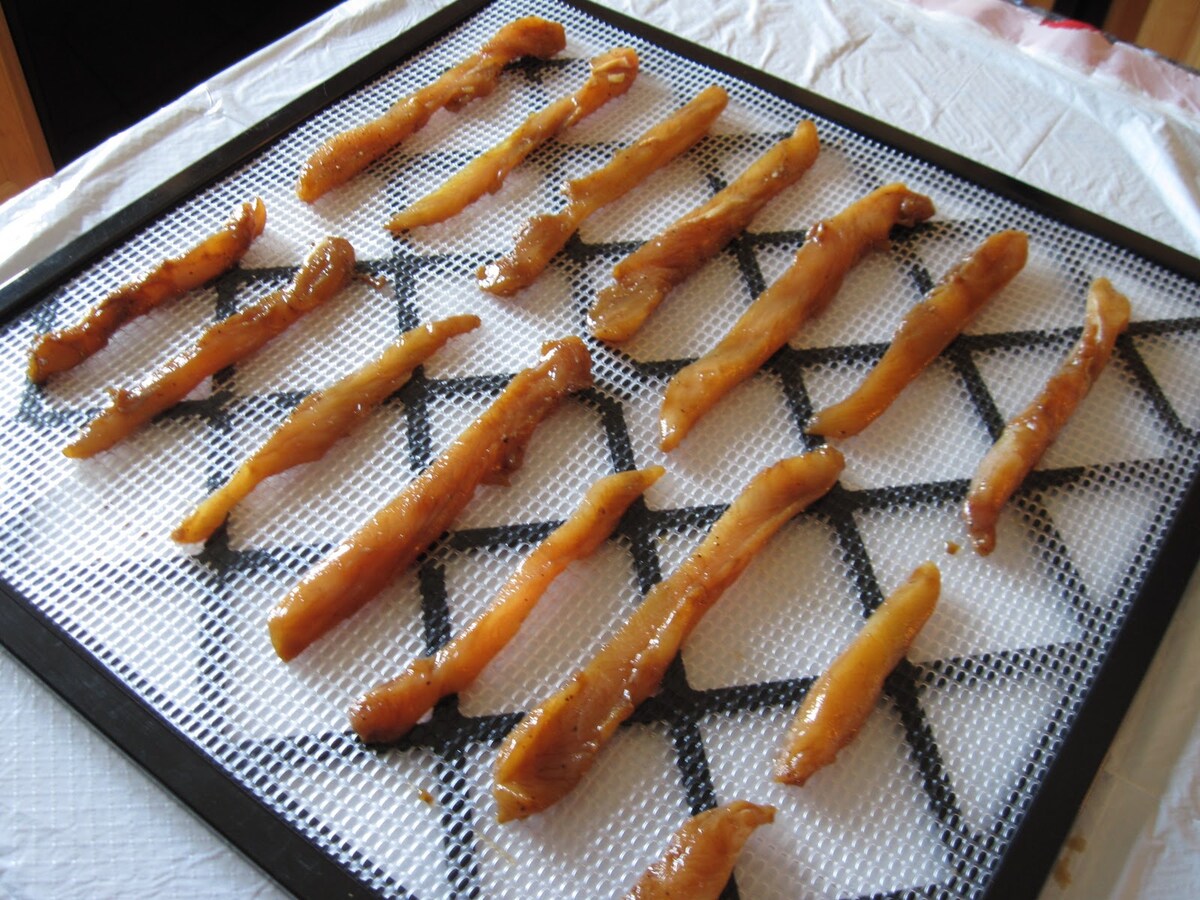
3. Add the Venison: Gently place the sliced venison pieces into the marinade, ensuring that each piece is submerged and coated. If using a plastic bag, massage the bag to distribute the marinade evenly. Refrigerate the marinating meat for at least 6 hours or overnight, allowing the flavors to infuse and tenderize the venison.
4. Rotate and Mix: While marinating, make sure to rotate or shake the container occasionally to ensure all the meat receives an equal amount of marinade. This helps to ensure a consistent flavor throughout the jerky.
5. Drain the Excess: After marinating, remove the meat from the marinade and gently pat it dry using paper towels. This helps remove excess marinade and prevents the jerky from becoming overly salty.
Remember, the length of marinating time may vary depending on the specific recipe or personal preference. With time and experimentation, you’ll discover the perfect marinade and marinating duration that suits your taste.
In the next section, we will guide you through the process of drying the marinated venison to transform it into delicious jerky.
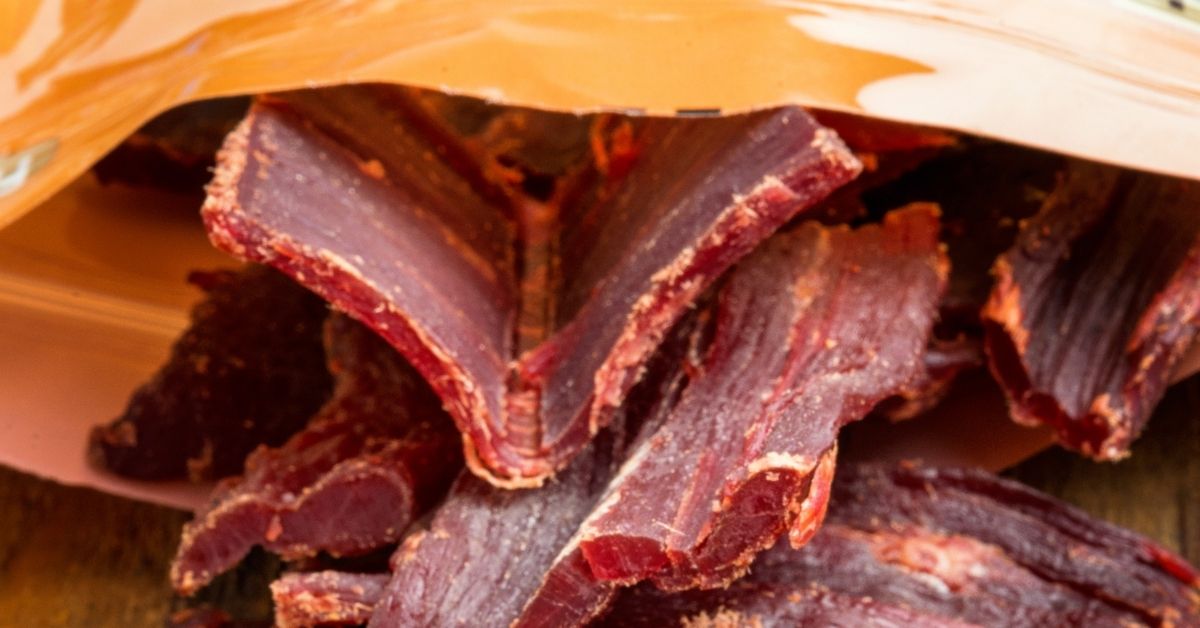
Store venison jerky in an airtight container or resealable bag to keep it fresh. You can also use a vacuum sealer to remove air and prolong its shelf life. Keep it in a cool, dark place to maintain its quality.
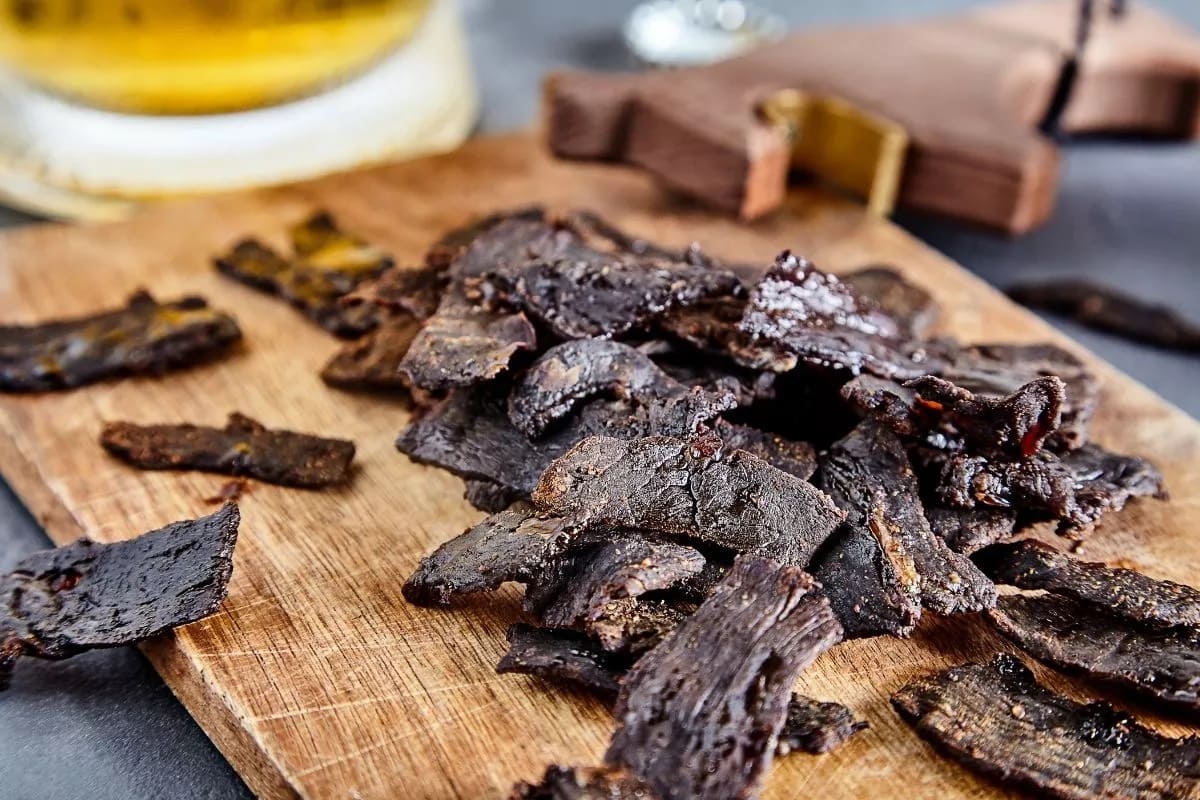
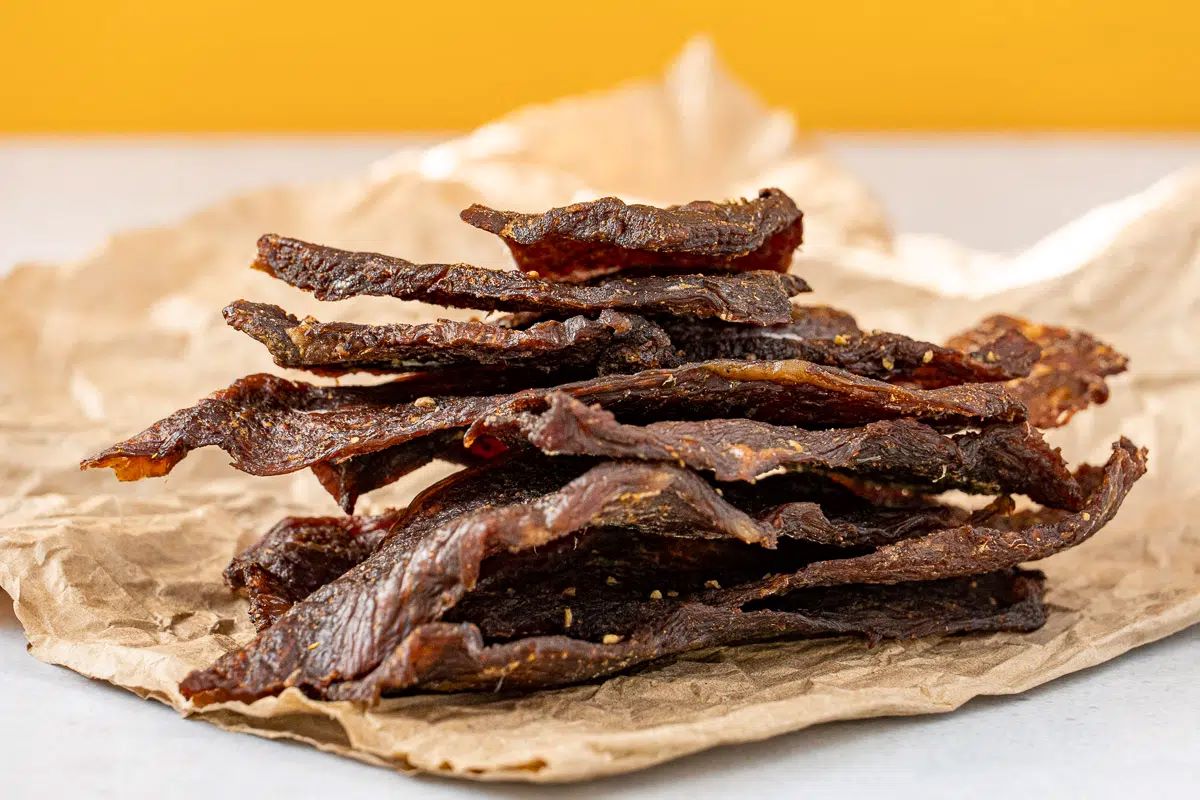
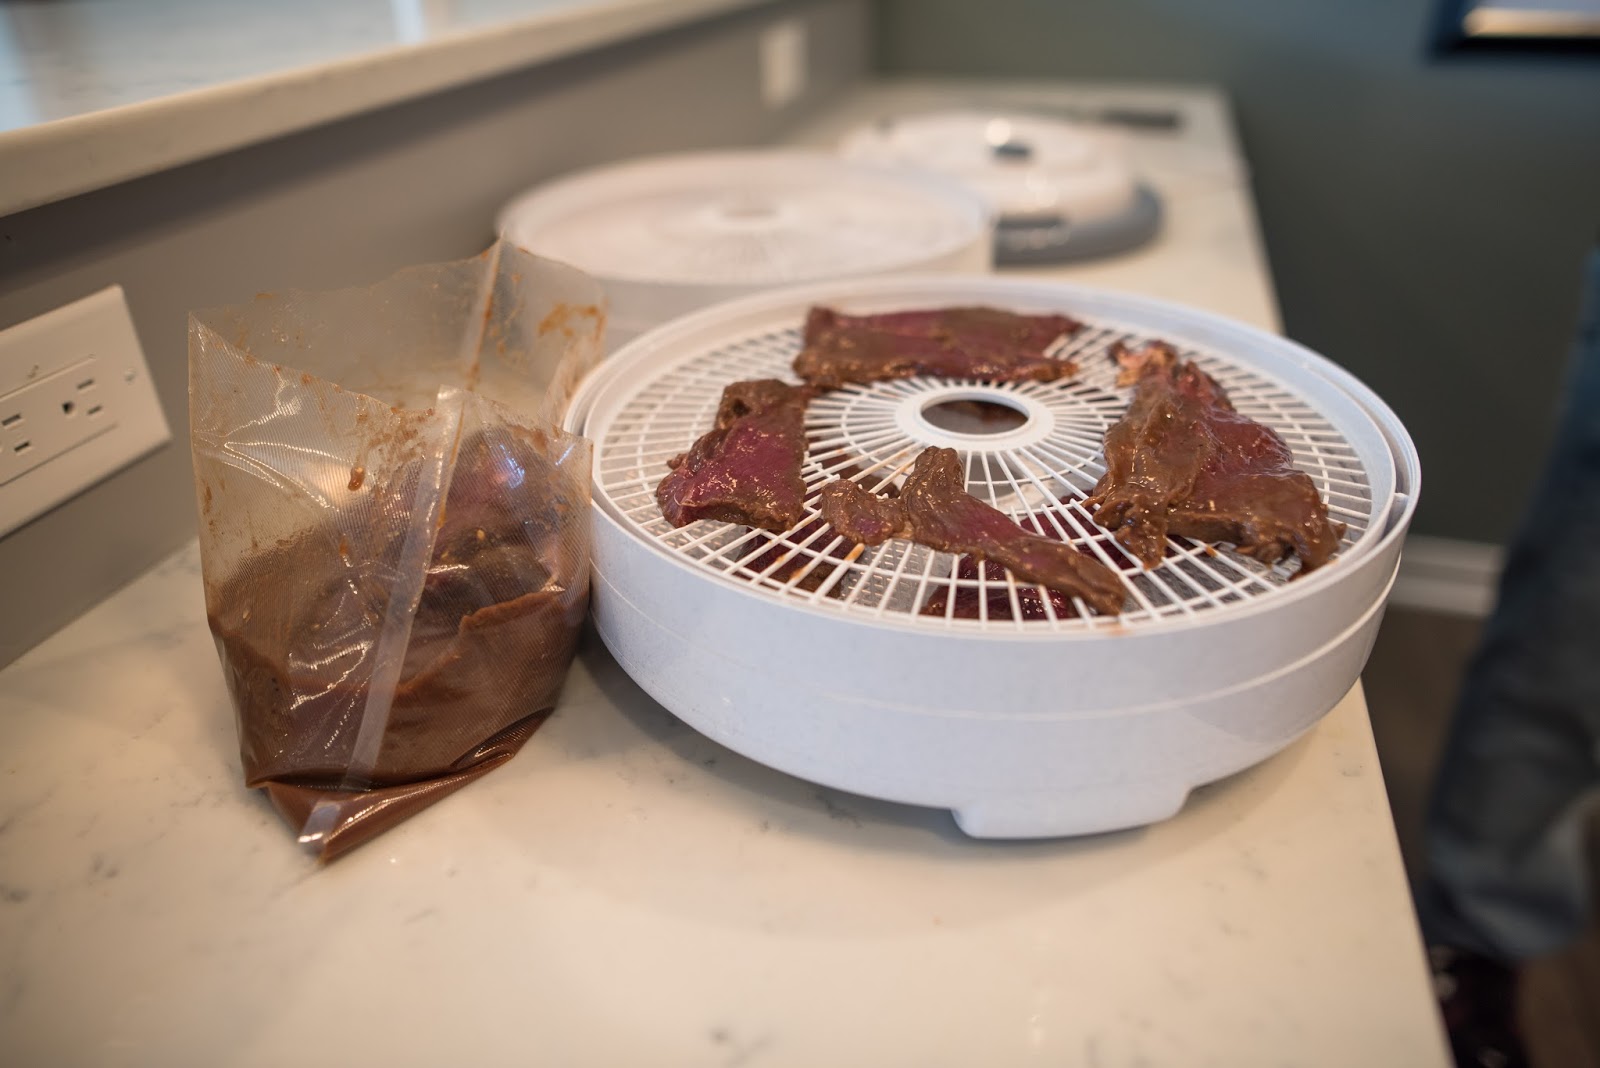
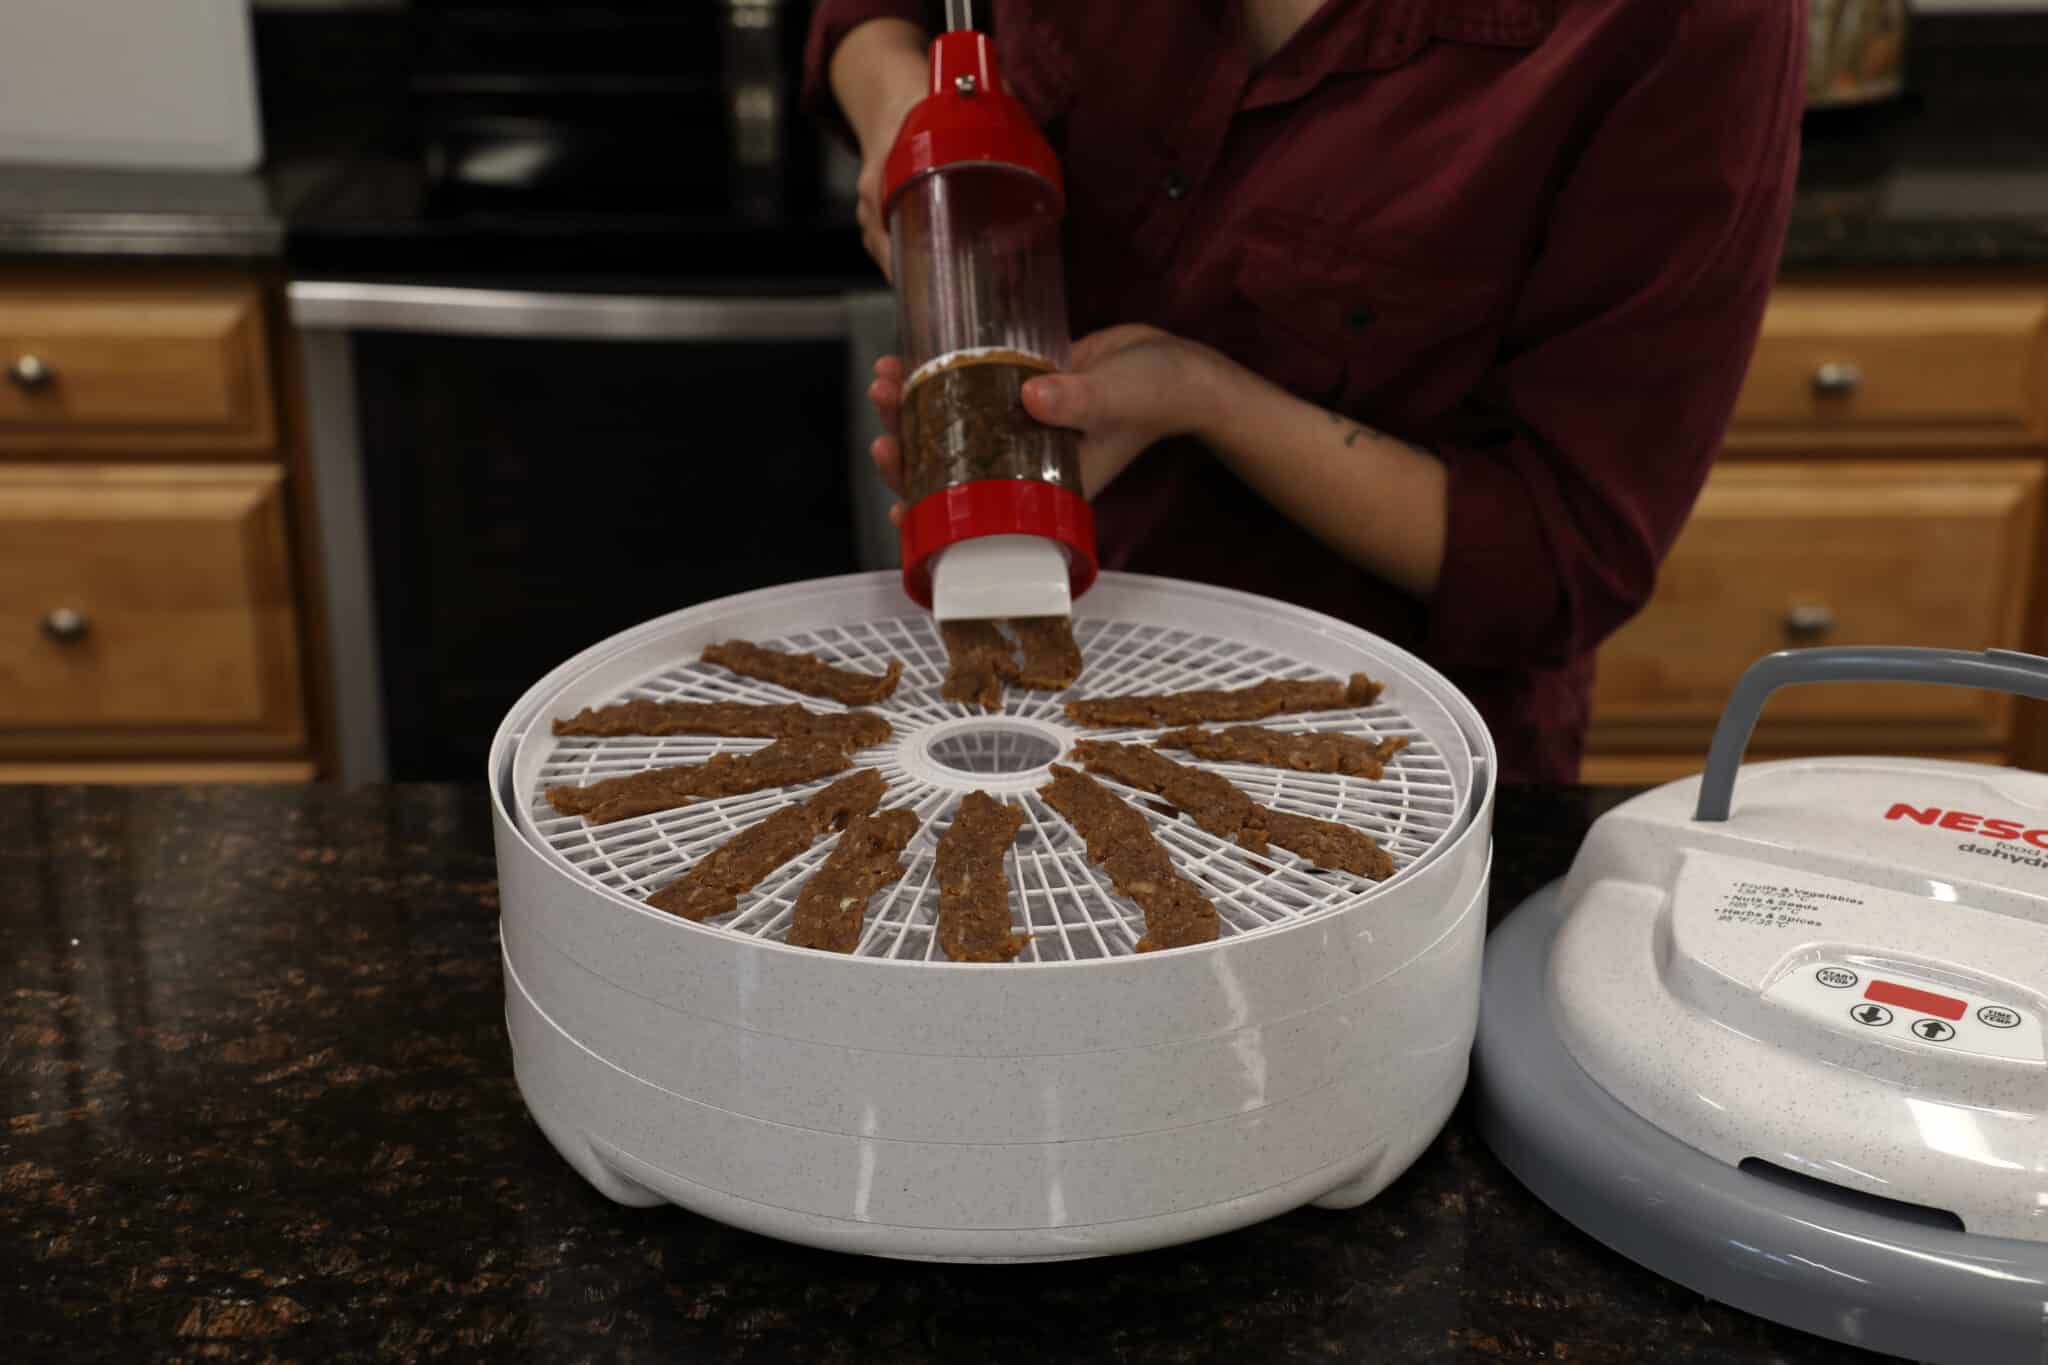
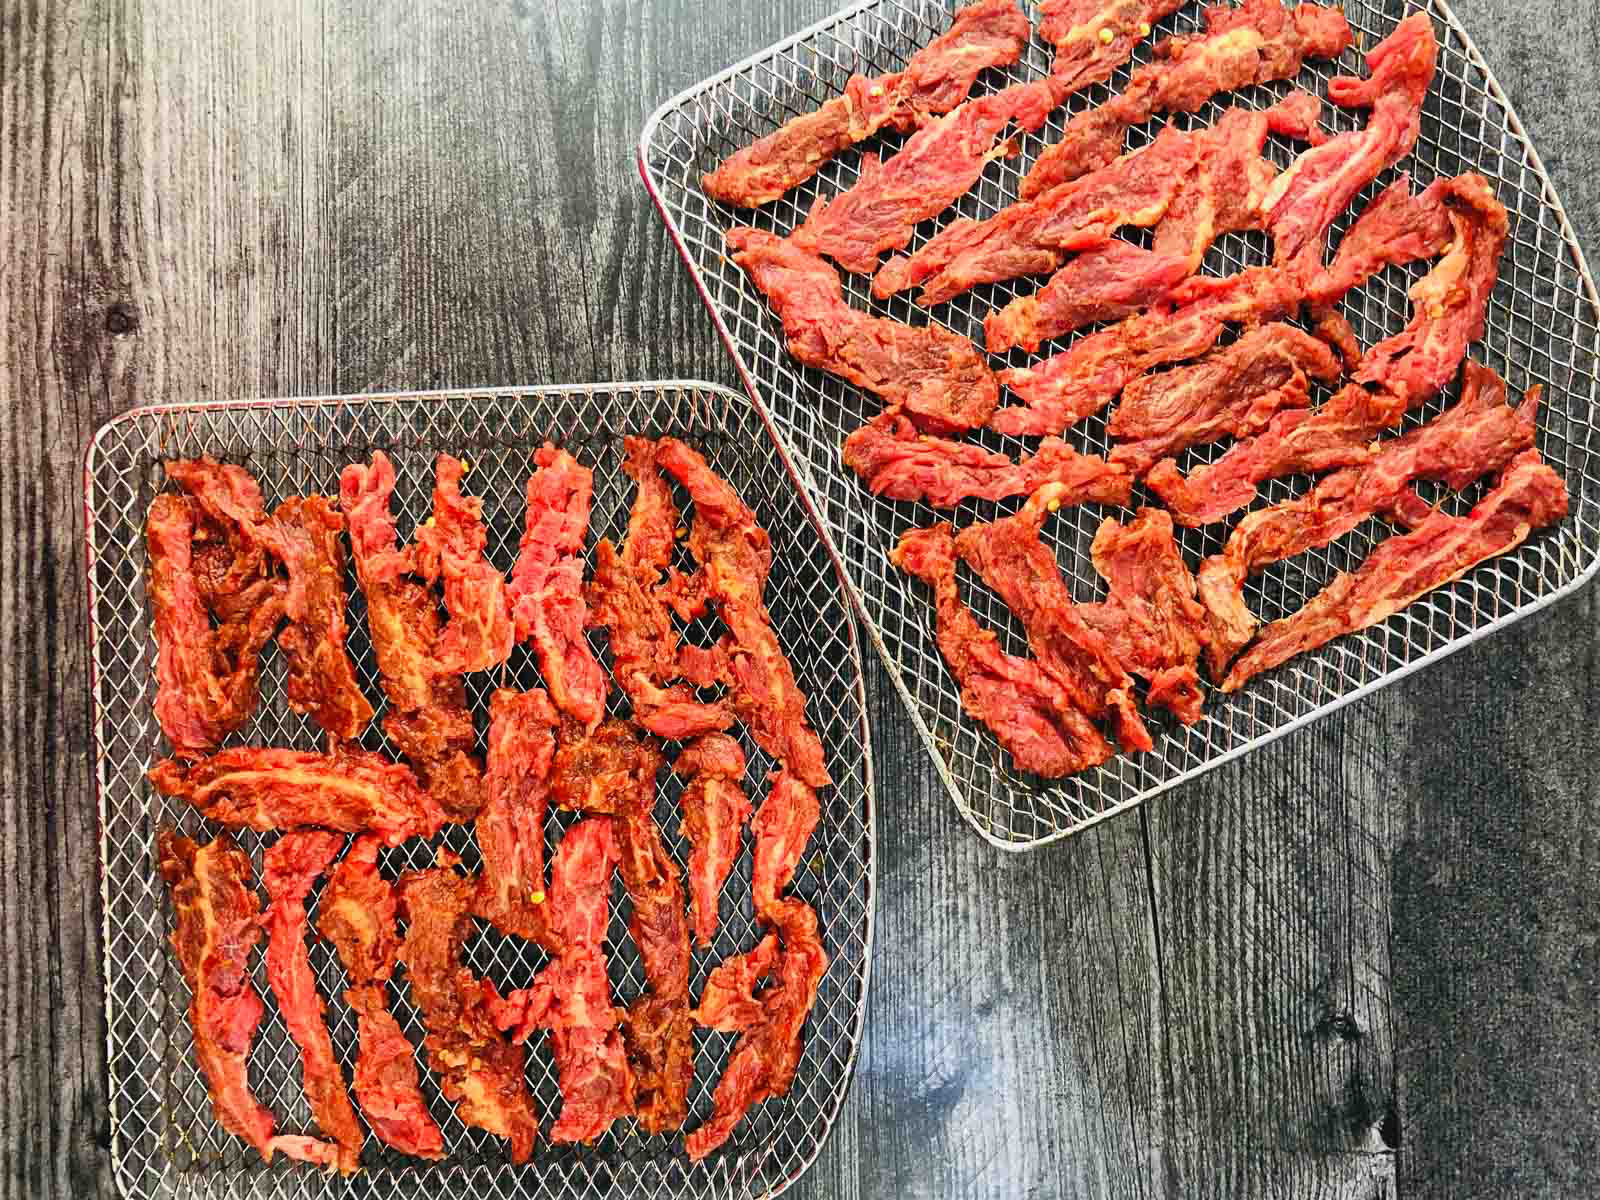
Drying the Jerky
After marinating the venison, it’s time to dry the meat to transform it into flavorful jerky. Drying removes the moisture from the meat, preserving it and giving it the chewy texture that defines jerky. Follow these steps for a successful drying process:
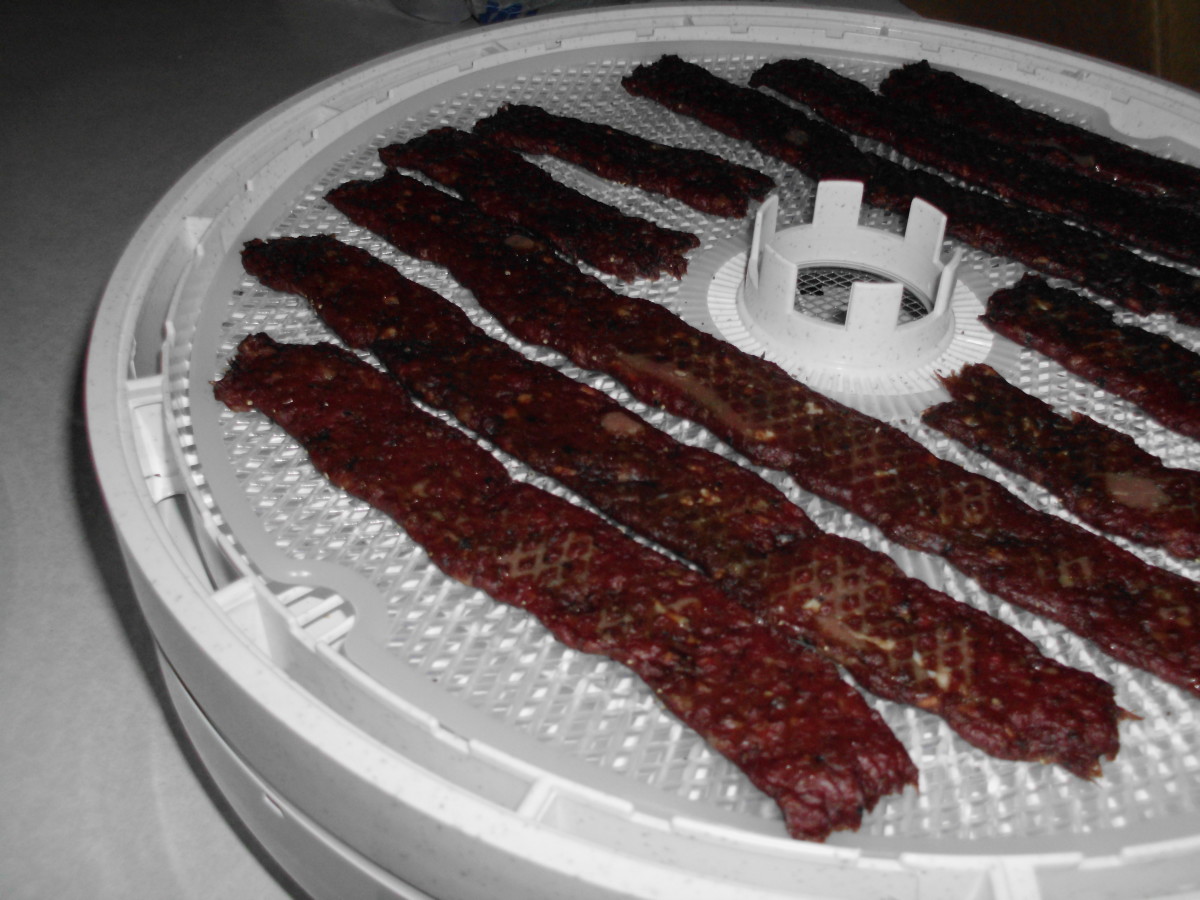
1. Oven Drying: Preheat your oven to a low temperature, around 175°F (80°C). Arrange the marinated venison strips on a wire rack placed on a baking sheet to allow for good air circulation and even drying. Make sure the strips do not overlap to ensure uniform drying.
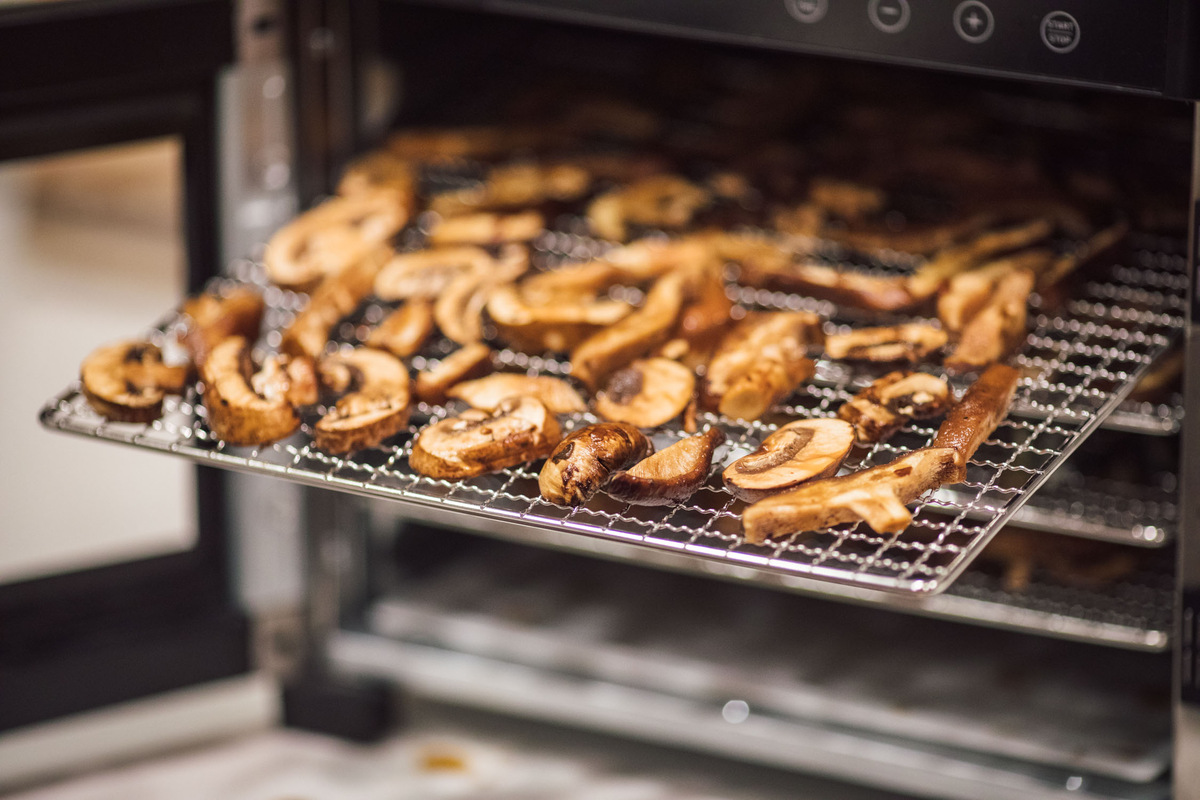
2. Dehydrator Drying: Alternatively, you can use a food dehydrator specifically designed for drying meats. Follow the manufacturer’s instructions for setting the correct temperature and time for drying venison jerky.
3. Air Drying: For a more traditional approach, you can air dry the marinated venison. Hang the strips in a well-ventilated area, ensuring they are not touching each other. This method requires low humidity and good airflow, so it may not be suitable for all climates.
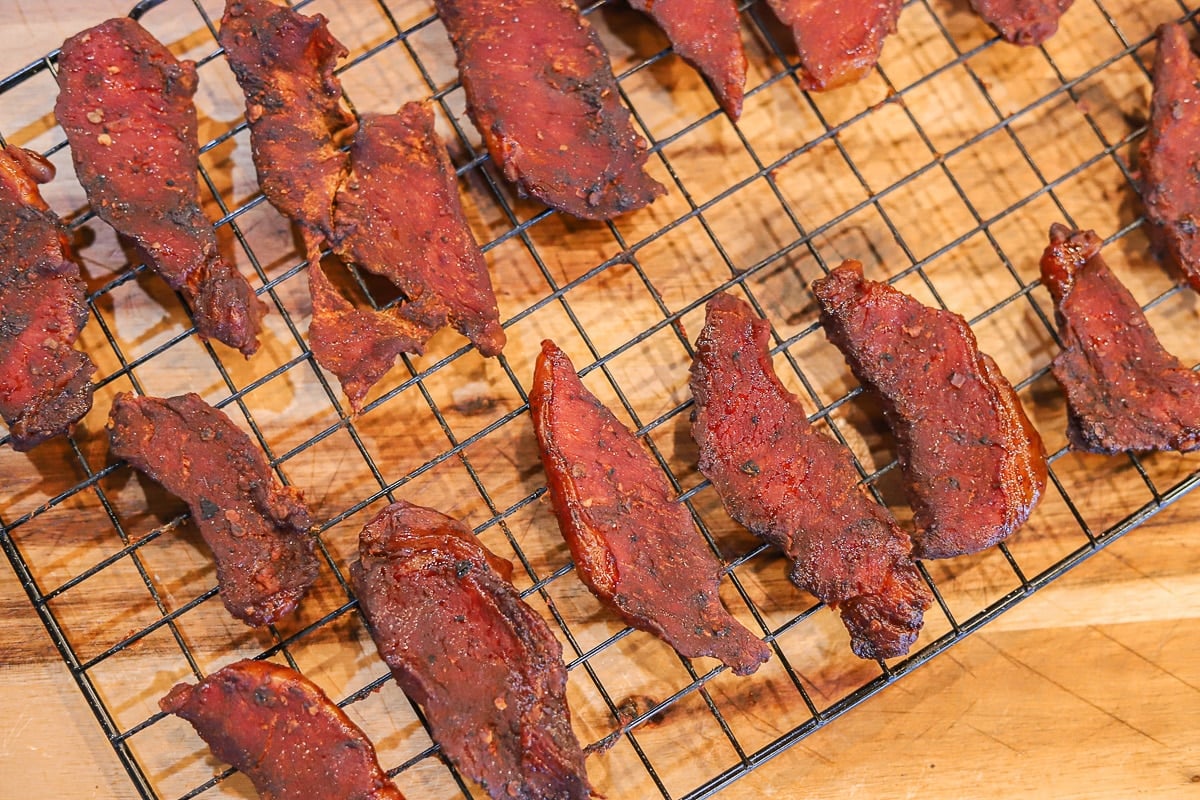
4. Drying Time: The drying time can vary depending on the method used and the thickness of the meat slices. In general, venison jerky can take anywhere from 4 to 10 hours to dry completely. Check the jerky regularly and remove it once it is dry, but still pliable. It should not feel soft or moist to the touch.
5. Cooling and Testing: Once dried, let the jerky cool completely before testing for its desired texture and flavor. It should be firm and leathery, with a slightly chewy consistency. If the jerky is still too moist, it may require more drying time.
It’s important to note that proper drying is crucial to prevent the growth of bacteria and ensure the jerky’s safety. Ensure that the internal temperature of the jerky reaches at least 160°F (71°C) to kill any potential pathogens.
In the next section, we will explore the best practices for storing venison jerky to maintain its quality and freshness.
Read more: How To Store Homemade Jerky
Storing Venison Jerky
Proper storage is essential for maintaining the flavor, texture, and shelf life of your venison jerky. Follow these guidelines to ensure your jerky stays fresh and delicious:
1. Cool and Dry Environment: Store your venison jerky in a cool and dry place, away from direct sunlight and heat sources. Excessive heat and moisture can cause the jerky to spoil or become moldy. Room temperature or slightly cooler conditions are ideal for long-term storage.
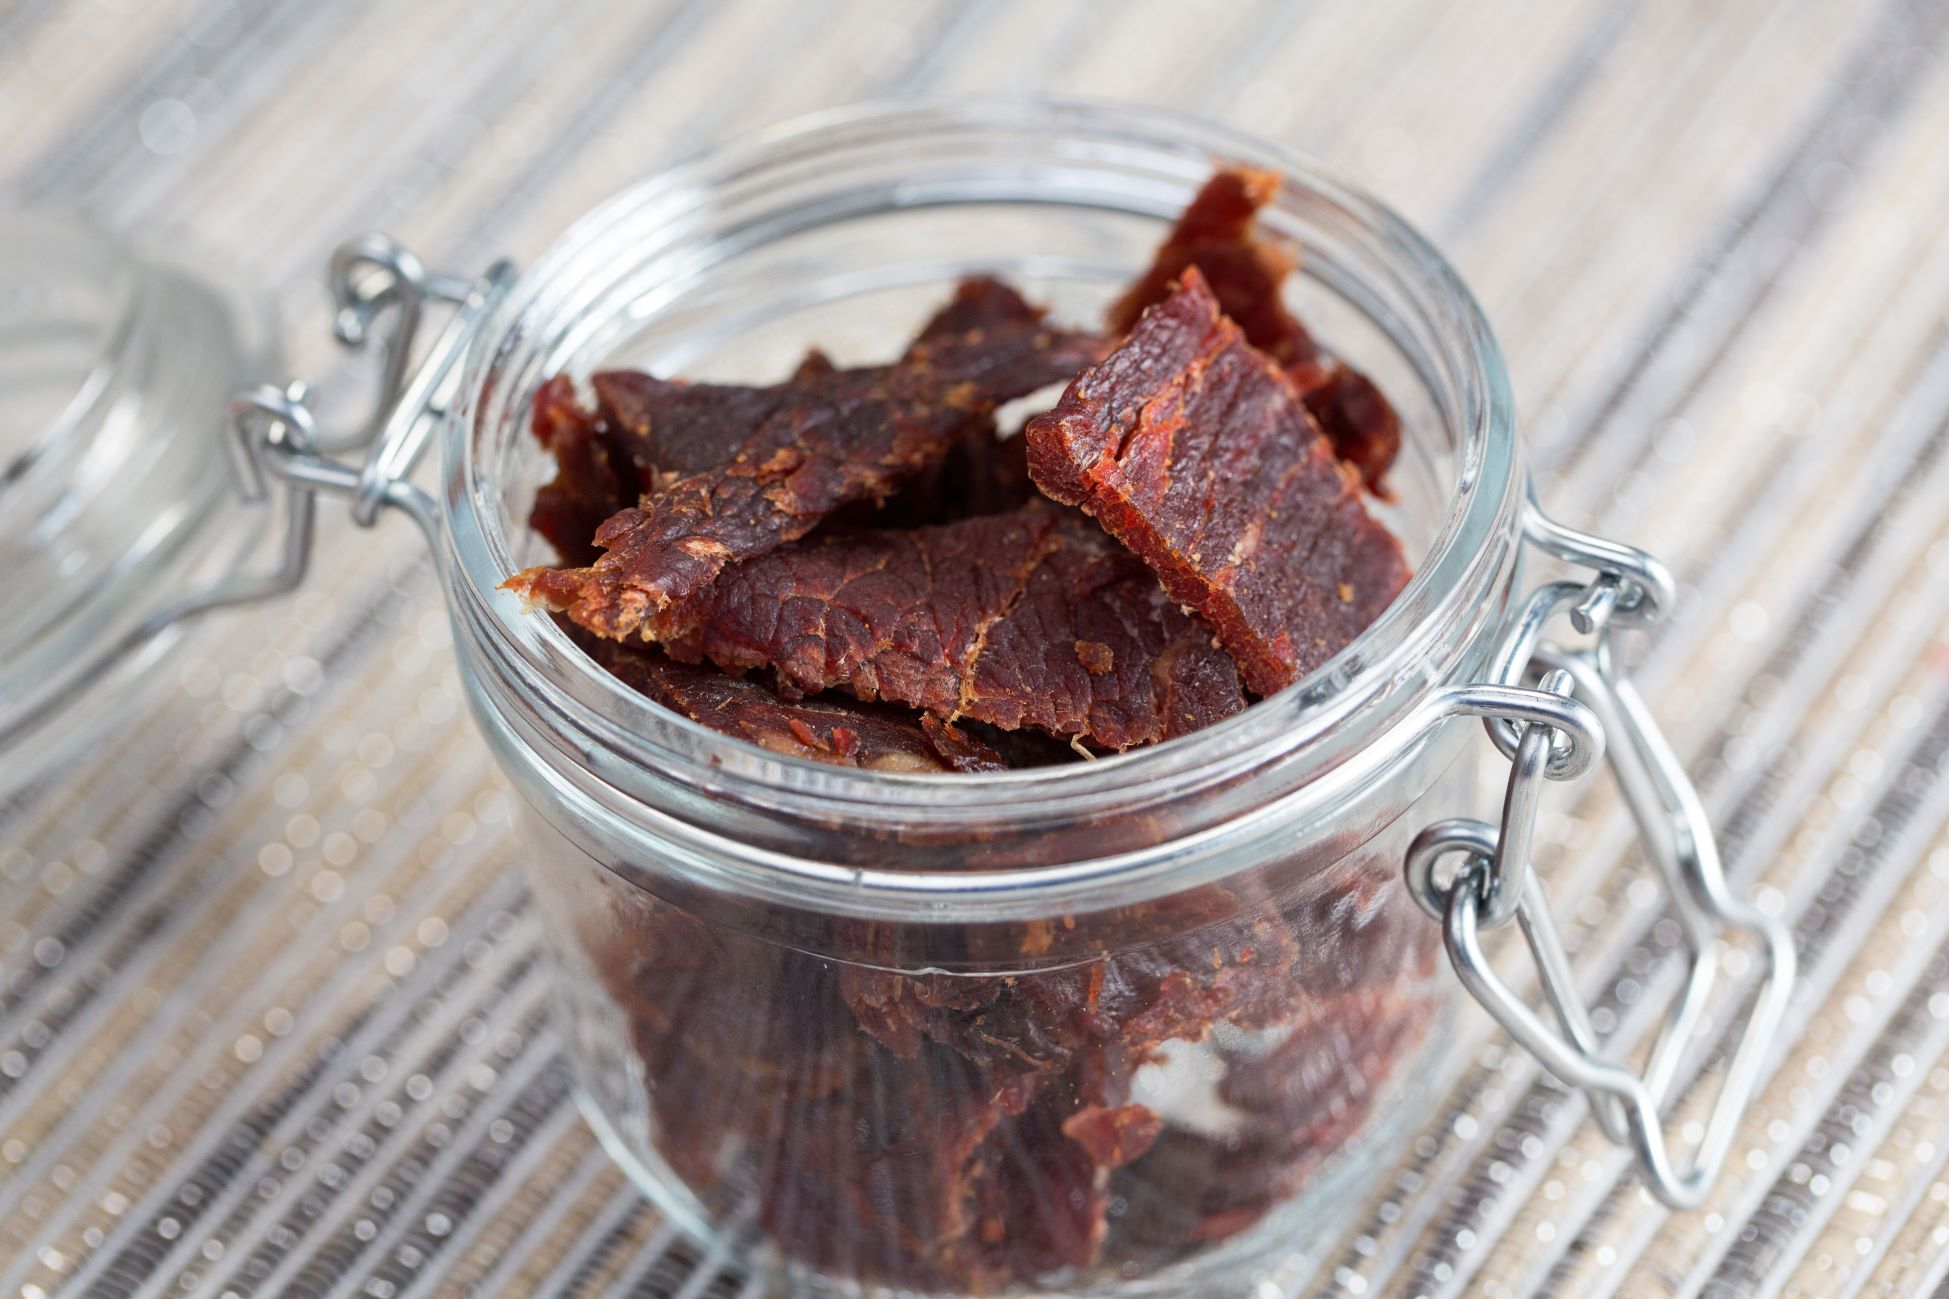
2. Airtight Containers: Transfer the dried jerky into airtight containers to minimize exposure to air and prevent moisture absorption. Ziplock bags, vacuum-sealed bags, or glass jars with tight-fitting lids are excellent options for storing jerky. Make sure to remove as much air as possible before sealing the container.
3. Layering and Spacing: If stacking jerky pieces within a container, ensure there is enough space between each piece to allow for proper airflow. This helps to prevent the pieces from sticking together and promotes even drying and preservation.
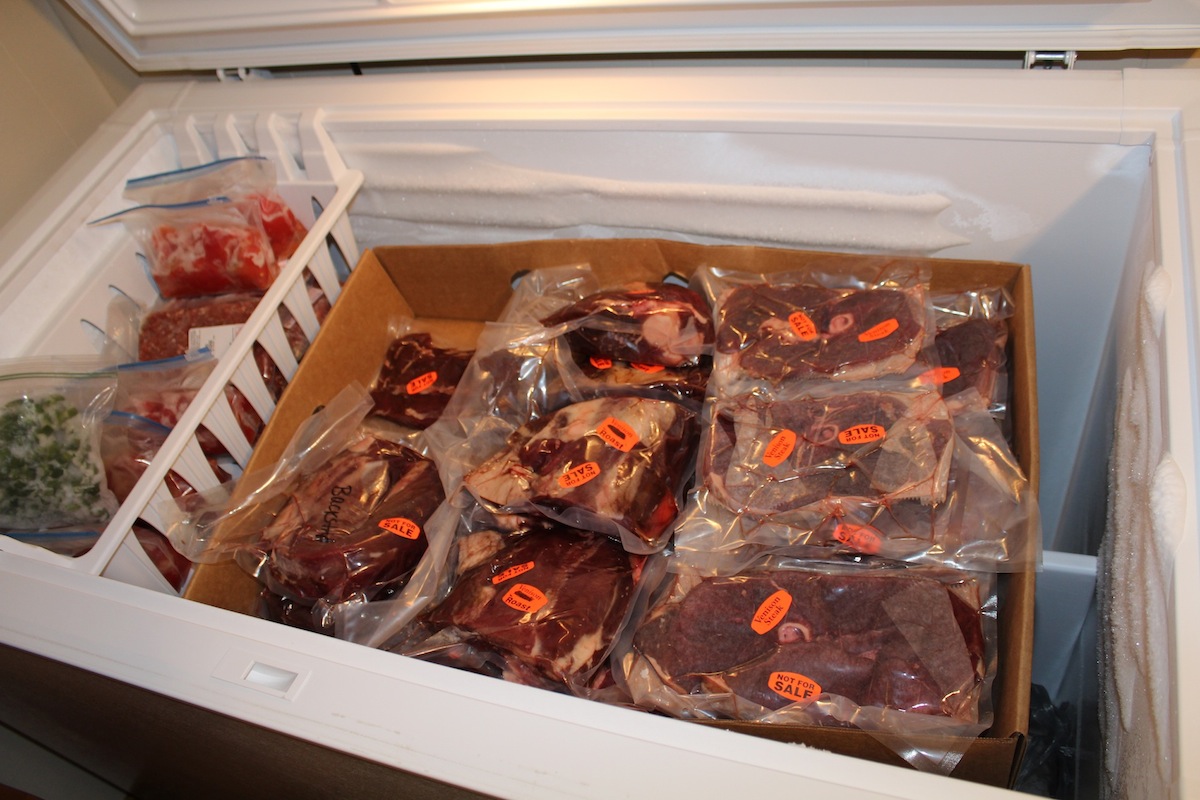
4. Refrigeration or Freezing: For long-term storage, refrigeration or freezing is an effective method. Refrigerate jerky for up to 2-3 months and freeze it for up to 6-8 months. When freezing, divide the jerky into smaller portions and place them in airtight freezer bags. Thaw frozen jerky in the refrigerator before consuming.
5. Labeling and Dating: It’s a good practice to label each container or bag with the date of preparation. This ensures that you consume the jerky within a reasonable time frame and helps you keep track of its freshness.
Remember, maintaining proper storage conditions is vital for preventing spoilage and preserving the quality of your venison jerky. Regularly check for any signs of mold, off odor, or texture changes, and discard any jerky that appears spoiled.
Now that you know how to store your venison jerky properly, let’s explore some best practices for maintaining its quality.
Best Practices for Maintaining Quality
To ensure the best quality and longevity of your venison jerky, it’s essential to follow these best practices:
1. Proper Handling: Always handle jerky with clean hands to prevent contamination. Avoid touching the jerky unnecessarily, especially if your hands are dirty or greasy. This helps minimize the risk of introducing harmful bacteria into the jerky.
2. Avoid Moisture: Moisture is the enemy of jerky. Keep your jerky away from humid environments or sources of moisture, as they can cause the jerky to become soggy or spoil quickly. Be mindful of condensation when placing jerky in airtight containers, as any moisture can lead to spoilage.
3. Regular Inspection: Periodically check your stored jerky for any signs of mold, off odors, or texture changes. If you notice any signs of spoilage, discard the affected pieces immediately to prevent contamination. Remember, it’s better to be safe than sorry when it comes to food safety.
4. Rotate and Consume: Consume your venison jerky in a timely manner to enjoy maximum freshness. Rotate through your jerky stock, consuming the oldest pieces first. This prevents jerky from sitting unused for extended periods, ensuring you always have fresh jerky available.
5. Sharing the Joy: Jerky is best enjoyed when shared with family and friends. If you have an abundance of jerky, consider gifting or sharing it with loved ones. This helps to ensure that the jerky is consumed before its quality starts to deteriorate.
By following these best practices, you can enjoy your venison jerky at its best. Remember to always prioritize food safety and quality to fully savor the flavors and benefits of your homemade or store-bought jerky.
Now that you are equipped with the knowledge of storing and maintaining the quality of venison jerky, start enjoying this delectable treat with peace of mind!
Conclusion
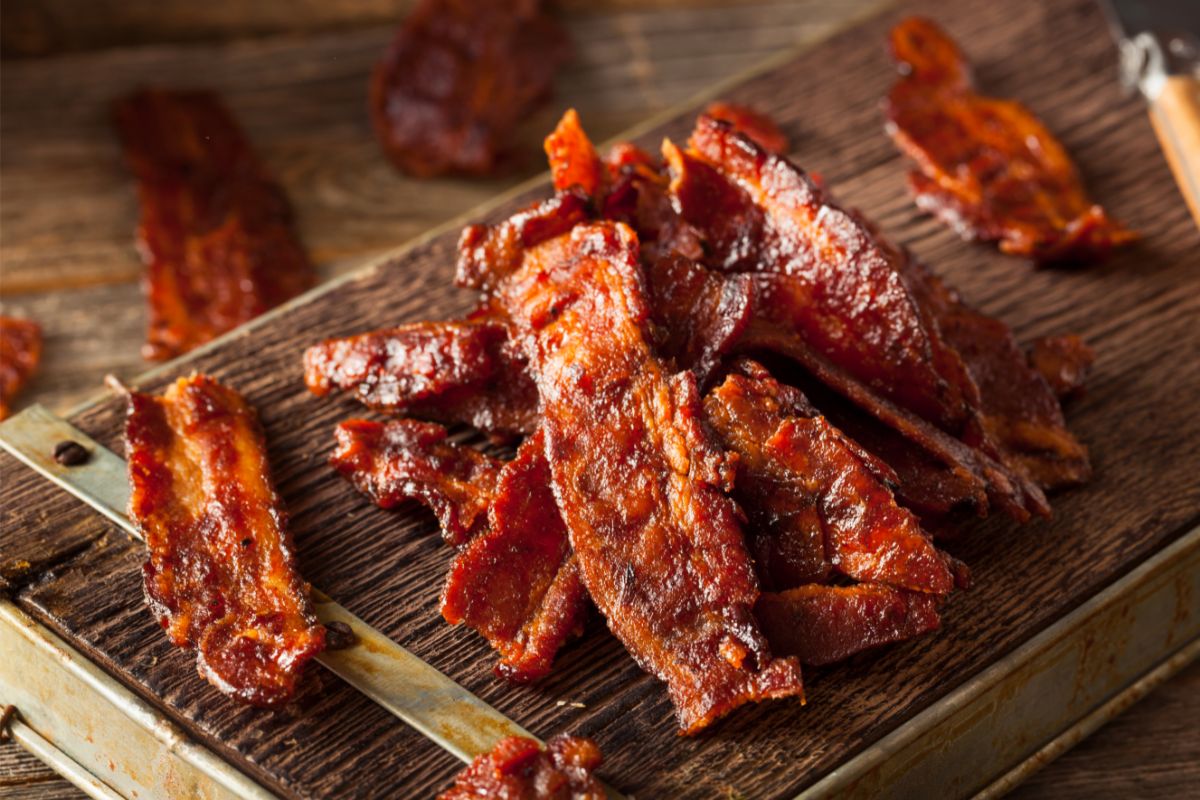
Venison jerky is a savory and nutritious snack that can be enjoyed on the go or as a treat at home. By following the proper storage techniques, you can ensure that your venison jerky remains fresh, flavorful, and safe to consume for an extended period.
Pay attention to choosing lean cuts of venison, preparing the meat properly by trimming fat and slicing it uniformly. The marinating process adds an extra layer of flavor and tenderness to the jerky, so take your time to select or create a marinade that suits your taste preferences.
When it’s time to dry the marinated venison, you can use methods such as oven drying, a food dehydrator, or air drying. Each option has its benefits, so choose the one that works best for you. Remember to ensure that the jerky is completely dried before storing, as any remaining moisture can lead to spoilage.
Storing venison jerky correctly is crucial for maintaining its quality. Keep it in a cool, dry place, away from direct sunlight and heat sources. It’s recommended to use airtight containers and consider refrigeration or freezing for longer shelf life, especially if you have a large batch.
Lastly, follow the best practices for maintaining the quality of your jerky, such as proper handling, regular inspection for signs of spoilage, and timely consumption. By doing so, you can fully enjoy the deliciousness and nutritional benefits of your venison jerky, while ensuring its safety.
Now that you are armed with the knowledge of how to store venison jerky properly, it’s time to put it into practice. So, get ready to savor the flavors of your homemade or store-bought venison jerky while exploring the great outdoors, embarking on road trips, or simply enjoying it as a satisfying snack at home.
Frequently Asked Questions about How To Store Venison Jerky
Was this page helpful?
At Storables.com, we guarantee accurate and reliable information. Our content, validated by Expert Board Contributors, is crafted following stringent Editorial Policies. We're committed to providing you with well-researched, expert-backed insights for all your informational needs.
0 thoughts on “How To Store Venison Jerky”