
Articles
How To Store Watermelon Seeds
Modified: September 1, 2024
Learn how to store watermelon seeds in this comprehensive article. Discover the best methods to preserve and save your watermelon seeds for future use.
(Many of the links in this article redirect to a specific reviewed product. Your purchase of these products through affiliate links helps to generate commission for Storables.com, at no extra cost. Learn more)
Introduction
Growing your own fruits and vegetables is a rewarding experience, and one such fruit that many people enjoy growing is watermelon. Not only is watermelon delicious and refreshing, but it’s also fun to harvest and save the seeds for future plantings. Saving watermelon seeds allows you to preserve the genetic diversity of the fruit and ensure a steady supply of your favorite variety.
In this article, we will guide you through the process of storing watermelon seeds to help you successfully save and store the seeds for future planting. By following these simple steps, you can extend the joy of growing watermelons and even share seeds with friends and family.
Key Takeaways:
- Preserve the genetic diversity of your favorite watermelon varieties by following simple steps to store watermelon seeds. Enjoy growing delicious watermelons year after year and share the joy with friends and family.
- Select ripe watermelons, carefully extract and clean the seeds, then store them in airtight containers. Regularly monitor and perform germination tests to ensure seed viability. Join the cycle of growth and preservation for future generations.
Read more: How To Save Watermelon Seeds
Step 1: Preparing the Watermelon
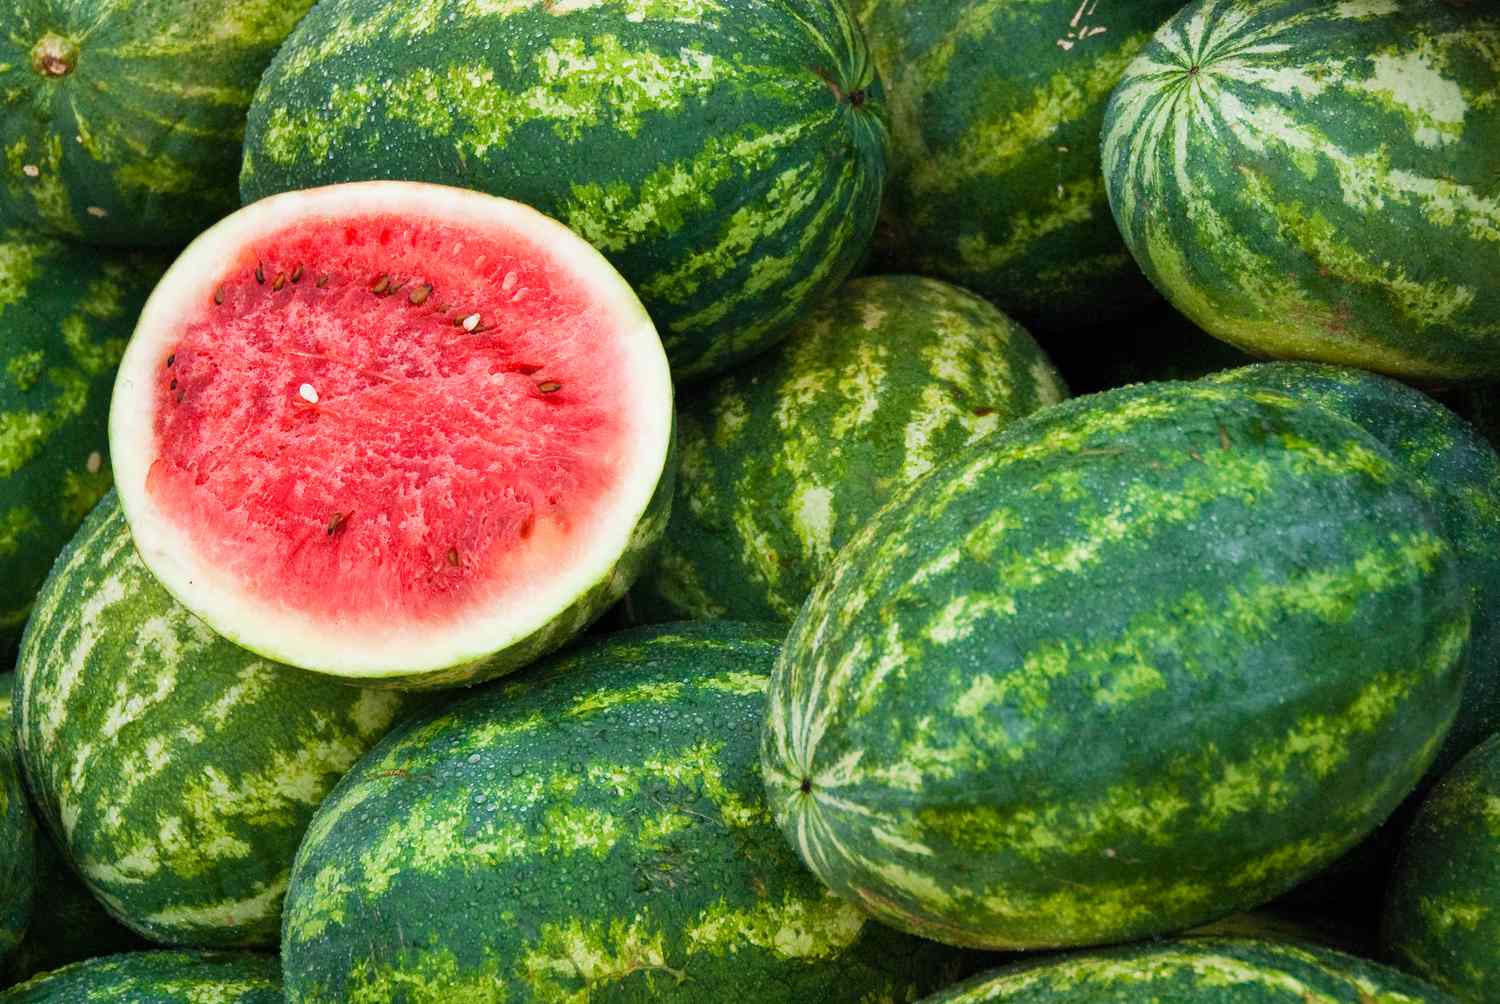
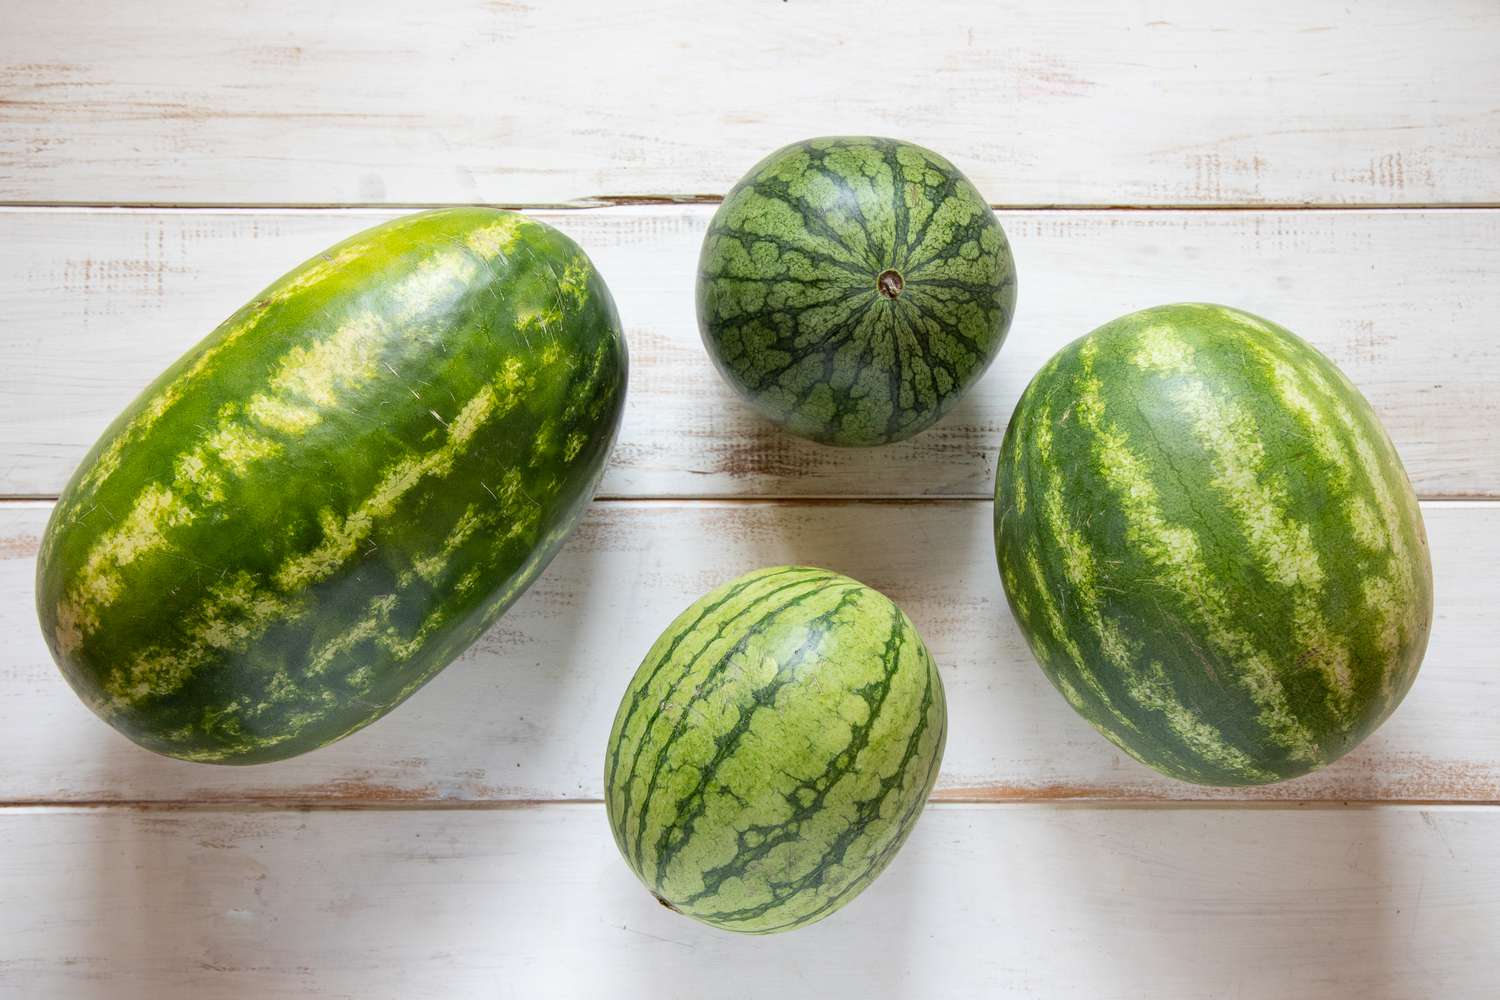
Before you can begin the process of saving watermelon seeds, it’s important to choose a ripe and healthy watermelon. Look for a watermelon that feels heavy for its size and has a deep, rich color. Thump the watermelon gently and listen for a deep, hollow sound, which indicates that it’s ripe.
Once you have selected a ripe watermelon, wash the exterior of the fruit thoroughly with water. This will help remove any dirt or contaminants that may affect the quality of the seeds. Pat the watermelon dry with a clean towel or allow it to air dry before moving on to the next step.
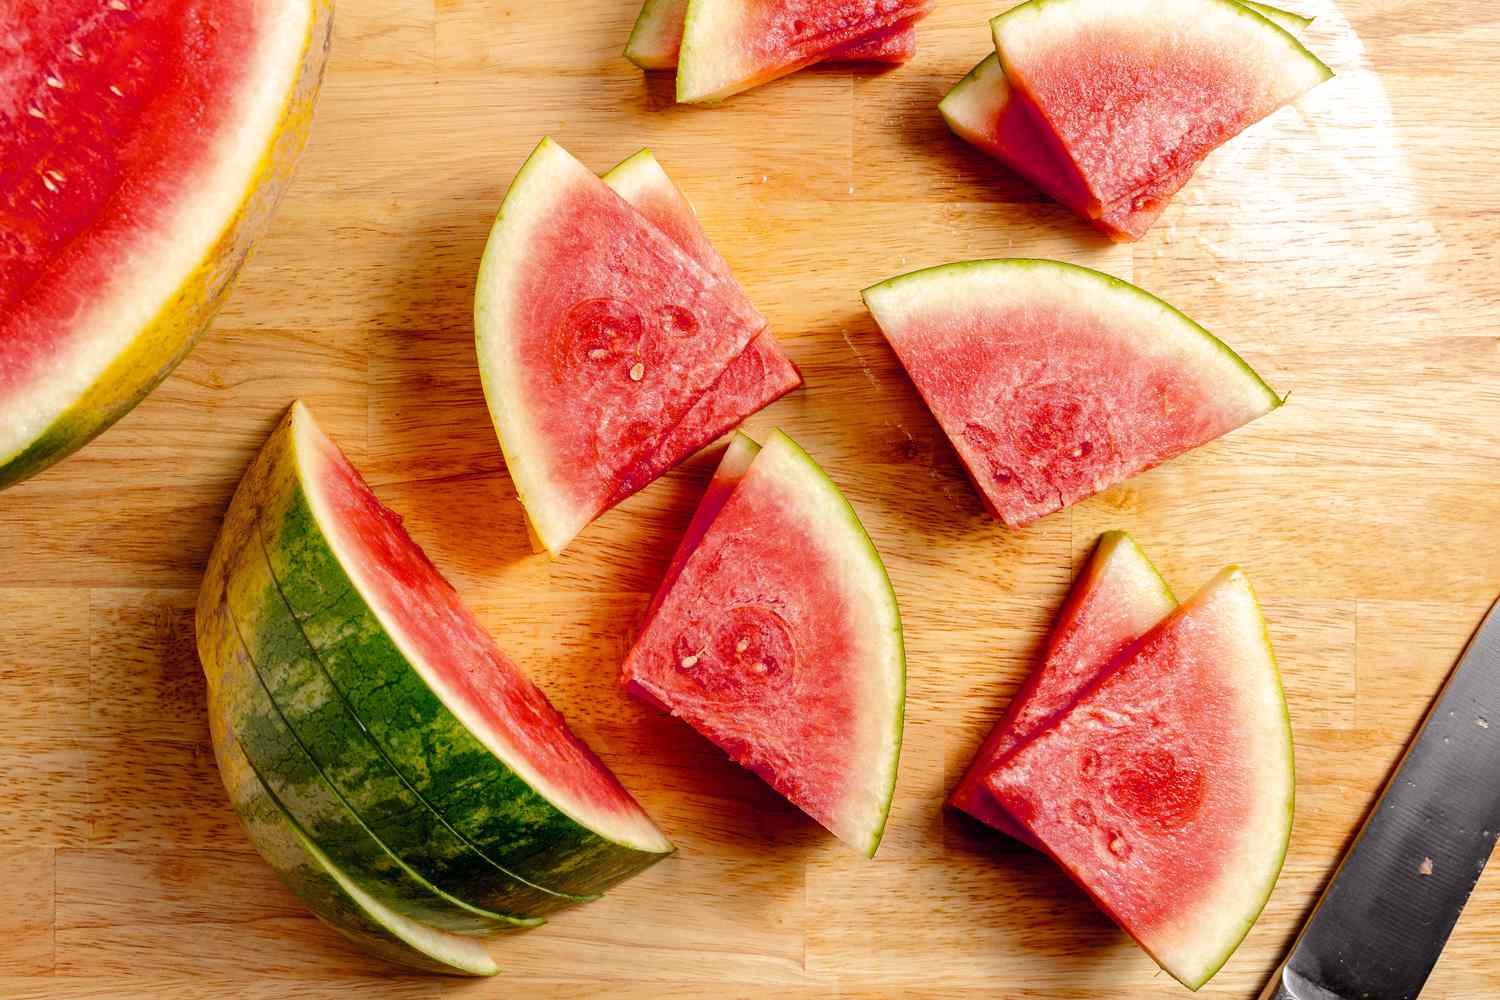
After cleaning the watermelon, use a sharp knife to carefully cut it open. Cut the watermelon in half, lengthwise, so that you have two equal halves. If the watermelon is particularly large, you may need to cut it into smaller sections for easier handling.
Once the watermelon is cut open, you will have access to the juicy flesh and the seeds. Scoop out the flesh with a spoon or melon baller, being careful not to damage the seeds. Place the flesh in a separate container to enjoy as a snack or use it in other recipes.
Now that the watermelon is prepared, you can move on to the next step of extracting the seeds.
Step 2: Extracting the Seeds
After preparing the watermelon, it’s time to extract the seeds. There are a few different methods you can use to remove the seeds, depending on your preference and the tools you have available.
Method 1: Scooping
One simple method is to use a spoon or your fingers to scoop the seeds out of the watermelon. Begin by gently scraping the seeds away from the flesh, being careful not to damage them. You can collect the seeds in a bowl or directly onto a clean surface.
Method 2: Straining
If you prefer a more efficient method, you can strain the seeds out of the watermelon using a fine-mesh sieve or colander. Cut the watermelon into smaller chunks and press the pieces against the sieve or colander, allowing the juice and flesh to pass through while the seeds are caught in the mesh. Rinse the seeds under running water to remove any remaining pulp or juice.
Read more: How Many Seeds In A Watermelon
Method 3: Water Separation
Another option is to separate the seeds from the rest of the watermelon using water. Place the seeds in a bowl of water and gently rub them together with your hands. The seeds will sink to the bottom while any remaining pulp or debris will float to the surface. Carefully pour off the water, taking care not to lose any seeds, and repeat the process as needed until the seeds are clean and separated.
Whichever method you choose, it’s important to handle the seeds gently to avoid damaging them. Once you have successfully extracted the seeds, it’s time to move on to the next step of cleaning them.
Step 3: Cleaning the Seeds
After extracting the watermelon seeds, it’s essential to give them a good cleaning to remove any remaining pulp or debris. This step helps ensure that the seeds remain healthy and viable for future planting.
Rinse with Water
To start the cleaning process, place the extracted seeds in a fine-mesh sieve or colander. Hold the sieve under running water and gently rinse the seeds, using your fingers to remove any clinging debris. Continue rinsing until the water runs clear and the seeds are clean.
Soak in a Saltwater Solution
For an added level of cleanliness, you can soak the seeds in a saltwater solution. Prepare a solution by dissolving one tablespoon of salt in one cup of water. Place the cleaned watermelon seeds in the saltwater solution and let them soak for about 15 minutes.
The saltwater solution helps to disinfect the seeds and remove any lingering bacteria or pathogens. After the soaking period, rinse the seeds once again under running water to remove the saltwater solution.
Read more: How To Grow A Watermelon From A Seed
Dry the Seeds
Once the seeds are clean, it’s important to dry them thoroughly before storing. Place the seeds on a clean towel or a paper towel, ensuring that they are spread out in a single layer. Allow the seeds to air dry at room temperature for several days until they are completely dry.
During the drying process, it’s crucial to frequently check the seeds to ensure they are not developing any mold or mildew. If you notice any signs of mold growth, discard those seeds as they may not be viable for future planting.
With the seeds now cleaned and dried, you’re ready to move on to the next step of storing them for future use.
Step 4: Drying the Seeds
Once the watermelon seeds are clean, the next step is to properly dry them. Proper drying ensures that the seeds remain viable and prevents them from molding or rotting during storage.
Air Drying
The most common method for drying watermelon seeds is air drying. Spread the cleaned seeds out on a clean, dry surface, such as a paper towel or a drying rack. Make sure the seeds are spread out in a single layer and not touching each other.
Place the seeds in a warm, well-ventilated area with low humidity. The ideal temperature for drying seeds is around 70°F (21°C). Allow the seeds to dry for about one to two weeks, depending on the weather conditions and the size and moisture content of the seeds.
During the drying process, periodically check the seeds for any signs of mold or moisture. If you notice any moldy seeds, remove them immediately to prevent the spread of mold to the rest of the batch.
Dehydrator
If you have a food dehydrator, you can use it to speed up the drying process. Place the cleaned seeds on a dehydrator tray, ensuring they are spread out evenly. Set the dehydrator to a low temperature, around 95°F (35°C), and let it run for several hours to dry the seeds.
Make sure to monitor the seeds closely to prevent them from overheating or becoming too dry. Adjust the drying time and temperature as needed to maintain optimal drying conditions.
Regardless of the method you choose, it’s important to ensure that the seeds are completely dry before proceeding to the next step of storing them. Once the seeds are properly dried, you’re ready to move on to the final step of storing them.
Step 5: Storing the Seeds
After the watermelon seeds have been properly dried, it’s time to store them to maintain their viability and ensure they remain in good condition for future planting. Follow these steps to store the watermelon seeds:
Container Selection
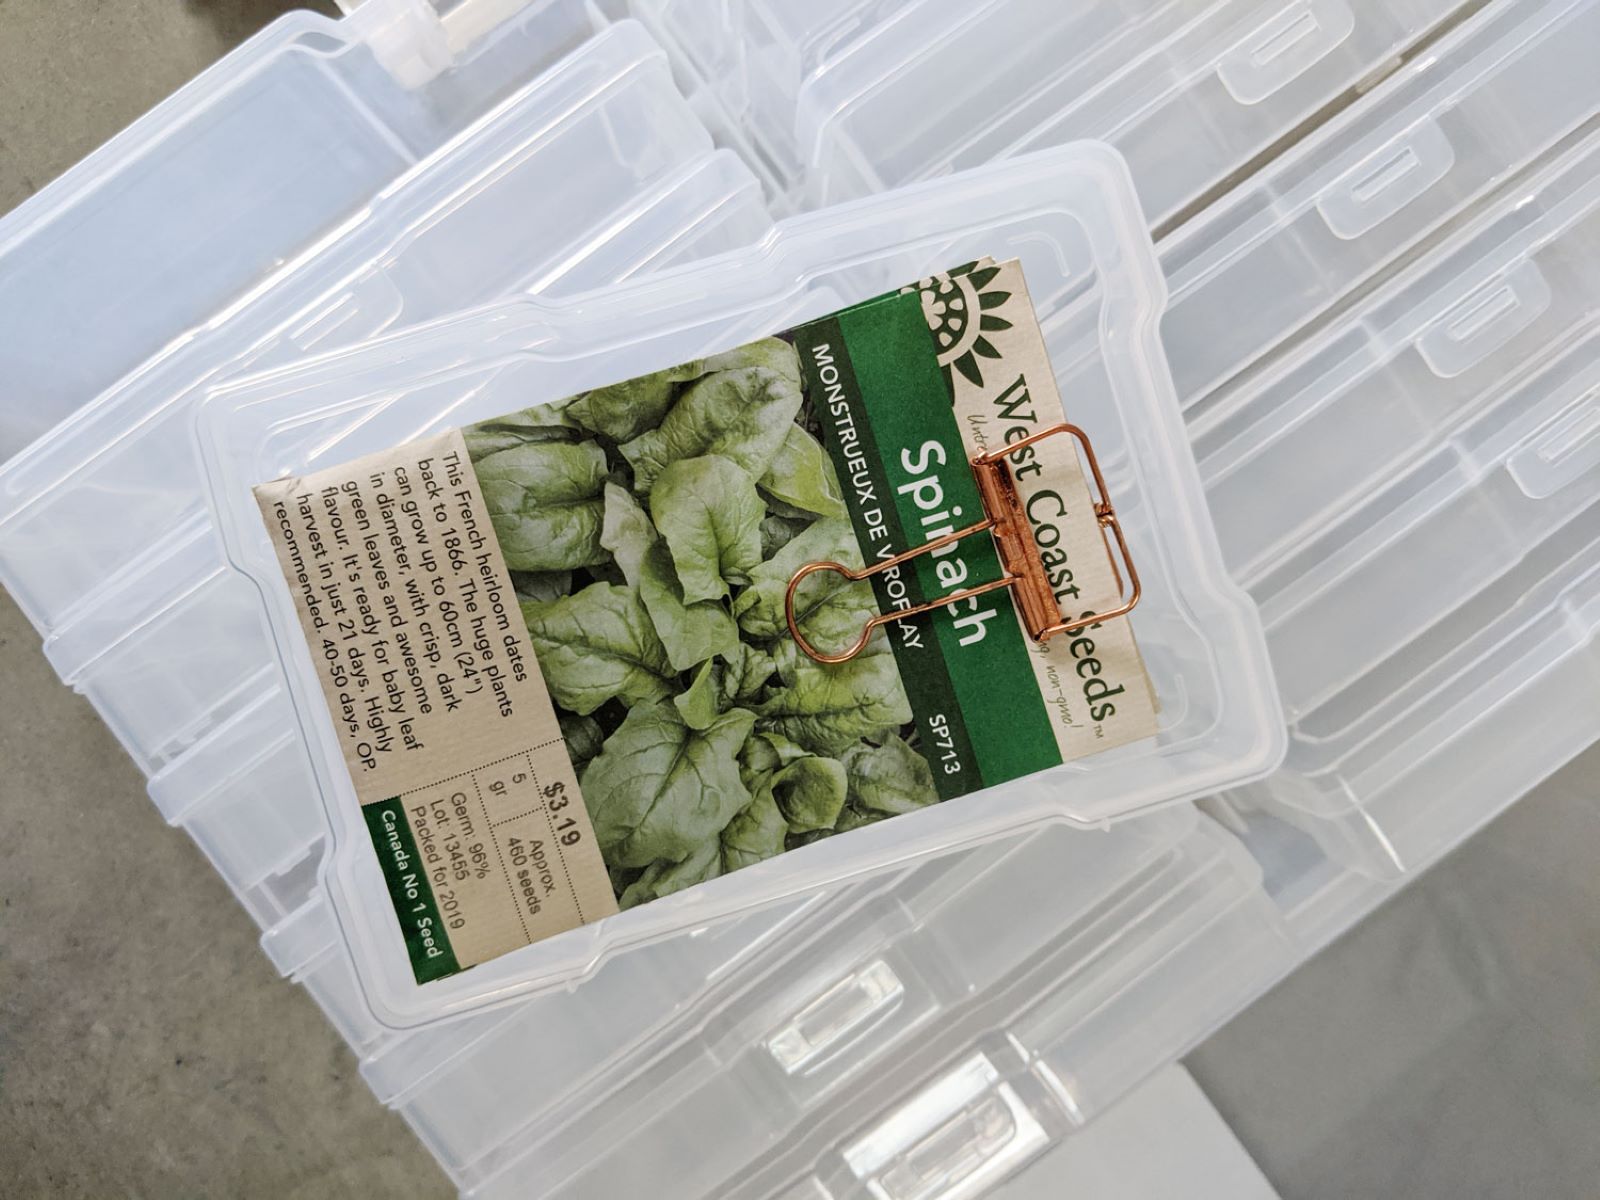
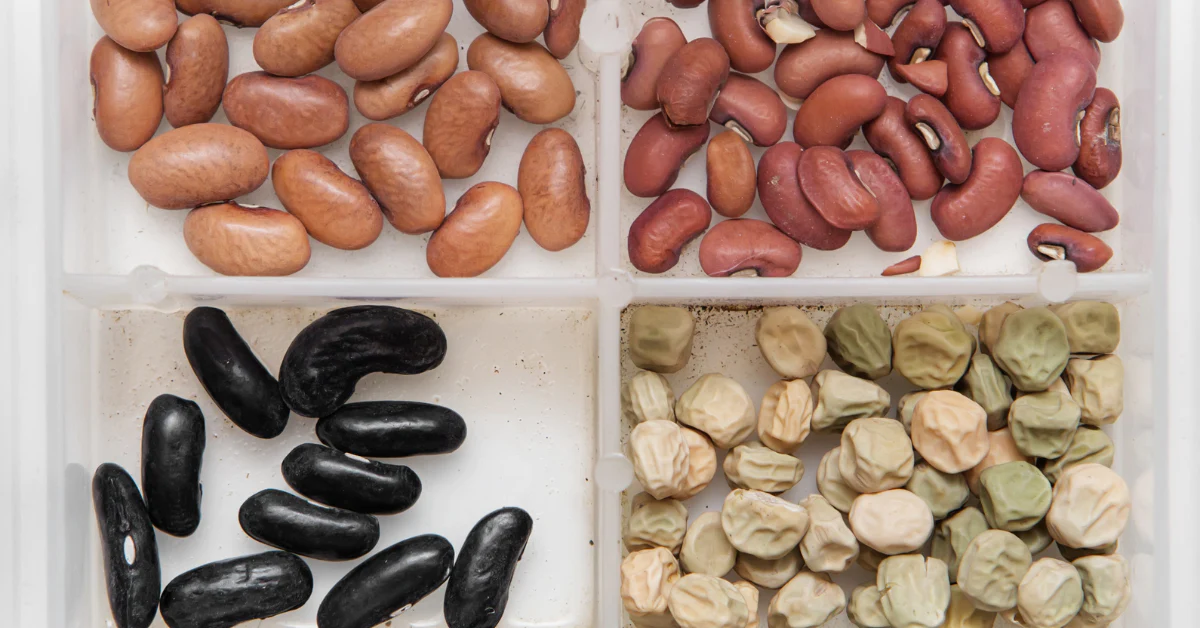
Choose a suitable container for storing the seeds. It should be clean, dry, and airtight to protect the seeds from moisture and pests. Common options include small glass jars, plastic seed storage containers, or resealable plastic bags. Make sure the container is labeled with the variety and date of collection for easy identification.
Seed Packaging
Place the dried watermelon seeds into the chosen container. It’s a good idea to include a desiccant packet or a small pouch filled with silica gel to help absorb any remaining moisture and maintain the seeds’ dryness. This will prevent the seeds from deteriorating during storage. Seal the container tightly to keep out air and moisture.
Storage Conditions
Store the sealed container in a cool, dark, and dry location. The ideal storage temperature is around 40°F (4°C) or slightly below. Avoid storing the seeds in areas that are exposed to high temperatures, fluctuations in temperature, or direct sunlight, as these conditions can decrease seed viability.
Monitoring and Testing
Periodically check the stored seeds for signs of moisture, mold, or pests. If you notice any issues, remove the affected seeds immediately to prevent further damage. It’s also a good practice to perform germination tests on a small batch of seeds before planting to ensure they are still viable.
By following these steps, you can effectively store your watermelon seeds and ensure their long-term viability for future planting seasons.
Conclusion
Saving watermelon seeds is a rewarding process that allows you to preserve the genetic diversity of your favorite watermelon varieties and ensure a continuous supply for future plantings. By following the steps outlined in this article, you can successfully store watermelon seeds and enjoy the benefits of growing your own delicious watermelons year after year.
Start by selecting a ripe and healthy watermelon, then carefully extract the seeds using methods such as scooping, straining, or water separation. Clean the seeds thoroughly by rinsing them with water and soaking them in a saltwater solution. After cleaning, dry the seeds either through air drying or using a food dehydrator.
Once the seeds are dry, store them in a clean, airtight container, preferably with a desiccant packet to absorb any remaining moisture. Place the container in a cool, dark, and dry location to maintain the seeds’ viability. Regularly monitor the stored seeds for any signs of moisture, mold, or pests and perform germination tests to ensure seed viability before planting.
Remember, each year’s harvest of watermelon seeds gives you the opportunity to continue growing the watermelons you love and share the seeds with friends and family. By saving and storing watermelon seeds, you become a part of the cycle of growth and preservation, allowing future generations to enjoy the bountiful fruits of your labor.
So, next time you indulge in a juicy watermelon, don’t forget to save the seeds and embark on the journey of growing your own fresh, homegrown watermelons. Happy seed saving and happy gardening!
Frequently Asked Questions about How To Store Watermelon Seeds
Was this page helpful?
At Storables.com, we guarantee accurate and reliable information. Our content, validated by Expert Board Contributors, is crafted following stringent Editorial Policies. We're committed to providing you with well-researched, expert-backed insights for all your informational needs.


0 thoughts on “How To Store Watermelon Seeds”