Articles
How To Store Bread Machine Pizza Dough
Modified: February 20, 2024
Learn how to store bread machine pizza dough effectively with these helpful articles. Find tips and techniques to keep your dough fresh for longer periods.
(Many of the links in this article redirect to a specific reviewed product. Your purchase of these products through affiliate links helps to generate commission for Storables.com, at no extra cost. Learn more)
Introduction
There’s nothing quite like the aroma and taste of homemade pizza, especially when the dough is made from scratch using a bread machine. Whether you’re a pizza enthusiast or just someone who enjoys the process of making your own bread, learning how to store bread machine pizza dough can be a game-changer.
Storing pizza dough properly not only allows you to have freshly-baked pizza whenever the craving strikes, but it can also save you time in the kitchen. With a few simple steps, you can have a stash of pizza dough ready to go, whether you want to freeze it for later use or keep it in the refrigerator for a few days.
In this article, we’ll take you through the process of storing bread machine pizza dough, from mixing the dough to thawing and using it for a delicious pizza night at home.
So grab your bread machine, dust off your rolling pin, and let’s dive into the wonderful world of homemade pizza dough!
Key Takeaways:
- Master the art of storing bread machine pizza dough to have fresh, homemade pizza at your fingertips. Whether freezing for later use or refrigerating for a few days, proper storage techniques ensure delicious results every time.
- With a few simple steps, you can unleash your creativity and enjoy the convenience of homemade pizza. Experiment with different toppings and sauces to create your own signature pizzas, all made possible by properly stored bread machine pizza dough.
Read more: How To Make Pizza Dough In Bread Machine
Ingredients
To make and store bread machine pizza dough, you’ll need the following ingredients:
- 3 cups of all-purpose flour
- 1 teaspoon of salt
- 2 tablespoons of olive oil
- 1 1/2 teaspoons of active dry yeast
- 1 cup of warm water (around 110°F/43°C)
These simple ingredients are all you need to create a delicious and versatile pizza dough. Feel free to experiment with different types of flour, such as whole wheat or bread flour, to give your dough a unique flavor and texture.
Now that you have your ingredients ready, let’s move on to the steps for making and storing bread machine pizza dough.
Step 1: Mixing the Dough
To begin, insert the paddle attachment into your bread machine. Add the warm water and olive oil into the bread machine pan. Next, add the flour, salt, and yeast. It’s essential to add the ingredients in the order specified to ensure the yeast activates properly.
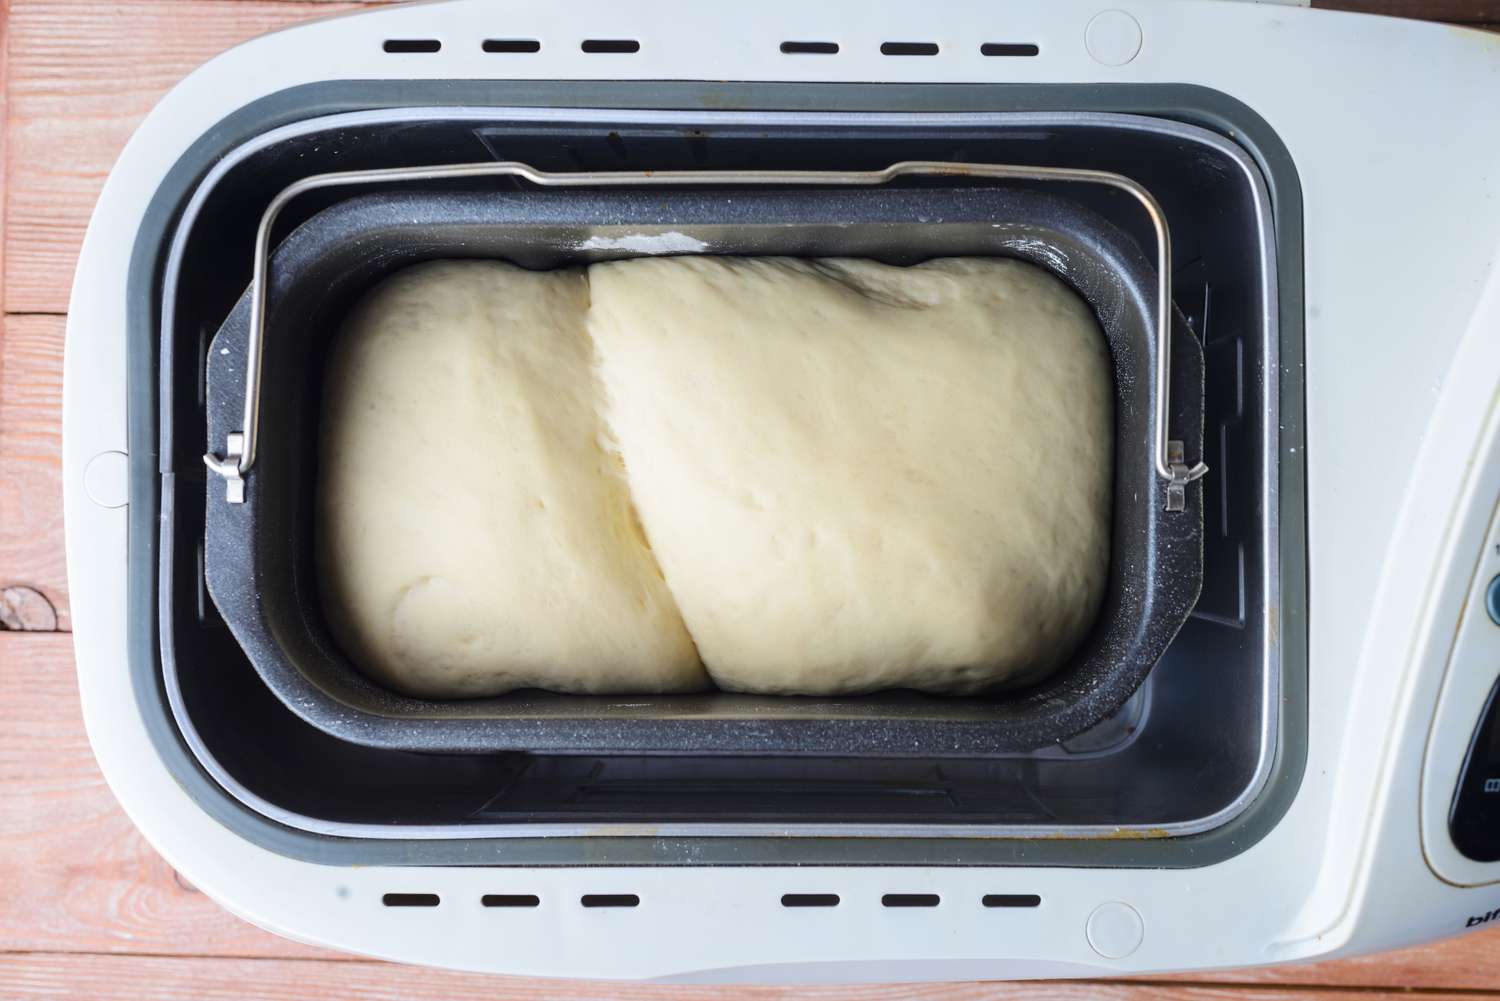
Once all the ingredients are in the pan, select the “dough” or “pizza dough” setting on your bread machine. This setting typically takes about an hour and a half to two hours, during which time the machine will mix and knead the dough to perfection.
While the bread machine does all the hard work, you can take this time to prepare your pizza toppings or relax and enjoy a cup of coffee.
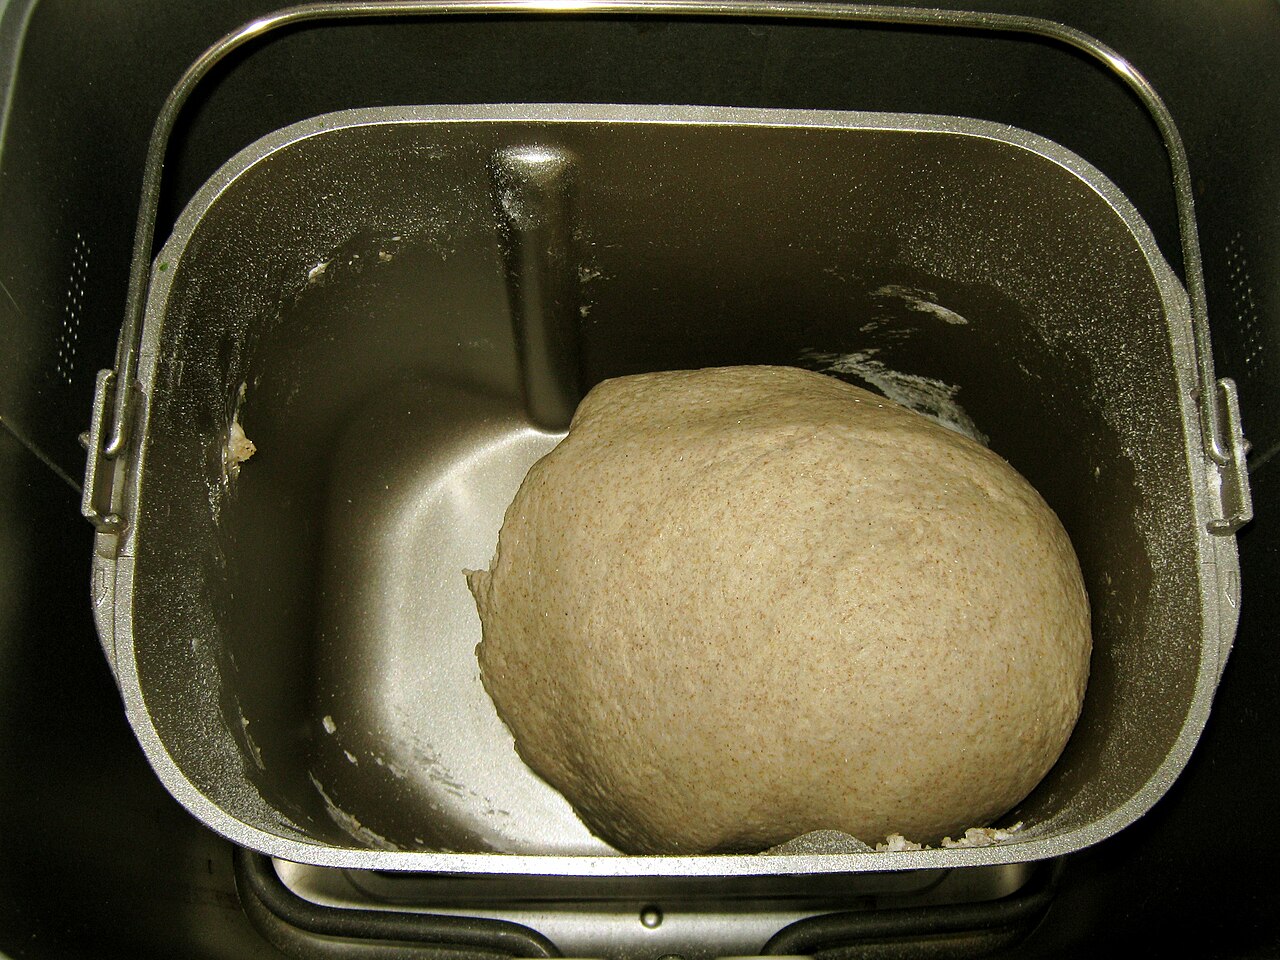
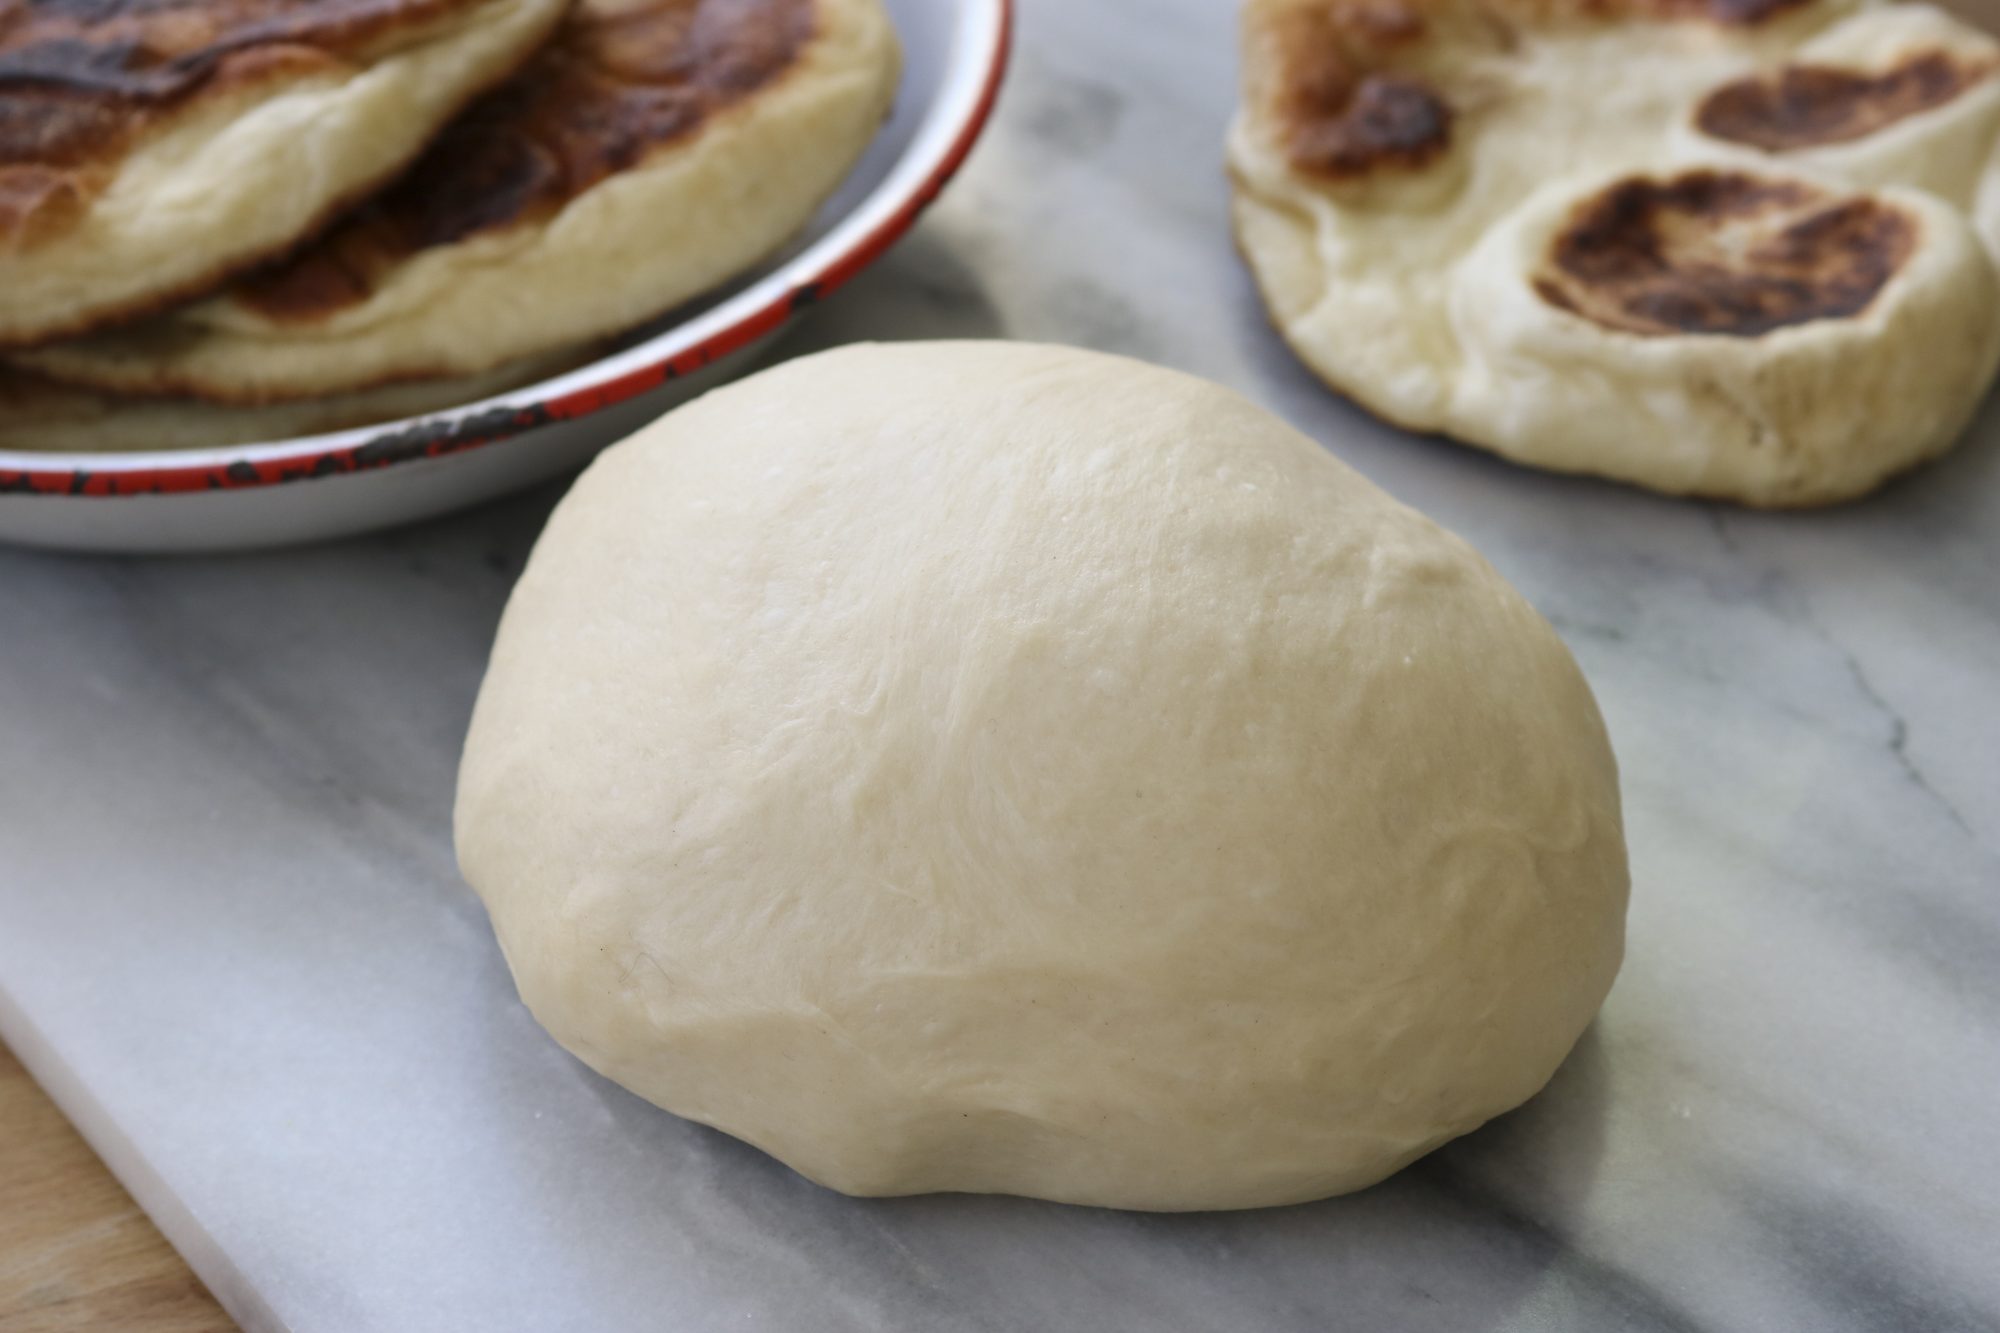
After the cycle is complete, you’ll have a smooth and elastic pizza dough ready for the next steps. At this point, you can choose to use the dough immediately or proceed with storing it for future use.
Now that you’ve mixed the dough, let’s move on to the next step: the first rise.
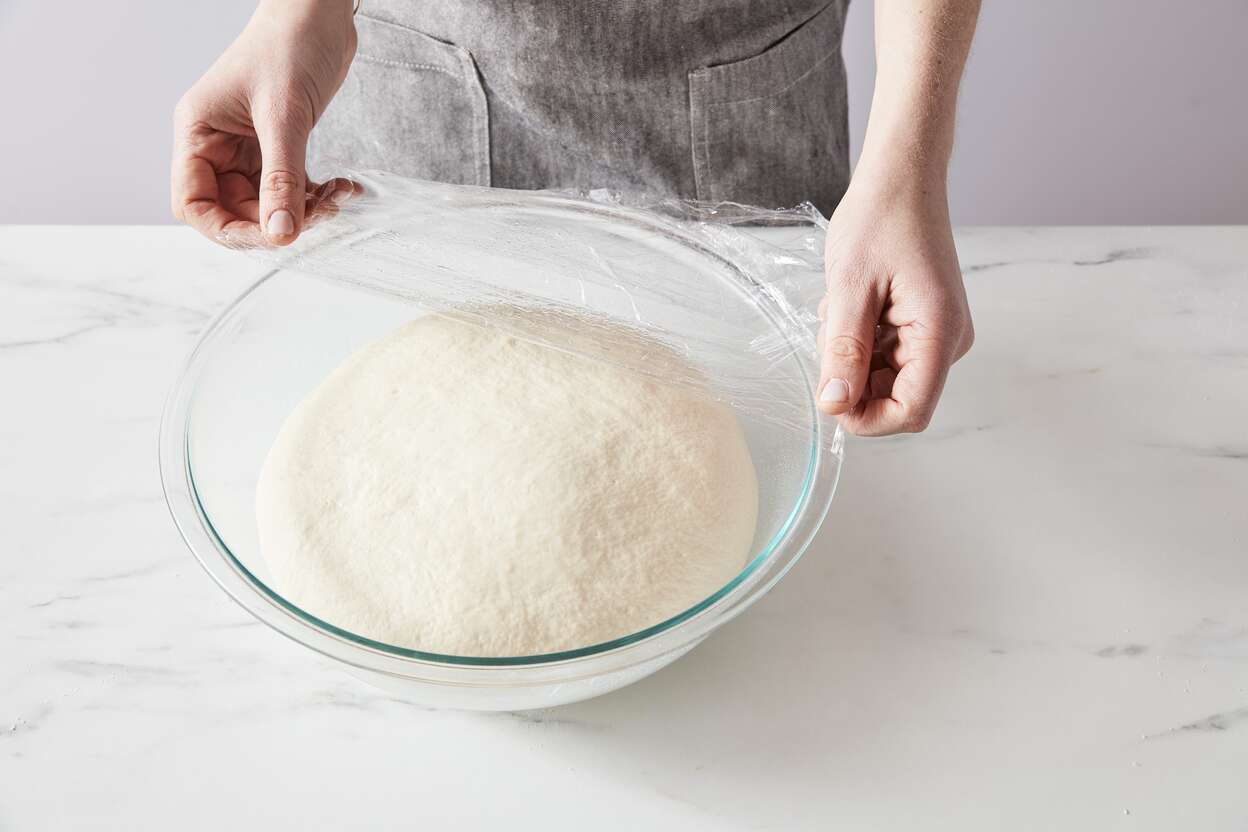
Step 2: First Rise
After mixing the pizza dough in the bread machine, it’s time for the first rise. This step allows the yeast to ferment and leaven the dough, giving it a light and airy texture.
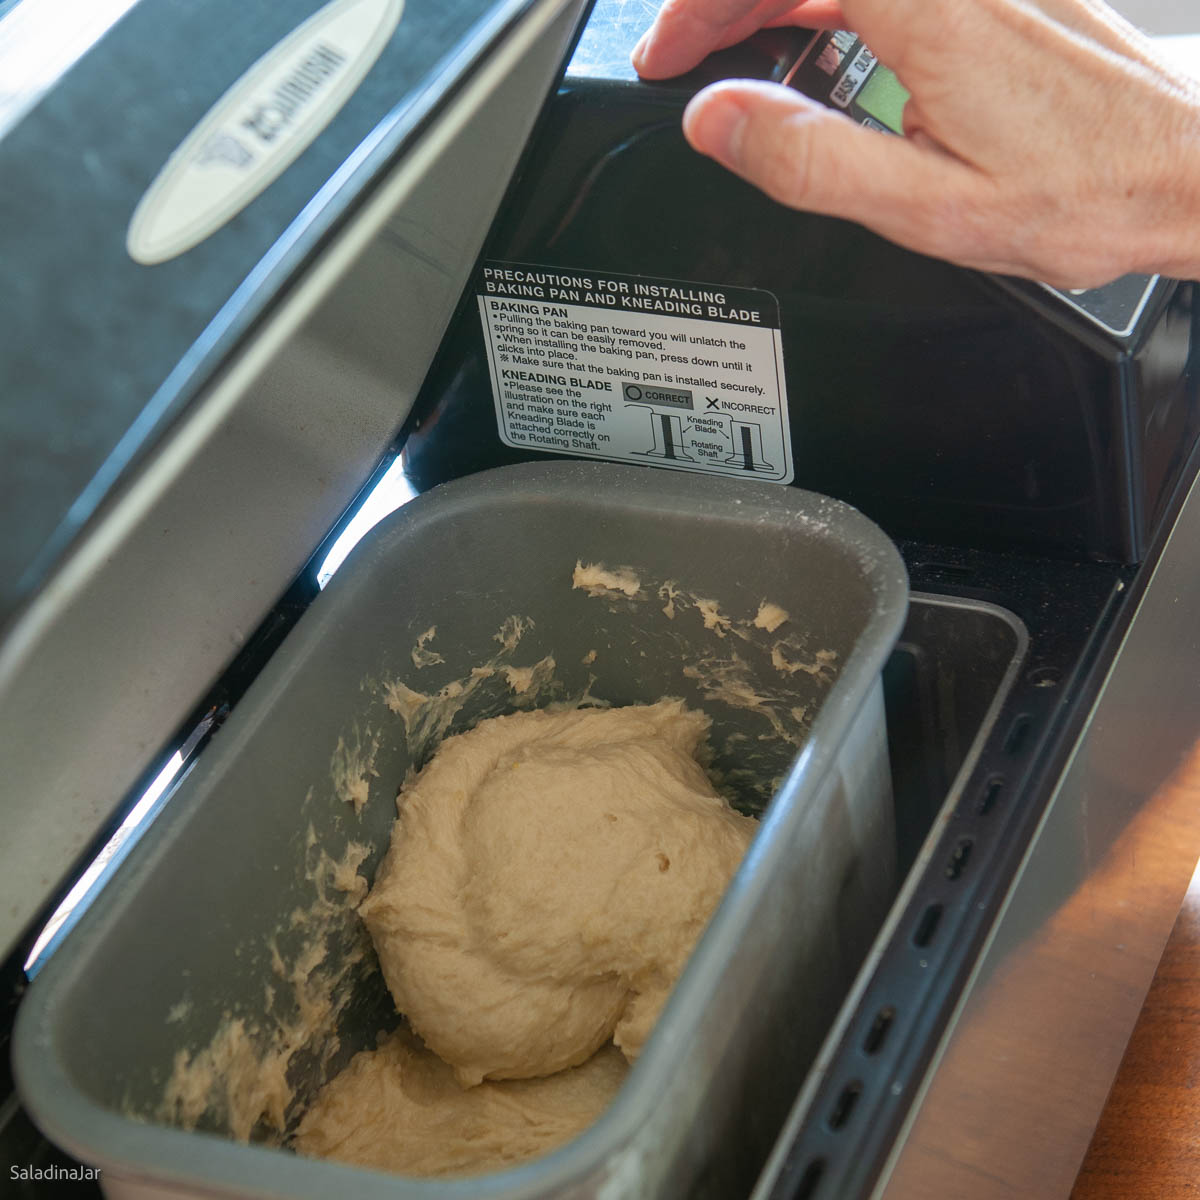
Remove the dough from the bread machine and transfer it to a lightly greased bowl. Cover the bowl with a clean kitchen towel or plastic wrap to create a warm and draft-free environment for the dough to rise.
Place the bowl in a warm spot in your kitchen. Ideally, the temperature should be around 75-85°F (24-29°C) to promote yeast activity. If your kitchen is cooler, you can place the bowl in a slightly warmed oven (turned off) or near a radiator.
Allow the dough to rise for about 1-2 hours, or until it has doubled in size. The time may vary depending on the ambient temperature and the potency of your yeast.
While the dough is rising, you can make use of this time to prepare your pizza sauce and gather your desired toppings. This way, you’ll be ready to assemble and bake the pizza once the dough is ready.
Once the dough has completed its first rise and has doubled in size, it’s time to move on to the next step: portioning the dough.
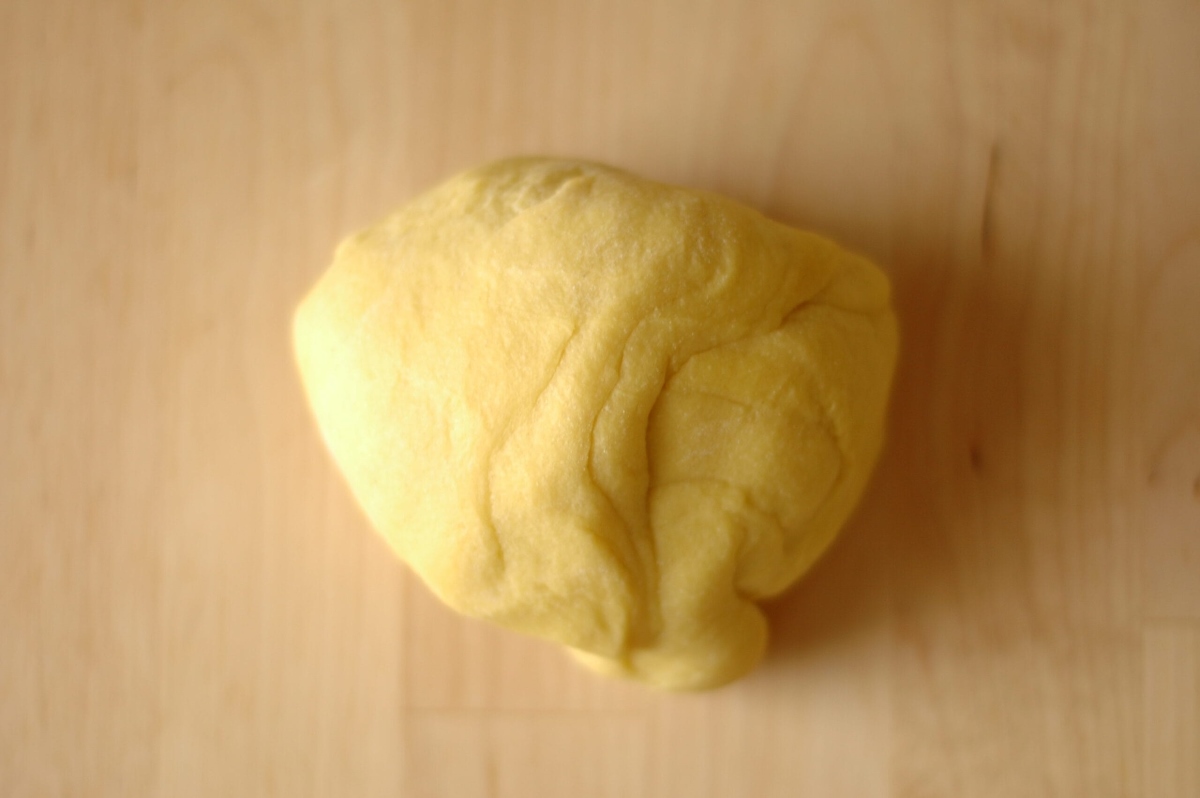
Step 3: Portioning the Dough
Now that your pizza dough has completed its first rise, it’s time to portion it into individual servings. This step allows you to have ready-to-use portions of dough for future pizza nights.
Start by gently punching down the dough to release any air bubbles that may have formed during the rise. Transfer the dough onto a lightly floured surface.
Divide the dough into equal portions based on the size of pizzas you want to make. For personal-sized pizzas, you can divide the dough into smaller portions, while for larger family-sized pizzas, you may want to divide it into bigger sections.
Shape each portion into a round ball by tucking the edges underneath and rolling it in a circular motion with your hands. This helps create a smooth surface on the dough.
Place each dough portion on a parchment-lined baking sheet or a lightly floured surface, leaving enough space between them to prevent sticking. You can also lightly dust the dough balls with flour to prevent them from drying out during the second rise.
Now that you’ve portioned the dough, it’s time to move on to the next step: shaping the dough.
Read more: How To Store Pizza Dough In Fridge
Step 4: Shaping the Dough
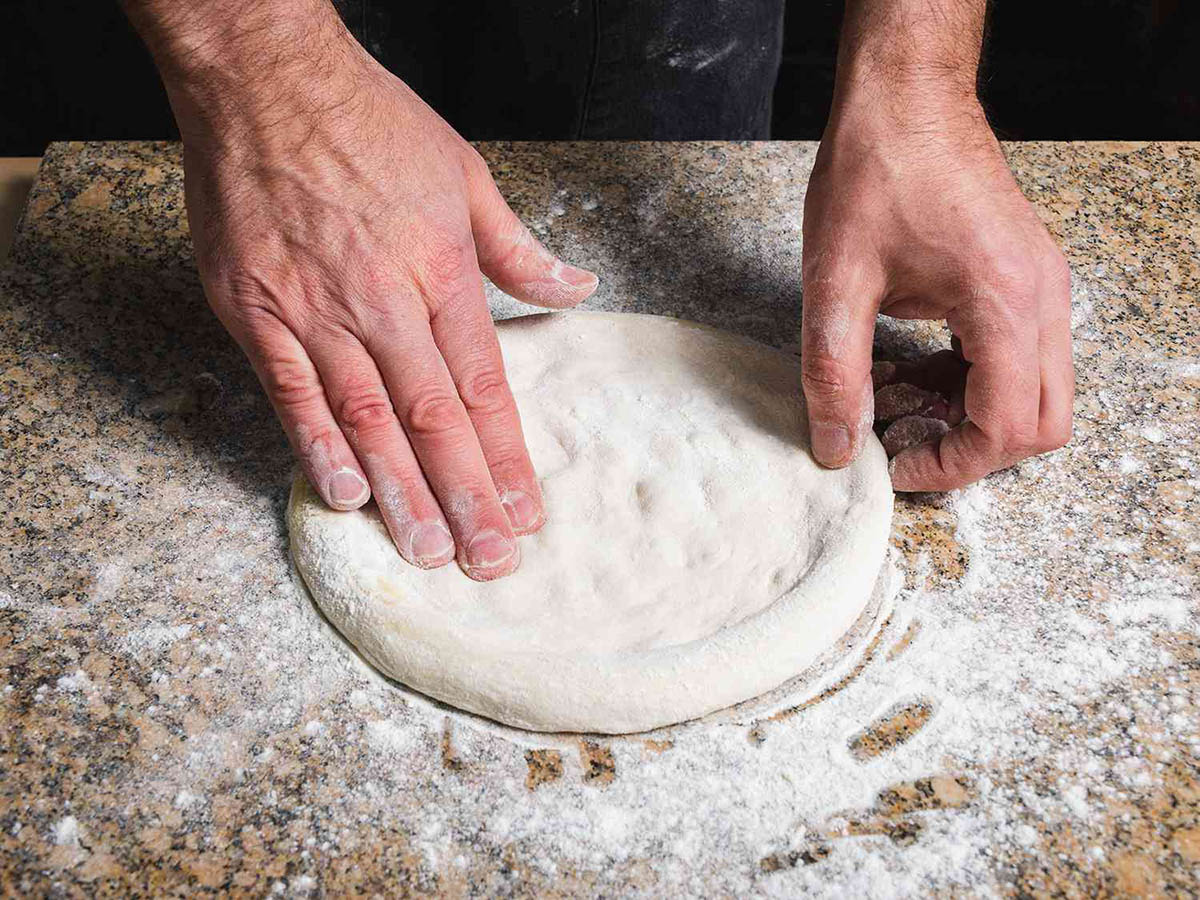
With your pizza dough portions ready, it’s time to shape them to the desired thickness and size. Whether you prefer a thin and crispy crust or a thick and doughy base, this step allows you to customize your pizzas according to your preferences.
To shape the dough, start by gently pressing down on the ball with your fingers to flatten it slightly. Then, using your hands or a rolling pin, begin to stretch the dough outwards from the center. Rotate the dough as you go to ensure an even thickness.
If you prefer a traditional round pizza shape, continue stretching the dough until it reaches your desired size. For a rustic rectangular shape, you can stretch and shape the dough accordingly.
As you shape the dough, be cautious not to overwork it or apply too much pressure, as this can result in a tough crust. It’s okay to have slightly uneven edges and imperfections to give your homemade pizza a charming homemade look.
Once you’ve shaped the dough, transfer it to a lightly greased baking sheet or a pizza peel dusted with cornmeal or flour. This will make it easier to transfer the pizza to the oven later on.
Now that you’ve shaped the dough, it’s time to move on to the next step: the second rise.
After the dough has completed its first rise in the bread machine, remove it and place it in a lightly oiled bowl. Cover with plastic wrap and store in the refrigerator for up to 24 hours before using for pizza.
Step 5: Second Rise
After shaping the pizza dough, it’s important to allow it to undergo a second rise. This will further develop the flavor and texture of the dough, resulting in a lighter and more flavorful crust.
Place the shaped dough on the baking sheet or pizza peel and cover it loosely with a clean kitchen towel or plastic wrap. This will prevent the dough from drying out during the rise.
Similar to the first rise, you’ll want to create a warm and draft-free environment for the second rise. Find a spot in your kitchen that has a temperature of around 75-85°F (24-29°C).
Allow the dough to rise for about 30-60 minutes, or until it has slightly puffed up. The exact time may vary depending on the ambient temperature and the yeast activity.
While the dough is undergoing the second rise, you can preheat your oven to the desired temperature and prepare your pizza toppings.
Once the dough has completed its second rise and has increased in volume, it’s ready to be prepared for storage. Let’s move on to the next step: preparing for storage.
Step 6: Preparing for Storage
Now that your pizza dough has gone through the rising process, it’s time to prepare it for storage. Whether you plan to freeze the dough for later use or store it in the refrigerator for a few days, proper preparation is essential to keep the dough fresh and ready to use.
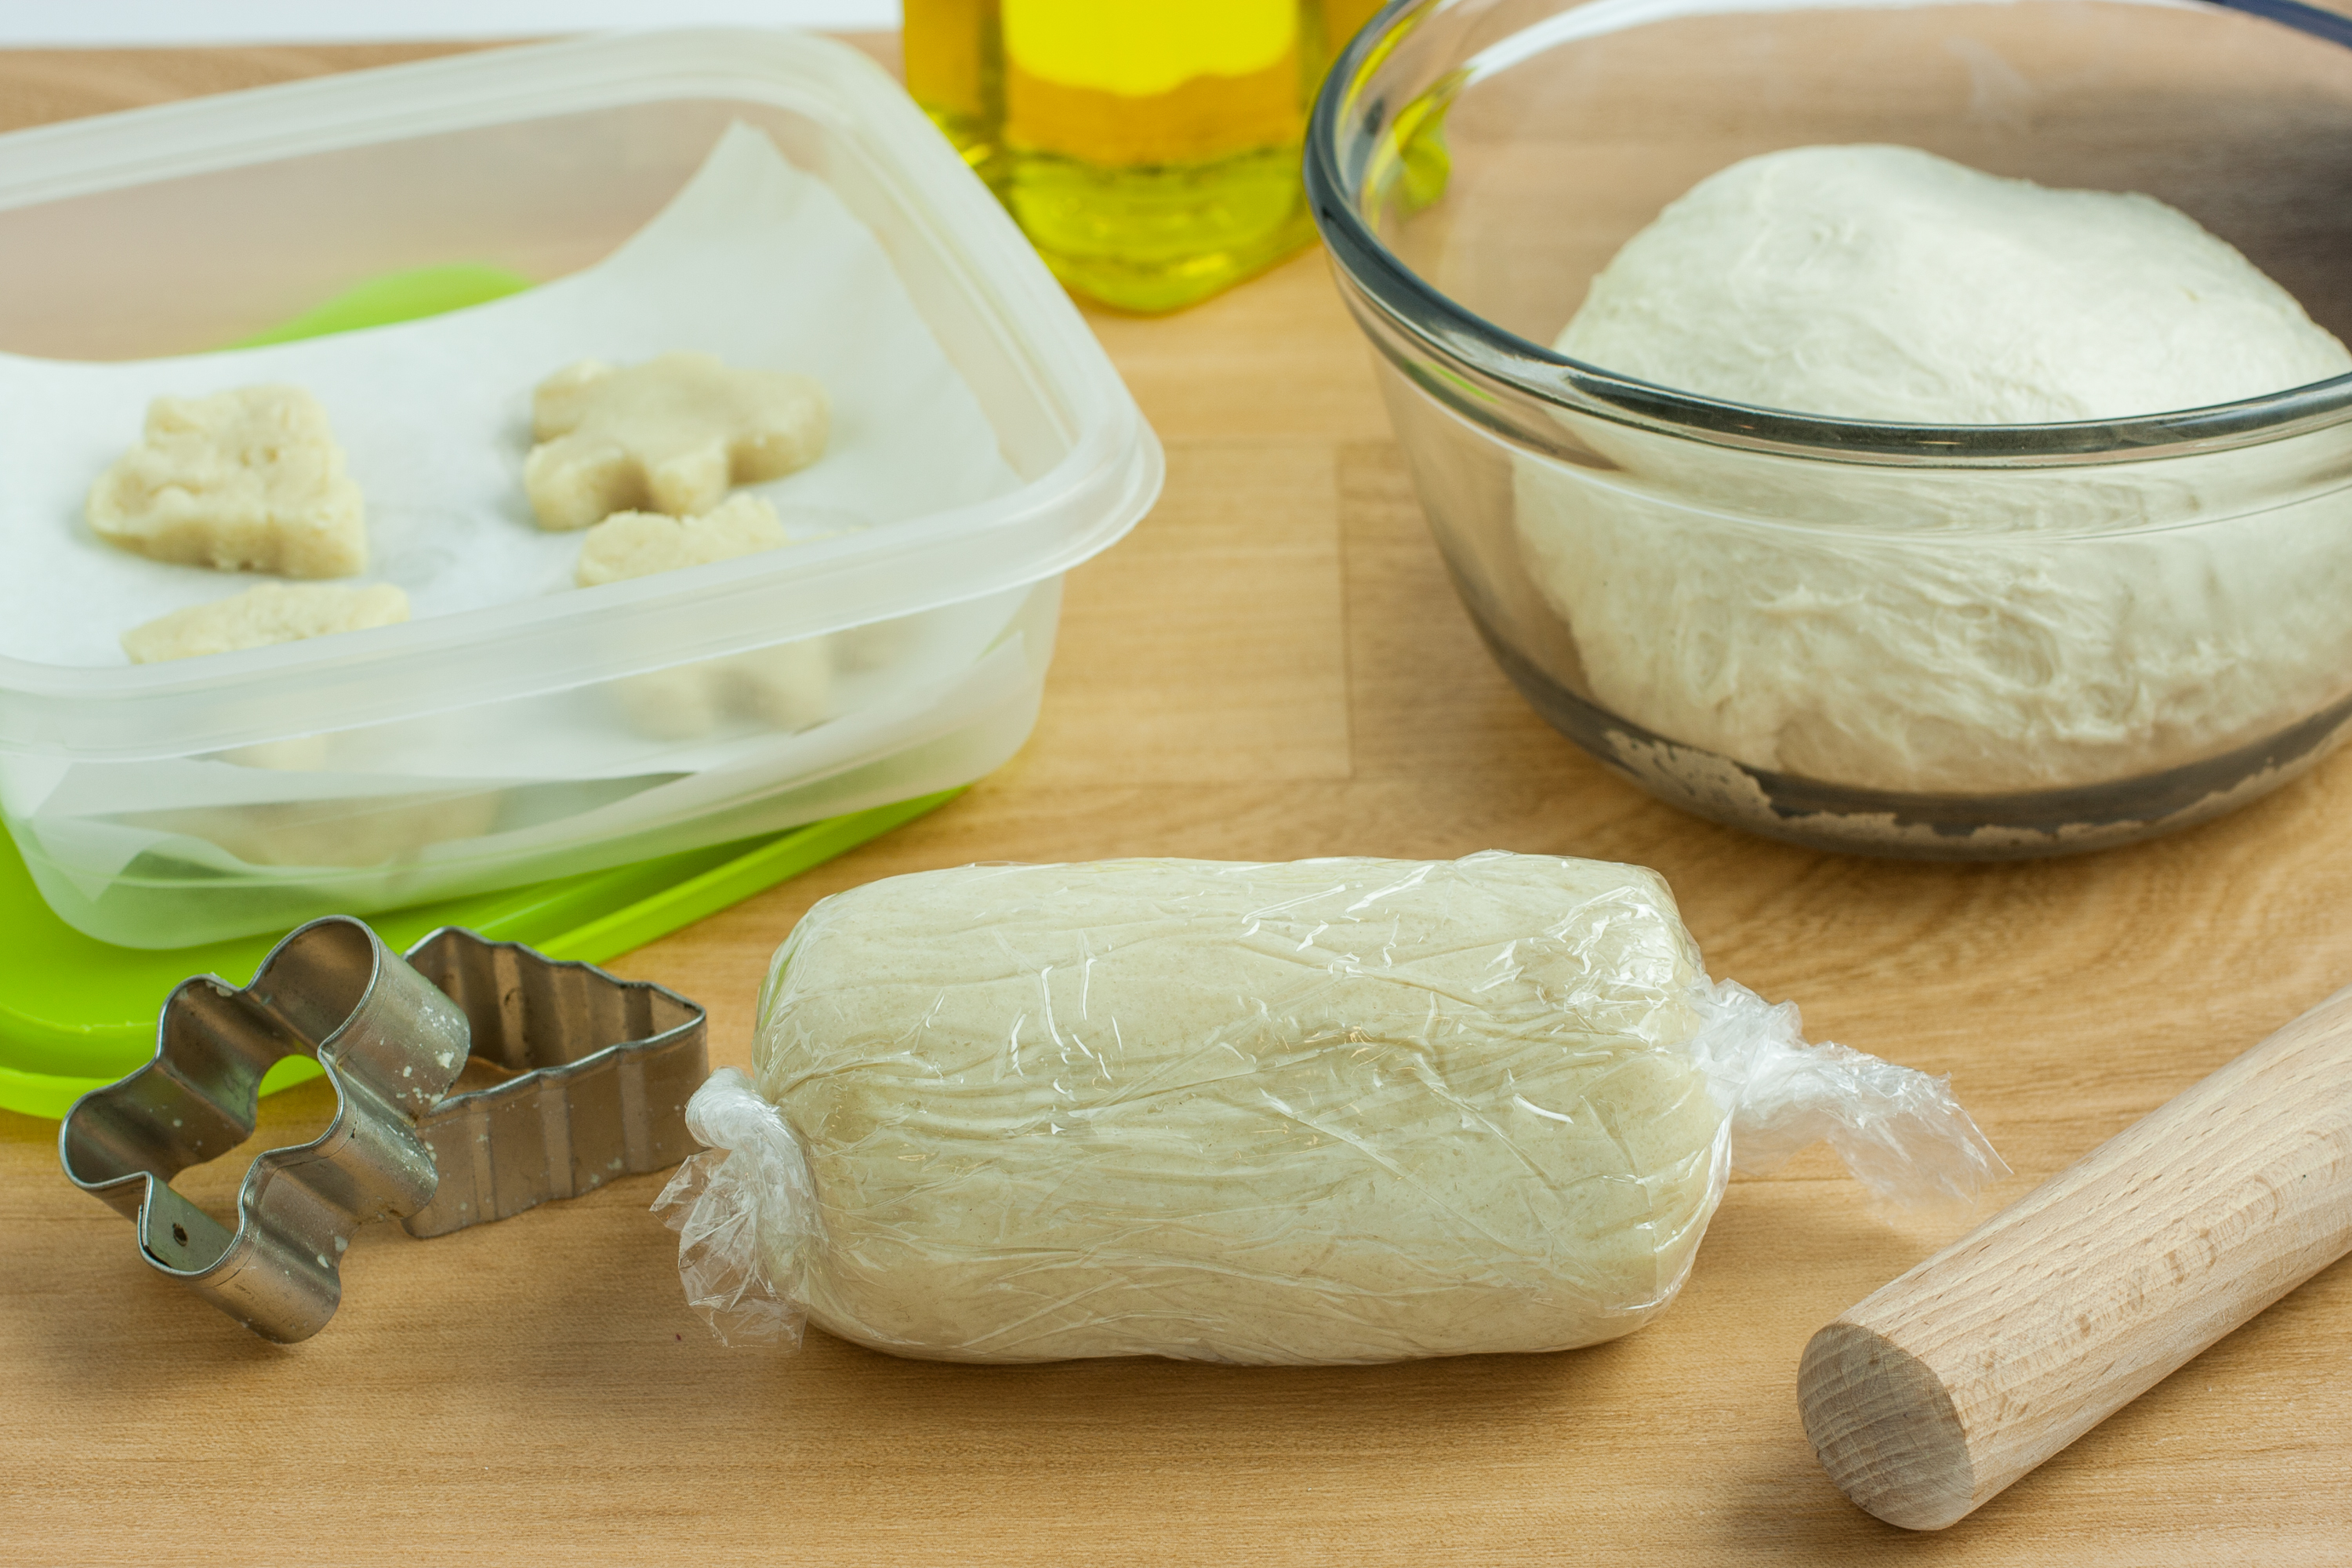
If you’re planning to freeze the dough, you’ll need to wrap each portion individually to prevent freezer burn and maintain their quality. Start by lightly flouring a piece of plastic wrap or aluminum foil.
Place each portion of dough in the center of the floured wrap and tightly fold it over, sealing the dough inside. Make sure there are no gaps or openings that could allow air to enter. You can then place the wrapped dough portions in a freezer-safe bag or airtight container for added protection.
If you prefer to store the dough in the refrigerator for a few days, you can place the portioned dough balls in a lightly greased container or a resealable plastic bag. Make sure to press out any excess air before sealing the container or bag.
Label each wrapped or containerized dough with the date to keep track of its freshness. This information will help you determine how long the dough has been stored and when to use it.
Now that you’ve prepared the dough for storage, it’s time to move on to the next steps depending on whether you’re freezing or refrigerating the dough.
Step 7: Freezing the Dough
If you want to enjoy homemade pizza at a later time, freezing the dough is a convenient option. Freezing allows you to have dough readily available whenever you have a pizza craving, making it a time-saving solution.
To freeze the pizza dough, make sure each portion is individually wrapped in plastic wrap or aluminum foil as mentioned in the previous step. Ensure that the wrap is tightly sealed to prevent air and freezer burn.
Place the wrapped dough portions in a freezer-safe bag or airtight container for extra protection against freezer odors and moisture. Remember to label the bag or container with the date for easier tracking.
Place the sealed bag or container in the freezer, ensuring that it is placed in a flat and stable position. Lay the dough portions flat if possible to maximize storage space and prevent them from sticking together.
The pizza dough can be stored in the freezer for up to 3 months without any significant loss in quality. When you’re ready to use the dough, simply remove the desired portions from the freezer and transfer them to the refrigerator to thaw overnight.
Now that you’ve successfully frozen the dough, let’s move on to the next step: storing the dough in the refrigerator.
Read more: How To Store Pizza Dough Overnight
Step 8: Storing in the Refrigerator
If you plan to use the pizza dough within a few days, storing it in the refrigerator is a great option. Refrigeration slows down the fermentation process, allowing the dough to stay fresh and ready to use for a short period of time.
To store the dough in the refrigerator, ensure that each portion is placed in a lightly greased container or a resealable plastic bag. This prevents the dough from sticking to the container and helps maintain its moisture.
Press out any excess air from the container or bag before sealing it to minimize the risk of the dough drying out. It’s important to note that storing the dough in the refrigerator will cause it to continue to rise, although at a slower pace.
Place the container or bag of dough in the refrigerator and make sure it is kept in a stable position. The dough can be stored in the refrigerator for up to 3-4 days while maintaining its optimal quality.
When you’re ready to use the dough, allow it to sit at room temperature for about 30 minutes to an hour. This will help the dough relax and become more pliable for shaping. You can then proceed with shaping and baking your delicious homemade pizza.
Now that you’ve stored the dough in the refrigerator, let’s move on to the final step: thawing and using the dough.
Step 9: Thawing and Using the Dough
When you’re ready to use the pizza dough that has been stored in the fridge or freezer, it’s important to properly thaw it to ensure the best results for your homemade pizza.
If you froze the dough, transfer the desired portions from the freezer to the refrigerator the night before you plan to use them. Allow the dough to thaw slowly in the refrigerator overnight. This gradual thawing process helps maintain the dough’s texture and prevents any moisture loss.
If you stored the dough in the refrigerator, simply take out the portion you want to use and let it rest at room temperature for about 30 minutes to an hour. This will allow the dough to come to a suitable temperature for shaping.
Once the dough has thawed or reached room temperature, it’s time to shape and bake your pizza. Follow your favorite pizza recipe for assembly, adding sauce, cheese, and toppings of your choice.
Preheat your oven to the desired temperature, usually around 450°F (230°C). Place the topped pizza on a baking sheet, pizza stone, or preheated pizza stone for a crispy crust.
Bake the pizza for about 12-15 minutes, or until the crust is golden brown and the cheese is bubbly and melty. Keep a close eye on the pizza as baking times may vary depending on your oven and the thickness of the dough.
Once the pizza is done, remove it from the oven and let it cool for a few minutes before slicing and serving. Enjoy the delicious flavors of your homemade pizza made with your freshly thawed dough!
With these steps, you now know how to store bread machine pizza dough and have it ready for whenever the pizza craving strikes. Whether frozen or refrigerated, having homemade pizza dough on hand allows you to enjoy the convenience and satisfaction of making delicious pizza in the comfort of your own kitchen.
Experiment with different toppings, sauces, and techniques to create your own signature pizza creations. So grab that stored dough, unleash your creativity, and enjoy the delightful experience of homemade pizza!
Happy baking!
Conclusion
Learning how to store bread machine pizza dough opens up a world of possibilities for homemade pizza lovers. With a few simple steps, you can have fresh and delicious pizza dough ready to use whenever you want. Whether you choose to freeze the dough for later use or store it in the refrigerator for a few days, proper storage techniques ensure that the dough retains its flavor, texture, and quality.
The process starts with mixing the dough in a bread machine, allowing it to undergo its first rise, and then portioning and shaping it to your desired thickness and size. After the second rise, you have the option to either freeze the dough for future use or store it in the refrigerator for a few days.
Freezing the dough gives you the convenience of having homemade pizza at your fingertips whenever the craving strikes. You simply need to thaw the desired portion overnight in the refrigerator, and your dough is ready to be shaped, topped, and baked into a mouthwatering pizza.
Storing the dough in the refrigerator allows you to use it within a few days. It’s a great option if you want to plan a pizza night in advance or have the flexibility to make pizzas throughout the week. Simply remove the dough from the refrigerator, let it come to room temperature, and proceed with the pizza-making process.
By following these steps, you can enjoy the satisfaction of creating your own flavorful and customizable pizzas with freshly stored bread machine dough. Whether you prefer classic Margherita, hearty meat lovers, or inventive combinations, the possibilities are endless.
So, take the time to store your bread machine pizza dough properly, whether freezing or refrigerating, and enjoy the convenience and joy of homemade pizza any time you desire. Experiment with different toppings, sauces, and techniques to create your own signature pizzas that will impress family and friends.
Now, armed with this knowledge, it’s time to fire up that bread machine and start making your own delicious pizzas. Unleash your creativity, savor the aromas, and indulge in the satisfaction of biting into a slice of homemade perfection.
Happy pizza-making!
Frequently Asked Questions about How To Store Bread Machine Pizza Dough
Was this page helpful?
At Storables.com, we guarantee accurate and reliable information. Our content, validated by Expert Board Contributors, is crafted following stringent Editorial Policies. We're committed to providing you with well-researched, expert-backed insights for all your informational needs.


0 thoughts on “How To Store Bread Machine Pizza Dough”