Home>Garden Essentials>How To Save Watermelon Seeds
Garden Essentials
How To Save Watermelon Seeds
Modified: August 27, 2024
Learn how to save watermelon seeds in your garden with these easy steps. Save seeds for future planting and enjoy a bountiful harvest of juicy watermelons.
(Many of the links in this article redirect to a specific reviewed product. Your purchase of these products through affiliate links helps to generate commission for Storables.com, at no extra cost. Learn more)
Introduction
Welcome to the wonderful world of watermelons! Known for their juicy sweetness and refreshing taste, watermelons are a favorite summertime treat for many. But did you know that there’s more to a watermelon than just its delicious flesh? Hidden within those juicy bites are little treasures – watermelon seeds. And these seeds can be saved and used for a variety of purposes, from growing your own watermelons to creating tasty snacks.
In this article, we will guide you through the process of saving watermelon seeds, step by step. Not only is saving watermelon seeds a fun and rewarding activity, but it also helps to promote sustainability and self-sufficiency in your own garden.
By saving and planting watermelon seeds, you can not only have a hand in growing your own watermelons but also explore the wonders of nature’s cycle of life, from seed to fruit and back to seed again. So, let’s delve into the benefits of saving watermelon seeds and get started on our seed-saving adventure!
Key Takeaways:
- Save watermelon seeds to grow your own delicious fruit, save money, and promote sustainability in your garden. Enjoy the educational and tasty benefits of seed-saving while connecting with nature’s cycle of life.
- Follow the fun and rewarding steps to save, clean, dry, store, and plant watermelon seeds. Experience the joy of self-sufficiency and watch your garden flourish with homegrown watermelons.
Read more: How Many Seeds In A Watermelon
Benefits of Saving Watermelon Seeds
When it comes to watermelon seeds, many people tend to discard them without realizing the potential benefits they hold. Here are some compelling reasons why you should start saving watermelon seeds:
- Cost Savings: By saving watermelon seeds, you can reduce the cost of buying new watermelon seeds or seedlings each year. Growing watermelons from saved seeds can be a cost-effective way to enjoy an abundance of this delicious fruit without breaking the bank.
- Variety Selection: Saving watermelon seeds allows you to preserve and propagate specific varieties that may be well-suited to your taste preferences or growing conditions. With commercial varietal options often limited, saving seeds from unique or heirloom watermelons ensures a diverse selection of flavors, colors, and textures to savor.
- Sustainability: By saving and reusing watermelon seeds, you contribute to sustainable gardening practices. Rather than relying solely on commercial seed sources, you participate in a cyclical and self-sustaining system that reduces waste and promotes ecological balance.
- Educational Opportunity: Saving watermelon seeds provides an educational opportunity for both children and adults. Through observing the seed saving process, understanding the life cycle of plants, and witnessing the growth and development of watermelons, you gain a deeper appreciation for nature’s wonders.
- Self-Sufficiency: Growing watermelons from saved seeds fosters a sense of self-sufficiency. As you cultivate your own watermelon plants from seeds, you become less reliant on external sources and gain a greater understanding of where your food comes from.
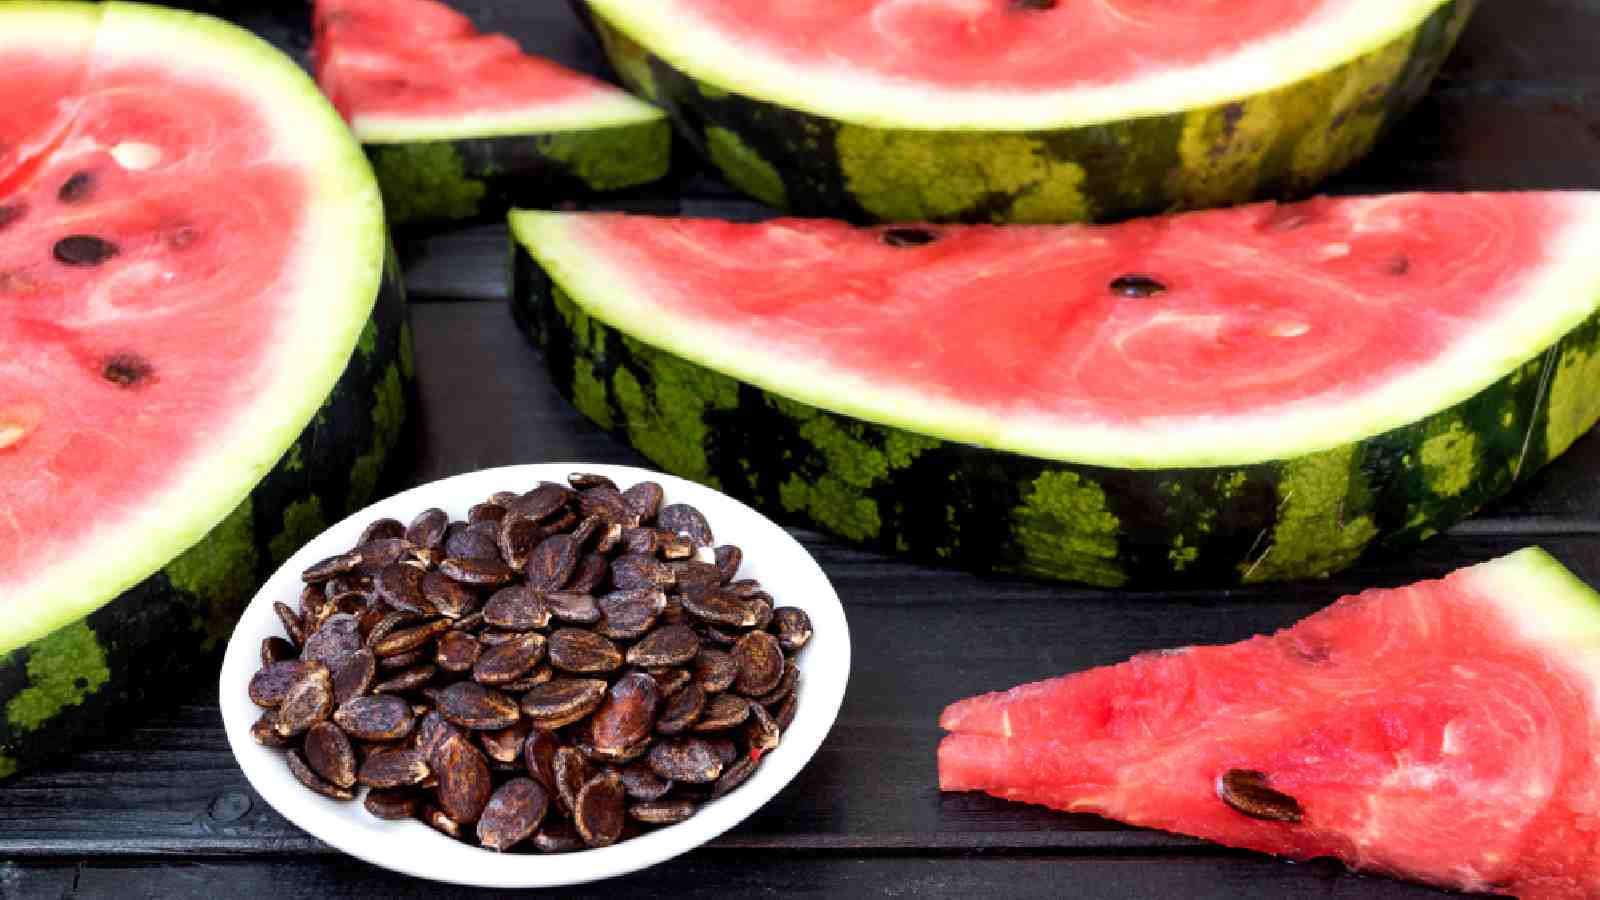
- Tasty Treats: Watermelon seeds are not just for planting; they can also be delicious snacks! Roasted watermelon seeds make a crunchy and nutritious treat that is rich in protein, healthy fats, and essential nutrients like magnesium, iron, and zinc.
With all these benefits, it’s clear that saving watermelon seeds is not only a practical and sustainable choice but also a flavorful one. So, let’s dive into the step-by-step process of how to save watermelon seeds!
Step 1: Choosing the Right Watermelon
The first step in saving watermelon seeds is selecting the right watermelon. Choosing a ripe and healthy watermelon is crucial for obtaining high-quality seeds. Here’s what you need to keep in mind:
- Variety: Select a watermelon variety that you enjoy and would like to grow in the future. Consider factors like taste, size, and color to find the perfect watermelon for your preferences.
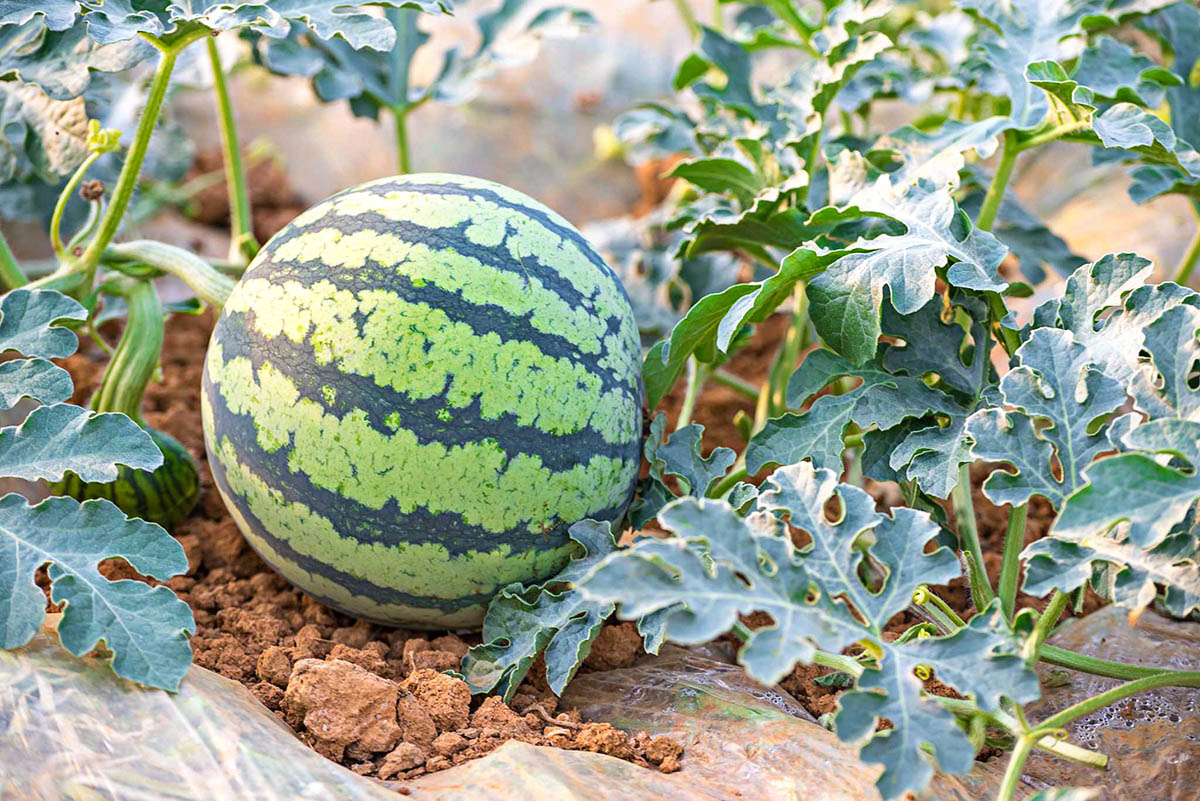
- Ripeness: Opt for a fully ripe watermelon, as seeds from underripe fruits may not develop properly. Look for a melon with a uniform shape, deep color, and a dull or matte appearance. A yellow or cream-colored spot on the bottom (where the melon rests on the ground) indicates ripeness.
- Fruit Quality: Examine the overall quality of the watermelon. It should be firm, without any soft spots, bruises, or signs of damage. Avoid selecting watermelons with cracks or blemishes, as they may indicate internal rot or pest infestation.
- Seed Development: Gently tap the watermelon to listen for a deep, hollow sound. This suggests that the seeds have matured fully. If you hear a dull or thudding sound, it may indicate that the seeds are underdeveloped, and the watermelon is not suitable for seed saving.
- Trial and Error: Don’t be afraid to experiment with different watermelon varieties and seed-saving techniques. Each watermelon is unique, and through trial and error, you’ll learn what works best for you and your garden.
By taking the time to choose the right watermelon, you set the foundation for successful seed saving. Once you’ve selected your ideal watermelon, it’s time to move on to the next step: extracting the watermelon seeds!
Step 2: Extracting the Watermelon Seeds
Now that you have chosen a ripe watermelon, it’s time to extract the seeds. Follow these steps to efficiently remove the seeds from the juicy flesh:
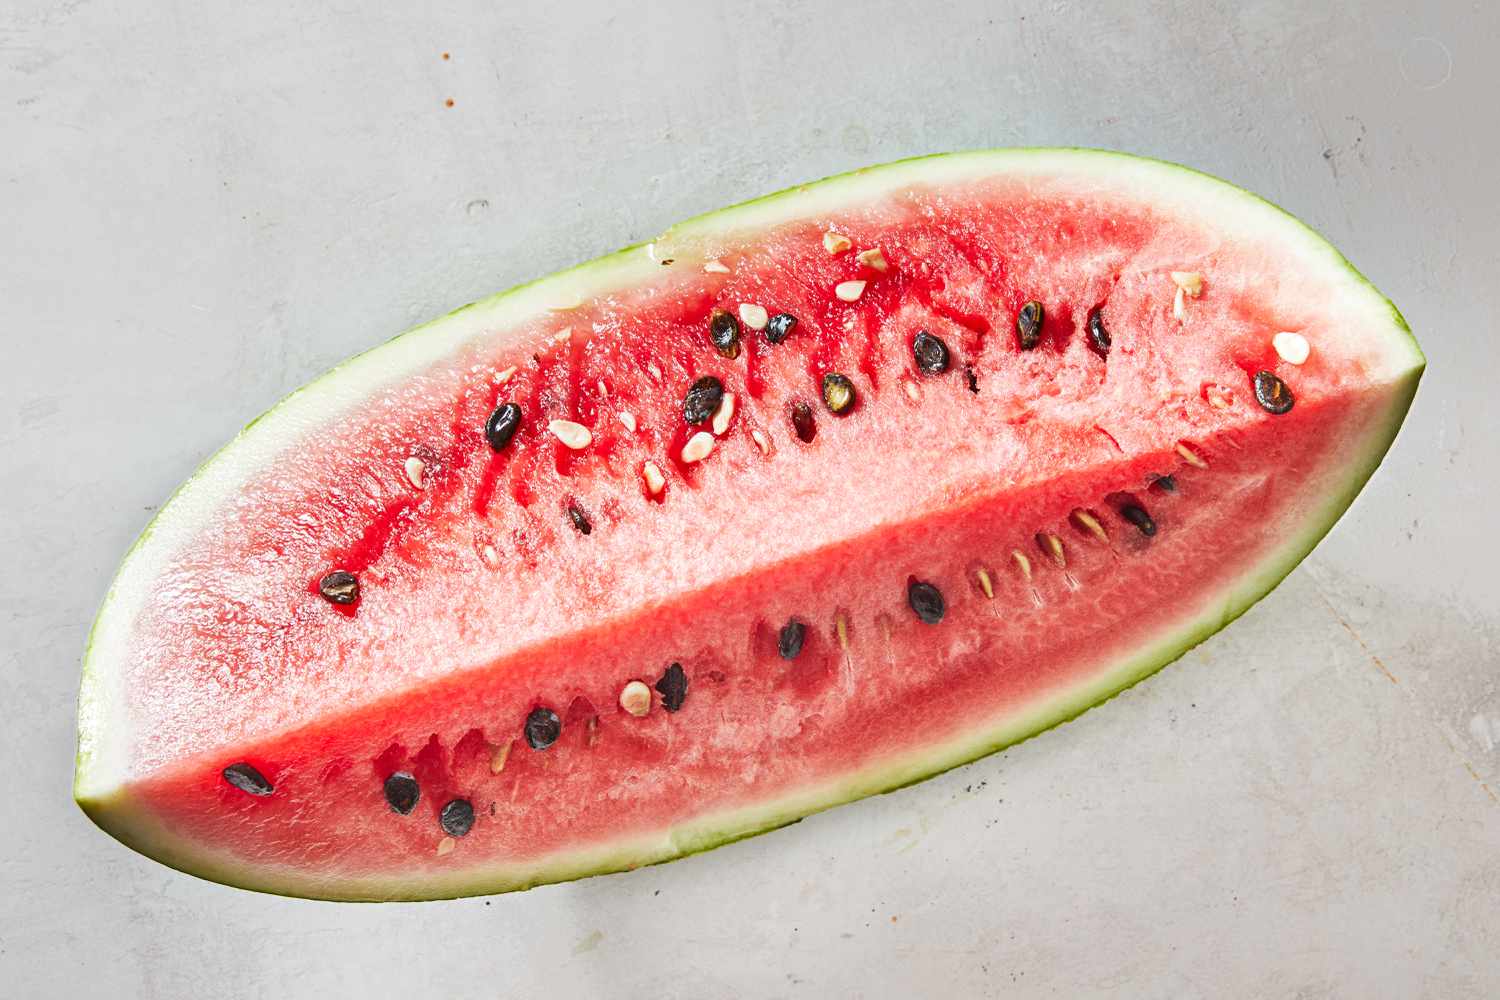
- Cut the Watermelon: Place the watermelon on a clean cutting board and use a sharp knife to cut it in half. Take care when handling the knife and ensure that it is stable and secure.
- Scoop out the Seeds: Use a spoon or melon baller to scoop out the seeds from the watermelon’s center. Gently scrape the seeds away from the flesh, being careful not to remove too much of the surrounding pulp.
- Separate the Seeds from the Flesh: Place the scooped seeds into a clean bowl or colander. Use your fingers or a spoon to separate any remaining flesh or membrane from the seeds. Rinse the seeds with water to remove any remaining debris.
- Inspect for Quality: As you separate the seeds, inspect each one for quality. Discard any discolored, damaged, or underdeveloped seeds. Only select seeds that are plump, firm, and have a uniform color.
- Pat Dry: Once you have separated the seeds, gently pat them dry with a paper towel or clean cloth. This helps prevent mold or fungus growth during the drying process.
Remember, it’s important to handle the watermelon seeds with care to avoid damaging them. By following these steps, you can successfully extract the watermelon seeds and prepare them for the next stage of the seed-saving process. In the next step, we’ll discuss how to clean the watermelon seeds to ensure their optimal health and viability.
Step 3: Cleaning the Watermelon Seeds
After extracting the watermelon seeds, it’s essential to clean them thoroughly before moving forward. Cleaning the seeds removes any remaining pulp or debris, ensuring their health and viability. Follow these steps to clean your watermelon seeds:
- Rinse with Water: Place the extracted watermelon seeds in a fine-mesh sieve or colander. Rinse them under cold running water, gently agitating them with your fingers to remove any remaining pulp or residue.
- Remove Excess Pulp: After rinsing, inspect the seeds for any stubborn bits of pulp that may still be attached. Use your fingers or a soft brush to gently remove any clinging residue.
- Soak in Water: Prepare a bowl of lukewarm water and immerse the seeds in it. Let them soak for 24 to 48 hours. This soaking process helps to remove any remaining pulp and promote seed germination.
- Rinse again: After the soaking period, drain the water and rinse the seeds once more under running water. This final rinse ensures that the seeds are clean and ready for drying.
By following these cleaning steps, you ensure that the watermelon seeds are free from debris and prepared for the next stage of the seed-saving process. Now, it’s time to move on to step 4: drying the watermelon seeds.
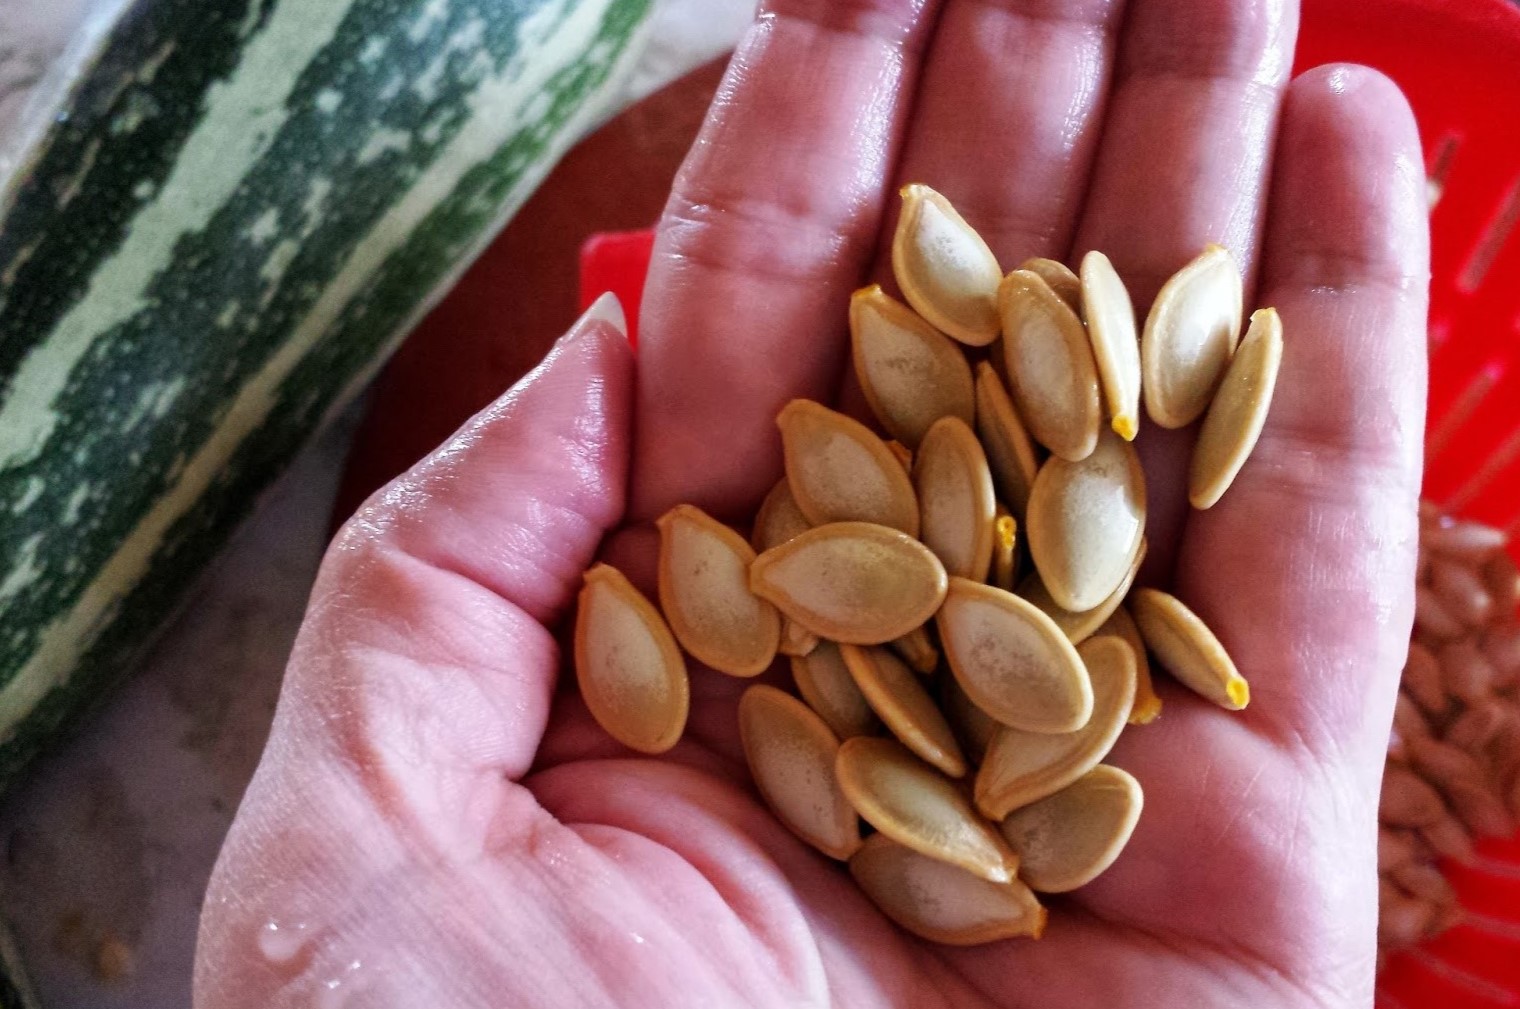
After enjoying a delicious watermelon, rinse the seeds and lay them out to dry on a paper towel. Once dry, store them in a cool, dry place for planting next season.
Read more: How To Grow A Watermelon From A Seed
Step 4: Drying the Watermelon Seeds
Once the watermelon seeds have been cleaned, it’s important to dry them thoroughly before storing or planting. Drying the seeds prevents mold or rot and helps maintain their viability. Follow these steps to properly dry your watermelon seeds:
- Spread the Seeds: Place the cleaned watermelon seeds on a clean, dry surface such as a plate or paper towel. Spread them out evenly, making sure they are not touching each other. This allows for proper airflow during the drying process.
- Avoid Direct Sunlight: Place the seeds in a cool, dry location away from direct sunlight. Excessive heat or sunlight can damage the seeds or cause them to lose their viability.
- Allow Air Circulation: Ensure that there is proper airflow in the drying area. This helps to prevent moisture buildup and encourages quicker drying. Consider using a fan or keeping a window open if necessary.
- Patience is Key: Let the watermelon seeds air dry for about 1 to 2 weeks. During this time, gently turn them over occasionally to ensure even drying.
- Check for Dryness: To test if the watermelon seeds are completely dry, break one open. If the seed cracks or breaks easily, it’s an indication that they are sufficiently dried. If the seed bends or feels soft, give them more time to dry.
By following these drying steps, you ensure that the watermelon seeds are thoroughly dried and ready for storage or planting. With the seeds dried, it’s time to move on to the next step: storing the watermelon seeds.
Step 5: Storing the Watermelon Seeds
Now that your watermelon seeds are dry, it’s important to store them properly to maintain their viability and freshness. Follow these steps to store your watermelon seeds:
- Label and Date: Start by labeling small envelopes or seed storage containers with the variety and date of when the seeds were saved. This helps you keep track of the seeds and their freshness.
- Seed Storage Containers: Choose airtight containers such as glass jars, plastic containers, or seed envelopes to store the seeds. Make sure the containers are clean and dry before use.
- Remove Excess Air: Squeeze out any excess air from the containers to minimize moisture and oxidation. This helps preserve the quality and germination rate of the seeds.
- Store in a Cool and Dry Place: Place the containers in a cool, dry, and dark location. A pantry or refrigerator (in a zip-lock bag) are suitable storage spaces. Avoid storing the seeds in areas prone to temperature fluctuations or humidity.
- Avoid Extreme Temperatures: Keep the seeds away from extreme hot or cold temperatures. Fluctuating temperatures can reduce the viability of the seeds.
- Regularly Check and Rotate: Periodically check the stored seeds for any signs of mold, moisture, or insect infestation. If any issues are found, discard the affected seeds. Additionally, it’s a good practice to use the oldest saved seeds first and periodically rotate your seed stock.
By following these steps, you can store your watermelon seeds properly, ensuring their longevity and maintaining their germination potential. Now it’s time for the final step: planting the watermelon seeds!
Step 6: Planting the Watermelon Seeds
Now that you have successfully saved and stored your watermelon seeds, it’s time to plant them and watch them grow into vibrant watermelon plants. Follow these steps to plant your watermelon seeds:
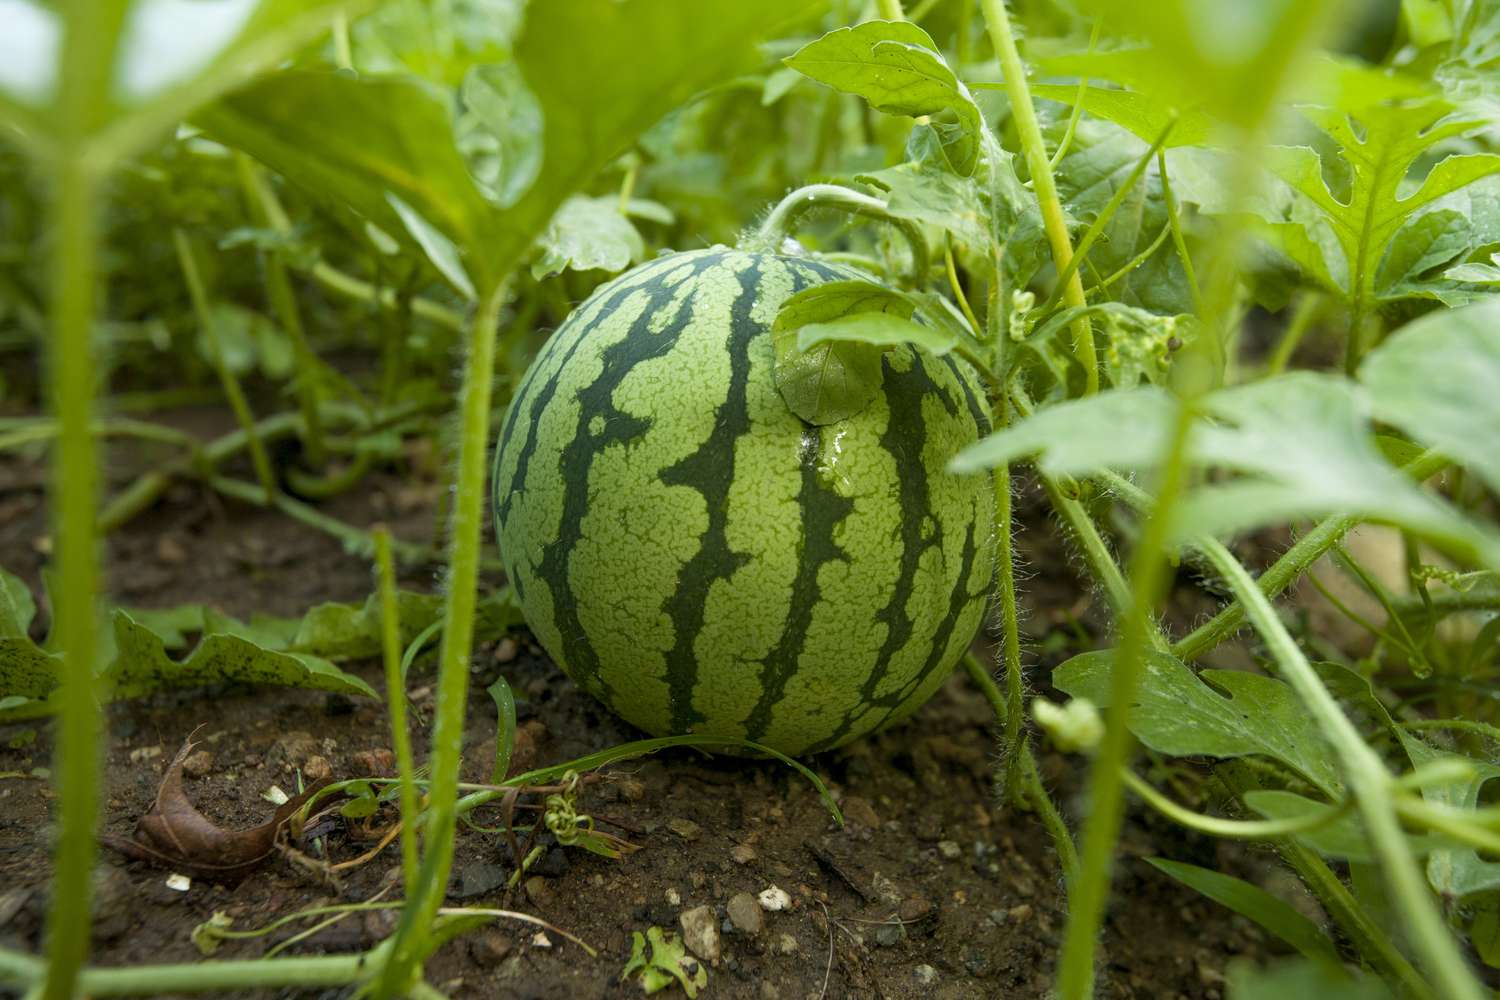
- Prepare the Soil: Choose a sunny location in your garden with well-draining soil. Watermelons thrive in fertile soil with a pH level between 6 and 7. Amend the soil with compost or well-rotted organic matter to boost its fertility.
- Sow the Seeds: Dig small holes or furrows in the prepared soil, spaced about 2-3 feet apart. Place 2-3 watermelon seeds per hole, about an inch deep. Cover the seeds with soil and gently firm it around them.
- Water the Seeds: Give the newly planted seeds a thorough watering, ensuring that the soil is evenly moist. Avoid overwatering, as excessive moisture can lead to seed rot or disease. Maintain consistent moisture levels throughout the germination and growth phases.
- Provide Support (Optional): If you are growing larger watermelon varieties, consider providing support such as trellises or stakes to help the vines climb and prevent damage to the fruits as they grow.
- Care for Seedlings: Once the seedlings emerge, thin them out to leave only the strongest and healthiest plant in each planting hole. This ensures optimal growth and development. Mulch around the base of the plants to conserve moisture, suppress weeds, and protect the soil.
- Maintain Proper Growth Conditions: Water the watermelon plants regularly, providing them with about an inch of water per week. Fertilize every few weeks with a balanced fertilizer, following the manufacturer’s instructions. Monitor for pests and diseases, and take appropriate measures to control them.
- Harvesting: Depending on the watermelon variety, it can take anywhere from 70 to 90 days for the fruits to mature. Harvest the watermelons when the fruits are fully ripe, as indicated by their vibrant color, a hollow sound when tapped, and a dry tendril near the stem. Enjoy the fruits of your labor!
By following these planting steps, you can give your watermelon seeds the best chance to grow into healthy and productive watermelon plants. Now it’s time to put your green thumb to work and enjoy the rewards of your efforts!
Conclusion
Saving watermelon seeds is a rewarding and sustainable practice that allows you to enjoy the fruits of your labor year after year. By following the step-by-step process of choosing the right watermelon, extracting the seeds, cleaning them, drying them thoroughly, storing them properly, and finally, planting them, you can embark on an exciting journey of self-sufficiency and exploration in your own garden.
Not only does saving watermelon seeds offer cost savings and the opportunity to preserve unique varieties, but it also promotes sustainability, educational experiences, and delicious snacks. By participating in the life cycle of watermelon plants, from seed to fruit and back to seed again, you connect with nature and gain a deeper understanding of the natural world.
So, the next time you bite into a juicy watermelon, remember that the seeds within have the potential to become the next generation of delicious fruits. By saving and planting watermelon seeds, you contribute to a greener and more self-sufficient lifestyle.
Take the plunge, try your hand at saving watermelon seeds, and watch as your garden flourishes with beautiful vines and bountiful fruits. Enjoy the satisfaction and taste of homegrown watermelons, knowing that you played a part in their journey from seed to savor.
Happy seed-saving and happy gardening!
Frequently Asked Questions about How To Save Watermelon Seeds
Was this page helpful?
At Storables.com, we guarantee accurate and reliable information. Our content, validated by Expert Board Contributors, is crafted following stringent Editorial Policies. We're committed to providing you with well-researched, expert-backed insights for all your informational needs.


0 thoughts on “How To Save Watermelon Seeds”