Home>Garden Essentials>How To Mail Seeds
Garden Essentials
How To Mail Seeds
Modified: March 15, 2024
Learn how to mail seeds for your garden with our step-by-step guide. Ensure safe delivery and successful germination with our expert tips and packaging advice.
(Many of the links in this article redirect to a specific reviewed product. Your purchase of these products through affiliate links helps to generate commission for Storables.com, at no extra cost. Learn more)
Introduction
Welcome to the world of gardening! Whether you are a seasoned green thumb or just starting out with your first seedlings, there may come a time when you want to share the joy of gardening with others. One way to do this is by sending seeds through the mail. Sharing seeds is not only a cost-effective way to introduce others to new plant varieties, but it also promotes biodiversity and fosters a sense of community among fellow gardeners.
In this article, we will guide you through the process of mailing seeds, providing you with tips and precautions to ensure that your precious seeds arrive safely at their destination. From gathering the necessary supplies to choosing the right packaging and postal service, we’ve got you covered.
So, let’s get started and learn how to mail seeds to fellow gardeners, friends, and family!
Key Takeaways:
- Mailing seeds is a fun way to share gardening joy, but it’s important to gather supplies, choose the right packaging, and prepare seeds carefully to ensure they arrive safely and ready to grow.
- When mailing seeds, remember to check regulations, package seeds individually, and consider adding planting instructions. Taking these precautions will help ensure a smooth and successful delivery, spreading gardening happiness!
Read more: How To Mail Glassware
Gathering Supplies
Before you begin packaging and mailing your seeds, it’s important to gather all the necessary supplies. Having everything on hand will make the process smoother and more efficient.
Here are the supplies you’ll need:
- Seed envelopes or small ziplock bags: These will be used to hold and protect the seeds during transit. You can find seed envelopes at your local gardening store or online. If using ziplock bags, make sure they are small and sturdy.
- Marker or pen: You’ll need a waterproof marker or pen to label the envelopes or bags. This will help identify the type of seeds and any specific instructions for planting.
- Small bubble wrap or tissue paper: This will provide extra cushioning to protect the seeds from damage during shipping.
- Cardboard box or padded envelope: This will be the outer packaging to hold the seed envelopes or bags. Choose a box or envelope that is sturdy and appropriately sized for the number of seeds you are sending.
- Tape: To secure the outer packaging and ensure it stays closed during transit.
- Scissors: For cutting bubble wrap, tissue paper, and tape.
Make sure all the supplies are clean and in good condition. It’s also a good idea to have extra envelopes or bags, markers, and tape in case you need to make any adjustments or replacements during the packaging process.
Once you have gathered all the necessary supplies, you’re ready to move on to the next step: choosing the right packaging for your seeds.
Choosing the Right Packaging
Choosing the right packaging is crucial to ensure that your seeds arrive safely at their destination. The packaging should provide adequate protection against moisture, crushing, and other potential hazards during transit. Here are a few options to consider:
- Seed envelopes: Seed envelopes are specifically designed for storing and mailing seeds. They are typically made of paper or a combination of paper and foil, providing an excellent barrier against moisture. Seed envelopes come in different sizes, so choose one that can accommodate the number of seeds you are sending. Make sure the envelope is sealed tightly to prevent any seeds from falling out during transit.
- Small ziplock bags: If you can’t find seed envelopes or prefer an alternative option, small ziplock bags work well for mailing seeds. Look for bags that are small, durable, and have a ziplock closure to keep the seeds secure. Double-bagging is recommended to provide an extra layer of protection against moisture.
- Padded envelopes: Padded envelopes are a popular choice for mailing small items, including seeds. They have a cushioned interior that provides extra protection against crushing. Choose an envelope that is slightly larger than the seed envelopes or bags to allow space for additional padding.
- Cardboard boxes: If you are sending a larger quantity of seeds or want to ensure maximum protection, consider using a small cardboard box. Choose a box that is sturdy and appropriately sized for the seeds. Fill any empty space inside the box with crumpled paper or bubble wrap to prevent the seeds from moving around during transit.
Regardless of the packaging option you choose, it’s important to properly seal and label the package. This will help ensure that the seeds remain secure and that the package is handled correctly throughout the mailing process. In the next section, we’ll guide you through the process of preparing the seeds before packaging them.
Preparing the Seeds
Before packaging the seeds for mailing, it’s important to prepare them properly to ensure their viability and longevity. Here are some essential steps to follow:
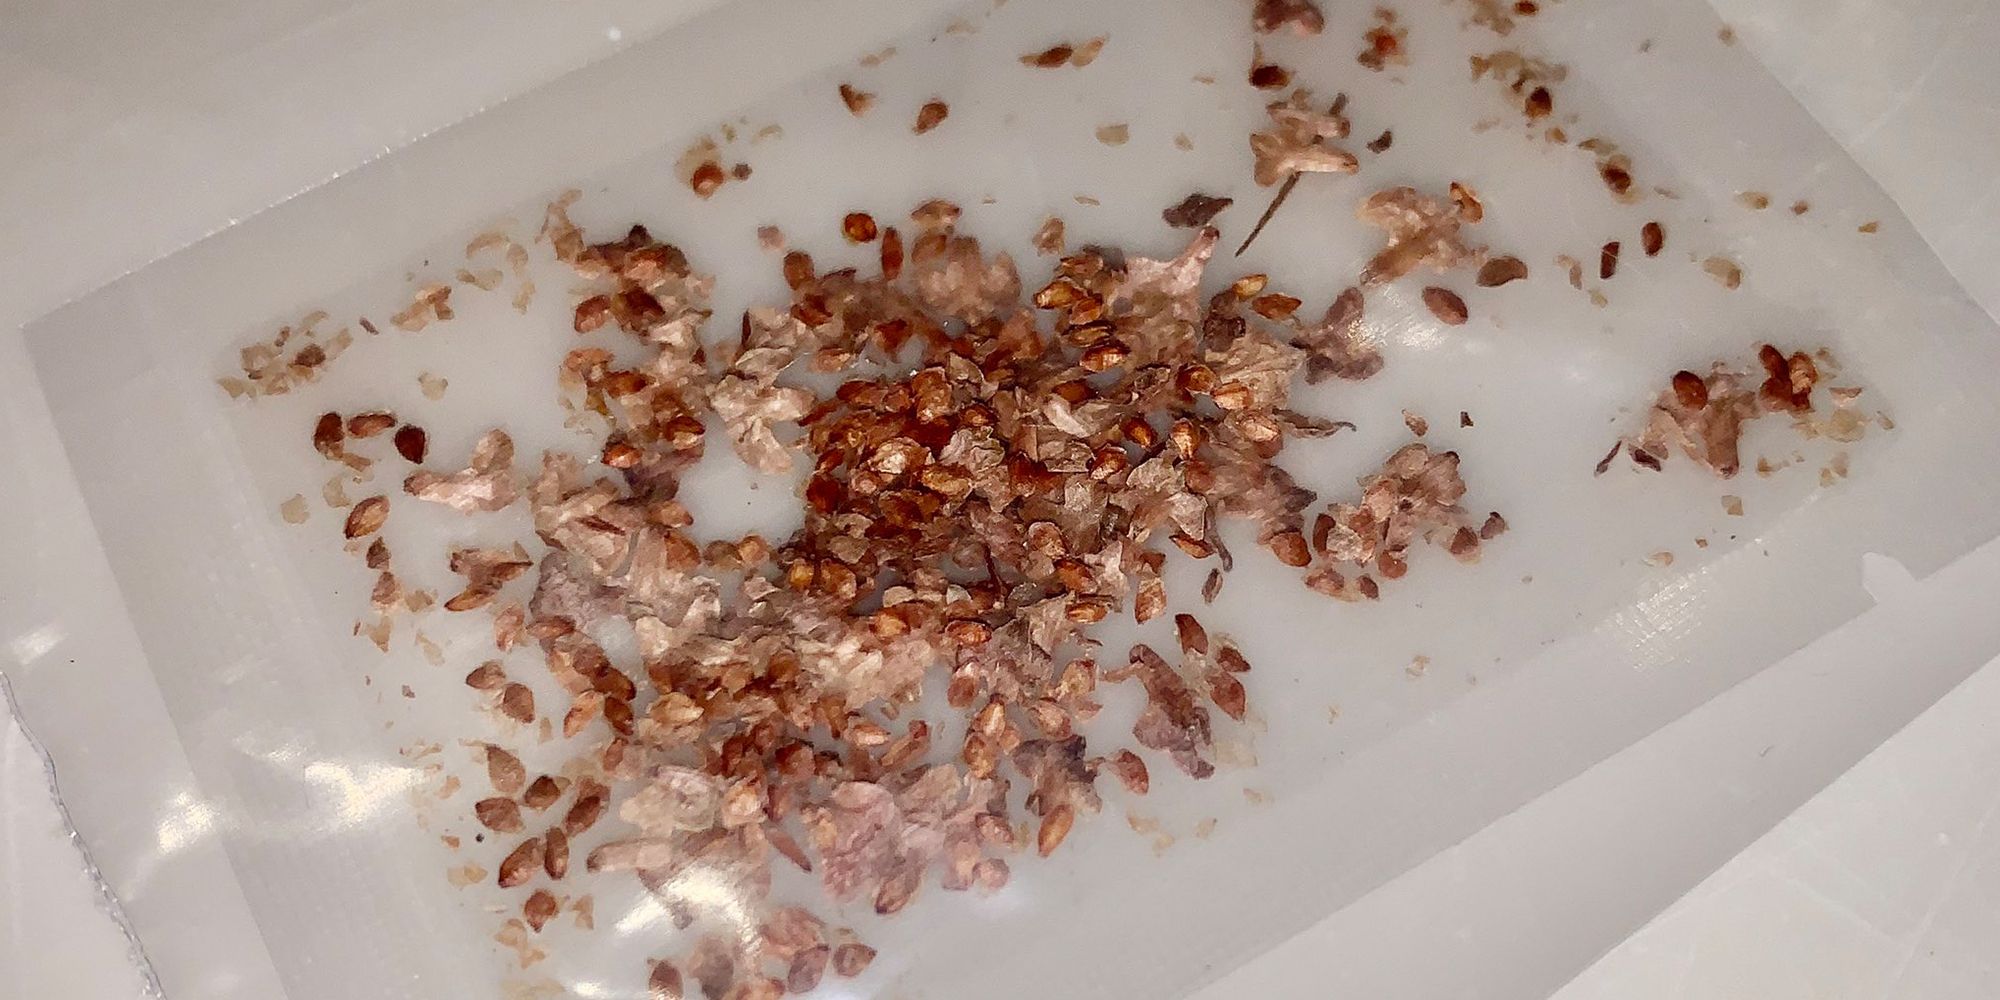
- Harvesting: Harvest the seeds when they are mature and dry. Avoid collecting seeds that are wet or have signs of rot or disease.
- Cleaning: Remove any debris, chaff, or dried plant material from the seeds. You can do this by hand or by using a fine mesh sieve. Be gentle to avoid damaging the seeds.
- Drying: Allow the seeds to air dry completely before packaging. This helps prevent moisture build-up, which can lead to mold or seed rot. Spread the seeds on a clean, dry surface and leave them in a well-ventilated area for a few days or until they are completely dry.
- Decontamination (optional): If you suspect the seeds may be carrying any pests or diseases, you can take additional measures to decontaminate them. This can be done by treating the seeds with a diluted bleach solution or using heat treatment. However, be cautious and research the appropriate methods for the specific type of seeds you are sending.
By following these steps, you are ensuring that the seeds are in optimal condition for planting and that they have the best chance of germination once they reach their destination.
Once the seeds are properly prepared, it’s time to package them securely to protect them during transit. In the next section, we’ll guide you through the process of packaging the seeds to ensure their safe arrival.
Packaging the Seeds
Now that the seeds are properly prepared, it’s time to package them securely for mailing. The packaging should provide a protective barrier against moisture, crushing, and potential damage during transit. Follow these steps to package your seeds:
- Label the seed envelopes or bags: Using a marker or pen, clearly label each envelope or bag with the type of seeds enclosed and any relevant planting instructions. This will help the recipient know what they are receiving and how to properly care for the seeds.
- Place the seeds in the envelopes or bags: Carefully place the dry seeds into the seed envelopes or bags. Be mindful of the quantity of seeds in each envelope or bag, ensuring they are not overcrowded.
- Protect the seeds: To provide extra cushioning and protection, wrap each envelope or bag with a small piece of bubble wrap or tissue paper. This will help prevent the seeds from moving around and potentially getting damaged during transit.
- Seal the envelopes or bags: Seal the seed envelopes or bags securely to prevent any seeds from falling out during transit. If using ziplock bags, make sure they are tightly sealed to keep out moisture.
Once the seeds are packaged and sealed, it’s time to move on to the next step: sealing and labeling the outer package. This will ensure that your seeds stay safe and reach their destination intact.
When mailing seeds, make sure to use a padded envelope or small box to protect them. Label the package as “seeds” and include a note with the type of seeds enclosed. Check the postal regulations for any restrictions on mailing seeds.
Read more: How To Send A Mattress By Mail
Sealing and Labeling the Package
After securely packaging the seeds, it’s essential to properly seal and label the outer package to ensure its safe delivery. Here are the steps to seal and label your package:
- Close the packaging: If you’re using a seed envelope or small ziplock bags, ensure they are securely closed. If you’re using a padded envelope or cardboard box, close the flaps and make sure they are sealed tightly.
- Secure the package: Use tape to reinforce the closure of the packaging. Pay extra attention to any edges or seams to prevent the package from opening during transit.
- Label the package: Write the destination address and return address clearly on the package. Use a permanent marker or a self-adhesive label to ensure the information remains legible throughout the shipping process. Include your name, the recipient’s name, their complete address, city, state, and zip code.
- Consider adding “fragile” or “live plants” labels: If you want to draw extra attention to the delicate nature of the package, you can add labels indicating that the package contains fragile items or live plants. This may prompt postal handlers to handle the package with care.
Properly sealing and labeling the package ensures that your seeds are easily identified and promptly delivered to the right destination. The next step is to choose the right postal service for mailing your package.
Choosing the Right Postal Service
When it comes to mailing your precious seeds, choosing the right postal service is essential to ensure reliable and timely delivery. Here are a few factors to consider when selecting a postal service:
- Speed of delivery: If you want your seeds to reach their destination quickly, opt for a postal service that offers expedited shipping options. This is particularly important if you are mailing time-sensitive seeds or live plants.
- Reliability: Look for a postal service with a good track record of delivering packages safely and on time. Read reviews or ask fellow gardeners for recommendations to ensure a reliable service.
- Insurance and tracking: Consider choosing a postal service that offers insurance and tracking services. Insurance will provide coverage in case your package is lost or damaged during transit, while tracking allows you to monitor the progress of your package until it reaches its destination.
- International shipping: If you are sending seeds internationally, make sure the postal service you choose offers international shipping options. Check for any restrictions or requirements for mailing seeds to the specific destination country.
- Affordability: Compare the shipping rates of different postal services to find an option that fits within your budget. Keep in mind that faster delivery or added services, such as insurance and tracking, may come at an additional cost.
Once you have determined the postal service that meets your needs, it’s time to send your package on its way. The next section will guide you through the process of sending the package.
Sending the Package
Now that your package is securely sealed, labeled, and ready to go, it’s time to send it on its journey to its intended recipient. Follow these steps to ensure a smooth and successful mailing process:
- Visit your local post office: Take your packaged seeds to your local post office or shipping center. If you’re using a reputable courier service, you may have a drop-off location nearby.
- Provide necessary information: Present your package to a postal clerk or courier and provide any necessary information, such as the destination address and your contact details. They may ask you questions about the contents of the package, so be prepared to provide accurate information.
- Select the shipping method: Choose the shipping method that best suits your needs. Consider factors such as the desired delivery speed, insurance options, and tracking services. The postal clerk or courier will guide you through the available options and associated costs.
- Pay for shipping: Pay the required shipping fees, which will depend on the weight, dimensions, destination, and chosen shipping method.
- Obtain proof of postage: Request a receipt or proof of postage from the postal clerk or courier. This will come in handy if you need to track the package or file a claim in the event of any issues.
It’s important to retain the proof of postage until your package is successfully delivered to the recipient. This will ensure that you have documentation in case any questions or concerns arise during the shipping process.
With your package safely in the hands of the postal service or courier, you’ve done your part in sending your seeds to their new home. Now, let’s go over some additional tips and precautions to consider when mailing seeds.
Tips and Precautions
When mailing seeds, it’s important to take certain precautions and follow these helpful tips to ensure a smooth and successful delivery:
- Check local regulations: Before sending seeds, make sure you comply with any local, national, or international regulations regarding the import or export of seeds. Some countries have strict restrictions on the types of seeds that can be sent or received.
- Package seeds individually: Whenever possible, package each type of seed individually to prevent cross-contamination and mix-ups.
- Use proper padding: Ensure that the seeds are well-padded to prevent damage during transit. Use bubble wrap, tissue paper, or other cushioning materials to protect the seeds from impact.
- Avoid overstuffing: Do not overfill the envelopes or bags with seeds, as this can lead to damage or bursting during transit. Leave enough space for the seeds to move around slightly without being cramped.
- Include planting instructions: Consider including planting instructions or any special care information for the seeds in the package. This will help the recipient know how best to handle and care for the seeds.
- Inform recipients in advance: If you are sending seeds as a surprise gift or as part of a seed exchange, it’s a good idea to inform the recipient in advance. This allows them to expect and look out for the package, preventing any confusion or unintended delays.
- Keep a record of sent seeds: Maintain a record of the seeds you send, including the type of seeds, quantities, and recipient’s information. This can be helpful for future reference or in case of any inquiries or issues.
- Consider including extras: To add a personal touch, consider including a handwritten note or a small gardening-related gift along with the seeds. This not only enhances the recipient’s experience but also shows your thoughtfulness and love for gardening.
Following these tips and precautions will help ensure that your seeds have the best chance of reaching their destination safely and in optimal condition. Happy seed mailing!
Read more: How To Organize Mail At Home
Conclusion
Mailing seeds is a wonderful way to share the joy of gardening with others and contribute to the growth of biodiversity among fellow gardeners. By following the steps outlined in this article, you can ensure that your seeds arrive safely at their destination, ready to be planted and nurtured.
Remember to gather all the necessary supplies, choose the right packaging, and properly prepare the seeds before packaging them. Seal and label the package securely, choosing the appropriate postal service for your needs. When sending the package, obtain proof of postage and keep it safe until the seeds are successfully delivered.
While mailing seeds, it’s important to take precautions, check regulations, and follow the tips provided to ensure a smooth and successful delivery. By taking these measures, you can increase the chances of your seeds arriving intact and ready to thrive.
So, whether you’re sharing seeds with fellow gardeners, giving them as gifts, or participating in a seed exchange, embrace the opportunity to connect with others and contribute to the beauty of the gardening community. Happy gardening and happy mailing!
Frequently Asked Questions about How To Mail Seeds
Was this page helpful?
At Storables.com, we guarantee accurate and reliable information. Our content, validated by Expert Board Contributors, is crafted following stringent Editorial Policies. We're committed to providing you with well-researched, expert-backed insights for all your informational needs.


0 thoughts on “How To Mail Seeds”