
Articles
How To Store Wheat
Modified: January 18, 2024
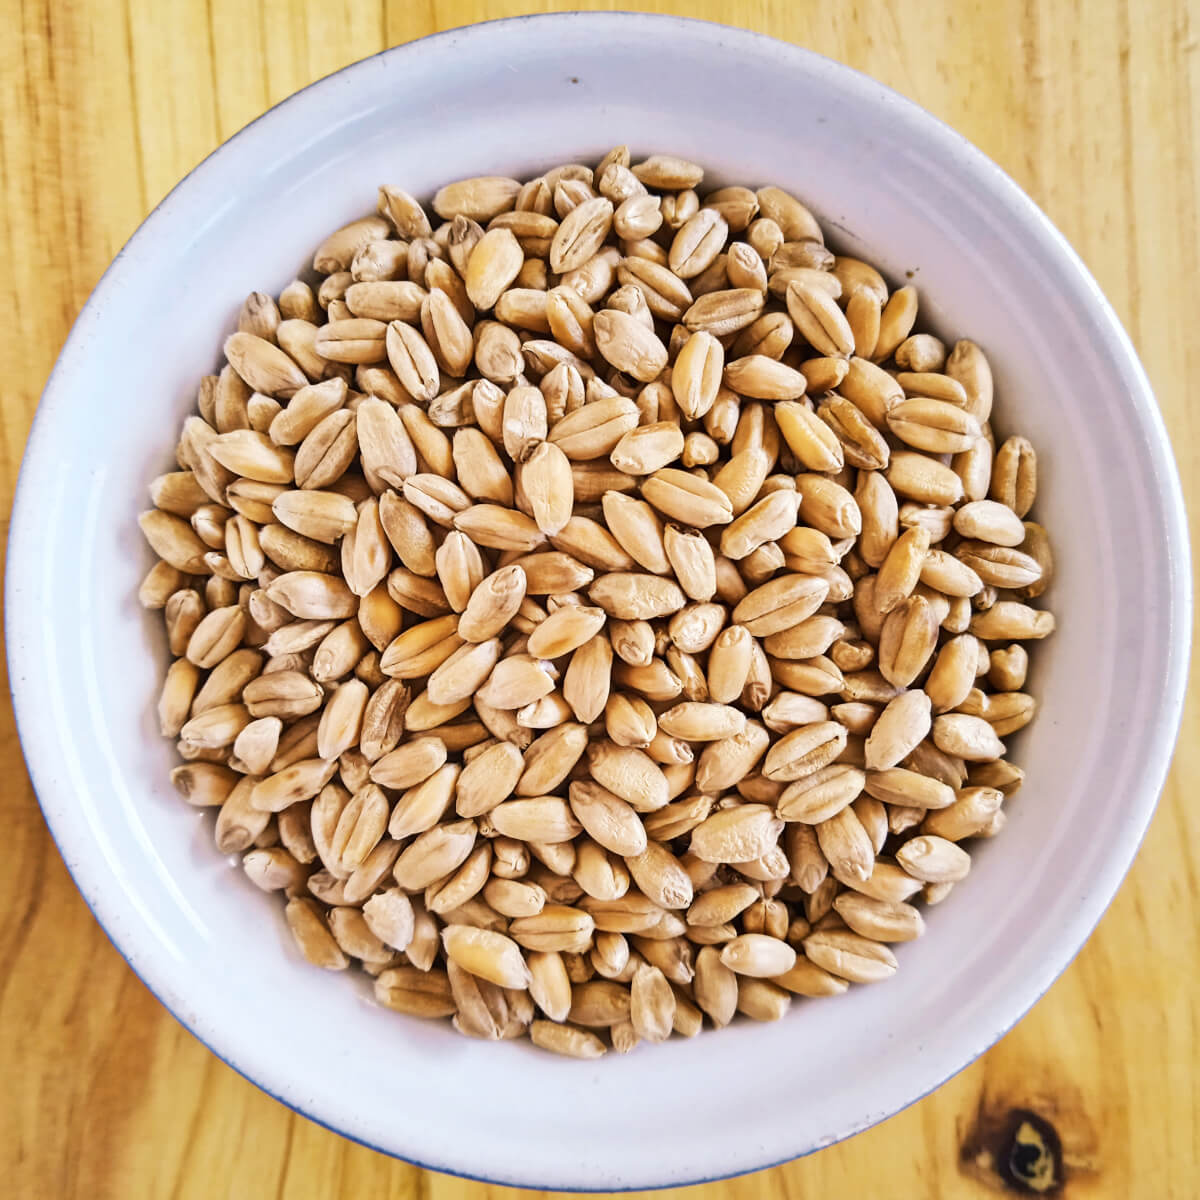
Learn the best methods for storing wheat in this informative articles. Discover simple tips to maintain freshness and quality for long-term storage.
(Many of the links in this article redirect to a specific reviewed product. Your purchase of these products through affiliate links helps to generate commission for Storables.com, at no extra cost. Learn more)
Introduction
Welcome to this comprehensive guide on how to store wheat. Whether you’re a home baker, a farmer, or simply someone looking to build a long-term food storage supply, understanding the proper techniques for storing wheat is crucial.
Wheat is one of the most important staple crops in the world, providing us with flour for bread, pasta, and other baked goods. When properly stored, wheat can maintain its quality and nutritional value for an extended period of time. However, improper storage can lead to spoilage, loss of flavor, and infestation by pests and insects.
In this article, we will explore the factors to consider before storing wheat, how to prepare it for storage, and the best practices for maintaining its freshness. We will also discuss how to protect wheat from pests and insects, how to harvest and rotate stored wheat, and troubleshoot common storage issues.
Whether you are storing a small quantity of wheat at home or managing larger commercial storage operations, the information in this guide will help ensure that your wheat remains fresh, safe, and ready to use when you need it.
So, let’s dive in and learn everything you need to know about proper wheat storage!
Key Takeaways:
- Proper wheat storage is crucial for maintaining its quality, nutritional value, and long-term usability. Following best practices such as controlling temperature and humidity, regular monitoring, and proper rotation ensures a reliable food supply.
- Protecting wheat from pests and insects is vital for successful storage. Implementing proactive measures such as using natural insecticides, regular monitoring, and maintaining good hygiene practices safeguards the quality and integrity of stored wheat.
Read more: How To Store Cream Of Wheat
Why is Proper Wheat Storage Important?
Proper wheat storage is crucial for several reasons. Firstly, storing wheat correctly helps to maintain its quality and nutritional value for an extended period of time. Wheat contains essential nutrients like carbohydrates, protein, fiber, and vitamins. By storing it properly, you can ensure that these nutrients remain intact, providing you with a nutritious food source even in times of scarcity.
Secondly, proper wheat storage helps to prevent spoilage and maintain its freshness. When exposed to moisture, heat, or air, wheat can become stale and lose its flavor. It can also develop mold or attract pests and insects, rendering it unfit for consumption. By implementing the right storage techniques, you can preserve the taste and freshness of your stored wheat, ensuring that it remains palatable and enjoyable to eat.
Furthermore, investing time and effort into proper wheat storage can help you save money in the long run. By preventing spoilage, you avoid unnecessary waste and the need to constantly replenish your supply of wheat. This is especially important for farmers and those who rely on their harvests for income. By storing their wheat properly, they can keep their produce in good condition and maximize their profits.
In addition to these benefits, proper wheat storage is also essential for food security. Wheat is a staple crop that plays a significant role in food production and supplies for both small-scale and large-scale operations. By storing wheat properly, we can help ensure a steady food supply and reduce the risk of shortages or disruptions caused by natural disasters, crop failures, or other unforeseen circumstances.
Overall, proper wheat storage is crucial for maintaining the quality, nutritional value, and freshness of this important staple crop. It not only ensures our well-being by providing us with a reliable food source but also contributes to food security and economic stability. In the next sections, we will explore the factors to consider before storing wheat and the step-by-step process of preparing wheat for storage.
Factors to Consider Before Storing Wheat
Before you start storing wheat, there are several important factors to consider to ensure the best possible conditions for long-term storage:
- Quality of wheat: It’s crucial to start with high-quality wheat. Check for moisture content, foreign objects, and any signs of damage or infestation. It’s recommended to store clean, dry, and undamaged wheat for better storage outcomes.
- Moisture content: Wheat should have an ideal moisture content of around 10-14% for safe storage. Moisture levels above this range can lead to mold, mildew, and insect infestations. Use a moisture meter to test the moisture content of your wheat before storing it.
- Pest control: Take steps to control pests and insects before storing your wheat. Clean the storage area thoroughly and consider using approved pest control methods such as fumigation or treating the wheat with diatomaceous earth, a natural insecticide.
- Storage environment: Choose a suitable storage environment that is cool, dry, and well-ventilated. Wheat should be stored away from direct sunlight, high humidity, and potential sources of moisture. Ideally, the storage temperature should be below 70°F (21°C) to prevent mold growth and insect activity.
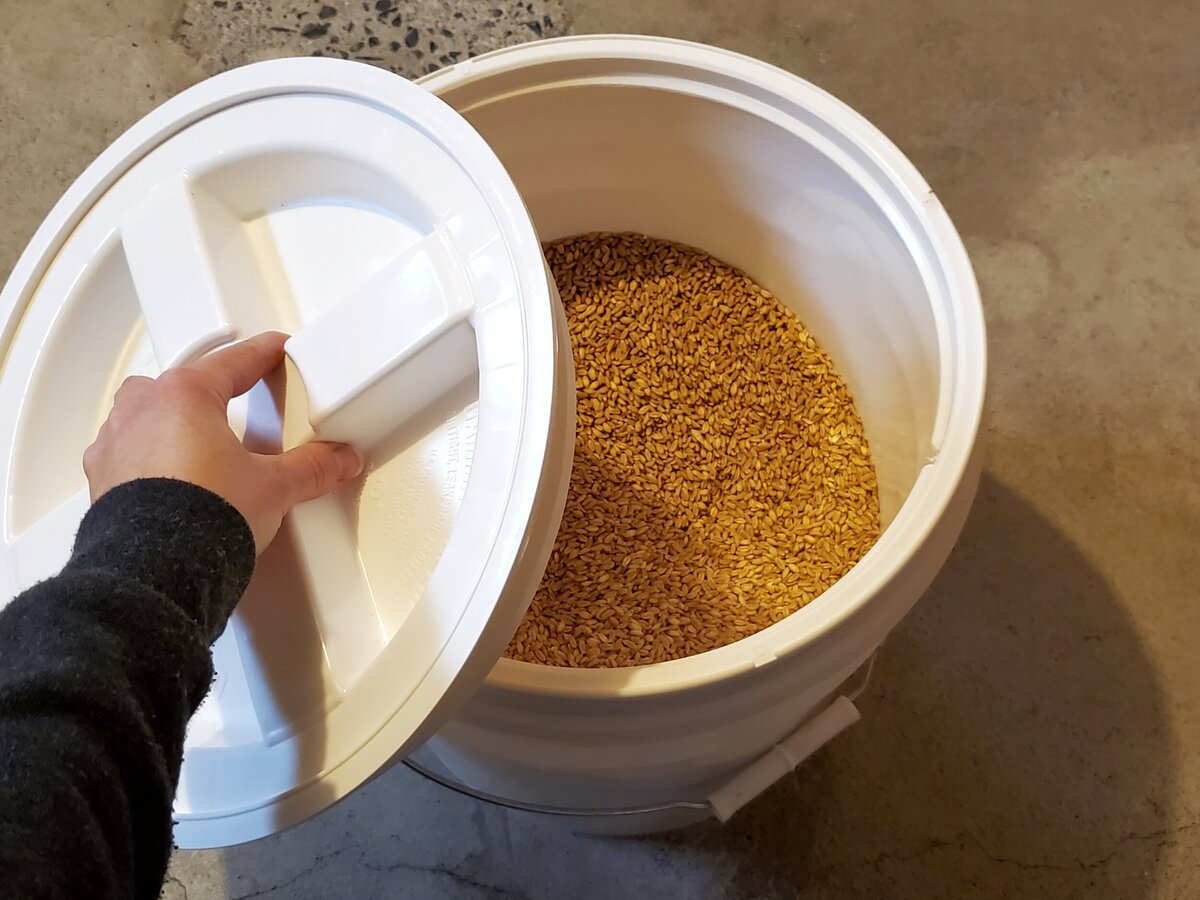
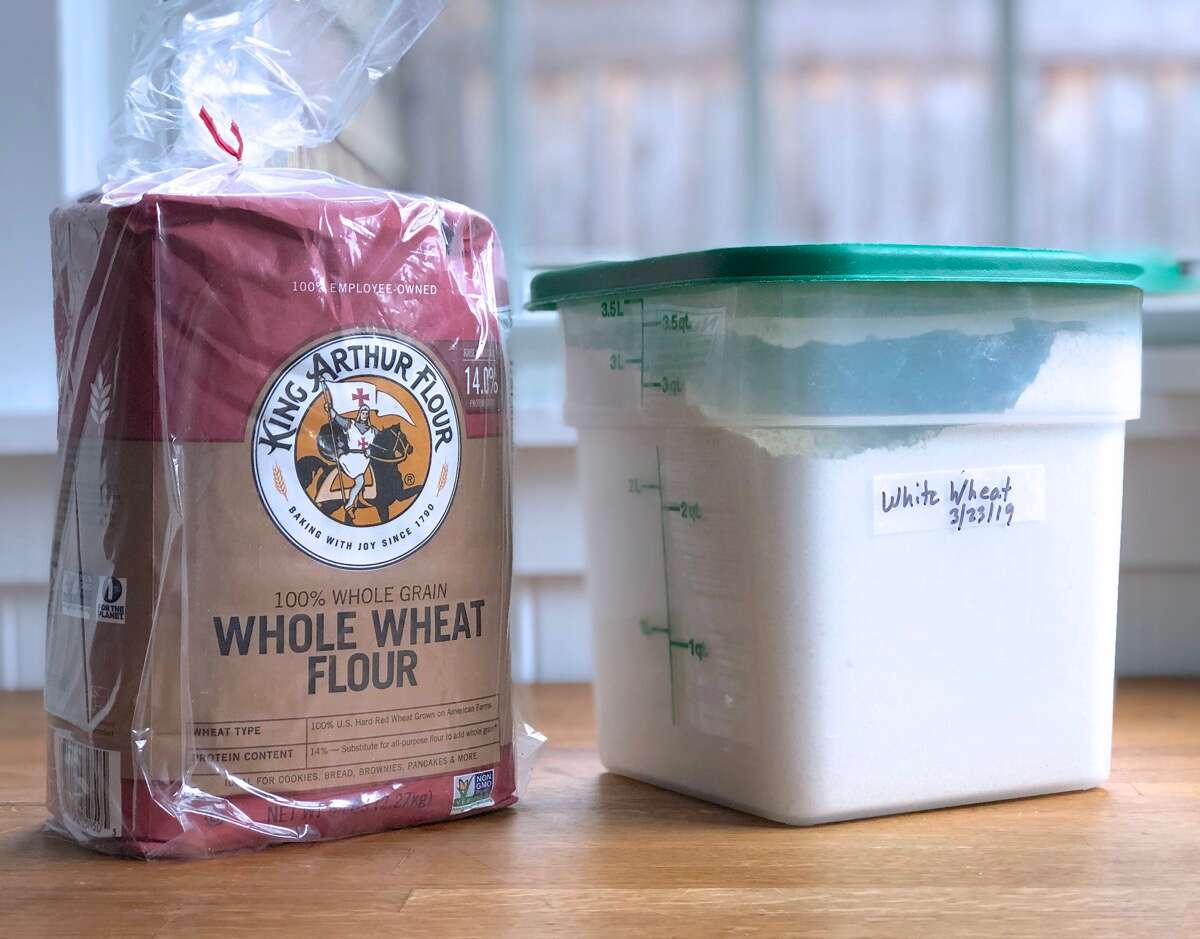
- Storage containers: Select appropriate containers for storing wheat. Food-grade plastic buckets with tight-fitting lids work well for smaller quantities, while larger storage options include metal bins or oxygen-free grain storage bags.
- Rodent control: Ensure that your storage area is protected against rodents. Use rodent-proof containers and seal any cracks or gaps in walls and floors that could serve as entry points. Place traps or use rodent repellents as necessary to prevent damage to your stored wheat.
- Rotation and usage: Plan for proper rotation and usage of your stored wheat. Use older wheat first to ensure freshness and avoid hoarding large quantities of wheat without any plans for consumption or replenishment.
- Documentation: Keep detailed records of your wheat storage, including the date of storage, quantity, and any necessary maintenance or treatment procedures. This will help you track the condition and shelf life of your stored wheat.
By carefully considering these factors, you can create a favorable environment for storing wheat and minimize the risks of spoilage, infestation, and loss of quality. In the next section, we will discuss the step-by-step process of preparing wheat for storage.
Preparing Wheat for Storage
Properly preparing wheat for storage is essential to ensure its longevity and quality. Here is a step-by-step guide on how to prepare wheat for storage:
- Cleaning: Thoroughly clean the wheat to remove any foreign objects, debris, or damaged grains. Use a grain cleaner or sieve to remove impurities and ensure that you are storing clean wheat.
- Drying: If the wheat has a high moisture content, it must be dried before storage. Spread the wheat in a single layer on a clean, dry surface and allow it to dry naturally. Stir the wheat occasionally to promote even drying. Use a fan or dehumidifier if necessary.
- Processing: Some individuals prefer to process their wheat before storage. This can include grinding it into flour or cracking it into smaller pieces. Processing the wheat ahead of time can save you time and effort when you need to use it for baking or cooking.
- Bagging: Once the wheat is clean and dry, it can be stored in appropriate bags or containers. For smaller quantities, food-grade plastic bags with airtight seals are suitable. For larger quantities, consider using durable storage containers such as plastic buckets or metal bins.
- Sealing: Ensure that the bags or containers used for storing wheat are properly sealed to prevent moisture, pests, and air from entering. Use high-quality seals or heat sealers if necessary to create an airtight environment.
- Labeling: Clearly label each bag or container with the date of storage and any relevant information, such as the wheat variety or moisture content. This will help you keep track of the storage timeline and make it easier to rotate your stored wheat.
- Storage location: Choose a suitable location for storing your wheat. It should be cool, dry, and well-ventilated. Avoid areas that are exposed to direct sunlight, high humidity, or temperature fluctuations. A basement, pantry, or climate-controlled storage room are suitable options.
By following these steps, you can ensure that your wheat is well-prepared for storage. Clean, dry, and properly sealed wheat stored in a suitable environment will retain its quality, nutrients, and flavor for an extended period of time. In the next section, we will explore the key considerations for selecting the right storage containers for wheat.
Selecting the Right Storage Containers
Choosing the right storage containers for your wheat is essential to maintain its freshness and protect it from moisture, pests, and contaminants. Here are some factors to consider when selecting the right storage containers:
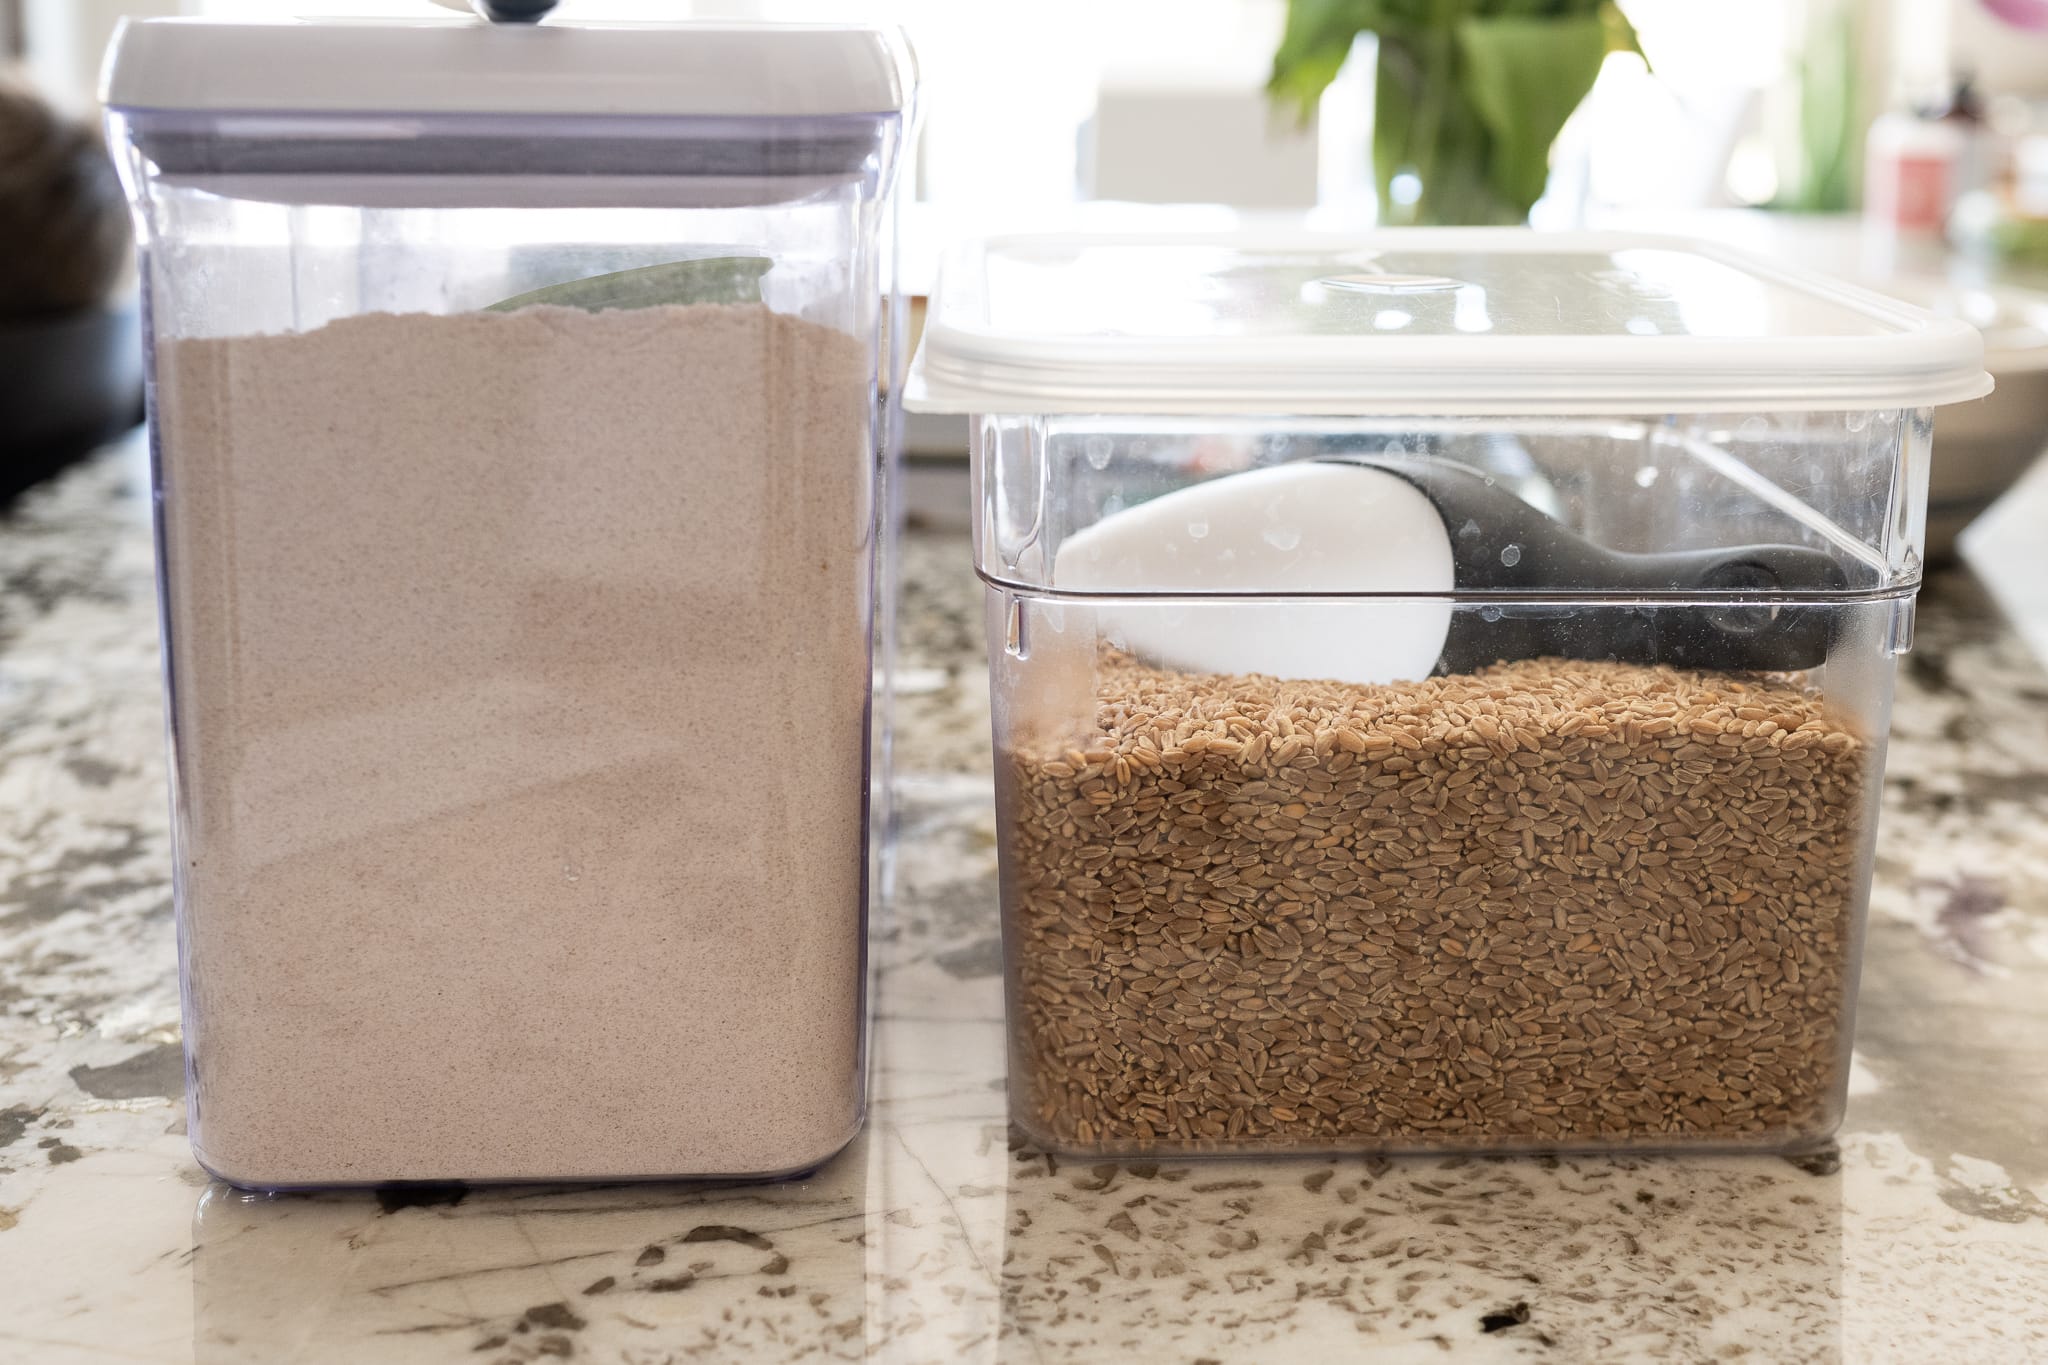
- Material: Opt for food-grade containers made of durable and non-reactive materials such as high-density polyethylene (HDPE) plastic, glass, or metal. These materials are resistant to moisture, pests, and chemicals, ensuring the integrity of your stored wheat.
- Airtight seal: Select containers with airtight seals to prevent air, moisture, and pests from entering. A secure seal will help maintain the quality and freshness of the wheat for a longer period of time.
- Capacity: Choose containers that can accommodate the quantity of wheat you plan to store. Consider the size of your storage space and the amount of wheat you anticipate using or storing. It’s better to have multiple smaller containers than one large container to minimize the risk of spoilage if one container is compromised.
- Stackability: If you have limited storage space, consider containers that are stackable to maximize vertical space. This will help you organize and optimize your storage area efficiently.
- Transparency: Transparent or semi-transparent containers allow you to easily monitor the condition of your wheat without opening the containers. This is especially useful for keeping an eye on any signs of moisture, pests, or mold formation.
- Durability: Ensure that the containers are sturdy and built to withstand the weight and pressure of the wheat. This is particularly important if you are storing large quantities of wheat or planning for long-term storage.
- Easy access: Consider containers that provide easy access to your wheat when you need it. Wide-mouthed containers or containers with removable lids can make it convenient to retrieve the wheat without disturbing the rest of the storage.
- BPA-free: If you opt for plastic containers, choose those that are BPA-free, as BPA (Bisphenol A) is a chemical that can leach into food and potentially pose health risks.
By taking these factors into account, you can select the most suitable storage containers for your wheat. Remember to clean and sanitize the containers before use to ensure optimal storage conditions. In the next section, we will discuss the best practices for storing wheat to maintain its freshness and quality.
Read more: How To Store Whole Wheat Flour
Best Practices for Storing Wheat
To ensure the long-term freshness and quality of your stored wheat, it’s important to follow these best practices:
- Temperature control: Wheat should be stored in a cool environment with temperatures below 70°F (21°C). Higher temperatures can accelerate spoilage and insect activity. Avoid storing wheat near heat sources or in areas prone to temperature fluctuations.
- Humidity control: Maintain a relative humidity level of around 10-14% to prevent moisture-related issues such as mold and insect infestation. Consider using a dehumidifier or desiccant packets to absorb excess moisture in the storage area.
- Air circulation: Ensure proper air circulation in the storage area to minimize the risk of moisture buildup and the growth of mold or fungi. Avoid tightly packed storage containers that restrict airflow. Leave some space between containers or use ventilated storage shelves, if possible.
- Regular inspection: Regularly inspect your stored wheat for any signs of moisture, pests, or mold. Check the containers, seals, and surrounding area for any damage or infestation. Promptly address any issues to prevent further damage to your stored wheat.
- Rotation: Practice a first-in, first-out (FIFO) system to ensure that older wheat is used before newer batches. This helps maintain freshness and keeps your storage supply up to date. Use and replenish your stock regularly to avoid any wheat sitting idle for extended periods.
- Organize and label: Keep your storage area organized by labeling your containers and maintaining a record of the contents, storage date, and any necessary information. This makes it easier to locate and retrieve specific batches of wheat when needed.
- Avoid direct contact with the floor: Elevate your containers off the floor using pallets or shelves to prevent contact with moisture or pests. This helps to further protect your wheat from potential damage or contamination.
- Monitor storage conditions: Regularly monitor the temperature and humidity levels in your storage area using a thermometer and hygrometer. This allows you to identify any fluctuations and take necessary actions to maintain ideal conditions for your stored wheat.
- Regular cleaning and maintenance: Clean your storage containers and the storage area periodically to remove any dust, debris, or spilled grain. This helps prevent contamination and promotes the overall hygiene of your storage space.
- Create a backup plan: In case of unforeseen circumstances such as power outages or natural disasters, it’s a good practice to have a backup plan in place. Consider having alternative storage locations or contingency measures to protect your wheat supply.
By following these best practices, you can maximize the shelf life of your stored wheat and ensure that it remains fresh, safe, and ready for consumption when you need it. In the next section, we will explore how to monitor and maintain the quality of your wheat storage.
Store wheat in a cool, dry place in airtight containers to prevent moisture and pests. Rotate stock to ensure freshness and use within 1-2 years for best quality.
Monitoring and Maintaining Wheat Storage
Proper monitoring and maintenance are crucial for preserving the quality and freshness of your wheat storage. Here are some key steps to effectively monitor and maintain your wheat storage:
- Regular inspections: Periodically inspect your stored wheat for any signs of moisture, pests, or mold. Check the containers, seals, and storage area for any damage or infestation. Promptly address any issues to prevent further damage to your wheat.
- Temperature and humidity monitoring: Regularly monitor the temperature and humidity levels in your storage area using a thermometer and hygrometer. Aim for a temperature below 70°F (21°C) and a relative humidity of around 10-14%. Adjust conditions as needed to maintain these optimal levels.
- Rotate your stock: Practice a first-in, first-out (FIFO) system to use older batches of wheat before newer ones. This ensures that wheat is consumed before it reaches its expiration date and helps to maintain freshness in your storage supply.
- Sampling and testing: Occasionally take samples of your stored wheat and conduct tests to assess its quality. This can include visual inspection, moisture content testing, and taste tests. If any issues are detected, take appropriate measures to address them promptly.
- Controlling pests: Regularly monitor for pests such as insects and rodents in and around your storage area. Install traps, use natural insecticides like diatomaceous earth, and practice good sanitation to prevent infestations and ensure the integrity of your stored wheat.
- Preventing moisture: Keep an eye out for any signs of moisture buildup, such as condensation on the storage containers or walls. Address any potential sources of moisture, such as leaking pipes or excessive humidity, to prevent mold growth and maintain the quality of your wheat.
- Periodic cleaning: Clean your storage containers and the storage area periodically to remove any dust, debris, or spilled grain. This helps prevent contamination and maintain a hygienic environment for your stored wheat.
- Record keeping: Maintain detailed records of your wheat storage, including the date of storage, quantity, test results, and any necessary maintenance or treatment procedures. This documentation helps you track the condition and shelf life of your stored wheat, enabling better management of your inventory.
- Stay informed: Keep yourself updated with the latest information and guidelines on wheat storage. Stay connected to resources such as agricultural extension services, industry publications, and online forums to enhance your knowledge and stay ahead of any potential storage challenges.
- Review and improve: Regularly evaluate your storage practices and make any necessary improvements. Stay open to learning from your experiences and seek out new techniques or technologies that can further enhance the quality and longevity of your stored wheat.
By implementing these monitoring and maintenance practices, you can ensure that your wheat storage remains in optimal condition, preserving its quality and nutritional value for an extended period of time. In the next section, we will explore how to protect your wheat from pests and insects.
Protecting Wheat from Pests and Insects
Pests and insects can pose a significant threat to your stored wheat, leading to infestations, contamination, and spoilage. Here are some effective ways to protect your wheat from pests and insects:
- Clean storage area: Thoroughly clean the storage area before storing your wheat. Remove any old grain, dust, or debris that could attract pests. Vacuum or sweep the area regularly to prevent the buildup of food sources.
- Store clean wheat: Start with clean, pest-free wheat. Inspect your wheat for any signs of insect activity, mold, or damage before storing it. Avoid storing wheat that is contaminated or infested as it can quickly spread to other batches.
- Proper container sealing: Ensure that your storage containers are tightly sealed to prevent pests and insects from entering. Check for any cracks, gaps, or damaged seals and repair or replace them promptly. Consider using food-grade storage containers with secure lids.
- Use diatomaceous earth: Diatomaceous earth is a natural insecticide that can be sprinkled around the storage area or applied directly to the wheat. It is effective in killing and deterring pests, including grain beetles and weevils, without harmful chemicals.
- Fumigation: If you encounter a severe infestation, professional fumigation may be necessary. This involves using chemical treatments in an enclosed space to eliminate pests. Consult with a pest control expert to determine the appropriate fumigation method for your specific situation.
- Regular monitoring: Regularly inspect your stored wheat for any signs of pests or insects. Look for live insects, larvae, webbing, or unusual odors. Promptly address any infestations by removing and isolating affected wheat and taking appropriate pest control measures.
- Rodent control: Rodents can cause significant damage to stored wheat. Take measures to prevent rodent infestation by sealing any cracks or gaps in the storage area, using rodent-proof containers, and employing traps or repellents as necessary.
- Reduce humidity: Pests thrive in humid environments. Maintain a relative humidity level of around 10-14% to deter insect activity. Use dehumidifiers or desiccant packs to absorb excess moisture in the storage area.
- Regular rotation: Implement a rotation system to use older wheat first, as pests are more likely to target older grains. This helps ensure that your stored wheat remains fresh and reduces the risk of prolonged exposure to potential infestations.
- Secure storage area: Keep the storage area clean, organized, and free from potential pest entry points. Seal any cracks, gaps, or openings in walls, doors, and floors. Minimize access points to prevent pests from entering and causing damage to your stored wheat.
By following these practices, you can significantly reduce the risk of pests and insects damaging your wheat storage. Vigilance and proactive measures are key to protecting your harvest and preserving its quality. In the next section, we will discuss the importance of harvesting and rotating stored wheat.
Harvesting and Rotating Stored Wheat
Harvesting and rotating stored wheat are essential practices to ensure the freshness, quality, and longevity of your supply. Here’s what you need to know about harvesting and rotating stored wheat:
Harvesting Wheat:
When it’s time to harvest your wheat, consider the following tips:
- Timing: Harvest wheat when it is fully mature and dry. Monitor the moisture content to ensure it falls within the optimal range of 10-14% for safe storage.
- Threshing: After harvesting, separate the wheat kernels from the stalks and husks through threshing. This can be done by using specialized threshing equipment or manually beating the harvested wheat to remove the grains.
- Drying: Allow the freshly harvested wheat to dry thoroughly before storage. Spread it out in a well-ventilated area, turning it occasionally to promote even drying. Ensure the moisture content is within the safe storage range.
- Cleaning: Clean the harvested wheat to remove any impurities, weed seeds, or damaged grains. Use a grain cleaner or sieve to separate the undesirable elements from the wheat.
- Processing: Consider processing the harvested wheat before storage, such as grinding it into flour or cracking it into smaller pieces. This can save you time and effort later when you need to use the wheat for baking or cooking.
Rotating Stored Wheat:
Rotating your stored wheat is crucial to maintain freshness and ensures that older batches are used before newer ones. Here are some important points to keep in mind:
- First-in, first-out (FIFO) system: Store your wheat in a way that allows easy access to older batches. Use and replenish your stock on a regular basis to prevent any wheat from sitting idle for extended periods.
- Labeling and organization: Clearly label each container with the date of storage and any other relevant information. Keep your storage area organized, ensuring that containers are properly stacked and easily identifiable.
- Quality assessment: Periodically assess the quality of your stored wheat. Check for any signs of spoilage, pests, or mold. Conduct taste tests and inspect the grain for any changes in color, odor, or texture.
- Usage planning: Have a plan for the consumption and replenishment of your stored wheat. Determine how much wheat you will need for your baking or cooking needs, and adjust your rotation schedule accordingly.
- Regular inventory checks: Keep track of the quantity and condition of your stored wheat through regular inventory checks. This will help you identify any issues or shortages and make informed decisions about replenishment.
By implementing proper harvesting and rotating practices, you can ensure that your wheat remains fresh, usable, and free from spoilage. This approach also helps you effectively manage your inventory and minimize waste. In the next section, we will discuss common storage issues and how to troubleshoot them.
Read more: How To Store Wheat Berries
Troubleshooting Common Storage Issues
Even with the best storage practices in place, occasional issues may arise with your stored wheat. Here are some common storage issues and tips for troubleshooting them:
- Mold or fungal growth: If you notice mold or fungal growth on your wheat, it’s essential to address it immediately. Remove any contaminated wheat and dispose of it properly. Increase ventilation and reduce humidity in the storage area to prevent further mold development. Use a dehumidifier or desiccant packets to absorb excess moisture.
- Pest or insect infestations: If you discover pests or insects in your stored wheat, take immediate action to prevent the infestation from spreading. Remove and isolate affected wheat to prevent further contamination. Consider using natural pest control methods, such as diatomaceous earth, or consult with a pest control professional for more severe infestations.
- Musty or off odor: A musty or off odor in your stored wheat can indicate the presence of mold or spoilage. Inspect the wheat for any signs of contamination or moisture. If the issue persists, remove the affected wheat, thoroughly clean the storage containers, and ensure proper air circulation and ventilation in the storage area.
- Insect webs or casings: Spider webs or insect casings in your stored wheat are a clear sign of infestation. Remove and discard the affected wheat immediately. Check all surrounding containers to ensure insects haven’t spread elsewhere. Strengthen your pest prevention measures, including proper sealing and regular inspections.
- Inconsistent moisture content: Uneven moisture content in stored wheat can lead to spoilage and mold growth. Ensure thorough drying before storage and regularly monitor the moisture content of the wheat using a moisture meter. If necessary, re-dry or adjust the storage conditions to maintain a consistent moisture level.
- Loss of flavor or taste: Over time, stored wheat may lose some flavor or taste quality. To mitigate this, practice proper rotation, using older wheat before newer batches. Consider processing the wheat shortly before use, such as grinding it into fresh flour, to enhance the flavor and retain its nutritional value.
- Stale or rancid odor: A stale or rancid odor suggests that the wheat may have gone bad. Perform a visual inspection for signs of spoilage, mold, or insect activity. Discard any wheat that appears compromised. Review and refine your storage practices to prevent future issues.
- Storage pests escaping containers: If you notice pests escaping from your storage containers, it is a sign of improper sealing or damaged containers. Replace the faulty containers with new ones that provide a secure and airtight seal. Ensure all containers are properly closed to prevent pests from entering or escaping.
By addressing these common storage issues promptly and taking preventive measures, you can minimize the risk of further damage to your stored wheat and maintain its quality for an extended period. Regular monitoring, proper air circulation, and maintaining optimal storage conditions are key to preventing and troubleshooting these storage issues. In the next section, we will conclude our guide on storing wheat.
Conclusion
Properly storing wheat is essential to maintain its quality, nutritional value, and long-term usability. By following the guidelines and best practices outlined in this comprehensive guide, you can ensure that your stored wheat remains fresh, safe, and ready for consumption when you need it.
We discussed the importance of considering various factors before storing wheat, such as the quality of the wheat, moisture content, pest control, storage environment, and selecting the right storage containers. Proper preparation of the wheat, including cleaning, drying, processing, and sealing, is crucial for optimal storage conditions.
We also explored the best practices for storing wheat, such as controlling temperature and humidity, regular monitoring and inspection, implementing a rotation system, and maintaining a clean and organized storage area. These practices help prevent spoilage, infestation, and loss of quality, while ensuring the longevity of your stored wheat supply.
Protecting your wheat from pests and insects is another vital aspect of proper storage. By keeping the storage area clean, sealing containers tightly, using natural insecticides like diatomaceous earth, and maintaining good hygiene practices, you can effectively safeguard your wheat from harmful infestations.
Furthermore, we discussed the importance of harvesting wheat at the right time, properly drying and cleaning it, and implementing a rotation system to ensure usage of older wheat first. These practices ensure freshness and help you maintain better inventory management.
In the event of common storage issues like mold growth, pest infestations, or changes in odor or taste, proactive troubleshooting measures are important. By promptly identifying and addressing these issues, you can minimize further damage and maintain the quality of your stored wheat.
Remember, successful wheat storage requires regular monitoring, proper maintenance, and an understanding of key storage principles. Continually educating yourself and staying informed about the latest storage techniques and technologies will help you optimize your wheat storage practices.
By implementing the strategies outlined in this guide, you can confidently store wheat for an extended period of time, ensuring a reliable food supply and peace of mind. Start applying these practices today, and enjoy the benefits of having fresh, high-quality wheat whenever you need it.
Frequently Asked Questions about How To Store Wheat
Was this page helpful?
At Storables.com, we guarantee accurate and reliable information. Our content, validated by Expert Board Contributors, is crafted following stringent Editorial Policies. We're committed to providing you with well-researched, expert-backed insights for all your informational needs.






0 thoughts on “How To Store Wheat”