Home>Garden Essentials>How To Germinate Wheat
Garden Essentials
How To Germinate Wheat
Modified: March 16, 2024
Learn the secrets of successfully germinating wheat in your garden with our step-by-step guide. Achieve a bountiful harvest of fresh, homegrown grain.
(Many of the links in this article redirect to a specific reviewed product. Your purchase of these products through affiliate links helps to generate commission for Storables.com, at no extra cost. Learn more)
Introduction
Welcome to the world of wheat germination! Whether you are a gardening enthusiast or simply looking to embark on a new green endeavor, learning how to germinate wheat can be both rewarding and fulfilling. Wheat, one of the oldest cultivated crops in history, has a rich cultural and nutritional significance.
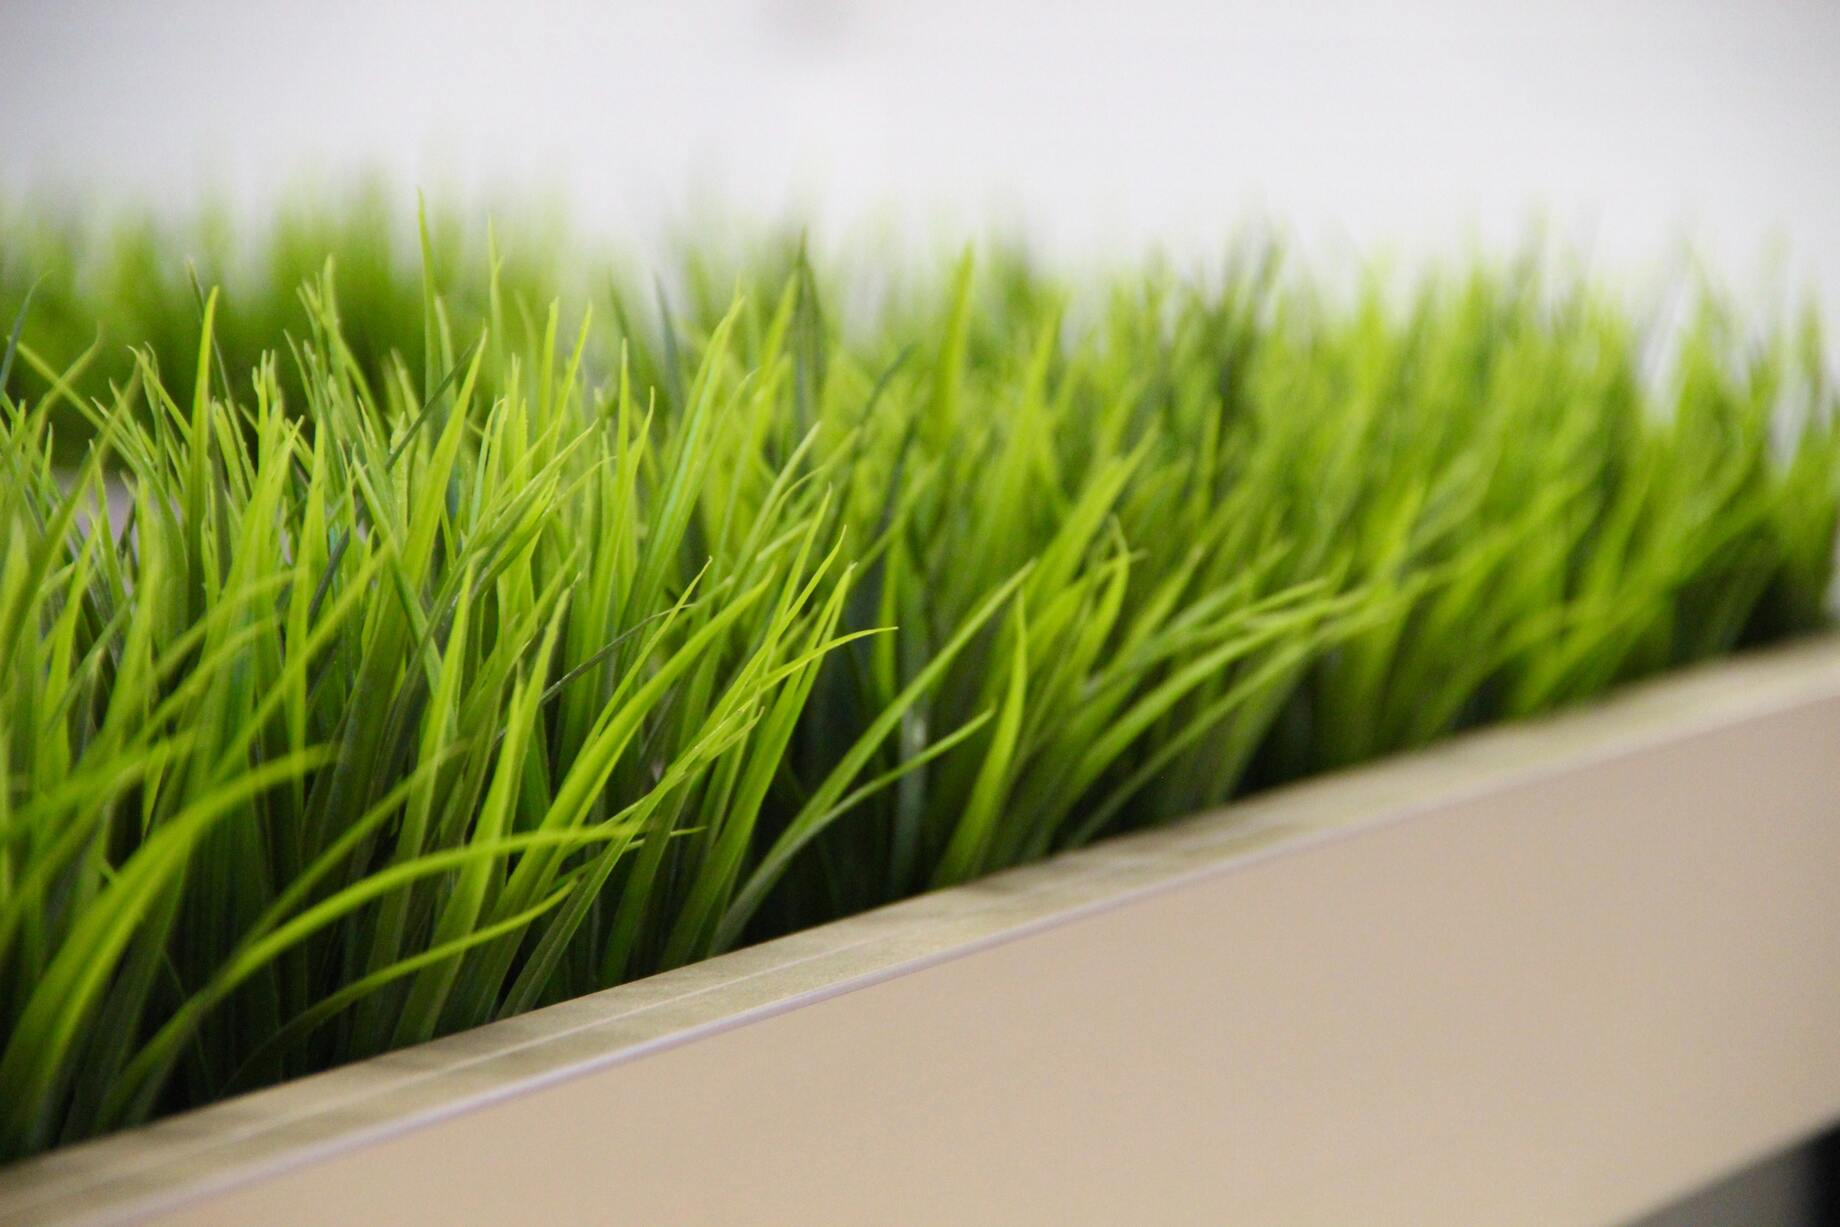
In this article, we will guide you through the steps of successfully germinating wheat from seed to seedling. You will discover the joy of witnessing the magic of life as tiny grains transform into beautiful green sprouts.
But why should you consider growing your own wheat? There are several reasons why home wheat germination is gaining popularity. First and foremost, it offers a sense of self-sufficiency and allows you to have more control over the quality of your grains. By growing your own wheat, you can ensure that no harmful chemicals or pesticides are used.
Furthermore, wheat germination is a fascinating process to observe. It provides an opportunity to connect with nature, and with each new sprout, you’ll feel a sense of accomplishment and pride. The satisfaction of providing your own food, even in a small capacity, cannot be understated.
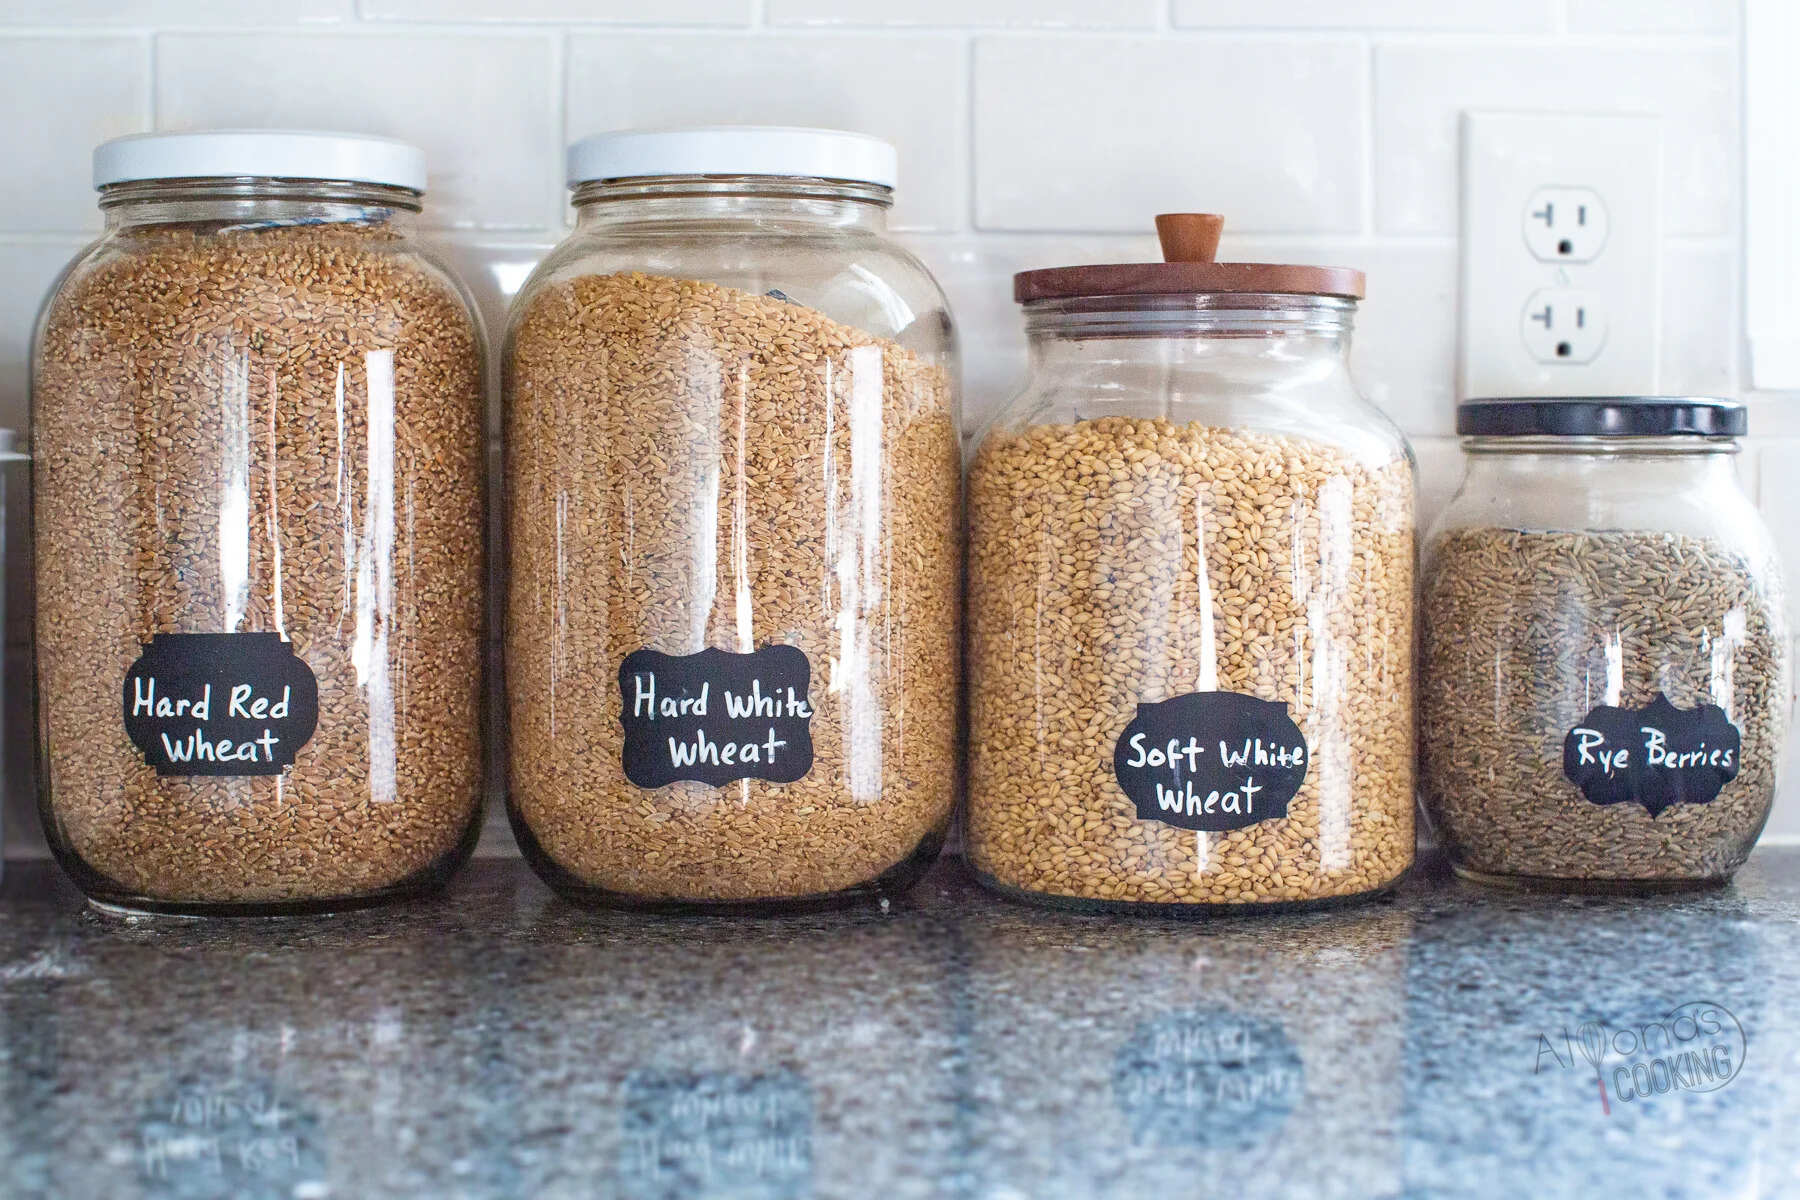
Before we delve into the specifics of wheat germination, let’s take a moment to understand the different varieties of wheat that you can choose from. There are several types of wheat available, including hard winter wheat, soft winter wheat, hard spring wheat, and soft spring wheat. Each variety has its own unique characteristics and uses.
Hard winter wheat, for example, is known for its high gluten content and is often used for breadmaking. Soft winter wheat, on the other hand, has a lower gluten content and is often used for pastries and cakes. Hard spring wheat is again high in gluten and is predominantly used for making pasta and semolina. Soft spring wheat, with its lower gluten content, is used for making products like cookies and crackers.
By understanding the different varieties, you can choose the type of wheat that best suits your needs and preferences.
Now that we have an overview of wheat germination and the different varieties of wheat, it’s time to dive into the step-by-step process of growing your own wheat. So, gather your gardening tools and get ready to embark on an exciting and rewarding journey of wheat germination. Let’s get started!
Key Takeaways:
- Choose high-quality wheat seeds based on your culinary needs, and create the perfect germination environment with proper moisture, warmth, and lighting to ensure successful wheat germination.
- Provide attentive care, monitor growth milestones, and transplant seedlings into a sunny garden spot to nurture healthy wheat plants. Enjoy the rewarding journey of growing your own wheat!
Step 1: Choosing the Right Seeds
The success of your wheat germination project begins with selecting the right seeds. Choosing high-quality seeds will greatly increase your chances of a successful germination process and healthy seedlings.
When selecting wheat seeds, there are a few factors to consider:
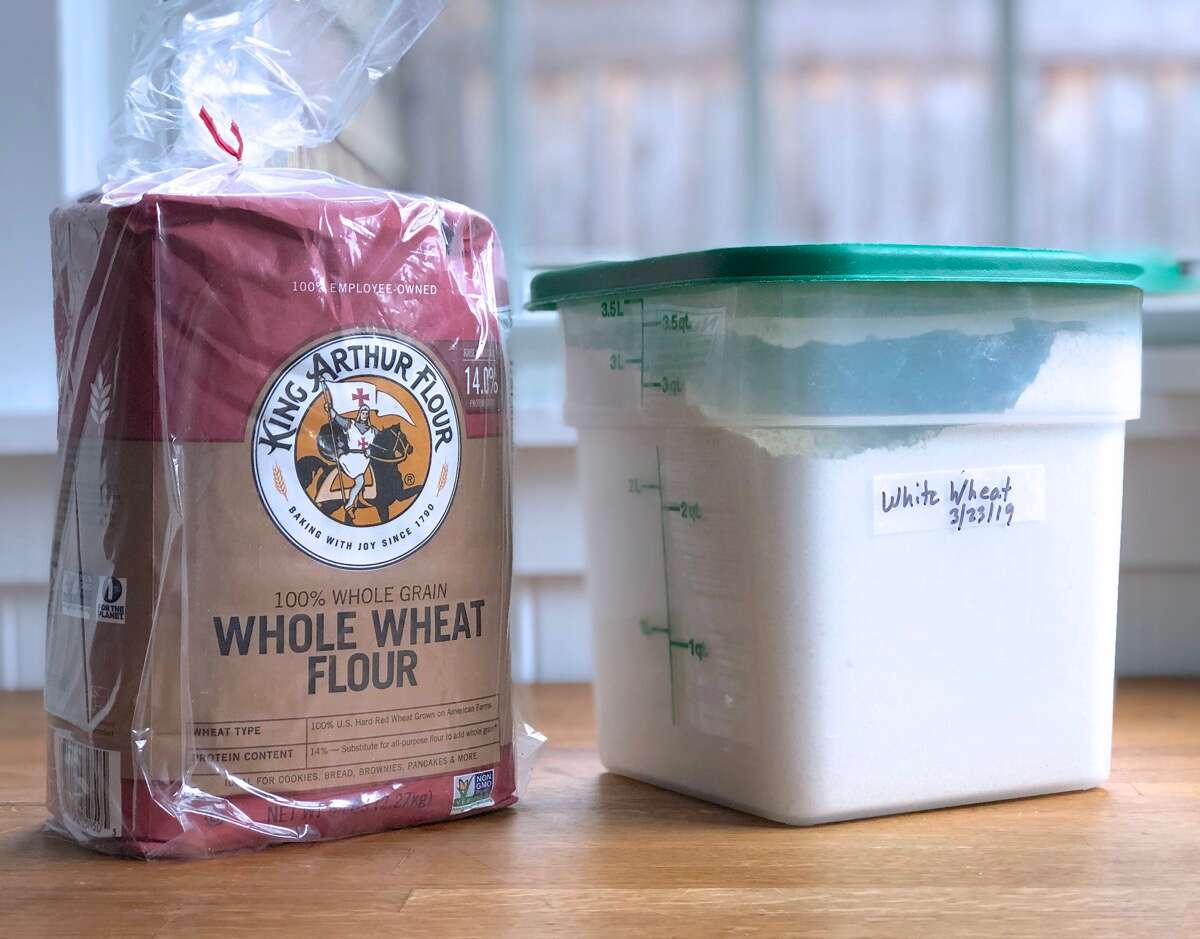
- Variety: As mentioned earlier, there are different varieties of wheat to choose from. Consider your specific needs and preferences to decide which variety is best for you. Whether you’re looking to make bread, pastries, or other wheat-based products, choose the variety that suits your culinary goals.
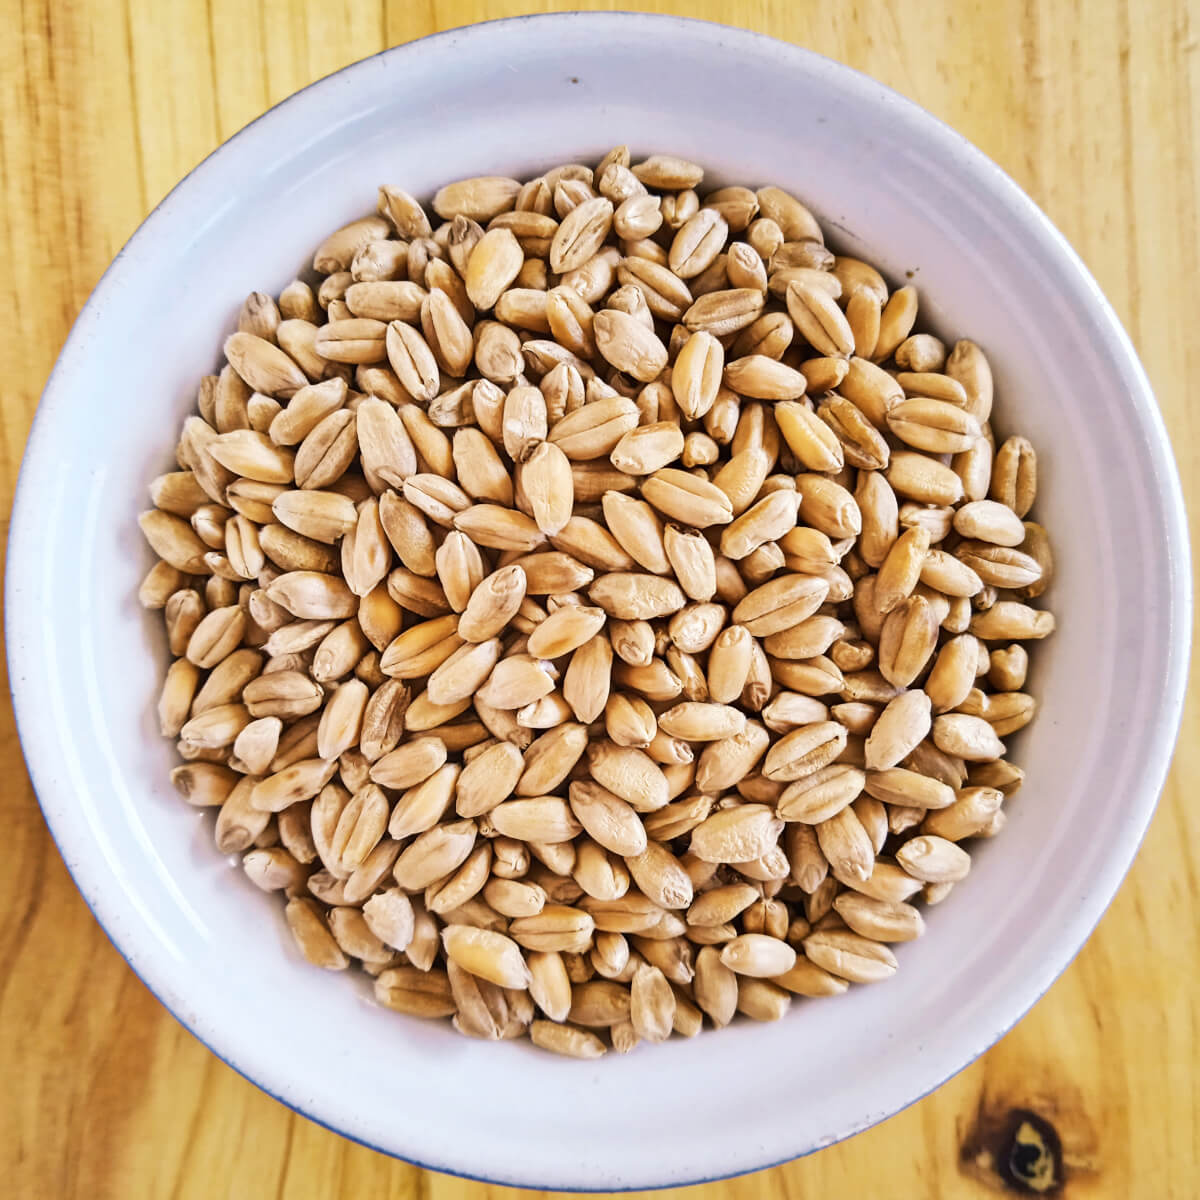
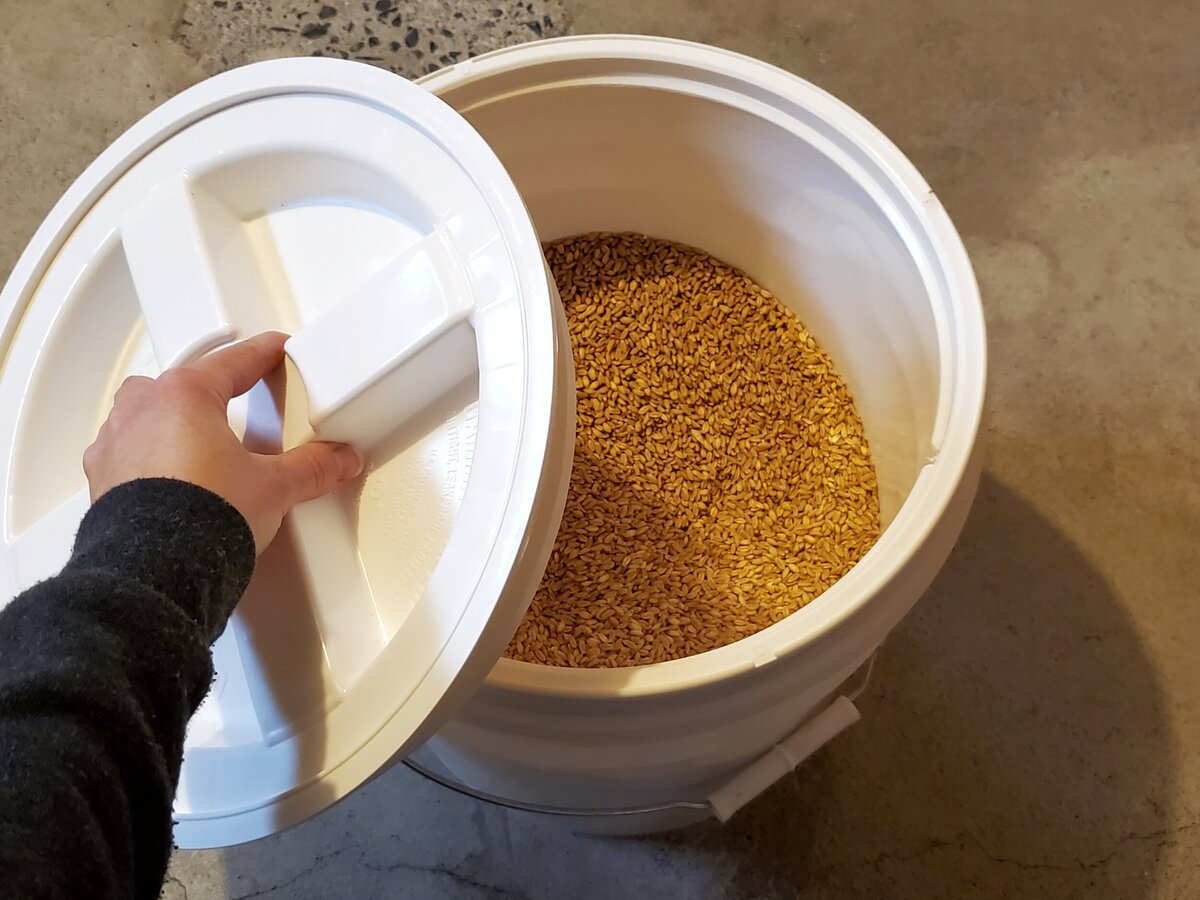
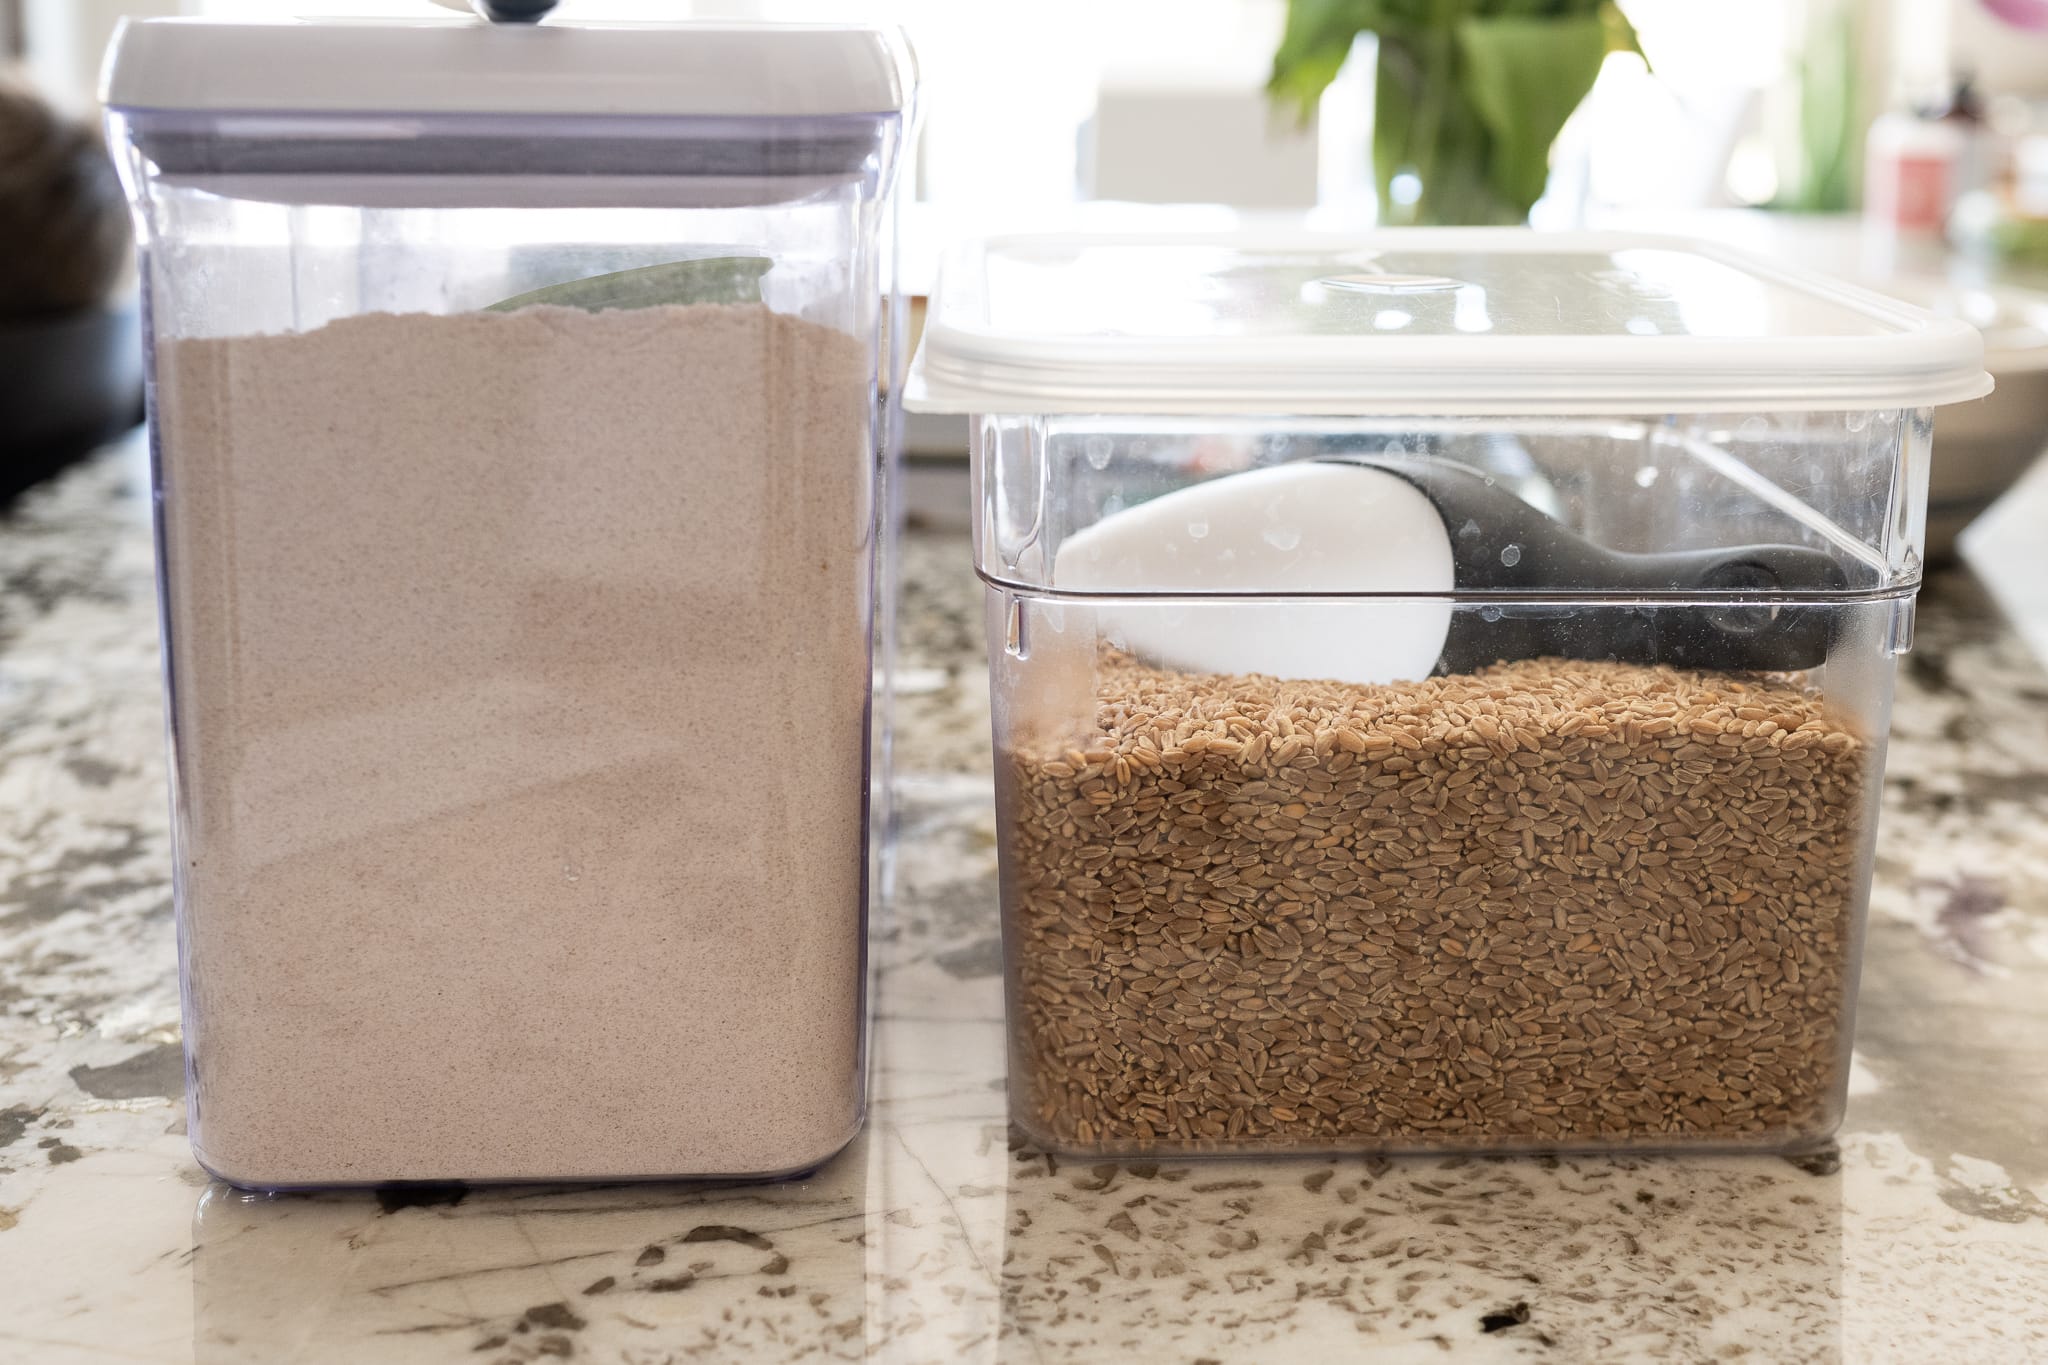
- Quality: Look for seeds that are clean, plump, and uniform in size. Avoid seeds that are discolored, damaged, or have any signs of pests or disease. High-quality seeds have a higher chance of germinating successfully and producing healthy plants.
- Source: Purchase your wheat seeds from a reputable supplier. This ensures that they have been properly tested and meet high-quality standards. If possible, choose organic or heirloom seeds to support sustainable agriculture and preserve genetic diversity.
It’s worth noting that wheat seeds can be categorized as either certified seeds or saved seeds. Certified seeds are produced under specific guidelines to ensure their quality and purity. Saved seeds, on the other hand, are seeds that have been harvested from your own plants or obtained from other gardeners. While saved seeds can be cost-effective, be aware that their quality and germination rate may vary.
Once you have chosen your wheat seeds, it’s time to move on to the next step: preparing the germination environment. Remember that the success of your wheat germination project depends not only on the quality of seeds but also on the conditions provided for their growth. So, let’s move on to step 2 and learn how to create the ideal germination environment.
Step 2: Preparing the Germination Environment
Creating the ideal germination environment is essential for the successful growth of your wheat seeds. The right conditions will provide the necessary warmth and moisture for the seeds to sprout and develop into healthy seedlings.
Here are the key steps to prepare the germination environment:
- Choose the right container: Select a container that is at least 3-4 inches deep and has proper drainage holes. This will prevent water from pooling and ensure good air circulation. You can use seed trays, pots, or even recycled containers, as long as they meet these requirements.
- Prepare the growing medium: Fill the container with a well-draining seed-starting mix or a combination of compost, perlite, and vermiculite. This will provide the right balance of moisture retention and aeration for the seedlings.
- Moisten the growing medium: Before planting the seeds, moisten the growing medium with water. Avoid soaking the medium; it should be evenly moist but not waterlogged. Excess water can lead to the rotting of seeds.
- Temperature and lighting: Place the container in a warm location with temperatures between 65-75°F (18-24°C). Ensure that the wheat seeds receive sufficient light. If natural light is not available, you can use fluorescent or LED grow lights to provide the necessary illumination.
- Avoid direct sunlight: Although wheat seedlings require light, direct sunlight can be too intense and cause heat stress. Place the container in a spot where the seedlings receive bright, indirect light for around 12-14 hours a day.
- Humidity: Wheat seeds thrive in a moderately humid environment. You can increase humidity by placing a clear plastic dome or plastic wrap over the container. This will help retain moisture and create a mini-greenhouse effect.
It’s important to regularly monitor the moisture level in the growing medium. Ensure that it remains moist but not overly wet. Check the container regularly and water as needed to keep the soil evenly moist, but avoid waterlogging.
With the germination environment prepared, it’s time to move on to step 3: soaking the seeds. This crucial step will help kickstart the germination process. Let’s learn how to do it effectively in the next step.
Step 3: Soaking the Seeds
Soaking the wheat seeds before planting is an important step in promoting germination. This process helps soften the seed coat, allowing moisture to penetrate and trigger the sprouting process.
Here’s how to properly soak your wheat seeds:
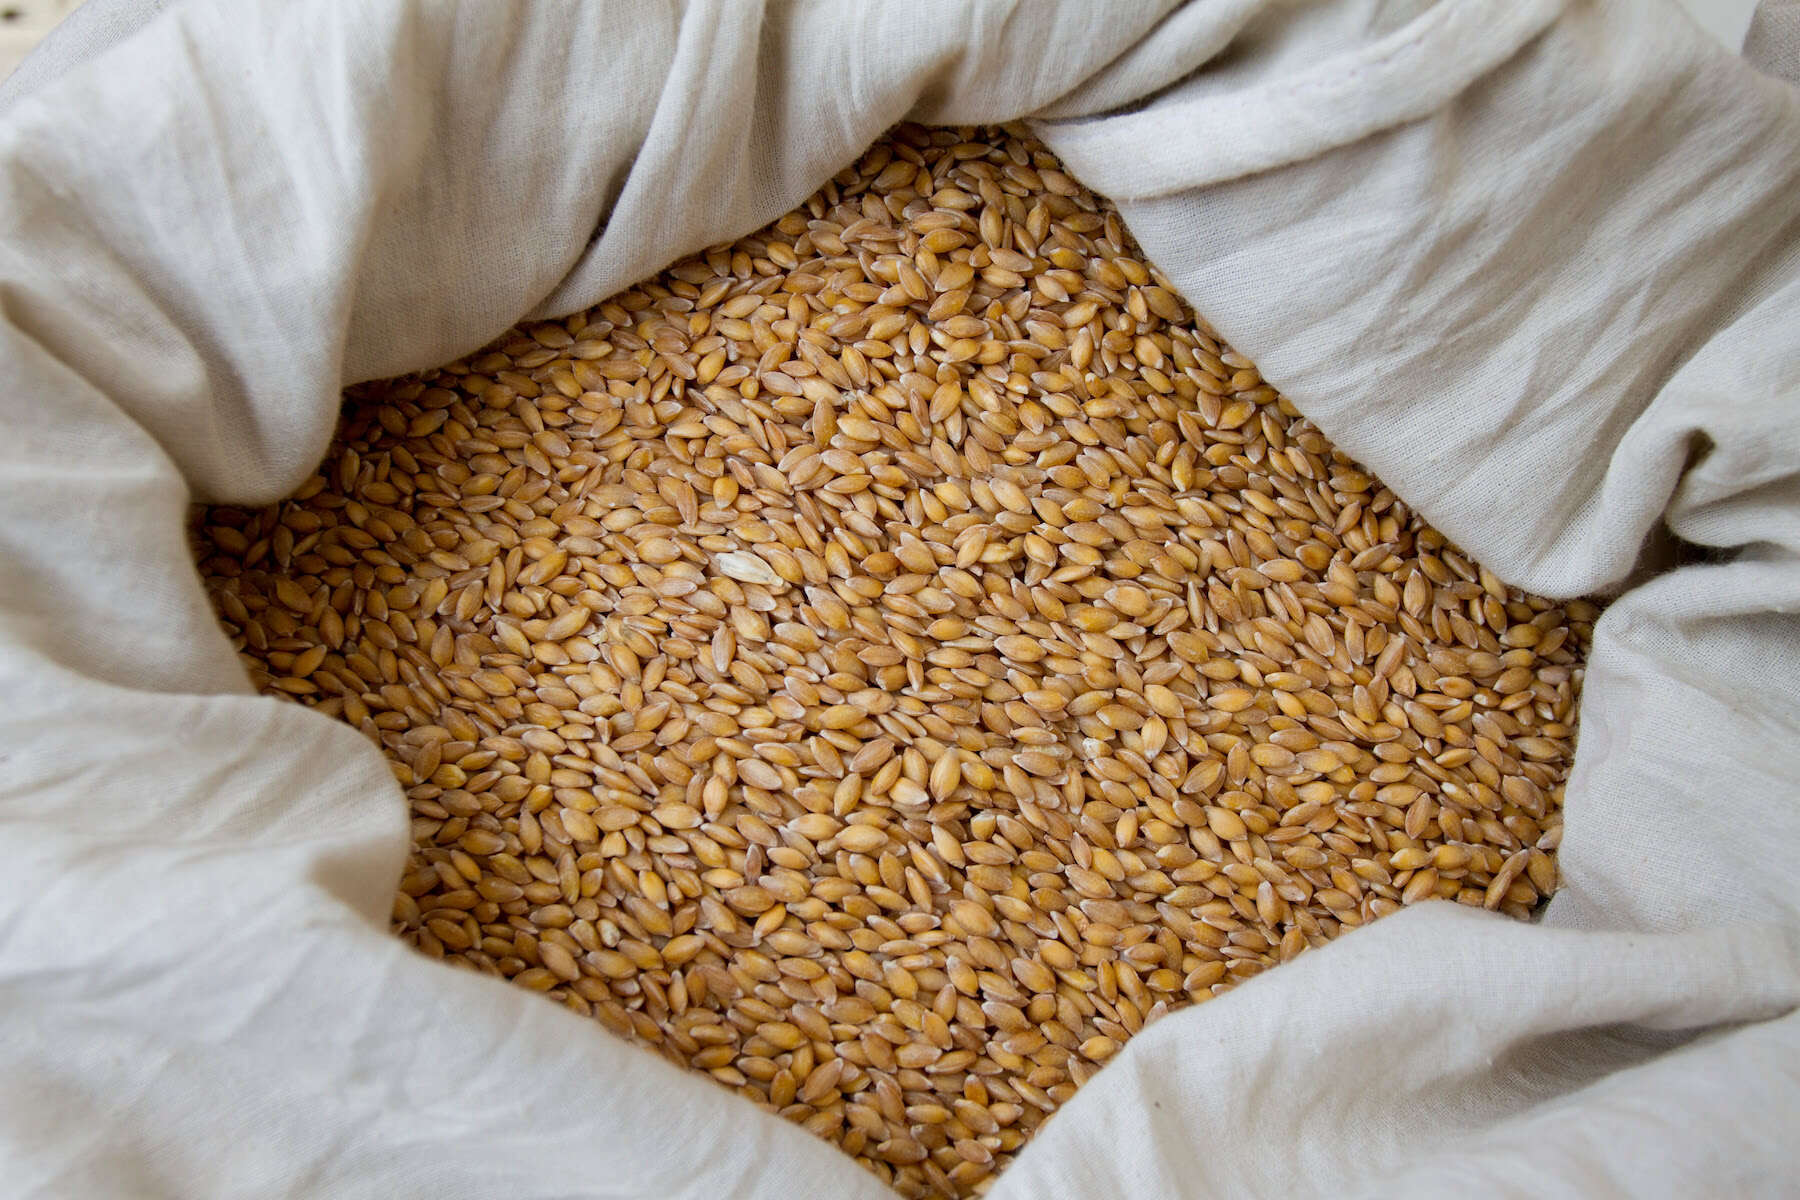
- Clean the seeds: Before soaking, ensure that the seeds are clean and free from debris. Rinse them with water if necessary.
- Select a suitable container: Choose a container that is large enough to hold the seeds and provides enough room for expansion. A wide-mouthed jar or a bowl works well for soaking.
- Add water: Fill the container with room temperature water, enough to cover the seeds. Use non-chlorinated water if possible, as chlorine can inhibit germination.
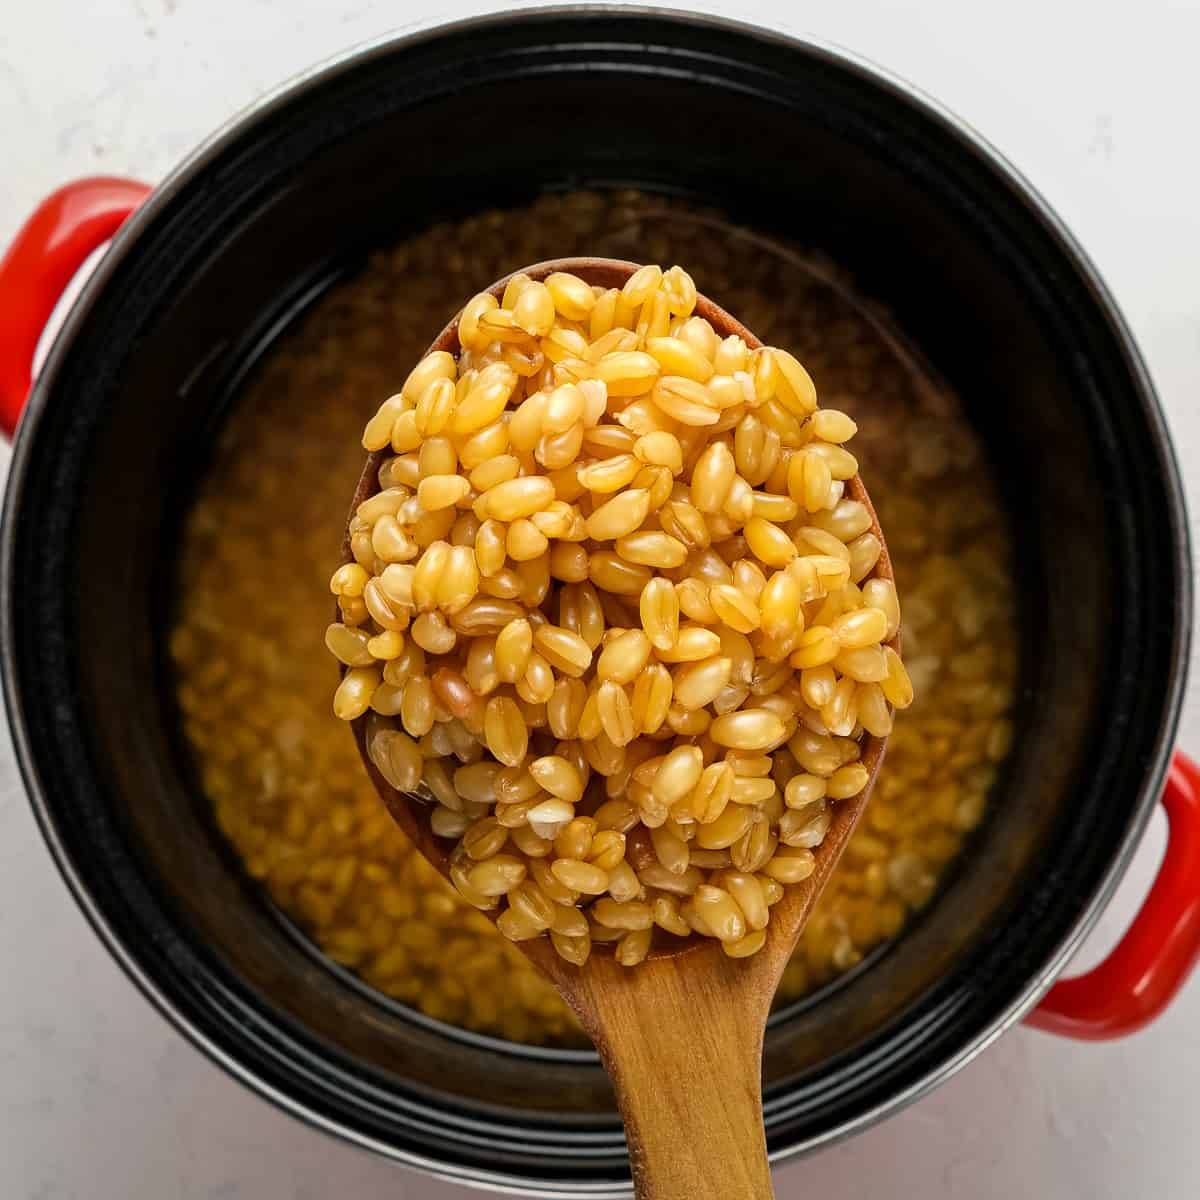
- Soak the seeds: Place the seeds in the water and let them soak for 8-12 hours. This soaking period allows the seeds to adequately absorb moisture and kickstart the germination process.
- Drain the water: After the soaking period, carefully drain the water from the container. Use a sieve or colander to remove excess water and ensure the seeds are not sitting in a pool of water.
Once the wheat seeds are soaked, they are ready to be planted in the prepared germination environment. The softening of the seed coat from soaking will make it easier for the seeds to sprout and establish roots in the growing medium.
Move on to step 4 to learn how to plant the soaked seeds and provide the right care to promote successful wheat germination.
Step 4: Planting the Seeds
With your wheat seeds soaked and the germination environment prepared, it’s time to move on to planting the seeds. This step involves carefully placing the soaked seeds into the growing medium, ensuring proper spacing and depth for optimal growth.
Here’s how to plant the wheat seeds:
- Make planting furrows: Use a pencil, your finger, or a small tool to create shallow furrows in the growing medium. These furrows should be approximately 1/2 inch deep and spaced 1-2 inches apart.
- Place the seeds: Gently place the soaked wheat seeds into the furrows, spacing them evenly. Make sure to place a single seed in each furrow, allowing enough room for the roots to establish without crowding.
- Cover the seeds: Once the seeds are in place, carefully cover them with the growing medium. Use a light layer of soil or seed-starting mix, ensuring that the seeds are adequately covered but not buried too deep.
- Lightly water: After covering the seeds, give them a gentle watering using a misting spray or a watering can with a fine nozzle. This will help settle the soil around the seeds without disturbing them.
- Label the containers: It’s a good practice to label your containers with the date and variety of wheat you are growing. This will help keep track of your planting and ensure you know what to expect when the time comes for harvesting.
Remember to keep the planted containers in the warm and well-lit location as mentioned in step 2. It’s important to provide consistent moisture and avoid letting the soil dry out during the germination process.
Now that the seeds are safely planted, it’s time to move on to step 5: providing proper care to facilitate the growth of your wheat seedlings. Let’s explore the essential care guidelines in the next step.
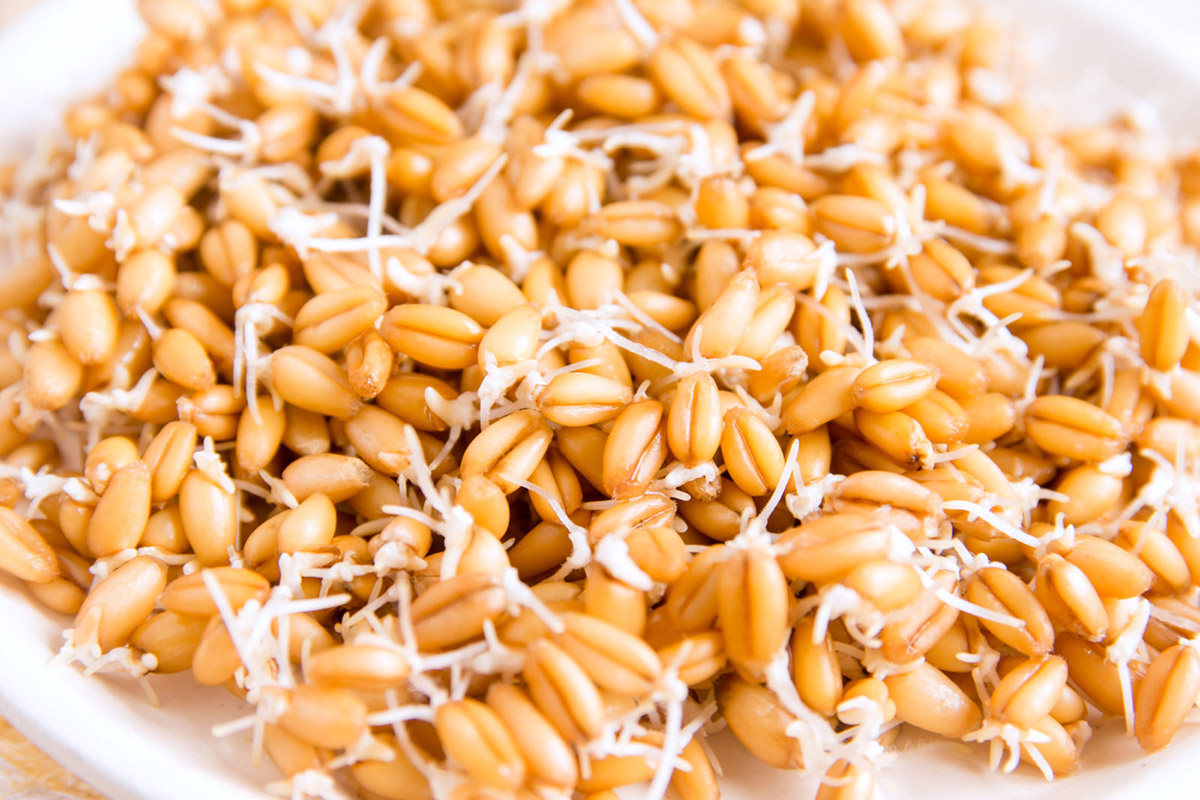
To germinate wheat, soak the seeds in water for 8-12 hours, then spread them on a damp paper towel in a warm place. Keep the towel moist and in a few days, you’ll see sprouts!
Read more: How To Store Cream Of Wheat
Step 5: Providing Proper Care
Once you have planted your wheat seeds, it’s crucial to provide them with the proper care to ensure healthy growth and development. By following these care guidelines, you can create an environment that fosters the successful germination and growth of your wheat seedlings.
Here are the key steps to providing proper care for your wheat seedlings:
- Watering: Keep the growing medium consistently moist throughout the germination and seedling stages. Avoid overwatering, as waterlogged soil can lead to root rot. Water the containers gently and evenly, ensuring that the water reaches the root zone.
- Light: Wheat seedlings require ample light for healthy growth. Place them in a bright location where they receive at least 12-14 hours of light each day. If you are using artificial lighting, position the lights about 6-12 inches above the seedlings and adjust the height as they grow.
- Avoid temperature extremes: Wheat prefers moderate temperatures for optimal growth. Maintain a temperature range of 65-75°F (18-24°C) during the germination and early growth stages. Protect the seedlings from extreme heat or cold by placing them away from drafts and sudden temperature fluctuations.
- Thinning: Once the wheat seedlings reach about 2-3 inches tall, thin them out if they are too crowded. Gently remove the excess seedlings, leaving a distance of about 1-2 inches between each plant. Thinning ensures proper airflow and prevents competition for resources.
- Watch for pests and diseases: Keep a close eye on your seedlings for any signs of pests or diseases. Common wheat pests include aphids and slugs, while diseases like powdery mildew can affect wheat plants. If you notice any issues, take appropriate measures to control and prevent further damage.
- Fertilization: Wheat seedlings typically do not require fertilization during the initial growth stages. The nutrients in the seed and the growing medium should be sufficient. However, if you notice signs of nutrient deficiency, you can apply a balanced organic fertilizer following the package instructions.
By providing proper care, you will create an environment that promotes healthy growth and reduces the risk of problems. Regularly monitor your wheat seedlings and make adjustments as needed to ensure their well-being.
Now that you are well-versed in the care requirements for your wheat seedlings, let’s move on to step 6: monitoring the germination process and observing the growth of your wheat plants.
Step 6: Monitoring the Germination Process
As your wheat seeds begin to germinate and grow into seedlings, it’s important to closely monitor their progress. By keeping a watchful eye on the germination process, you can identify any potential issues and take appropriate action to ensure the health and vitality of your wheat plants.
Here are the key steps to monitoring the germination process:
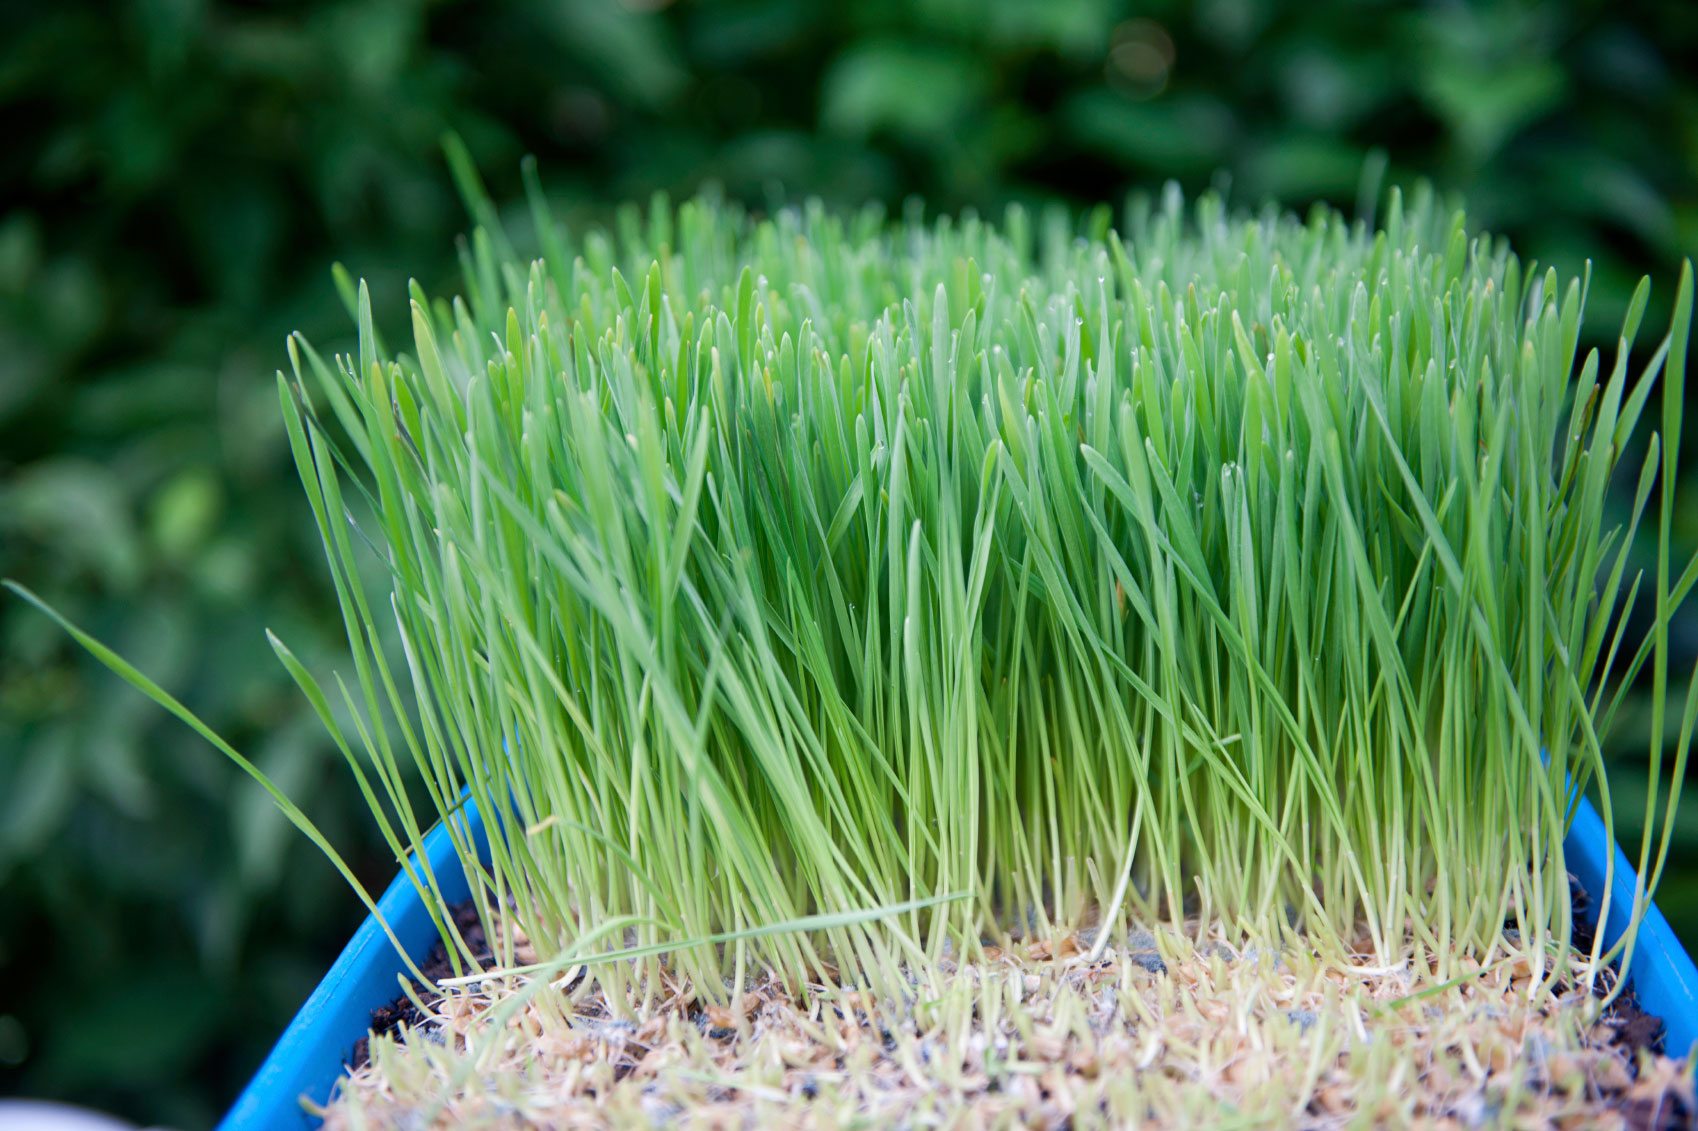
- Observe sprouting: After planting the seeds, keep an eye out for the first signs of sprouting. It typically takes about 7-10 days for wheat seeds to germinate and emerge from the soil. Note the date of sprouting, as it will give you an idea of the growth timeline.
- Check for uniformity: As the wheat seedlings emerge, assess the uniformity of their growth. Ideally, all the planted seeds should sprout and develop at a similar pace. If you notice significant variations in growth, investigate possible reasons such as inadequate moisture or temperature fluctuations.
- Monitor seedling appearance: Pay attention to the overall appearance of the seedlings. They should have a healthy green color and exhibit sturdy stems and leaves. Any signs of discoloration, wilting, or stunted growth could indicate nutrient deficiency, disease, or pest problems.
- Assess root development: Gently lift a few seedlings from the soil to check their root growth. Healthy wheat seedlings should have well-developed root systems that anchor them in the growing medium. Sparse or weak root growth may indicate issues with moisture, soil quality, or poor root establishment.
- Keep track of growth milestones: Measure the height of your wheat seedlings periodically and note the growth milestones. This will give you a sense of how the plants are progressing and whether they are on track for healthy development.
- Address any issues: If you observe any abnormalities or signs of trouble during the germination process, take prompt action. Adjust watering, lighting, or ventilation as needed. Treat any pest or disease problems immediately to prevent further damage.
Regular monitoring of your wheat seedlings will help you detect and address issues early on, giving your plants the best chance of thriving. By being attentive and proactive, you can ensure a successful germination process and set the stage for productive wheat growth.
With your wheat seedlings progressing well, it’s time to learn about the next step: transplanting them into their permanent growing location. Move on to step 7 to discover how to transplant your wheat seedlings for outdoor cultivation.
Step 7: Transplanting the Seedlings
As your wheat seedlings grow stronger and more established, it will eventually be time to transplant them from their containers into their permanent growing location. This step allows the wheat plants to continue their growth and development in a larger and more suitable environment.
Here are the key steps to successfully transplant your wheat seedlings:
- Choose the right location: Select a sunny spot in your garden with loose, well-draining soil for transplanting the wheat seedlings. Ensure that the area receives adequate sunlight throughout the day.
- Prepare the soil: Before transplanting, prepare the soil in the chosen location by removing any weeds and loosening the soil to ensure good root penetration. Add compost or well-rotted organic matter to improve soil fertility if needed.
- Dig individual holes: Dig holes in the prepared soil, spacing them about 4-6 inches apart to allow ample room for the wheat plants to grow. The depth of the holes should accommodate the root system of the seedlings.
- Carefully remove the seedlings: Gently loosen the soil around each wheat seedling in the container. Carefully lift the seedling by its base, taking care not to damage the tender roots.
- Transplant the seedlings: Place each seedling into a prepared hole in the garden soil, ensuring that the roots are spread out and not cramped. Firmly press the soil around the base of the seedling to secure it in place.
- Water thoroughly: Water the transplanted seedlings immediately after transplanting to settle the soil and provide moisture to the roots. Ensure that the root zone receives a good soaking, but avoid waterlogging the soil.
- Maintain proper care: Following transplantation, continue providing proper care to your wheat plants. Monitor moisture levels, provide adequate sunlight, and protect the plants from pests and diseases.
- Support taller varieties: If you are growing tall wheat varieties that may benefit from support, consider providing stakes or trellises to prevent them from bending or falling over as they grow taller.
Transplanting your wheat seedlings into the garden allows them to establish robust root systems and access more space and nutrients. With proper care and maintenance, your wheat plants will continue their growth and progress towards maturity.
As your wheat plants continue to develop, it’s essential to monitor their growth, ensure proper care, and be patient. With time, you will soon be rewarded with a bountiful harvest of homegrown wheat that you can use for various culinary purposes.
Congratulations on successfully completing the steps of wheat germination and transplantation! Enjoy the journey of gardening and the satisfaction of watching your wheat plants flourish.
Conclusion
Germinating wheat from seeds and watching it grow into healthy plants is a rewarding experience that connects us to the natural cycles of life. Throughout this article, we have walked through the step-by-step process of wheat germination, from choosing the right seeds to transplanting the seedlings into the garden.
By following these steps and providing proper care, you can ensure successful wheat germination and the growth of strong, productive plants. Growing your own wheat offers numerous benefits, including the satisfaction of self-sufficiency, control over the quality of your grains, and a deeper connection to nature.
Remember to choose the appropriate variety of wheat seeds based on your culinary preferences, source high-quality seeds, and create the ideal germination environment. Soaking the seeds before planting helps jumpstart the germination process, and careful planting ensures proper spacing and depth for optimal growth.
Providing proper care, such as consistent watering, adequate lighting, and protection from temperature extremes, will promote vigorous growth. Monitoring the germination process allows you to address any issues promptly and adjust environmental conditions as needed.
Transplanting the seedlings into their permanent growing location sets the stage for continued growth and development. Choose a sunny spot with well-draining soil and give the transplanted seedlings proper care to thrive in their new environment.
Throughout the journey of wheat germination, remember to be patient and enjoy the process. Gardening is not just about the end result but also about the joy and fulfillment that comes from nurturing and witnessing the growth of your plants.
So, whether you’re an experienced gardener or a beginner, take the plunge and start germinating your own wheat. Embrace the beauty of nature, the satisfaction of self-sufficiency, and the joy of growing your own food. Happy wheat germination and may your garden flourish with abundance!
Frequently Asked Questions about How To Germinate Wheat
Was this page helpful?
At Storables.com, we guarantee accurate and reliable information. Our content, validated by Expert Board Contributors, is crafted following stringent Editorial Policies. We're committed to providing you with well-researched, expert-backed insights for all your informational needs.


0 thoughts on “How To Germinate Wheat”