Home>Articles>How To Make Whole Wheat Bread In A Bread Machine
Articles
How To Make Whole Wheat Bread In A Bread Machine
Modified: August 25, 2024
Learn how to make delicious whole wheat bread in a bread machine with our informative articles. Master the art of homemade bread today!
(Many of the links in this article redirect to a specific reviewed product. Your purchase of these products through affiliate links helps to generate commission for Storables.com, at no extra cost. Learn more)
Introduction
There’s nothing quite like the aroma of freshly baked bread wafting through the kitchen. The warm, crusty exterior paired with the soft, flavorful interior is a delight for the senses. While making bread from scratch may seem daunting, using a bread machine can simplify the process and ensure consistent results every time.
In this article, we’ll guide you through the steps of making whole wheat bread in a bread machine. Whole wheat bread offers a healthier alternative to traditional white bread, thanks to its higher fiber content and added nutrients. By following these simple instructions, you’ll be able to enjoy a delicious loaf of homemade, wholesome bread without the hassle of kneading and proofing.
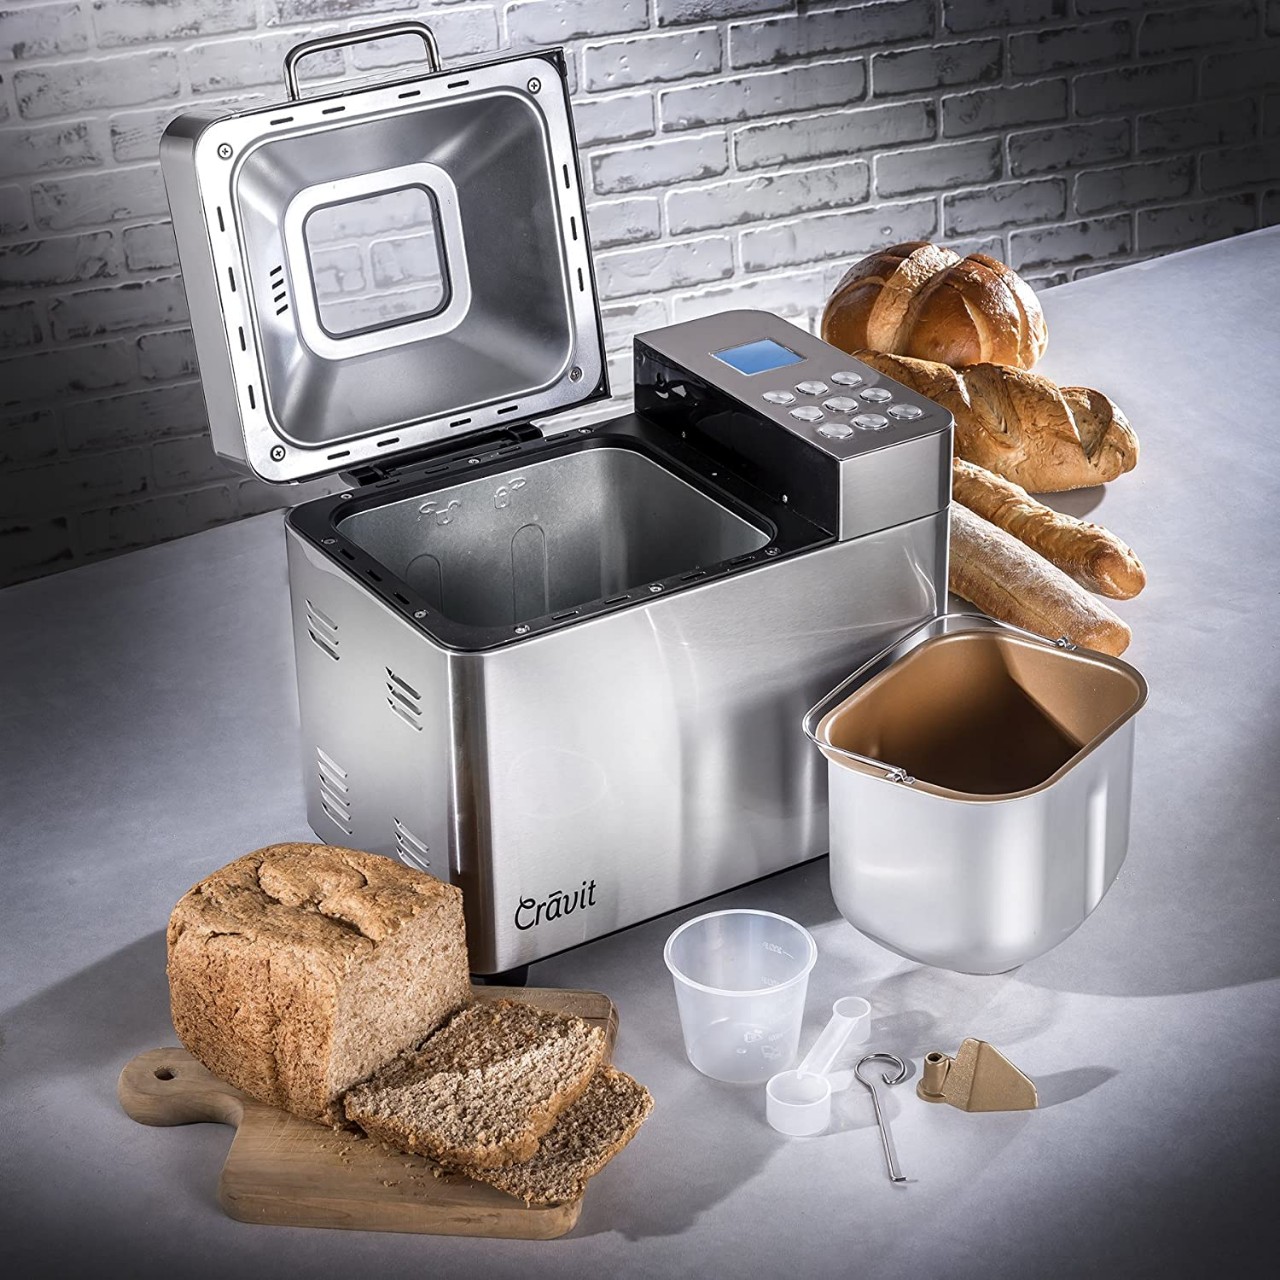
Before diving into the recipe, it’s important to gather all the necessary ingredients and equipment. You will need:
- Whole wheat flour
- Active dry yeast
- Sugar or honey
- Vegetable oil
- Salt
- Liquid (water or milk)
Additionally, you will need a bread machine with a dough cycle and a bread pan with a kneading paddle. Make sure all the ingredients are fresh and within their expiration date to ensure optimal results.
Once you have everything ready, it’s time to move on to the next step: measuring and adding the ingredients to the bread machine. Stay tuned!
Key Takeaways:
- Enjoy the convenience of making wholesome whole wheat bread in a bread machine with minimal effort. Customize your loaf with optional ingredients for a nutritious and delicious homemade treat.
- Master the art of bread making with a bread machine, from measuring and adding ingredients to shaping and baking. Create flavorful whole wheat bread for a satisfying and rewarding baking experience.
Read more: How To Store Whole Wheat Flour Long Term
Ingredients
To make delicious whole wheat bread in a bread machine, you will need the following ingredients:
- 2 cups of whole wheat flour
- 1 packet (2 1/4 teaspoons) of active dry yeast
- 1 tablespoon of sugar or honey
- 2 tablespoons of vegetable oil
- 1 teaspoon of salt
- 1 cup of water or milk
Note: You can also add additional ingredients to enhance the flavor and texture of your bread, such as nuts, seeds, or dried fruits. These are optional and can be customized according to your preference.
It is essential to use whole wheat flour specifically designed for bread-making to achieve the best results. Whole wheat flour contains all parts of the wheat grain, including the bran, germ, and endosperm, providing more fiber and nutrients compared to refined white flour.
The active dry yeast is responsible for the bread’s rise. Make sure the yeast is fresh and within its expiration date to ensure proper fermentation. If your yeast is expired or not bubbling during proofing, it’s time to purchase a new packet.
The sugar or honey acts as a food source for the yeast, helping it to activate and produce carbon dioxide for the bread to rise. You can choose either sugar or honey based on your preference, but both will provide a hint of sweetness to balance the flavors.
The vegetable oil adds moisture to the bread, keeping it tender and preventing it from drying out. You can use any neutral-flavored vegetable oil like canola or sunflower oil.
The salt is not only for flavor but also for regulating yeast activity and strengthening the bread’s structure. It is an essential ingredient that should not be omitted.
Lastly, the liquid can be either water or milk. Water will yield a more basic flavor, while milk will add a slightly richer taste and a softer texture. Choose the liquid based on your preference and dietary needs.
Now that you have all the ingredients ready, it’s time to move on to the next step: measuring and adding them to the bread machine. Let’s get started!
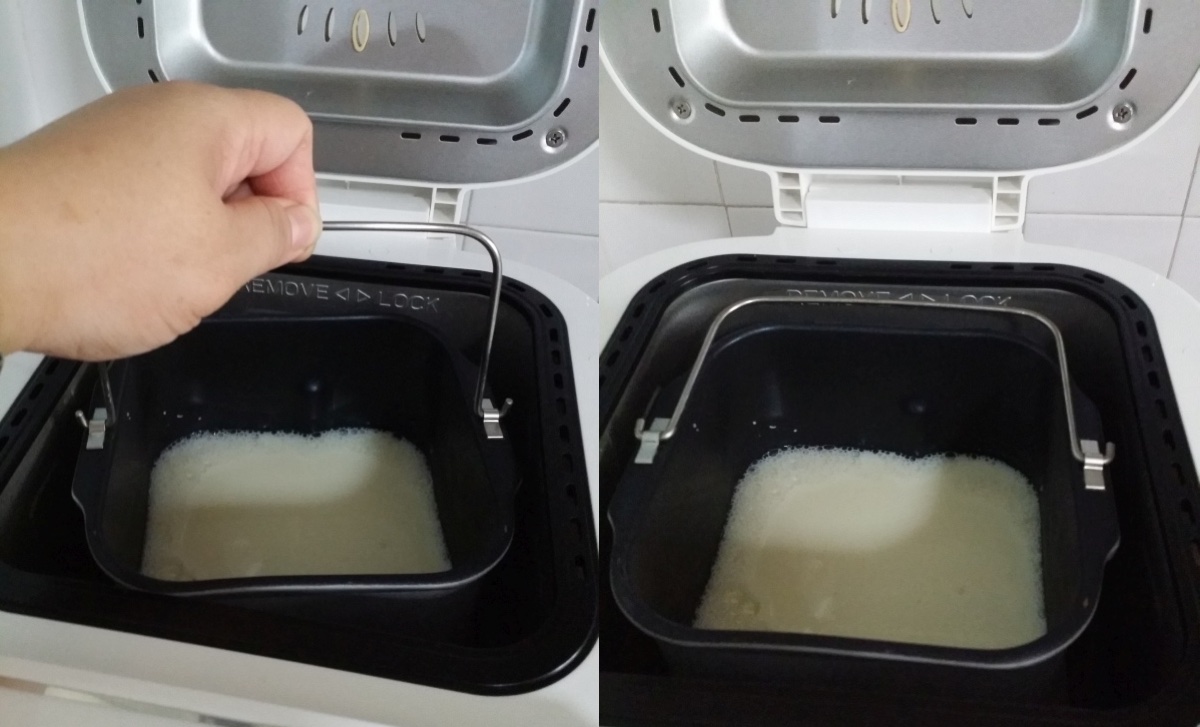
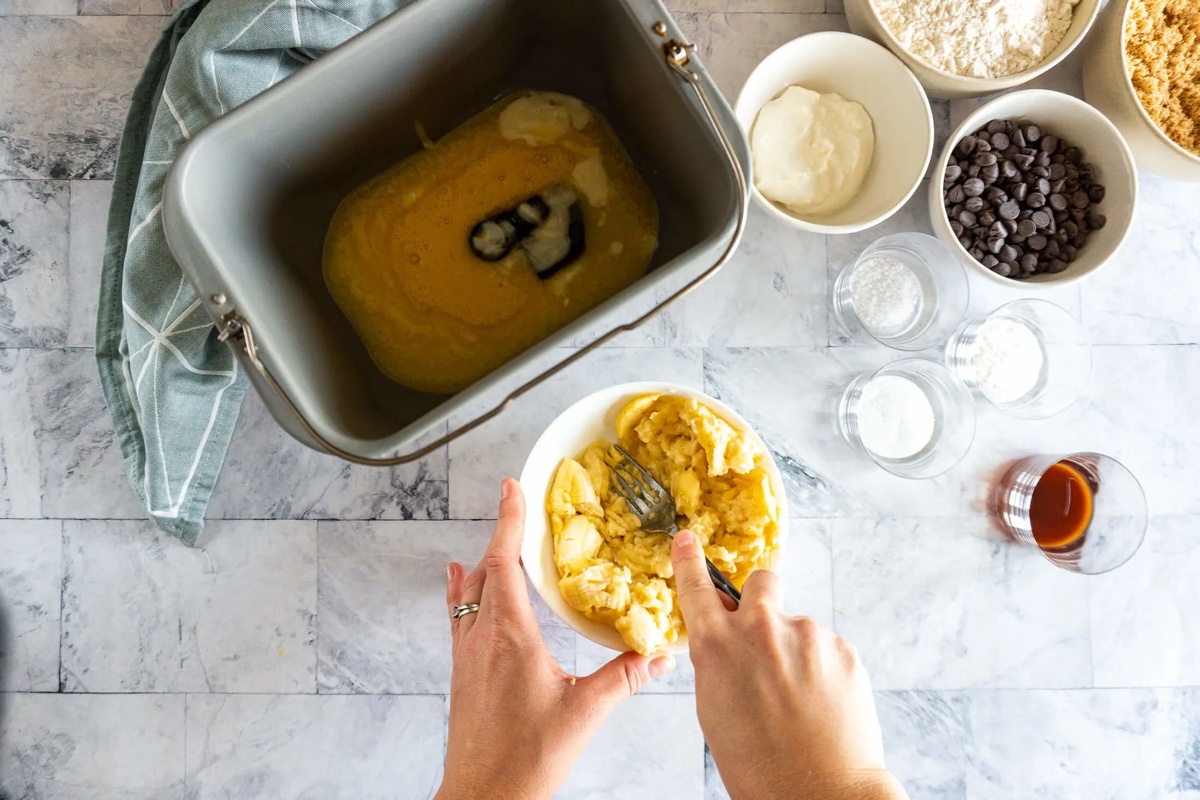
Step 1: Measuring and Adding the Ingredients
Now that you have gathered all the ingredients for your whole wheat bread, it’s time to measure and add them to the bread machine. Follow these steps to ensure accurate measurements and proper incorporation of the ingredients:
- Start by assembling the bread machine and placing the bread pan in its designated spot. Make sure the kneading paddle is securely attached.
- Before adding any ingredients, double-check that the bread machine is clean and free from any residue or crumbs from previous bakes. This will prevent any unwanted flavors or textures in your bread.
- Next, measure out the whole wheat flour using a measuring cup. Fluff the flour with a fork or spoon, then lightly scoop it into the measuring cup and level off the excess with a straight edge. Adding too much flour can result in a dense and dry loaf, so it’s crucial to measure accurately.
- Transfer the measured flour into the bread pan.
- Now, add the active dry yeast to the bread pan. You can pour the yeast directly on top of the flour, making sure it is evenly distributed. This helps the yeast activate and distribute evenly throughout the dough.
- Measure the sugar or honey and add it to the bread pan. This will provide a touch of sweetness and aid in the fermentation process.
- Add the vegetable oil to the bread pan. The oil will keep the bread moist and prevent it from becoming dry and crumbly.
- Measure the salt and sprinkle it over the other ingredients in the bread pan. Salt adds flavor and regulates the yeast’s activity.
- Lastly, carefully measure and pour the water or milk into the bread pan. The liquid will hydrate the flour and help form the dough.
Once all the ingredients are added to the bread pan, it’s time to move on to the next step: selecting the bread machine settings. Stay tuned!
Step 2: Selecting the Bread Machine Settings
With the ingredients in the bread pan, it’s time to choose the appropriate settings on your bread machine. Different models may have slightly different settings, but the general guidelines remain the same. Follow these steps to select the right settings for your whole wheat bread:
- Refer to the instruction manual of your specific bread machine model to familiarize yourself with the available settings and their corresponding functions.
- Typically, there will be a “Menu” or “Program” button on the bread machine. Press this button to cycle through the available programs until you reach the one for “Whole Wheat” or “Basic/White Bread.” These settings are suitable for making whole wheat bread.
- Once you have selected the appropriate program, you will likely have the option to choose the loaf size (e.g., 1.5 lb or 2 lb) and crust color (e.g., light, medium, dark). Adjust these settings according to your preference.
- If your bread machine does not have a dedicated “Whole Wheat” program, you can use the “Basic/White Bread” program instead. The main difference is that the “Whole Wheat” program may have a longer kneading and rising time to accommodate the denser whole wheat dough.
- Some bread machines also have a “Delay Start” or “Timer” function, allowing you to set a specific time for the bread to start baking. This feature can be convenient if you want freshly baked bread in the morning or after a certain time.
Once you have selected the appropriate program and adjusted the loaf size and crust color, it’s time to move on to the next step: starting the bread machine. Let’s continue!
Step 3: Starting the Bread Machine
Now that you have selected the desired settings on your bread machine, it’s time to start the baking process. Follow these steps to begin making your whole wheat bread:
- Double-check that the bread pan is securely placed inside the bread machine and the kneading paddle is attached.
- Close the lid of the bread machine and plug it into a power outlet.
- Some bread machines may have a “Start/Stop” button or a similar control to initiate the baking process. Press this button to start the machine.
- The bread machine will begin mixing and kneading the ingredients, allowing the dough to rise gradually.
- During the baking process, avoid opening the bread machine lid unnecessarily. Opening the lid can cause heat loss and affect the bread’s rise and texture.
- Depending on the chosen program, the bread machine will go through several cycles, including kneading, rising, and baking.
- Some bread machines may have an audible signal or indicator light to let you know when the bread is ready. Refer to your specific model’s instruction manual for guidance.
The duration of the whole process will vary depending on the bread machine model and the selected program. Typically, making whole wheat bread in a bread machine takes around 3 to 4 hours.
Now that the bread machine is doing its magic, it’s time to move on to the next step: checking and adjusting the dough if needed. Stay tuned!
Add vital wheat gluten to the whole wheat flour to improve the texture and rise of the bread. This will help create a lighter and fluffier whole wheat bread in the bread machine.
Read more: How To Make Dough In Bread Machine
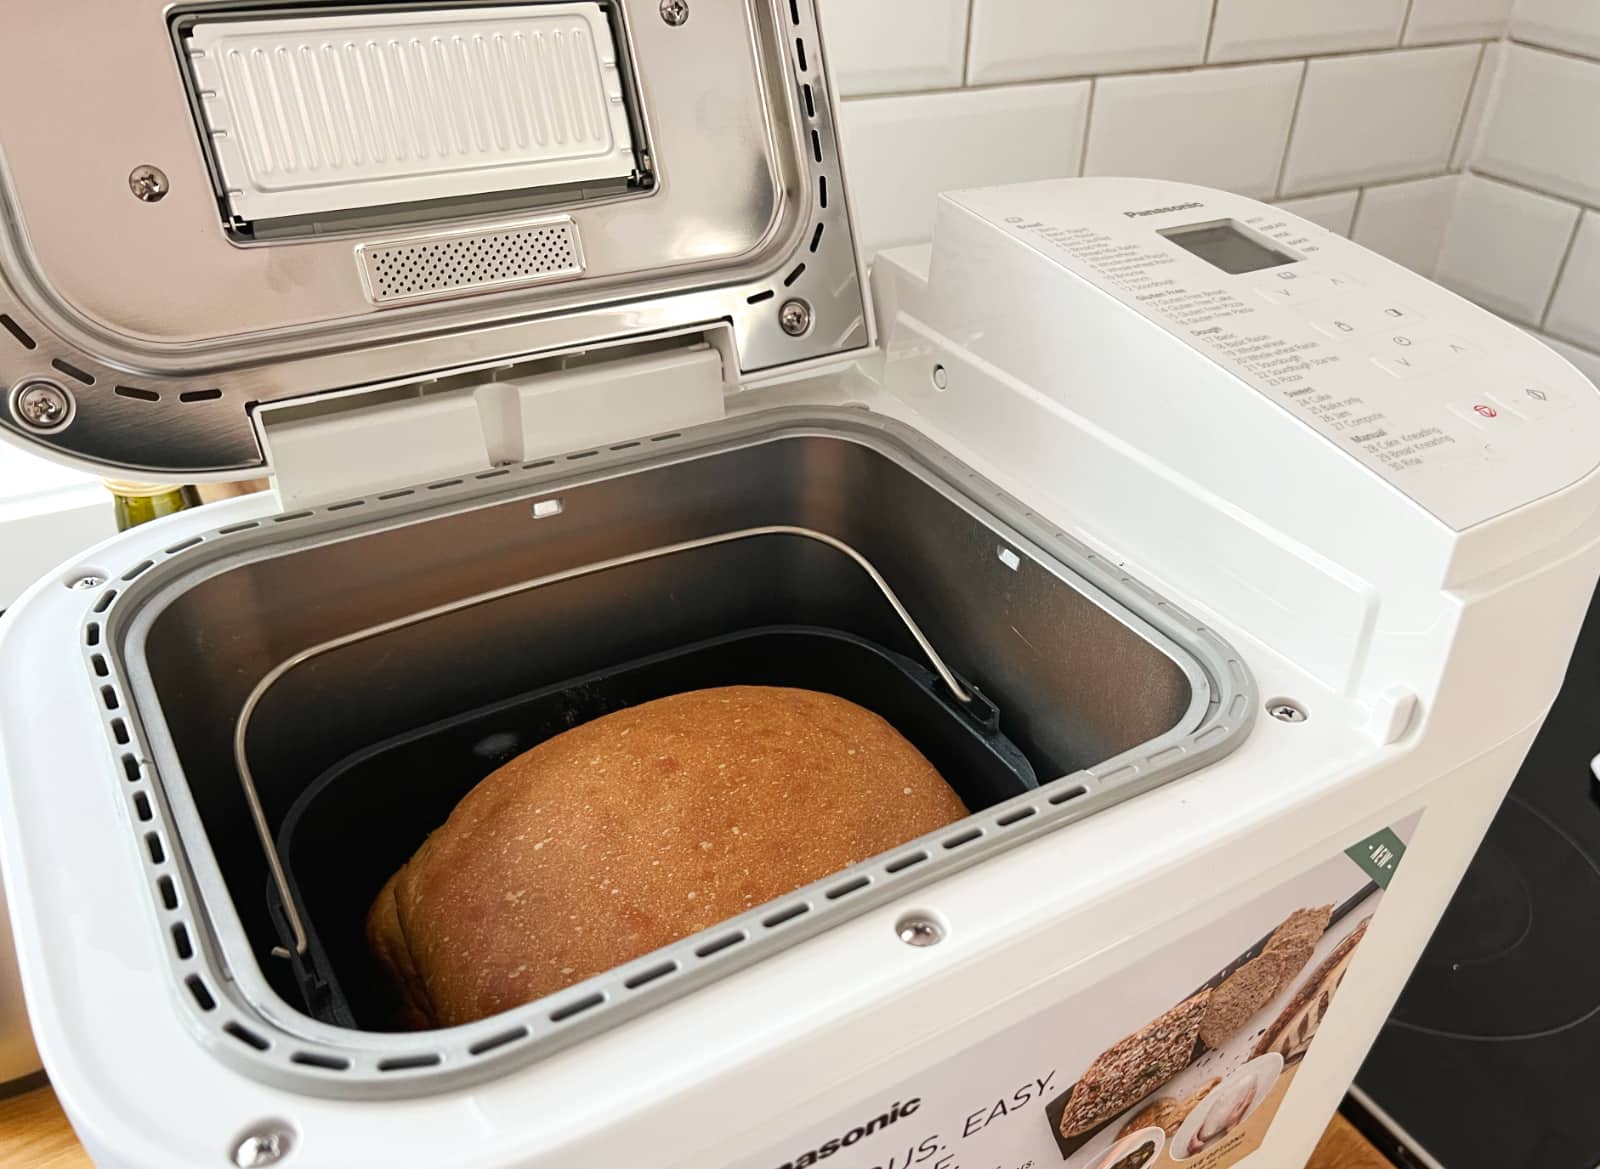
Step 4: Checking and Adjusting the Dough
Once the bread machine has completed its kneading, rising, and baking cycles, it’s important to check the dough to ensure it has the right consistency. Follow these steps to check and adjust the dough if needed:
- Carefully open the lid of the bread machine, being mindful of any steam that may have accumulated inside.
- Use oven mitts or kitchen towels to remove the bread pan from the machine. Be cautious as the pan and bread may still be hot.
- Examine the dough in the bread pan. It should be smooth and elastic, slightly tacky but not overly sticky. If the dough appears too dry or too wet, adjustments can be made.
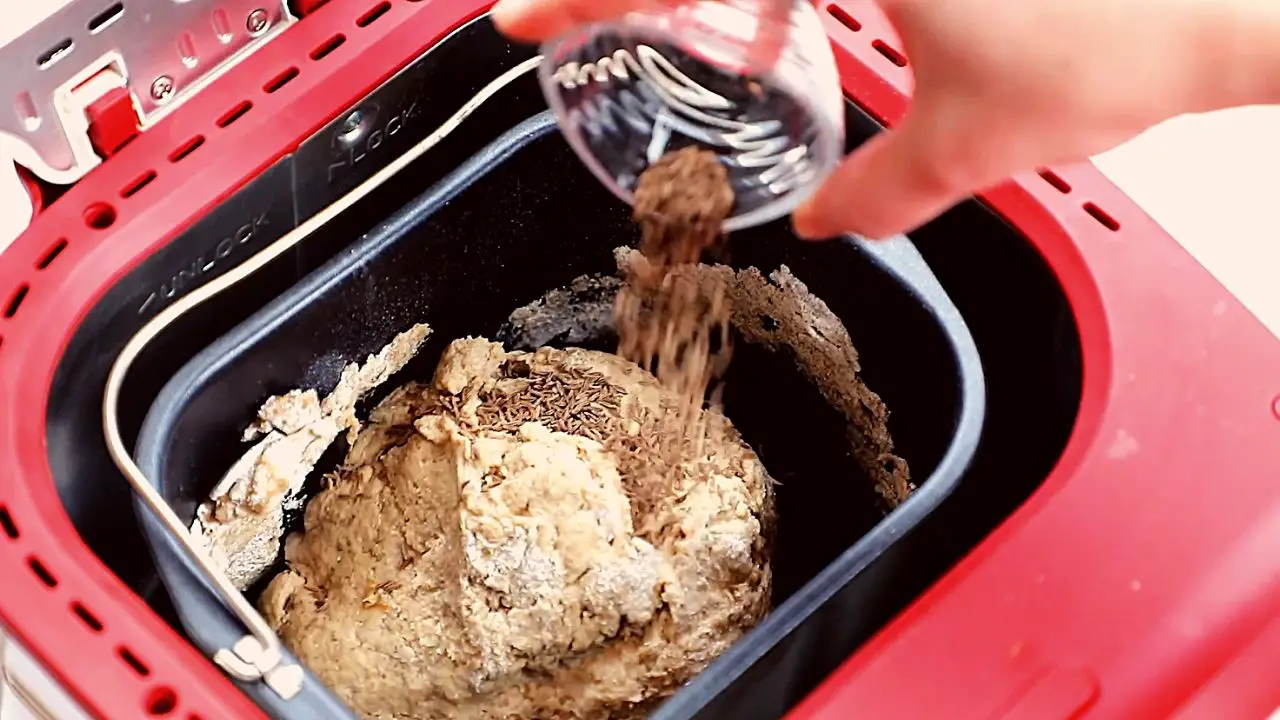
- If the dough seems too dry and crumbly, you can add a tablespoon of water at a time, while the dough is still in the bread pan. Use a silicone spatula or a spoon to mix the water into the dough until it reaches the desired consistency.
- If the dough seems too wet and sticky, you can add a tablespoon of whole wheat flour at a time, while the dough is still in the bread pan. Mix the flour into the dough until it becomes more manageable and less sticky.
- Ensure that any adjustments you make are small and gradual. It’s important not to add too much water or flour at once, as this can significantly affect the texture and structure of the bread.
- Once the dough is adjusted to the desired consistency, place the bread pan back into the bread machine.
- Close the lid and restart the machine, allowing it to continue the baking process as directed by the selected program.
By checking and adjusting the dough if necessary, you can ensure that your whole wheat bread turns out just right. Remember, small adjustments can go a long way in achieving the perfect loaf.
Now that the dough is back in the machine, it’s time to move on to the next step: shaping the dough, which is optional. Keep reading to learn more!
Step 5: Shaping the Dough (Optional)
Shaping the dough is an optional step in the bread making process and can give your whole wheat bread a more appealing appearance. If you choose to shape the dough, follow these steps:
- Once the bread machine has completed its baking cycle, carefully remove the bread pan from the machine, using oven mitts or kitchen towels to protect your hands.
- Place the dough onto a lightly floured surface, such as a clean countertop or cutting board.
- Gently punch down the dough to release any trapped air bubbles. This helps ensure an even texture throughout the loaf.
- To shape the dough, start by folding the sides of the dough into the center, creating a rectangle shape.
- Tightly roll up the dough from one end to the other, creating a log shape. Ensure that the seam is well sealed.
- Optionally, you can tuck the ends of the dough underneath to create a smooth and uniform shape.
- Place the shaped dough into a greased loaf pan, seam-side down. This will help the dough hold its shape during the final rise and baking.
- Cover the loaf pan with a clean kitchen towel or plastic wrap and allow the dough to rise for an additional 30-60 minutes, or until it has doubled in size. This is known as the final proofing.
Shaping the dough can create a more visually appealing loaf, with a defined crust and well-formed slices. However, if you prefer a more rustic or rustic appearance, you can skip this step and proceed directly to baking the dough in the bread machine pan.
Now that the dough is shaped and ready for the final rise, it’s time to move on to the next step: baking the bread. Stay tuned!
Step 6: Baking the Bread
After the dough has undergone its final rise, it’s time to proceed with baking the bread. Follow these steps to ensure a perfectly baked whole wheat loaf:
- Preheat your oven to the recommended temperature, typically around 375°F (190°C), or as indicated in your bread machine’s instruction manual.
- If you shaped the dough and proofed it in a separate loaf pan, carefully transfer the dough from the pan to the preheated oven using oven mitts or a kitchen towel.
- If you chose to bake the bread in the bread machine pan, simply return the pan to the machine and close the lid.
- Bake the bread for the recommended time, usually around 30-40 minutes, or as instructed by your bread machine’s program.
- During baking, keep an eye on the bread to ensure it doesn’t over-brown. If the top begins to darken too quickly, you can loosely cover it with aluminum foil to prevent excessive browning while the inside continues to bake.
- Check for doneness by inserting a toothpick or skewer into the center of the loaf. If it comes out clean or with a few crumbs, the bread is ready. If it comes out doughy or wet, bake the bread for an additional few minutes.
- Once the bread is fully baked, remove it from the oven or bread machine and place it on a wire rack to cool. This allows air to circulate around the loaf, preventing condensation and maintaining its texture.
- Allow the bread to cool completely before slicing. Cutting into hot bread can result in a gummy texture, so exercise patience for the best results.
Now that your whole wheat bread is beautifully baked, it’s time to move on to the final step: cooling and storing the bread. Keep reading to learn more!
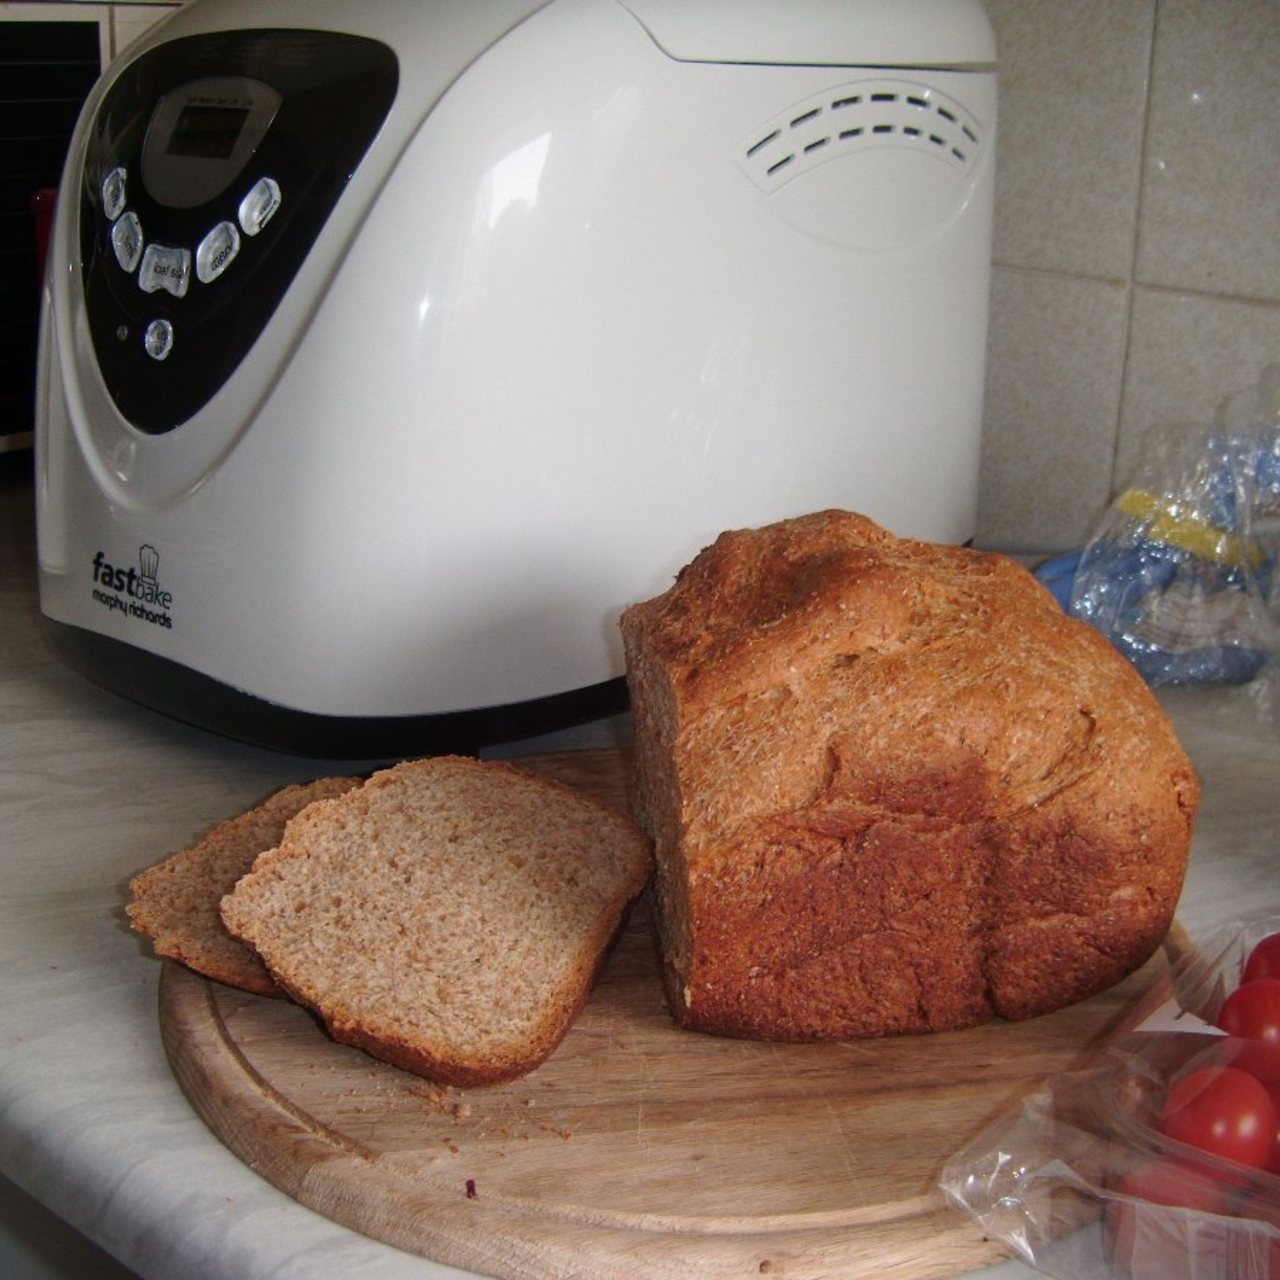
Step 7: Cooling and Storing the Bread
Once your freshly baked whole wheat bread is out of the oven, it’s important to properly cool and store it to maintain its freshness and flavor. Follow these steps to ensure your bread stays delicious:
- Transfer the bread from the baking pan to a wire rack to cool completely. Allowing the bread to cool on a wire rack ensures that air circulates evenly around the loaf, preventing moisture buildup and maintaining its texture.
- Avoid slicing into the bread while it’s still warm. Cutting into the bread too soon can result in a gummy texture and cause it to lose moisture more quickly. It’s best to exercise patience and let it cool completely before slicing.
- Once the bread has cooled, you can slice it using a sharp bread knife or an electric knife for even and neat slices.
- If you don’t plan to consume the entire loaf immediately, it’s essential to store the bread properly to maintain its freshness. Wrap the sliced or whole loaf tightly in plastic wrap or place it in an airtight container.
- Store the bread at room temperature in a cool, dry place. Avoid storing it in the refrigerator, as this can dry out the bread and affect its texture.
- Depending on the ingredients used and how it’s stored, homemade whole wheat bread can stay fresh for 3-5 days. However, it’s best enjoyed within the first few days for optimal flavor and texture.
- If you found yourself with more bread than you can consume within a few days, you can freeze the sliced or whole loaf in freezer-safe bags or containers. Frozen bread can be kept for up to 3 months.
- When you’re ready to enjoy the frozen bread, simply thaw it at room temperature or in the toaster. Reheating frozen bread can help restore its freshness and taste.
Now that you know how to properly cool and store your whole wheat bread, you’re all set to enjoy it at its best. Whether you have it for breakfast, as a sandwich, or as a snack, savor the homemade goodness of your freshly baked bread.
Congratulations on successfully making whole wheat bread in a bread machine! By following these steps, you can create a flavorful and nutritious loaf that will impress your family and friends. Happy baking!
Read more: How To Make Sourdough In Bread Machine
Conclusion
Making whole wheat bread in a bread machine is a rewarding and convenient way to enjoy homemade, nutritious bread. By following these step-by-step instructions, you can achieve a delicious loaf with minimal effort. Here’s a recap of the process:
1. Measure and add the ingredients: Gather all the necessary ingredients, including whole wheat flour, yeast, sugar/honey, vegetable oil, salt, and water/milk. Measure and add them to the bread machine pan.
2. Select the bread machine settings: Choose the appropriate program on your bread machine, such as “Whole Wheat” or “Basic/White Bread.” Adjust the loaf size and crust color according to your preference.
3. Start the bread machine: Press the start button or the equivalent on your bread machine to begin the baking process. Allow the machine to mix, knead, rise, and bake the bread according to the chosen program.
4. Check and adjust the dough: After the machine has completed its cycles, check the dough’s consistency. If needed, add a small amount of water or flour to achieve the desired texture.
5. Shape the dough (optional): If desired, remove the dough from the machine, shape it, and place it in a greased loaf pan for the final rise. Proof the dough until it doubles in size.
6. Bake the bread: Preheat the oven, transfer the shaped dough to the oven for baking, or return the bread machine pan to the machine. Bake until the bread is golden brown and fully cooked.
7. Cool and store the bread: Allow the bread to cool completely on a wire rack. Once cooled, slice and store it in an airtight container at room temperature. Freeze any extra bread for long-term storage.
By following these steps, you can enjoy the satisfaction of baking your own wholesome whole wheat bread. Whether you prefer to start your day with a slice of toast or use it to make sandwiches, this homemade bread provides a nutritious and delicious foundation for a healthy diet.
Experiment with additional ingredients such as nuts, seeds, or dried fruits to add texture and flavor to your bread. Personalize the recipe to suit your taste preferences and dietary needs. With practice, you’ll become more confident in creating custom variations of whole wheat bread that satisfy your cravings.
Don’t be afraid to get creative and make this recipe your own. Baking bread is a delightful and rewarding experience that brings joy to both the baker and those who enjoy the final product. So, roll up your sleeves, fire up the bread machine, and embark on your homemade whole wheat bread journey. Happy baking!
Frequently Asked Questions about How To Make Whole Wheat Bread In A Bread Machine
Was this page helpful?
At Storables.com, we guarantee accurate and reliable information. Our content, validated by Expert Board Contributors, is crafted following stringent Editorial Policies. We're committed to providing you with well-researched, expert-backed insights for all your informational needs.


0 thoughts on “How To Make Whole Wheat Bread In A Bread Machine”