Articles
How To Store Razor Clams
Modified: August 16, 2024
Learn the best techniques for storing razor clams in this informative article. Keep your razor clams fresh and delicious for your next seafood feast.
(Many of the links in this article redirect to a specific reviewed product. Your purchase of these products through affiliate links helps to generate commission for Storables.com, at no extra cost. Learn more)
Introduction
Welcome to the world of razor clams! If you’re a seafood enthusiast, you’re in for a treat. Razor clams are highly prized for their delicate flavor and firm texture, making them a favorite among seafood lovers and chefs alike.
In this article, we will delve into the fascinating world of razor clams, from understanding what they are to learning how to select, clean, and store them properly. Whether you’re a seasoned cook or a beginner in the kitchen, these tips and tricks will come in handy when it comes to storing razor clams and ensuring their freshness for future meals.
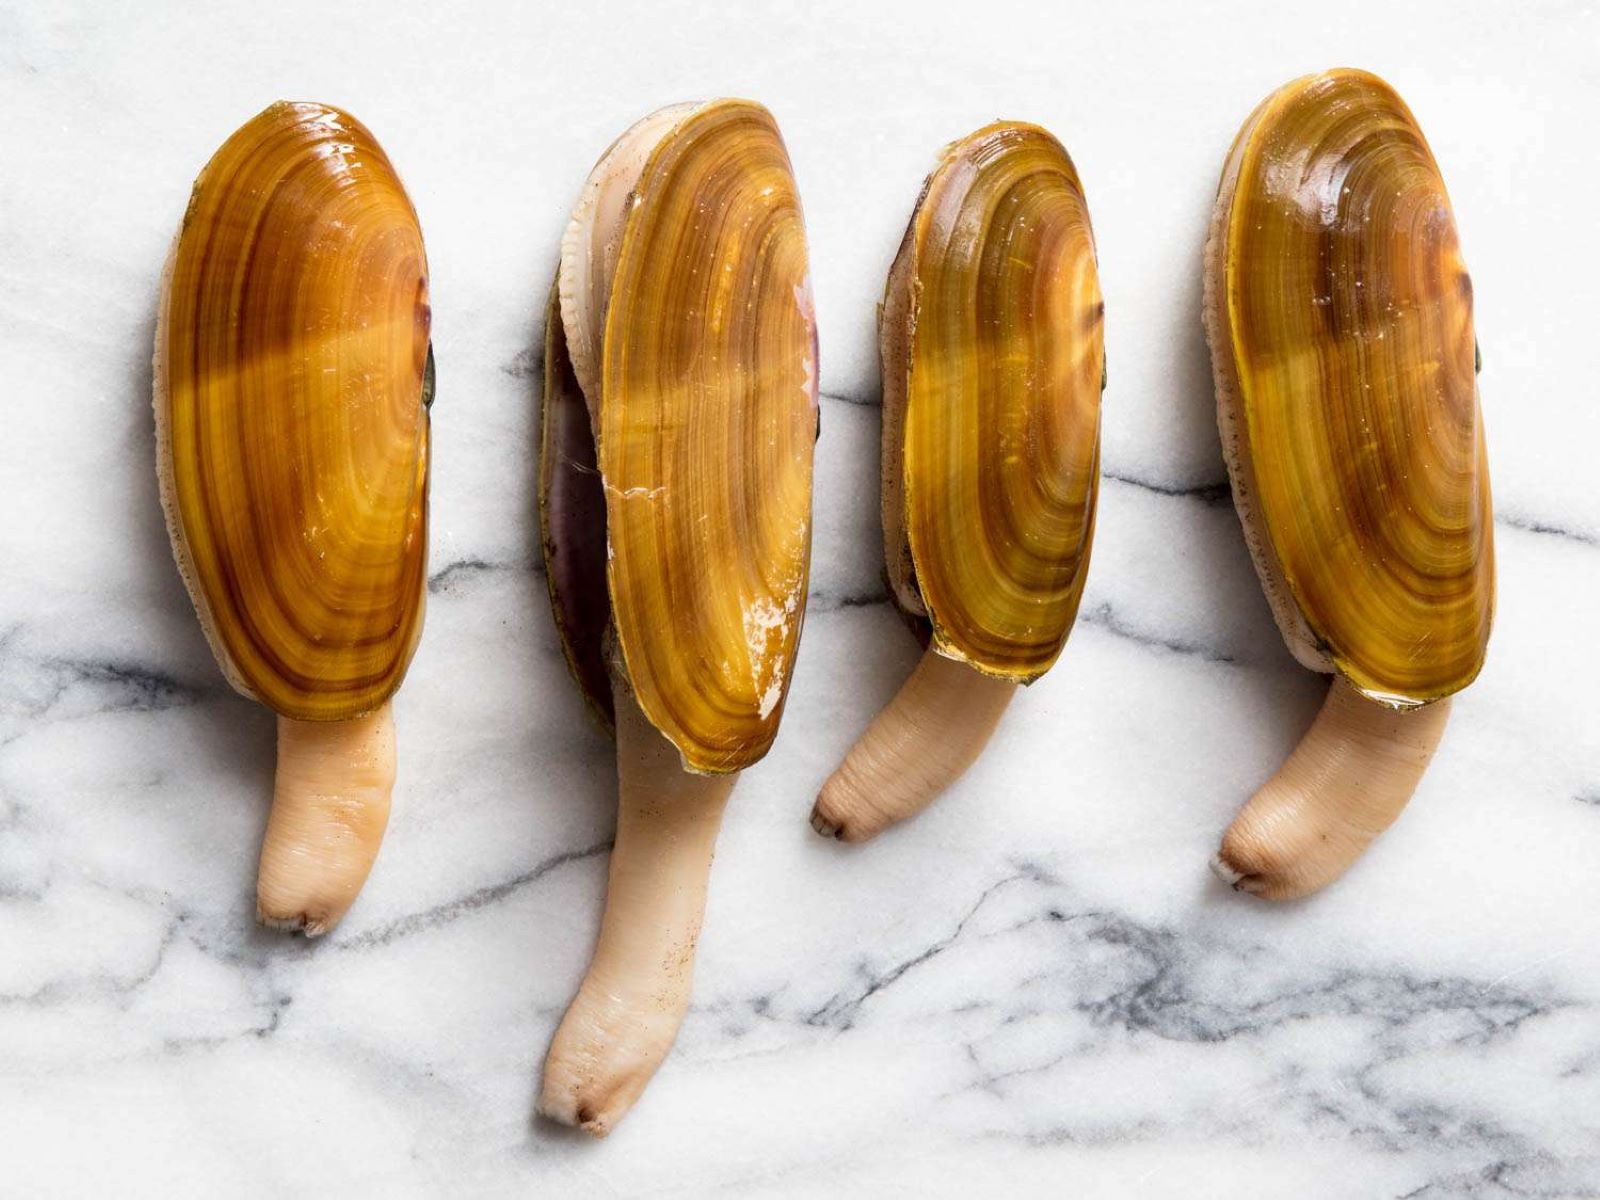
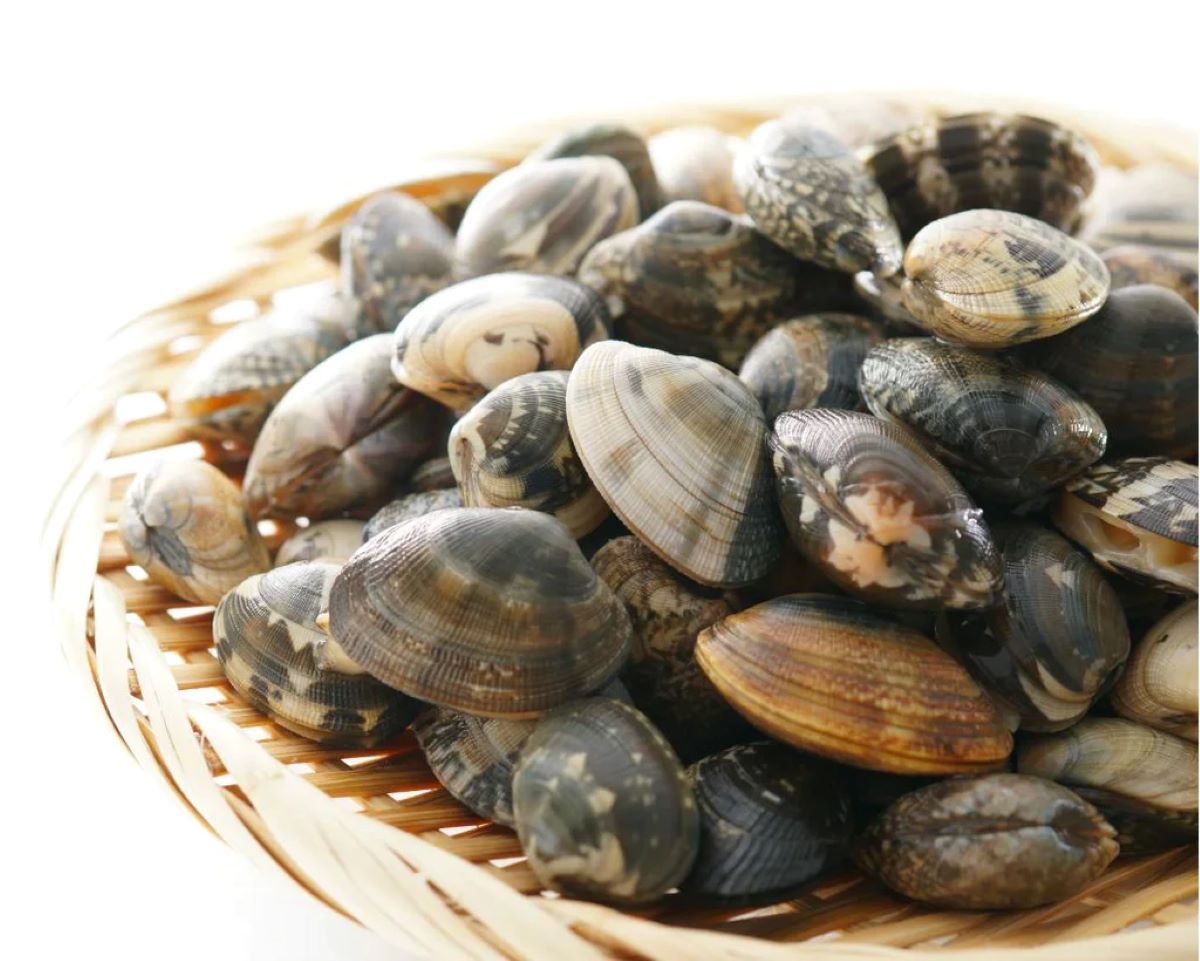
Razor clams are bivalve mollusks that are typically found in sandy coastal regions. They are known for their elongated, razor-like shells, from which they get their name. These clams can range in size from a few inches to up to six inches long, and their unique shape and texture make them a versatile ingredient in a variety of seafood dishes.
When it comes to selecting razor clams, freshness is key. Look for clams that have tightly closed shells and a fresh, briny scent. Avoid clams with cracked or damaged shells, as this can indicate that they are no longer alive or may have been exposed to contaminants.
Once you have your fresh razor clams, it’s important to clean them properly before storing them. Start by rinsing them under cold water to remove any sand or debris from the shells. Use a brush or your hands to gently scrub the shells, being careful not to damage them.
Storing razor clams is crucial to maintaining their quality and flavor. The best way to store them depends on whether you plan to use them in the near future or want to keep them for an extended period.
If you intend to use the razor clams within a few days, refrigeration is the way to go. Wrap the clams in a damp kitchen towel or place them in a container with a damp paper towel to keep them moist. Place the wrapped or containerized clams in the refrigerator, preferably in the coldest part, such as the crisper drawer. It’s important to use the clams as soon as possible, within 2-3 days, for optimum freshness.
If you want to extend the shelf life of razor clams, freezing is your best option. Start by cleaning the clams and blanching them in boiling water for a minute or two. This helps preserve their flavor and texture. Then, transfer the clams to an airtight container or a freezer bag, making sure to remove as much air as possible. Label the container with the date and place them in the freezer. Frozen razor clams can last up to three months.
Now that you know the fundamentals of storing razor clams properly, you’re ready to explore the multitude of culinary possibilities these delectable creatures offer. From steaming and grilling to adding them to pastas and chowders, there’s no shortage of ways to enjoy razor clams.
Remember, the key to a delicious razor clam dish starts with fresh and well-stored clams. So, follow these storage tips, unleash your creativity in the kitchen, and prepare to savor the unique taste of razor clams.
Key Takeaways:
- Properly storing razor clams is essential for maintaining their freshness and flavor. Refrigerate for short-term use or freeze for extended shelf life, ensuring you can enjoy them whenever the craving strikes.
- When handling and cleaning razor clams, prioritize safety, thorough cleaning, and mindful storage. Embrace their versatility in cooking methods and trust your senses to ensure a delightful dining experience.
Read more: How To Store Razor Blades
Understanding Razor Clams
Razor clams, scientifically known as Ensis spp., are a type of bivalve mollusk that can be found in coastal regions around the world. These clams are highly regarded for their sweet, meaty flesh and distinct elongated shells, which resemble old-fashioned straight razors.
One of the distinguishing features of razor clams is their siphons, which are long, thin tubes used for filter feeding. These siphons extend from the clam’s body and can retract quickly when they sense danger. It is this distinctive behavior that gives them their name and makes them a sought-after ingredient in seafood dishes.
Razor clams are usually found buried in sandy or muddy substrates along the shoreline. They tend to inhabit shallow waters, digging themselves into the sand with their powerful muscular foot. This unique adaptation allows them to escape predators and withstand the crashing waves.
In addition to their interesting behavior and habitat, razor clams also offer some impressive health benefits. They are a good source of protein, vitamins, and minerals such as iron, zinc, and selenium. They are also relatively low in fat and cholesterol, making them a nutritious option for those conscious of their dietary intake.
When it comes to harvesting razor clams, it’s important to do so sustainably and in accordance with local regulations. Many regions have specific rules in place to ensure the preservation and conservation of razor clam populations. Check with local authorities or fishery organizations for guidelines on size limits, bag limits, and seasonal restrictions.
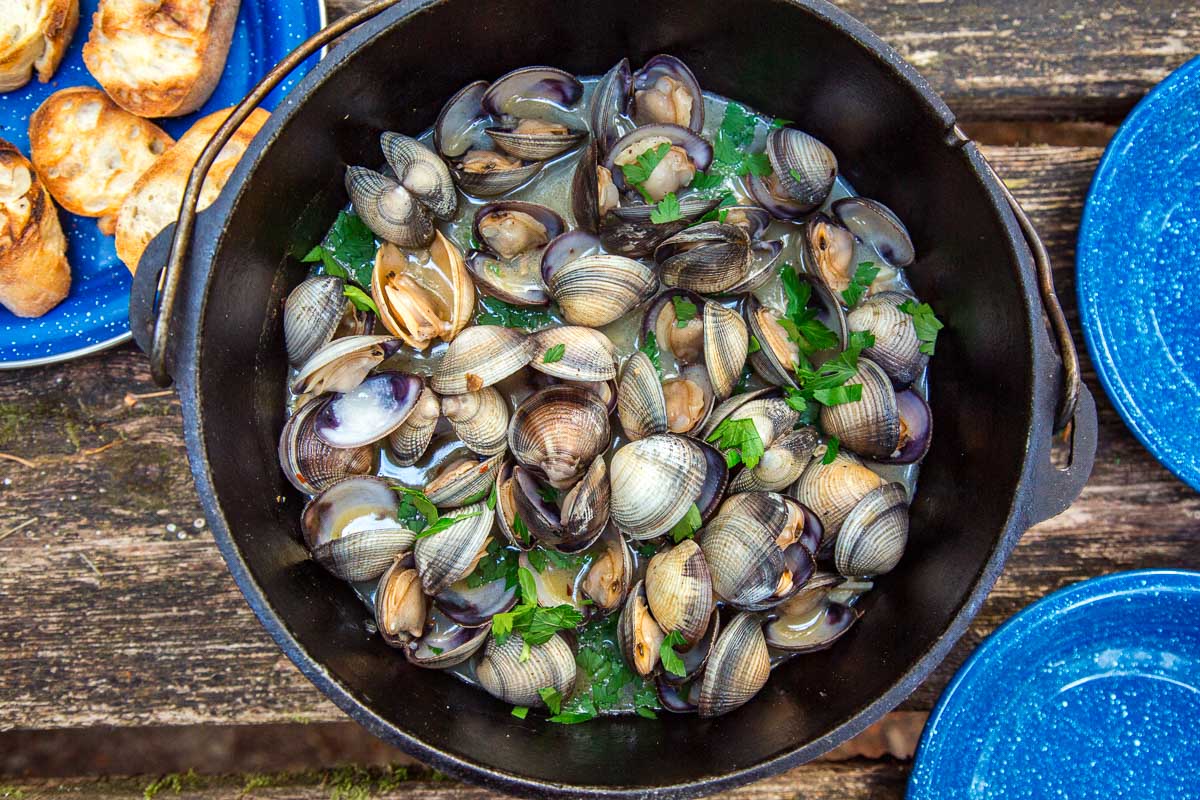
Razor clams can be enjoyed in a variety of ways due to their delicate yet meaty texture. They can be steamed, boiled, grilled, or even breaded and fried. Their unique flavor pairs well with various seasonings and sauces, allowing you to get creative in the kitchen.
For a classic preparation, consider steaming razor clams in a flavorful broth or wine-infused sauce to enhance their natural taste. Serve them with melted butter and a squeeze of lemon for a simple and satisfying meal. Alternatively, breaded and fried razor clams make a delicious appetizer or main course option.
Whether you’re a seafood connoisseur or just beginning to explore the world of clams, razor clams offer a unique culinary experience. Their distinct appearance, delectable flavor, and versatility in the kitchen make them a prized ingredient and a favorite among seafood enthusiasts.
So, the next time you come across these elongated gems in your seafood selection, give them a try. Understanding razor clams and incorporating them into your meals will surely elevate your dining experience and leave you wanting more.
Selecting Fresh Razor Clams
When it comes to preparing a delicious seafood dish using razor clams, selecting fresh and high-quality clams is essential. Here are some tips to help you choose the best razor clams for your culinary creations:
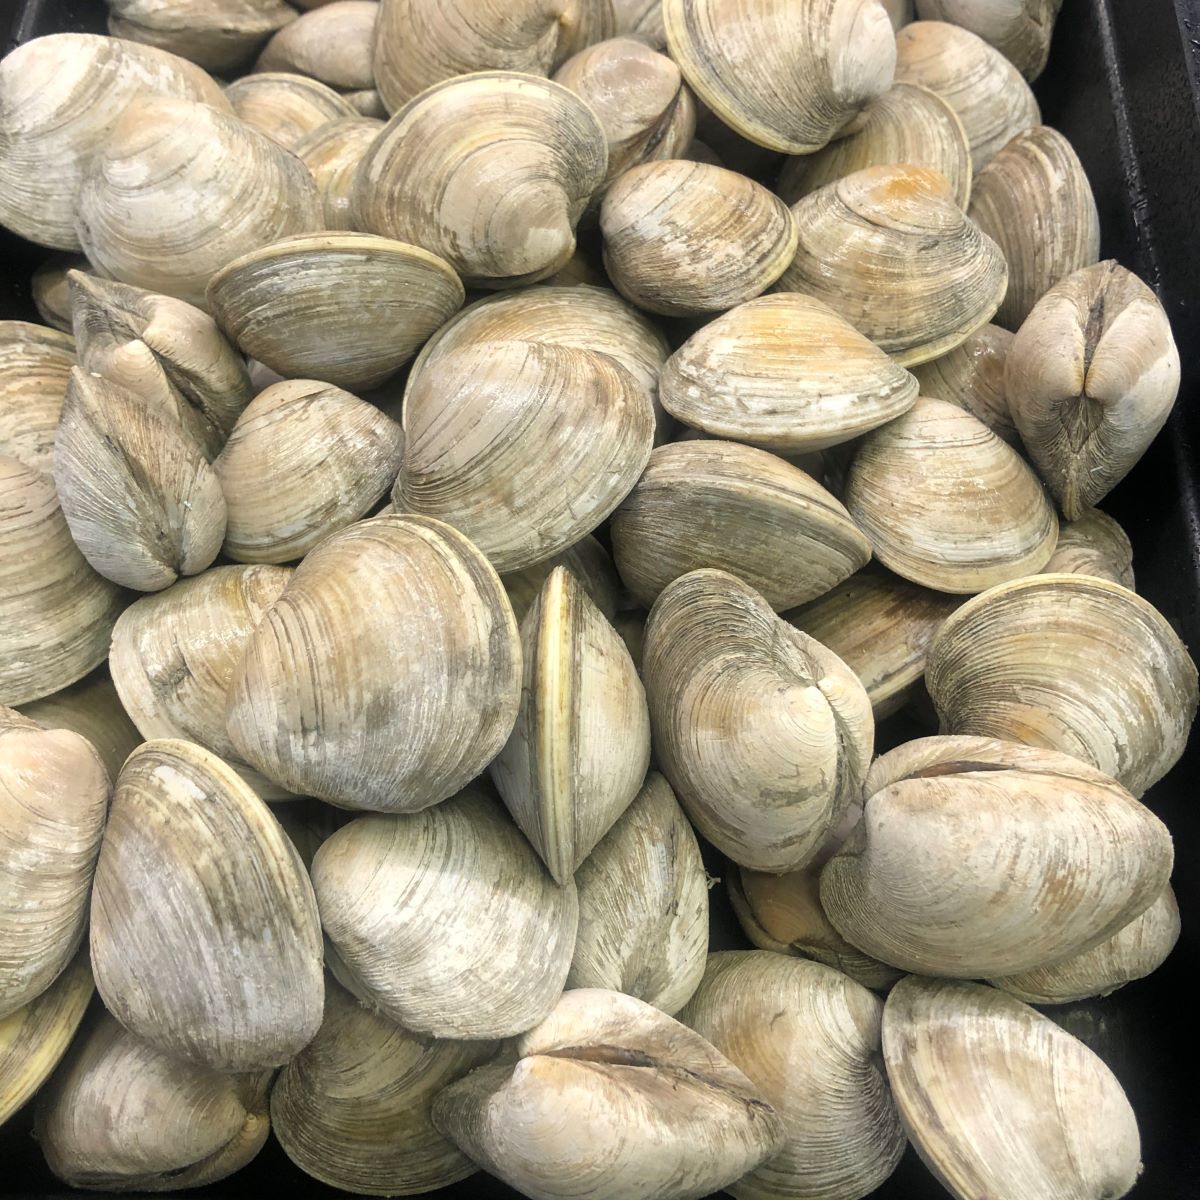
1. Look for tightly closed shells: Fresh razor clams should have shells that are tightly closed. This indicates that the clams are still alive and retain their natural freshness. Avoid clams with cracked or damaged shells, as this could be a sign that they are no longer alive or have been mishandled.
2. Check for a fresh briny scent: Take a moment to smell the clams before purchasing them. Fresh razor clams should have a clean, briny scent that resembles the ocean. Avoid clams with a strong or unpleasant odor, as this could indicate that they are not fresh.
3. Consider the weight: Fresh razor clams should feel heavy for their size. This indicates that they are filled with meat and have not lost moisture. Avoid clams that feel excessively light, as this could be a sign that they are dried out or past their prime.
4. Look for intact siphons: The siphons, or necks, of razor clams are one of their defining features. These long, retractable tubes extend from the clam’s body and are used for filter feeding. When selecting razor clams, look for clams with intact siphons, as broken or missing siphons could indicate damage or poor handling.
5. Consider the source: If possible, choose razor clams from reputable and sustainable sources. This ensures that the clams have been harvested and handled responsibly, minimizing any potential negative impact on the environment or the clam population.
It’s important to note that razor clams are seasonal and may not be readily available throughout the year. Depending on your location, there may be specific seasons when razor clams are abundant and at their best. Check with your local seafood markets or fishmongers to inquire about the availability of fresh razor clams in your area.
When you bring your fresh razor clams home, it’s best to use them as soon as possible to enjoy their optimal taste and texture. If you’re not able to use them immediately, store them properly in the refrigerator or freezer to maintain their freshness.
By following these tips and selecting the freshest razor clams, you can elevate your seafood dishes and savor the delicate flavor and firm texture that razor clams are known for. So, the next time you’re at the seafood counter, keep these guidelines in mind and choose the best razor clams for your culinary creations.
Cleaning Razor Clams
Before using razor clams in your favorite seafood recipes, it’s important to properly clean them to remove any sand, debris, or impurities. Follow these simple steps to ensure your razor clams are clean and ready to be cooked:
1. Rinse the clams: Start by rinsing the razor clams under cold running water. This will help remove any loose sand or debris from the shells. Use your hands or a soft brush to gently scrub the shells, being careful not to damage them.
2. Remove the sand: After rinsing, fill a large bowl with cold water and add a handful of sea salt to create a saline solution. Place the razor clams in the saline solution and let them soak for about 20 minutes. This allows the clams to expel any remaining sand or grit inside their shells.
3. Scrub the shells: After soaking, take each razor clam and use a brush or your hands to scrub the shells once again. This helps remove any stubborn dirt or sand particles that may still be clinging to the shells.
4. Check for any damaged or open clams: While cleaning, inspect the razor clams for any clams that are cracked, damaged, or open. Discard any clams that do not tightly close their shells when lightly tapped. It’s important to ensure that all the clams you use are alive and fresh.
5. Trim the siphons: Razor clams have long, protruding siphons that are used for filter feeding. Before cooking, you may want to trim the siphons to a more manageable length. Use a sharp knife or kitchen shears to carefully trim the siphons, leaving about an inch or two remaining. This step is optional but can make handling the clams easier when cooking.
6. Rinse one last time: Give the cleaned razor clams one final rinse under cold running water to remove any residue or particles that may still be present.
Once you’ve cleaned the razor clams, they are ready to be used in your chosen recipe. Whether you’re steaming, grilling, or frying them, your cleaned razor clams will be free from sand or debris, allowing their natural flavors to shine through.
It’s worth noting that cleaning razor clams can be a bit time-consuming, but the effort is well worth it for the quality and cleanliness of the final dish. Plus, knowing that you’ve taken the necessary steps to properly clean your razor clams will give you peace of mind and ensure an enjoyable dining experience.
So, roll up your sleeves, follow these cleaning steps, and get ready to savor the delicious taste of freshly cleaned razor clams in your next seafood masterpiece!
Storing Razor Clams
Proper storage is crucial to maintain the freshness and quality of razor clams. Whether you’re planning to use them in a few days or want to preserve them for a longer period, here are the best methods for storing razor clams:
Refrigerating Razor Clams:
If you intend to use the razor clams within a few days, refrigeration is the recommended method of storage. Follow these steps to refrigerate your razor clams:
- Start by wrapping the razor clams in a damp kitchen towel or place them in a container with a damp paper towel. This helps maintain the clams’ moisture and prevents them from drying out.
- Place the wrapped or containerized razor clams in the refrigerator. It is advisable to store them in the coldest part of the fridge, such as the crisper drawer.
- Regularly check the clams for any signs of spoilage, such as an unpleasant odor or slimy texture. Use the clams within 2-3 days for the best quality and taste.
Freezing Razor Clams:
If you want to extend the shelf life of your razor clams, freezing is the ideal method. Follow these steps to freeze razor clams:
- Start by cleaning the razor clams thoroughly to remove any sand or debris.
- Blanch the cleaned clams by placing them in a pot of boiling water for 1-2 minutes. This blanching process helps preserve their flavor and texture.
- Remove the blanched clams from the boiling water and immediately transfer them to an ice bath. This stops the cooking process and helps retain their freshness.
- Once the clams have cooled down, drain and pat them dry with a clean kitchen towel or paper towels.
- Transfer the dried razor clams to an airtight container or a freezer bag, making sure to remove as much air as possible before sealing.
- Label the container or freezer bag with the date and place it in the freezer. Frozen razor clams can last up to three months.
When you’re ready to use the frozen razor clams, simply thaw them in the refrigerator overnight before cooking. Avoid thawing and refreezing the clams multiple times, as this can significantly affect their quality and texture.
It’s important to note that while freezing razor clams is a great way to preserve them, the texture may change slightly after thawing. Frozen razor clams are best used in recipes where their texture is less critical, such as in chowders, stews, or pasta dishes.
By following these storage methods, you can enjoy razor clams whenever you desire, whether it’s a spontaneous seafood dinner or a planned culinary masterpiece. Remember, fresh and well-stored razor clams are the key to creating delectable seafood dishes that will tantalize your taste buds.
Store razor clams in the refrigerator in a breathable container, such as a mesh bag or a bowl covered with a damp cloth. Keep them in the coldest part of the fridge and use within 1-2 days for the best quality.
Read more: How To Store Cooked Clams
Refrigerating Razor Clams
Refrigerating razor clams is a great option if you plan to use them within a few days. Proper storage in the refrigerator will help maintain their freshness and ensure that they are ready to be cooked whenever you’re ready to enjoy them.
Here’s a step-by-step guide on how to refrigerate razor clams:
- Start by rinsing the razor clams under cold running water to remove any sand or debris from the shells. Gently scrub the shells with a brush or your hands to ensure they are clean.
- Next, prepare a damp kitchen towel or damp paper towels. These will help keep the clams moist and prevent them from drying out in the refrigerator.
- Wrap the razor clams individually or in small groups with the damp towel. Alternatively, you can place them in a container lined with damp paper towels.
- Once wrapped or placed in a container, store the razor clams in the refrigerator. It’s best to keep them in the coldest part of the fridge, such as the crisper drawer.
- Be sure to check the clams regularly for any signs of spoilage, such as an unpleasant odor or slimy texture. Using the clams within 2-3 days will ensure the best quality and flavor.
By refrigerating razor clams, you extend their shelf life and maintain their freshness. This allows you to plan your meals ahead of time or have the flexibility to prepare them whenever the craving strikes.
When you’re ready to cook the refrigerated razor clams, gently unwrap them from the damp towel or remove them from the container. Rinse them one more time under cold water to remove any excess moisture and debris. They are now ready to be incorporated into your favorite razor clam recipes.
Keep in mind that razor clams are delicate, so handle them with care to avoid damaging their shells or meat. It’s also important to note that the longer you store the clams in the refrigerator, the more the quality and flavor may deteriorate. For the best results, it’s recommended to consume refrigerated razor clams within a few days of storing them.
Refrigerating razor clams is a convenient method to ensure that you always have fresh clams on hand, ready to be transformed into a delicious seafood dish. So, the next time you bring home a batch of razor clams, follow these steps to refrigerate them and enjoy the delectable flavors they have to offer.
Freezing Razor Clams
Freezing razor clams is an excellent option if you want to extend their shelf life and enjoy them at a later date. By properly freezing razor clams, you can preserve their flavor and texture, allowing you to enjoy them whenever you crave a taste of the sea. Follow these steps to freeze razor clams:
- Clean the razor clams by rinsing them under cold running water to remove any sand or debris. Gently scrub the shells to ensure they are thoroughly cleaned.
- Prepare a large pot of boiling water. Blanching the clams will help preserve their flavor and texture during freezing.
- Place the cleaned razor clams in the boiling water and let them cook for 1-2 minutes. The exact time may vary depending on the size and thickness of the clams, but the goal is to partially cook them.
- After blanching, remove the razor clams from the boiling water and immediately transfer them to an ice bath. This will stop the cooking process and cool them down quickly. Let them sit in the ice bath for a few minutes until they are completely cooled.
- Once cooled, drain the razor clams and pat them dry with a clean kitchen towel or paper towels. Removing as much moisture as possible will help prevent ice crystals from forming during the freezing process.
- Place the dried razor clams in an airtight container or a freezer bag. It’s recommended to use portion sizes that make sense for your future recipes.
- Before sealing the container or bag, remove as much air as possible to prevent freezer burn. You can use a vacuum sealer if available, or simply press out the air manually while sealing.
- Label the container or bag with the date of freezing to keep track of the clams’ storage time.
- Store the razor clams in the freezer. They can be stored for up to three months without significant loss of quality.
When you’re ready to use the frozen razor clams, simply remove the desired portion from the freezer and thaw them in the refrigerator overnight. It’s important to thaw them slowly to preserve their texture and flavor. Once thawed, the razor clams can be cooked according to your desired recipe.
It’s worth noting that freezing may slightly alter the texture of razor clams. Therefore, it’s best to use them in dishes where their texture is less critical, such as chowders, stews, or pasta dishes. The flavor, however, remains intact, allowing you to enjoy the unique taste of razor clams even after freezing.
By freezing razor clams, you can enjoy the bounty of the sea whenever you desire. Just make sure to properly package and label them to maintain their quality. So, the next time you come across a batch of fresh razor clams, consider freezing some for future culinary adventures.
How to Cook Razor Clams
Razor clams are a versatile and delicious seafood option, known for their sweet flavor and meaty texture. Whether you’re a seasoned chef or a beginner in the kitchen, here are some popular methods for cooking razor clams to help you make the most of these delectable creatures:
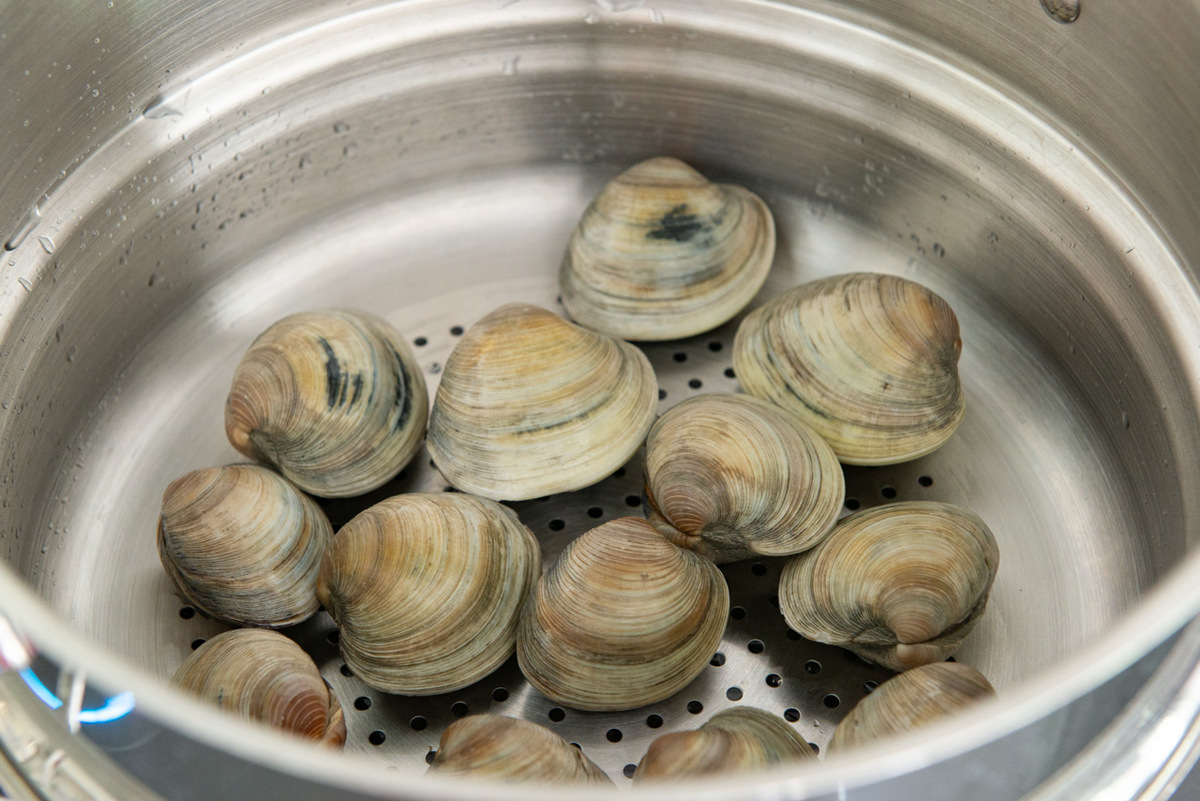
Steaming:
Steaming is a popular cooking method for razor clams as it retains their natural flavor and juiciness. Here’s how to steam razor clams:
- Start by cleaning the razor clams and removing any excess moisture from their shells.
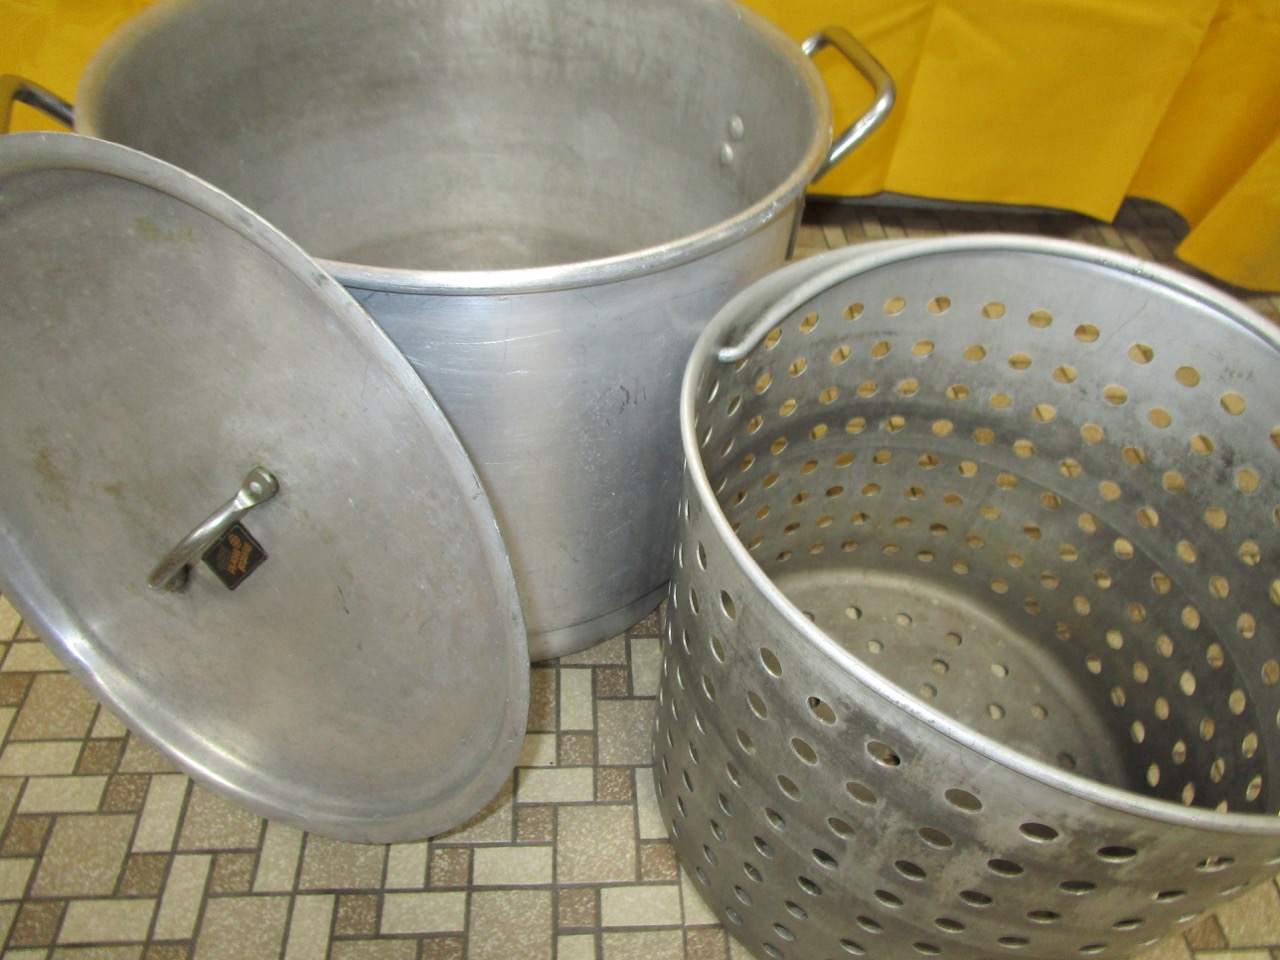
- Prepare a steamer or a large pot with a steamer basket. Add a couple of inches of water and bring it to a simmer.
- Arrange the razor clams on the steamer basket, making sure they are not overcrowded.
- Cover the steamer or pot and steam the clams for about 4-5 minutes or until their shells open.
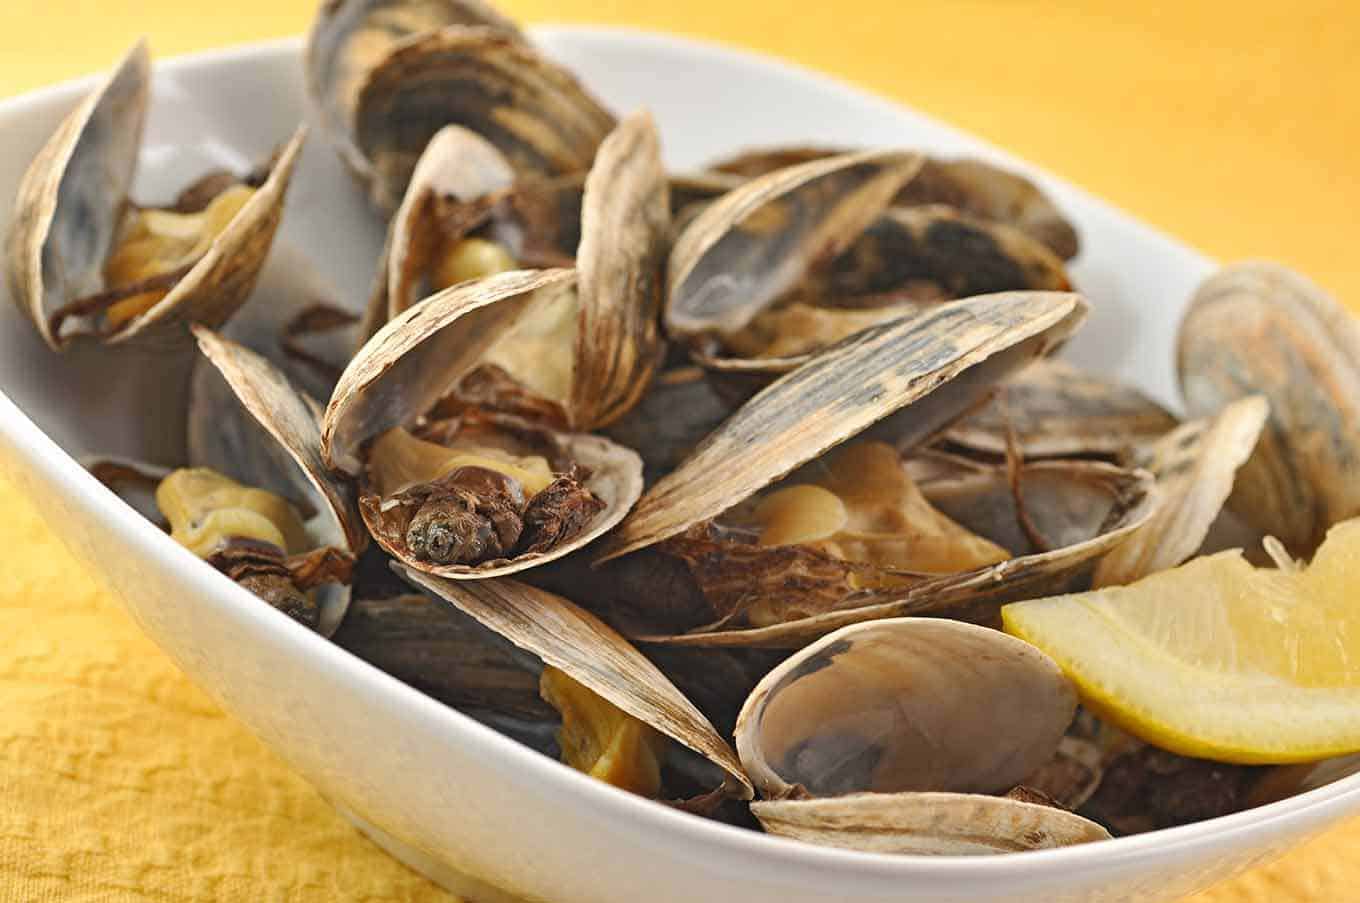
- Once the shells have opened, carefully remove the razor clams from the steamer.
- Serve the steamed razor clams with melted butter, a spritz of lemon juice, and your favorite seasonings.
Grilling:
Grilling razor clams imparts a smoky flavor and adds a delicious char to their tender flesh. Follow these steps to grill razor clams:
- Preheat your grill to medium-high heat.
- Clean the clams and lightly brush them with olive oil or melted butter.
- Place the razor clams directly on the grill grates and cook for about 2-3 minutes per side or until they are slightly charred and cooked through. Be careful not to overcook them, as they can become rubbery.
- Once grilled, remove the razor clams from the grill and serve them with your preferred accompaniments, such as a squeeze of fresh lemon, a drizzle of herb-infused oil, or a sprinkle of sea salt.
Frying:
Frying razor clams provides a crispy coating that pairs well with their tender meat. Here’s how to fry razor clams:
- Clean the razor clams and pat them dry with a paper towel.
- In a shallow dish, combine flour, breadcrumbs, or cornmeal with your favorite seasonings, such as paprika or garlic powder.
- Dip each razor clam into beaten egg, then coat it in the seasoned flour mixture, pressing lightly to adhere.
- In a deep skillet, heat vegetable oil or another frying oil over medium-high heat.
- Carefully add the breaded razor clams to the hot oil and cook for about 2-3 minutes per side until golden brown. Work in batches to avoid overcrowding the pan.
- Once fried, transfer the razor clams to a plate lined with paper towels to absorb any excess oil.
- Serve the crispy fried razor clams with tartar sauce, cocktail sauce, or a zesty aioli for dipping.
Feel free to experiment with different cooking methods and flavor combinations to suit your taste preferences. Razor clams are incredibly versatile and can be enjoyed in a variety of dishes, from chowders and pastas to stir-fries and ceviches.
Now that you know how to cook razor clams, unleash your culinary creativity and enjoy the unique flavors and textures these delicious clams have to offer. Bon appétit!
Tips for Handling and Cleaning Razor Clams
Handling and cleaning razor clams can seem like a daunting task, but with the right techniques and precautions, it can be a breeze. Here are some helpful tips to ensure safe and efficient handling and cleaning of razor clams:
1. Safety first:
When handling razor clams, it’s important to prioritize safety. Be cautious of the razor-sharp edges of their shells, as they can easily cut your fingers. Consider wearing protective gloves or using a clamming tool to handle them safely.
2. Proper cleaning:
Thoroughly cleaning razor clams is crucial to remove any sand, debris, or saltwater from their shells. Follow these steps to clean them effectively:
- Rinse the razor clams under cold running water to remove any loose sand or mud.
- Gently scrub the shells with a brush or your hands to remove any stubborn dirt or debris.
- Inspect each clam for any damaged or cracked shells. Discard any clams that are not tightly closed or show signs of spoilage.
- Soak the cleaned razor clams in a bowl of salted water or saline solution for around 20 minutes. This helps them expel any remaining sand or grit inside their shells.
- After soaking, rinse the clams one more time under cold water to remove any residue or particles.
3. Trimming the siphons:
Razor clams have long siphons that can be a bit unwieldy when handling or cooking. To make it easier, consider trimming the siphons to a more manageable length. Use a sharp knife or kitchen shears to carefully trim the siphons, leaving about an inch or two remaining.
4. Be mindful of freshness:
When handling razor clams, pay attention to their freshness. Select clams with tightly closed shells and a fresh, briny scent. Avoid clams with cracked or damaged shells, as well as those that do not close when tapped.
5. Storage and temperature:
If you’re not using razor clams immediately after cleaning, it’s important to store them properly to maintain their quality. Wrap them in a damp kitchen towel or place them in a container with a damp paper towel to keep them moist. Store them in the coldest part of the refrigerator or freeze them for longer-term storage.
6. Avoid overcooking:
Razor clams are delicate and can become tough and rubbery if overcooked. Keep a close eye on their cooking time to ensure they are cooked just until they are tender and no longer. Be especially mindful when steaming or grilling them, as they can cook quickly.
7. Embrace versatility:
Get creative with razor clams and experiment with various recipes and cooking methods. They can be enjoyed steamed, grilled, fried, or even incorporated into chowders, pastas, and stir-fries. Their versatility allows you to explore different flavors and textures.
8. Trust your senses:
Lastly, trust your senses when handling and cooking razor clams. If a clam has an off-putting odor, slimy texture, or appears spoiled, it’s best to discard it and not take any chances with food safety.
By following these tips for handling and cleaning razor clams, you can ensure an enjoyable and delicious experience with these delightful seafood treasures. So, roll up your sleeves, put on those gloves if needed, and get ready to savor the flavors of fresh and properly cleaned razor clams.
Frequently Asked Questions about How To Store Razor Clams
Was this page helpful?
At Storables.com, we guarantee accurate and reliable information. Our content, validated by Expert Board Contributors, is crafted following stringent Editorial Policies. We're committed to providing you with well-researched, expert-backed insights for all your informational needs.


0 thoughts on “How To Store Razor Clams”