Articles
How To Store Wood In Workshop
Modified: February 28, 2024
Learn the best techniques and tips for storing wood in your workshop with our informative articles. Keep your wood organized and in top condition for all your woodworking projects.
(Many of the links in this article redirect to a specific reviewed product. Your purchase of these products through affiliate links helps to generate commission for Storables.com, at no extra cost. Learn more)
Introduction
Welcome to the world of woodworking! Whether you are new to the craft or an experienced woodworker, one thing is certain – proper wood storage is essential for a successful workshop. The way you store your lumber can greatly impact its quality, durability, and usability over time. In this article, we will explore the importance of proper wood storage and provide you with valuable tips on how to store wood in your workshop effectively.
Proper wood storage not only helps you maintain the quality of your lumber but also ensures efficient use of space in your workshop. By organizing and storing your wood properly, you can easily locate the materials you need for your projects, saving you time and frustration.
Furthermore, keeping your wood properly stored extends its lifespan and reduces the risk of damage. Moisture, temperature fluctuations, and pests can wreak havoc on your lumber, leading to warping, splitting, and decay. By implementing the right storage techniques, you can protect your investment and preserve your wood for future projects.
Before we delve into the specifics of wood storage, it is crucial to address some key safety considerations. Wood can be heavy and cumbersome, so it’s important to ensure that your storage area is well-organized and free from any hazards. Clear pathways can prevent accidents and injuries while retrieving or moving lumber.
Key Takeaways:
- Proper wood storage is essential for maintaining the quality, usability, and longevity of lumber. Implementing effective storage techniques, prioritizing safety, and organizing wood can optimize workshop efficiency and protect your investment.
- Climate-controlled storage options, freestanding lumber racks, wall-mounted storage solutions, and vertical storage ideas are excellent choices for maximizing space utilization and keeping wood off the floor. Prioritizing safety, organization, and moisture prevention are key to maintaining a well-structured wood storage system.
Read more: How To Store Wood Scraps
Importance of Proper Wood Storage
Proper wood storage is essential for maintaining the quality and usability of your lumber. By implementing effective storage techniques, you can prevent damage and prolong the lifespan of your wood. Here are a few reasons why proper wood storage is important:
- Preserving Wood Quality: Wood is a natural material that can be sensitive to external factors such as moisture, temperature, and pests. Improper storage can lead to warping, twisting, and decay, rendering your wood unusable for projects. By storing your wood in a controlled environment, you can preserve its quality and ensure that it remains stable and straight.
- Preventing Damage: Wood is susceptible to damage from various sources, including moisture, insects, and physical impact. Storing your wood in a way that protects it from these hazards is vital. Moisture can cause wood to swell or warp, making it difficult to work with. Insects, such as termites, can infest and weaken the wood, leading to structural issues. Proper storage minimizes these risks and keeps your wood in optimal condition.
- Optimizing Workshop Efficiency: A well-organized wood storage system allows you to easily locate the specific materials you need for your projects. Instead of wasting time searching through piles of lumber, you can efficiently access the necessary pieces and keep your workflow smooth. This not only saves time but also increases productivity in your workshop.
- Maximizing Space Utilization: Wood takes up a significant amount of space in a workshop. Proper storage techniques help maximize the use of available space by utilizing vertical storage options, racks, and wall-mounted solutions. By keeping your wood neatly organized, you can create a more spacious and clutter-free workshop environment.
With the importance of proper wood storage established, let’s now explore some safety considerations that should be taken into account when setting up your wood storage area.
Safety Considerations
When it comes to wood storage, safety should always be a top priority. Here are some essential safety considerations to keep in mind:
- Clear Pathways: Ensure that there are clear pathways in your workshop, especially around your wood storage area. This will prevent accidents and potential injuries when retrieving or moving lumber. Keep the floors free from tools, debris, or any other obstacles that may pose a tripping hazard.
- Heavy Lifting: Wood can be heavy, especially in larger quantities or when dealing with hardwoods. Use proper lifting techniques to avoid strains or back injuries. When lifting heavy pieces, enlist the help of a partner or use appropriate lifting equipment such as dollies or hand trucks.
- Secure Storage: Make sure that the storage solutions you choose are sturdy and secure. Avoid overloading shelves or racks, as this can lead to collapse or accidents. If using wall-mounted storage, ensure that brackets or hooks are properly anchored to the wall and can support the weight of your wood.
- Fire Safety: Wood is a combustible material, so fire safety precautions are essential. Store your wood away from potential ignition sources such as open flames, electrical outlets, or overheating equipment. Additionally, consider installing smoke detectors and fire extinguishers near your wood storage area for added safety.
- Proper Ventilation: Wood can release dust and fumes that may be harmful when inhaled. Ensure that your workshop has adequate ventilation to minimize the accumulation of airborne particles. Consider using dust collection systems or wearing appropriate respiratory protection when working with wood.
- Tool Safety: Keep your tools organized and safely stored to avoid accidents. Sharp blades, saws, and other cutting tools should be stored in a secure location or sheathed when not in use. Always follow manufacturer guidelines for storing and handling tools to reduce the risk of injury.
By taking these safety considerations into account, you can create a secure and hazard-free wood storage area in your workshop.
Climate-Controlled Storage Options
One of the best ways to protect your wood from the damaging effects of moisture and temperature fluctuations is by utilizing climate-controlled storage options. Here are a few options to consider:
- Climate-Controlled Room: If you have the space and resources, setting up a dedicated climate-controlled room in your workshop is an excellent option. This allows you to maintain a consistent temperature and humidity level, providing optimal conditions for storing your wood. Use a hygrometer to monitor the humidity and a dehumidifier or humidifier to adjust the levels as needed.
- Dehumidifier: If you live in a humid climate or have recurring moisture issues in your workshop, investing in a dehumidifier is a wise choice. Dehumidifiers help remove excess moisture from the air, keeping your wood dry and stable. Place it near your wood storage area to effectively control humidity levels.
- Air Conditioner: In areas with high temperatures, an air conditioner can help regulate the temperature and keep it within an optimal range. This prevents the wood from expanding or contracting excessively, reducing the risk of warping or cracking. Ensure that the air conditioner is properly sized for your workshop to maintain a consistent temperature.
- Insulated Storage Cabinets: Insulated storage cabinets are an excellent option for protecting smaller quantities of wood. They provide a controlled environment, shielding your wood from extreme temperature fluctuations. Look for cabinets with airtight seals to prevent outside air from affecting the interior environment.
Remember, climate-controlled storage options are especially crucial for delicate or high-value wood such as exotic hardwoods or specialty lumber. By investing in these options, you can ensure that your wood remains stable, preventing damage and preserving its quality.
Wood Rack Options
A wood rack is an essential storage tool in any workshop. It allows you to keep your lumber organized, easily accessible, and off the floor, reducing the risk of damage. Here are a few wood rack options to consider:
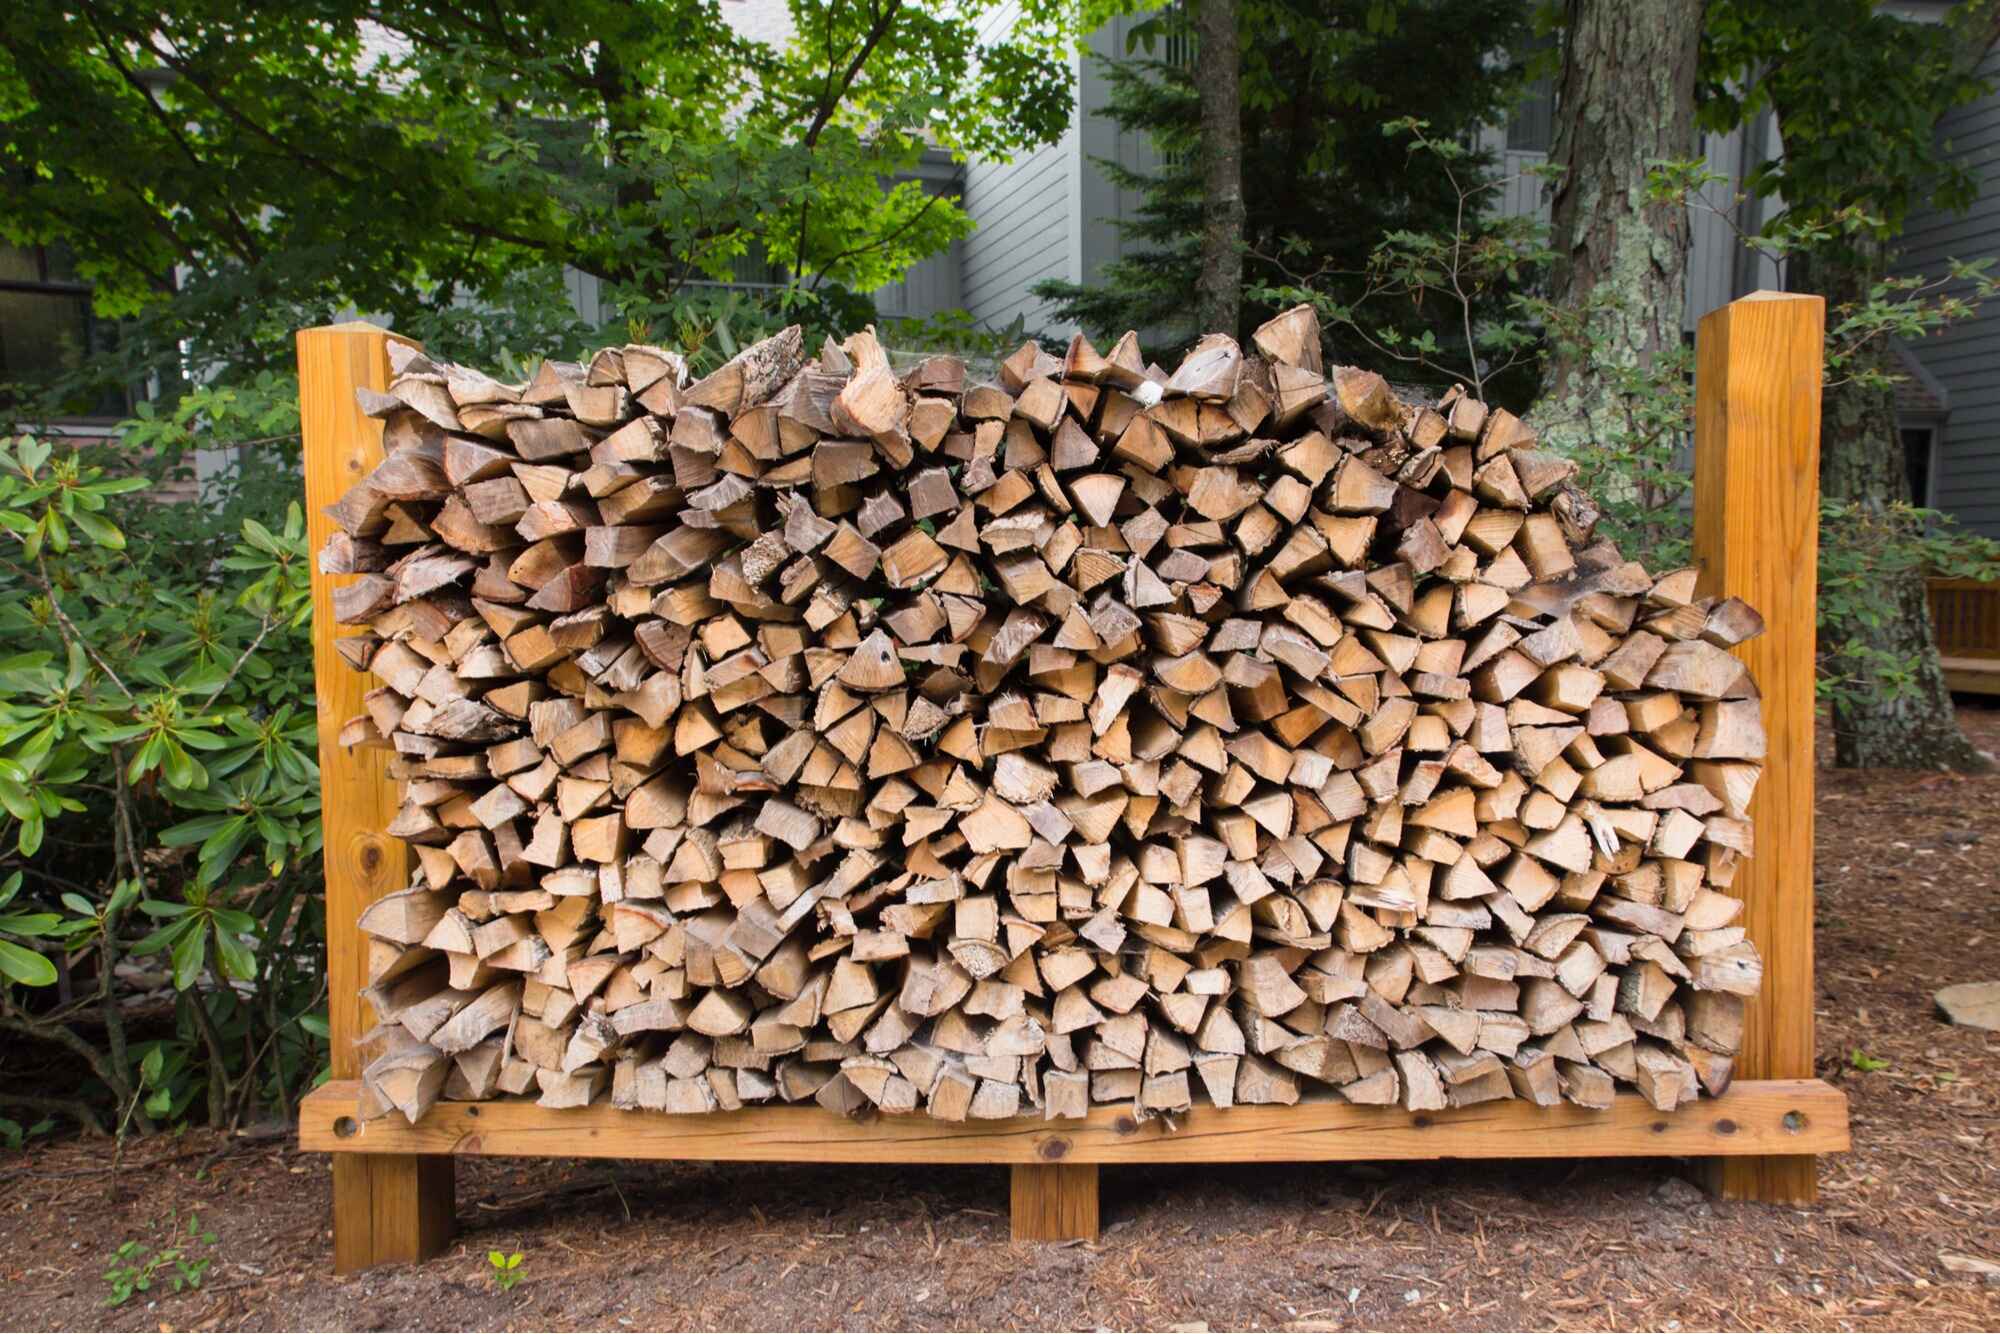
- Freestanding Lumber Rack: A freestanding lumber rack is a popular choice for storing boards and long pieces of wood. It typically consists of vertical support beams with horizontal arms that hold the wood. Look for racks made of sturdy materials such as steel or heavy-duty wood, capable of supporting the weight of your lumber.
- Rolling Lumber Cart: If you need mobility in your workshop, a rolling lumber cart is a versatile option. It allows you to move your wood around easily, making it convenient for projects that require frequent access to different types or sizes of lumber. Look for carts with adjustable shelves to accommodate various lengths of wood.
- Lumber Storage Bin: For storing smaller pieces of wood or offcuts, a lumber storage bin can be a space-saving solution. These bins often have dividers or compartments to keep the wood organized and prevent pieces from getting mixed up. Consider labeling the compartments with wood species or dimensions for easy identification.
- Cantilever Rack: Cantilever racks are ideal for storing long, heavy wood pieces, such as plywood or lumber. They have sturdy arms that extend outward, providing ample support without the need for vertical posts in the front. This allows for easy access to the wood and efficient use of space.
When selecting a wood rack, consider your specific storage needs, available space in your workshop, and the weight and size of your lumber. Ensure that the rack is properly installed and secure to prevent accidents and damage. Remember to evenly distribute the weight of your wood across the rack to maintain stability.
Now let’s explore some wall-mounted storage solutions for storing wood in your workshop.
Read more: How To Store A Cord Of Wood
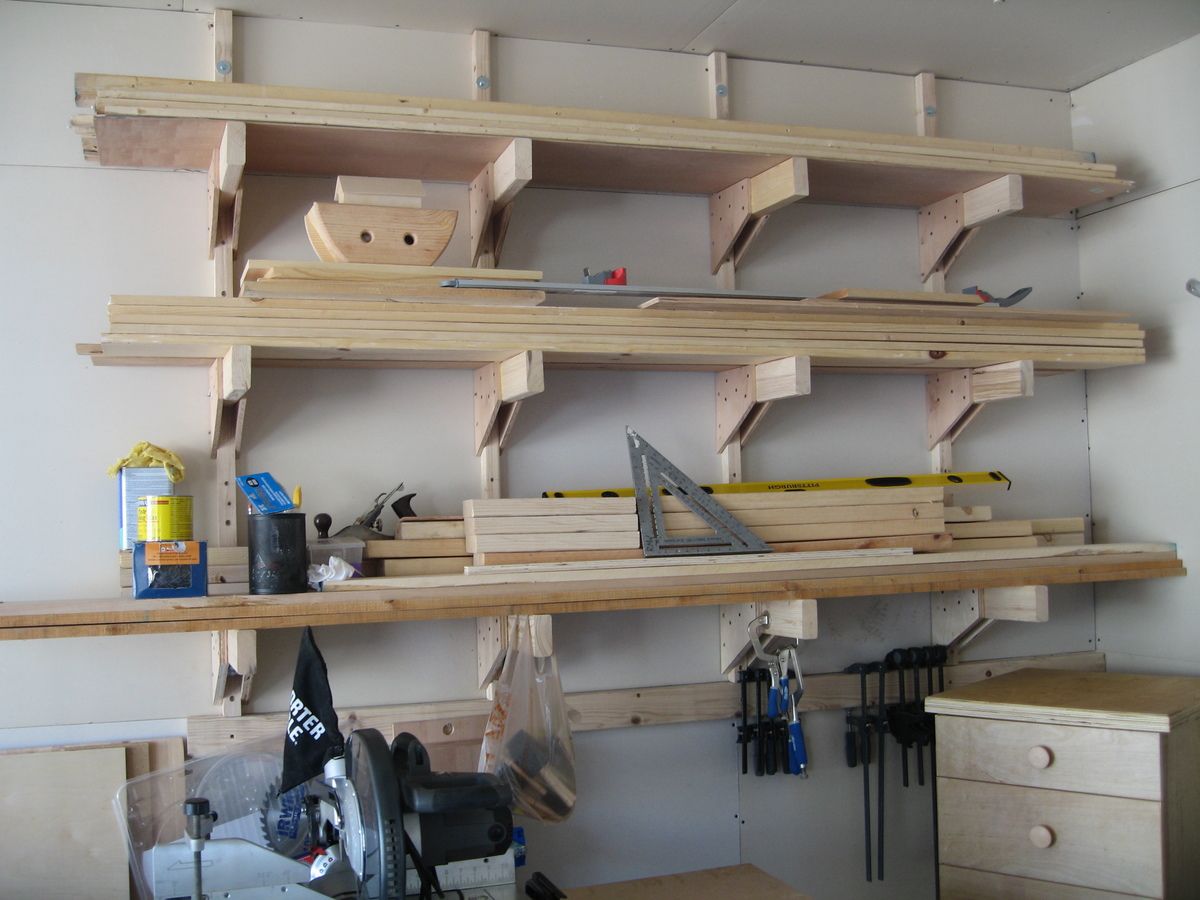
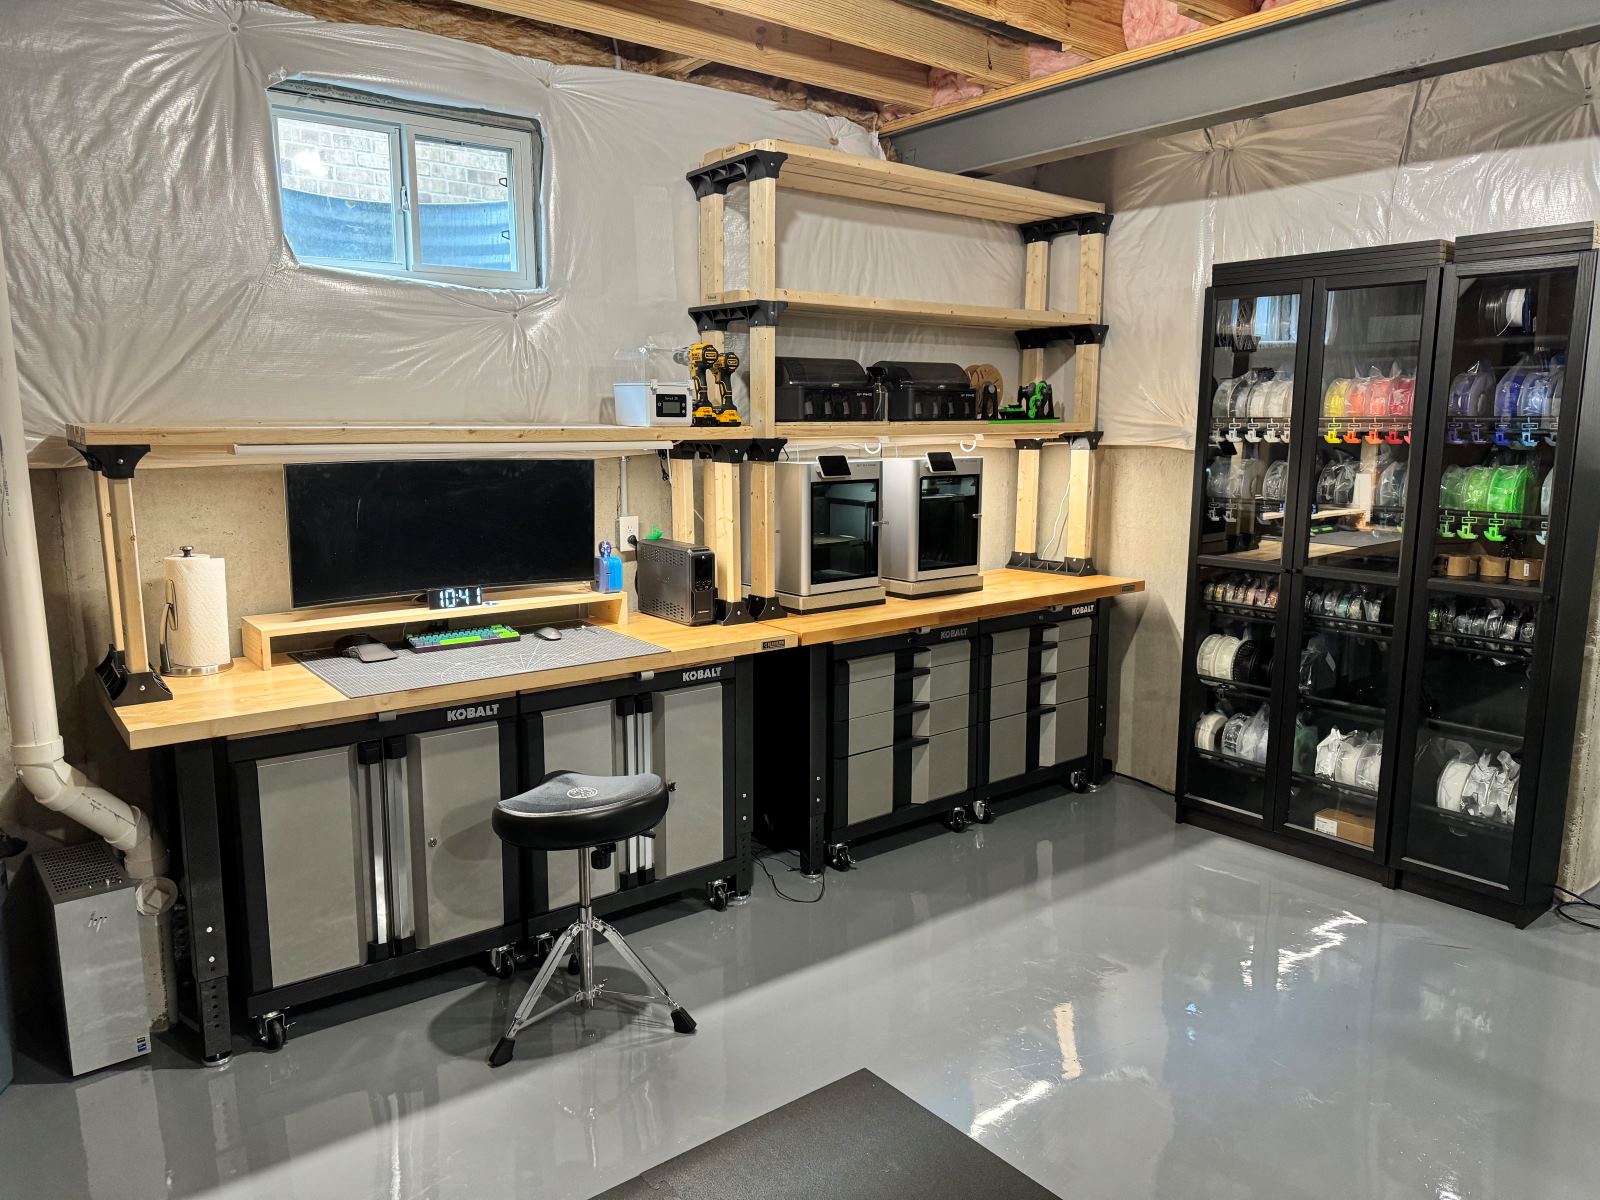
Wall-Mounted Storage Solutions
When space is limited in your workshop, utilizing wall-mounted storage solutions can be a practical and efficient way to store your wood. Here are some popular options:
- Wall-Mounted Shelf: A simple and cost-effective option is to install wall-mounted shelves specifically designed for wood storage. These shelves can be easily customized to fit your needs, allowing you to adjust the height and spacing between the shelves. Make sure to use sturdy brackets or wall anchors to support the weight of your wood.
- Pegboard Storage: Pegboards are versatile and provide a great opportunity for customizable storage. Install a pegboard on your workshop wall and add hooks or brackets to hold your wood pieces. You can easily rearrange the hooks or brackets to accommodate different sizes of wood or to provide additional space for tools or accessories.
- Vertical Lumber Storage: Utilize the vertical space in your workshop by installing vertical storage options. Vertical storage racks or brackets can hold lumber pieces vertically against the wall. This saves valuable floor space and allows for easy access to the wood. Consider using bungee cords or straps to secure the lumber in place.
- Sliding Panel System: A sliding panel system is a great space-saving solution for smaller workshops. These systems have multiple panels that can be attached to the wall and slide horizontally to reveal or hide storage compartments. Use the panels to store your wood vertically, making it easily accessible when needed.
When installing wall-mounted storage solutions, ensure that the wall is structurally sound and can support the weight of your wood. Use appropriate mounting hardware and follow manufacturer instructions for installation. Keeping your wood off the floor and properly organized on the walls not only maximizes space but also reduces the risk of damage or accidents.
In the next section, we will discuss vertical storage ideas to further optimize your wood storage in the workshop.
Store wood in a workshop by keeping it off the ground to prevent moisture damage. Use racks or shelves to organize and store wood by size and type for easy access.
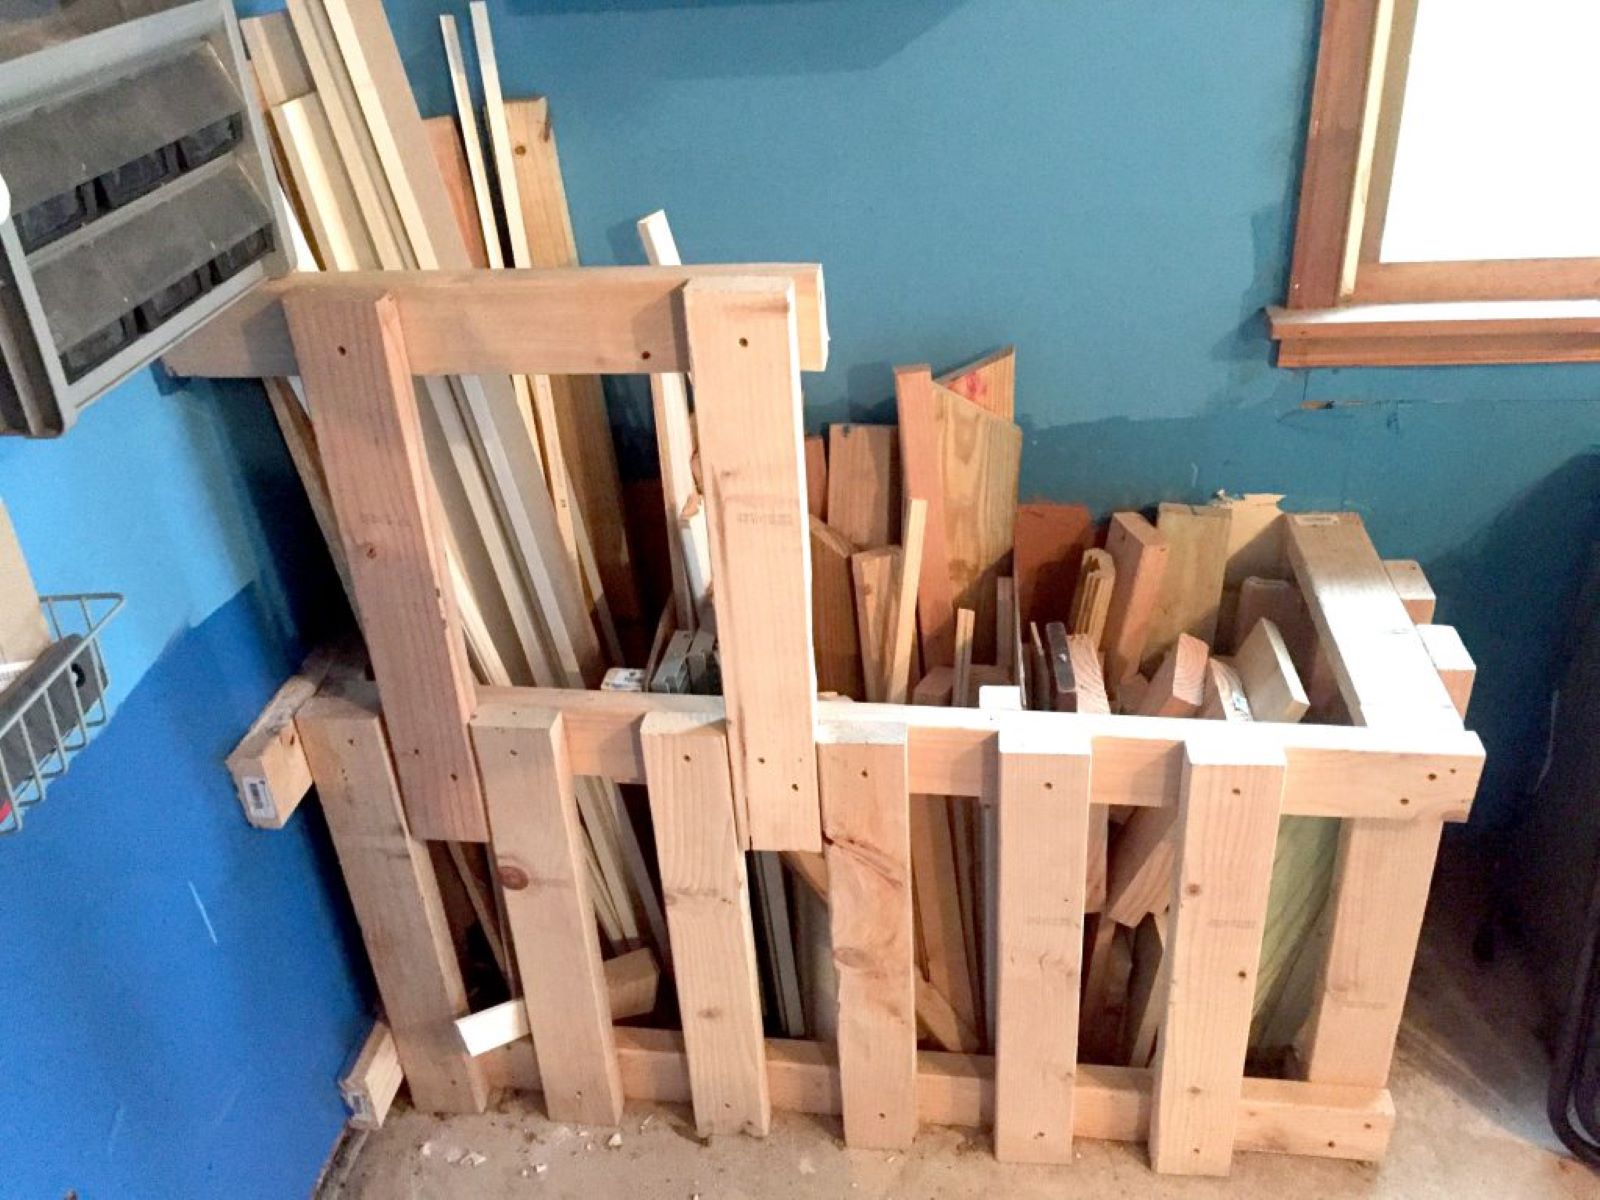
Vertical Storage Ideas
Vertical storage is a great way to make the most of your workshop space while keeping your wood easily accessible. Here are some vertical storage ideas to consider:
- Vertical Lumber Rack: A vertical lumber rack is a space-efficient solution for storing long boards or lumber. This rack typically consists of slots or dividers that can hold multiple pieces of wood vertically. You can build your own rack using plywood or purchase pre-made vertical lumber racks from hardware stores.
- Hanging Wall Storage: Utilize the vertical space on your workshop walls by installing hooks or racks to hang your wood. You can hang pieces of wood by their edges or use straps or bungee cords to secure them. This method works well for smaller pieces of wood or offcuts.
- Overhead Storage: If you have high ceilings in your workshop, consider utilizing overhead storage options. Install ceiling-mounted storage racks or shelves to store long pieces of wood or plywood overhead. This keeps the wood out of the way but still easily accessible when needed.
- Vertical Drawers or Cabinets: Vertical drawers or cabinets can be a convenient storage solution for smaller pieces of wood or woodworking accessories. These drawers or cabinets can be installed against the wall and have multiple compartments or shelves to keep your wood organized and easily accessible.
When utilizing vertical storage, ensure that the racks or hooks are securely fastened to the wall or ceiling. Distribute the weight of the wood evenly to maintain stability and prevent any potential accidents. Additionally, consider labeling your wood storage to easily identify different types of wood or dimensions.
Now that we have explored different storage solutions, let’s move on to some tips for organizing and labeling your wood to keep your workshop neat and efficient.
Tips for Organizing and Labeling Wood
Organizing and labeling your wood is essential for maintaining an efficient workshop and easily locating the materials you need. Here are some helpful tips to keep your wood storage area well-organized:
- Categorize by Wood Type: Group your wood by type or species. This makes it easier to locate specific materials for your projects. Use labels or tags to identify the different types of wood and organize them accordingly.
- Sort by Dimension: Organize your wood by size or dimension. Separate shorter pieces from longer ones and stack them accordingly. This allows for easy access and prevents the need to dig through piles of wood to find the right size for your project.
- Keep Offcuts Separated: Instead of mixing offcuts with your full-sized lumber, keep them separated in a designated area. This makes it easier to find smaller pieces for smaller projects or to use as practice materials.
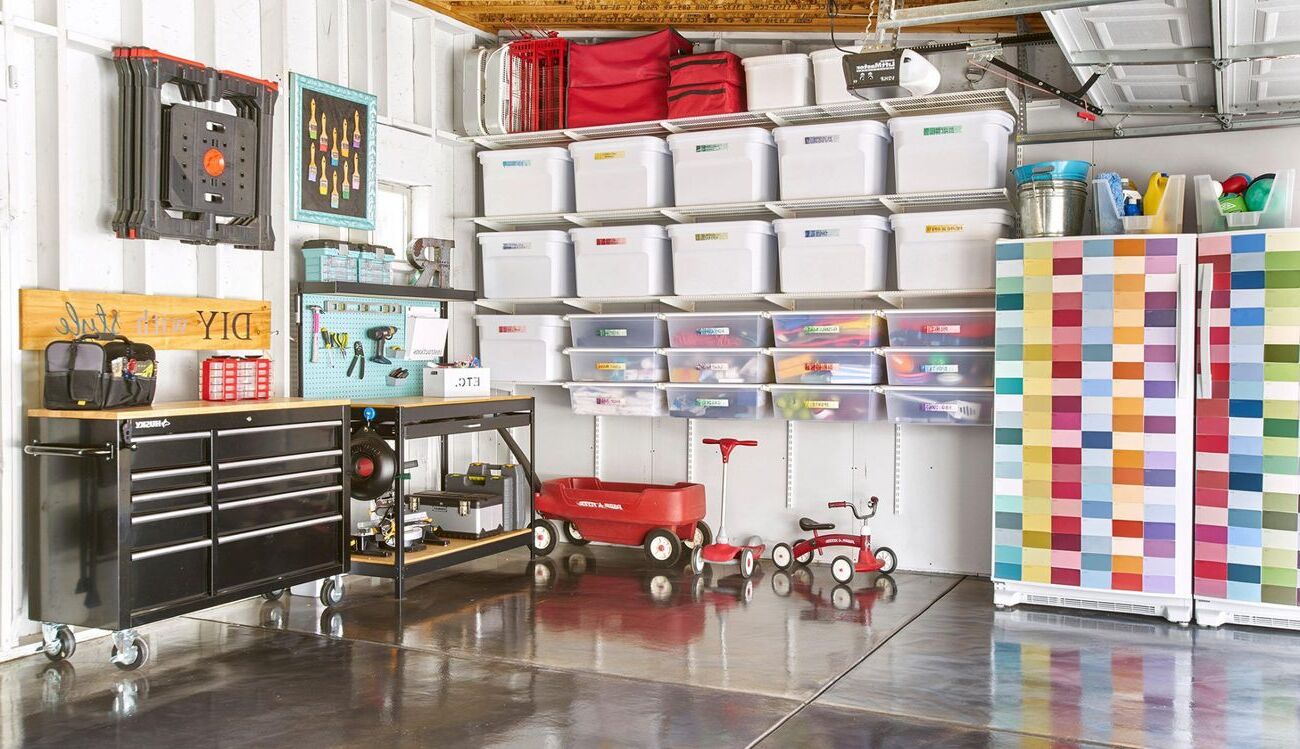
- Label Storage Containers: If you’re using bins, shelves, or drawers, label them clearly. This eliminates confusion and ensures that each container is used for its designated purpose. Labels can include information such as wood type, dimensions, and any specific characteristics of the wood.
- Use Color Coding: Consider implementing a color coding system to further enhance organization. Assign different colored labels or tags to wood of different types, dimensions, or project deadlines. This visual cue makes it quick and easy to identify materials at a glance.
- Implement a Tracking System: For larger workshops or commercial wood storage, consider implementing a tracking system. This could involve using inventory management software or creating a spreadsheet to keep track of your wood inventory, including quantities, types, and locations within your storage area.
By implementing these organizing and labeling tips, you’ll create a well-structured wood storage system that enhances productivity and saves valuable time during your woodworking projects.
Now, let’s move on to the topic of preventing moisture damage to your stored wood.
Preventing Moisture Damage
Moisture is one of the biggest threats to the quality and durability of stored wood. Excessive moisture can lead to warping, decay, and mold growth. Here are some tips to help prevent moisture damage to your wood:
- Choose an Optimal Storage Location: Select a storage area in your workshop that is away from sources of moisture, such as windows, doors, or plumbing fixtures. Ideally, the area should be well-ventilated and have good air circulation to prevent condensation.
- Use Moisture Barriers: Consider using moisture barriers such as plastic sheeting or tarps between the stored wood and any concrete or ground surfaces. This helps prevent moisture from seeping into the wood from below.
- Elevate the Wood: Keep your wood elevated off the floor to minimize contact with any potential moisture. Use pallets, racks, or other supports to create a barrier between the wood and the floor. This allows for better airflow and helps in keeping the wood dry.
- Monitor Humidity Levels: Use a hygrometer to monitor the humidity levels in your wood storage area. Ideally, the humidity should be maintained between 30% and 50% to prevent excessive moisture absorption by the wood. Consider using dehumidifiers or humidifiers to regulate humidity levels if necessary.
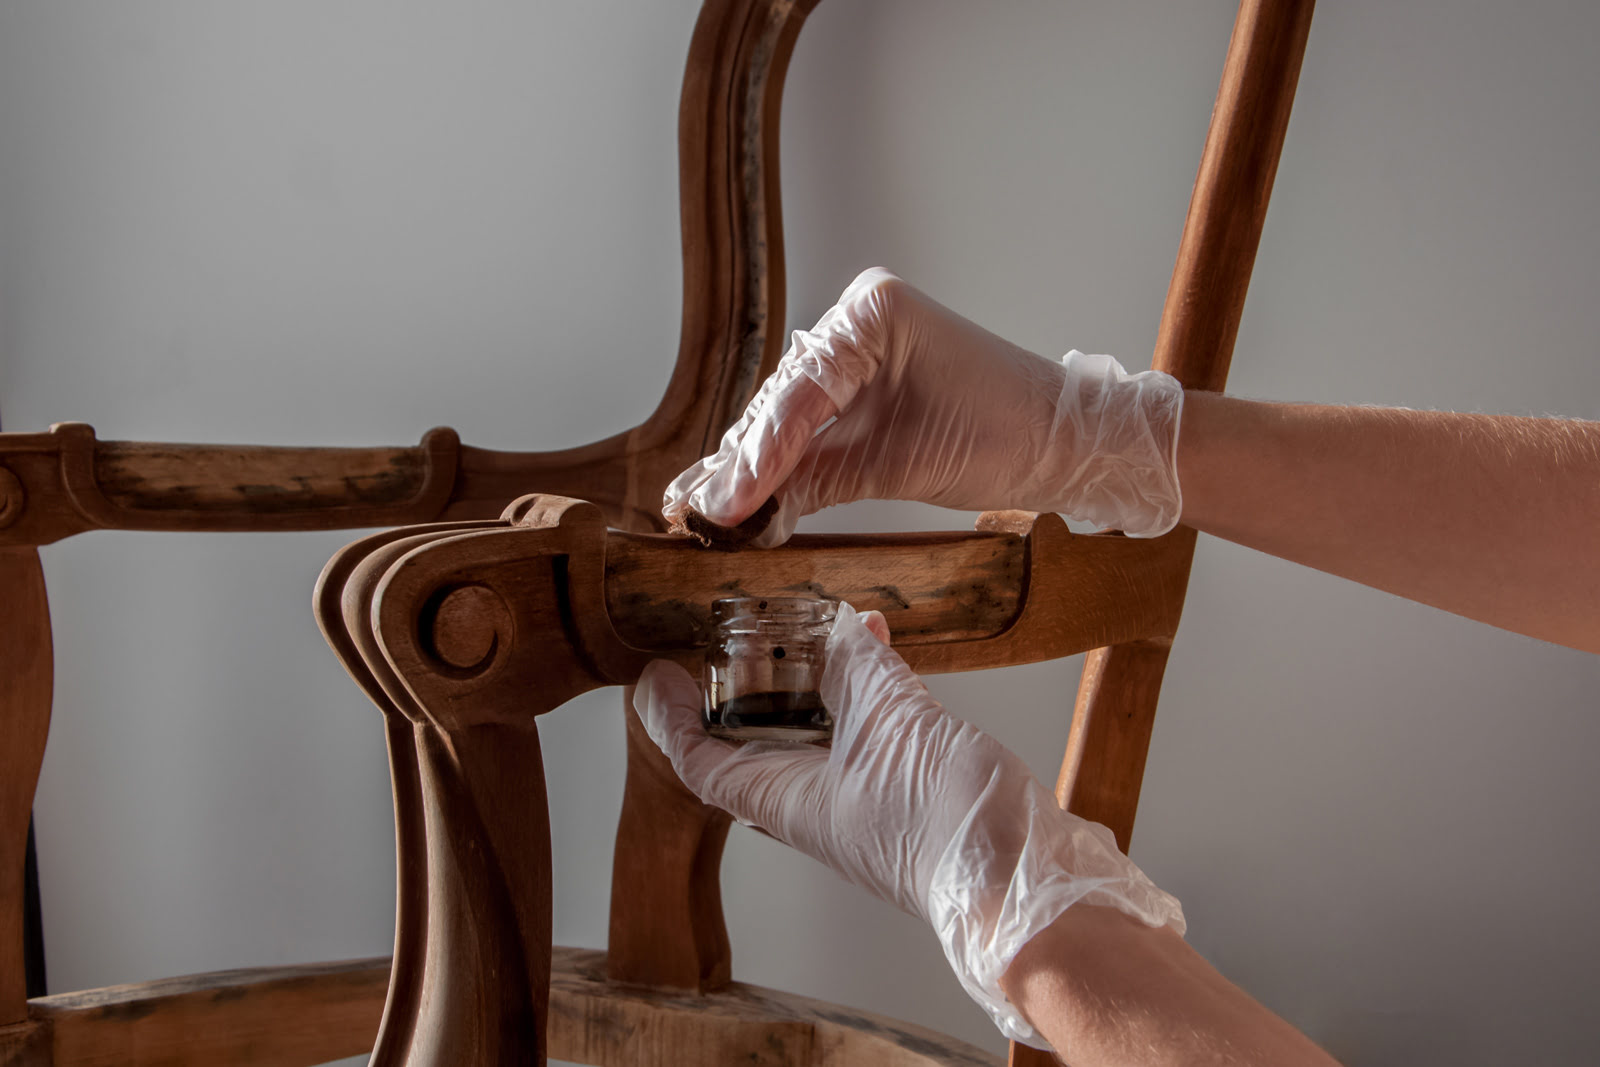
- Dry Wood Properly: If you have recently acquired wood that is damp or contains high moisture content, it is crucial to dry it properly before storing it. Avoid storing wet or freshly cut wood, as it increases the risk of mold growth and decay. Allow the wood to air dry in a well-ventilated area until its moisture content reaches an acceptable level.
- Inspect for Leaks: Regularly inspect your workshop for any leaks or sources of water ingress. This includes checking for roof leaks, faulty plumbing, or any other potential sources of water that could damage your stored wood. Address any issues promptly to prevent water damage.
By implementing these preventive measures, you can protect your stored wood from moisture damage and ensure that it remains in optimal condition for your woodworking projects.
Now, let’s discuss some tips for storing smaller wood pieces effectively.
Read more: How To Store Wood Stain
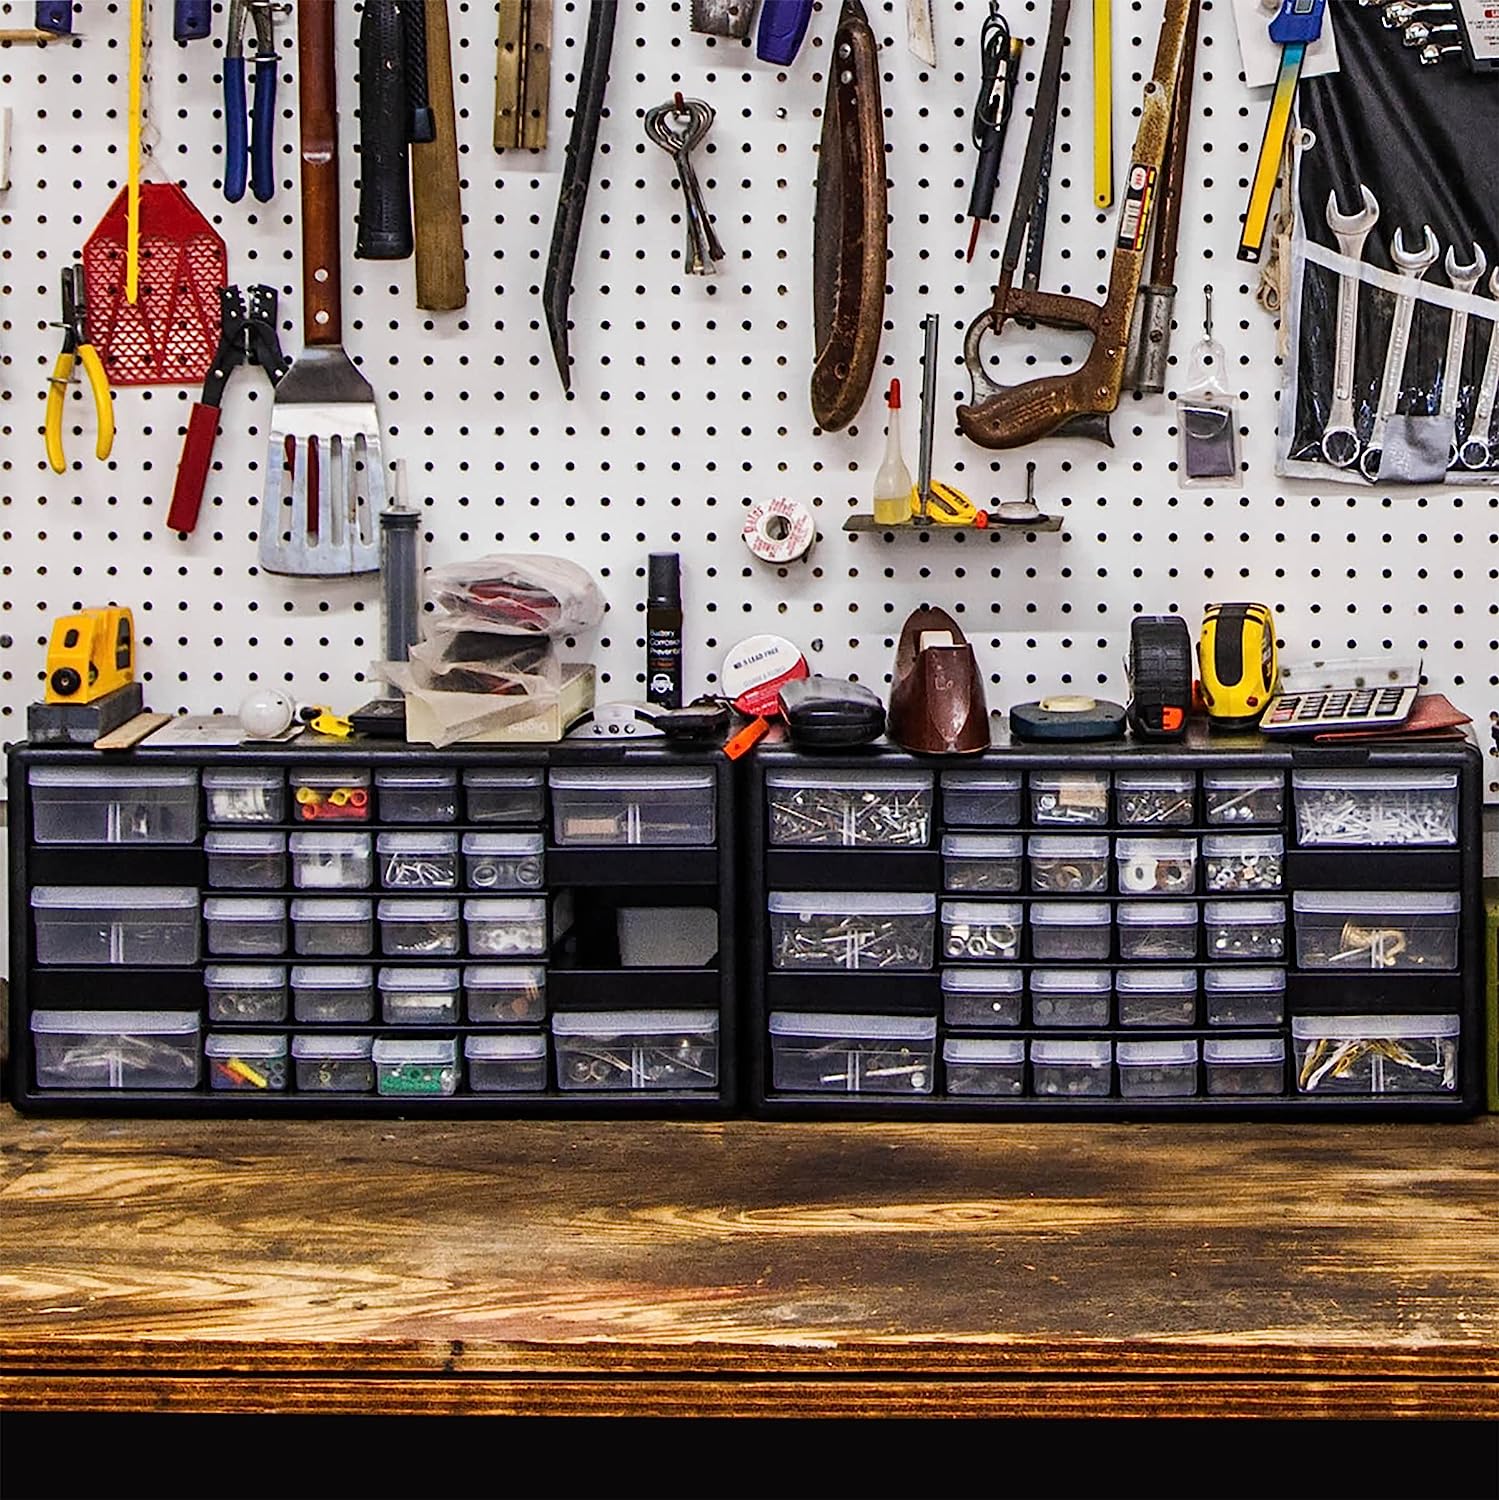
Storing Smaller Wood Pieces
Storing smaller wood pieces can be a challenge due to their size and tendency to get easily misplaced. However, with the right organization and storage techniques, you can keep them readily accessible and in good condition. Here are some tips for storing smaller wood pieces:
- Use Storage Bins or Drawers: Invest in storage bins or drawers with compartments specifically designed for small wood pieces. These can help keep your wood organized and prevent them from getting mixed up or lost among larger pieces. Label each compartment with the dimension or type of wood for easy identification.
- Utilize Clear Containers: Opt for clear containers or transparent plastic bags for storing small wood pieces. This allows you to easily see the contents without having to open each container, saving time and effort when searching for specific pieces.
- Create Dividers or Compartments: If you prefer a DIY solution, create dividers or compartments within larger bins or drawers. You can use plywood, cardboard, or foam dividers to separate the small wood pieces, preventing them from rubbing against each other and causing damage.
- Hang Small Pieces: For small, thin, or delicate wood pieces, consider hanging them using hooks or pegboard hooks. This method not only saves space but also prevents the risk of damage from being stacked or stored in bins with heavier pieces. Ensure that the hooks are appropriately spaced to avoid overcrowding.
- Organize by Size or Type: Sort your small wood pieces by size or type. Having separate containers or sections for different dimensions or species of wood makes it easier to find what you need. You can stack the containers or arrange them in a drawer system for efficient use of space.
- Consider Magnetic Strips: Magnetic strips or bars can be attached to the walls or inside cabinet doors to store small wood pieces. The magnetic surface securely holds the wood, keeping them easily accessible while saving space. This method works particularly well for thin or flat wood pieces.
By implementing these storage tips, you’ll keep your smaller wood pieces organized, protected, and easily accessible for your woodworking projects.
Now that we’ve covered tips for storing smaller wood pieces, let’s summarize the importance of proper wood storage in the workshop.
Conclusion
Proper wood storage is crucial for maintaining the quality, usability, and longevity of your lumber. By implementing effective storage techniques in your workshop, you can prevent damage from moisture, pests, and physical impact. Proper organization and labeling of your wood ensure easy access and streamlined workflow during your woodworking projects.
Start by considering climate-controlled storage options, such as a dedicated room or using dehumidifiers and air conditioners, to maintain optimal humidity and temperature levels. Freestanding lumber racks, wall-mounted storage solutions, and vertical storage ideas are excellent choices to maximize space utilization and keep your wood off the floor.
Remember to prioritize safety by ensuring clear pathways, using proper lifting techniques, and securing storage solutions. Fire safety precautions and proper ventilation are also essential considerations for a safe woodworking environment.
Organization and labeling play a significant role in a well-structured wood storage system. Categorizing and sorting wood by type and dimension, utilizing color-coding, and implementing a tracking system if needed, all enhance efficiency and ease of access.
To prevent moisture damage, choose an optimal storage location, elevate the wood off the floor, and monitor humidity levels. Take steps to dry the wood properly and address any potential sources of leaks or excess moisture in your workshop.
For storing smaller wood pieces, use designated bins or drawers, clear containers for visibility, and create dividers or compartments to prevent mixing. Hanging small pieces, organizing by size or type, and utilizing magnetic strips are other effective methods for efficient storage.
In conclusion, by implementing proper wood storage techniques, you can protect your investment, optimize workshop efficiency, and ensure that your wood remains in optimal condition for your woodworking projects. Take the time to organize, label, and maintain a safe and well-structured wood storage area in your workshop, and you’ll have easy access to high-quality wood whenever you need it.
Frequently Asked Questions about How To Store Wood In Workshop
Was this page helpful?
At Storables.com, we guarantee accurate and reliable information. Our content, validated by Expert Board Contributors, is crafted following stringent Editorial Policies. We're committed to providing you with well-researched, expert-backed insights for all your informational needs.


0 thoughts on “How To Store Wood In Workshop”