Articles
How To Clean Wood Vanity
Modified: August 22, 2024
Discover the best articles on how to clean your wood vanity. Learn effective tips and techniques to maintain the beauty and longevity of your vanity.
(Many of the links in this article redirect to a specific reviewed product. Your purchase of these products through affiliate links helps to generate commission for Storables.com, at no extra cost. Learn more)
Introduction
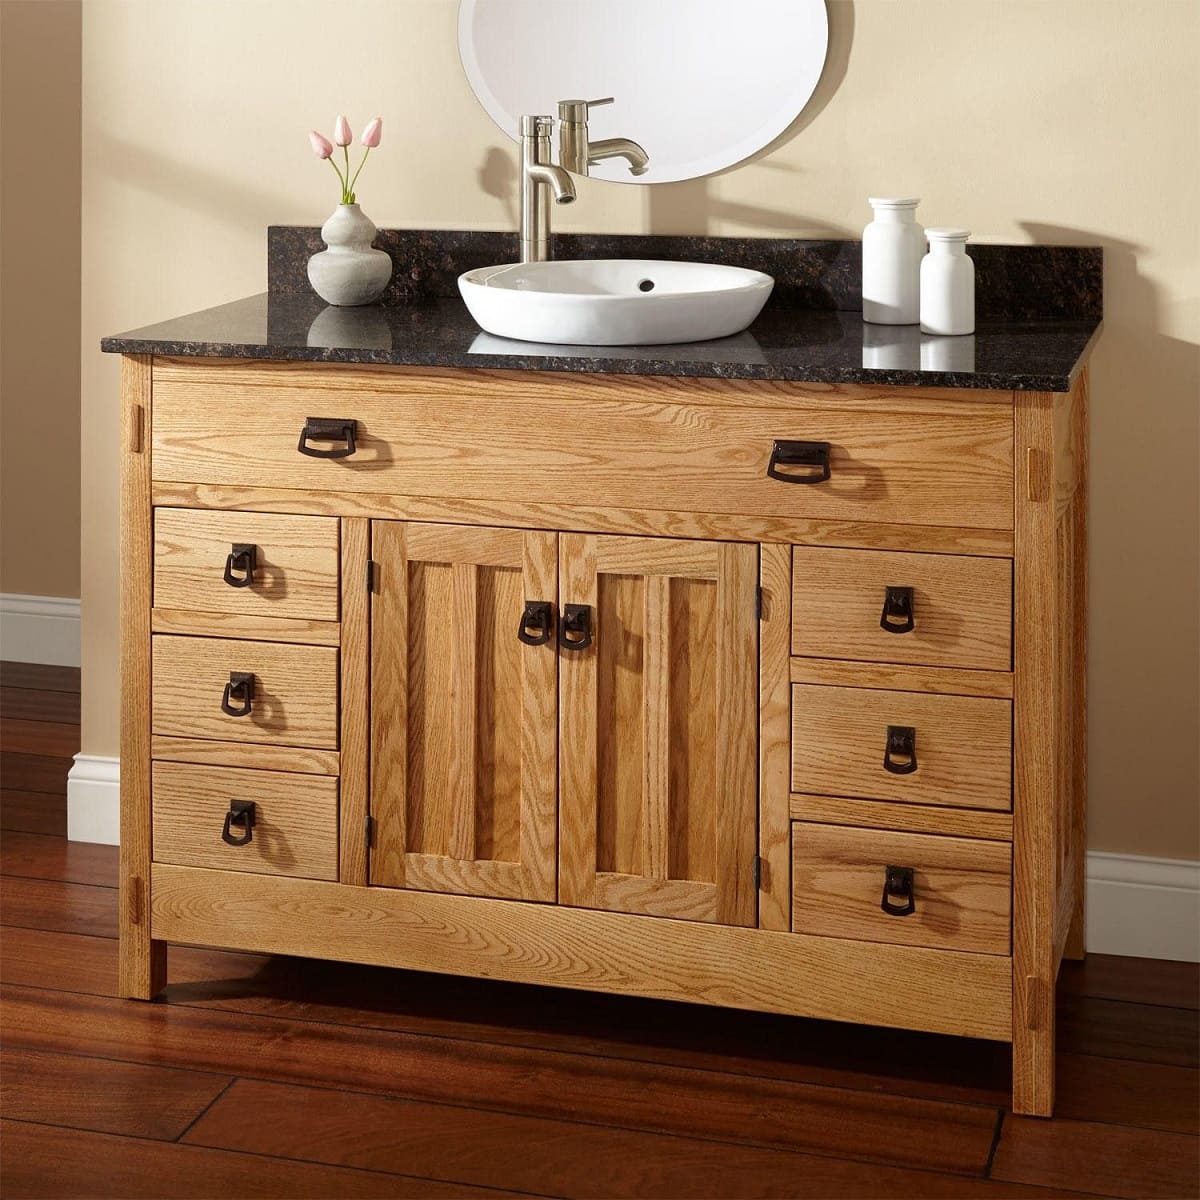
Having a wood vanity in your bathroom adds a touch of elegance and warmth to the space. However, like any other piece of furniture, it requires regular cleaning and maintenance to keep it looking its best. By following a few simple steps and using the right supplies, you can ensure that your wood vanity remains clean, shiny, and free from damage.
Cleaning a wood vanity involves a different approach compared to other surfaces, as you need to be mindful of the wood’s delicate nature. Using harsh chemicals or abrasive scrubbers can lead to scratches, discoloration, or even warping. That’s why it’s important to have a proper cleaning routine in place that will not only remove dirt and grime but also protect and extend the life of your wood vanity.
In this article, we will guide you through the step-by-step process of cleaning a wood vanity, from removing items to reorganizing and restocking the vanity once it’s clean. Whether your vanity is made of oak, mahogany, maple, or any other type of wood, this guide will help you keep it looking beautiful for years to come.
Key Takeaways:
- Properly cleaning and maintaining a wood vanity involves removing items, dusting, using a wood-safe cleaner, treating stubborn stains, conditioning the wood, polishing, and reorganizing. Regular care ensures the vanity remains beautiful and protected for years to come.
- Gathering the right supplies, such as a mild wood-safe cleaner, soft microfiber cloth, and olive oil or wood conditioner, is crucial for effectively cleaning a wood vanity. Following a step-by-step cleaning routine helps protect the wood’s natural beauty and longevity.
Read more: How To Clean Wood Siding
Supplies Needed
Before you begin cleaning your wood vanity, gather the following supplies:
- Mild wood-safe cleaner
- Soft microfiber cloth
- Cotton swabs
- Distilled water
- Vinegar (optional)
- Olive oil or wood conditioner
- Soft-bristled brush or toothbrush
- Lint-free cloth
- Old newspaper or paper towels
It’s crucial to use a mild wood-safe cleaner specifically designed for cleaning wooden surfaces. Avoid using harsh chemicals or multi-purpose cleaners as they can damage the wood’s finish and cause discoloration. Additionally, make sure to have a soft microfiber cloth for dusting and wiping down the vanity, and cotton swabs for reaching into intricate corners or crevices.
If your wood vanity has stubborn stains or watermarks, distilled water and vinegar can be used as a natural cleaning solution. Mix equal parts distilled water and vinegar and apply it to the stained area with a soft cloth or sponge. However, always test this mixture on a small, inconspicuous area of the vanity first to ensure it doesn’t cause any damage.
To condition the wood and restore its natural luster, you’ll need olive oil or a wood conditioner. These products help nourish the wood and prevent it from drying out or becoming dull over time. For detailing or reaching tight spots, a soft-bristled brush or toothbrush can be handy. Finally, have a lint-free cloth, old newspaper, or paper towels on hand for drying and polishing purposes.
Now that you have all the necessary supplies ready, let’s get started on cleaning your wood vanity!
Step 1: Removing Items from the Vanity
Before you begin cleaning your wood vanity, it’s crucial to remove all items from the surface. This includes toiletries, makeup, brushes, and any other personal care products that may be cluttering the vanity.
Clearing the vanity not only allows you to clean every nook and cranny effectively but also prevents any products from getting damaged or stained during the cleaning process.
Start by organizing your items into separate categories. Group toiletries together, separate brushes and combs, and keep makeup products in their designated area. This will make it easier to put everything back once the vanity is clean.
If possible, find an alternate storage space to temporarily place your items. This can be a nearby shelf, a basket, or even a tabletop. Ensure that the temporary storage area is clean and dry to prevent any cross-contamination.
Once all items have been removed, take a moment to assess the condition of the wood vanity. Look for any areas that need extra attention, such as stains, watermarks, or dust buildup. This will help you determine which cleaning methods to focus on in the following steps.
Now that the vanity is clear of any items, you can proceed to the next step of the cleaning process: dusting and wiping down the surface.
Step 2: Dusting and Wiping Down the Surface
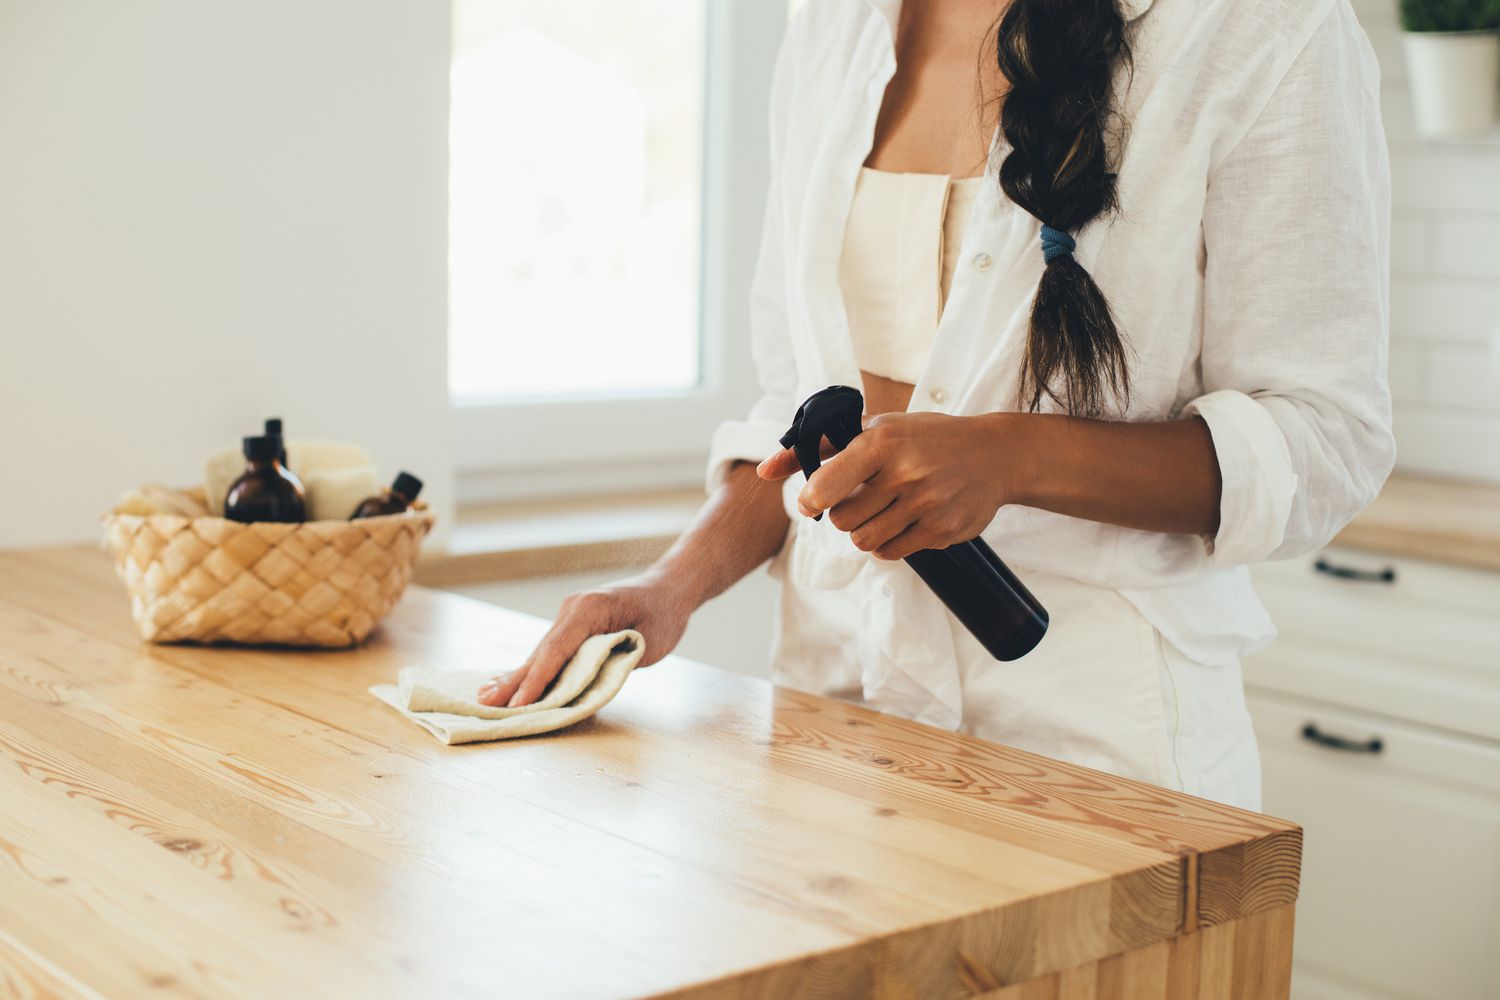
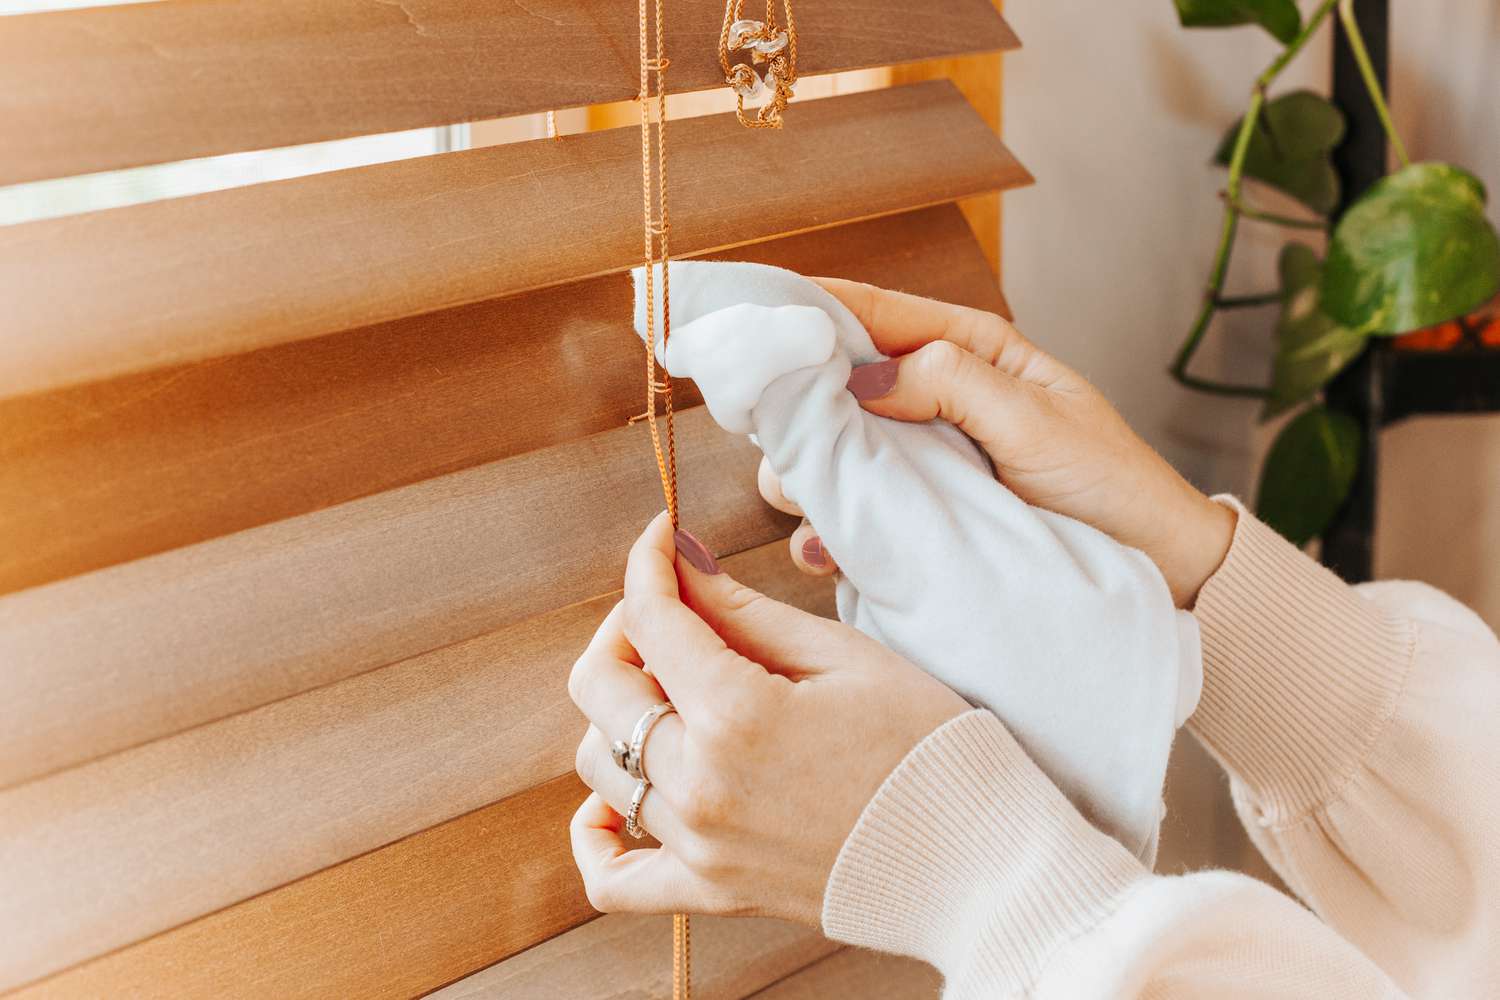
Now that you have cleared the items from your wood vanity, it’s time to start the cleaning process by dusting and wiping down the surface. Dust and debris can accumulate on the wood, diminishing its natural beauty and luster. By removing this layer of dust, you’ll create a clean canvas to work with.
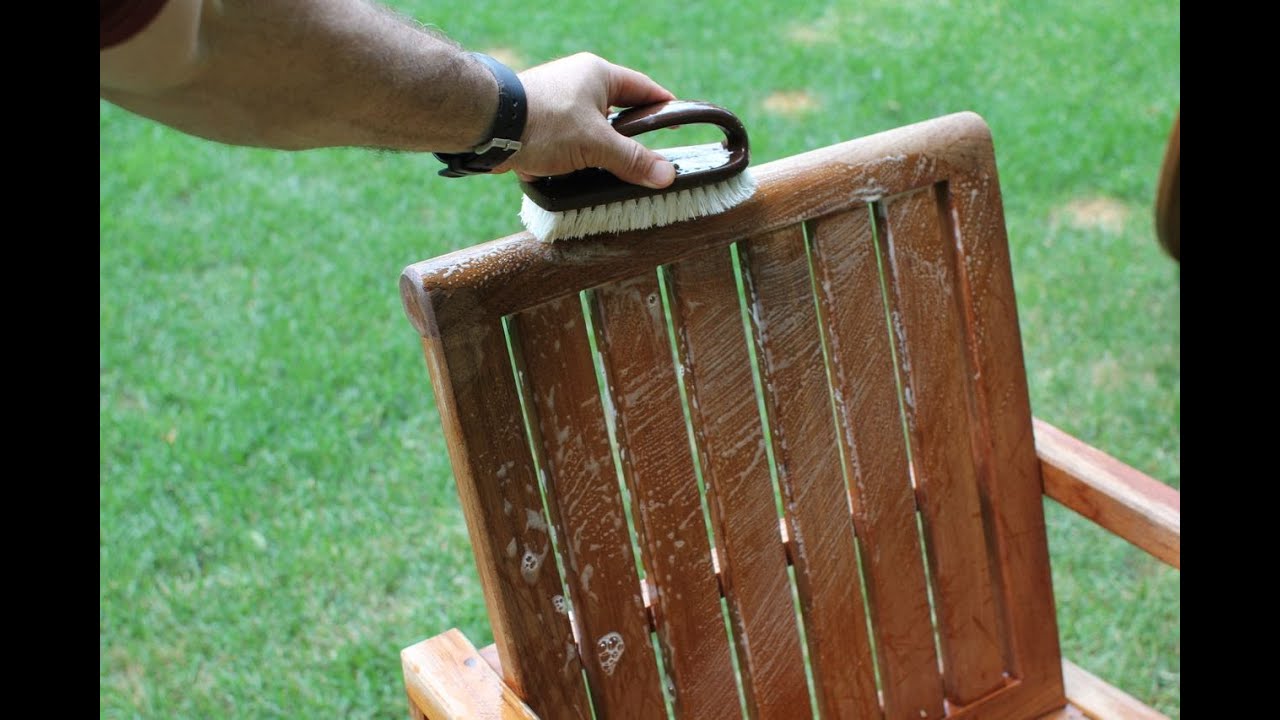
Start by using a soft microfiber cloth to gently wipe away any loose dust from the vanity. Move the cloth in a circular motion to capture the dust particles effectively. Pay close attention to corners, edges, and crevices where dust tends to build up. If there are any intricate carvings or grooves, use a soft-bristled brush or toothbrush to loosen and remove the dust.
Next, dampen the microfiber cloth with a small amount of water or a wood-safe cleaner. Remember, using too much liquid can damage the wood, so be sure to wring out any excess moisture from the cloth. Wipe down the entire surface of the vanity, including the top, sides, and drawers. Again, work in circular motions to ensure thorough cleaning.
If you encounter any sticky residue or tough spots, use a cotton swab dipped in a wood-safe cleaner to spot clean those areas. Gently rub the affected area with the cotton swab until the residue is removed.
Once you have wiped down the entire surface, use a dry microfiber cloth to ensure that no moisture remains. This step is crucial to prevent any water damage to the wood. Dry the wood thoroughly, paying attention to any crevices or corners where moisture may be trapped.
By dusting and wiping down the surface, you have successfully removed dirt and dust, laying the foundation for a deeper clean in the next steps. Now, let’s move on to cleaning the wood vanity with a wood-safe cleaner in Step 3.
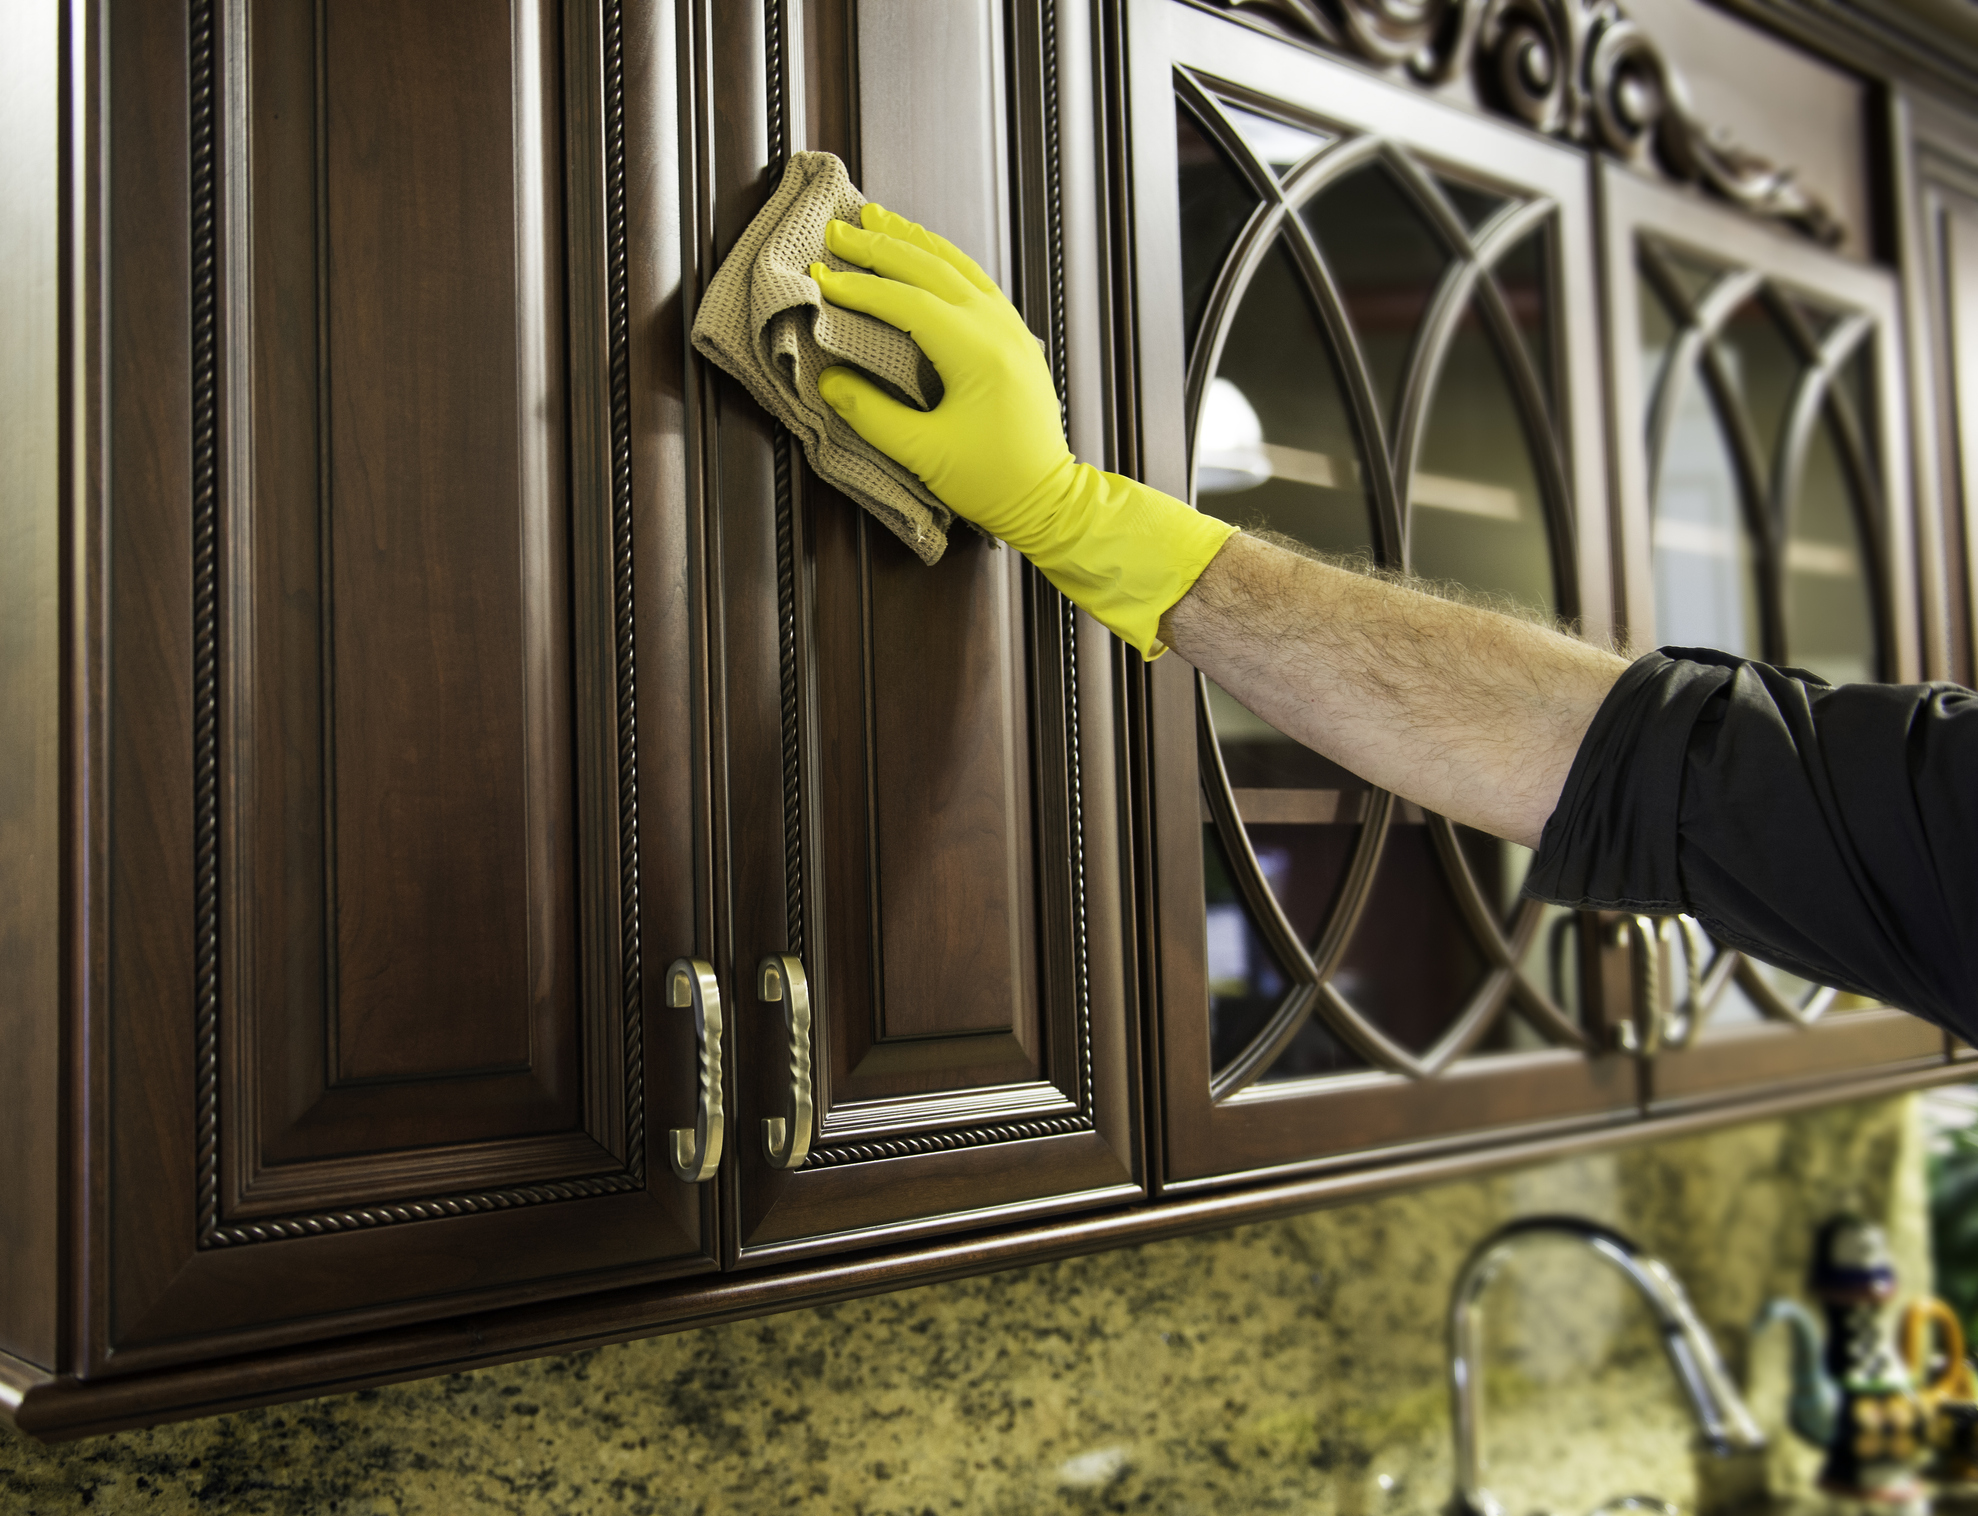
Step 3: Cleaning with Wood-Safe Cleaner
Now that you have dusted and wiped down the surface of your wood vanity, it’s time to proceed to the next step: cleaning with a wood-safe cleaner. Choosing the right cleaner is crucial to ensure that you don’t harm the wood’s finish or cause any discoloration.
Using a mild, wood-safe cleaner specifically designed for wooden surfaces, dampen a soft microfiber cloth or sponge with the cleaner. Make sure to read the manufacturer’s instructions on the cleaner and follow them accordingly.
Starting from the top of the vanity, work your way down, cleaning each section of the surface. Use gentle, circular motions to apply the cleaner evenly across the wood. Pay special attention to areas that may have accumulated dirt or grime, such as around handles or in corners.
If your wood vanity has any intricate carvings or crevices, use a soft-bristled brush or toothbrush dipped in the wood-safe cleaner to clean those hard-to-reach areas thoroughly. The bristles of the brush will help dislodge any dirt or buildup without scratching the wood.
Remember, less is more when it comes to using cleaning solution on wood. Avoid saturating the wood with excessive amounts of cleaner, as this can damage the finish or seep into the wood grain. If necessary, dampen the cloth or sponge with small amounts of cleaner as you go along.
Once you have cleaned the entire surface, use a clean, dampened cloth to wipe away any residue from the cleaner. Make sure to thoroughly rinse the cloth and wring out any excess water to prevent oversaturation of the wood.
After cleaning, dry the vanity with a dry microfiber cloth to remove any remaining moisture. This step is essential to prevent water damage or warping of the wood.
By cleaning your wood vanity with a wood-safe cleaner, you have effectively removed dirt, grime, and any surface-level stains. However, if there are stubborn stains or watermarks that require extra attention, proceed to Step 4: treating stubborn stains.
To clean a wood vanity, mix a solution of mild soap and warm water. Use a soft cloth to wipe down the vanity, then dry it immediately to prevent water damage. Avoid using harsh chemicals or abrasive cleaners that can damage the wood finish.
Read more: How To Clean Marble Vanity Top
Step 4: Treating Stubborn Stains
Despite your best efforts, there may be stubborn stains or watermarks that require more than just a general clean. In Step 4, we will focus on treating these stubborn stains and bringing the wood vanity back to its original beauty.
If there are stains on your wood vanity, start by identifying the type of stain you’re dealing with. Common stains include water rings, makeup stains, ink marks, or food and beverage spills.
For water rings or light stains, a simple mixture of equal parts distilled water and white vinegar can work wonders. Dampen a soft cloth with this solution and gently rub the affected area in circular motions. Be sure to test this mixture on a small, inconspicuous area first, as vinegar can sometimes cause discoloration on certain types of wood.
If the stain is more stubborn, you can try using a commercial wood stain remover. Follow the product’s instructions carefully and apply the stain remover to a clean cloth. Gently rub the stain in circular motions until it begins to lift. Remember to test the stain remover on a small area of the vanity first to ensure it doesn’t cause any damage or discoloration.
If you’re dealing with an ink mark or food stain, rubbing alcohol can be effective. Dampen a cotton swab with a small amount of rubbing alcohol and gently dab the stain. Avoid rubbing too forcefully, as this can spread the stain or damage the wood’s finish.
For more severe or deep stains that do not respond to the above methods, it may be necessary to hire a professional wood furniture refinisher or seek advice from a wood care specialist. They can assess the situation and provide guidance on the best course of action to remove the stubborn stain without causing further damage.
Once you have successfully treated the stubborn stains, proceed to Step 5: conditioning the wood to replenish its natural moisture and shine.
Step 5: Conditioning the Wood
After treating any stubborn stains on your wood vanity, it’s important to replenish the wood’s natural moisture and protect it from drying out. Step 5 focuses on conditioning the wood, which not only enhances its appearance but also helps to prolong its lifespan.
To condition the wood, you have several options. One popular choice is to use olive oil, which is a natural and cost-effective way to nourish the wood. Alternatively, you can use a commercial wood conditioner specifically designed for use on furniture.
Before applying any conditioner, ensure that the surface of the vanity is clean and dry. Use a soft microfiber cloth to apply a small amount of olive oil or wood conditioner onto the cloth. Start by rubbing the cloth onto a small, inconspicuous area to ensure that it does not cause any adverse reactions or discoloration on the wood.
Once you have tested the conditioner, gently rub it onto the entire surface of the wood vanity. Use circular motions to distribute the conditioner evenly across the wood, paying extra attention to any areas that may be more susceptible to drying, such as the corners or edges.
Allow the conditioner to penetrate the wood for the recommended amount of time specified by the product instructions. This typically ranges from a few minutes to overnight, depending on the specific product. During this time, the wood will absorb the moisturizing properties of the conditioner, restoring its natural glow.
After the allotted time, use a clean, lint-free cloth to buff away any excess conditioner. This step ensures that the vanity is left with a smooth and polished finish. Avoid leaving any excess conditioner on the wood, as this can lead to a sticky or oily residue.
By conditioning the wood regularly, you not only protect it from drying out but also enhance its natural beauty. It’s recommended to condition your wood vanity every few months or as needed, depending on the condition and usage of the furniture.
Now that you have conditioned the wood, it’s time to move on to Step 6: polishing the vanity to give it a final touch of shine.
Step 6: Polishing the Vanity
After cleaning and conditioning your wood vanity, Step 6 involves polishing the surface to give it a final touch of shine and protection. Polishing helps to remove any remaining residue and provides a protective layer that enhances the wood’s natural beauty.
For polishing, you have a few options available. One option is to use a commercial wood polish specifically designed for furniture. Another option is to create a homemade polish using ingredients such as lemon oil or beeswax.
If using a commercial wood polish, follow the manufacturer’s instructions for application. Typically, you would apply a small amount of polish onto a soft, lint-free cloth and gently rub it onto the wood surface using circular motions. Allow the polish to dry according to the instructions, and then buff the surface with a clean cloth until it shines.
If opting for a homemade polish, mix together equal parts of lemon oil and mineral oil or melt beeswax and mix it with a carrier oil like olive oil. Apply a small amount of the mixture onto a clean cloth and rub it onto the wood surface using circular motions. Allow the polish to dry, and then buff the surface with a clean cloth to achieve a beautiful shine.
During the polishing process, be sure to focus on each section of the vanity, including the top, sides, and drawers. Pay attention to any intricate details or carvings, as these areas can benefit from the added protection and shine.
Polishing your wood vanity not only enhances its appearance but also adds a layer of protection against everyday wear and tear. Regular polishing can help to prevent scratches, water spots, and fading, ensuring that your vanity maintains its beauty over time.
Now that your wood vanity is polished and shining, it’s time to move on to the final step: Step 7, which involves reorganizing and restocking the vanity.
Step 7: Reorganizing and Restocking the Vanity
Congratulations! You have successfully cleaned, conditioned, and polished your wood vanity. Now it’s time to put everything back together and enjoy the refreshed and organized space.
Start by reorganizing your items and placing them back onto the vanity. Before doing so, take the opportunity to declutter and get rid of any unnecessary items. This will help keep your vanity neat and tidy.
Group similar items together and assign specific areas for each category. For example, designate a spot for skincare products, makeup, hair accessories, and toiletries. Using dividers or small storage containers can help keep everything organized and easily accessible.
Utilize the drawers and cabinets of your vanity to maximize storage. Consider using drawer dividers or small storage bins to keep items separated and prevent them from becoming jumbled together.
Make sure to wipe down any items that were removed from the vanity before placing them back. This will help maintain cleanliness and prevent any residue from transferring onto the newly cleaned surface.
As you restock your vanity, take the opportunity to assess the usability and condition of your items. Consider discarding expired or unused products and replacing any worn-out or damaged items.
Once everything is reorganized and restocked, take a moment to appreciate the refreshed and revitalized look of your wood vanity. Admire its shine, cleanliness, and the orderliness of the items on display.
Maintaining a regular cleaning and organizing routine will help you keep your wood vanity looking its best for years to come. Schedule periodic deep cleans, and don’t forget to dust and wipe down the surface regularly to prevent the buildup of dirt and dust.
By following these steps, you have successfully completed the process of cleaning and maintaining your wood vanity. Enjoy the beauty and warmth it adds to your bathroom, and bask in the satisfaction of a job well done!
That concludes our guide on how to clean a wood vanity. We hope you found this article helpful, and we wish you the best in keeping your wood vanity in pristine condition.
Read more: How To Clean Wood Stairs
Conclusion
Maintaining a wood vanity in your bathroom requires a combination of regular cleaning, proper care, and attention to detail. By following the steps outlined in this guide, you can ensure that your wood vanity remains clean, beautiful, and protected for years to come.
Remember to gather the necessary supplies, including a mild wood-safe cleaner, soft microfiber cloth, cotton swabs, distilled water, vinegar (optional), olive oil or wood conditioner, a soft-bristled brush or toothbrush, lint-free cloth, and old newspaper or paper towels.
Start by removing all items from the vanity, allowing you to clean every nook and cranny effectively. Dust and wipe down the surface using a soft cloth, and then proceed to clean with a wood-safe cleaner using gentle circular motions.
For treating stubborn stains, identify the type of stain and use the appropriate method such as a vinegar-water solution, wood stain removers, or rubbing alcohol. Conditioning the wood is essential to replenish moisture and protect it from drying out. Apply olive oil or wood conditioner, allowing it to penetrate the wood for the recommended time.
Polishing the wood vanity enhances its beauty and adds a protective layer. Use a commercial wood polish or create a homemade polish using lemon oil, mineral oil, or beeswax. Finally, reorganize and restock the vanity, decluttering and arranging items in a neat and organized manner.
Regular cleaning, conditioning, and polishing are key to maintaining the natural beauty and longevity of your wood vanity. Develop a routine that works for you, ensuring you stay on top of keeping your vanity clean and well-maintained.
By following these steps and investing a little time and effort, you can enjoy a stunning wood vanity that adds elegance and warmth to your bathroom for years to come. So go ahead, take care of your wood vanity, and revel in its timeless beauty!
Frequently Asked Questions about How To Clean Wood Vanity
Was this page helpful?
At Storables.com, we guarantee accurate and reliable information. Our content, validated by Expert Board Contributors, is crafted following stringent Editorial Policies. We're committed to providing you with well-researched, expert-backed insights for all your informational needs.


0 thoughts on “How To Clean Wood Vanity”