Articles
How To Store Worm Castings
Modified: October 20, 2024
Learn how to properly store worm castings with our informative articles. Discover the best techniques for preserving and maximizing the benefits of this valuable organic fertilizer.
(Many of the links in this article redirect to a specific reviewed product. Your purchase of these products through affiliate links helps to generate commission for Storables.com, at no extra cost. Learn more)
Introduction
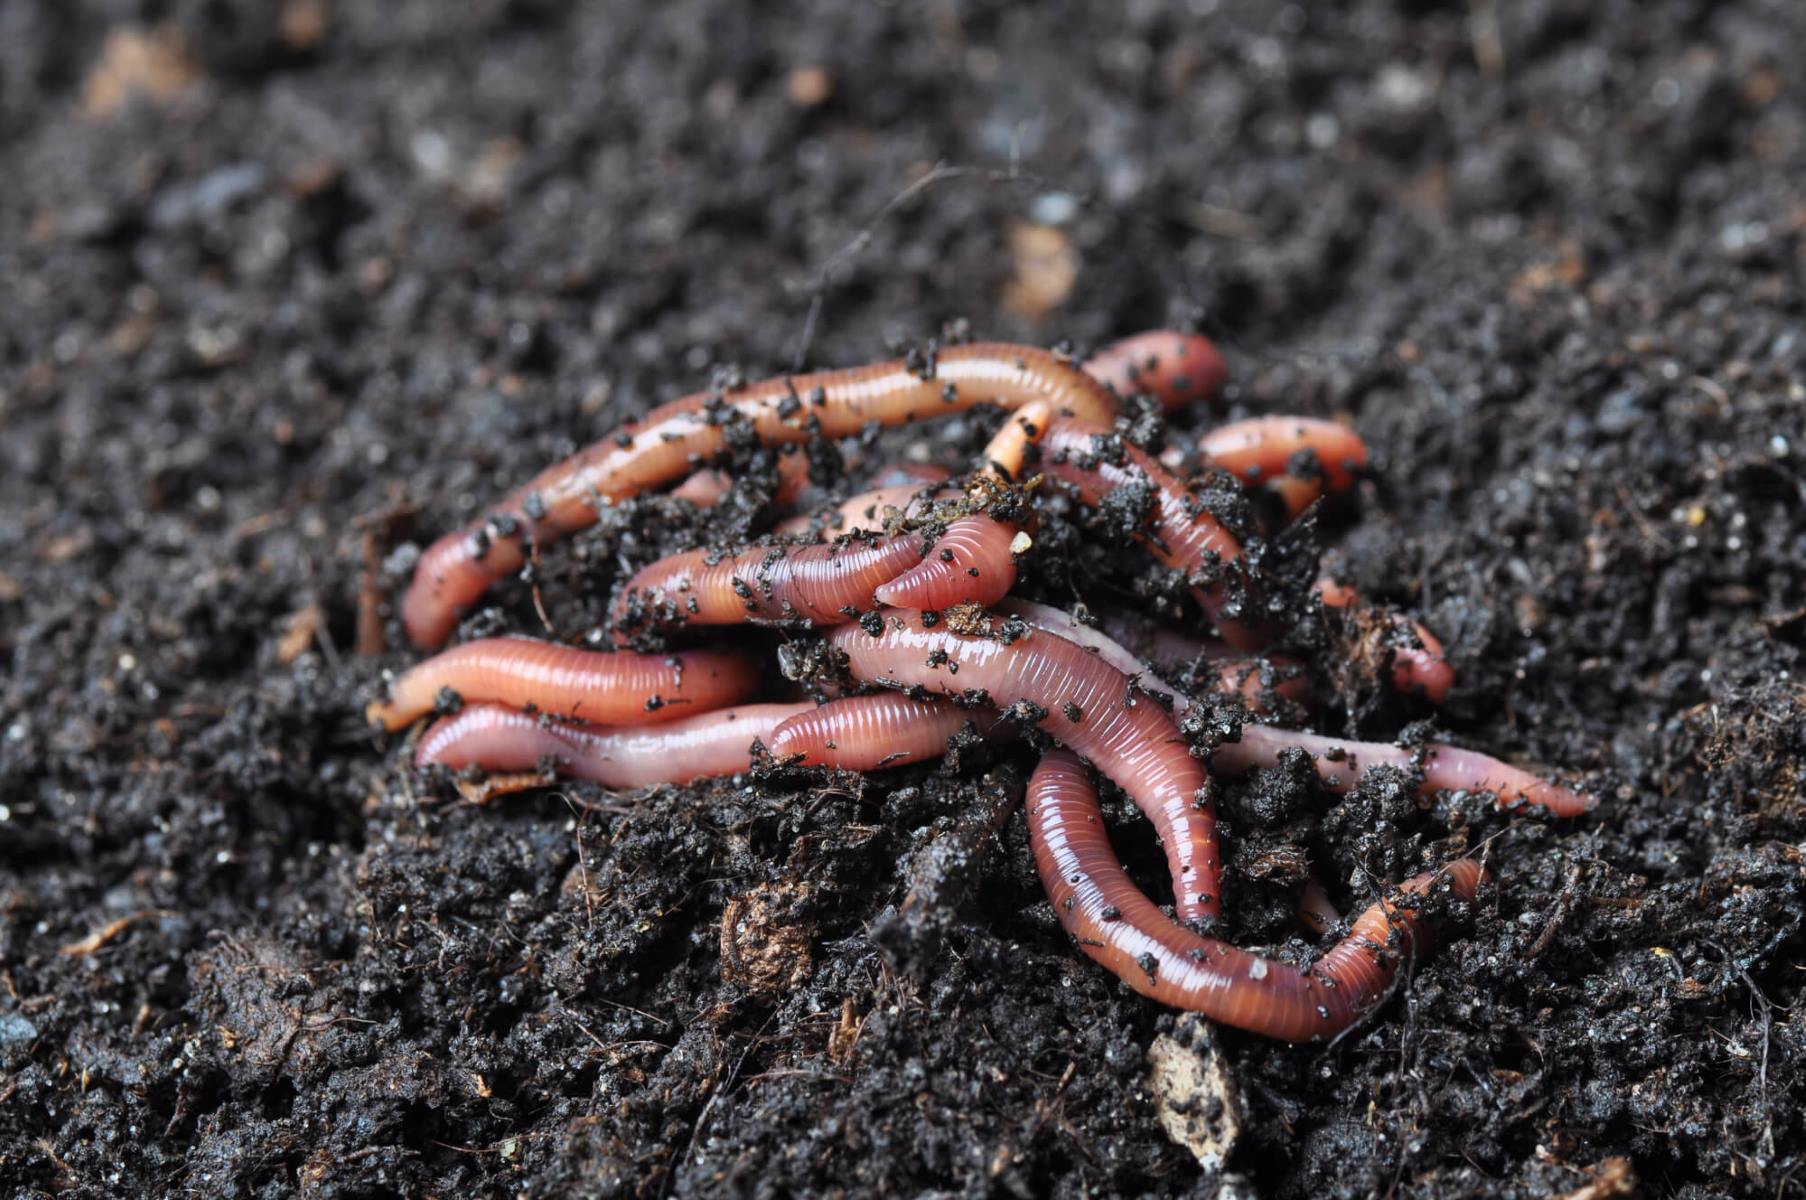
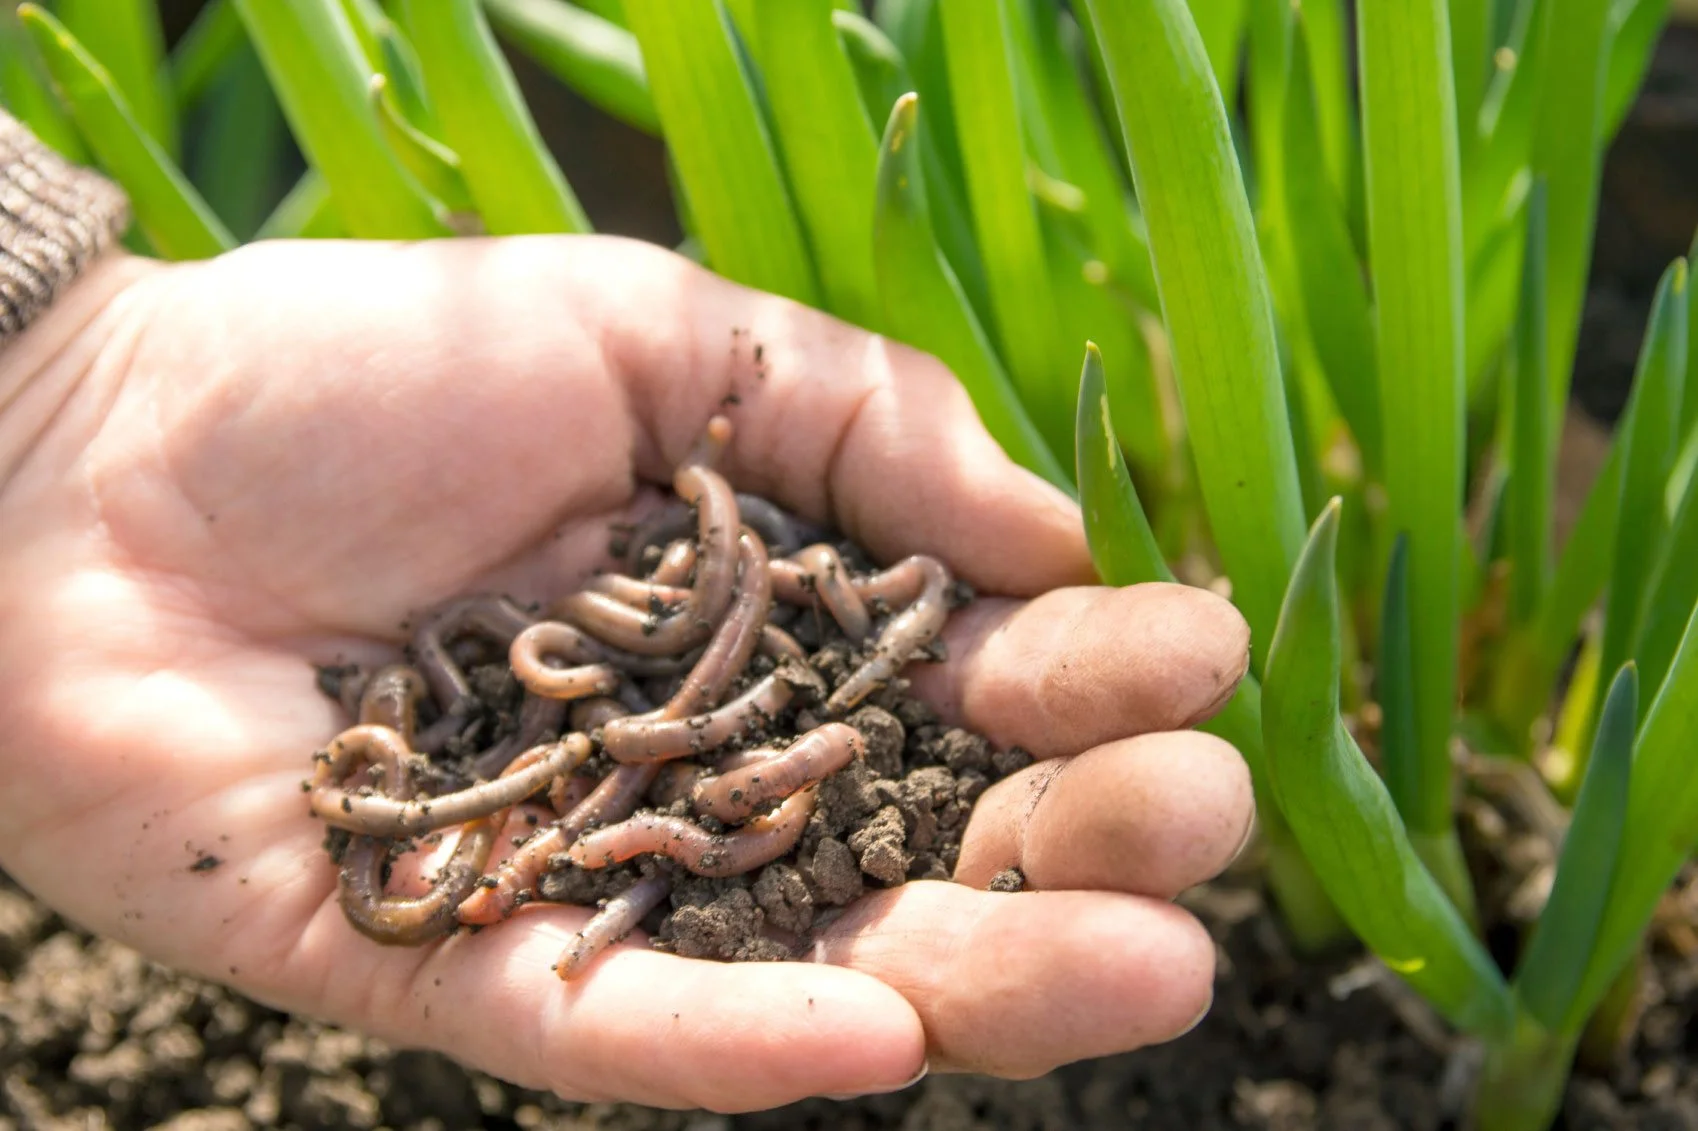
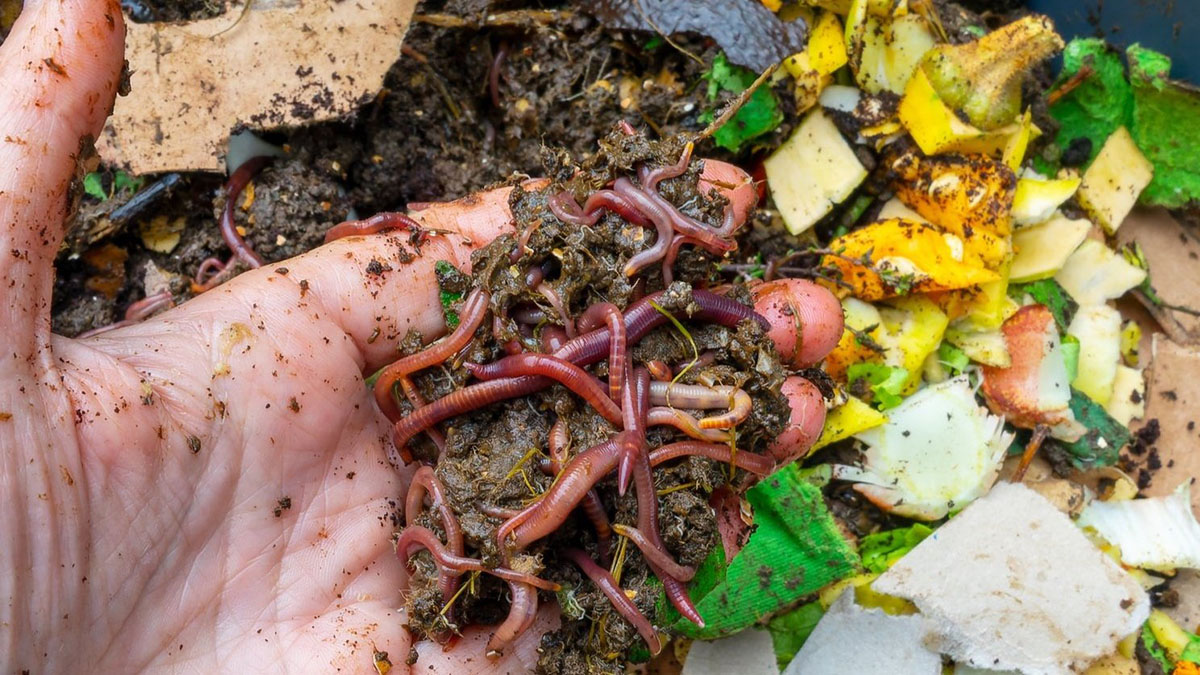
Worm castings, also known as vermicompost, are a nutrient-rich organic material produced by the breakdown of organic waste by earthworms. They are highly valued by gardeners and farmers for their ability to improve soil fertility and promote healthy plant growth. However, it is important to store worm castings properly to maintain their quality and effectiveness.
In this article, we will explore the benefits of using worm castings, discuss the factors to consider when storing them, and provide a step-by-step guide on how to store them effectively. Additionally, we will share some valuable tips for maintaining the quality of your stored worm castings and highlight common mistakes to avoid. By following these guidelines, you can ensure that your worm castings retain their nutritional value and support the growth of thriving plants in your garden.
Key Takeaways:
- Properly storing worm castings is essential for maintaining their nutrient richness and microbial activity, ensuring healthy plant growth and soil fertility.
- Choosing suitable containers, monitoring moisture levels, and avoiding common mistakes are key to preserving the quality and effectiveness of stored worm castings.
Read more: How To Store Live Worms
Benefits of Worm Castings
Worm castings offer numerous benefits that make them a sought-after organic fertilizer for gardeners and farmers. Let’s explore some of the key advantages of using worm castings:
- Rich in Nutrients: Worm castings are rich in essential nutrients, including nitrogen, phosphorus, potassium, and micronutrients like calcium and magnesium. These nutrients are vital for plant growth and development.
- Improves Soil Structure: When incorporated into the soil, worm castings help improve soil structure by enhancing its ability to retain water, nutrients, and air. This promotes healthy root development and improves overall soil fertility.
- Enhances Soil Microbial Activity: Worm castings contain beneficial microorganisms like bacteria and fungi, which help break down organic matter and release nutrients in a form that plants can easily absorb. This boosts microbial activity in the soil and supports the growth of beneficial soil organisms.
- Increases Plant Growth and Yield: The nutrients present in worm castings promote vigorous plant growth and increase yields. Plants grown in soil enriched with worm castings are usually healthier, more resistant to diseases, and produce bigger and tastier fruits and vegetables.
- Environmentally Friendly: Using worm castings as a fertilizer is an eco-friendly practice because it reduces the dependence on chemical fertilizers. It helps minimize water pollution by preventing the runoff of harmful chemicals into water bodies, thus contributing to a healthier and more sustainable environment.
These are just a few of the many benefits of using worm castings in your garden or farm. Their organic nature and ability to enhance soil fertility make them an excellent choice for promoting plant health and sustainable agriculture.
Factors to Consider When Storing Worm Castings
Proper storage is crucial to maintain the quality and effectiveness of worm castings. Here are some important factors to consider when storing your worm castings:
- Moisture Content: Worm castings should be stored in a dry and moisture-free environment. Excessive moisture can lead to the growth of mold and other undesirable organisms, which can diminish the quality of the castings.
- Air Circulation: Adequate air circulation is essential to prevent the build-up of humidity and to allow for the release of excess moisture. It is recommended to store worm castings in well-ventilated containers or bags.
- Temperature: Worm castings should be stored at a moderate temperature, ideally between 55-77°F (13-25°C). Extreme heat or cold can impact the quality of the castings and reduce their effectiveness as a fertilizer.
- UV Exposure: Direct exposure to sunlight can degrade the nutrients in worm castings over time. It is best to store them in a dark or opaque container to protect them from UV rays.
- Pest Control: It is important to store worm castings in a pest-free environment to prevent infestations. Keep the storage area clean and free from pests like rodents or insects that can damage or contaminate the castings.
- Container Type: Choosing the right storage container is crucial. Avoid using containers made of materials that can leach harmful chemicals into the castings. Food-grade plastic bins or breathable fabric bags are good options.
- Labeling and Organization: Properly label and organize your stored worm castings. This will make it easier to track their age and use them in a first-in, first-out manner to ensure freshness and maintain the quality of your stockpile.
By considering these factors and implementing appropriate storage practices, you can ensure that your worm castings remain potent and ready to provide the maximum benefits to your plants.
Proper Storage Containers
Choosing the right storage containers for your worm castings is essential to maintain their quality and effectiveness. Here are some options for proper storage containers:
- Food-Grade Plastic Bins: Food-grade plastic bins provide a practical and affordable option for storing worm castings. Make sure to choose bins that are BPA-free and have a tight-fitting lid to keep out moisture and pests. These bins are sturdy, easy to clean, and provide protection against UV exposure.
- Breathable Fabric Bags: Breathable fabric bags made from natural materials like burlap or cotton allow for air circulation and help prevent the build-up of excess moisture. These bags are a good choice for storing smaller quantities of worm castings and offer the advantage of being environmentally friendly.
- Cardboard Boxes: Cardboard boxes can be used to store worm castings temporarily. However, keep in mind that cardboard is prone to moisture absorption, so it is best to line the box with a plastic bag or use a plastic container within the box to protect the castings.
- Storage Totes: Storage totes made from durable plastic materials can provide a secure and protective storage solution for larger quantities of worm castings. Look for totes with airtight lids and consider adding moisture-absorbing packets to maintain optimal moisture levels.
- Sealed Bags: Vacuum-sealed bags or heavy-duty resealable bags can be used for storing small amounts of worm castings. These bags provide an airtight seal, protecting the castings from moisture, pests, and UV exposure.
Regardless of the storage container you choose, remember to label it with the date of when the worm castings were harvested. This will help you keep track of their freshness and use them in a timely manner.
It is crucial to ensure that the chosen storage containers are clean and free from any chemical residue before using them to store worm castings. This helps maintain the organic integrity of the castings and prevents contamination.
Consider the quantity of worm castings you have and the available storage space when selecting the appropriate containers. By choosing the right storage containers, you can ensure that your worm castings are properly protected and ready to be used whenever needed.
Step-by-Step Guide to Storing Worm Castings
Properly storing worm castings is essential to preserve their quality and efficacy as a natural fertilizer. Here is a step-by-step guide to help you store your worm castings effectively:
- Harvest the Worm Castings: Begin by harvesting the worm castings from your vermicompost bin. You can do this by gently separating the worms from the castings using techniques like the “light method” or by using a worm compost sieve.
- Prepare the Storage Container: Choose a suitable storage container, such as a food-grade plastic bin or breathable fabric bag. Ensure that the container is clean and free from any contaminants or chemical residues. If necessary, line the container with a plastic bag for added protection.
- Fill the Storage Container: Transfer the worm castings into the storage container. Fill the container loosely, leaving some room for air circulation. Avoid compacting the castings, as this can reduce air flow and increase the risk of moisture build-up.
- Close the Container: Secure the storage container with a tight-fitting lid, ensuring that it is properly sealed. If using a fabric bag, tie the top securely to prevent moisture or pests from entering.
- Store in a Suitable Location: Find a cool, dark, and dry location to store the container of worm castings. Avoid areas that are exposed to direct sunlight or extreme temperature fluctuations, as these can degrade the quality of the castings.
- Monitor for Moisture: Periodically check the stored worm castings for moisture content. If you notice any signs of excess moisture, such as a musty smell, adjust the storage conditions by opening the container briefly to allow for ventilation or adding moisture-absorbing materials like silica gel packets.
- Label and Track: Label the storage container with the date of harvest and any other relevant information. This will help you keep track of the freshness of the worm castings and ensure that you use them in a timely manner, following the principle of “first-in, first-out”.
By following these steps, you can maintain the quality and effectiveness of your stored worm castings, ensuring that they retain their valuable nutrients and microbial activity for your plants’ benefit.
Store worm castings in a cool, dry place to maintain their quality. Avoid direct sunlight and moisture, and use a sealed container to prevent odors and pests.
Read more: How To Store Fishing Worms
Tips for Maintaining Quality
To ensure that your stored worm castings maintain their quality and efficacy, here are some valuable tips to follow:
- Properly Seal the Containers: Make sure the storage containers are tightly sealed to prevent moisture from entering and pests from infesting the castings. This will help maintain the integrity and nutritional value of the worm castings.
- Regularly Check for Moisture: Moisture can lead to the growth of mold or bacteria, compromising the quality of the castings. Regularly monitor the storage containers for any signs of excess moisture, and address the issue promptly to prevent degradation.
- Ensure Proper Ventilation: While it is important to seal the containers to keep out pests and excessive moisture, it is equally vital to provide adequate ventilation to prevent the castings from becoming too damp. Proper air circulation helps maintain the microbial activity within the castings.
- Store Away from Extreme Temperatures: Avoid storing worm castings in areas exposed to extreme temperatures, as this can degrade their quality. Ideally, keep them in a cool and stable environment that is not subject to significant temperature fluctuations.
- Protect from UV Exposure: Worm castings are sensitive to ultraviolet (UV) rays, which can break down their nutrients over time. Store the castings in opaque containers or in a dark area to protect them from direct sunlight and UV exposure.
- Rotate Stock Regularly: To ensure that you are using fresh worm castings, practice a rotation system where you use the oldest castings first. This will help maintain the potency and effectiveness of the castings and prevent them from sitting unused for extended periods.
- Keep Storage Area Clean: Regularly clean the storage area to prevent the buildup of debris, pests, or mold that can contaminate the worm castings. Maintaining a clean storage environment will help preserve the quality and integrity of the castings.
- Use Proper Handling Techniques: When using worm castings, ensure that you handle them with clean hands or gloves to avoid introducing contaminants. Additionally, avoid dust inhalation by wearing a mask when working with large quantities of castings.
- Monitor for Unusual Odors or Signs of Decay: Regularly inspect the stored worm castings for any unusual odors or signs of decay. If you notice any strong, unpleasant odors or visible signs of mold or pests, take immediate action to address the issue and prevent further deterioration.
By following these tips, you can maintain the quality, nutrients, and microbial activity of your stored worm castings, ensuring that they provide optimal benefits for your plants’ growth and health.
Common Mistakes to Avoid
When storing worm castings, it’s important to be mindful of certain common mistakes that can compromise their quality and effectiveness. By avoiding these mistakes, you can maximize the benefits of your stored worm castings. Here are some common mistakes to steer clear of:
- Excessive Moisture: One of the most common mistakes is storing worm castings in a damp or overly moist environment. Excessive moisture can lead to the growth of mold, bacteria, and unpleasant odors. Ensure that your storage containers are dry and provide adequate ventilation to prevent excess moisture buildup.
- Inadequate Sealing: Failing to properly seal the storage containers can lead to moisture ingress and pest infestations. Make sure that the containers have tight-fitting lids or are securely fastened to keep out unwanted moisture and pests.
- Direct Sunlight: Exposing worm castings to direct sunlight can degrade their quality over time. UV rays break down the nutrients in the castings. Store them in a dark or opaque container away from direct sunlight to protect their nutrient content.
- Temperature Extremes: Storing worm castings in areas with extreme temperatures can compromise their quality. Avoid storing them in spaces subject to high heat or freezing temperatures, as this can affect their beneficial properties. Instead, choose a cool and stable environment for storage.
- Using Improper Containers: Using containers made from materials that can leach harmful chemicals into the worm castings is a mistake to avoid. Opt for food-grade plastic bins or breathable fabric bags to ensure that no toxic substances are transferred to the castings.
- Mixing with Chemicals: Avoid mixing or storing worm castings with chemical fertilizers or pesticides. These substances can disrupt the natural balance of nutrients and microorganisms in the castings, diminishing their effectiveness as an organic fertilizer.
- Not Rotating Stock: Failing to use the worm castings in a timely manner can lead to them sitting unused for prolonged periods. Establish a rotation system and use the oldest castings first to ensure that they are utilized while still fresh and potent.
- Ignoring Signs of Decay: Neglecting to monitor the stored worm castings for any unusual odors or visible signs of decay can result in using compromised materials. Regularly inspect the castings for unpleasant smells, mold growth, or pest infestations, and take immediate action if any issues arise.
- Lack of Organization: Keeping the storage area disorganized can make it difficult to track the age and usage of the worm castings. Label the containers with the harvest date and practice proper organization to ensure that the oldest castings are used first.
By avoiding these common mistakes, you can maintain the quality and effectiveness of your stored worm castings, maximizing their potential as a nourishing and sustainable fertilizer for your plants.
Frequently Asked Questions (FAQs)
Here are some commonly asked questions about storing worm castings:
Q: How long can I store worm castings?
A: When stored properly in suitable conditions, worm castings can retain their nutrient content and effectiveness for up to a year or even longer. However, it is best to use them within 6-12 months to ensure optimal freshness and potency.
Q: Can I store worm castings in the refrigerator or freezer?
A: While it is possible to store worm castings in the refrigerator or freezer, it is not necessary. Worm castings can be stored at room temperature in a cool, dark, and dry location. Extreme temperatures can adversely affect their quality, so it’s best to avoid freezing or refrigeration.
Q: How do I know if my stored worm castings have gone bad?
A: Signs of degraded or spoiled worm castings include a pungent smell, mold growth, clumping or excessive moisture, or the presence of pests. If you notice any of these signs, it’s best to discard the castings and obtain fresh ones.
Q: Can I mix worm castings with potting soil?
A: Yes, worm castings can be mixed with potting soil to improve its fertility and nutrient content. Incorporating worm castings into potting soil can enhance plant growth and provide a natural source of plant nutrients.
Q: Can I reuse worm castings from previous harvests?
A: Absolutely! Worm castings can be reused for multiple plantings. After harvesting the castings, you can add them back to your vermicompost bin or incorporate them into your garden soil to continue nourishing your plants.
Q: Can I store worm castings in plastic bags?
A: Yes, you can store worm castings in plastic bags, as long as they are made from food-grade plastic. However, it is important to ensure that the bags are properly sealed and provide some degree of ventilation to prevent moisture buildup.
Q: Can I mix worm castings with water to create a liquid fertilizer?
A: Yes, worm castings can be steeped in water to create a compost tea, which can then be used as a liquid fertilizer for your plants. Simply place a quantity of worm castings in a container of water, let it sit for a few days, and then use the resulting liquid to water your plants.
These FAQs address some common concerns and questions related to storing worm castings. However, if you have any specific queries or concerns, it is always recommended to seek advice from local gardening experts or consult the instructions provided by the supplier of your worm castings.
Conclusion
Properly storing worm castings is crucial for maintaining their quality and effectiveness as a organic fertilizer. By following the guidelines outlined in this article, you can ensure that your worm castings retain their richness in nutrients and beneficial microbial activity, promoting healthy plant growth and soil fertility.
Consider factors such as moisture content, air circulation, temperature, UV exposure, and pest control when storing your worm castings. Choose suitable storage containers, such as food-grade plastic bins or breathable fabric bags, and make sure to seal them properly to prevent moisture ingress and pest infestations.
Following the step-by-step guide provided, you can store your worm castings effectively, ensuring optimal conditions for their preservation. Monitoring the moisture levels, controlling temperature extremes, and practicing proper handling techniques will help maintain the quality of your stored castings.
Additionally, be mindful of common mistakes to avoid, including excessive moisture, inadequate sealing, improper container choice, and neglecting signs of decay. By being proactive and organized in your storage practices, you can prevent complications and maximize the benefits of your stored worm castings.
Remember, worm castings offer numerous advantages, including enriching soil structure, enhancing nutrient content, promoting plant growth, and supporting sustainable and eco-friendly agriculture. By storing them properly and using them in a timely manner, you can reap the full benefits of this valuable organic fertilizer.
Now that you are equipped with the knowledge and guidelines for storing worm castings, go ahead and apply these practices in your own gardening or farming endeavors. Enjoy the benefits of nutrient-rich and sustainable plant growth with the help of your stored worm castings!
Frequently Asked Questions about How To Store Worm Castings
Was this page helpful?
At Storables.com, we guarantee accurate and reliable information. Our content, validated by Expert Board Contributors, is crafted following stringent Editorial Policies. We're committed to providing you with well-researched, expert-backed insights for all your informational needs.


0 thoughts on “How To Store Worm Castings”