Articles
How To Store Worms
Modified: February 24, 2024
Learn how to store worms properly with our informative articles. Find expert tips and techniques to maintain the health and vitality of your worms for composting.
(Many of the links in this article redirect to a specific reviewed product. Your purchase of these products through affiliate links helps to generate commission for Storables.com, at no extra cost. Learn more)
Introduction
Welcome to the world of worm storage! Whether you are an avid gardener or a dedicated compost enthusiast, having a thriving worm population can greatly benefit your endeavors. Worms are natural recyclers, converting organic waste into nutrient-rich castings that can enrich your soil and improve plant growth. However, to ensure the health and productivity of your worm colony, proper storage techniques are crucial.
In this article, we’ll guide you through the steps of storing worms effectively. We’ll cover everything from choosing the right container to providing suitable bedding, ensuring proper food and moisture levels, maintaining the ideal temperature, protecting the worms from predators, harvesting and using worm castings, and troubleshooting common issues that may arise along the way.
By following these guidelines, you’ll be able to create an optimal environment for your worms, allowing them to thrive and produce high-quality castings that will benefit your garden or compost pile.
Key Takeaways:
- Create an optimal environment for worms by choosing the right container, providing suitable bedding, and maintaining proper food, moisture, and temperature levels.
- Protect your worm population from predators, harvest valuable worm castings, and troubleshoot common issues to ensure a thriving and beneficial worm storage system.
Read more: How To Store Worms For Fishing
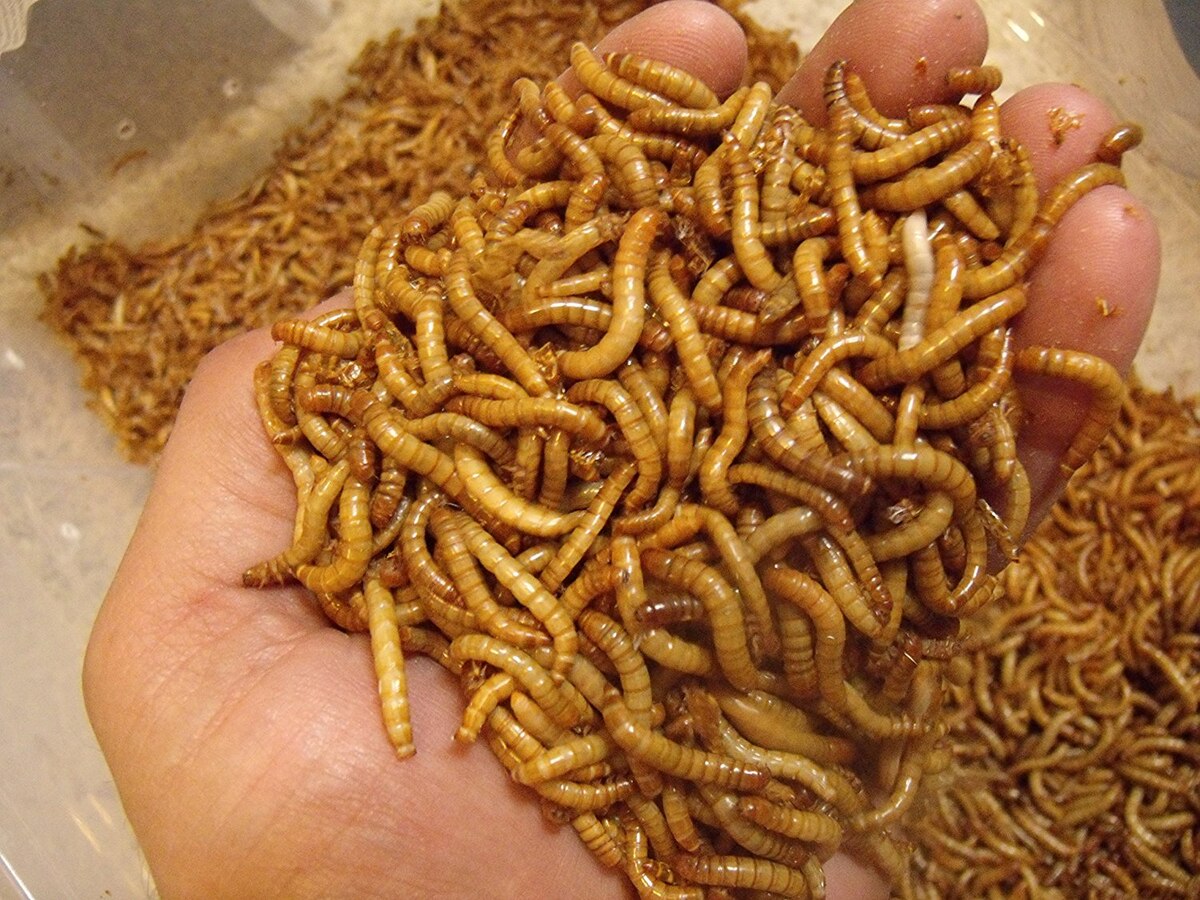
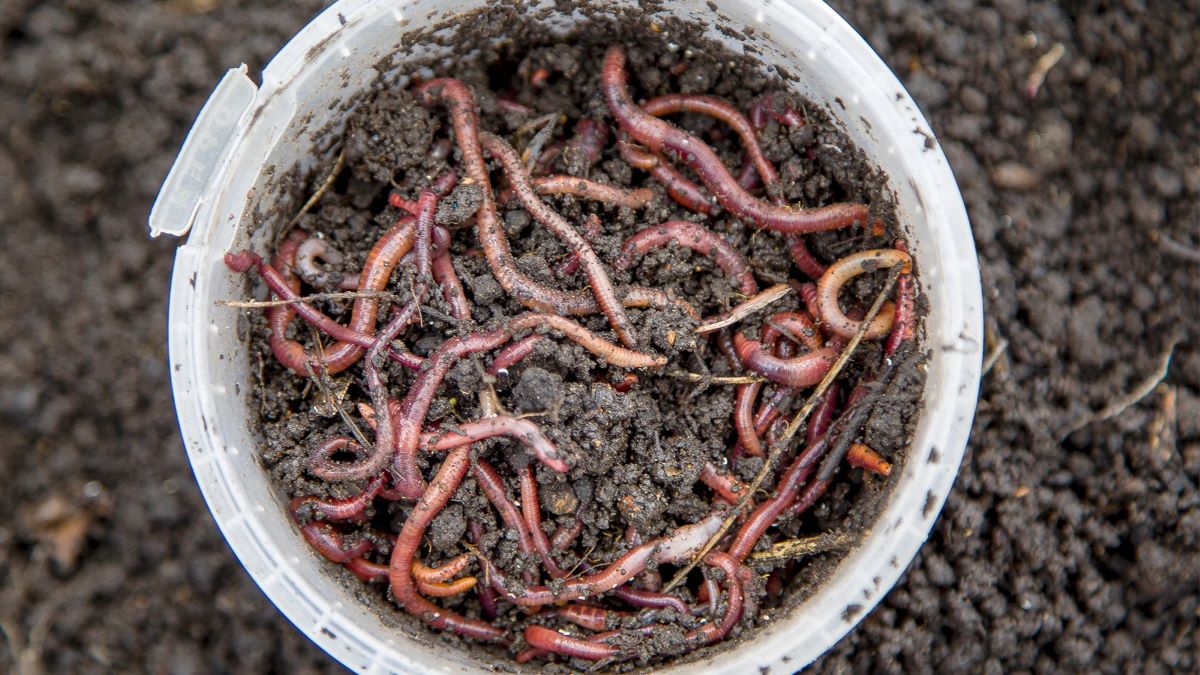
Choosing the Right Container
When it comes to storing worms, selecting the right container is essential for their well-being. Ideally, you want a container that provides adequate space, ventilation, and drainage. Here are a few options to consider:
- Plastic bin: A plastic storage bin or tote box is a common and affordable choice for worm storage. Look for a bin that is at least 12 inches deep to give the worms enough space to thrive. It should also have a lid to maintain a dark and moist environment.
- Wooden box: If you prefer a more natural option, a wooden box can be a great choice. Make sure the box is untreated and has drainage holes in the bottom to prevent waterlogging. The advantage of a wooden box is that it allows for better airflow, which is beneficial for the worms.
- Specialized worm bin: There are various worm bins available on the market designed specifically for worm storage. These bins often come with built-in features like trays for easy harvesting and moisture control systems. While they may be pricier, they can offer convenience and efficiency.
Regardless of the container you choose, ensure that it has a tight-fitting lid to keep out light and prevent worms from escaping. Also, keep in mind the size of your worm population and choose a container accordingly. A larger population will require a bigger bin to accommodate their needs.
It’s important to note that the container should be opaque. Worms are sensitive to light and prefer dark environments. Exposure to light can stress them and affect their activity levels. So, choose a container that blocks out light to create a cozy and comfortable home for your worms.
Once you have chosen the right container, it’s time to prepare a suitable bedding to provide a cozy habitat for your worms. Let’s explore the next step:
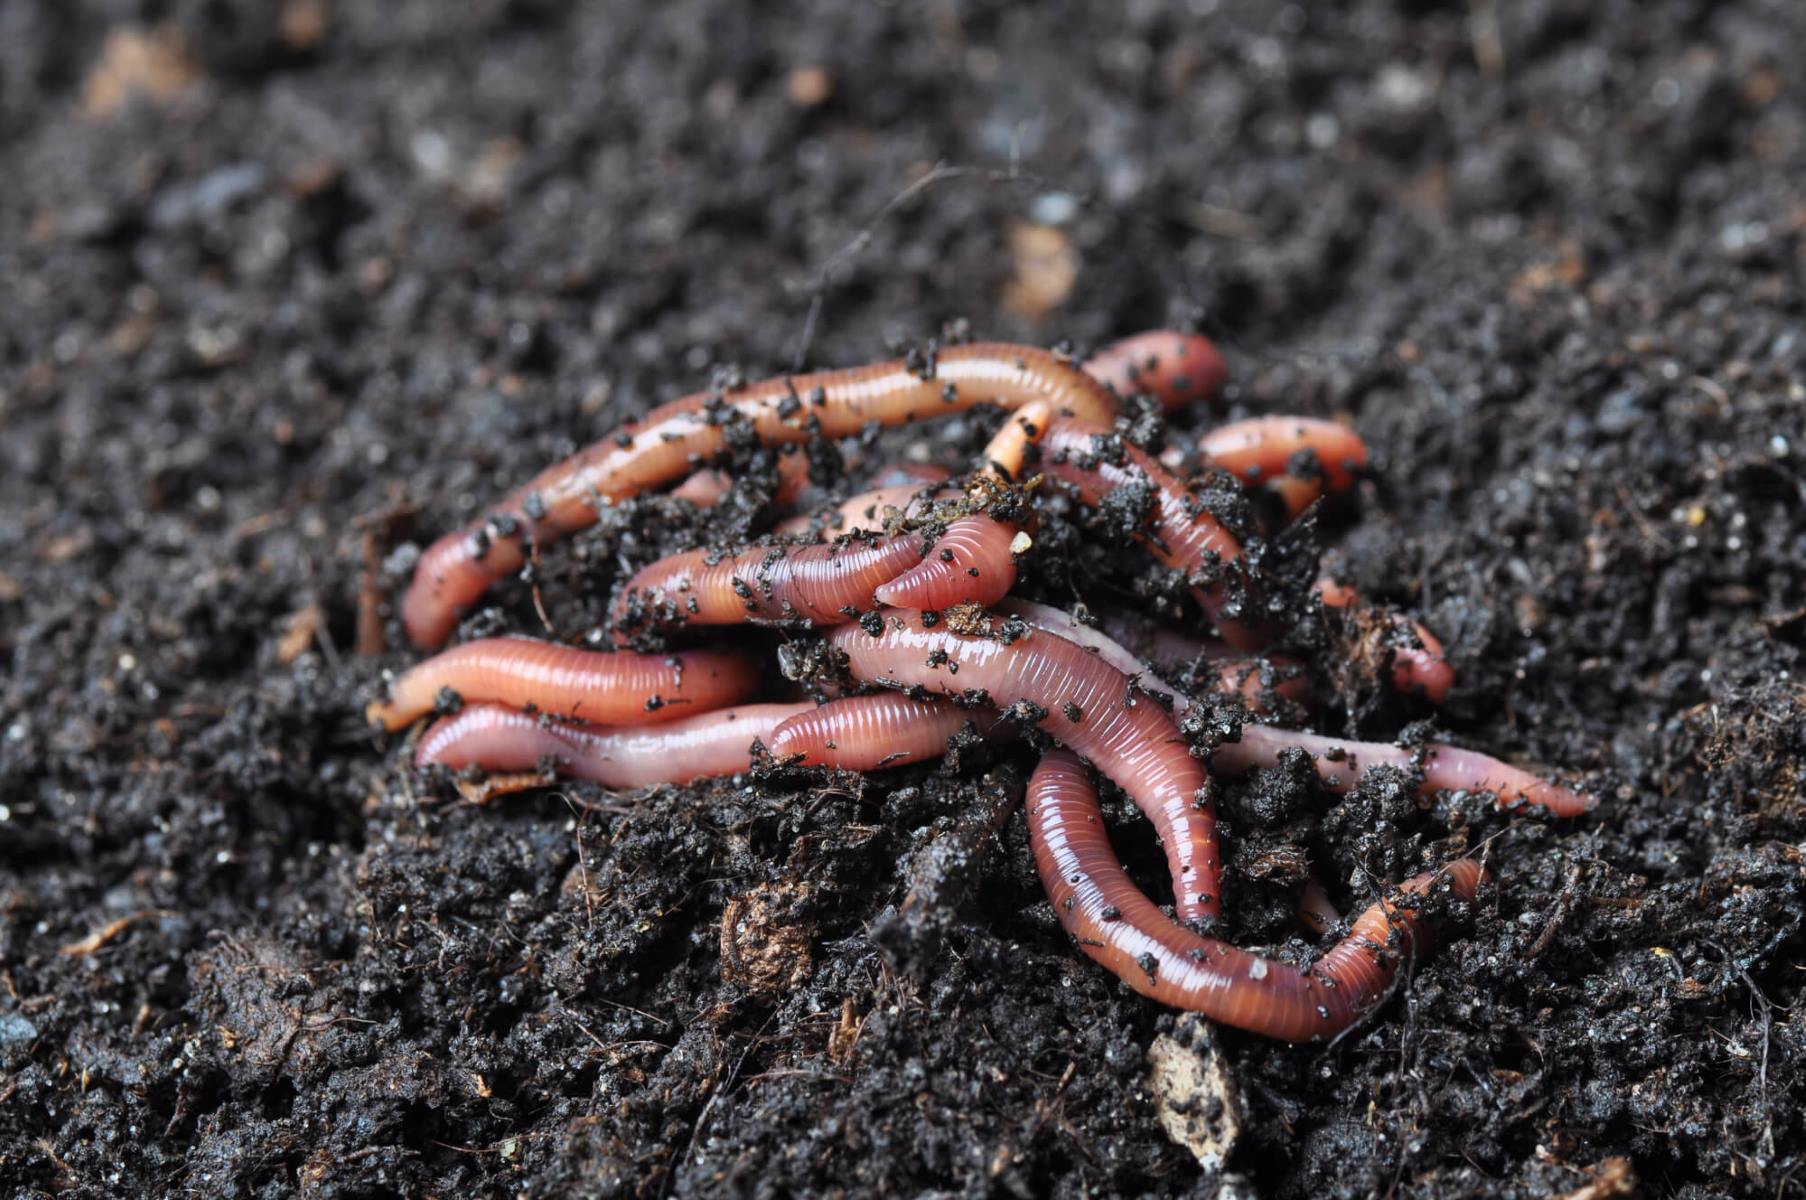
Creating a Suitable Bedding
Bedding is essential for worms as it provides a comfortable habitat and helps maintain moisture levels. It should be made of organic materials that are biodegradable and free from chemicals or contaminants. Here are some options for creating a suitable bedding:
- Shredded newspaper or cardboard: Newspaper or cardboard strips make excellent bedding material for worms. They provide a soft texture and retain moisture well. Make sure to shred the paper or cardboard into small pieces before adding them to the container.
- Coco coir: Coco coir is a popular choice for bedding as it is derived from coconut husks and is environmentally sustainable. It has good water retention properties and provides a conducive environment for worm activity. Simply soak the coco coir in water to expand it before adding it to the container.
- Leaves and yard waste: If you have access to dry leaves or yard waste, they can be used as bedding materials. Chop them into small pieces to create a layer of insulation and microbial activity. Avoid using leaves that have been treated with pesticides or chemicals.
Whichever bedding material you choose, ensure that it is moist but not overly wet. Squeeze out any excess moisture before adding it to the container. The bedding should have the consistency of a damp sponge to provide a suitable environment for the worms.
Spread a layer of bedding material at the bottom of the container, typically around 2-4 inches thick. This will serve as a comfortable home for the worms and facilitate their movement and reproduction. As the worms consume the bedding, you can add more material to maintain a suitable depth.
Remember that the bedding should be fluffed and loosened regularly to promote airflow and prevent compaction. This allows for better oxygen circulation, which is crucial for the worms’ respiration.
Now that you have created a cozy bedding for your worms, let’s move on to the next important aspect: providing proper food and moisture.
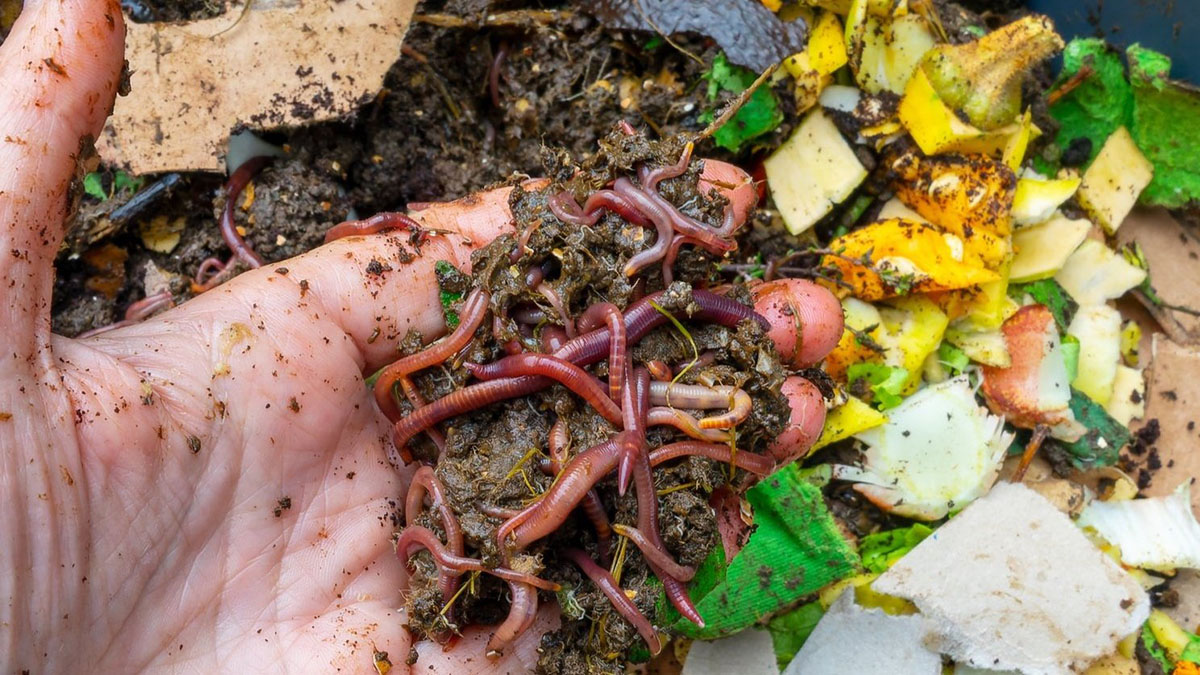
Providing Proper Food and Moisture
Feeding your worms a balanced diet and ensuring adequate moisture levels are key factors in their well-being and productivity. Here are some guidelines for providing proper food and moisture:
- Food scraps: Worms are voracious eaters and thrive on a diet of organic materials. Kitchen scraps such as fruit and vegetable peels, coffee grounds, tea bags, and crushed eggshells are excellent food sources. Avoid feeding them meat, dairy, oily foods, and citrus fruits as these can attract pests or disrupt the worms’ digestive system.
- Avoid overfeeding: While worms can consume a large amount of food, it’s important not to overfeed them. A general rule of thumb is to feed them an amount equivalent to their body weight per week. Start with small amounts and gradually increase as the worm population grows.
- Moisture levels: Worms require moist conditions to thrive. The bedding should be kept consistently damp, similar to a wrung-out sponge. If it becomes too dry, mist it with water to maintain the moisture levels. On the other hand, if it becomes too wet, add dry bedding materials to absorb the excess moisture.
- Water source: Besides maintaining the moisture of the bedding, provide a water source for your worms. You can add a shallow tray with water-soaked sponges or keep a drip tray underneath the container to collect excess moisture.
- Balance the pH: Worms prefer a slightly acidic to neutral environment. To maintain optimal conditions, periodically check the pH of the bedding. If it becomes too acidic, add a small amount of crushed eggshells or agricultural lime to neutralize it.
Monitor the moisture levels and food availability regularly. Ensure that the bedding remains moist but not waterlogged, and replenish the food as necessary. Remember, a balanced diet and proper hydration are crucial for the overall health and productivity of your worm colony.
Next, we will discuss how to maintain the ideal temperature for your worms to thrive.
Maintaining the Ideal Temperature
Temperature plays a vital role in the well-being and activity of your worm population. Worms thrive in a relatively moderate temperature range, as extreme temperatures can be harmful to them. Here are some guidelines for maintaining the ideal temperature:
- Temperature range: The optimal temperature range for most composting worms, such as red wigglers (Eisenia fetida), is between 55°F (13°C) and 77°F (25°C). Within this range, worms are most active and productive.
- Avoid extreme temperatures: Avoid exposing your worm storage container to extreme temperature fluctuations. High temperatures above 90°F (32°C) can cause stress and potentially harm or kill the worms. Similarly, temperatures below freezing can also be detrimental to their survival.
- Insulation: To regulate temperature, place your worm storage container in a well-insulated area, such as a basement or garage. This helps buffer any extreme fluctuations in external temperatures and provides a more stable environment for the worms.
- Monitoring temperature: Regularly monitor the temperature inside the container using a thermometer. Place it in different areas of the container to ensure an accurate reading. If the temperature becomes too high, you can cool the container by placing it in a shaded area or using a fan for ventilation.
- Heating options: In colder climates, you may need to provide supplemental heat during winter months. You can use a heating pad or a thermostatically-controlled heat mat placed beneath the container. Ensure that the heat source is set to the appropriate temperature range and avoid direct contact with the worms.
By maintaining the ideal temperature range, you provide the worms with a comfortable environment that encourages their activity, reproduction, and decomposition of organic matter. Regularly monitoring and adjusting the temperature ensures the well-being of your worm colony.
Next, let’s explore how to protect your worms from predators to ensure their safety.
Store worms in a breathable container with damp bedding like peat moss or shredded newspaper. Keep them in a cool, dark place like a basement or garage to maintain their health and activity. Avoid direct sunlight and extreme temperatures.
Read more: How To Store Live Worms
Protecting the Worms from Predators
Protecting your worms from predators is crucial for their survival and well-being. While worms may seem harmless, they can attract unwanted attention from certain creatures. Here are some measures you can take to safeguard your worm population:
- Elevate the container: Place your storage container on a raised platform or legs to prevent ground-dwelling predators, such as ants or ground beetles, from accessing the worms.
- Secure the lid: Ensure that the container has a tightly-fitting lid to keep out crawling insects, rodents, and other small predators. This will also prevent the worms from escaping.
- Avoid overfeeding: Overfeeding can attract pests like fruit flies, which may lay eggs in the bedding. Control the amount of food you provide and bury it beneath the bedding to discourage pests.
- Regular inspection: Periodically check the container for any signs of pests or predators. If you notice any unwanted visitors, take appropriate action to eliminate them. Remove any decaying or rotting food promptly to prevent attracting pests.
- Use natural deterrents: Some natural deterrents can help keep predators away. For example, diatomaceous earth can deter crawling insects, while copper strips or mesh around the container can repel slugs and snails. However, ensure that these deterrents do not come into direct contact with the worms.
By implementing these protective measures, you can create a safe and secure environment for your worms to thrive. Remember, a predator-free habitat allows the worms to focus on their composting and reproduction activities without compromising their health.
Now, let’s move on to the next step: harvesting and using the valuable worm castings they produce.
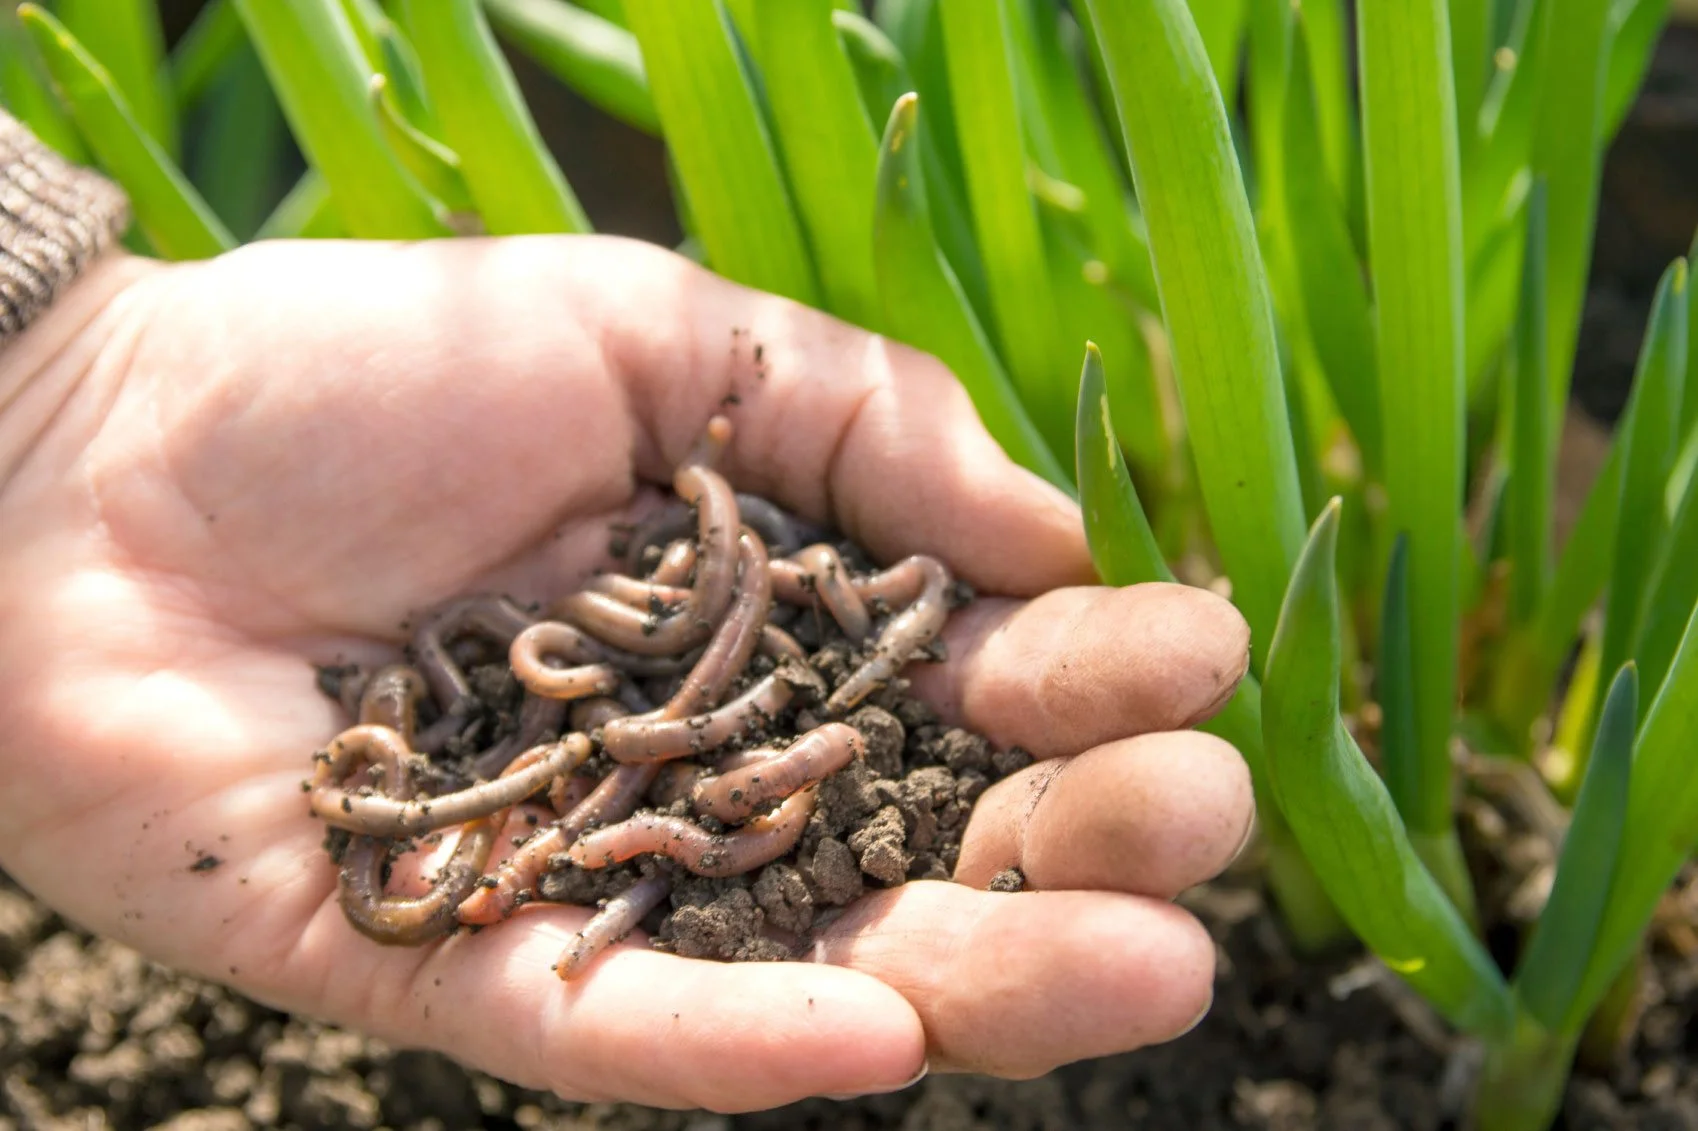
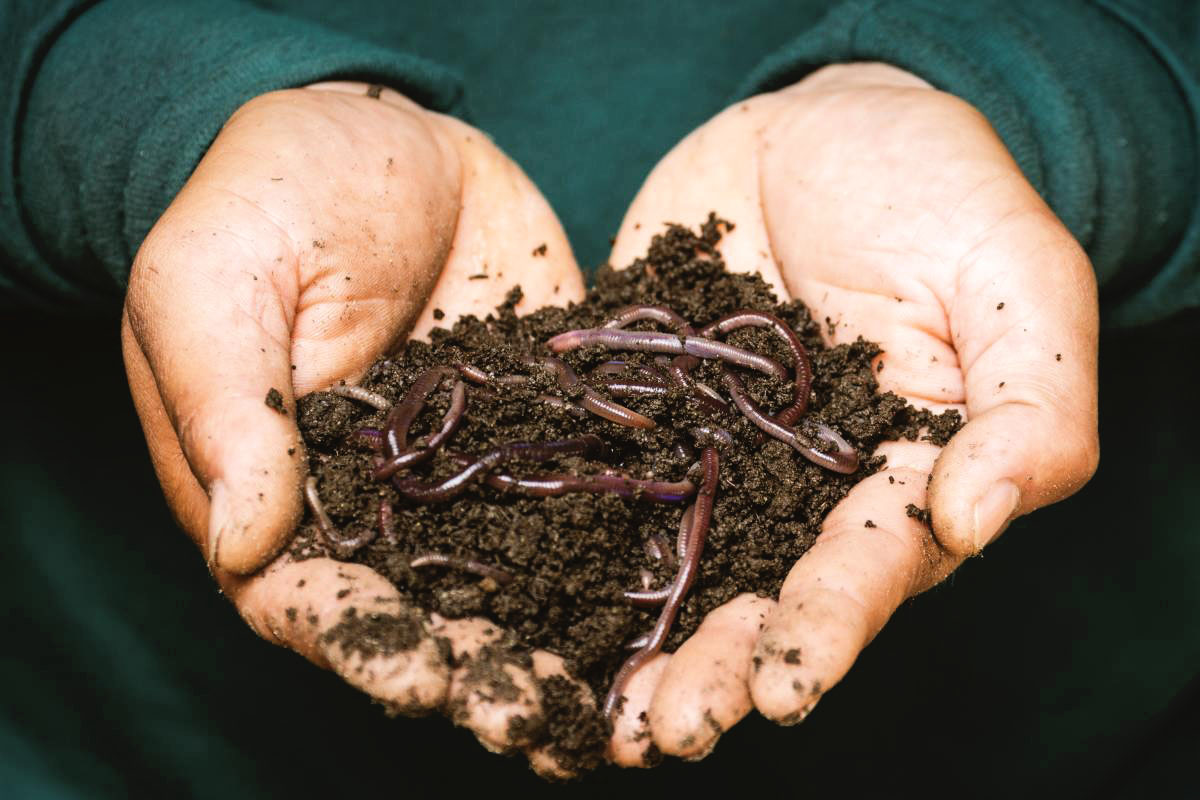
Harvesting and Using the Worm Castings
Harvesting worm castings, also known as vermicompost, is a rewarding process that allows you to maximize the benefits of your worm storage efforts. Worm castings are nutrient-rich soil amendments that can greatly enhance the health and fertility of your plants. Here’s how to harvest and utilize these valuable worm castings:
- Separation method: One common method of harvesting is the separation technique. Move all the contents of the container to one side and add fresh bedding and food to the empty side. Over time, the worms will migrate to the fresh bedding in search of food, leaving the harvested castings behind.
- Layer method: Alternatively, you can create layers within the container using a stackable worm bin system. Start with a new tray at the bottom and gradually add food and bedding to higher trays. The worms will naturally migrate to the upper trays, leaving the lower trays with more concentrated castings.
- Harvesting time: The duration for harvesting worm castings varies depending on the size of your worm population and the amount of organic waste provided. Generally, it takes about 2-5 months for the castings to form and mature.
- Separating the castings: Once the majority of worms have moved to the fresh bedding, you can carefully collect the castings from the harvested area. Remove any remaining worms and large undecomposed materials. You can manually separate the worms or use a gentle method like light exposure to encourage them to move away from the castings.
- Using the castings: Worm castings are a valuable fertilizer and soil conditioner. They can be used in various ways, such as top-dressing your plants, incorporating them into potting mixes, or brewing them into a nutrient-rich compost tea. The castings provide a slow-release source of nutrients and beneficial microorganisms that promote plant growth and health.
Remember to store the harvested worm castings in a cool, dry place to maintain their quality and extend their shelf life. Label the containers for future use and enjoy the fruits of your worm storage efforts in your garden or potted plants.
Now that you have harvested the valuable worm castings, let’s explore some common issues you may encounter and how to troubleshoot them.
Troubleshooting Common Issues
While storing worms can be a rewarding experience, it’s not uncommon to encounter some challenges along the way. Here are some common issues that may arise and how to troubleshoot them:
- Unpleasant odor: If you notice a foul smell coming from the container, it may indicate an imbalance in the bedding or an overabundance of acidic materials. Ensure that you are providing a balanced diet of organic waste and adjust the pH if necessary by adding crushed eggshells or agricultural lime.
- Excessive fruit flies or gnats: Fruit flies and gnats can be attracted to decaying organic matter in the container. To reduce their presence, bury the food waste deeper within the bedding, cover it with a layer of fresh bedding, and ensure that the container is properly sealed.
- Mold or fungal growth: Mold or fungal growth can occur if the bedding becomes too damp or if there is an excess of carbon-rich materials in the container. To address this issue, add more nitrogen-rich materials like fruit and vegetable scraps to balance the carbon-to-nitrogen ratio. Ensure proper bedding moisture levels and improve airflow by fluffing the bedding regularly.
- Slow decomposition: If the decomposition process is slow or seems to have stagnated, it may indicate overfeeding or an inappropriate balance of carbon and nitrogen-rich materials. Reduce the amount of food provided and ensure a proper balance between greens (nitrogen-rich) and browns (carbon-rich) in the bedding.
- Worm escape: If you find worms escaping from the container, it may be a sign of poor conditions inside such as excessive heat, lack of food, or high acidity levels. Check the temperature, ensure the bedding is moist and that there is enough food available. Adjust any unfavorable conditions to prevent further escapes.
By addressing these common issues promptly and making the necessary adjustments, you can ensure a healthy and thriving worm storage system. Regular monitoring and proactive measures will help you maintain an optimal environment for your worms to flourish.
Now that we have covered troubleshooting, let’s summarize the key points discussed in this article.
Conclusion
Storing worms can be a rewarding and beneficial practice for gardeners and compost enthusiasts alike. By creating the right conditions and providing proper care, you can utilize the power of these natural recyclers to transform organic waste into nutrient-rich worm castings. Here are the key takeaways from this article:
- Choosing the right container is crucial for providing adequate space, ventilation, and drainage.
- Creating a suitable bedding using organic materials like shredded newspaper or cardboard, coco coir, or dry leaves are important for creating a cozy habitat for the worms.
- Properly feeding the worms with an appropriate balance of kitchen scraps and avoiding overfeeding is essential to their well-being.
- Maintaining proper moisture levels, pH balance, and temperature within the container ensures the worms thrive and remain active.
- Protecting the worms from predators, such as insects and rodents, helps maintain their safety and prevents disruptions in their environment.
- Harvesting the valuable worm castings and using them as a nutrient-rich soil amendment can greatly enhance plant growth and soil health.
- Troubleshooting common issues, such as odor, pests, or slow decomposition, requires regular monitoring and adjustments to maintain a healthy worm population.
By following these guidelines and implementing the suggested practices, you will create an optimal environment for your worms, allowing them to thrive and produce high-quality castings. The resulting nutrient-rich soil amendment will provide numerous benefits to your garden, potted plants, or compost pile.
So, roll up your sleeves, gather your supplies, and embark on the wonderful journey of worm storage. Not only will you reduce waste and contribute to a more sustainable lifestyle, but you’ll also witness firsthand the transformative power of worms in creating vibrant and thriving ecosystems.
Frequently Asked Questions about How To Store Worms
Was this page helpful?
At Storables.com, we guarantee accurate and reliable information. Our content, validated by Expert Board Contributors, is crafted following stringent Editorial Policies. We're committed to providing you with well-researched, expert-backed insights for all your informational needs.


0 thoughts on “How To Store Worms”