Articles
How To Store Yellow Squash Long Term
Modified: February 23, 2024
Learn the best methods for storing yellow squash long term in this comprehensive guide. Discover helpful tips and tricks to preserve the freshness of your squash.
(Many of the links in this article redirect to a specific reviewed product. Your purchase of these products through affiliate links helps to generate commission for Storables.com, at no extra cost. Learn more)
Introduction
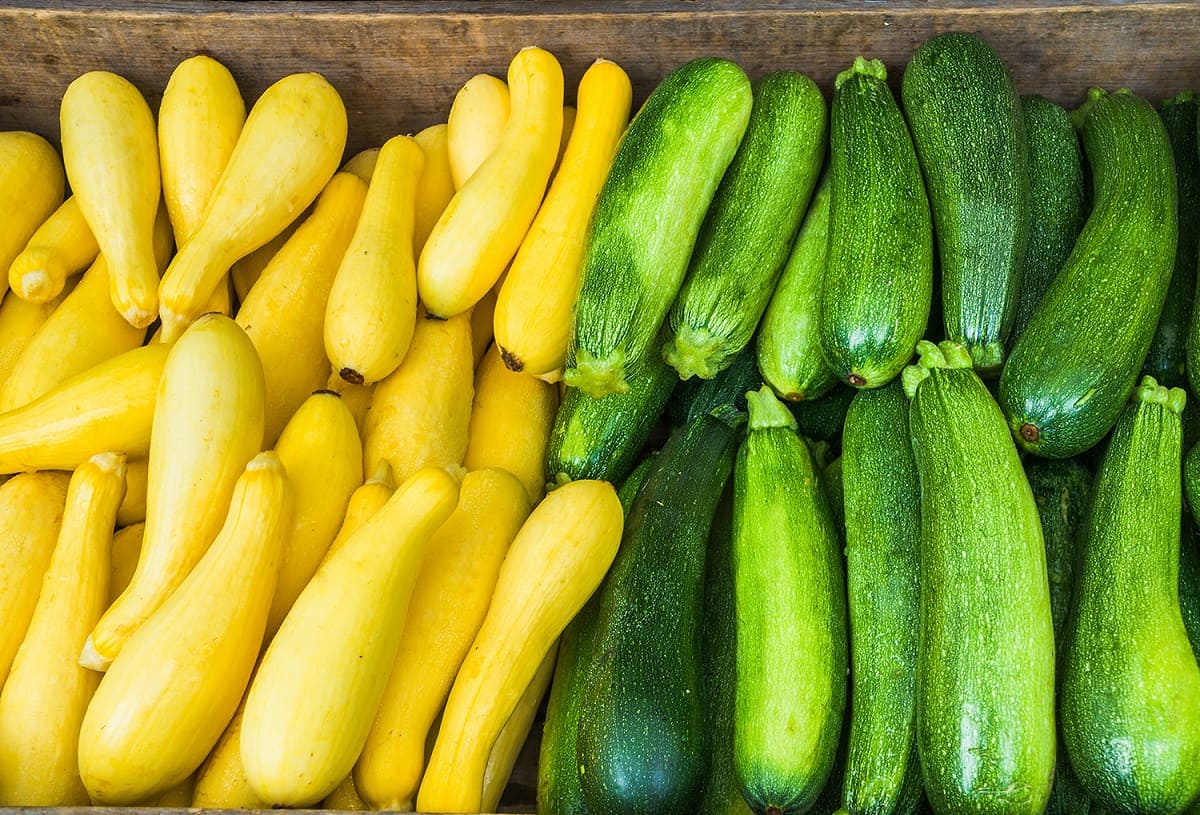
Yellow squash is a delicious and versatile vegetable that can be enjoyed in various dishes. Whether you have a bountiful harvest from your garden or stumbled upon a great deal at the local farmer’s market, you may find yourself with more yellow squash than you can consume before it starts to spoil. Fortunately, there are several methods you can use to store yellow squash long term, allowing you to enjoy its fresh taste even months after harvesting or purchasing.
In this article, we will explore different ways to store yellow squash, including freezing, canning, dehydrating, and pickling. We will also discuss how to store yellow squash in the fridge and in a root cellar. By the end of this article, you will have a range of options for preserving your yellow squash and extending its lifespan.
Before we dive into the storage methods, it’s important to understand how to select fresh yellow squash to ensure optimal results.
Key Takeaways:
- Preserve the Freshness: From freezing and canning to pickling and dehydrating, there are multiple creative ways to store yellow squash long term, ensuring its delicious taste and versatility year-round.
- Extend the Harvest: Whether you have a bountiful harvest or a surplus from the market, knowing how to select, prepare, and store yellow squash using various methods allows you to enjoy its freshness for months to come.
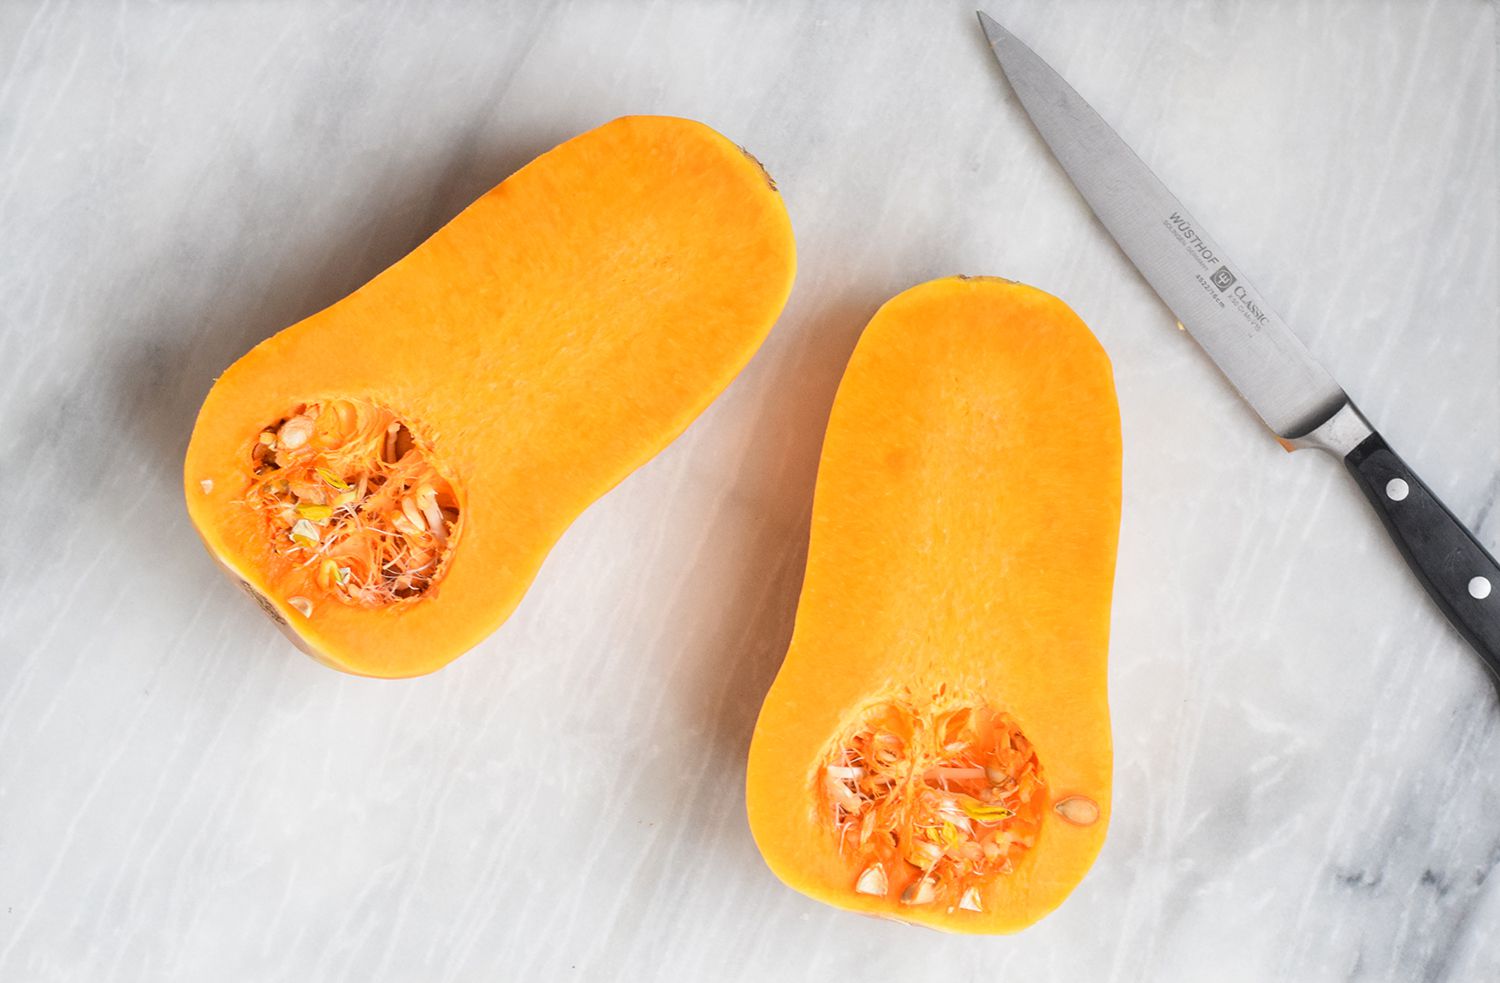
Read more: How To Store Butternut Squash Long-Term
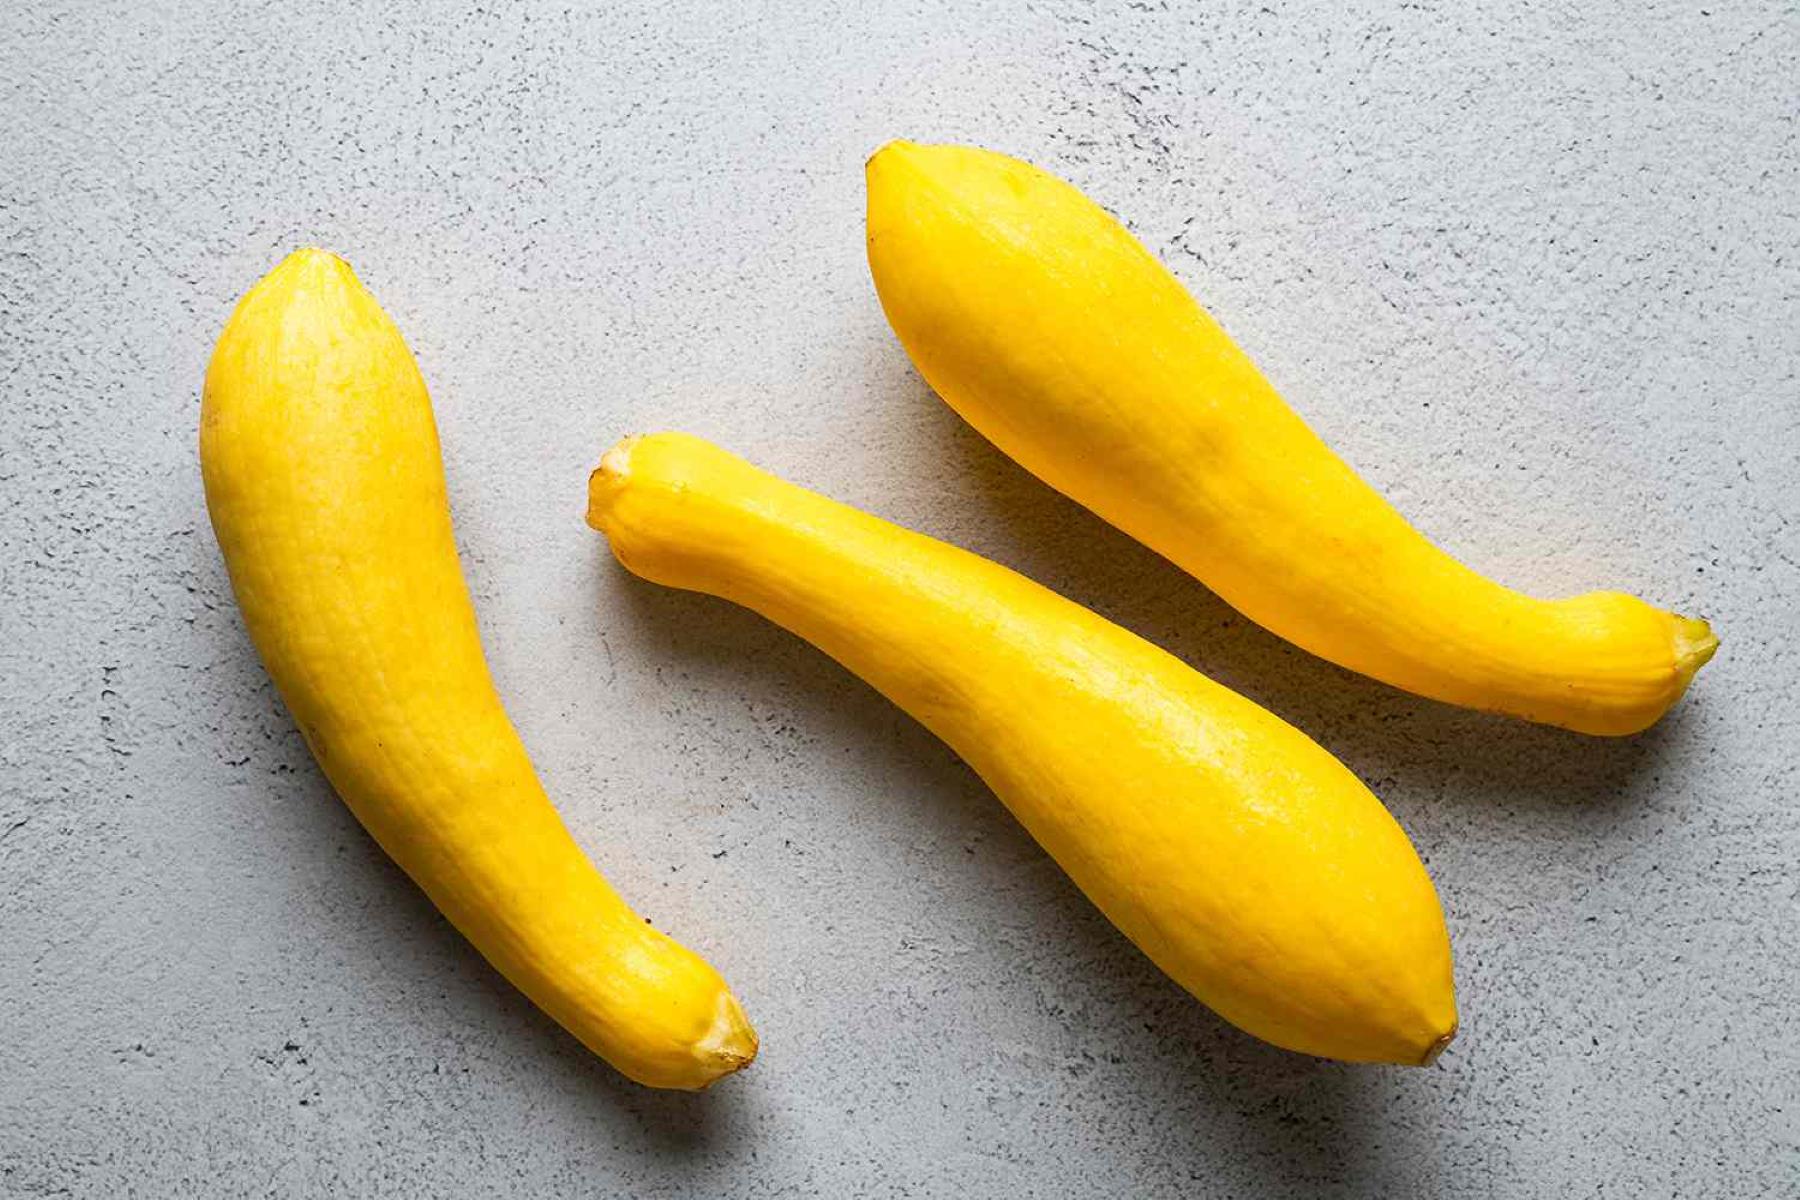
Selecting Fresh Yellow Squash
When it comes to storing yellow squash long term, it’s crucial to start with fresh and high-quality produce. Here are some tips for selecting the best yellow squash:
- Look for firm squash: Choose yellow squash that feels firm and sturdy when you gently press on it. Avoid squash that feels soft or mushy, as it may be overripe and prone to spoiling quickly.
- Check for blemishes: Inspect the squash for any signs of discoloration, mold, or bruising. Opt for squash with smooth, unblemished skin, as it indicates freshness.
- Size matters: While size doesn’t necessarily affect the taste or quality of yellow squash, it can play a role in storage. Smaller squash tend to have thinner skins and are more tender, making them better candidates for certain storage methods, such as canning or pickling.
- Avoid overly large squash: Extremely large yellow squash may have a woody or fibrous texture, which can impact the taste and texture of the preserved squash. It’s best to choose medium-sized squash for long-term storage.
- Fresh-cut stems: Check the stem end of the squash to ensure it is freshly cut and shows no signs of shriveling or drying out. This indicates that the squash is recently harvested.
By selecting fresh and high-quality yellow squash, you are setting the stage for successful long-term storage. Once you have chosen the best squash, it’s time to prepare it for preservation.
Preparing Yellow Squash for Storage
Before you can store yellow squash long term, it’s important to properly prepare it to ensure the best results. Follow these steps to prepare your yellow squash for storage:
- Wash the squash: Start by washing the yellow squash thoroughly under running water to remove any dirt or debris. Use a vegetable brush to gently scrub the skin, especially if there are any stubborn stains.
- Trim the ends: Trim off both ends of the squash with a sharp knife. This step helps remove any damaged or dried-out portions and allows for more consistent storage.
- Peel if desired: Depending on your preference and storage method, you may choose to peel the yellow squash. Peeling is not necessary for most storage methods, but if you prefer a smoother texture or plan to use the squash in recipes that call for peeled squash, go ahead and peel it.
- Cut into desired shapes: Slice, dice, or cut the yellow squash into the desired shapes and sizes for your intended use. For freezing, it’s best to cut the squash into uniform slices or cubes, while for canning or pickling, you may want to leave the squash whole or cut it into rings.
- Blanch if freezing: If you plan to freeze yellow squash, blanching it before freezing is recommended. Blanching involves briefly boiling the squash in water and then immediately transferring it to an ice bath to halt the cooking process. Blanching helps preserve the color, texture, and nutritional value of the squash.
Once you have prepared the yellow squash, it’s time to choose the most suitable storage method based on your preferences and availability.
Option 1: Freezing Yellow Squash
Freezing is one of the simplest and most popular methods for storing yellow squash long term. Follow these steps to freeze yellow squash:
- Prepare the squash: Wash and trim the squash as mentioned earlier. Cut it into slices or cubes of your desired thickness.
- Blanch the squash: Blanch the sliced or cubed squash by briefly boiling it in a pot of water for 2-3 minutes. This will help preserve the color, texture, and flavor of the squash. Immediately transfer the blanched squash into an ice bath to cool it down.
- Drain and pat dry: Once the squash has cooled, remove it from the ice bath and drain off any excess water. Pat the squash slices or cubes dry using a clean kitchen towel or paper towels.
- Package for freezing: Place the squash in freezer-safe containers or bags. Make sure to remove as much air as possible from the packaging to prevent freezer burn. Consider portioning the squash into smaller quantities for convenient use in future recipes.
- Label and freeze: Label the containers or bags with the date and contents, and then place them in the freezer. Ideally, use the frozen squash within 3 to 4 months for optimal taste and quality.
- Thawing and using frozen squash: When you’re ready to use the frozen yellow squash, simply thaw it in the refrigerator overnight or use the defrost function on your microwave. Frozen squash is great for adding to soups, stews, stir-fries, or sautés.
Freezing yellow squash is a practical way to preserve its freshness and versatility. It retains much of its flavor and texture, making it a convenient option for enjoying yellow squash long after its growing season.
Option 2: Canning Yellow Squash
Canning is a popular method for preserving yellow squash, especially if you enjoy the convenience of shelf-stable storage. Follow these steps to can yellow squash:
- Prepare the squash: Wash and trim the squash, removing both ends. You can leave the squash either whole or cut it into rings or slices, depending on your preference.
- Prepare the canning jars: Wash the canning jars, lids, and bands in hot, soapy water. Rinse them thoroughly and sterilize them by placing them in a large pot of boiling water for 10 minutes. Make sure to use jars specifically designed for canning.
- Prepare the canning liquid: In a separate pot, prepare a canning liquid. This can be a simple brine made of water, vinegar, and salt, or you can add herbs and spices for additional flavor.
- Pack the squash: Fill the sterilized jars with the prepared yellow squash, leaving about an inch of headspace at the top to allow for expansion during the canning process.
- Add the canning liquid: Pour the prepared canning liquid over the squash, ensuring that all the squash is fully submerged. Leave the proper headspace as recommended by the canning recipe or guidelines.
- Remove air bubbles: Use a non-metallic utensil, such as a wooden skewer or plastic spatula, to remove any air bubbles trapped in the jars. Gently press the squash to release any air pockets.
- Seal the jars: Wipe the rims of the jars with a clean, damp cloth to ensure a proper seal. Place the lids on the jars, followed by the bands, and tighten them just until finger tight.
- Process the jars: Process the filled jars in a boiling water bath canner for the recommended amount of time based on your altitude and the size of the jars. This heat processing will ensure proper preservation and kill any potential bacteria.
- Cool and store: After processing, carefully remove the jars from the canner and place them on a towel-lined countertop. Allow them to cool undisturbed for 12 to 24 hours. Check that the seals have fully formed before storing the jars in a cool, dark place.
Canned yellow squash can be stored for one to two years, providing a convenient and ready-to-use option for incorporating this versatile vegetable into your meals.
Store yellow squash long term by wrapping it in a paper towel and placing it in a perforated plastic bag in the refrigerator. This will help to absorb excess moisture and keep the squash fresh for up to a week.
Read more: How To Store Spaghetti Squash Long Term
Option 3: Dehydrating Yellow Squash
Dehydrating yellow squash is an excellent method for long-term storage, as it removes the moisture from the vegetable, extending its shelf life. Here’s how you can dehydrate yellow squash:
- Prepare the squash: Wash and trim the yellow squash, removing both ends. You can leave the squash either whole or slice it into thin rounds or strips.
- Blanch the squash: Blanching is an optional step, but it can help preserve the color and reduce the risk of spoilage. Bring a pot of water to a boil and blanch the sliced or whole squash for 2-3 minutes. Then, immediately transfer it to an ice bath to cool down.
- Pat dry: Remove the blanched squash from the ice bath and pat it dry with a clean kitchen towel or paper towels. This step helps remove excess moisture before the dehydration process.
- Dehydrate the squash: Arrange the squash slices or strips on the dehydrator trays in a single layer, ensuring they don’t overlap. Set the dehydrator to a temperature of around 125 to 135 degrees Fahrenheit (52 to 57 degrees Celsius) and let it run for 8 to 12 hours, or until the squash is completely dry and brittle.
- Check for doneness: To ensure the squash is adequately dehydrated, check for flexibility and absence of moisture. The pieces should be leathery and break easily when bent, without any signs of moisture or soft spots.
- Cool and store: Once the squash is dehydrated, allow it to cool completely before transferring it to airtight containers or vacuum-sealed bags. Ensure that there is no residual moisture, as it can cause spoilage. Store the dehydrated squash in a cool, dark place away from heat and moisture.
- Rehydrate and use: When you’re ready to use the dehydrated yellow squash, you can rehydrate it by soaking it in water for a few minutes or adding it directly to soups, stews, or stir-fries. The rehydrated squash will regain its original texture and taste.
Dehydrated yellow squash can be stored for up to a year or even longer when stored properly. It’s a convenient option for adding a burst of flavor and nutrition to your recipes, even during the off-season.
Option 4: Pickling Yellow Squash
Pickling yellow squash is a fantastic way to preserve its crisp texture and tangy flavor. Here’s how you can pickle yellow squash:
- Prepare the squash: Wash and trim the yellow squash, removing both ends. Cut the squash into your preferred shapes, such as spears, slices, or coins. You can leave the skin on or peel it, depending on your preference.
- Create the pickling brine: In a saucepan, combine equal parts water and vinegar, such as white vinegar or apple cider vinegar. Add sugar, salt, and desired pickling spices, such as dill, mustard seeds, or garlic cloves. Bring the mixture to a gentle boil, stirring until the sugar and salt dissolve completely.
- Pack the squash in jars: Pack the prepared yellow squash tightly into clean, sterilized jars. Leave about half an inch of headspace at the top of each jar.
- Add the pickling brine: Pour the hot pickling brine over the squash, ensuring that all the squash is fully submerged in the liquid. Leave the appropriate headspace as recommended by the pickling recipe or guidelines.
- Remove air bubbles and seal: Gently tap the jars on a countertop to release any air bubbles trapped inside. Wipe the rims of the jars with a clean, damp cloth to ensure a proper seal. Place the lids on the jars and secure them with bands, tightening them just until finger tight.
- Process the jars (optional): If you prefer shelf-stable pickles, you can process the jars in a hot water bath canner according to canning guidelines. However, if you prefer refrigerator pickles, skip this step and move on to the next one.
- Cool and store: Allow the jars to cool completely on a countertop. If you processed the jars, listen for the “pop” sound as the lids seal. Once cooled, store the pickled yellow squash in a cool, dark place or refrigerate them, depending on the method you chose. Allow the pickles to cure for at least a week before consuming for better flavor development.
- Enjoy the pickles: Pickled yellow squash can be enjoyed as a tangy snack, a delicious addition to salads or sandwiches, or a side dish to complement various meals. They can be stored for several months in the refrigerator or up to a year or longer if properly processed and stored in a pantry.
Pickling yellow squash not only extends its shelf life but also adds a flavorful and versatile condiment to your culinary repertoire. Get creative with different pickling spices and enjoy the unique taste of homemade pickled yellow squash.
Storing Yellow Squash in the Fridge
If you have a smaller quantity of yellow squash and plan to use it within a week or two, storing it in the refrigerator is a convenient option. Here’s how to store yellow squash in the fridge:
- Keep it unwashed: To maximize the shelf life of yellow squash, it’s best to store it unwashed. Washing the squash before storage can introduce moisture, which can lead to faster spoilage.
- Remove any packaging: If the yellow squash came wrapped in plastic or has any rubber bands or ties, remove them before storing.
- Place in a perforated bag or container: Place the yellow squash in a perforated plastic bag or a container with ventilation. The perforations allow air circulation, which helps prevent moisture buildup and extends the shelf life of the squash.
- Store in the crisper drawer: Put the bag or container of yellow squash in the crisper drawer of your refrigerator. This drawer provides a controlled environment with slightly higher humidity, which helps keep the squash fresh for longer.
- Avoid proximity to ethylene-producing fruits: Keep the yellow squash away from ethylene-producing fruits, such as apples, bananas, and tomatoes. Ethylene is a natural gas released by certain fruits that can accelerate the ripening and spoilage of other produce, including yellow squash.
- Check for freshness: Periodically check the yellow squash for any signs of spoilage, such as mold, soft spots, or an unpleasant odor. Remove any damaged or spoiled pieces promptly to prevent them from affecting the rest of the squash.
- Use it within a week or two: Yellow squash stored in the refrigerator can usually stay fresh for about a week or up to two weeks if properly stored. Plan your meals accordingly to fully utilize the squash before it starts to deteriorate.
Storing yellow squash in the refrigerator helps maintain its freshness and quality for a short period. It’s a suitable option when you have a smaller quantity and want to preserve the squash’s taste and texture.
Storing Yellow Squash in a Root Cellar
If you have access to a root cellar or a cool, dark, and well-ventilated storage area, storing yellow squash in this environment can prolong its shelf life. Here’s how to store yellow squash in a root cellar:
- Harvest or purchase mature squash: Choose yellow squash that is fully mature and free from any signs of damage or rot. Squash that is not fully grown may not store well and may spoil faster.
- Prepare the squash for storage: Wash and dry the yellow squash thoroughly to remove any dirt or debris. Do not wash the squash afterwards, as moisture can promote spoilage.
- Allow the squash to cure: Before storing, allow the yellow squash to cure for a few days by placing it in a warm and dry location. This step allows the squash’s outer skin to harden, which helps protect it during storage.
- Inspect and sort the squash: Before placing the squash in the root cellar, inspect each one carefully. Remove any squash with bruises, cuts, or signs of rot. Sort the squash by size, shape, or variety to help you easily find what you need later.
- Choose suitable containers: Use crates, baskets, or mesh bags to store the squash in the root cellar. These containers should allow proper air circulation, preventing moisture buildup that could lead to spoilage.
- Arrange the squash: Place the yellow squash in a single layer in the containers, making sure not to stack or overcrowd them. Space the squash out to allow airflow between each piece.
- Store in a cool and dark location: Place the containers of yellow squash in a root cellar or a storage area where the temperature remains between 50°F to 60°F (10°C to 15°C). Ensure the area is dark, as exposure to light can cause the squash to age and spoil faster.
- Monitor regularly: Regularly check the stored yellow squash for any signs of spoilage or damage. Remove any squash that shows signs of mold, soft spots, or rot to prevent it from affecting the others.
- Use within a few months: When stored properly in a root cellar, yellow squash can last for several months. However, it’s best to use them within two to three months for the best quality and taste.
Storing yellow squash in a root cellar provides an ideal environment to maintain its freshness and flavor for an extended period. Enjoy the bountiful harvest of yellow squash throughout the year by utilizing this traditional storage method.
Read more: How To Store Yellow Squash
Conclusion
Yellow squash is a versatile and delicious vegetable that can be enjoyed in various dishes. When faced with an abundance of yellow squash, it’s essential to know how to store it to extend its lifespan and continue enjoying its fresh taste. From freezing and canning to dehydrating and pickling, there are several effective methods for long-term storage.
Freezing yellow squash is a simple and popular option that preserves its flavor and texture, allowing you to enjoy it months after harvest. Canning provides a shelf-stable solution, perfect for adding a tangy twist to your meals. Dehydrating yellow squash removes moisture, creating a versatile ingredient for soups, stews, and other recipes. Pickling yellow squash offers a tangy and crunchy treat that can elevate any dish.
If you have a smaller quantity of yellow squash, storing it in the refrigerator can keep it fresh for a week or two. Conversely, if you have access to a root cellar or a cool storage area, storing yellow squash in a root cellar can prolong its shelf life for several months.
By following the proper methods and techniques for storing yellow squash, you can ensure its long-term usage and minimize waste. Remember to select fresh and high-quality squash, prepare it properly, and choose the storage method that suits your needs best.
So, whether you’re looking to enjoy yellow squash in the middle of winter or savor it beyond its usual growing season, these storage techniques will enable you to do just that. Embrace the versatility of yellow squash and savor its deliciousness throughout the year.
Frequently Asked Questions about How To Store Yellow Squash Long Term
Was this page helpful?
At Storables.com, we guarantee accurate and reliable information. Our content, validated by Expert Board Contributors, is crafted following stringent Editorial Policies. We're committed to providing you with well-researched, expert-backed insights for all your informational needs.


0 thoughts on “How To Store Yellow Squash Long Term”