Home>Articles>How To Store Yellow Squash In The Refrigerator

Articles
How To Store Yellow Squash In The Refrigerator
Modified: December 7, 2023
Learn the best ways to store yellow squash in the refrigerator to keep it fresh and tasty for longer. Check out our helpful articles for tips and tricks.
(Many of the links in this article redirect to a specific reviewed product. Your purchase of these products through affiliate links helps to generate commission for Storables.com, at no extra cost. Learn more)
Introduction
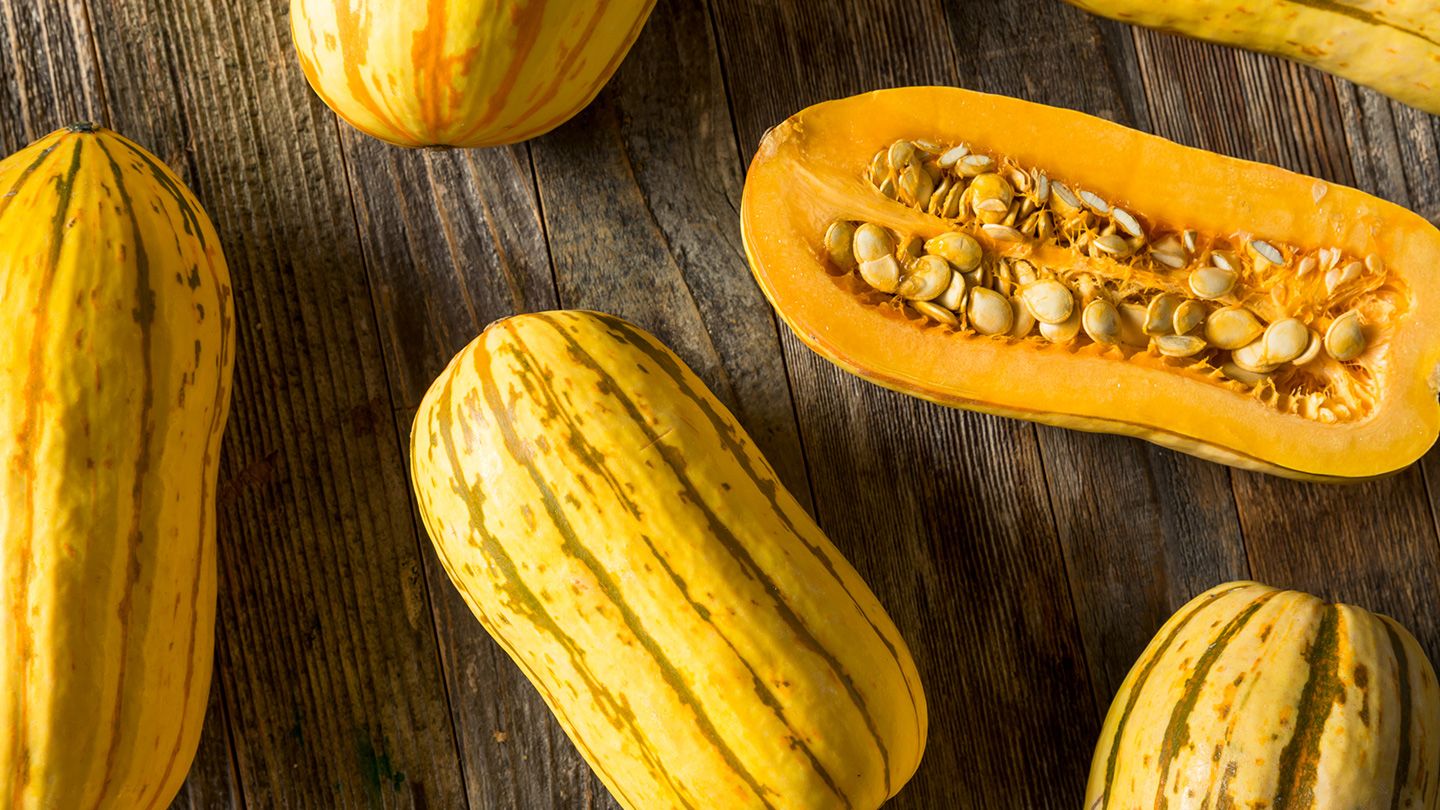
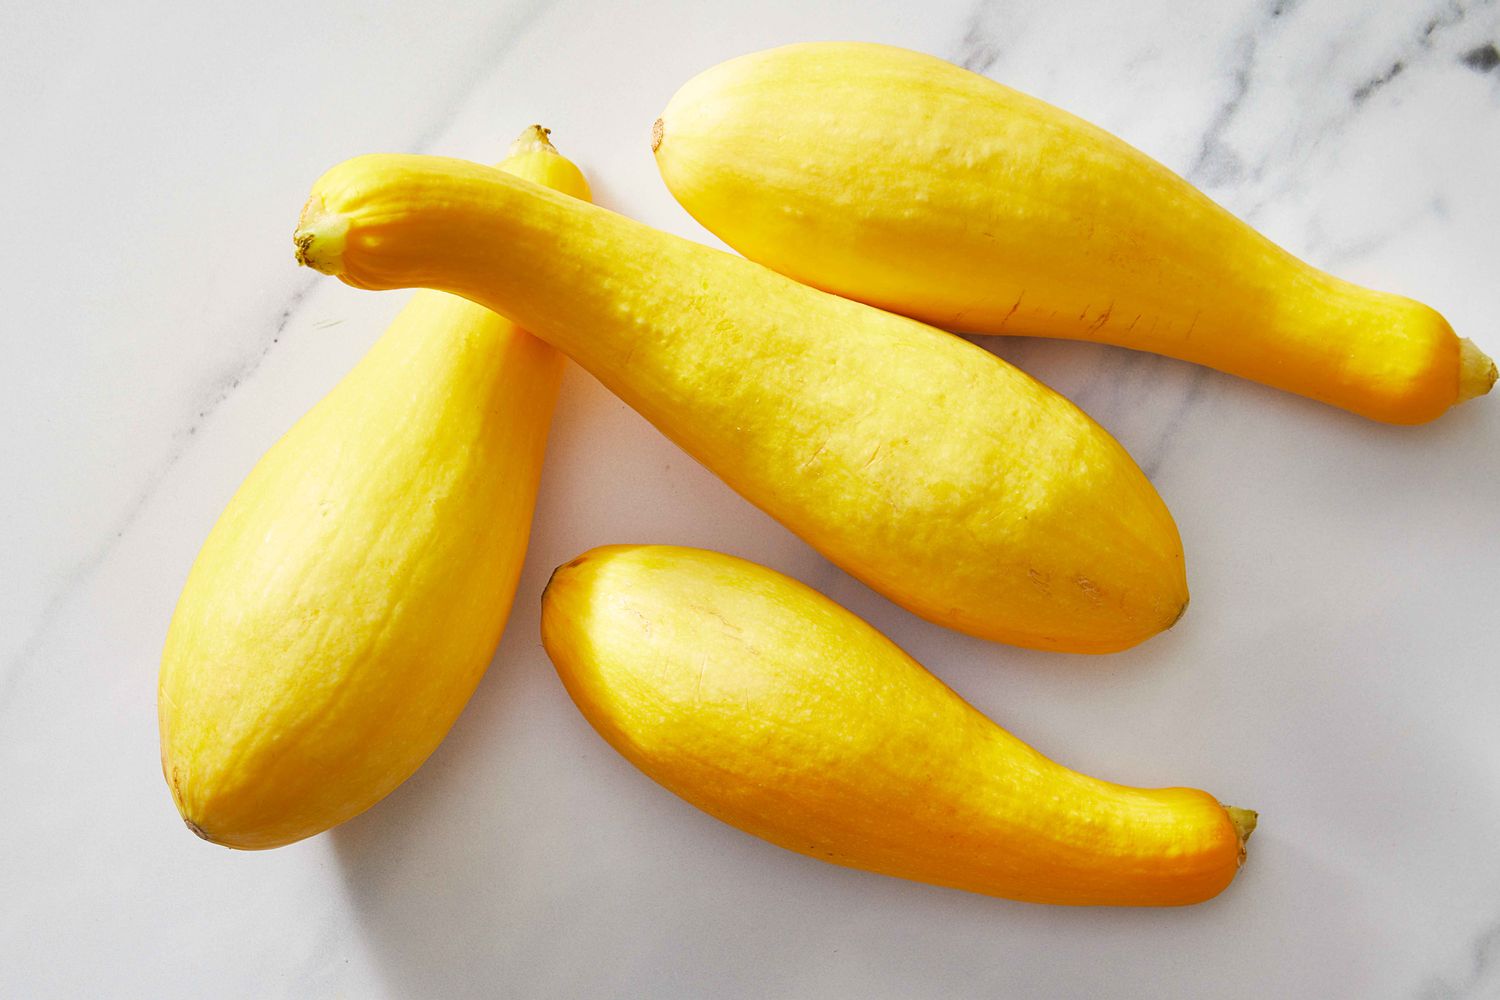
Yellow squash is a versatile and delicious vegetable that is a staple in many kitchens. Its sweet and slightly nutty flavor adds depth to a variety of dishes, making it a favorite among chefs and home cooks alike. However, once you bring home a fresh batch of yellow squash, it’s important to store it properly to ensure its freshness and flavor are preserved.
In this article, we will explore the benefits of storing yellow squash in the refrigerator, along with the steps you need to follow to achieve optimal storage. Additionally, we’ll provide tips to keep your yellow squash fresh and offer ideas on how to incorporate refrigerated yellow squash into your favorite recipes.
By taking the time to properly store your yellow squash, you can extend its shelf life and enjoy its delicious flavor for longer periods. So let’s dive into the details and learn how to store yellow squash in the refrigerator.
Key Takeaways:
- Properly storing yellow squash in the refrigerator prolongs its shelf life, retains its nutrients, and maintains its texture, ensuring you can enjoy fresh and delicious squash for longer periods.
- Choosing the right squash, washing and preparing it carefully, and following storage tips are crucial for maximizing the freshness and flavor of refrigerated yellow squash. Get creative with recipes to enjoy its versatility!
Read more: How To Store Zucchini And Yellow Squash
Benefits of Storing Yellow Squash in the Refrigerator
Storing yellow squash in the refrigerator offers several benefits that can help maintain its freshness and quality. Here are some key advantages:
- Prolongs Shelf Life: Yellow squash is highly perishable and tends to spoil quickly when left at room temperature. By refrigerating it, you can extend its shelf life by up to a week, allowing you to enjoy fresh yellow squash for longer.
- Retains Nutritional Value: Refrigeration helps to slow down the natural enzymatic activity and oxidative processes that degrade the nutrients in yellow squash. By keeping it cool, you can preserve important vitamins, minerals, and antioxidants present in the vegetable.
- Maintains Texture: The cool environment of the refrigerator helps retain the crispness and firmness of yellow squash. Without proper storage, yellow squash may become soft, stringy, and lose its desirable texture.
- Prevents Mold and Bacterial Growth: Refrigeration inhibits the growth of mold, yeast, and bacteria that can cause spoilage and make yellow squash unsafe to consume. By keeping it chilled, you minimize the risk of contamination and foodborne illnesses.
By taking advantage of these benefits, you can ensure that your yellow squash remains fresh, nutritious, and ready to be used in a variety of culinary creations.
Choosing the Right Yellow Squash for Refrigeration
When it comes to choosing yellow squash for refrigeration, there are a few factors to consider to ensure you select the best-quality produce. Here’s what you should keep in mind:
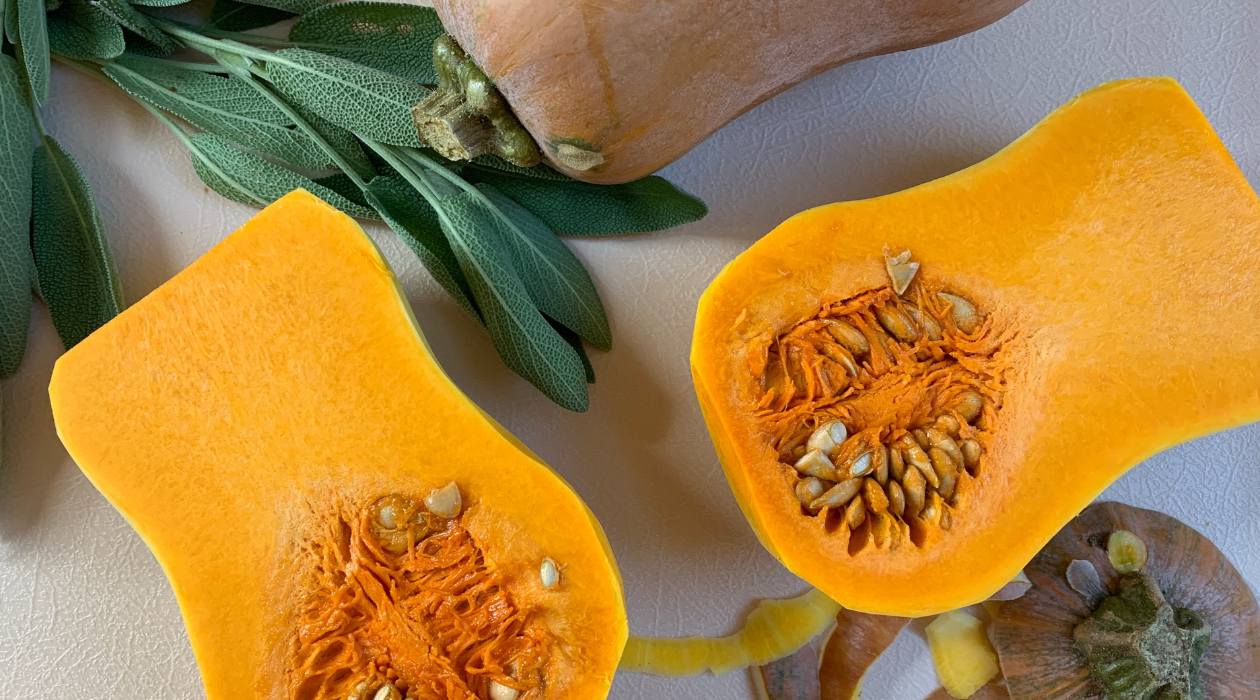
- Firmness: Look for yellow squash that feels firm and without any soft spots or bruising. Avoid squash that feels overly soft or mushy, as it may have started to deteriorate.
- Size: Select yellow squash that is small to medium in size, as they tend to have a better texture and flavor. Larger squash can be less tender and have a higher water content, which can lead to faster spoilage.
- Color: Choose yellow squash with a vibrant and uniform color. Avoid squash with blemishes, discoloration, or signs of decay. A healthy yellow squash should have a bright yellow skin without any green patches.
- Weight: Hold the squash in your hand and gauge its weight. It should feel heavy for its size, indicating that it is packed with water and nutrients. A lighter squash may be dehydrated and have a lesser quality.
By carefully examining your yellow squash before purchase, you can ensure that you’re starting with the freshest and highest-quality produce. This will greatly contribute to its shelf life and overall taste when stored in the refrigerator.
Properly Washing and Preparing Yellow Squash for Refrigeration
Before storing yellow squash in the refrigerator, it’s important to give it a thorough wash to remove any dirt or debris. Follow these steps to properly wash and prepare your yellow squash:
- Rinse: Start by rinsing the yellow squash under cool, running water to eliminate any loose dirt or contaminants on the surface. Gently rub the skin with your fingers to ensure all areas are cleaned.
- Trim: Inspect the ends of the squash. If they appear dry or discolored, trim them off with a sharp knife. This will help maintain the freshness of the squash and prevent any potential spoilage from spreading.
- Pat Dry: After rinsing and trimming, use a clean kitchen towel or paper towels to gently pat the yellow squash dry. This will remove excess moisture that can contribute to decay and extend its shelf life.
- Leave the Skin Intact: It is recommended to leave the skin of the yellow squash intact before refrigeration. The skin acts as a protective barrier and helps retain the vegetable’s nutrients and moisture.
Once your yellow squash is clean and dry, it is ready to be stored in the refrigerator. Properly preparing your squash before refrigeration helps maintain its quality and reduces the risk of premature spoilage.
Store yellow squash in the refrigerator in a perforated plastic bag to maintain freshness. Keep it in the crisper drawer and use within 1-2 weeks for best quality.
Storing Yellow Squash in the Refrigerator
Now that you have properly washed and prepared your yellow squash, it’s time to store it in the refrigerator. Follow these steps to ensure optimal storage:
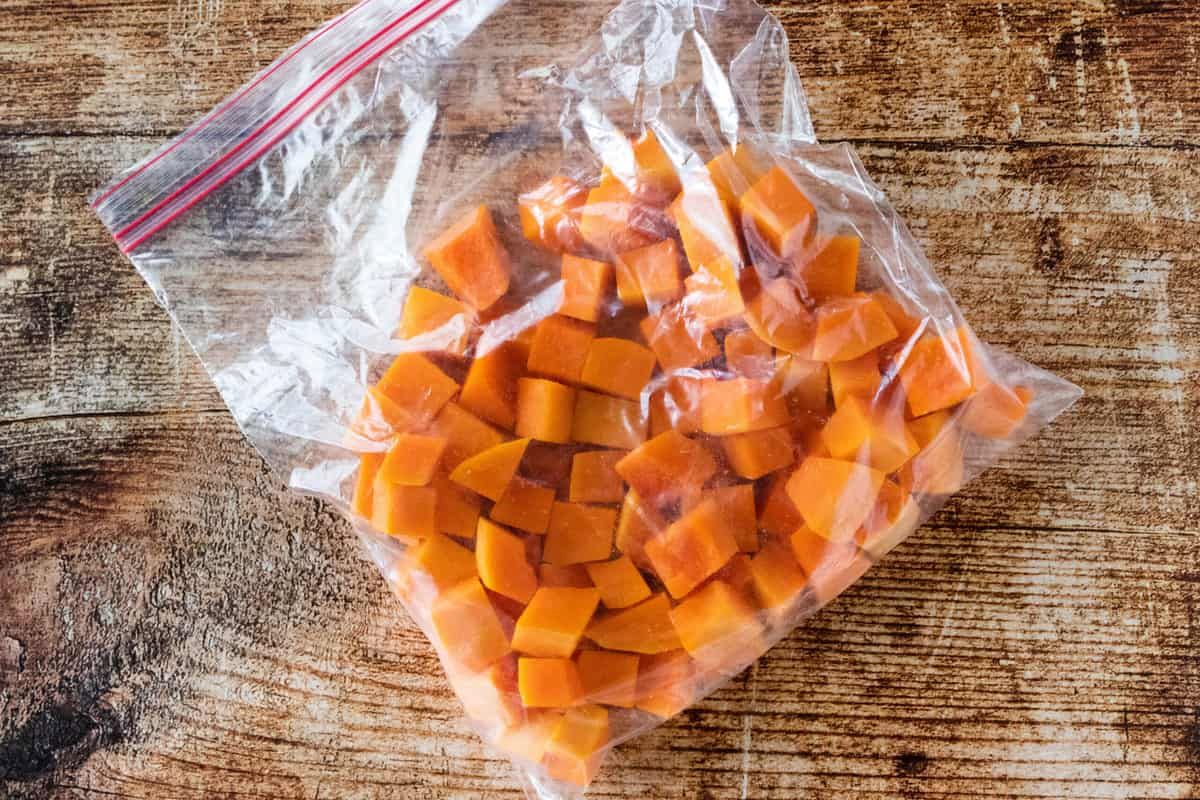
- Choose the Right Storage Container: Select a breathable container, such as a perforated plastic bag or a vegetable crisper drawer in your refrigerator. These containers allow for proper air circulation and help prevent moisture buildup, reducing the chances of mold or bacterial growth.
- Keep the Squash Whole: It is best to store yellow squash as whole pieces rather than cut or sliced. This helps retain its moisture and freshness for a longer period. If you need to cut the squash, wrap the cut end tightly in plastic wrap to minimize moisture loss.
- Place in the Refrigerator: Put the yellow squash in the designated storage container and place it in the main compartment or crisper drawer of your refrigerator. Ensure that it is not stored near fruits or vegetables that produce ethylene gas, as it can accelerate the ripening process and lead to spoilage.
- Optimal Temperature: Set your refrigerator temperature to around 40 degrees Fahrenheit (4 degrees Celsius). This temperature range helps maintain the yellow squash’s freshness without freezing it.
Remember to avoid overcrowding the refrigerator or packing the yellow squash too tightly, as this can restrict air circulation and lead to moisture buildup. It is recommended to use the squash within a week for the best flavor and quality.
Read more: How To Store Squash Blossoms
Tips for Keeping Yellow Squash Fresh in the Refrigerator
To ensure that your yellow squash stays fresh and flavorful for as long as possible, consider these helpful tips:
- Do Not Wash Before Storage: Unlike some vegetables, yellow squash should not be washed before refrigeration. Moisture can promote spoilage, so it’s best to wash the squash just before using it.
- Avoid Plastic Bags: While perforated plastic bags can be used for short-term storage, it’s best to avoid plastic bags for extended periods. They can trap moisture and lead to rotting. Instead, opt for breathable storage containers or wrap the squash in a clean kitchen towel.
- Check Periodically: Regularly check your stored yellow squash for any signs of spoilage. If you notice any soft spots, mold growth, or an unpleasant odor, discard the affected squash to prevent it from affecting the rest.
- Keep Away from Moisture: Moisture is the enemy of fresh produce. Avoid storing yellow squash near areas of the refrigerator that tend to accumulate moisture, such as the back wall or near the vents. Keep it in a dry and cool part of the refrigerator.
- Store Away from Ethylene-Producing Foods: Yellow squash is sensitive to ethylene gas produced by certain fruits and vegetables, such as apples, bananas, and tomatoes. Keep your yellow squash away from these ethylene-producing foods to prevent premature ripening and spoilage.
By following these tips, you can maximize the lifespan of your yellow squash and maintain its quality and freshness until you’re ready to use it.
How to Use Refrigerated Yellow Squash in Recipes
Now that you have stored your yellow squash in the refrigerator and it remains fresh, it’s time to incorporate it into your favorite recipes. Yellow squash is incredibly versatile and can be used in various dishes. Here are some ideas:
- Sautéed or Stir-Fried: Slice the yellow squash into thin rounds or julienne strips and sauté them with garlic, onions, and your choice of spices. Add them to stir-fries, pasta dishes, or grain bowls for an extra punch of flavor and texture.
- Roasted: Cut the yellow squash into bite-sized pieces, toss them with olive oil, salt, and pepper, and roast them in the oven until tender and slightly browned. Roasted yellow squash is a delicious side dish or can be added to salads, grain bowls, or sandwiches.
- Grilled: Slice the yellow squash lengthwise, brush them with olive oil, sprinkle with your favorite herbs or seasonings, and grill them until tender. Grilled yellow squash adds a smoky and charred flavor to salads, sandwiches, or can be enjoyed as a standalone side dish.
- Soup or Stew: Chop yellow squash into chunks and use them in soups, stews, or curries. They add a subtle sweetness and a creamy texture when cooked down and can be paired with other vegetables and proteins for a hearty and comforting dish.
- Spiralized: If you have a spiralizer, you can turn yellow squash into noodles. Spiralized yellow squash makes a great alternative to traditional pasta and can be enjoyed with your favorite sauce or tossed into salads or stir-fries.
- Baked Goods: Grate yellow squash and use it as an ingredient in baked goods like muffins, bread, or cakes. It adds moisture, texture, and a hint of sweetness to your homemade treats.
Feel free to explore different recipes and get creative with yellow squash. It pairs well with a wide range of ingredients and can be used in both savory and sweet dishes.
Conclusion
Properly storing yellow squash in the refrigerator is essential in maintaining its freshness, flavor, and nutritional value. By following the steps outlined in this article, you can prolong the shelf life of yellow squash and ensure its quality for longer periods.
Refrigeration offers several benefits, including prolonging the shelf life of yellow squash, retaining its nutritional value, maintaining its texture, and preventing mold and bacterial growth. Choosing the right yellow squash, properly washing and preparing it, and using the appropriate storage container are key steps for successful refrigeration.
By implementing the suggested tips, you can keep your yellow squash fresh and delicious. Checking for spoilage, avoiding excessive moisture, and storing it away from ethylene-producing foods are essential in maintaining its quality in the refrigerator.
Once your yellow squash is properly stored, the opportunities for its use in recipes are endless. Whether sautéed, roasted, grilled, added to soups and stews, or incorporated into baked goods, yellow squash adds a delightful flavor and texture.
Remember, the key to enjoying the best-tasting yellow squash is to use it within a week of refrigeration. As the squash ages, it may lose its freshness and become less desirable for consumption.
In conclusion, by following the guidelines provided in this article, you can successfully store yellow squash in the refrigerator and enjoy its deliciousness in a variety of recipes. So go ahead, stock up on yellow squash, and have fun incorporating this versatile vegetable into your culinary creations!
Frequently Asked Questions about How To Store Yellow Squash In The Refrigerator
Was this page helpful?
At Storables.com, we guarantee accurate and reliable information. Our content, validated by Expert Board Contributors, is crafted following stringent Editorial Policies. We're committed to providing you with well-researched, expert-backed insights for all your informational needs.


0 thoughts on “How To Store Yellow Squash In The Refrigerator”