
Articles
How To Store Butternut Squash Long-Term
Modified: March 19, 2024
Learn how to store butternut squash for the long term with our helpful articles. Extend the shelf life of your favorite winter vegetable with our expert tips and tricks.
(Many of the links in this article redirect to a specific reviewed product. Your purchase of these products through affiliate links helps to generate commission for Storables.com, at no extra cost. Learn more)
Introduction
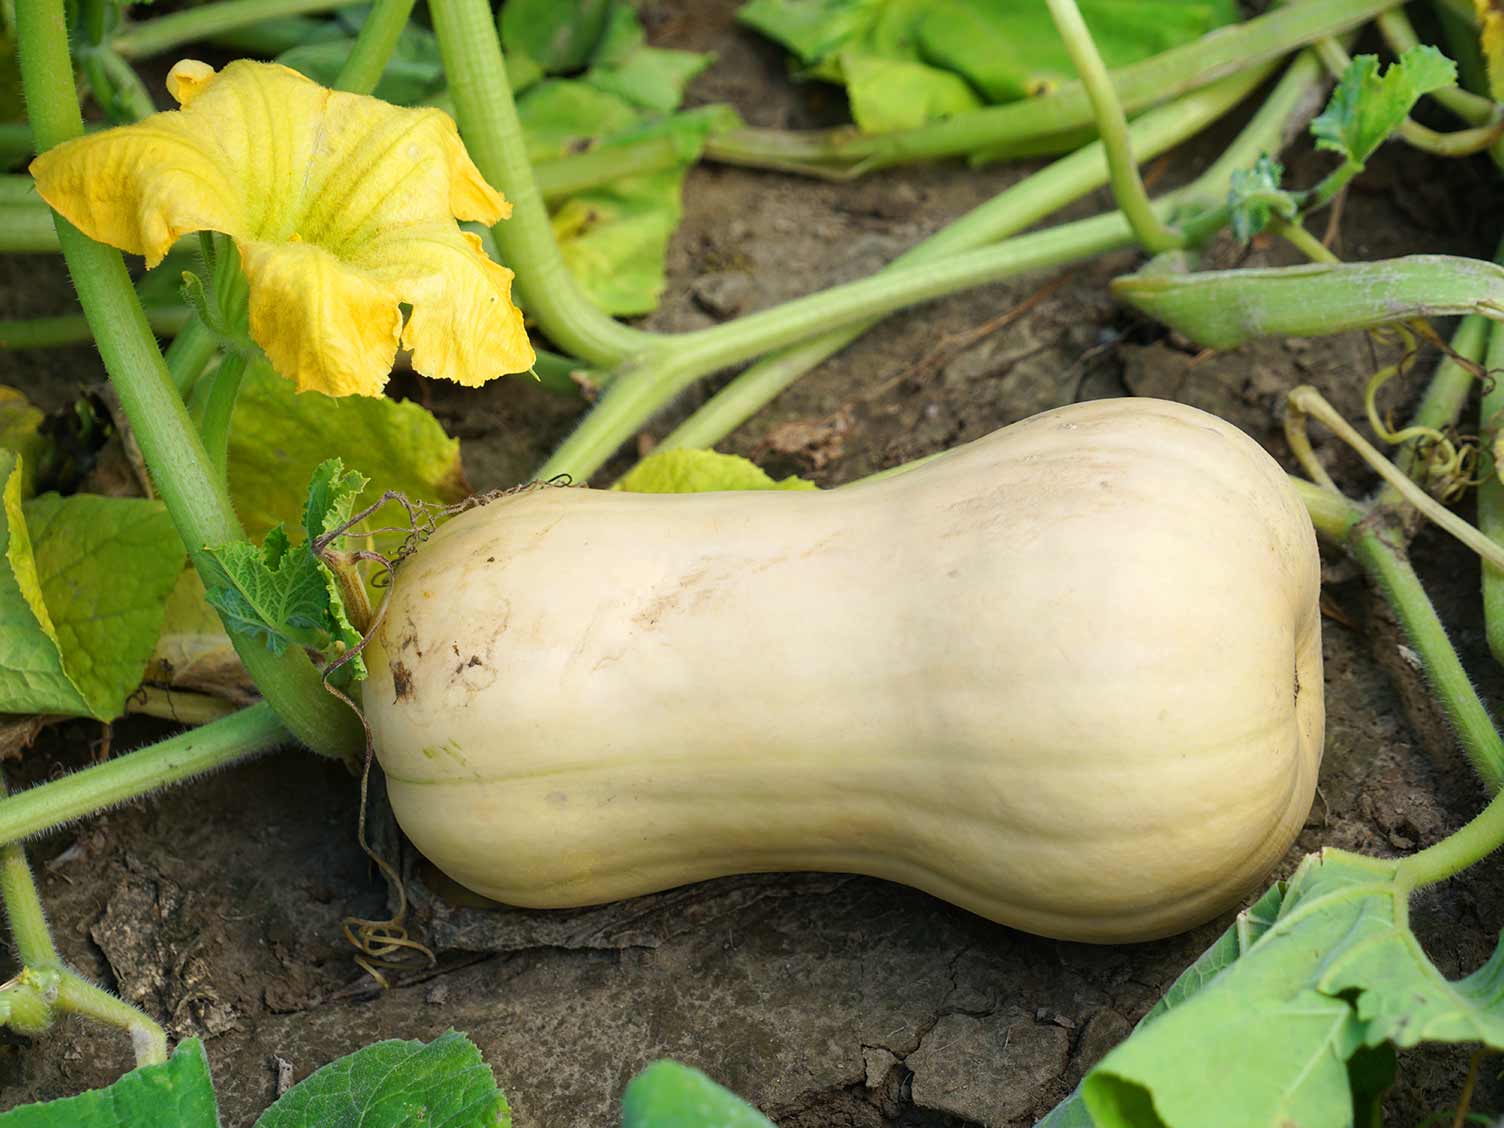
Butternut squash is a versatile and delicious vegetable that is popular for its sweet, nutty flavor and smooth texture. It is packed with essential nutrients like vitamins A and C, potassium, and fiber, making it a healthy addition to any diet. Butternut squash is plentiful during the fall and winter seasons, and if stored properly, it can be enjoyed throughout the year.
In this article, we will explore how to store butternut squash long-term, ensuring its freshness and taste are preserved. Whether you have a bountiful harvest from your garden or have purchased a surplus from the farmer’s market, following these storage techniques will allow you to enjoy the goodness of butternut squash even when it’s out of season.
Before we delve into the storage methods, let’s first discuss how to choose the right butternut squash.
Key Takeaways:
- Store butternut squash long-term by choosing ripe, firm squash, preparing it properly, and storing in a cool, dry place, refrigerator, or freezer. Enjoy its versatility in various recipes year-round!
- Thaw frozen butternut squash safely in the refrigerator, water bath, or microwave, and use it in roasted dishes, soups, pastas, and more for convenient, nutritious meals. Embrace the art of storing and savoring butternut squash!
Read more: How To Store Butternut Squash In Freezer
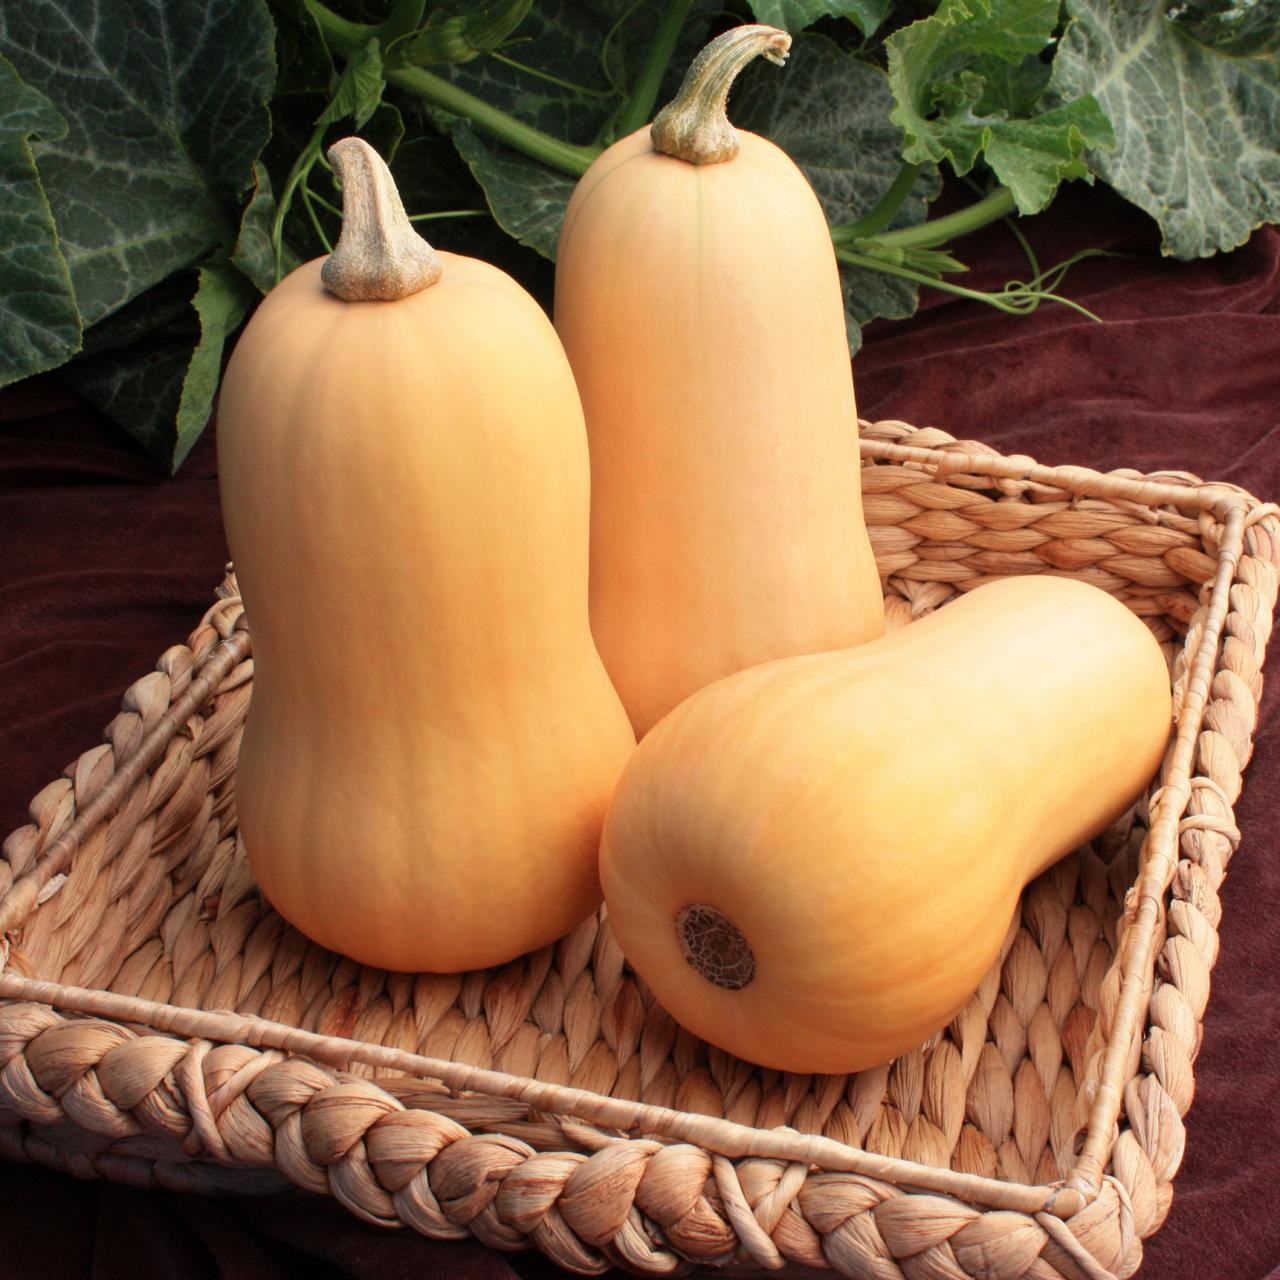
Choosing the right butternut squash
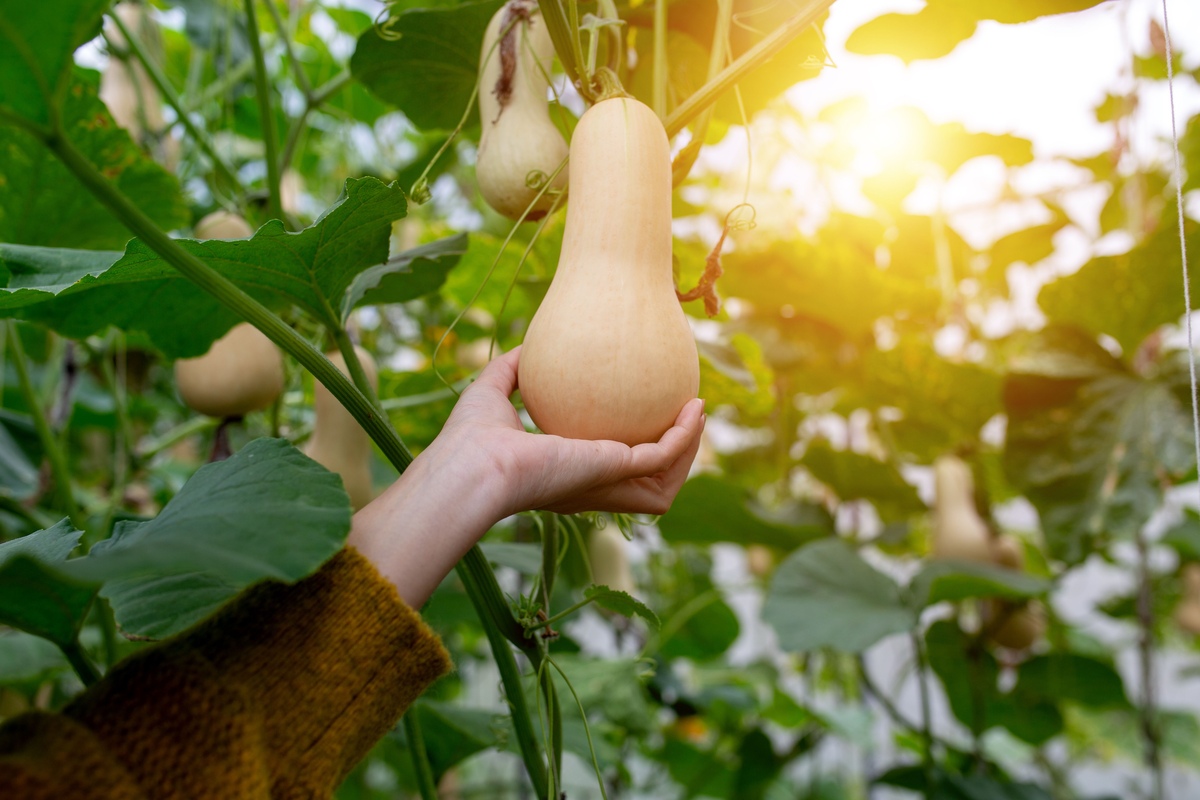
When it comes to selecting butternut squash for storage, there are a few key factors to keep in mind. These factors will ensure that you choose squash that is ripe, healthy, and less prone to spoilage.
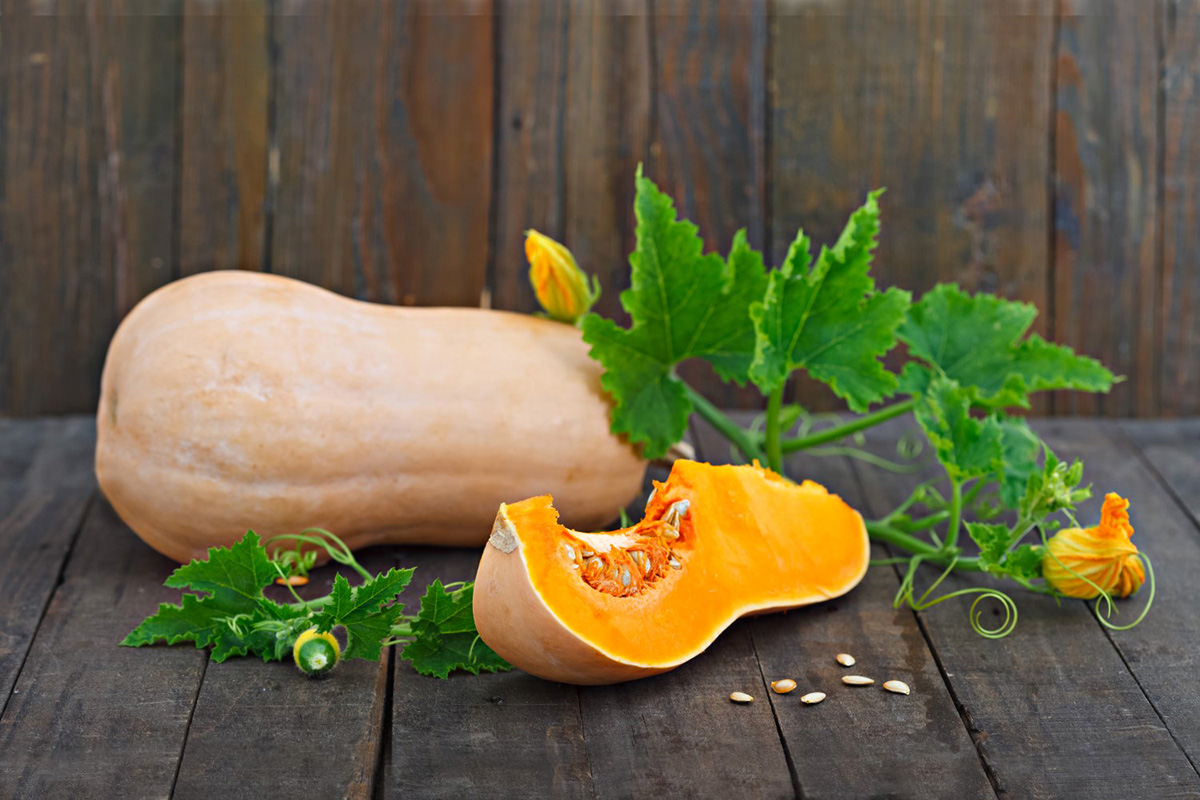
Firstly, look for squash that has a firm and unblemished skin. Avoid squash with soft spots, cuts, or mold, as these signs indicate deterioration. Additionally, check that the stem is intact and attached, as a missing or loose stem can indicate that the squash has been mishandled.
The color of the butternut squash is also a good indicator of ripeness. Look for squash with a uniform and deep tan or beige color. Avoid squash that has green spots or a pale color, as these may indicate immaturity. However, while color is important, it is not the sole determinant of ripeness. It is a good practice to gently press your thumb against the skin. If it feels firm and gives slightly, it is a sign of perfect ripeness.
Additionally, pay attention to the size and weight of the squash. Choose squash that feels heavy for its size, as this indicates that it is dense and filled with flesh. It is also worth noting that smaller butternut squash tend to have a more concentrated flavor and cook faster, while larger squash are better for storing long-term.
By considering the firmness, skin condition, color, size, and weight of the butternut squash, you can ensure that you select high-quality squash that will store well and maintain its flavor and texture over time. Once you have chosen the perfect squash, it’s time to prepare it for storage.
Preparing the butternut squash for storage
Before storing your butternut squash, it’s important to properly prepare it to ensure long-lasting freshness. Follow these steps to prepare your squash for storage:
- Begin by washing the squash with water to remove any dirt or debris from the skin. A gentle scrub with a vegetable brush can help remove stubborn dirt.
- Next, dry the squash thoroughly with a clean cloth or paper towel. Moisture can lead to rotting, so it’s essential to remove excess moisture before storage.
- Using a sharp knife, carefully cut off the stem of the squash, leaving a small portion of the stem intact. This helps prevent any potential entry points for bacteria or mold.
- Continue by trimming off the blossom end of the squash, which is the opposite end of the stem. This end tends to have a tough texture and is not usually consumed.
- You can choose to peel the skin of the squash or leave it intact, depending on personal preference. If you prefer a smoother texture in your recipes, use a vegetable peeler to remove the skin. Otherwise, you can leave the skin on, as it adds a nice color and texture to certain dishes.
- After peeling or leaving the skin, slice the squash in half lengthwise and scoop out the seeds and fibrous flesh with a spoon. The seeds can be saved for roasting, if desired. Removing the seeds and fibrous flesh helps the squash store better and prevents spoilage.
- Finally, cut the squash into smaller, manageable pieces. You can cube or slice the squash depending on how you plan to use it later. Smaller pieces are easier to store and thaw when needed.
By following these preparation steps, you will have a well-prepared butternut squash that is ready for storage. The next step is to choose a suitable storage location for your squash.
Storing butternut squash in a cool, dry place
One of the easiest and most traditional ways to store butternut squash is in a cool, dry place in your home. Follow these guidelines to ensure optimal storage:
- Choose a location that is cool, ideally between 50 to 55 degrees Fahrenheit (10 to 13 degrees Celsius). This could be a basement, cellar, pantry, or even a garage with stable temperatures.
- Ensure the storage area is dry, as excess humidity can promote mold and rot. Avoid storing squash in areas with high levels of moisture, such as near sinks or in damp basements.
- Place the squash in a single layer on a hard surface, such as a wooden shelf or a wire rack. Make sure the squash does not touch each other to prevent any potential spread of rot.
- If possible, leave some space between each squash to allow for air circulation. This helps prevent the buildup of moisture and reduces the risk of mold.
- Regularly check on your squash to ensure they are in good condition. Remove any squash showing signs of spoilage promptly to prevent the spread of rot to other squash.
Storing butternut squash in a cool, dry place can extend its shelf life for several months. However, keep in mind that squash stored this way may gradually lose some of its quality over time. It is best to consume the squash within 2 to 3 months for the best flavor and texture.
However, if you want to store butternut squash for an even longer period, consider using the refrigerator or freezer for preservation.
Storing butternut squash in the refrigerator
If you prefer to store your butternut squash in a location with more controlled conditions, the refrigerator can be a suitable option. Here are the steps to follow when storing butternut squash in the refrigerator:
- Choose butternut squash that is fully mature and free from any cuts or bruises.
- Wash the squash under running water to remove any dirt or debris.
- Dry the squash thoroughly with a clean cloth or paper towel to remove excess moisture.
- Place the squash in a perforated plastic bag or a loosely sealed plastic bag. Perforating the bag or leaving it loose allows for proper air circulation and prevents the buildup of moisture that can cause rot.
- Store the bagged squash in the vegetable drawer of your refrigerator, where the temperature is cooler and more stable.
- It’s important to note that butternut squash can stay fresh in the refrigerator for up to two weeks. Beyond that time, the texture and flavor may begin to deteriorate.
- Periodically check the squash for any signs of mold or spoilage. Remove any affected squash immediately to prevent the spread of rot.
Storing butternut squash in the refrigerator is a great option if you only have a few squash or if you want to extend their shelf life by a couple of weeks. However, if you have a larger quantity and want to store them for an extended period, freezing is a viable option.
Store butternut squash in a cool, dry place with good air circulation, such as a pantry or cellar. Make sure to check for any signs of decay regularly and use any squash showing signs of spoilage first.
Read more: How To Store Butternut Squash
Freezing butternut squash for long-term storage
Freezing butternut squash is an excellent way to preserve it for long-term storage. Follow these steps to freeze butternut squash:
- First, choose fully mature squash that is firm and free from any cuts or bruises. The squash should be in its prime condition for the best results.
- Wash the squash thoroughly under running water to remove any dirt or debris.
- Dry the squash completely with a clean cloth or paper towel to remove excess moisture.
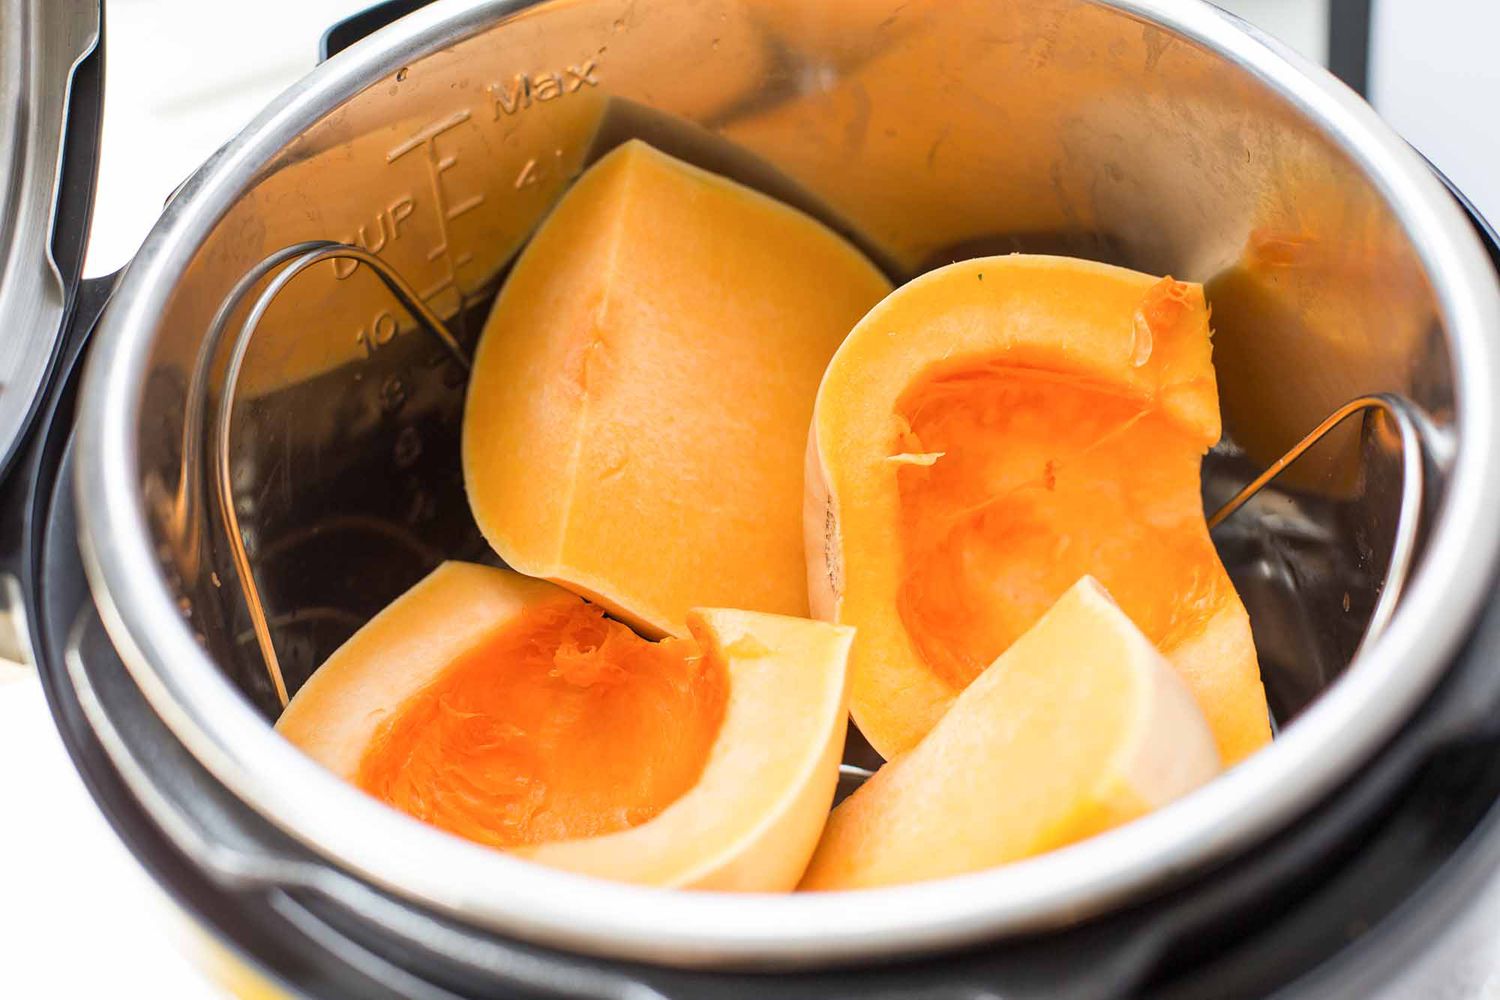
- Peel the squash using a vegetable peeler or a sharp knife. Remove the skin completely to ensure the best texture after freezing.
- Next, cut the squash into small, even-sized cubes or slices. This will make it easier to thaw and use later.
- Blanch the squash by boiling a pot of water and immersing the squash pieces in the boiling water for about 2-3 minutes.
- After blanching, quickly transfer the squash into a bowl of ice water to cool and stop the cooking process.
- Drain the squash thoroughly and pat it dry with a towel to remove any excess moisture.
- Place the squash cubes or slices in a single layer on a baking sheet lined with parchment paper. Make sure they are not touching each other to prevent sticking.
- Place the baking sheet in the freezer and let the squash pieces freeze until they are solid, usually for about 2-3 hours.
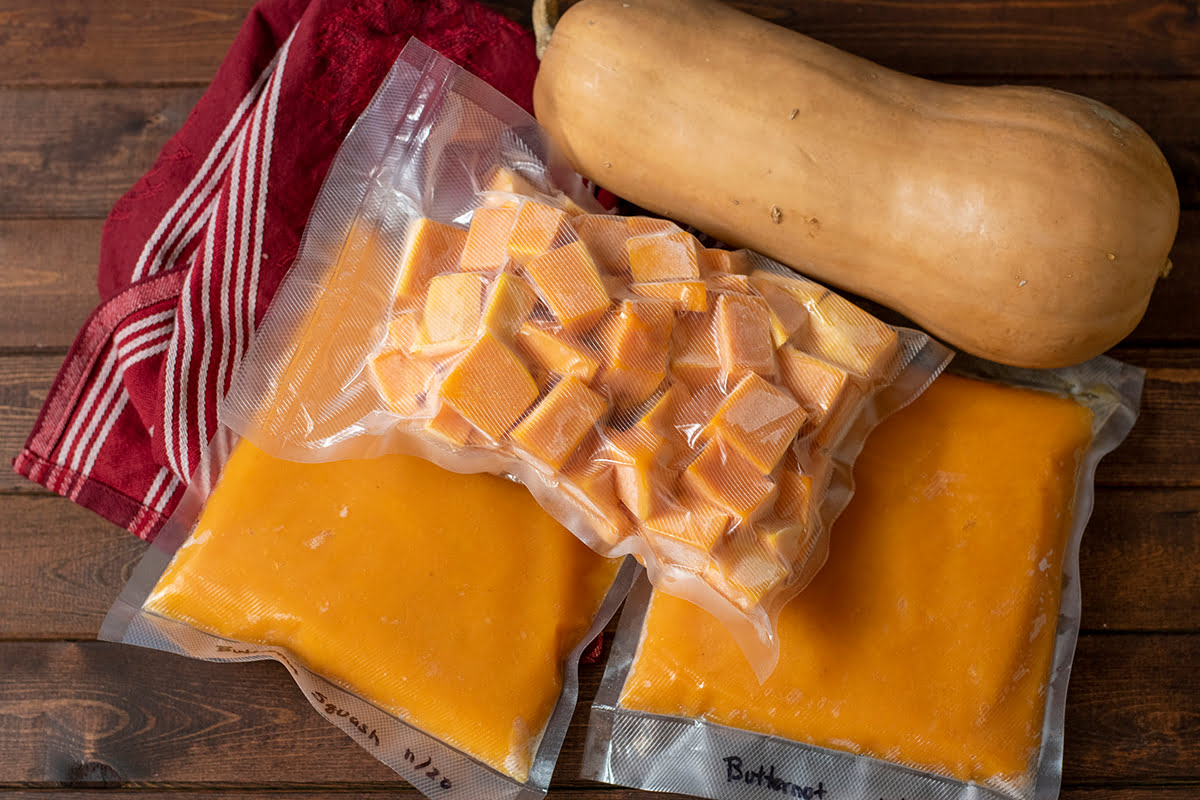
- Once the squash pieces are frozen, transfer them into freezer-safe bags or airtight containers. Remove as much air as possible from the bags or containers before sealing.
- Label the bags or containers with the date and content for easy identification.
- Store the butternut squash in the freezer, where it can stay fresh for up to one year.
Freezing butternut squash allows you to enjoy its flavor and nutrients even when it’s out of season. Whether you want to use the squash in soups, stews, or roasted dishes, having a stash of frozen butternut squash on hand provides convenience and versatility in your cooking.
When you’re ready to use the frozen squash, simply remove the desired amount from the freezer and thaw it in the refrigerator overnight or cook it directly from frozen in your recipes. Properly storing and thawing the frozen butternut squash ensures its quality and taste remain intact.
Now that you know how to freeze and store butternut squash, you can enjoy its deliciousness all year round!
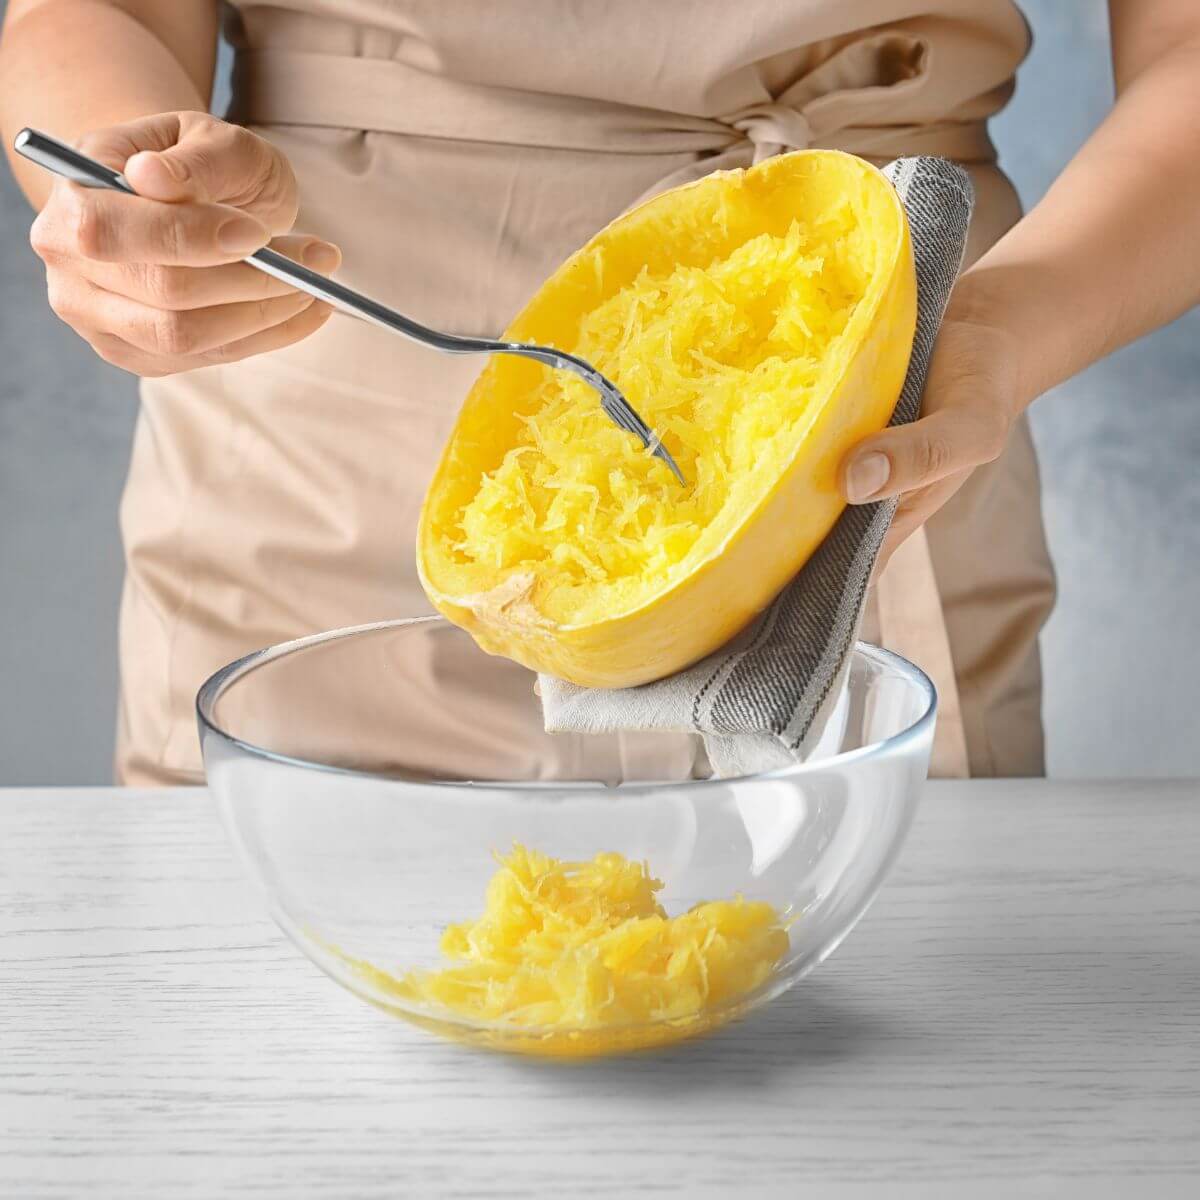
Properly thawing frozen butternut squash
When it comes to using frozen butternut squash, proper thawing is essential to maintain its texture and flavor. Here are a few methods for thawing frozen butternut squash:
- Refrigerator thawing: The safest and recommended method for thawing frozen butternut squash is to transfer it from the freezer to the refrigerator. Place the frozen squash in a container or pan and let it thaw slowly in the refrigerator overnight or for about 8-10 hours. Thawing in the refrigerator preserves the quality and prevents any potential bacterial growth.
- Water bath thawing: If you need to thaw the squash more quickly, you can use a water bath. Fill a large bowl or basin with cold water and submerge the sealed bag or container of frozen butternut squash in the water. Make sure the squash is tightly sealed to prevent any water from entering. Change the water every 30 minutes to maintain its cold temperature. The squash should thaw within 1-2 hours using this method.
- Quick-thawing in the microwave: If you’re short on time, you can partially thaw the frozen butternut squash directly in the microwave. Use the defrost setting or low power mode and defrost the squash in short intervals, checking and stirring it between each interval. Be cautious not to cook the squash as microwaves can heat unevenly and may result in overcooking or mushy texture.
It’s important to note that once the butternut squash is thawed, it should be used immediately. Refreezing thawed squash can negatively impact its texture and flavor.
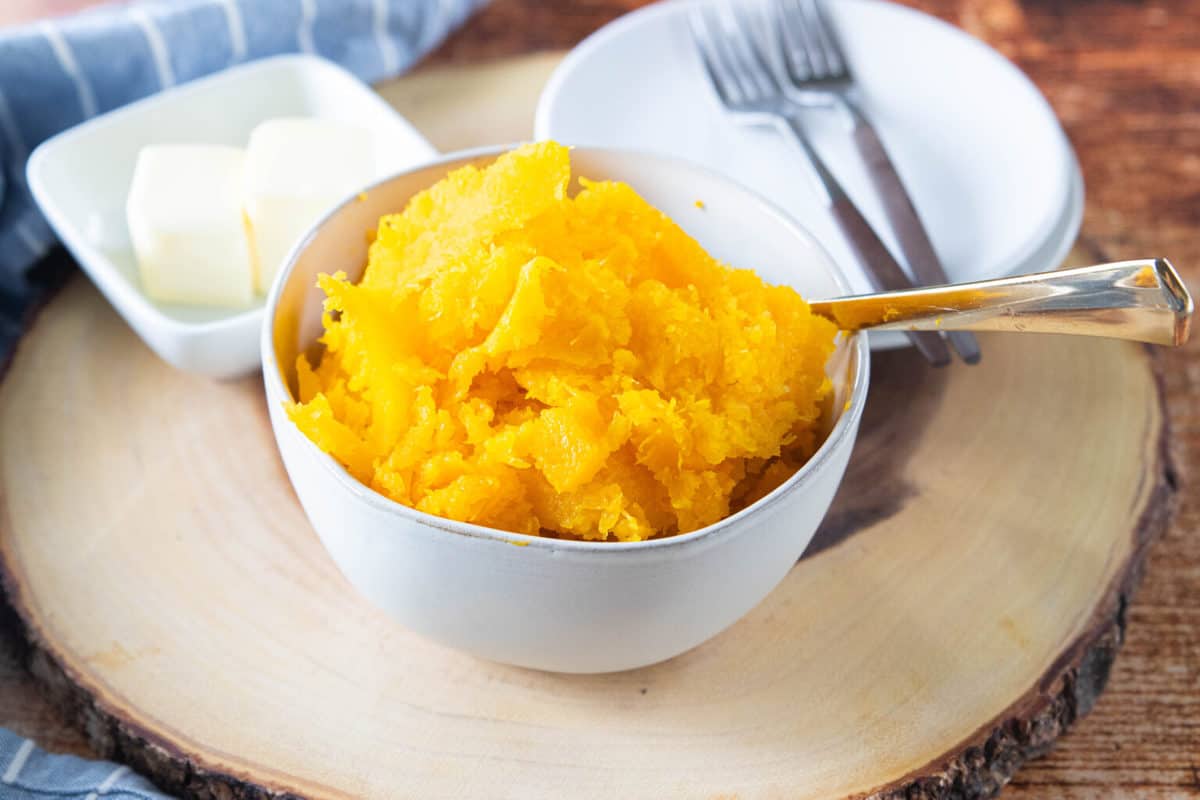
Once the butternut squash is thawed, you can use it in a wide variety of recipes. It can be roasted, steamed, pureed, or added to soups, stews, and casseroles. The versatility of thawed butternut squash makes it a convenient and nutritious ingredient for your favorite dishes.
Remember to always handle thawed squash with clean hands and ensure that it is thoroughly heated before consuming. By properly thawing and using frozen butternut squash, you can enjoy its deliciousness without compromising on taste or quality.
Using stored butternut squash in recipes
Having stored butternut squash on hand opens up a world of possibilities in the kitchen. Its sweet and nutty flavor pairs well with various dishes, both savory and sweet. Here are a few ideas for using stored butternut squash in your recipes:
- Roasted butternut squash: Toss cubed butternut squash with olive oil, salt, and your favorite herbs or spices. Roast in the oven until tender and slightly caramelized. Enjoy it as a side dish or add it to salads, grain bowls, or pasta dishes.
- Butternut squash soup: Puree cooked butternut squash with vegetable broth, onions, garlic, and spices to create a silky, comforting soup. Add a dollop of cream or coconut milk for extra richness.
- Butternut squash risotto: Add cubed butternut squash to a creamy risotto for a hearty and flavorful twist. The natural sweetness of the squash complements the richness of the rice and cheese.
- Butternut squash pasta: Toss cooked butternut squash with cooked pasta, olive oil, garlic, and Parmesan cheese for a simple yet satisfying pasta dish. You can also add some spinach or roasted vegetables for added color and nutrients.
- Butternut squash curry: Combine cubed butternut squash with your favorite curry spices, coconut milk, and vegetables for a delicious and comforting curry. Serve it over rice or with naan bread for a complete meal.
- Butternut squash muffins: Puree cooked butternut squash and use it as a substitute for pumpkin puree in your favorite muffin recipe. The squash adds moisture and a subtly sweet flavor to the muffins. Add some spices like cinnamon and nutmeg for an extra burst of flavor.
- Butternut squash smoothie: Blend cooked butternut squash with your choice of milk, yogurt, and sweetener for a nutritious and satisfying smoothie. Add some spices like cinnamon or ginger for added warmth and flavor.
These are just a few ideas to get you started, but the possibilities are endless. Butternut squash can be used in a variety of recipes, from salads and casseroles to desserts and baked goods. Its versatility and rich flavor make it a favorite ingredient among chefs and home cooks alike.
Experiment with different recipes and let your creativity guide you. Don’t be afraid to try new flavors and combinations. With stored butternut squash, you’ll have a versatile and nutritious ingredient that adds a touch of warmth and flavor to your culinary creations.
Conclusion
Butternut squash is a delightful and nutritious vegetable that can be enjoyed throughout the year with proper storage. Whether you have harvested a surplus from your garden or want to make the most of the seasonal abundance, storing butternut squash long-term is essential to preserve its flavor, texture, and nutritional value.
In this article, we have explored various methods of storing butternut squash, including storing in a cool, dry place, refrigerating, and freezing. Each method offers its own benefits, allowing you to choose the most suitable option based on your needs and storage capacity.
By choosing the right butternut squash, properly preparing it, and storing it in the optimal conditions, you can ensure its freshness and quality for months to come. Whether you choose to store it in a cool and dry location, refrigerate it for a shorter duration, or freeze it for long-term preservation, you can enjoy butternut squash’s delightful flavor and versatility year-round.
When it’s time to use your stored butternut squash, explore various recipes that showcase its natural sweetness and nutty flavor. From roasted squash to comforting soups, risottos, pastas, and even baked goods, the possibilities are endless.
So, don’t let the abundance of butternut squash go to waste. Embrace the art of storing this versatile vegetable and savor its taste and nutrients in a variety of dishes. With proper storage techniques and a dash of culinary creativity, you can enjoy the goodness of butternut squash no matter the season.
Happy cooking and savoring the flavors of butternut squash!
Frequently Asked Questions about How To Store Butternut Squash Long-Term
Was this page helpful?
At Storables.com, we guarantee accurate and reliable information. Our content, validated by Expert Board Contributors, is crafted following stringent Editorial Policies. We're committed to providing you with well-researched, expert-backed insights for all your informational needs.


0 thoughts on “How To Store Butternut Squash Long-Term”